First Grow-Aero-Stealth Box

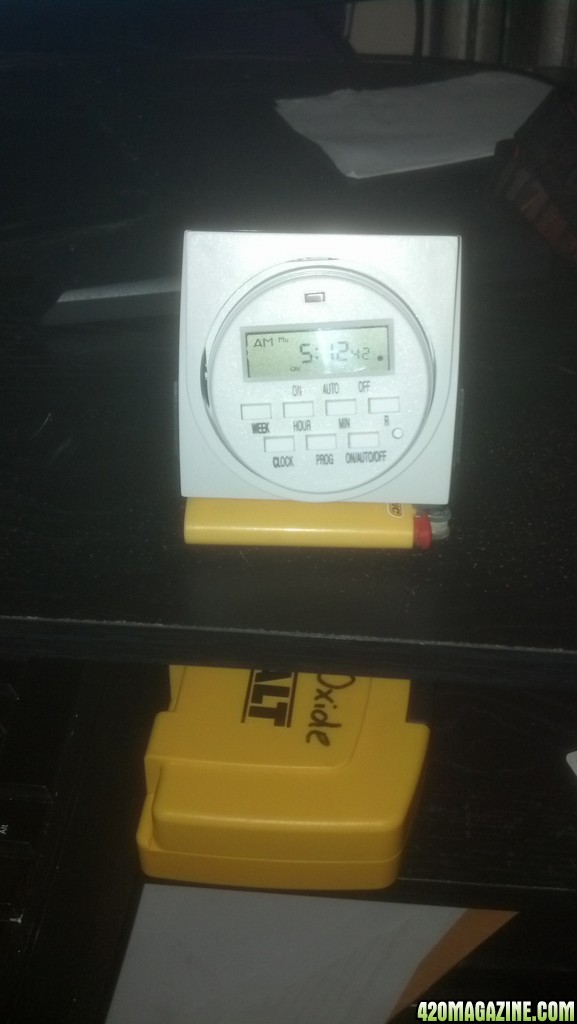
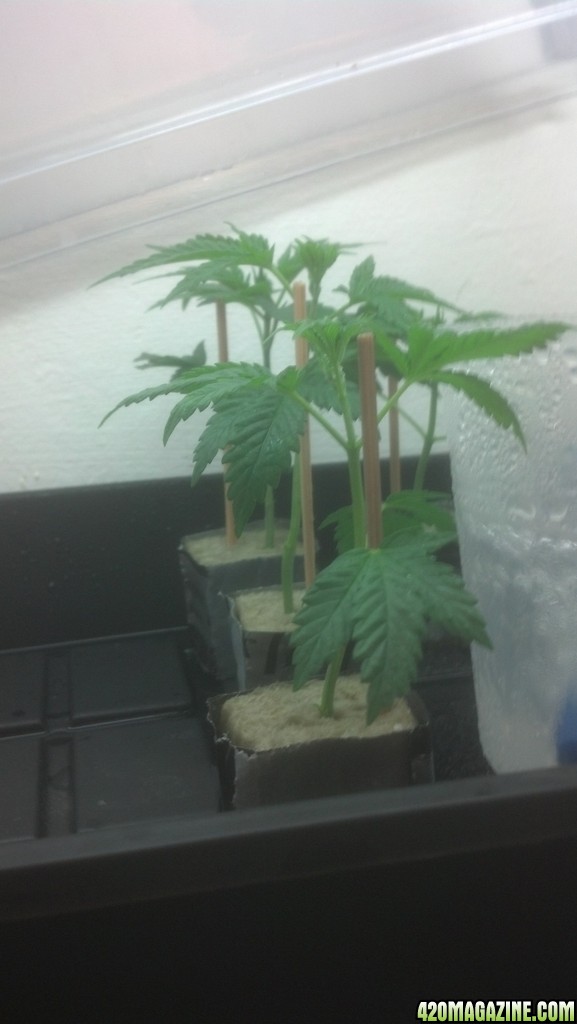
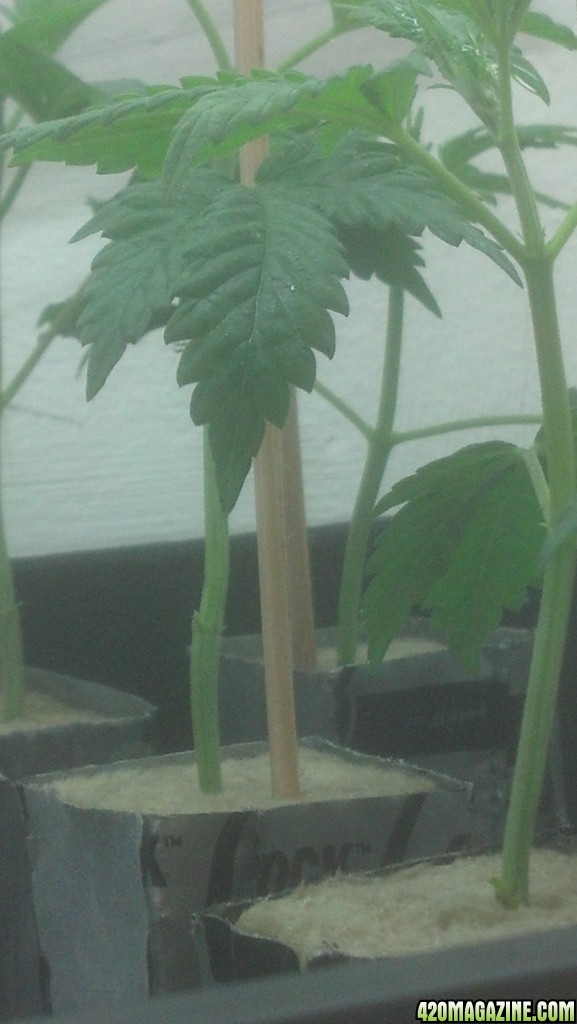
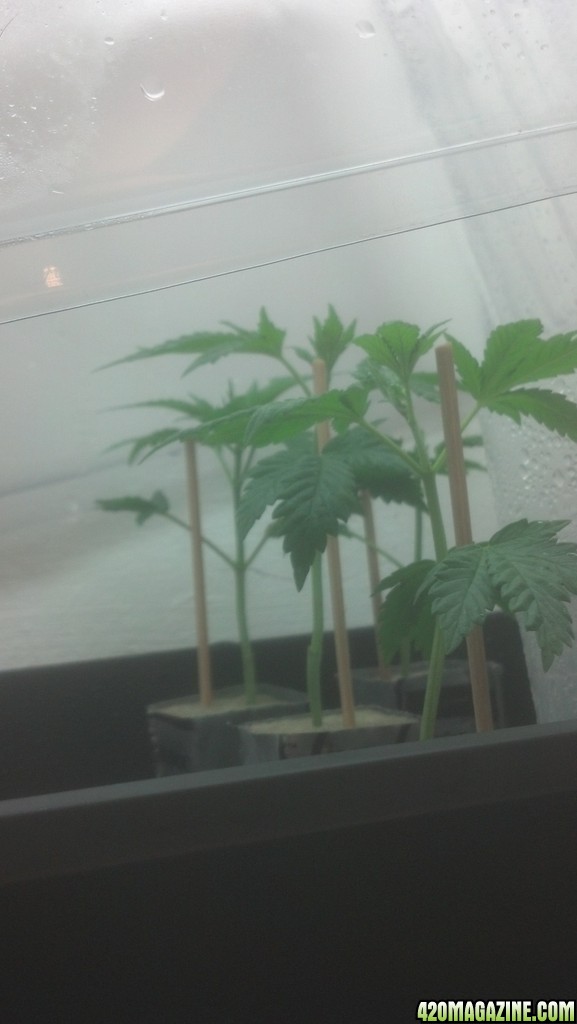
I think I got them just the way I want them. When I took them, they had a bend to them from when they were on the "cultivar". this bend increased from heat and moisture weight, so I added a length of BBQ skewer to the cube and rested them on it to correct that. I also did cut a few of the lowest leaves to alive their stem and they also corrected. I noticed that they do better (moisture wise) when I moved them closer to the bubbler bowl which I have running constant. The bubbler keeps a light coating of mist on them. One thing however is that I cant figure out how to program this timer I got from the hydro store. Maybe I'll take a ride up and ask. Do you guys know?

Hydrofarm dual outlet 7 day digital timer
IMG_20130819_051241_938.jpg


Right now I need to set it for 18/6, but after I get the "cultivar" to harvest, I will need to set it to a aeroponic spray schedule. At the moment I have 4 clones and 5 planted seeds in cubes, all of which I plan to grow out hydroponically. Once root form to a decent extent, I put them into a cheap DIY bubbler system under this T5. I plan to add two more T5 to that cloner veg room. I do need to figure out how to fix the major light leak I have between the top and bottom room as there is a PC fan mounted over a 4" hole, and once the light flips, this will be a big problem, but I still got some time. I will be needing a smaller clone dome as the one I have is just too big. At any rate, here are some pics. Apologies for continuing to use the cellphone cam. I got my good camera here, but it's data wire is MIA and I dond have a card reader on this PC, so it's what I have to use till I can get my hands on a SD/USB card reader.

IMG_20130819_110808_083.jpg


I need to get a pH pen, cause trying to decipher this adding and subtracting color is too much of a gray area for this guy

IMG_20130819_111313_967.jpg
IMG_20130819_111316_340.jpg
IMG_20130819_111330_490.jpg


The mom was drooping BIG TIME today. I kinda felt that a feeding was needed yesterday, but let it go for just a bit longer b/c i started to foliar spray yesterday as well and hoped that would get her through another 24.

IMG_20130819_111340_466.jpg
IMG_20130819_111651_945.jpg
IMG_20130819_111706_400.jpg
IMG_20130819_111716_256.jpg


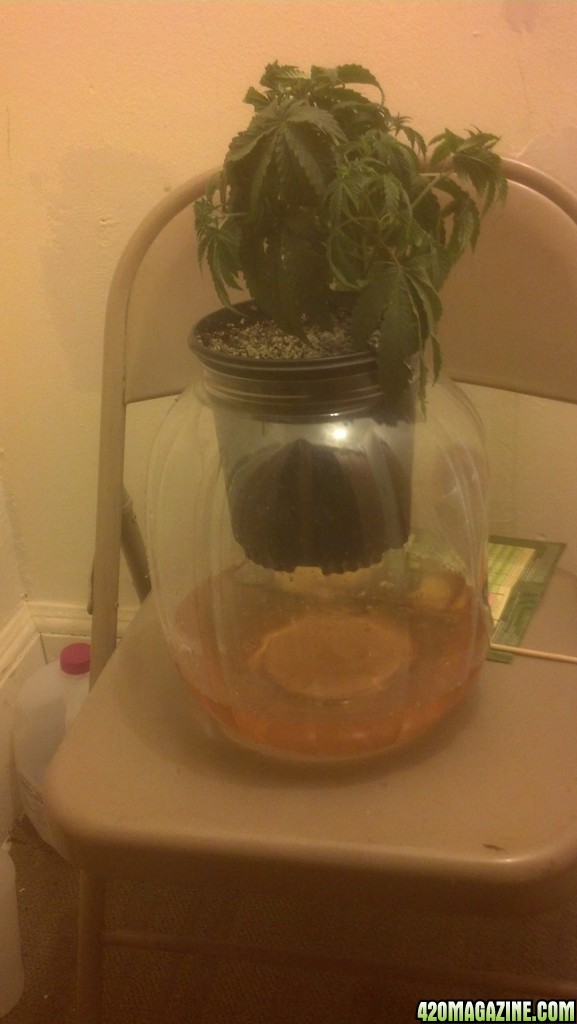
I really like this clear snack jug I have. the 6" pot fits perfect and I am able to see exactly how much drain off I have and have something to test if I want to check the pH or PPM.

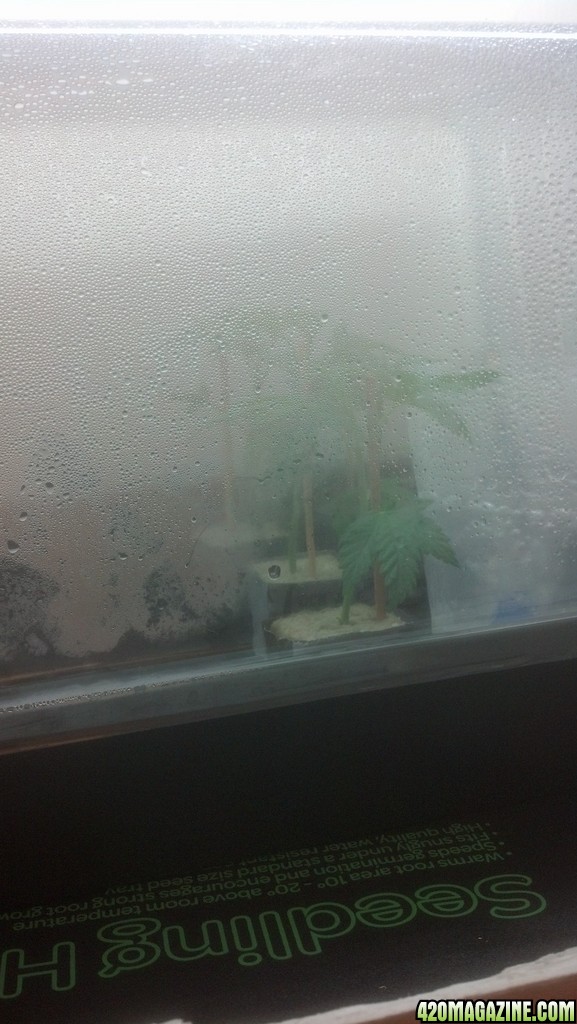
When I opened the cloner, I was very happy to see this.

IMG_20130819_112232_114.jpg
IMG_20130819_112244_256.jpg
IMG_20130819_112257_079.jpg
IMG_20130819_112329_319.jpg
IMG_20130819_112347_807.jpg


I readjusted one of the supporting stakes, but it really didn't need it. I gave each of the 9 cubes a little squeeze to drain the excess water collected since last squeeze. That also gave us some time to exchange breaths with one another, and to exchange the air in the dome.
 
Thank you John for your effort. I should have mentioned that I found that same PDf last night, it's the same instructions that came with the product. Maybe I was just too tiered to read and comprehend it then as I was burning the midnight oil. I'll give it another read and try to program it again with something insignificant plugged into it.
 
Another update. This is just really to appreciate the difference between a cellphone cam and an actual digital camera as I got mine back. Clones still look good but I notice a wet shoe kind of odor when I lift up the dome to swap air and get pics. Maybe I should partially open one of the breather vents on top? The donor plant looks pretty good, save for a few badly discolored fan leaves. I already cut off 2 and might go back for the other 2 in another day or so. the silica spray (also a little in last feeding) appears to be delivering as pliability and rapid recovery are evident to me. I spray about twice a day with the oscillating fan off and the light about a foot above the top. this seems to be a happy medium, though I'd like to lower it again to see if I can tweak that medium just a bit more. Here's pics;

DSCF11091.JPG
DSCF1110.JPG
DSCF11111.JPG
DSCF1112.JPG
DSCF11131.JPG
DSCF11143.JPG
DSCF11152.JPG
DSCF11163.JPG
DSCF11173.JPG
DSCF11184.JPG
DSCF11193.JPG
 
I found why there was an odor (hopefully in time too). The bamboo sticks I was using to correct the clones got mold on them. I removed them and slightly opened the 2 slots on the top of the dome. I also turned off the heat mat yesterday and checked the temp this morning. It was 82 which I think is fair. Also, 3 of the 5 seeds hatched. The mother plant (still a maybe a father) is doing ok. A bit more discoloration and burn on the leaves, but if I had to guess, I'd say the plant is targeting those leaves rather than let the newer growths be affected. Just a guess though, so I will flush later today adding only Silica and wash out the soil some. Hopefully it will turn a good stable green in the days to come. Also will be building a ScrOG net today or tomorrow, I just have to get some slip corner joints. I want to start super cropping and LST really soon to get ready for the screen. I'm shooting for an even 18"-24" square canopy. Even if this turns out to be a male, I can learn at least that much, and hopefully 1 of the 3 seedlings is a female that I can take into flower, but that's of course down the road. Here's pics

DSCF11203.JPG
DSCF11231.JPG
DSCF11244.JPG
DSCF11252.JPG
DSCF11263.JPG
DSCF11273.JPG
DSCF11284.JPG
DSCF11291.JPG
DSCF11301.JPG
DSCF11313.JPG
 
I found why there was an odor (hopefully in time too). The bamboo sticks I was using to correct the clones got mold on them. I removed them and slightly opened the 2 slots on the top of the dome. I also turned off the heat mat yesterday and checked the temp this morning. It was 82 which I think is fair. Also, 3 of the 5 seeds hatched. The mother plant (still a maybe a father) is doing ok. A bit more discoloration and burn on the leaves, but if I had to guess, I'd say the plant is targeting those leaves rather than let the newer growths be affected. Just a guess though, so I will flush later today adding only Silica and wash out the soil some. Hopefully it will turn a good stable green in the days to come. Also will be building a ScrOG net today or tomorrow, I just have to get some slip corner joints. I want to start super cropping and LST really soon to get ready for the screen. I'm shooting for an even 18"-24" square canopy. Even if this turns out to be a male, I can learn at least that much, and hopefully 1 of the 3 seedlings is a female that I can take into flower, but that's of course down the road. Here's pics

DSCF11203.JPG
DSCF11231.JPG
DSCF11244.JPG
DSCF11252.JPG
DSCF11263.JPG
DSCF11273.JPG
DSCF11284.JPG
DSCF11291.JPG
DSCF11301.JPG
DSCF11313.JPG

The reason plants will show at the bottom of the plant first is that its closest to the root system....ergo it gets what the roots are getting before the top of the plant does. One thing I never do is to remove these lower affected leaves. I have a theory that if I over fertilize, the lower leaves should take the brunt of the burn and I'll get a quicker recovery....it's just my theory.....but it works for me!
 
That's logical, thanks!!
 
Update now and pics later; 8/23 10:30am

yesterday morning I noticed that my grow area was inundated with a strong odor. The dryer sheets over the exhaust vent were no longer cutting it so I went to the big hardware store and got some supplies to build my ScrOG. While there I also got a 4" PVC union/elbow and 2 - 4" PVC drain grates. I also went to the biggest department store and picked up a box of 4 carbon pre-filters. I cut 2 prefilters for each side of the elbow and fitted them into the grates. I then taped a grate into the union/elbow and filled the whole inside of the elbow with some of the activated carbon I got some weeks ago. With the carbon, came a small (maybe 6" x 6") mesh bag with a zipper, so I filled it with the carbon to about 90% and put the bag in the elbow and taped the other pre-filter packed grate into the other side of the elbow. I then fitted that onto the exhaust of my box. Due to the fact that I vent the lower 5' veg/flower room through the upper 2' clone room, the carbon filter created a good amount of back pressure trapping in a lot of the heat. throughout the day, heat climbed to a little over 90° in there and the clones and seedlings wilted pretty bad. So last evening I removed the elbow to let the exhaust mainline right out. Early this morning, I removed the PC fan from the active intake and put it up top, just before where the elbow is to be mounted. I taped all the air leaks with duct tape and put the elbow back in. Temps have subsided to optimal levels. My box now has a passive inlet on the box floor (9" above the actual floor), an active through hole on the ceiling of the veg/flower room (also the clone room floor) and an active exhaust at the upper most point of the front wall and the elbow on the exterior of the front wall.

Also today I am building a flood and drain/DWC out of 2 sterlite boxes. The total dimensions are 8" x 12" x 14". I will pick up some 3" net cups or smaller for the clones and seedlings to have somewhere to continue life after the clone dome. I also intend to transplant the donor plant one final time to a 12" pot with more FFOF and 20% more perlite. The F&D will be about an inch or two taller than the 12" pot. This will work for the ScrOG that will be about 12" above that. LST for the donor plant will begin this weekend and super cropping soon to follow. I will let the top reach, but not exceed the screen to give time for the lower growth to catch up. The spraying of the silica water, in conjunction with the last flush seams to have stabilized the problems I've been having. I will do one more flush with about 3/4 of a gallon of pH correct water with silica only added. The silica appears to have given the plant some elasticity as it is opening up under the weight of the small leaves on ends of branches. I feel this would not be playing out this way if no silica was added. Once I have the F&D built and in operation, the donor transplanted to the 12" and both under the ScrOG net, I will take pics and do another update. Also, another seed popped out of the rockwool this morning (or last night). That is 4 out of 5.
 
Skybound, i believe you missed your calling. That reflector design was a bit of architectural wizardry. Plants are looking well & better. +reps
 
I got the net built and the hydro (aero, flood&drain, DWC) built and installed with 4 seedlings potted and nutes mixed and spraying, air lines ran etc etc. I am now going to transplant the donor into a 12" pot and get that watered. then I'll put it back in the box, find a spot for the fan, put the net up (which I think you guys'll love) and lower the light back down. My room mates are having a day party so I'm on egg shells all afternoon. When I get everything all set up, I'll try to sneak some pics, but I may have to give a pictorial design of the hydro cause getting it to where I can get good pics might be too difficult. I took some last night, but I had the shakes from being up so long working on everything, so I deleted them. Pics and concise update to come....
 
hi mate, looking good,

you know the seedlings have popped well they need to be out of the dome now, the high moisture will stop them developing and they wont turn a green colour as quick, so now their sprouted they need to be out of the humidity dome and left in normal conditions to develop, leaving the dome on will make them stretch and will keep them a very light green colour
 
Transplants update 8/24 Day (didn't count them up yet)

So I got about as far as I want to at this time. The seedlings are out of harm's way with the build up of heat in the loft. The main room is a much more temperate area. The donor plant has been transplanted as well. The soil comp has less perlite added this time and I will use less added food for the next couple weeks. Even with the runoff collector (about 4" riser), the plant is still roughly 4" shy of where the ScrOG would be so I will wait to put it up. The hydro boxes took a little finesse to get in and air hooked up. Thankfully I left a FPT plugged just under the lid so I can connect a barb and hose to drain the res when changing nutes b/c that would otherwise be an extremely tedious task. The clones looked a bit tore up so I removed the bottom most leaves as they were dying and pulling the plant down. I also removed to things with motors from the clone room/loft so there's less heat generated locally. Finally, I made the mistake of mixing nutes in @ nearly full strength. Hopefully the added silica and Great White Mycorrhizae will help the seedlings get through the monstrous plate. Here's some pics, I will comment as I go.

DSCF11433.JPG

Here's the complete view with the donor transplanted and the hydro. The root mass of the donor was far more advanced than I thought. It was not that long ago that I transplanted it from bad soil to FoxFarm Ocean Forest, and in the process, I accidentally ripped about 80% or more of the roots off. Sorry I didn't get a pic of that, but the roots were swirled mostly at the bottom and mostly hair like with a bit of yellowing from water retention. Maybe I'll look into getting some H2O2 to add.

DSCF11444.JPG
DSCF11454.JPG

Same shot, just a different camera mode to block some of the light. Also pictured is a closer view of the repotted donor and small hydro setup. FYI, those are 3" net pots with clay balls. Each tote holds 3 gallons and are Rubbermade Roughnecks.

DSCF11463.JPG

Top/angle view of the hydro. It's really Aeroponic, but it can and does function other ways so I just summarized by saying "hydro".

DSCF11472.JPG
DSCF11484.JPG

Sneak peak under the hood and the hood all the way ajar. The 2 closest sites are waiting to be filled. Of the 4 clones, if they all survive me, I will add the 2 strongest looking ones to the remaining sites. I'll have to review my posts to see, but I think it's been about 7 days since I took the cuttings and not one of them has rooted yet, so keep your fingers crossed for me.

DSCF11493.JPG

Random zoom in shot of the 2, Orga v. Hydro. Orga has about a 2 month head start.

DSCF11504.JPG
DSCF11513.JPG
DSCF11522.JPG

3 views of the ScrOG net I built. Not pictured are the 24" legs. Initially I intended to use eye bolts all the way around, but at $2.11 per pair, that wasn't happening. I opted to use 1 at the beginning and end of the string. This allowed me to tie one off and pull all the slack out all the way through, then tie the other end off. Of course once I did that, some slack magically appeared which I anticipated, so the eye bolts took that back off. F$%^ OFF Murphy's Law!! You - 0, Skybound - 1. I do have to recut and restring it all (slightly too big), but that aint nothin but a chicken wang!

DSCF11532.JPG

My first super crop bend. I wasn't able to do the roll, but I pinched the circumference all the way around till I got a few pops. I will do more in about a day or 2 once (S)he's acclimated to the new environment.

DSCF11542.JPG
DSCF11552.JPG

And finally the clones still fighting the good fight. they appear to have stretch slightly, and color still looks nice to me, but still no roots. I spray them now more frequently that I took the air stones from the water bowl. Hopefully I see roots soon.
 
DP, I read your mind brother. Thanks!! +REPs for lookin out for the cook out.
 
Sorry, gotta get this into record.

2 gallons of distilled water in res
380 PPM, pH is a low 5.0 (Gotta bleed some off then add stilled water) also need a pH pen. Guessing colors is too difficult
0.5 ml GH Armor Si (silica) mild strength
2.5 ml each of 3 part GH Flora Micro, Gro, Bloom
.750 TSP Great White Mycorrhizae root inoculant
Sprayer time is now set to spray for 30 minutes on every even numbered hour, i.e. 6, 8, 10 etc.

Also, whatever happened to the main stem fan leaves of the donor plant is now beginning to occur on the branch leaves as I removed all but the top set of main stem fan leaves, and bonsai'ed the the 2 that remain.
 
Dude, the plants are looking great, the clones are looking great, the DIY light reflector looks straight outta Star Trek, nice DIY scrog net, the new hydro/aero setup is awesome. Good job, I'm sure all your hard work and planning will pay off. +reps from me too, everything's really coming together in your space.
:goodjob:
 
I really wish I had more than 16" x 30" to play with. Potentially 9 plants to choose from, 5 of the same plant. Still looking for more space elsewhere. One more major purchase and I should have everything a little boy could want to build a complete grow room. Blower fan, pH meter pen & RO system, and I'm good to go (somewhere else that is).

Thanks for the kudos SG!! +REPs for positive encouragement!
 
Back
Top Bottom