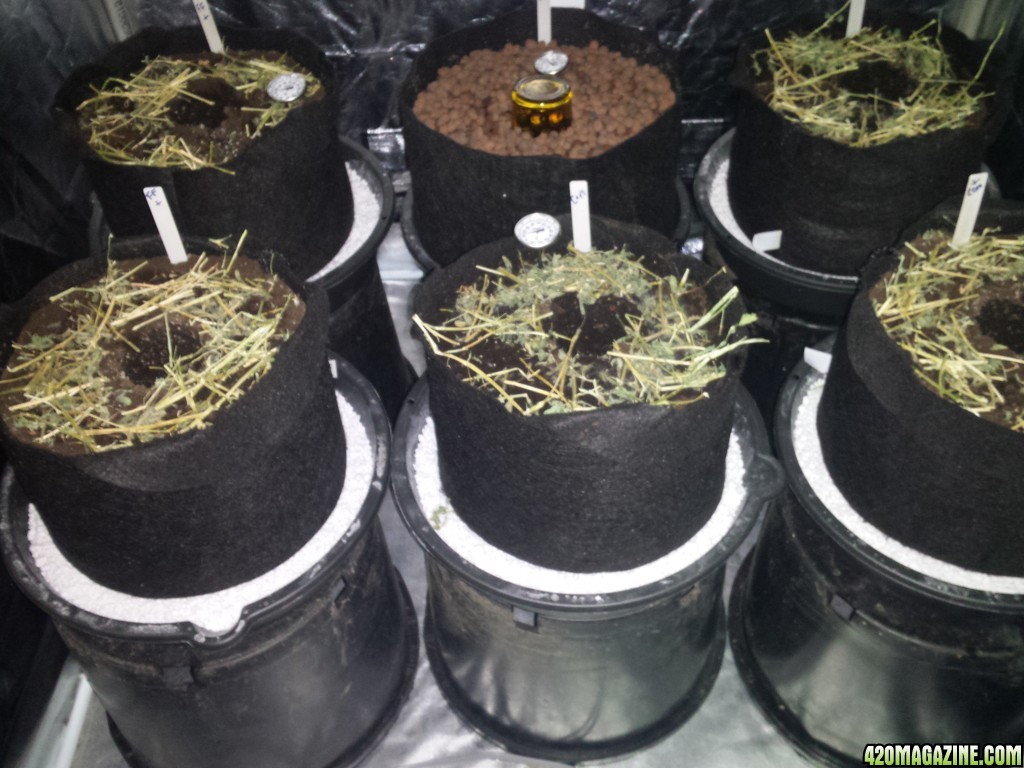
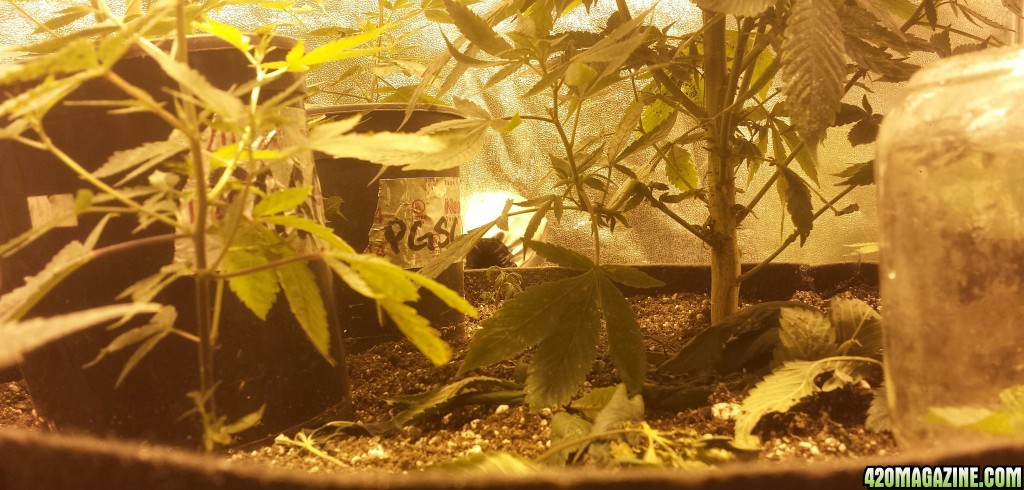
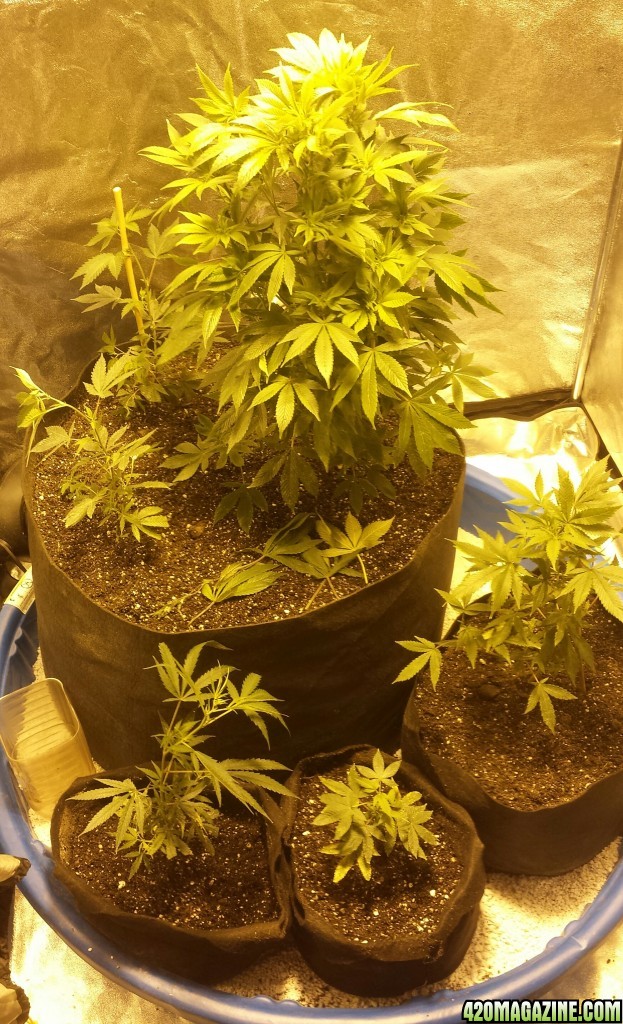
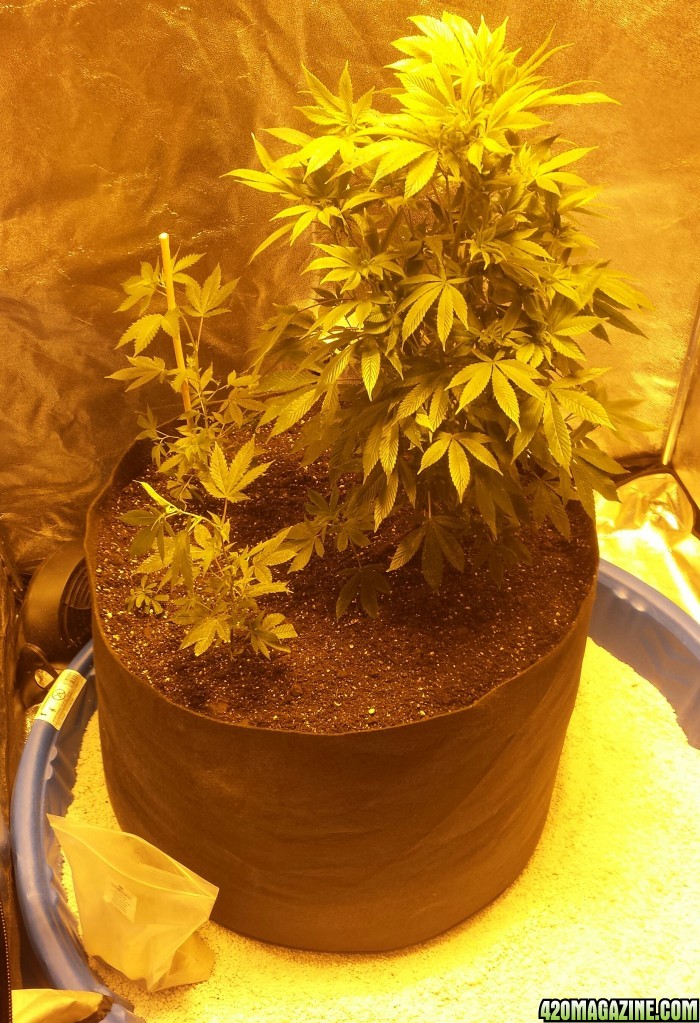
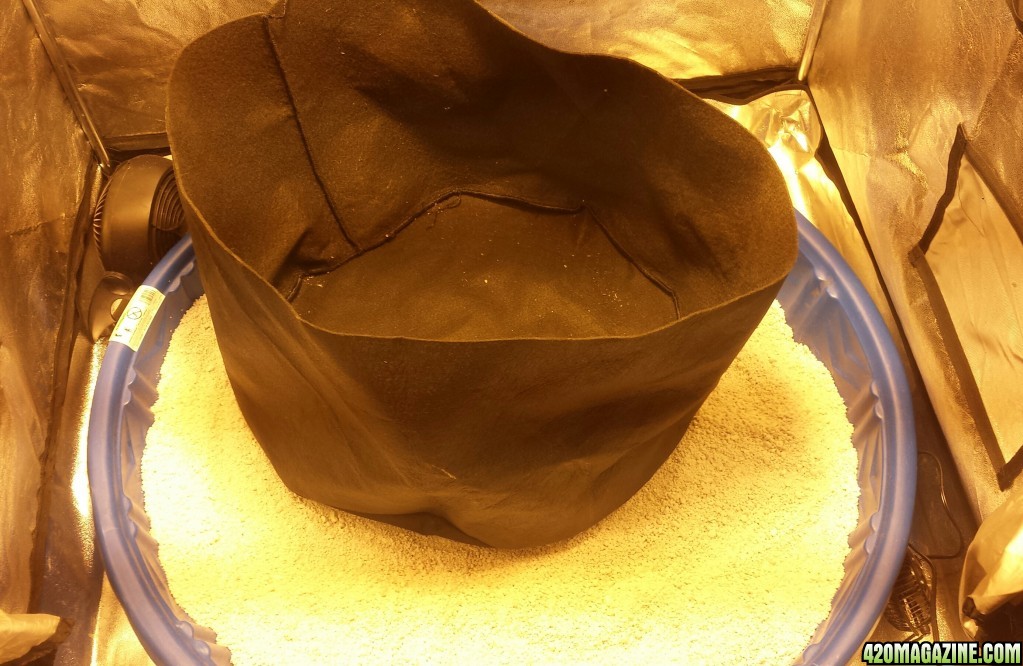
In the middle of my first grow I stumbled onto a thread on another site, posted by one Noobwannb, showing how to set up. SWICK. Watering system. It's essentially a wicking system that has a broad surface of wicking material in a deep basin that your pots sit on top of. The concept fired my imagination and I set up my own to fit my tiny closet. It was one of the smartest moves of my growing journey to date. The smartest was choosing the Clackamas Coots-style Living Organic Soil mix.
Her's a repost of setting my system up, to get things started.
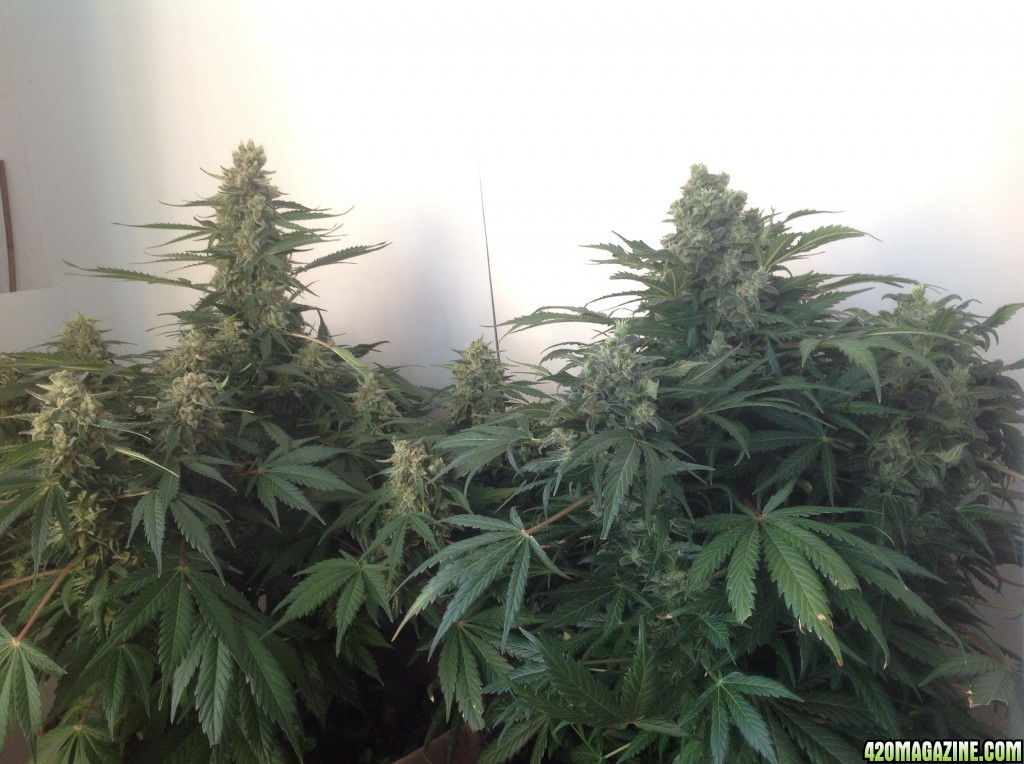
In case you didn't follow my first journal, here they were right before harvest.
Let's have some fun showing off our success and helping others make their lives easier and their plants happier.
Her's a repost of setting my system up, to get things started.
Perlite arrived today!!
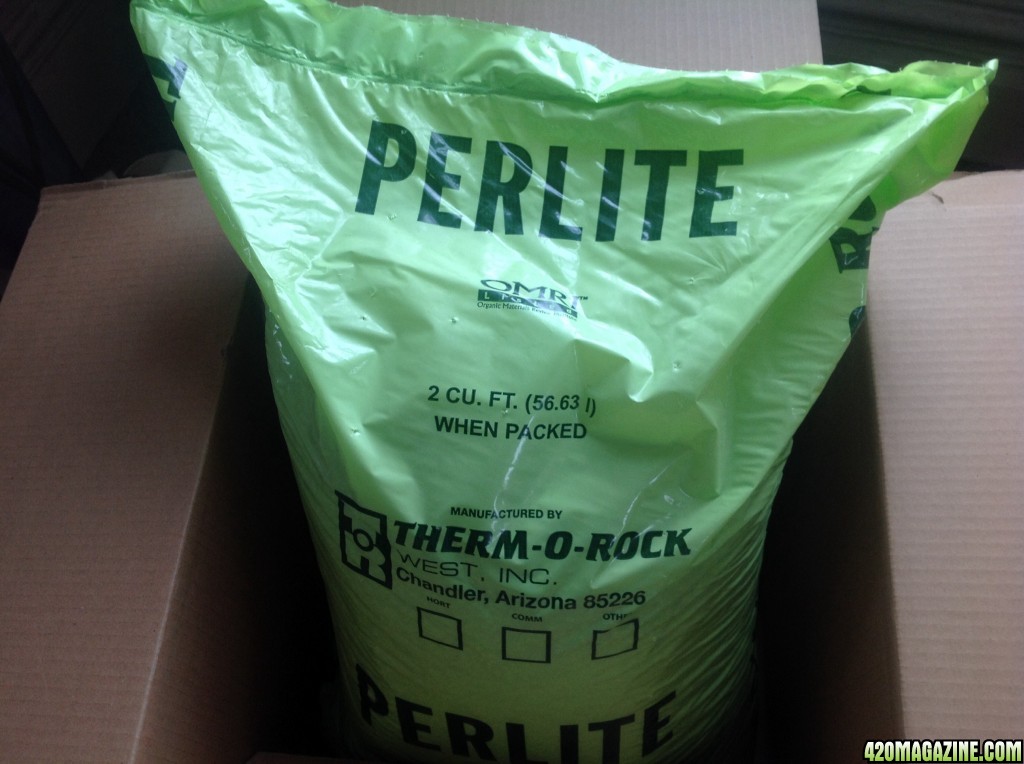
Time to make some SWICKs.
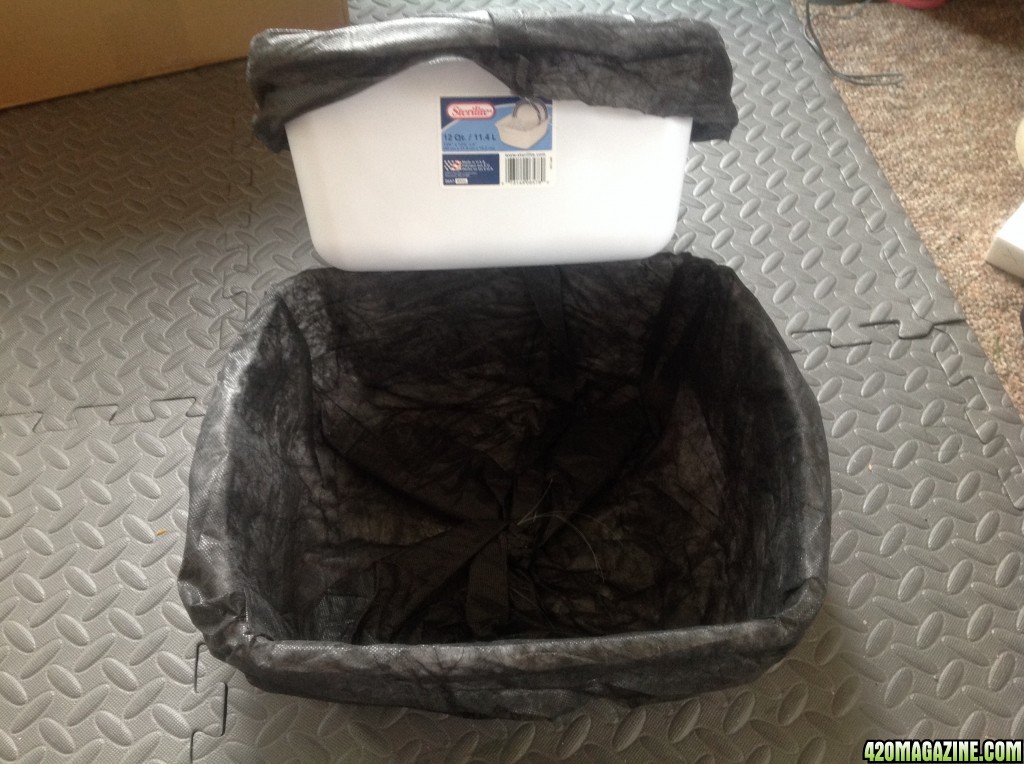
The other day I put together some quick bags to line the basins and hold the perlite. This is altogether unnecessary in my case since my pots are such a snug fit, but extra large liners it will give you the added benefit of having something to cover your exposed surface area and keep algae down. My thought was that if I ever needed to remove the perlite for any reason it would be much easier to simply lift out the bag filled with it than to scoop it out. So I grabbed some garden fabric I had laying around and cut it down to fit the basins I'm using.
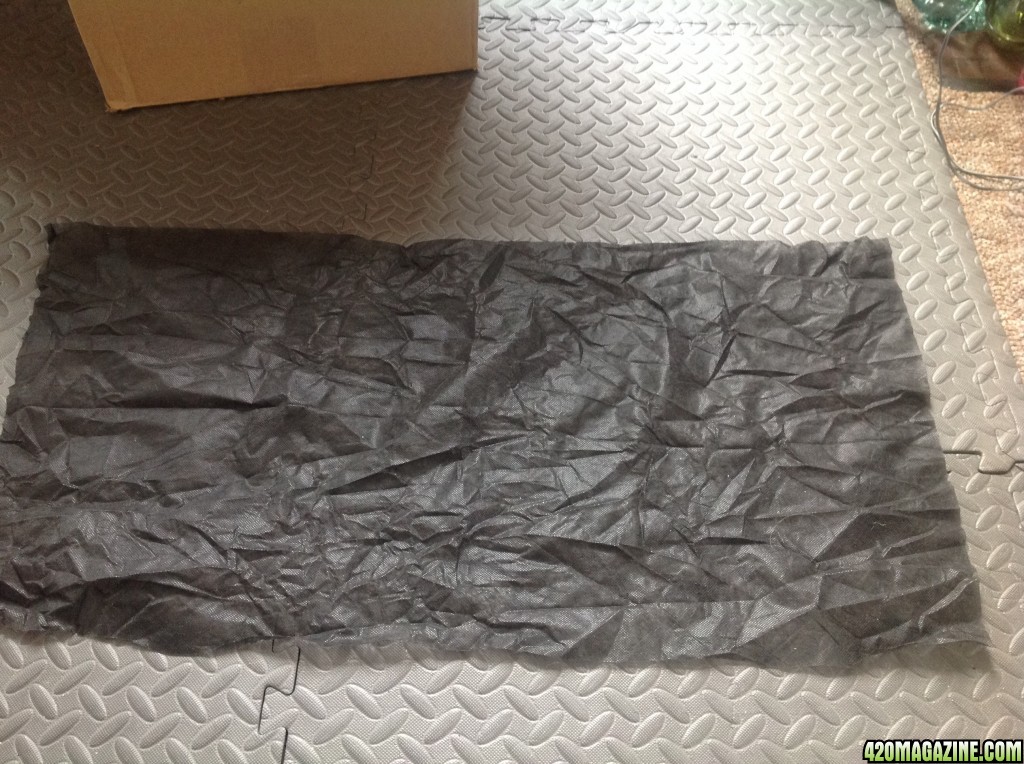
I folded it over and used some fishing line to sew it together.
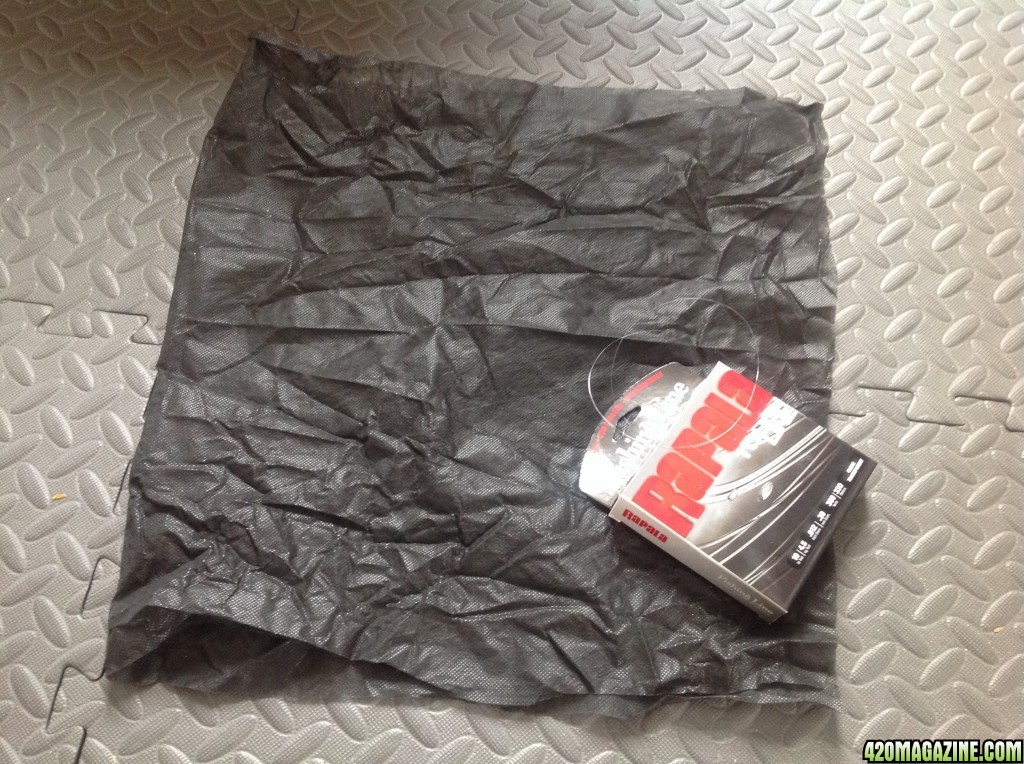
Stitching from the bottom up the side to the top first, I took the time to make this seam sturdier.
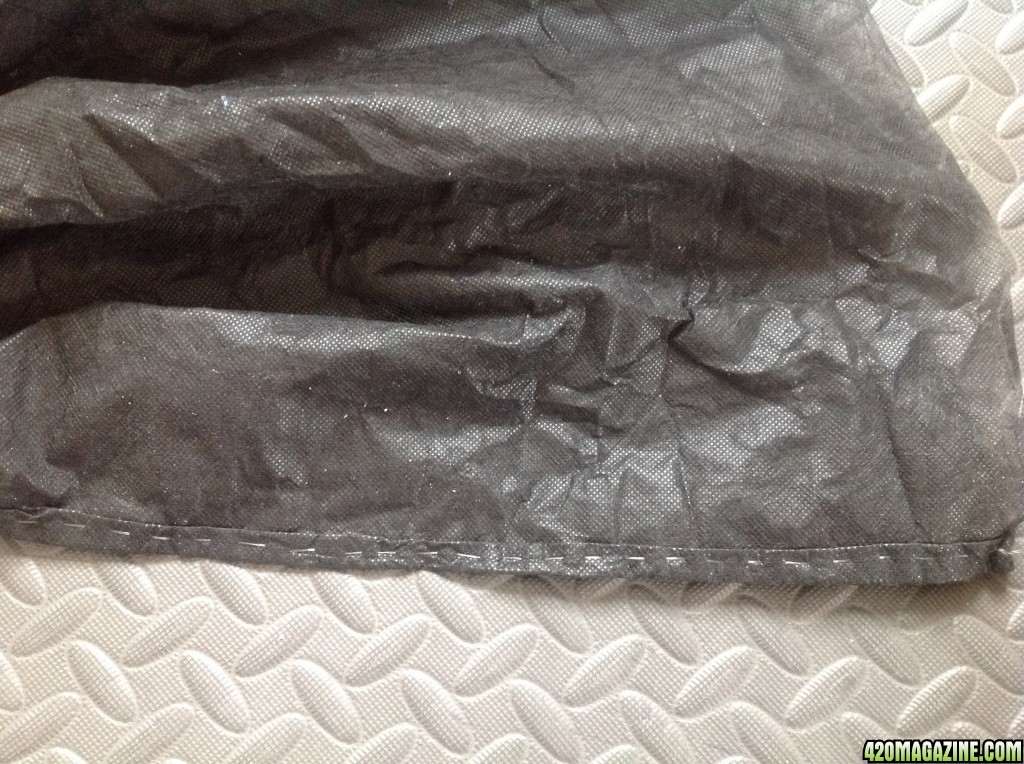
The bottom seam was done with a much looser stitch because I knew I would be gathering it together to tie off and secure the bottom.
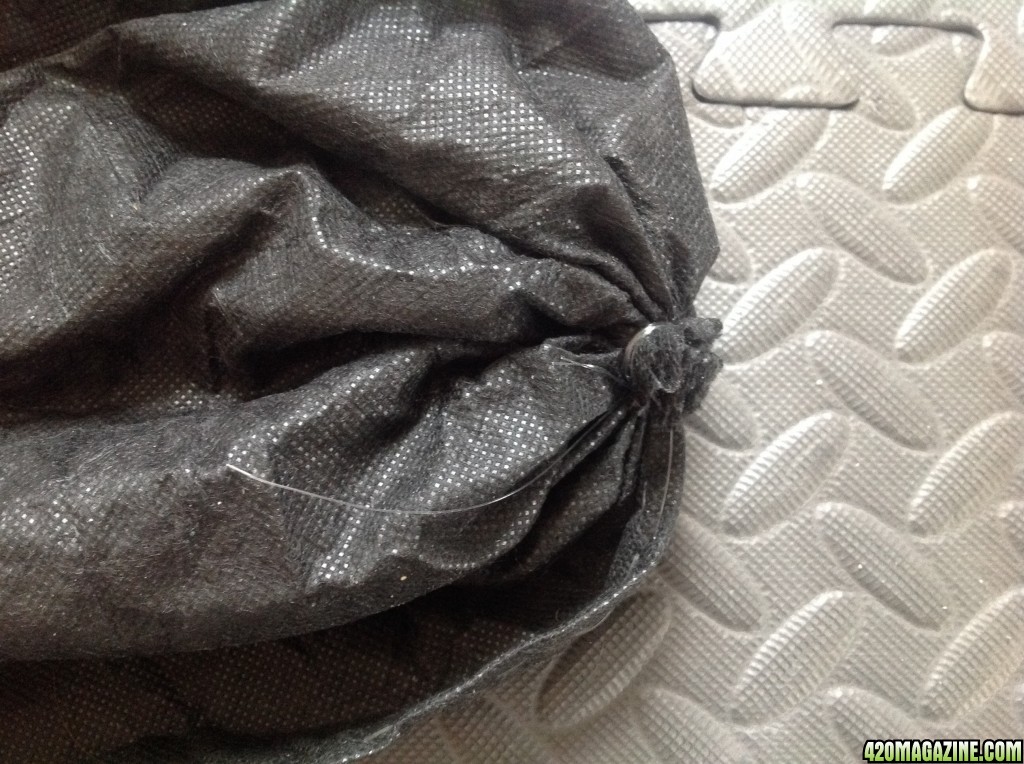
All finished and they pop right into the basins I purchased. Seams to the inside. Two plain wash basins fit the bill perfectly and only cost $2.50 each.
An aluminum pan sitting unneeded in the kitchen served as a beautiful scoop that kept the dust to a minimum. One should be careful with perlite and wear a mask. Most of us don't. I didn't. Be smarter than me.
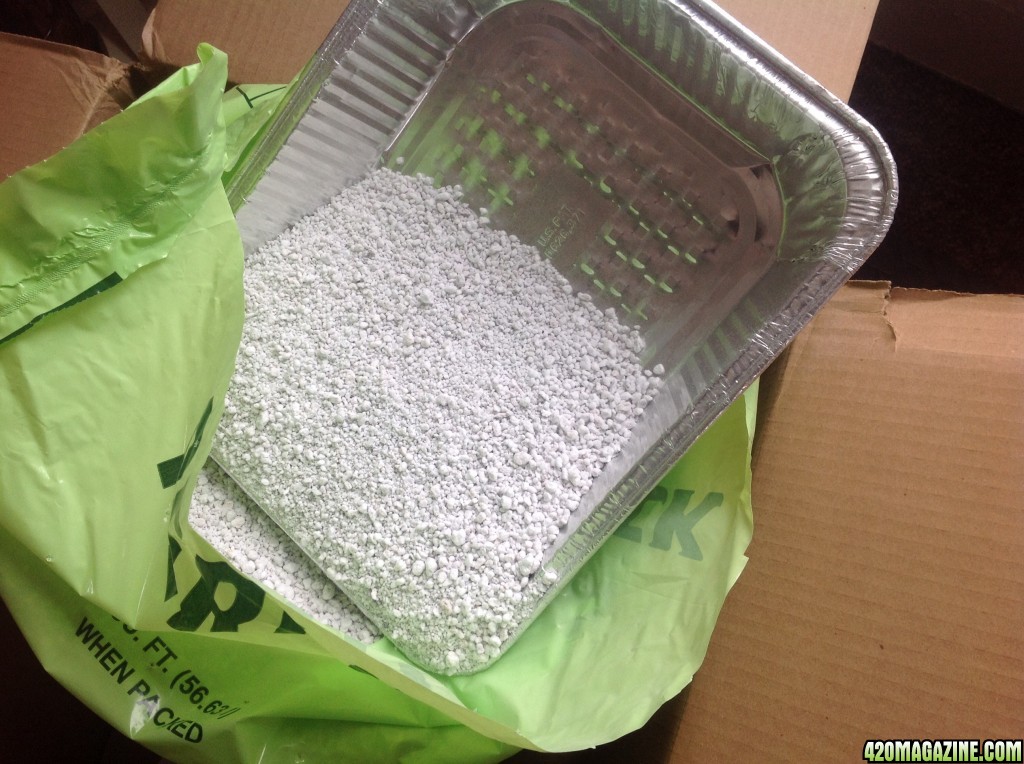
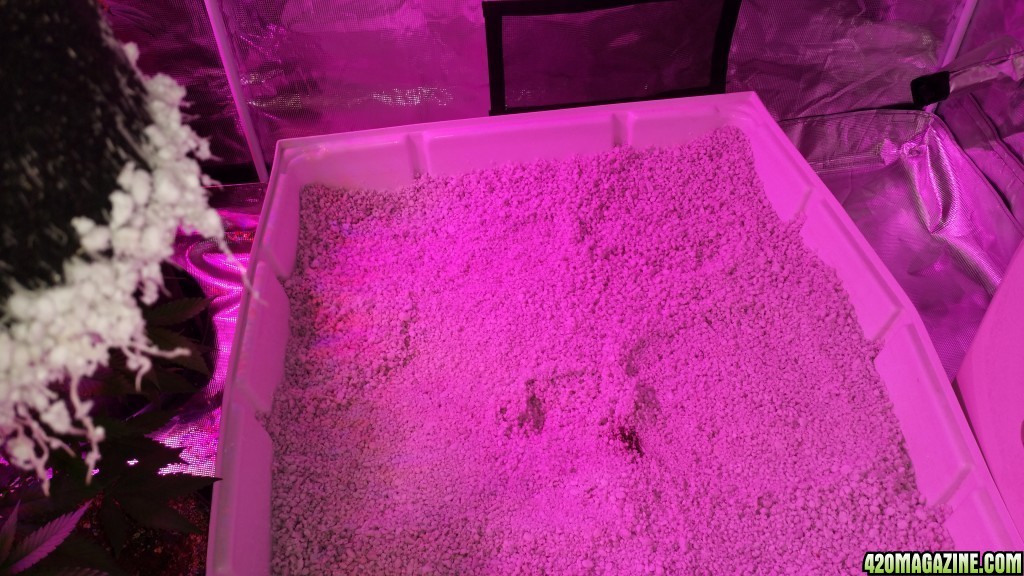
Two basins filled to the brim with perlite. Let's add some rainwater.
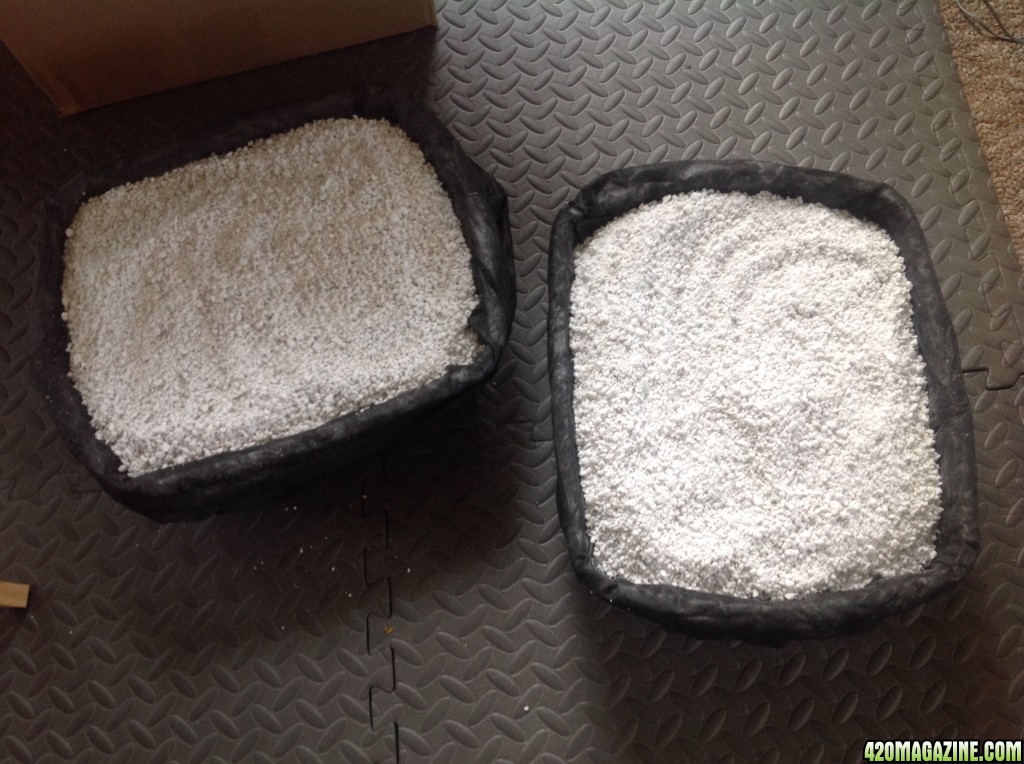
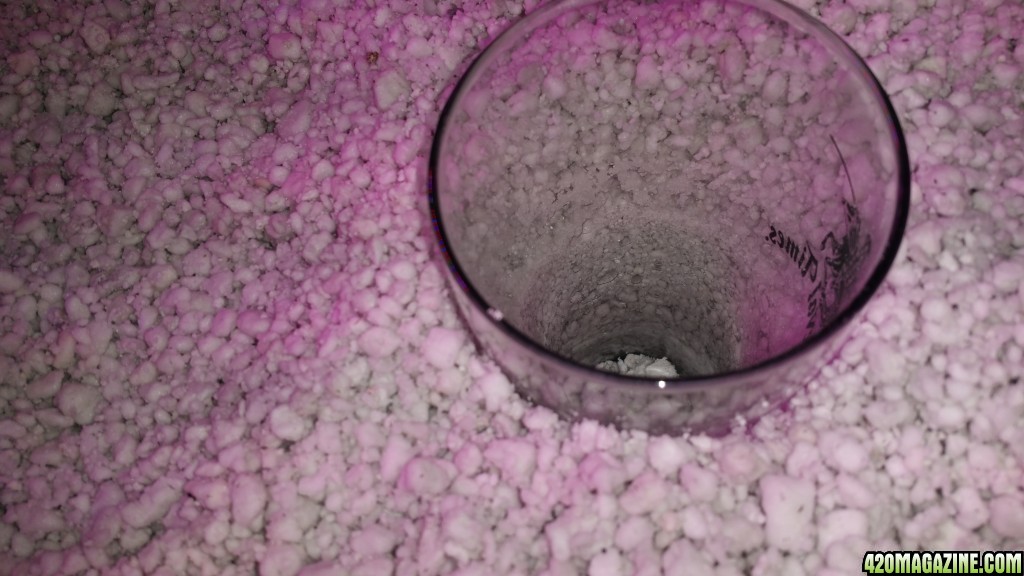
I marked the inside to show me the water level I wanted to come close to. Filled to the top and fully hydrated this will allow at least a 1" break between the bottom of the pots and the water level. It can be lower, but it should never be higher. They took about 5 quarts each before I stopped.
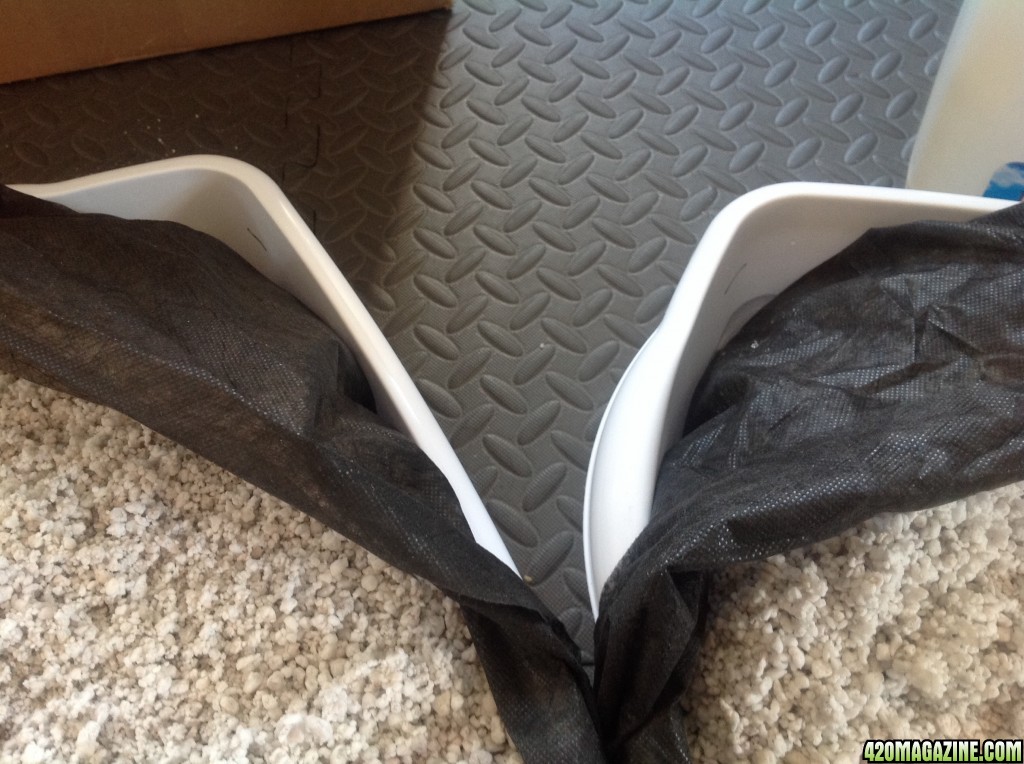
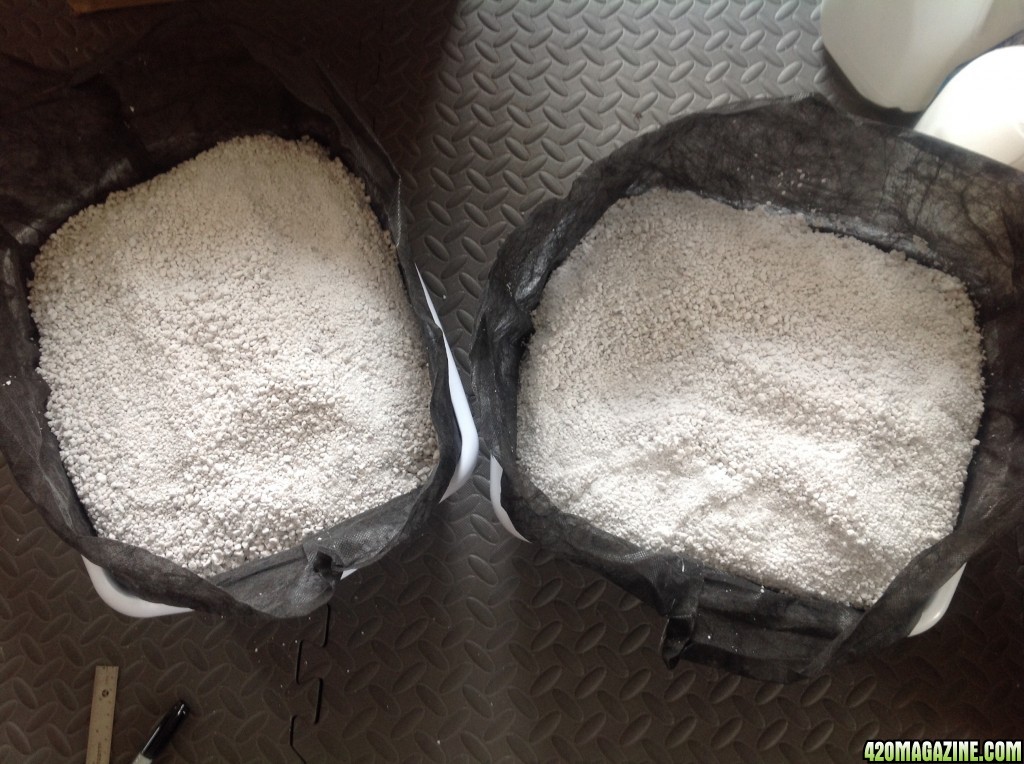
I took the time to press the perlite down into the water to help it settle and get fully hydrated. Then I topped them off with a couple more scoops of dry perlite, pressed it all level and went to have lunch.
When I came back after lunch it was firmly packed and moist all the way to the top. The water level was still below my lines. Time to get them settled under the pots.
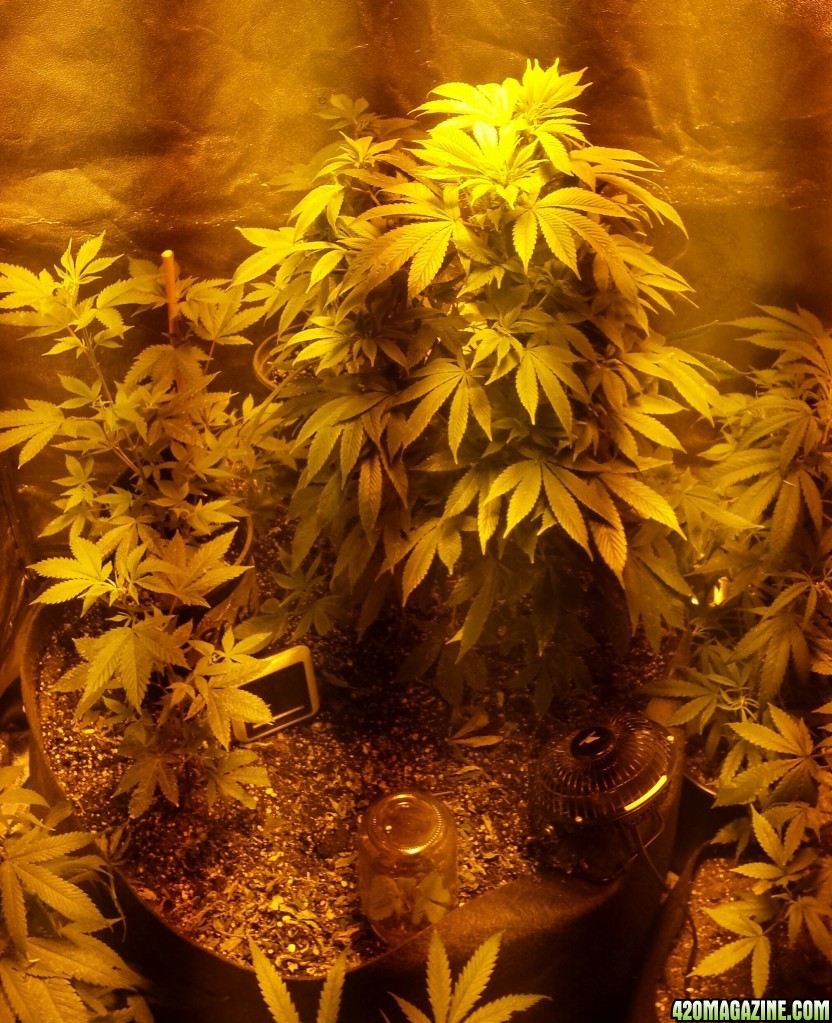
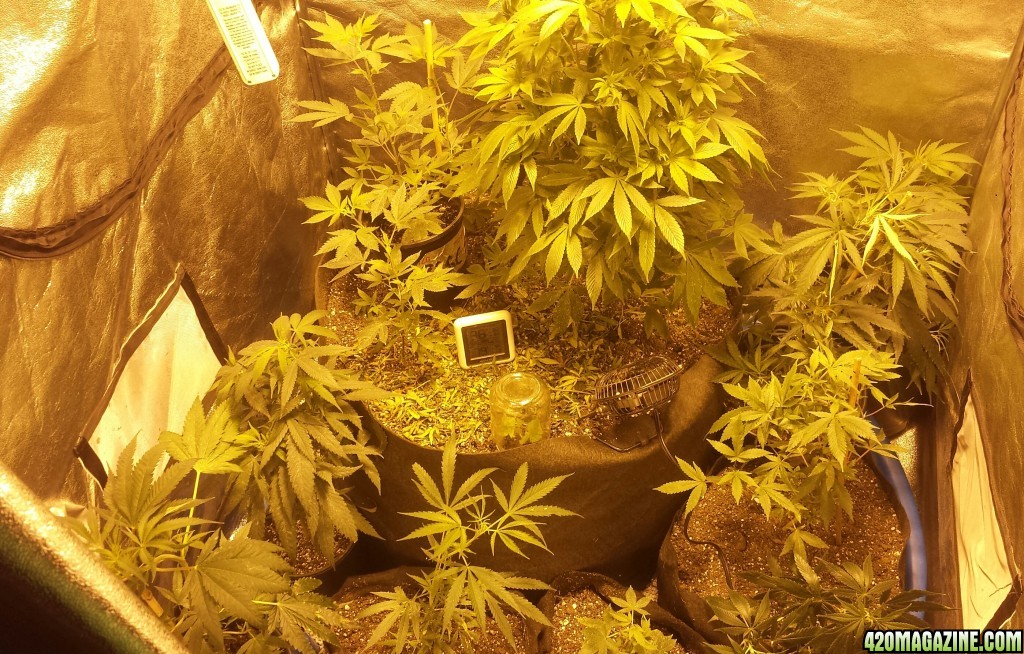
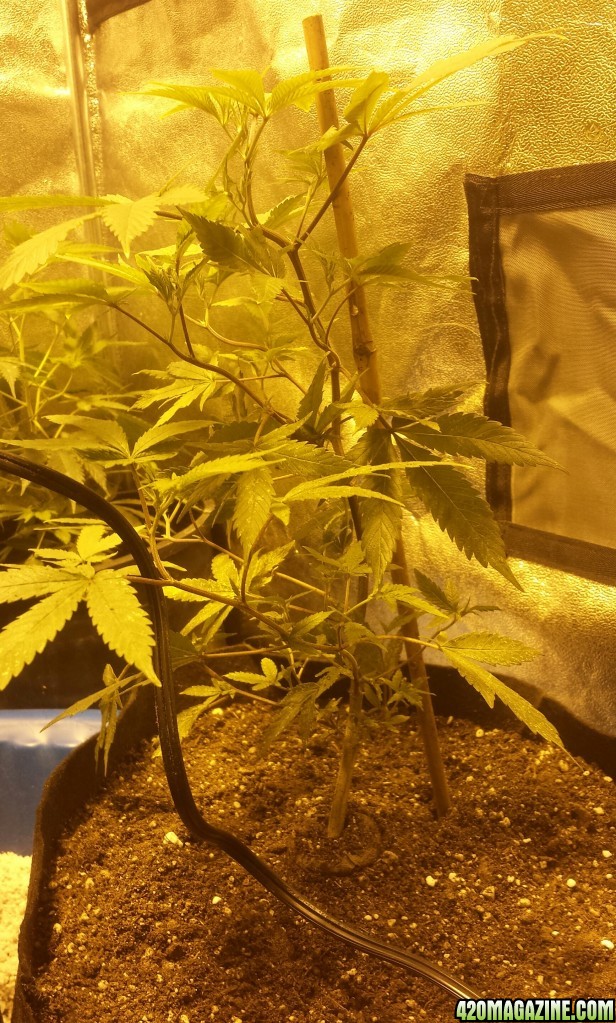
I had to adjust the lights back to the previous count. They will work better with y-adapters and I can pick some up tomorrow. Facing that reality means I have to make arrangements for a couple power strips along the bottom to add more bulbs. That works for me. For now, there sure is a lot of light in this closet and the girls look happy as can be.
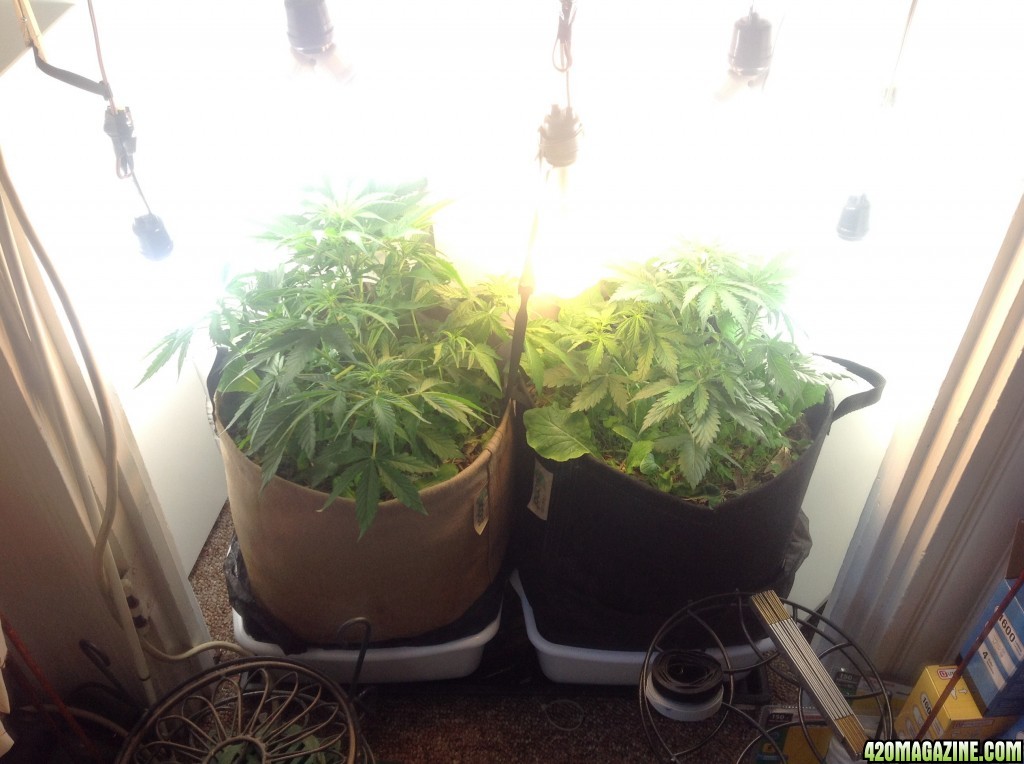
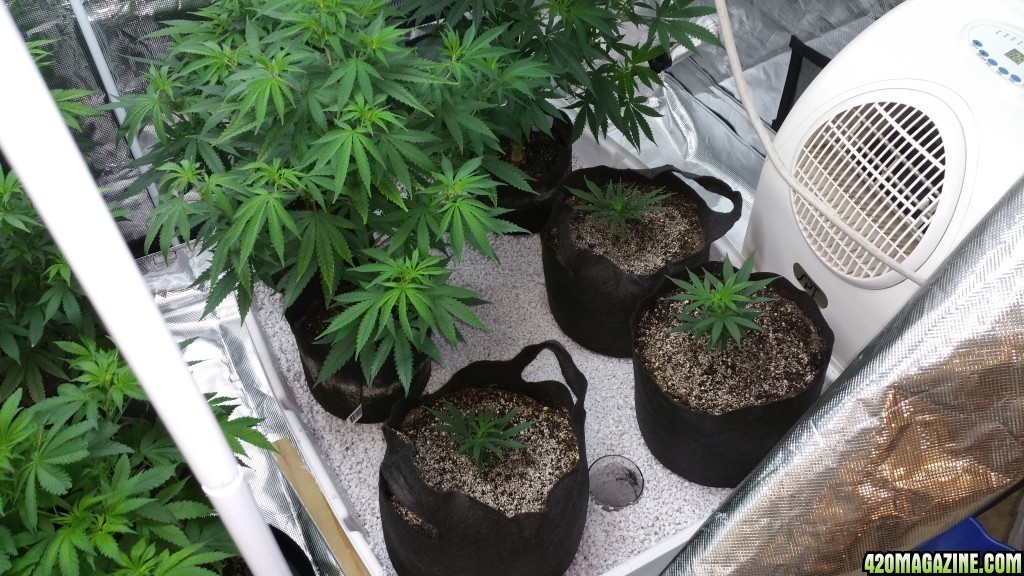
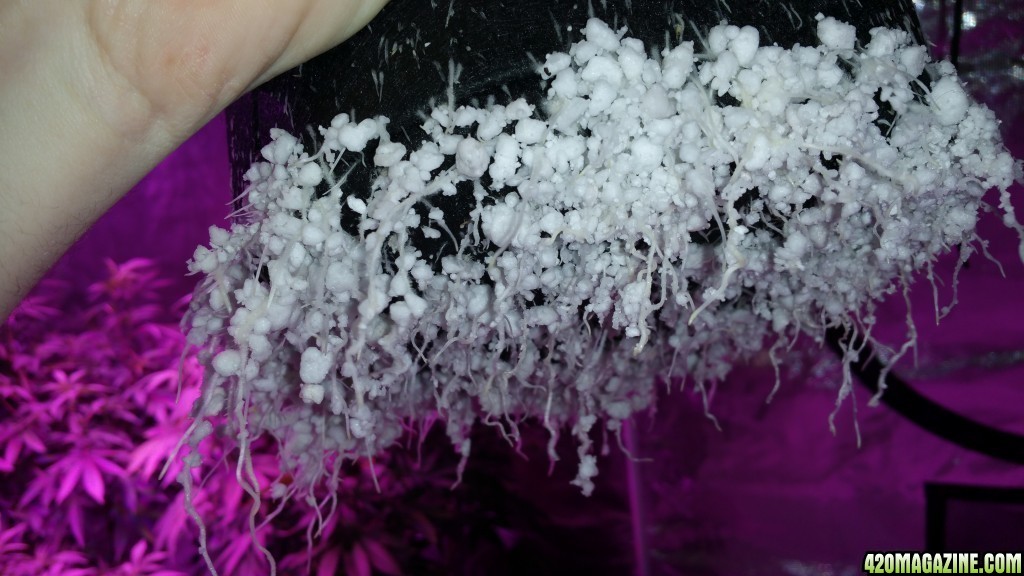
The perlite makes it easy to level the pots with a simple shift. The pots fit right on top, so there shouldn't be any concern with algae buildup on the perlite. The weed blocker cloth helps with that. You can cut the liner big enough to cover over any exposed surface when you have the luxury of space and a larger container. It will still be easy to rotate the pots that 1/4 turn every morning.
I'm going to give them about a week to adjust to this new watering approach and then give them a nice enzyme tea. My first attempt ever at sprouting seeds.
I'm wanting that LED light. Patience girl. All things in their right time.

In case you didn't follow my first journal, here they were right before harvest.

Let's have some fun showing off our success and helping others make their lives easier and their plants happier.


