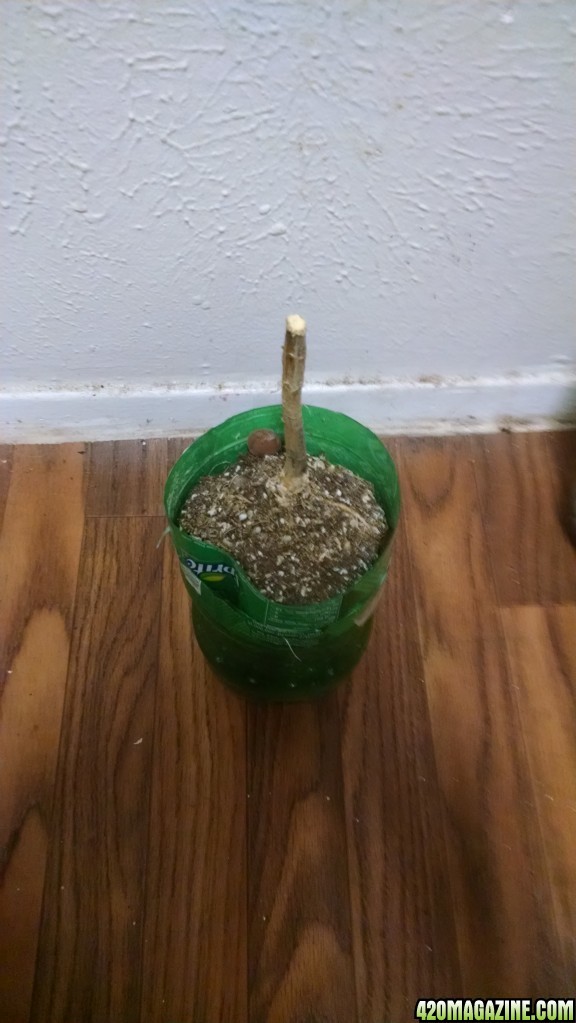
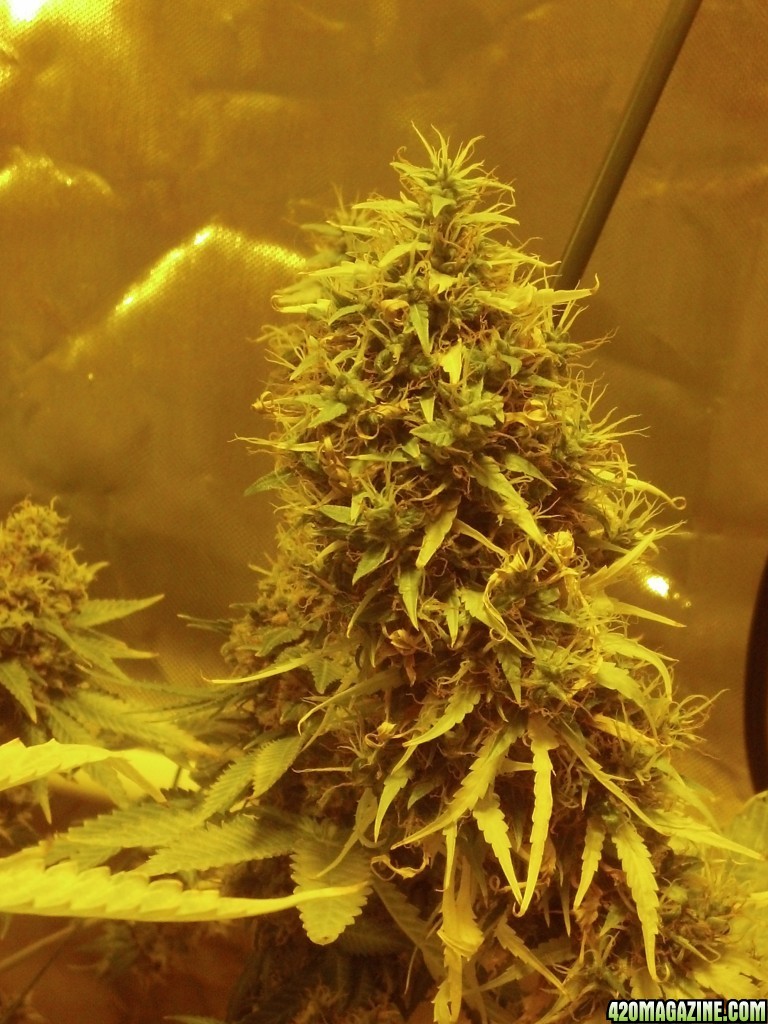
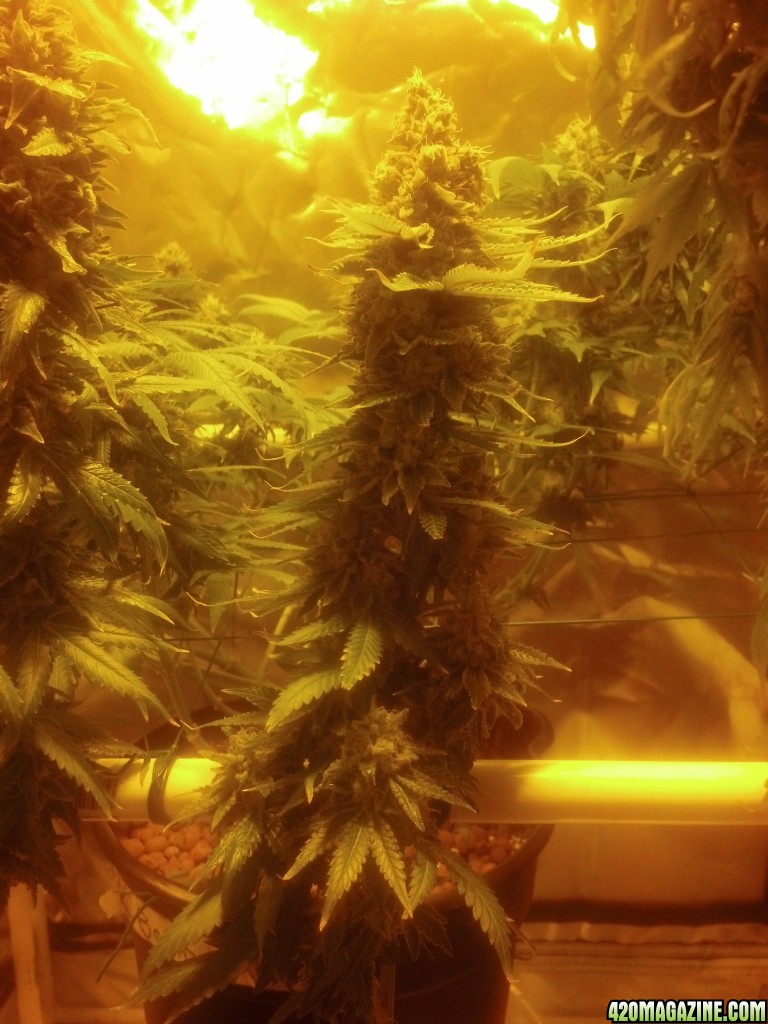
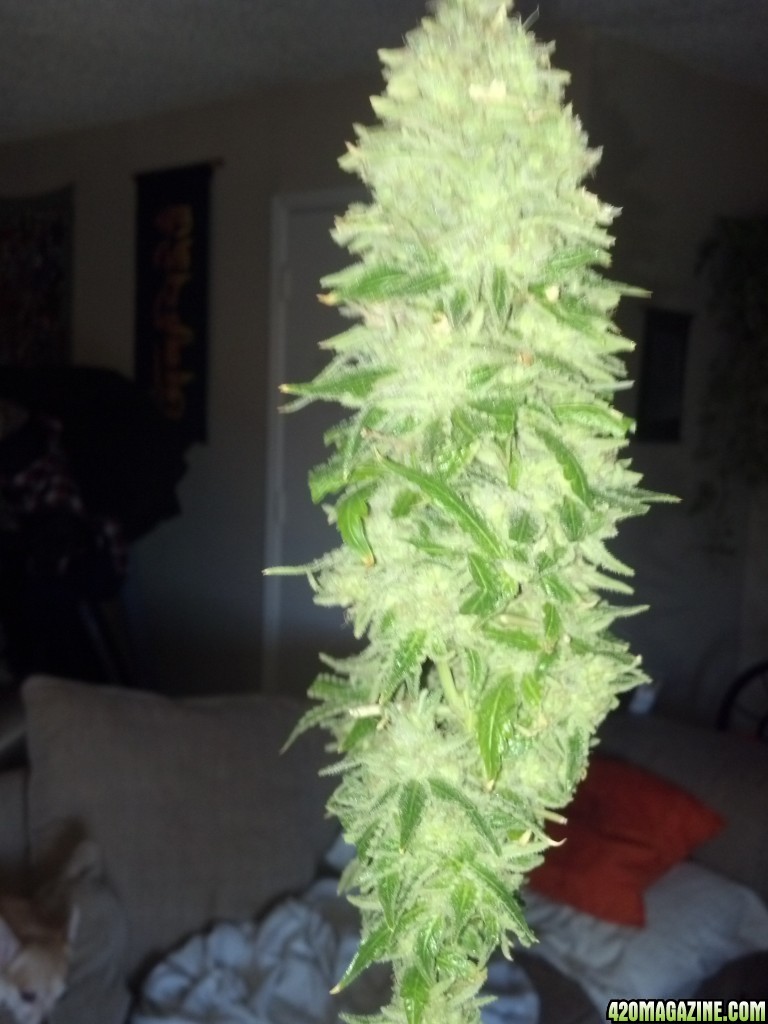
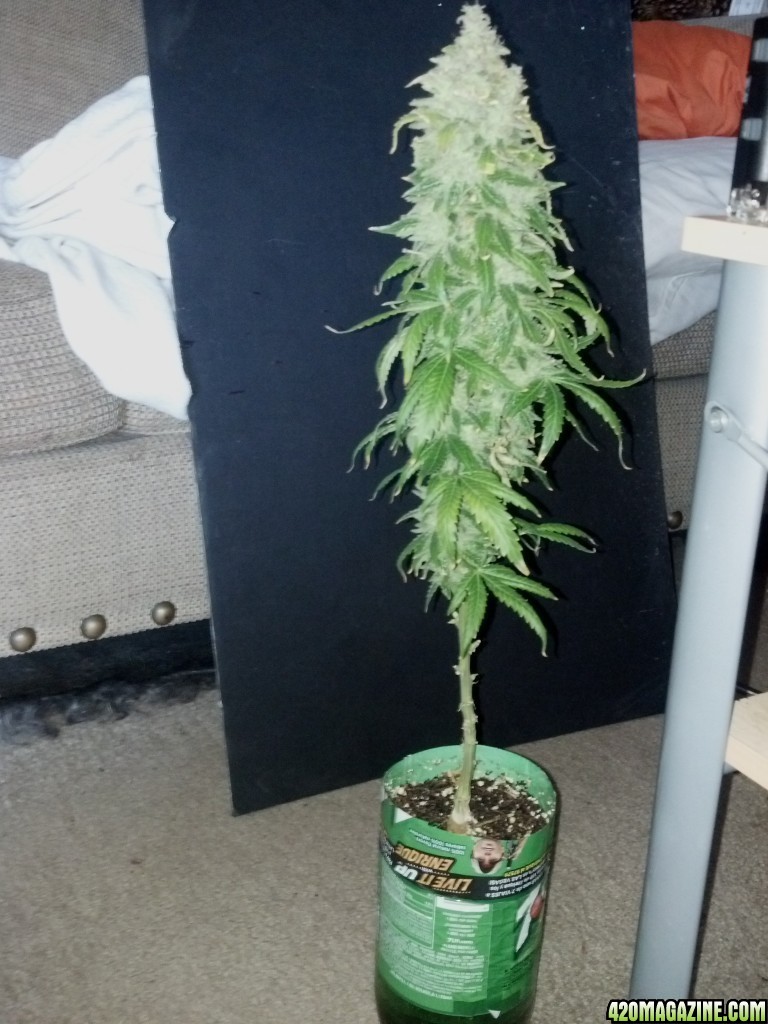
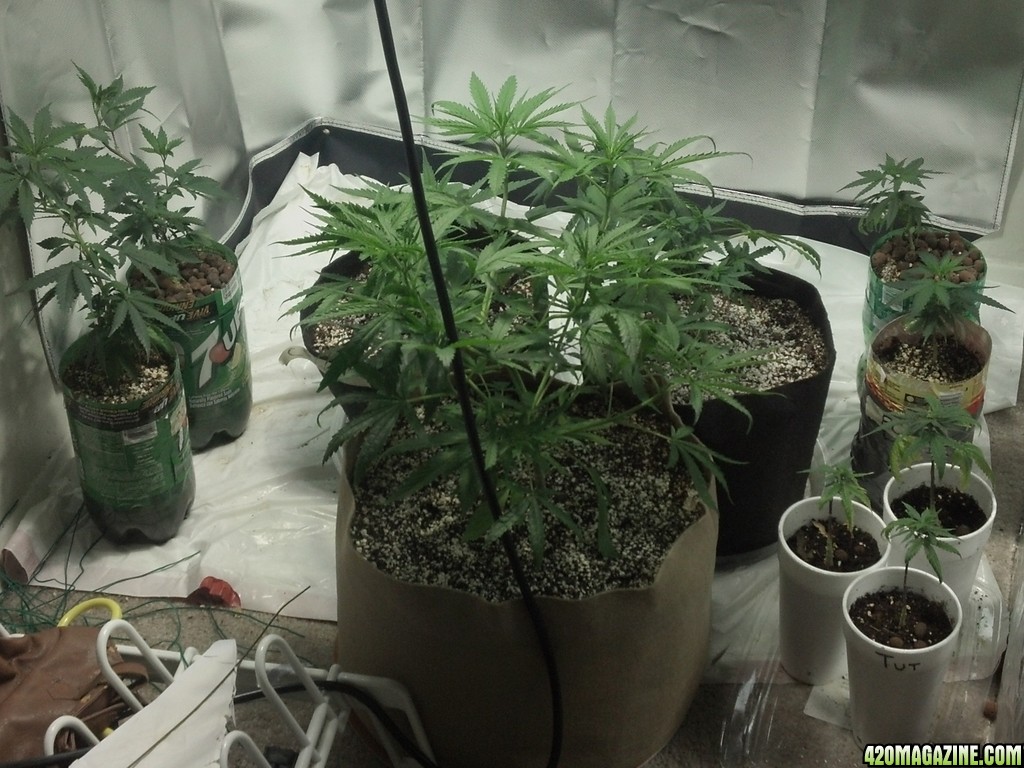
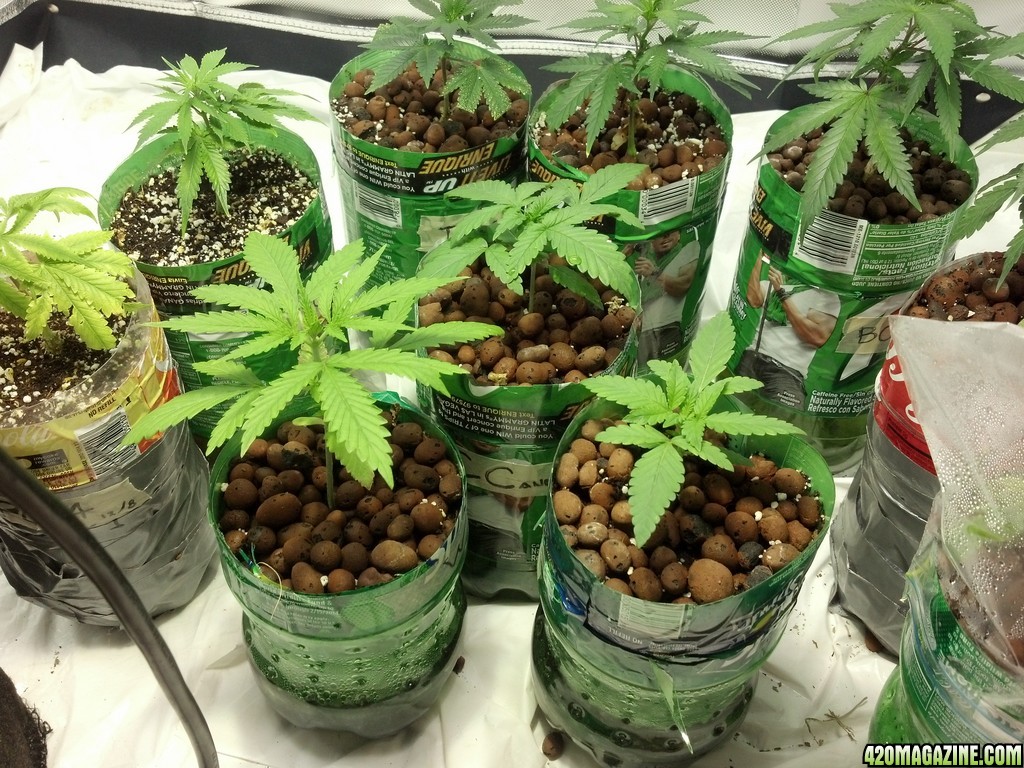
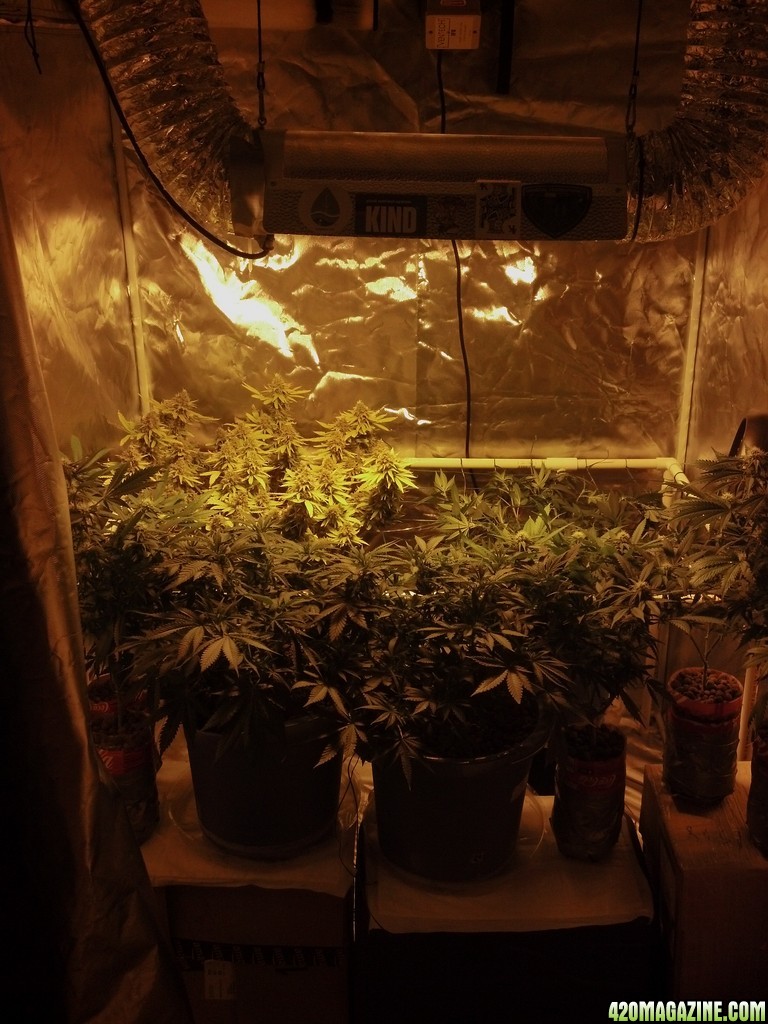
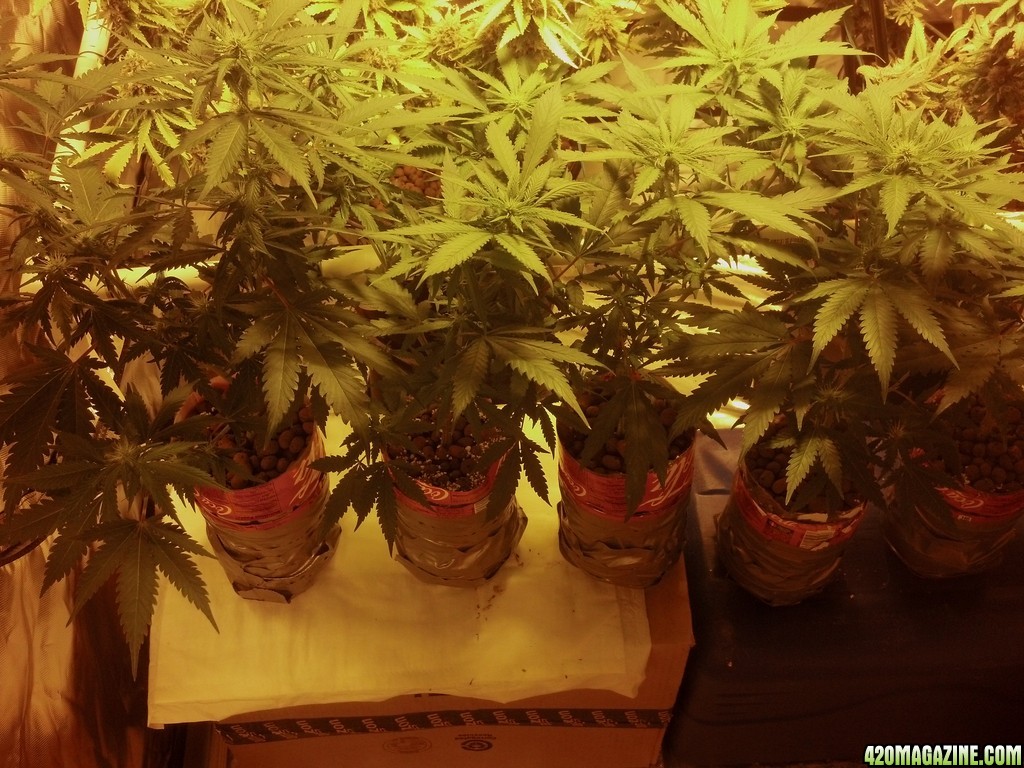
Hempy Headquarters

Now that deserves reps. Brace yourself. That Hammer 'O Rep has gotten quite hearty. :laughtwo:

I didn't have any problem with lanky. My Industrial plant is very tight.

IMG_036065.JPG


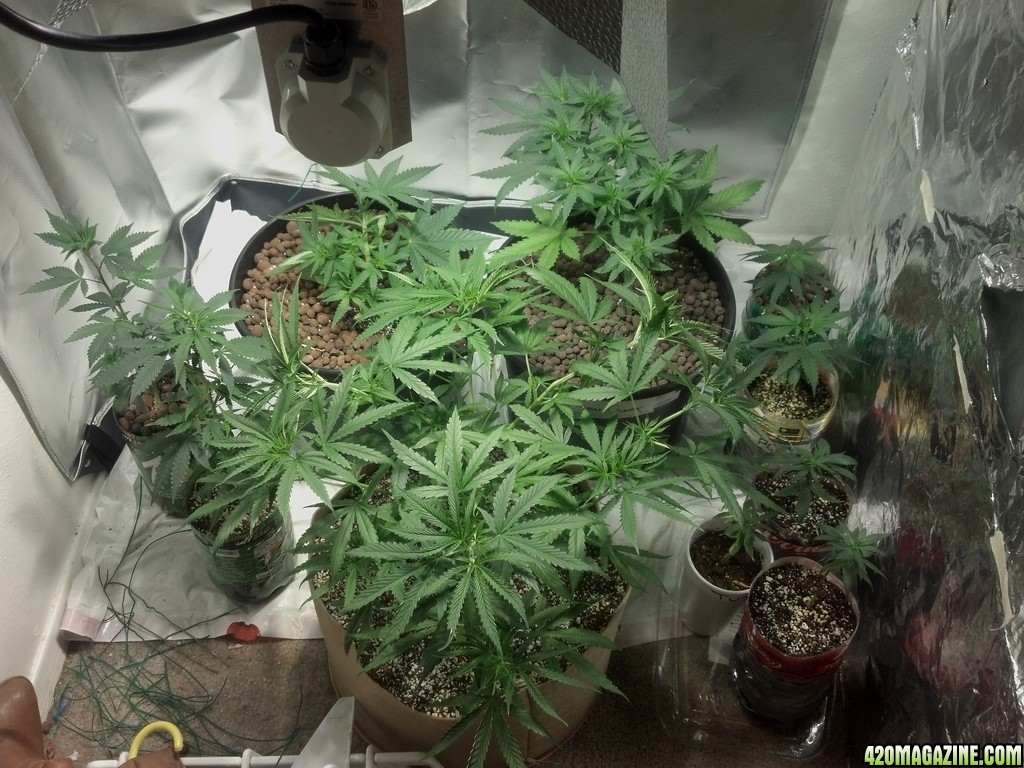
In my garden lanky has always been a light issue. How far do you put your seedlings from the light? Lanky in perlite doesn't present the same challenges. You can easily lift them and settle them deeper into the medium and presto-chango, you have a short, stocky plant where previously you had an Amazon. :battingeyelashes:
They came out way before they even thought about losing their helmets...lol

I wouldn't call it light stretching lanky, more like they pushed themselves out of the perlit too the light lanky

I did the root riot cubes last try, wasn't a fan of that option so back to my tried and true 100% success , now , modified system....lol

Hope the Kilimanjaro seeds are ok , I have more , but hate to loose a child let alone 3


PS
I think this little dirt bed in the perlit would be perfect for AUTOs. No transplant at all...
Now I'm thinking...uh oh..scarrry
 
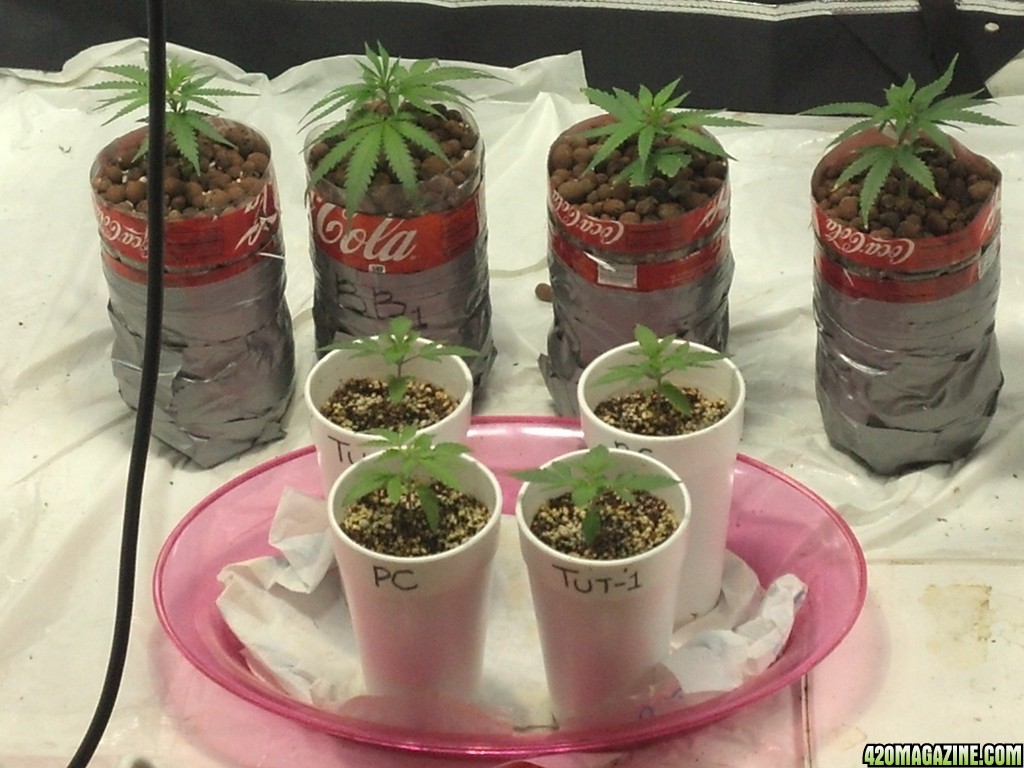
Ok so first off my new mystery seed tht I put in the hempy cup popped up 2day so I'm excited about tht I think I found a new way to pop my new seeds even if they are going into soil cuz I had a hard time figuring out why my seeds kept burning up well then sum1 told me 2 use plain soil lol duh go figure with no nutes n this way wud be way cheaper then to keep buying peat plugs or bagged soil so since I'm all out of seeds I ordered 2 more 3 packs one red poison auto and the other is amnesia lemon then I got 2 freebies one is skunk diesel and the other is sour lemon all of which sound very tasty and look amazing can't wait to try an auto red poison in a 3 to 5 gallon hempy man its guna be great anyway jus had to share tht sry 4 the long winded post lol but here is my newest seedling mystery girl

20170821_163019.jpg
 
There ya go.....sacrificial seeds. Lol! :high-five:
 
Ok so first off my new mystery seed tht I put in the hempy cup popped up 2day so I'm excited about tht I think I found a new way to pop my new seeds even if they are going into soil cuz I had a hard time figuring out why my seeds kept burning up well then sum1 told me 2 use plain soil lol duh go figure with no nutes n this way wud be way cheaper then to keep buying peat plugs or bagged soil so since I'm all out of seeds I ordered 2 more 3 packs one red poison auto and the other is amnesia lemon then I got 2 freebies one is skunk diesel and the other is sour lemon all of which sound very tasty and look amazing can't wait to try an auto red poison in a 3 to 5 gallon hempy man its guna be great anyway jus had to share tht sry 4 the long winded post lol but here is my newest seedling mystery girl

20170821_163019.jpg

Well damn Jones! You're getting it good. :woohoo: They'll make cultivators out of us yet, won't they? :laughtwo:

This was the easiest way I've germinated yet. Can't believe it took Tead to get me to try, but how glad am I that we met? :slide:
 
They came out way before they even thought about losing their helmets...lol

I wouldn't call it light stretching lanky, more like they pushed themselves out of the perlit too the light lanky

I did the root riot cubes last try, wasn't a fan of that option so back to my tried and true 100% success , now , modified system....lol

Hope the Kilimanjaro seeds are ok , I have more , but hate to loose a child let alone 3


PS
I think this little dirt bed in the perlit would be perfect for AUTOs. No transplant at all...
Now I'm thinking...uh oh..scarrry

Hahaha! I can see the wheels turning inside that brain of yours Scorpio.
 
HEMPY HARVESTING

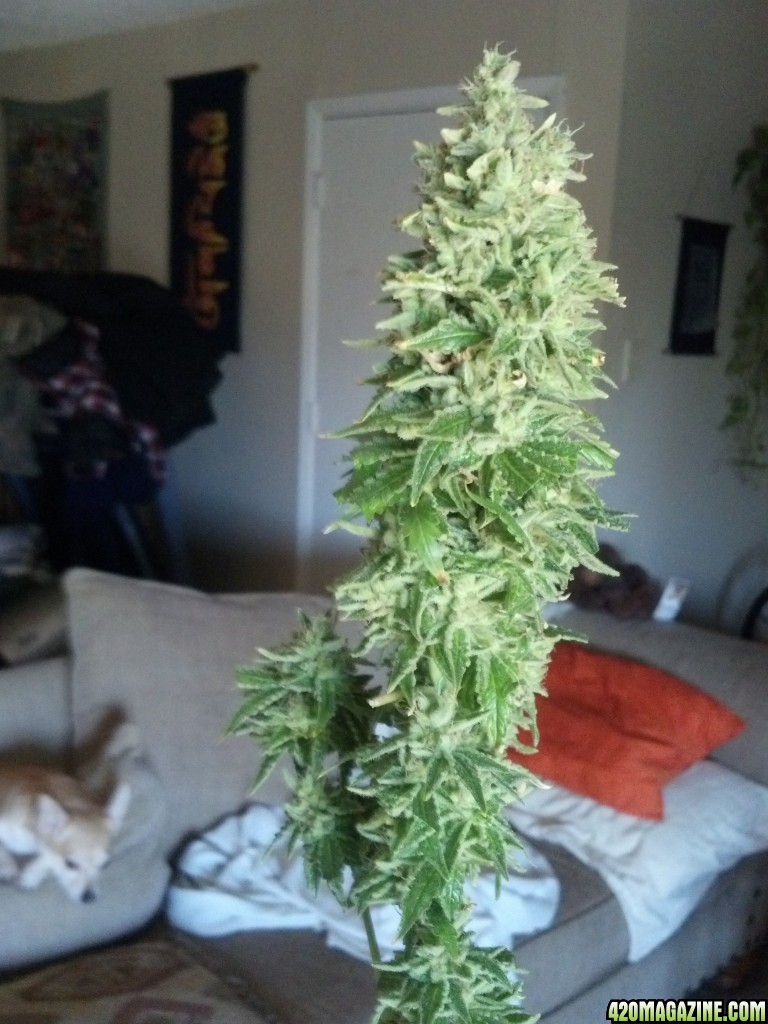
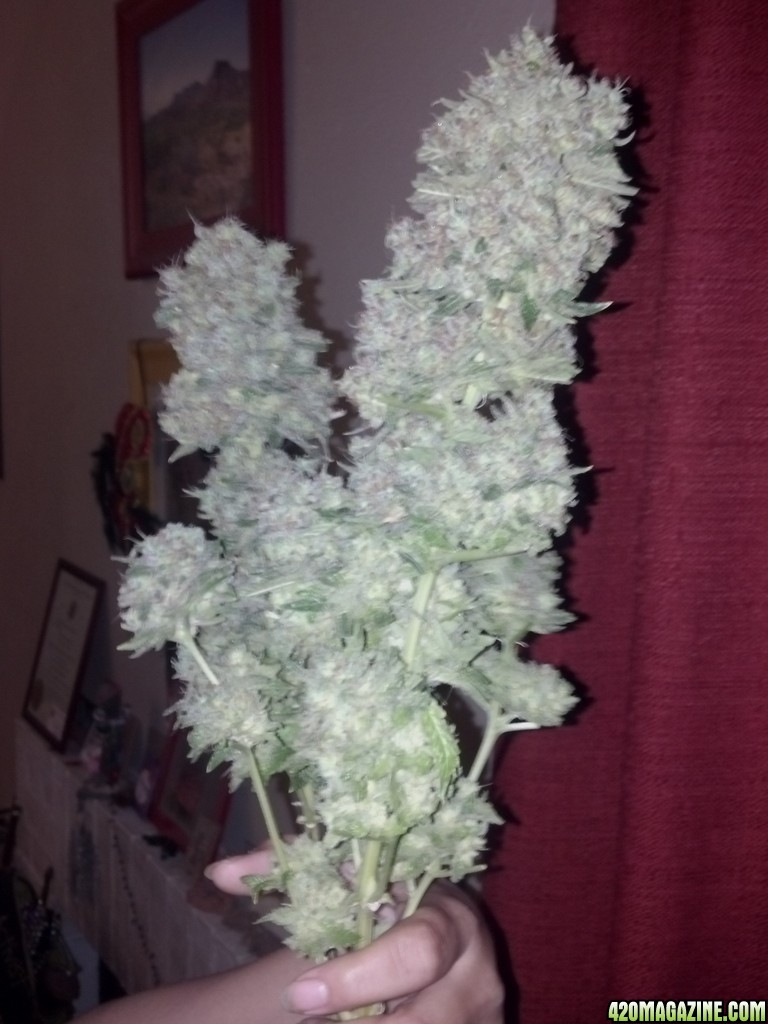
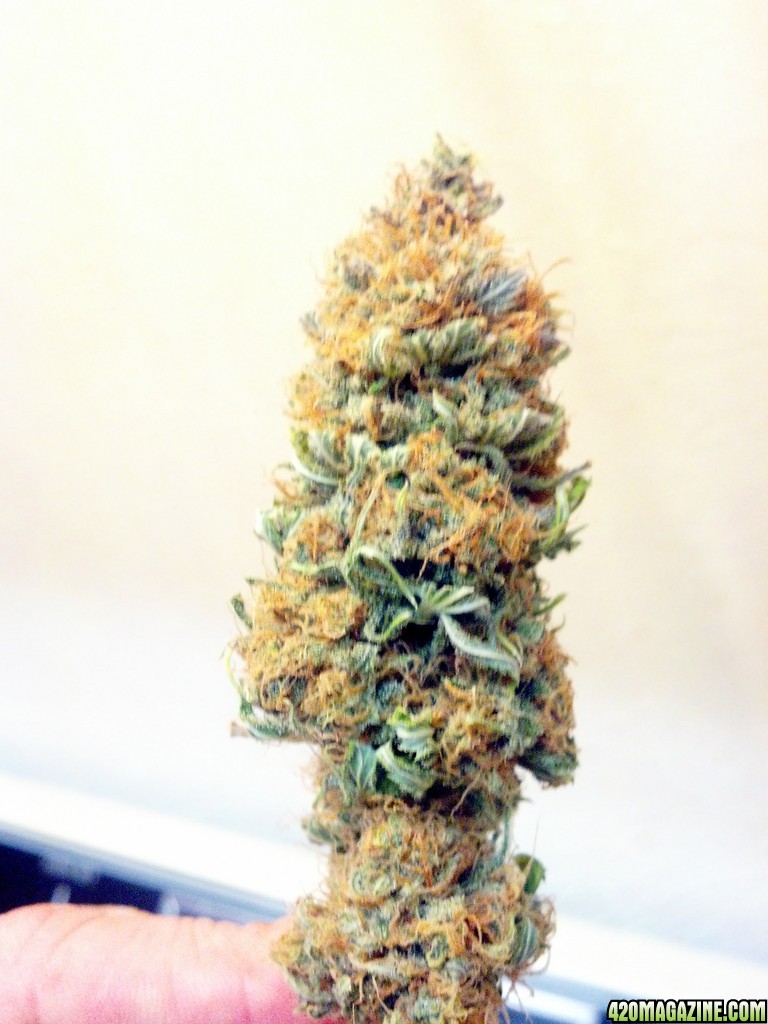
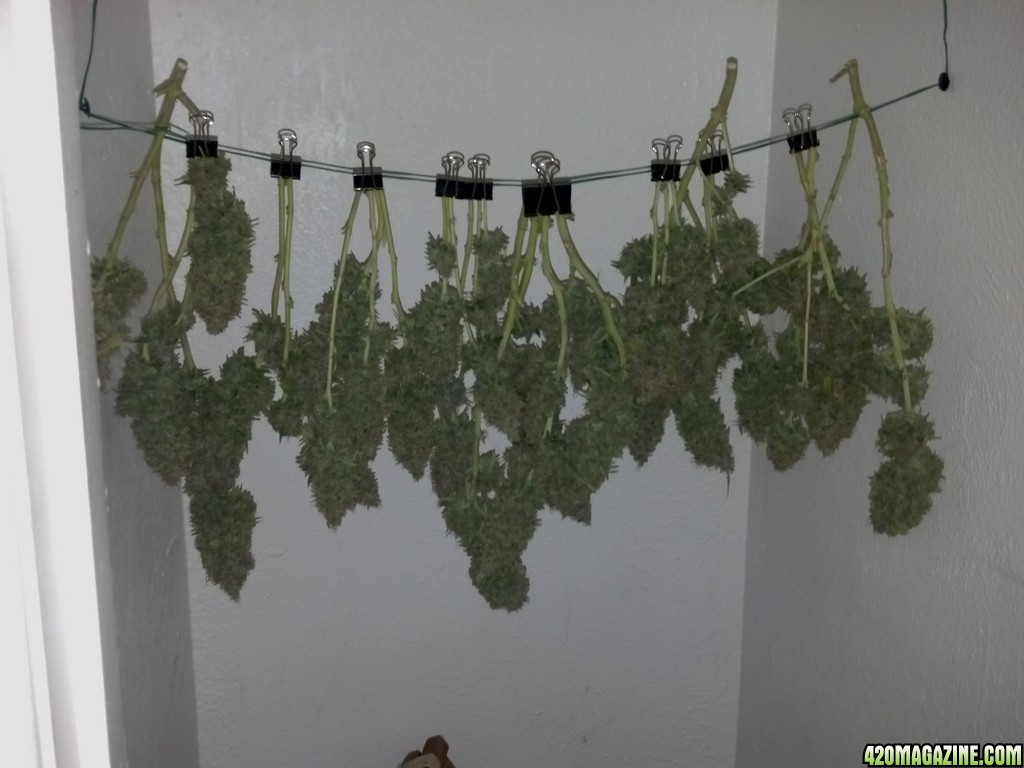
She was gracious enough to decorate the opening post of the thread, and today Ultra Dawg got the chop at Day 109, a mere 41 days into flower, grown with Osmocote Plus.

IMG_92594.JPG


IMG_041554.JPG


IMG_041653.JPG


IMG_043042.JPG


IMG_042643.JPG


IMG_043752.JPG


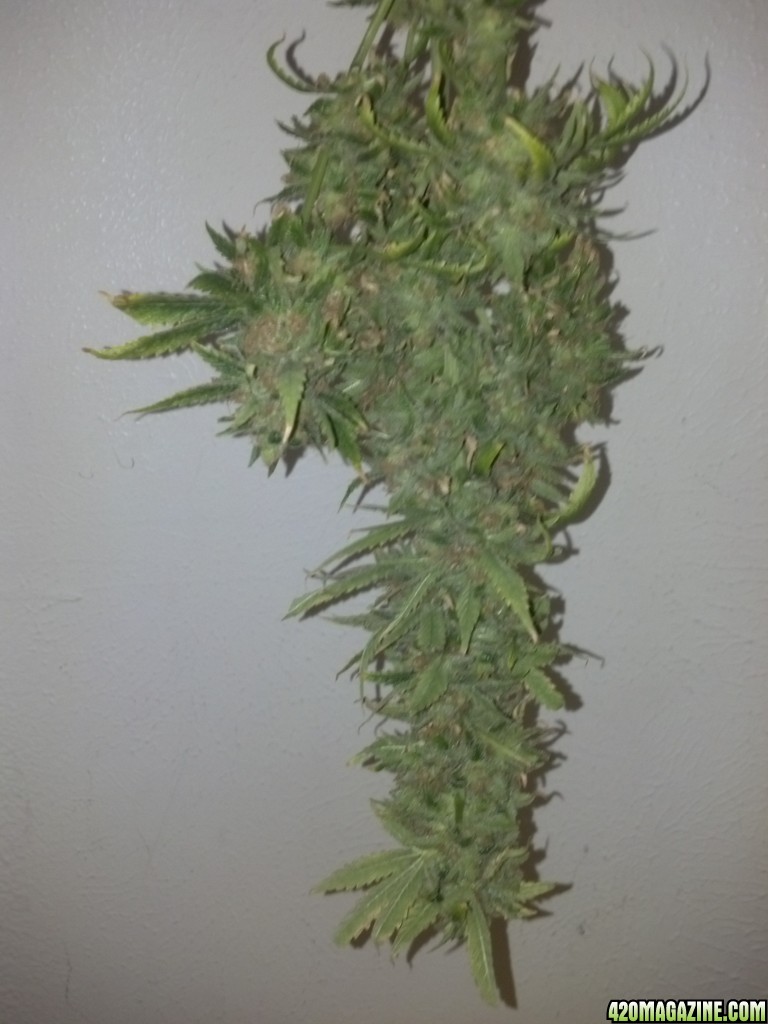
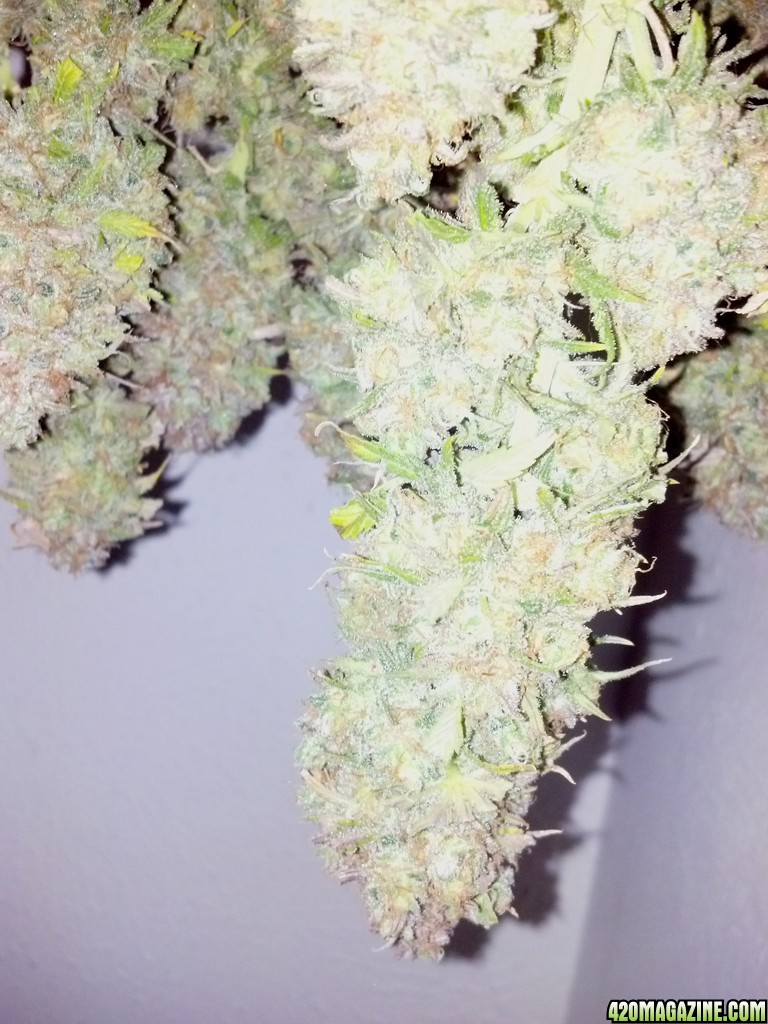
She'll hang to dry and then I'll store her somewhere completely dark for two months and let her cure undisturbed. I'm hoping to get the explosion of trichomes Shiggity experienced with his recent harvests.

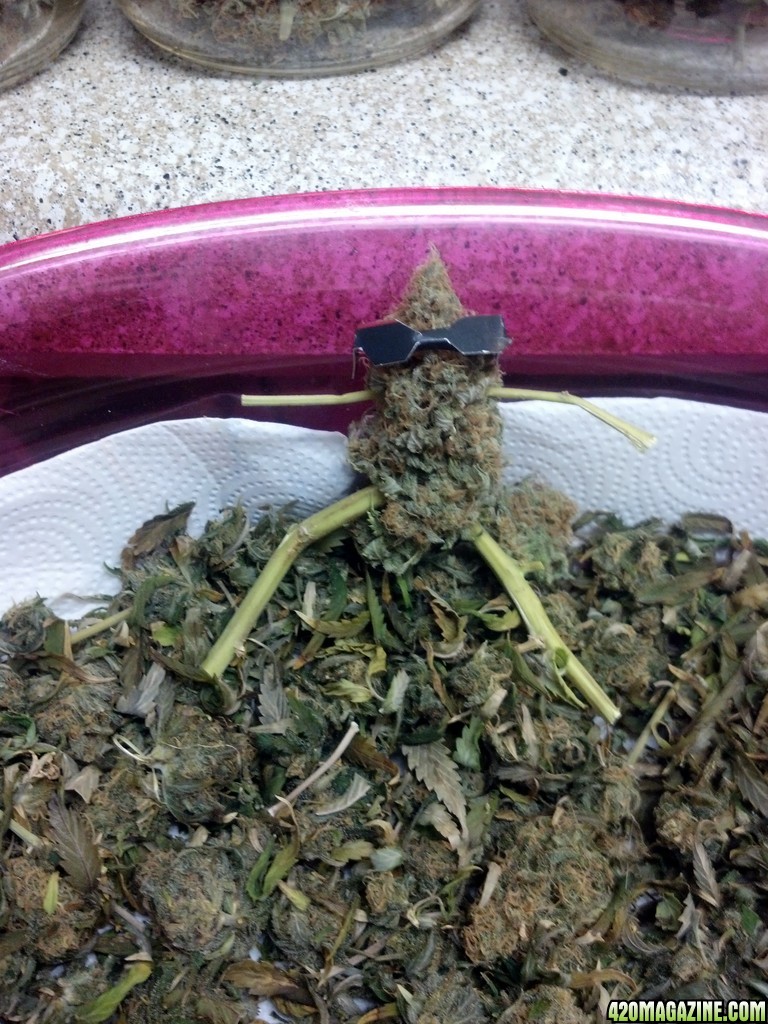
I also jarred up Carnival 4. In the end there was 32 grams in the jars...

IMG_043442.JPG


...and these two branches which I'm going to leave in complete darkness for the next two months.

IMG_043146.JPG


Carn 4 was one of the girls growing with Osmocote Plus. I think she came in quite respectably. :cheesygrinsmiley:
Very nice sweet lookn ultra dog u got there some tasty meds in the near future an man 2months i wish i had tht kind of patience lol hopefully now tht my perpetual grow is in order i can keep it in order then i will have enuf smoke to last me so i can start to cure things longer wud definitely benifit from it lol but yea congrats on the hempy harvest i just ordered some remo nutes and i also have roots organics tht i was thinking on doing a side by side run and see which works out better but idk if i wana strt all tht work lol
 
Very nice sweet lookn ultra dog u got there some tasty meds in the near future an man 2months i wish i had tht kind of patience lol hopefully now tht my perpetual grow is in order i can keep it in order then i will have enuf smoke to last me so i can start to cure things longer wud definitely benifit from it lol but yea congrats on the hempy harvest i just ordered some remo nutes and i also have roots organics tht i was thinking on doing a side by side run and see which works out better but idk if i wana strt all tht work lol

:laughtwo: I can certainly understand the resistance to more work Jones. That's why we grow in hempy. Lol!

I encourage the comparison though. There's much to be learned from such an experiment. I hear the Remo line is excellent, and watching what it does in Rifleman's garden and in the gardens of Pigeons 420 on YouTube it certainly appears to be worth the money. I'm sticking with the RX Green Solutions simply because it frees me from pH adjustment, not my favorite pasttime.

And it grows bad-ass plants.

IMG_045252.JPG
 
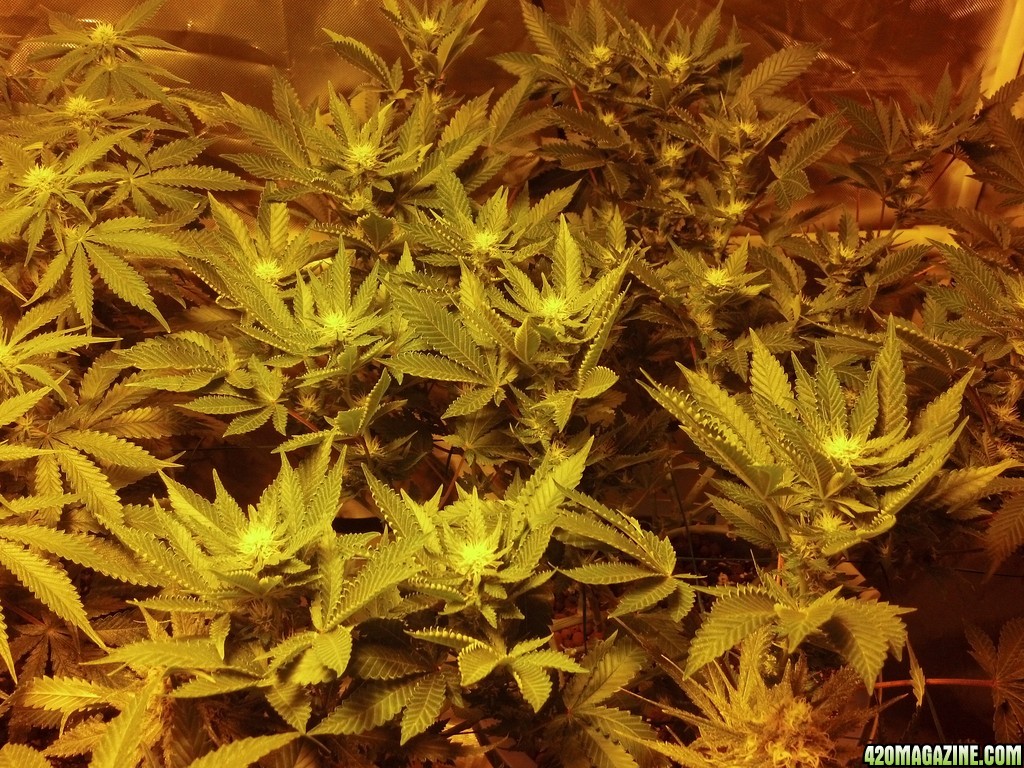
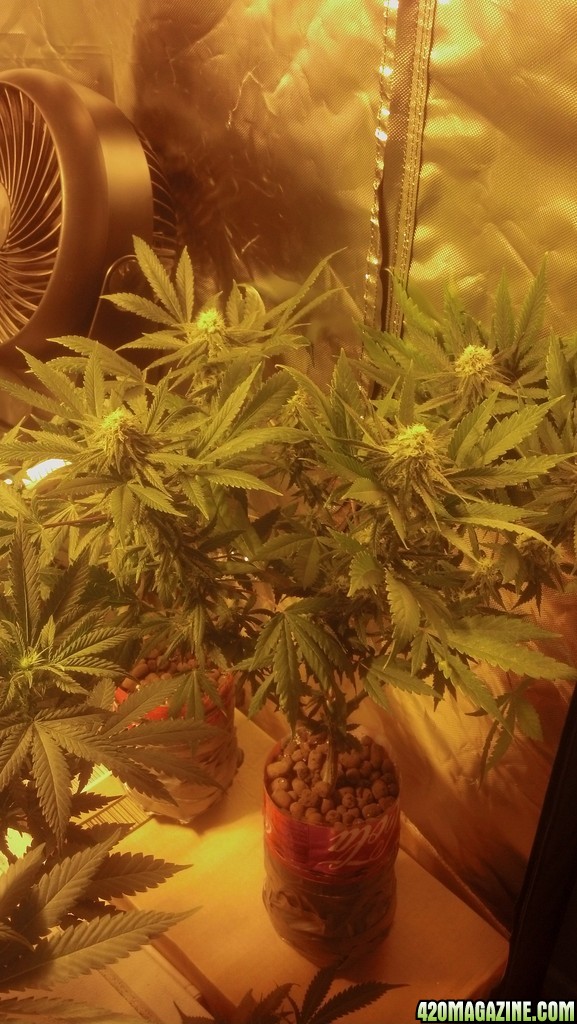
I don't remember when I last updated my Blue Dreams that I have growing in hempies. So far so good as I haven't detected any serious deficiencies with the Osmocote Plus. I'm fairly confident that all three have roots at or near the reservoir so I'll watch closely for any changes.

The clone girls probably have suffered more from shock of re-potting than nutrients. I'll likely top those two fairly soon so they'll bulk up near the base. I'm still uncertain of the Osmo + but sometimes one just has to trust what others have done.

Blue Dream Day 22 Topped a couple days ago I think.

DSC_014243.JPG


Blue Dream Clones

DSC_014440.JPG
 
What exactly is "hempys"?
It's a way of growing without soil

Usually done in perlit, and in low humidity areas, some add vermiculite like me

It's similar to hydro that you water with nutes every water. We drill a hole about 2" above the bottom of the container that creates a reasivor below the hole. Depending on pot size watering is every 2-5 days, and when it flows out the hole you've watered her good

So far my results are better than soil...

That's the .02$ tour
Can it be done in high-humidity areas? On average the humidity where I live is around 80%
 
Can it be done in high-humidity areas? On average the humidity where I live is around 80%
Oh ya, with high humidity ya use straight perlit since the perlit will hold the moisture better

I like it most because I go Backpacking and now I can leave my girls for 3-5 days and not worry about water

The results, so far, have been impressive to say the least.

That said my try at starts in Hempy wasn't as good as I hoped so trying a mix of dirt bed, cup in the Hempy, and Hempy, I'll see how it works
420-magazine-mobile357481845.jpg
 
Okay and how does transplanting them work I know the perlite won't hold together like dirt will when you go to transplant to a bigger pot what do you do then?
 
Okay and how does transplanting them work I know the perlite won't hold together like dirt will when you go to transplant to a bigger pot what do you do then?
I treated it same as dirt

Removed it, had already figured the hole I'd need, cleaned a bit more out of my hole, held it in and scooped more perlit in

Done!!!!

Also my final pots are 2.5 or 3 gal buckets, so smaller as well
 
Also my final pots are 2.5 or 3 gal buckets, so smaller as well[/QUOTE]
Awesome.... I might have to give this method a go on my next batch of seeds.. thanks Scorpio
I treated it same as dirt

Removed it, had already figured the hole I'd need, cleaned a bit more out of my hole, held it in and scooped more perlit in

Done!!!!

Also my final pots are 2.5 or 3 gal buckets, so smaller as well
 
I had to make Cajun an unofficial member of our group. He's gone AWOL on us, or I'd have alerted him that I was taking this liberty. If he wants to lambaste me for doing so when he returns, that's quite ok with me. This idea I just stumbled upon was too good to leave lost in the forums.

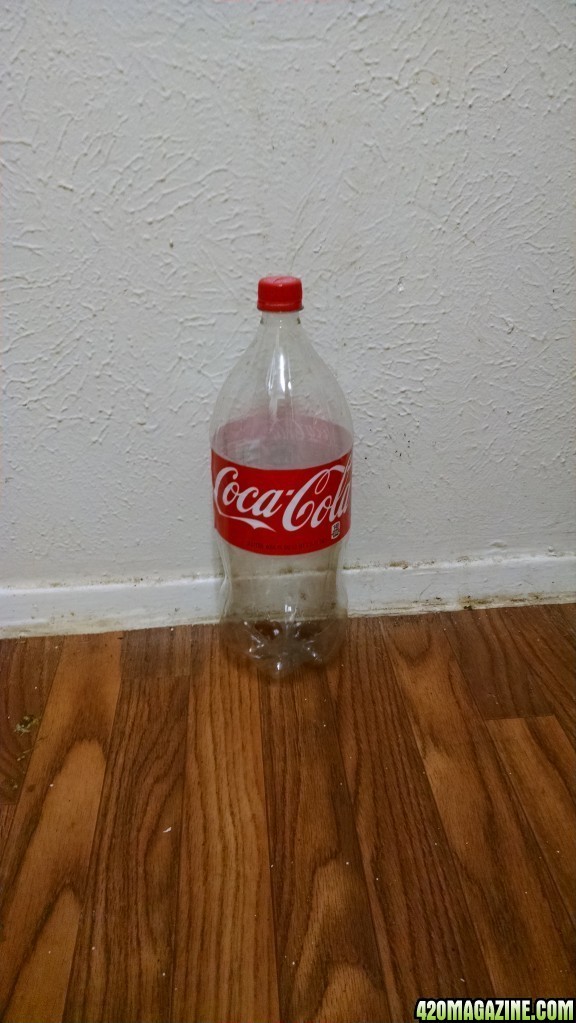
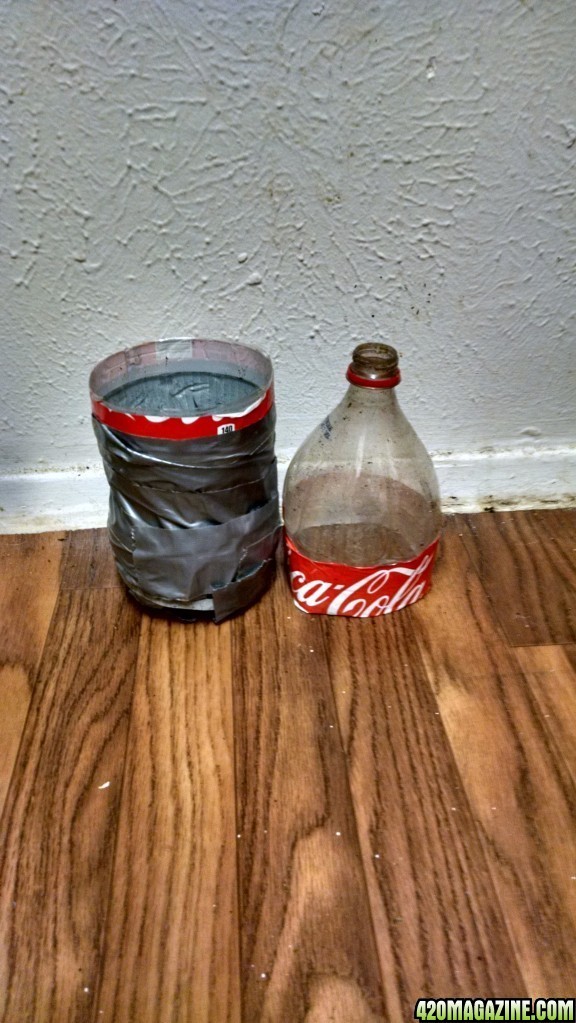
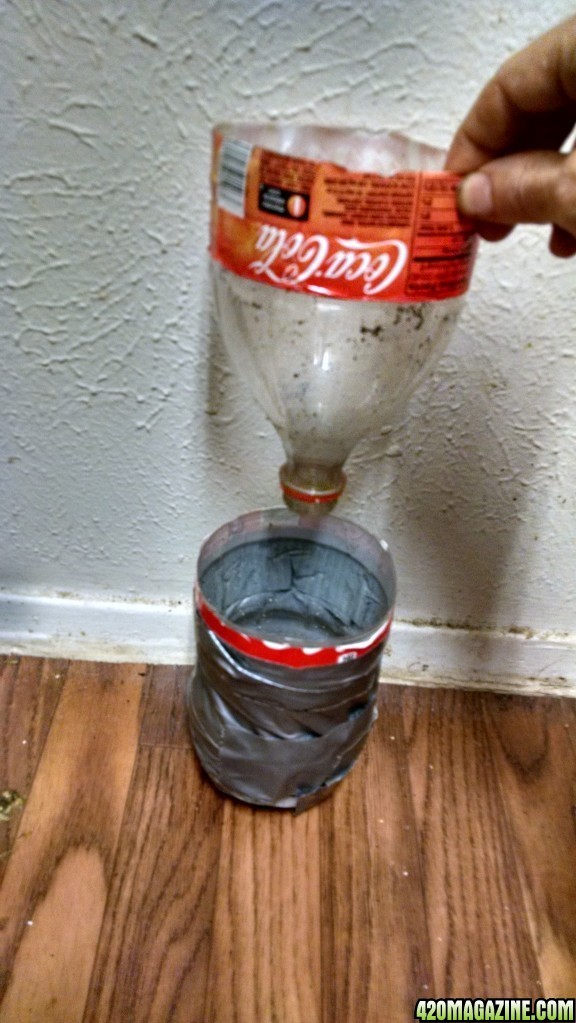
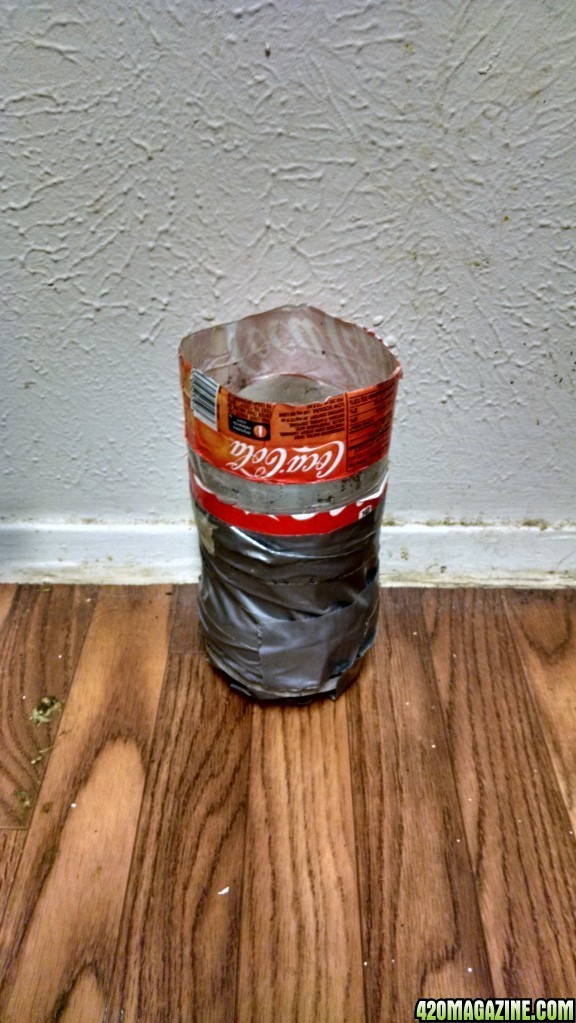
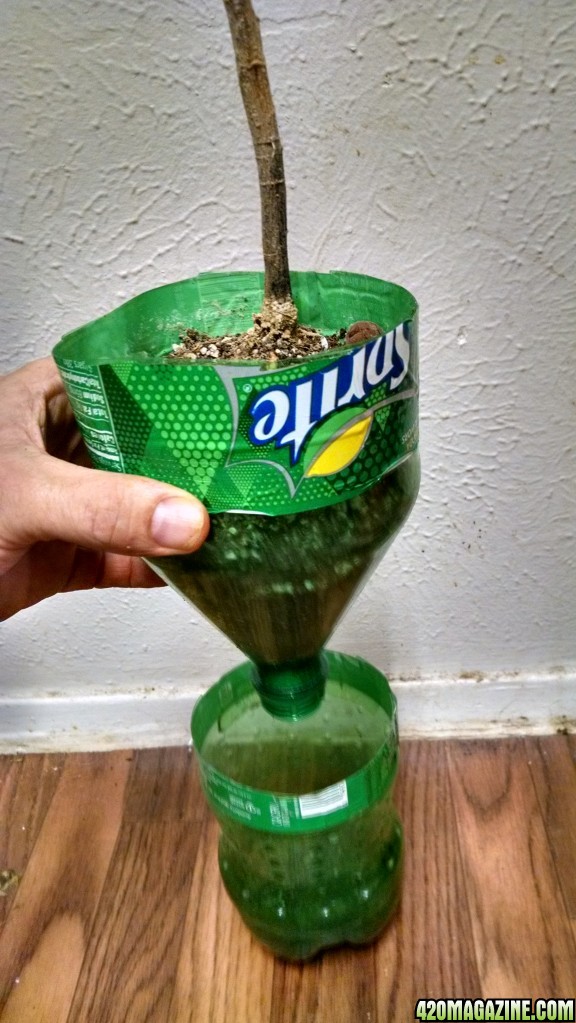
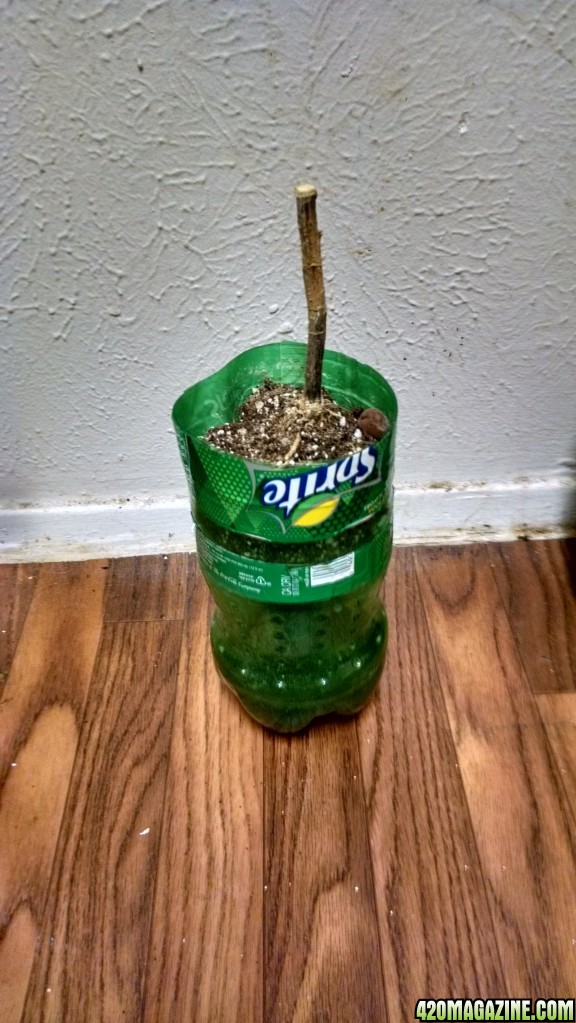
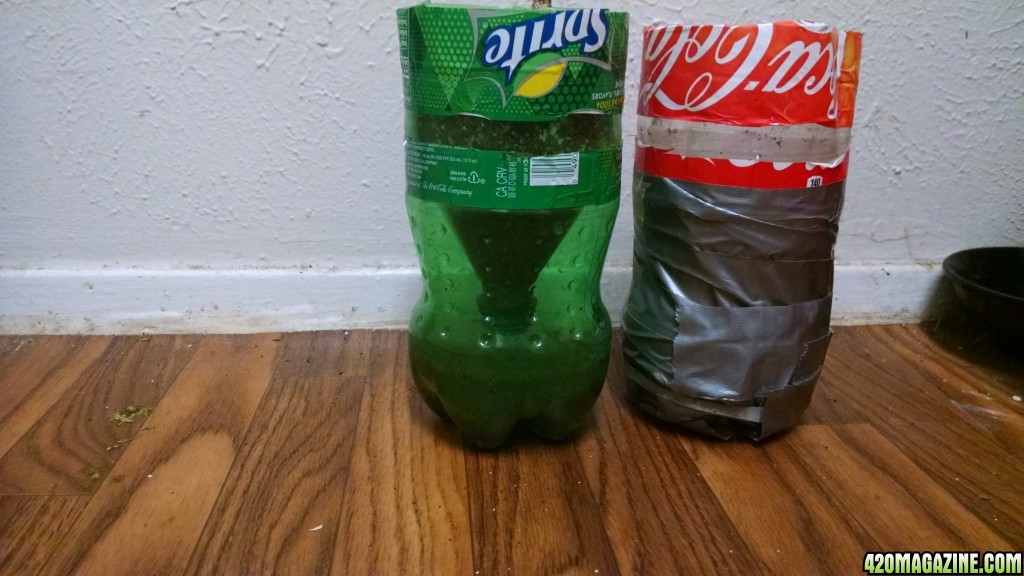
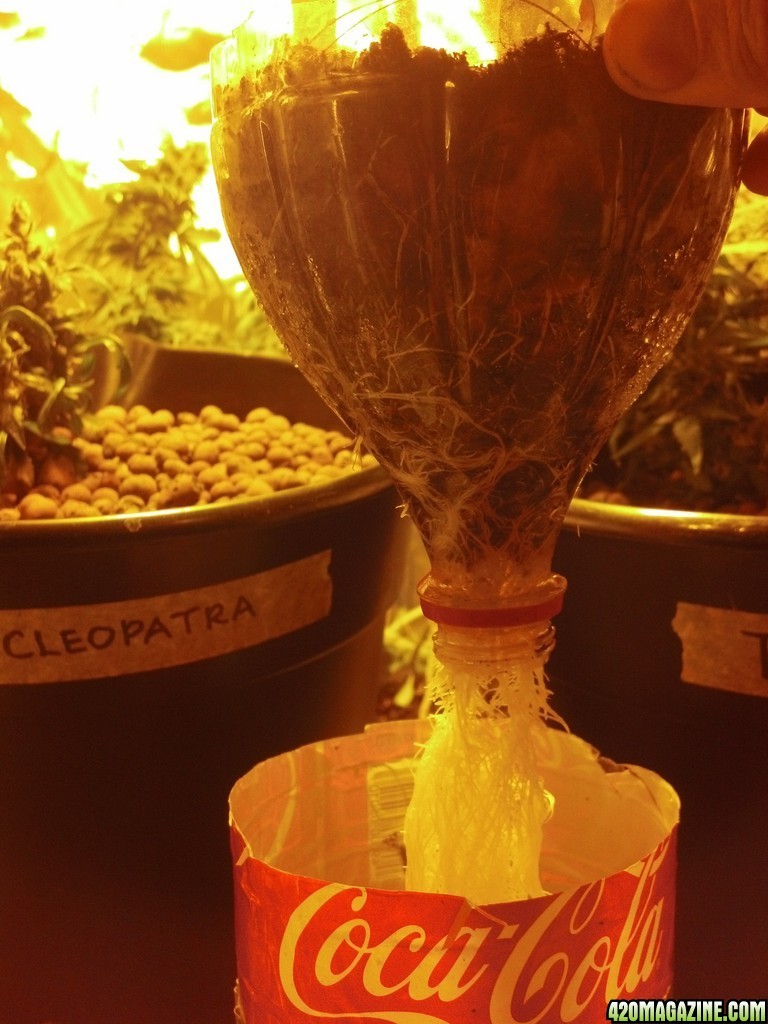
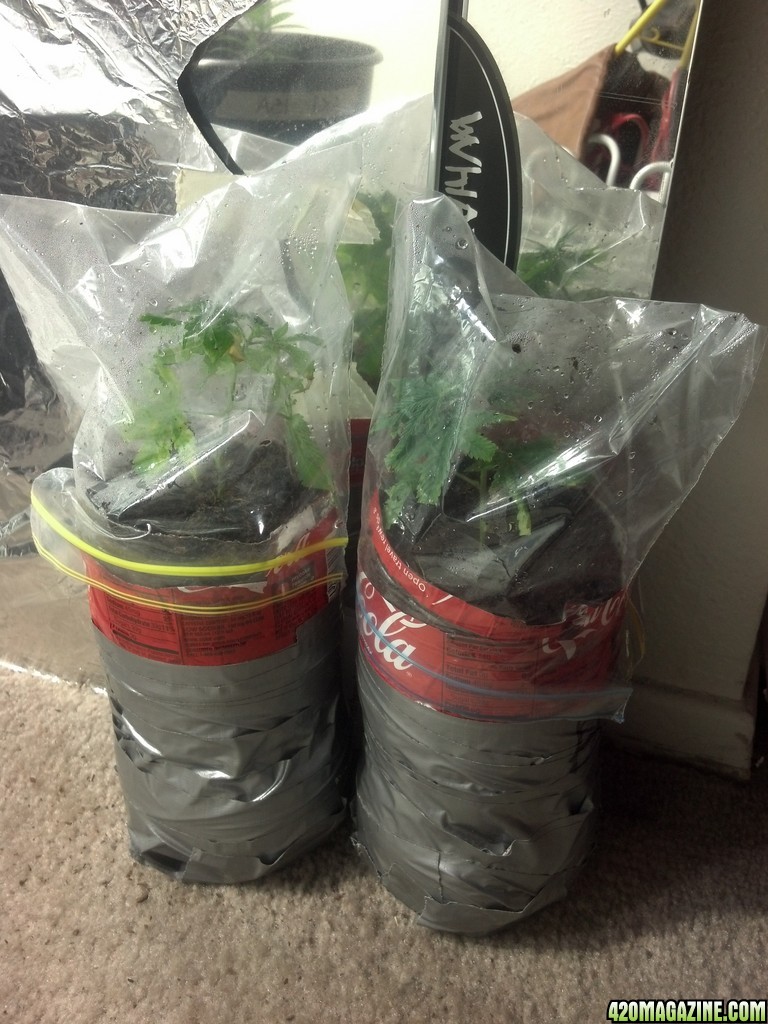
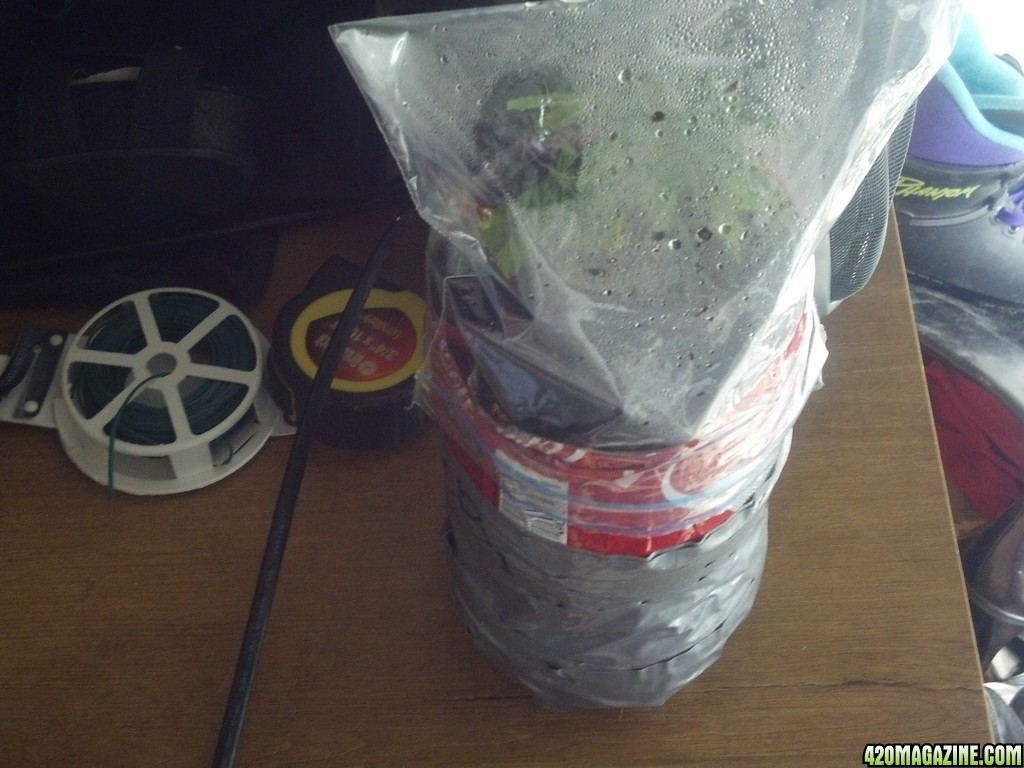
CC's 2liter Coke Bottle Hempy Cloners

Hi all. Been asked by a few ppl to do a tutorial to build a cheap, quick & effective cloner using coke bottles. I've 100% success rate with this & you can transplant easily later if ya want. I started growing out the clones in these as SoG, but started using LST & getting huge plants.
I believe this creates a great atmosphere for the cuttings because of everyone's success rates that I've shown. So, good luck & hopes this helps!

1. Get 2 liter plastic coke, sprite, Dr.pepper, ect. bottle & cut almost in equal halves (60-40) with bottom being the 60. Paint or tape the bottom to keep out light.
IMG_20140829_131045678.jpg

IMG_20140829_131125060_HDR.jpg


2. Fill the lid (your new net/basket) with medium of choice. Keep the lid off. I use coco w/ perlite. The now upsidedown lid will be placed back on the bottle. The bottom of the bottle is now your reservoir.
IMG_20140829_131141555_HDR.jpg
IMG_20140829_131153837_HDR.jpg
IMG_20140829_131217552.jpg
IMG_20140829_131251466_HDR.jpg
IMG_20140829_131304148_HDR.jpg
IMG_20140829_131403579.jpg


Take 5" min. cuttings, place in water immediately to prevent air aneurism. Cut all veg but top fans. Chop these fans in half to prevent too much photosynthesis & transpiration early on.
Split bottom into a Y with sharp clean blade.
Scrape off outer layer where root zone will be & dip into cloning goop or powder.
Immediately place in media in the bottle lid.

Do not water...do not water...do not water.

Moisten the media & spray the leaves, but do NOT keep soil too moist. You want those new roots looking for food/water, not hanging out being lazy.

Cover the lid w/ sandwich bag or another cut lid your not using.
After a week to 2 weeks, slowly introduce more light & air until new growth can deal with it.

Introduce air (your breath) daily & resist the urgevto keep it too moist. It won't take off you do.

1st sign of roots begins the cool part. Just fill the rez (the bottom of bottle) up to the cap & walk away for a few days.

Soon, you'll have booming clones! You can transplant later to new homes or leave. The roots will almost fill the bottle in the end.

Hint: Poking lots of holes in the lid around the cap helps, but isn't necessary.

Clone Porn:

IMG_20140427_113957_721.jpg
IMG_20140323_120816_576.jpg
IMG_20140329_103059_386.jpg
IMG_20140329_102202_446.jpg
IMG_20140329_103151_978.jpg
IMG_20140223_181227_336.jpg
IMG_20140201_185235_962.jpg
IMG_20140120_201607_194.jpg
IMG_20140117_190144_159.jpg
IMG_20131227_171147_171.jpg
IMG_20131227_171232_346.jpg
IMG_20131213_164929_128.jpg
IMG_20131217_160751_644.jpg
IMG_20131211_204609_953.jpg
IMG_20131209_160807_129.jpg
IMG_20131207_154015_337.jpg
IMG_20131207_133532_800.jpg
IMG_20131127_114513_820.jpg
IMG_20131021_104146_267.jpg


Bon Chance my friends!

 
Back
Top Bottom