Lots of talent and lots of great ideas popping up in here. This is going to be great. I am also going to have to find that other red cup thread that was mentioned earlier, would be cool to watch the DWC cup!
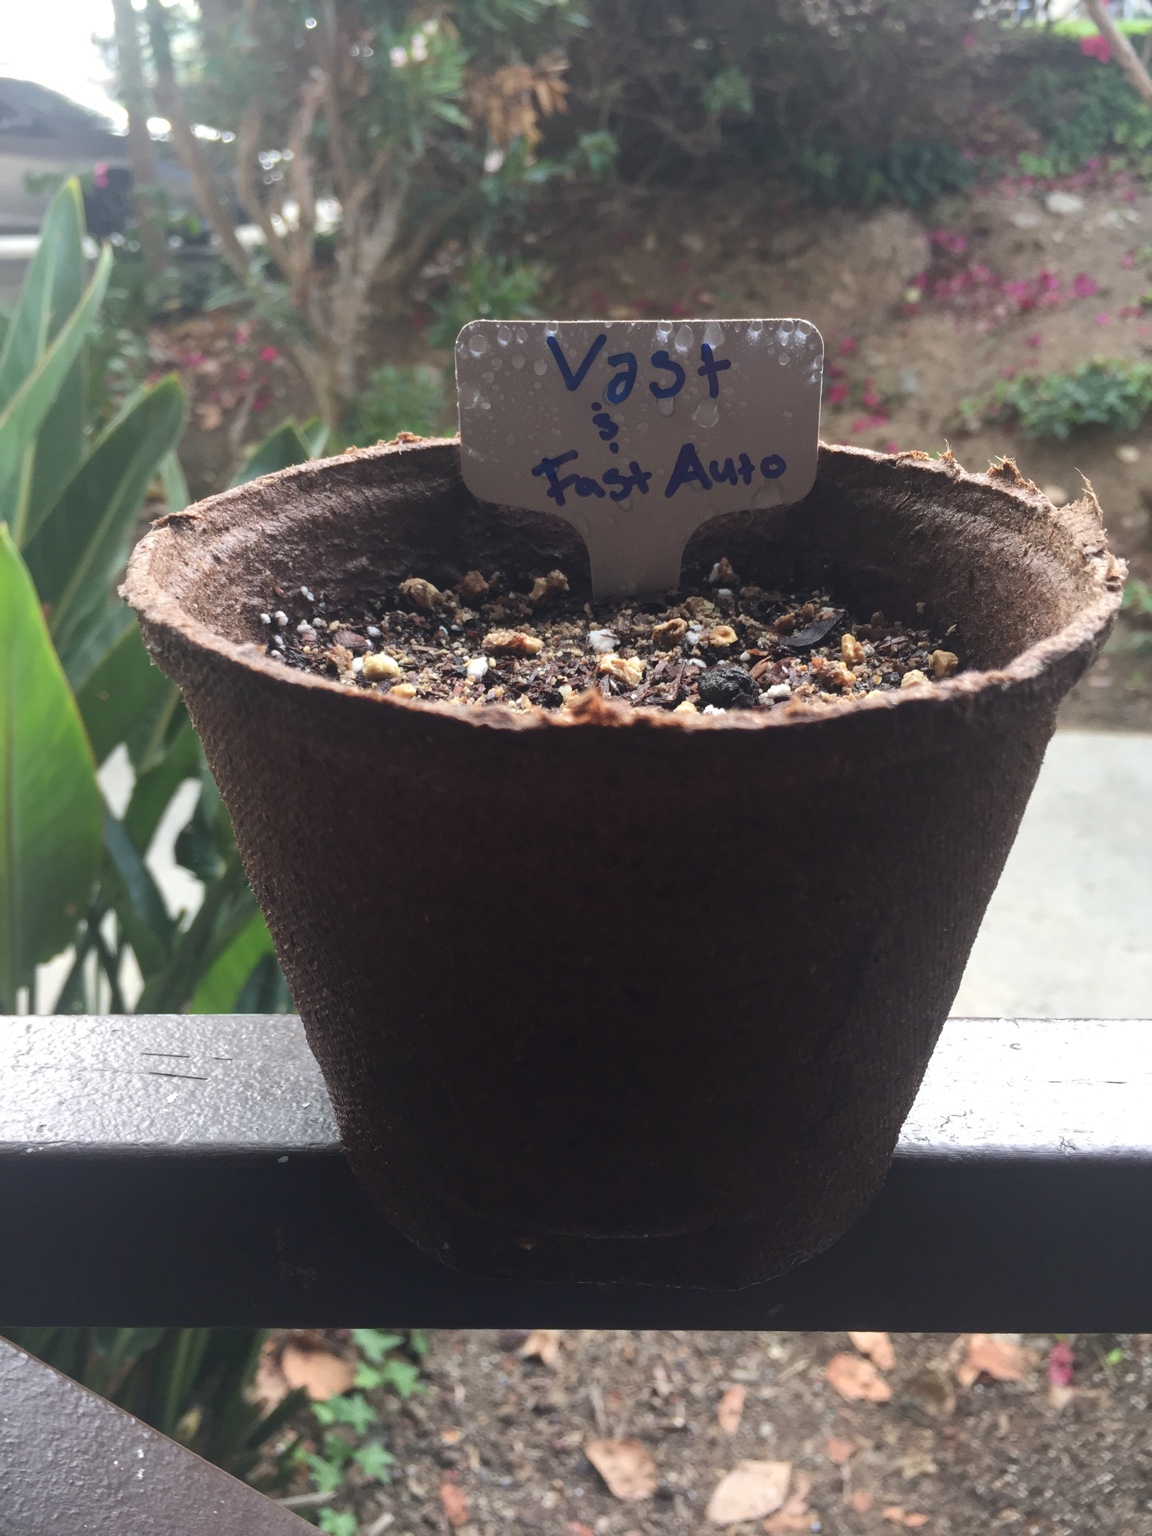
I have a bit of an update to the beginning of my entry, it's not quite complete yet but will give you most of the idea. Once I get my container finished I will post those pictures as well, for now it's just a picture of the container itself, I am going to drill air holes in the side of it as well.
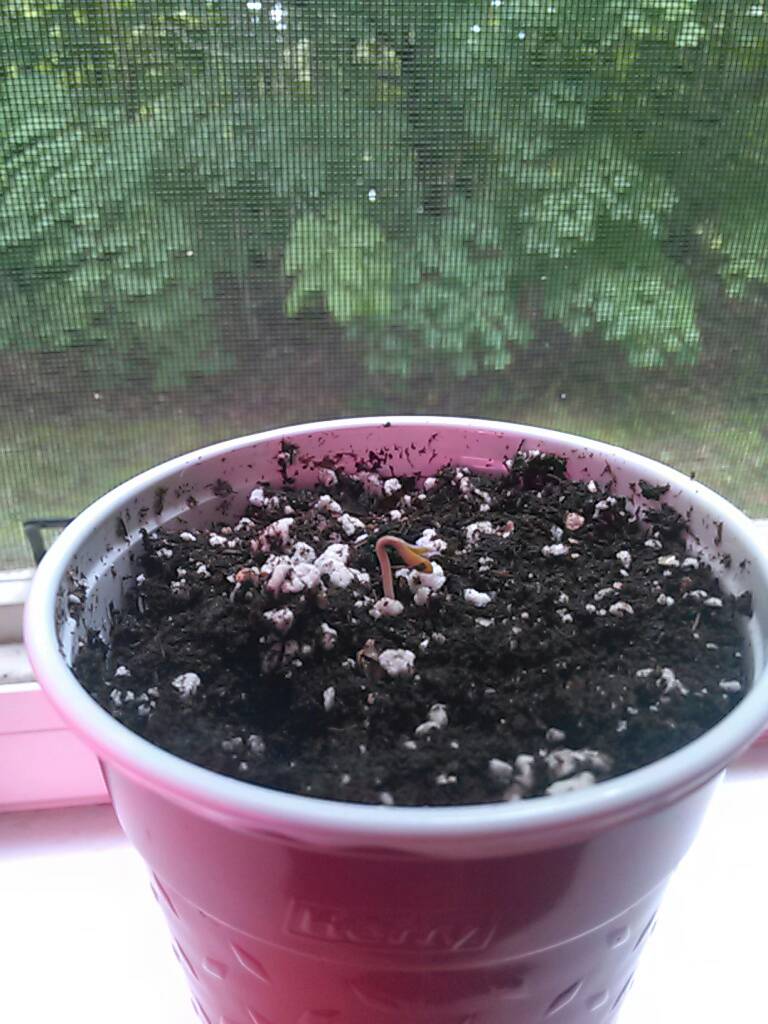
My White Widow Auto (DinaFem) finally cracked this afternoon, the taproot wasn't quite poking out yet but it was there so I could be sure to plant it the right direction ( taproot facing up ) ..
I then got my peat pellet ready using room temperature RO water and have it sitting in a short humidity tray.
Rolled the seed onto my fingers and gently placed it into the middle of the peat pellet, I had to shift it just a little with some garden wire to get the taproot facing up. After that I lightly scratched the surface of the peat moss to cover the hole. I also added some extra water in the tray to help raise humidity once the cover goes on.
I placed the tray, with dome on it, under 4x54W T5 lights. I don't use any seedling heat mats or anything, my room stays fairly warm. There will be no light for this plant until the morning when the timer kicks on in the veg room, it will have 18hours of light per day.
After the seedling breaks ground and opens up it's cotyledon leaves, it will be place directly into it's final container before seeing any roots emerge from the peat pellet. This way there is no chance of damaging the roots, I will also peel off the mesh layer that is on the peat pellet, they come off pretty easily.
The pot will be getting some air modifications since it's going to be tight quarters in this container once it gets bigger. I will drill some holes all around the outside about 3/4 the way up the container, likely place them all a couple inches apart if I use something like a 1/4" drill bit. I will try to get this done tonight while back out in the garage.
I figured I would add some details and pictures about my space and equipment as well...
Grow room is in the basement, no subfloor so I keep everything up off the ground one way or another. It is a 10'x12' room that I built, divided it in 2 spaces (10'x6') and then lined the dividing wall with black and white poly with a spot left for a door (poly overlaps and shut with velcro for now).. The auto will be in in veg side obviously and here is what it looks like right now

(Picture wasn't color adjusted, forgot to change white balance on the camera for this shot.
And I took some pictures of my Meizhi 1200W LED panel. Has 4 cooling fans in the top, veg and bloom switches are both on for max output! I like this panel, good quality (so far) and decent price.
Ok, so that was quite the update.. I tend to be fairly thorough with my updates and try to get all the details in I can when I have the time. Once I get the container redesigned with it's air pruning holes, I will fill it with 18oz of dampened promix hp and added perlite as I mentioned in my introductory post. When I dampen the mix for the first time, it will have a light feeding of RapidStart for the roots, Armour Si to help combat stress. Base nutrients will come very soon after it develops, I am going to try and push this little freebie auto to the limits!


