TrysHard
New Member
Strain: GS Cookies
Genetics: Hybrid S80/I20
From Clones purchased 5/13/14
Currently in Veg from rooted clones
I have contract the grower of my clones and will have more detailed genetic data soon
Planned Veg Period: 4 Weeks
On 5-19 SOJ (Start of Journal) 6 days in Veg
This will be an indoor grow
Flood and Drain Veg, Ebb & Flow Top Feed final week of Veg and Bloom
Stage 1 Veg Tent:
Lighting 3 24" 5K Fluorescent and 4 12 W R/B LED's
$50 DIY Flood and Drain Hydro for Veg Tent
Current:
Temp: 86F
RH: 48%
Nutrient Temp 78F
Nutrients used:
General Hydroponics Flora Series 3 Part
Nutrient Schedule: GH Nutrient Chart Using the Expert Re-circulating Schedule with Supplements will detail in journal at appropriate time.
Grow Medium: Rockwool Cubes on a Hydroton base.
Training Planned: Yes
Type: LST started at day 1.
Bloom Tent currently occupied by Blueberry grow
Lighting: 1000W HPS Dimmable 2 48" Fluorescent with 2.6K Bulbs
Will be running Top Feed Ebb and Flow Hydro
So here we are DAY1 since SOJ (Start of Journal)
We need to catch up for the last week. I have done many things for this grow, primarily building a Flood and Drain Hydro System. I am not going over that again, if you need more info on it I have documented a tutorial on its build, you can find a link to it in my Sig.
So we will get started on the good stuff the new babies:
I bought these clones from the same place I got my Blueberries Clones I am totally happy with them.
Here are the pictures of them when I brought them home:
This first one had a nice little side branch already going
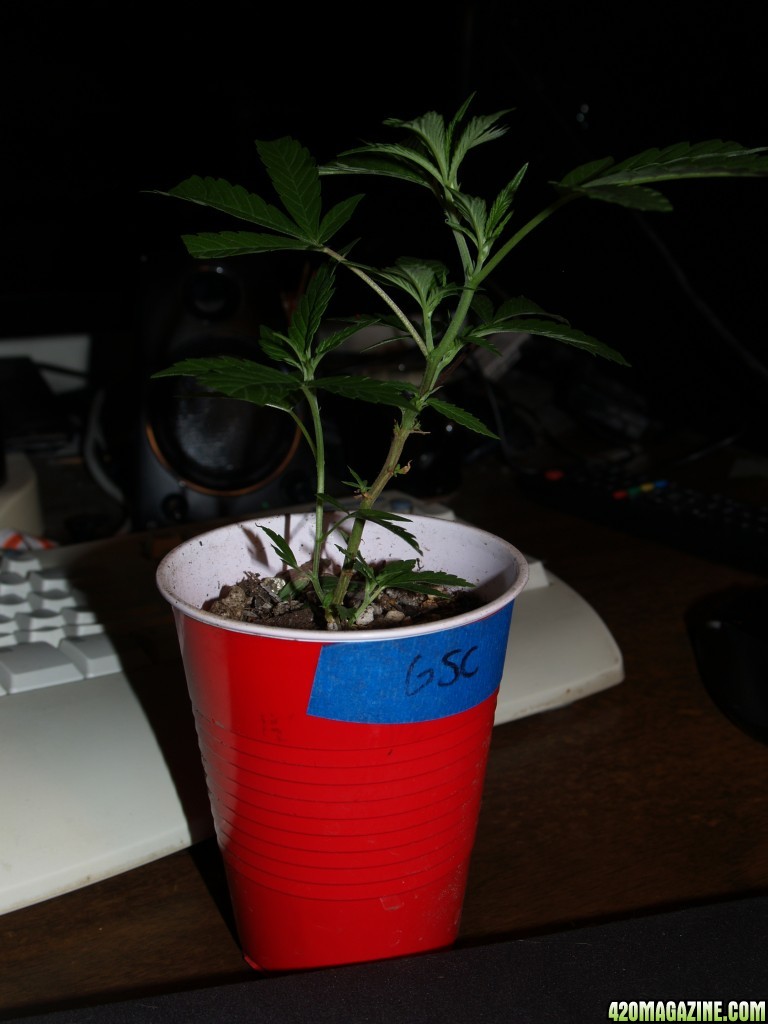
Nice and dark green very healthy
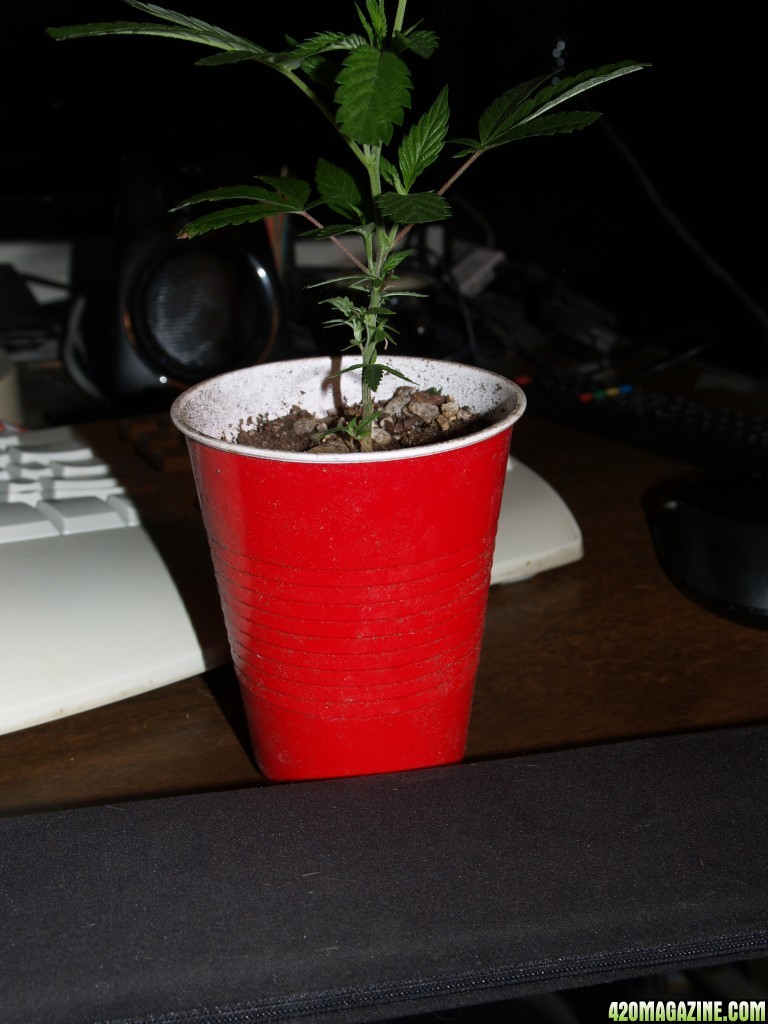
This one has a really nice double stalk if done right this could be a real jewel! Its unfortunate that I don't have room to do a flux, I think this would be a good start.
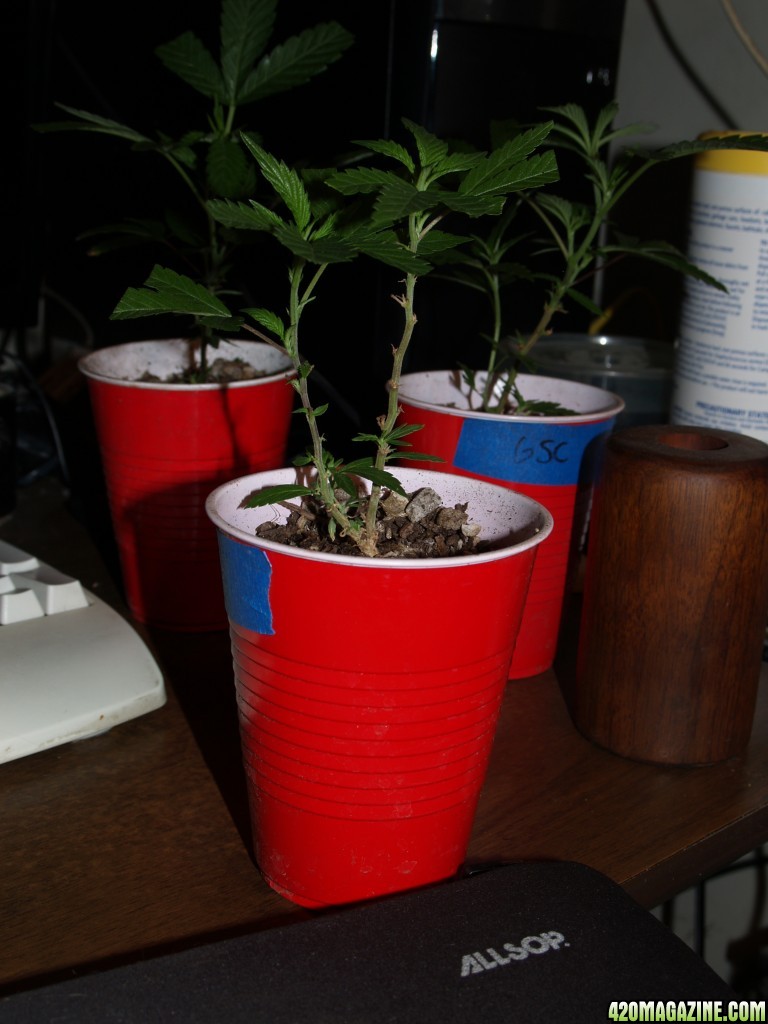
The stalks have lots of new growth sites and should really respond to LST
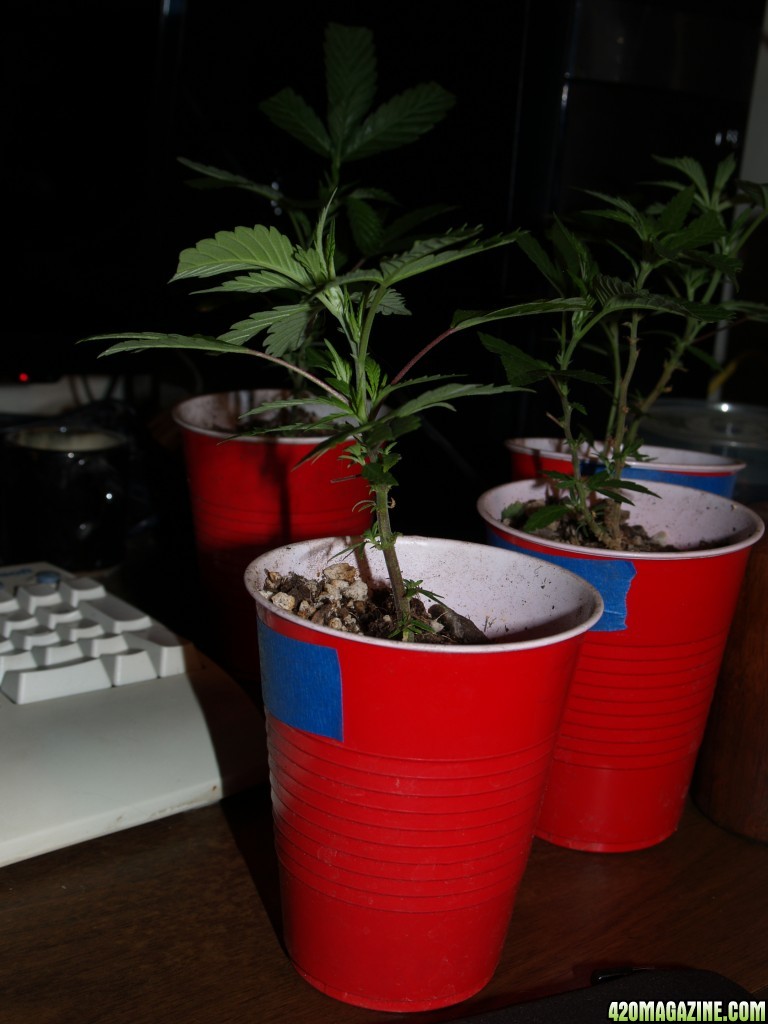
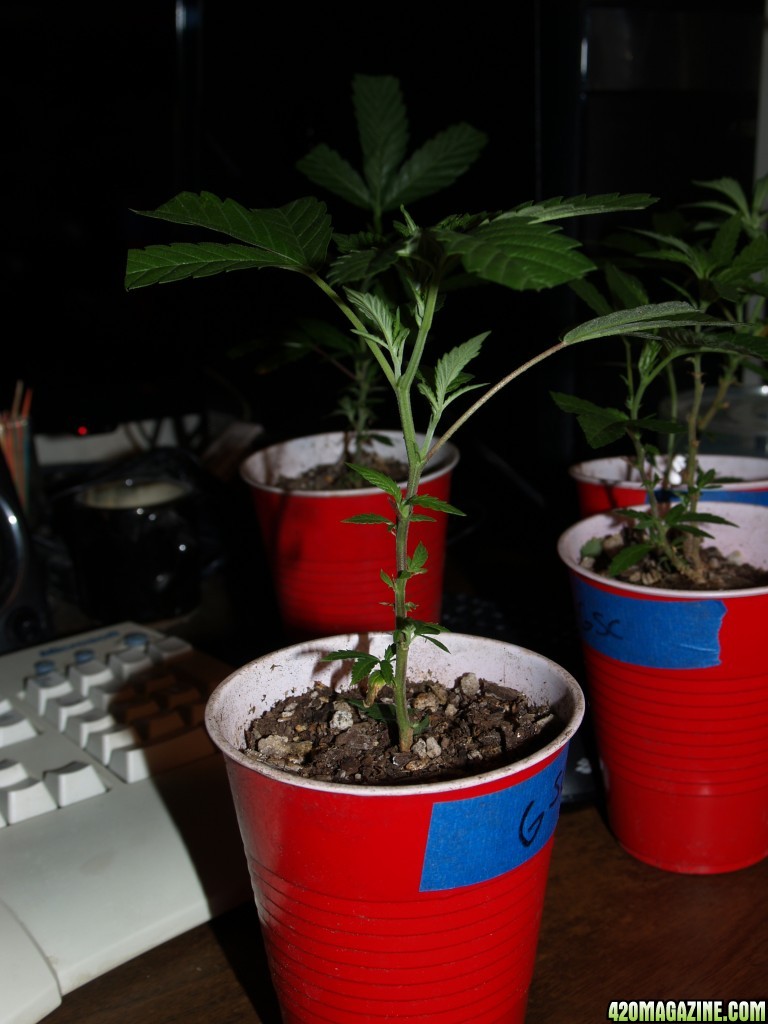
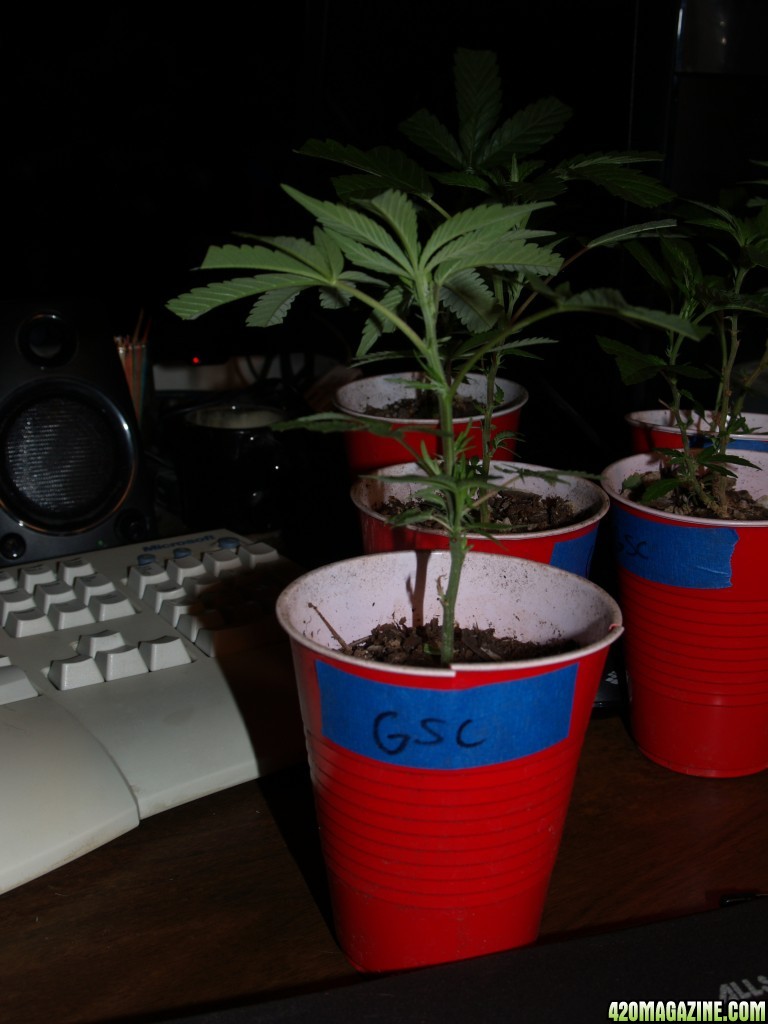
The clones came in soil, so still being new to this I asked around and got some good advise on the transplanting them to Rockwool.
First thing to do was prepare the rockwool cubes for transplant. I used 4" rockwool cubes split in half. I soaked them overnight with PH 6.0 DH20 Water with 1ml/G of Cal/Mag and 1ml/G of Roots Excelurator. I split the cubes in half before I soaked them figuring it would be less of a mess, and it was. Just be careful dry rockwool is ichy!
Here is the soaked Cube cut in half ready for the transplant:
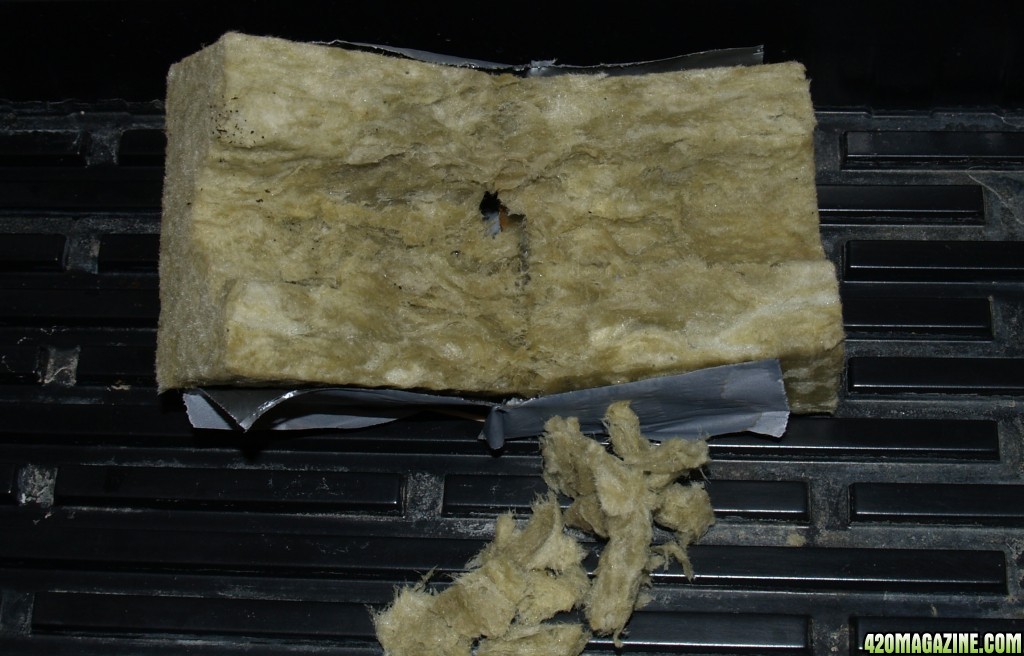
I cut off the side of the cup and you can see they are well rooted.
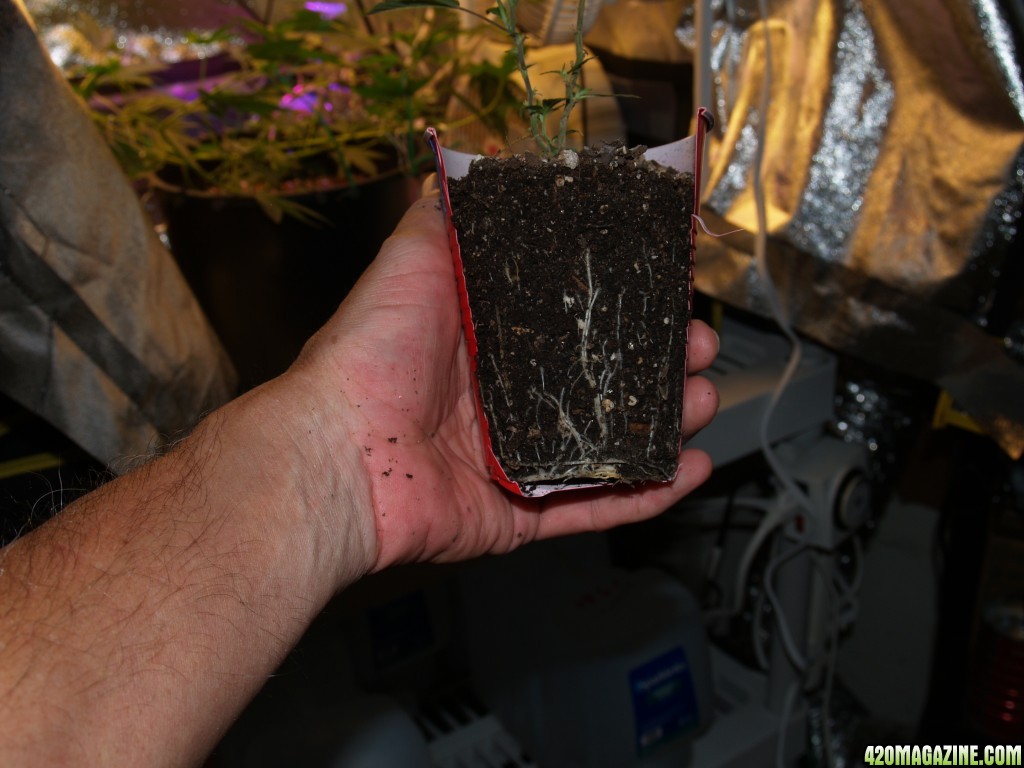
I decided that since I was going to encase them in the 4" cube I did not need to totally wash off all the dirt. I also figured the residual dirt would provide some initial nutrients so I would only water them the first day or two until I built the new system
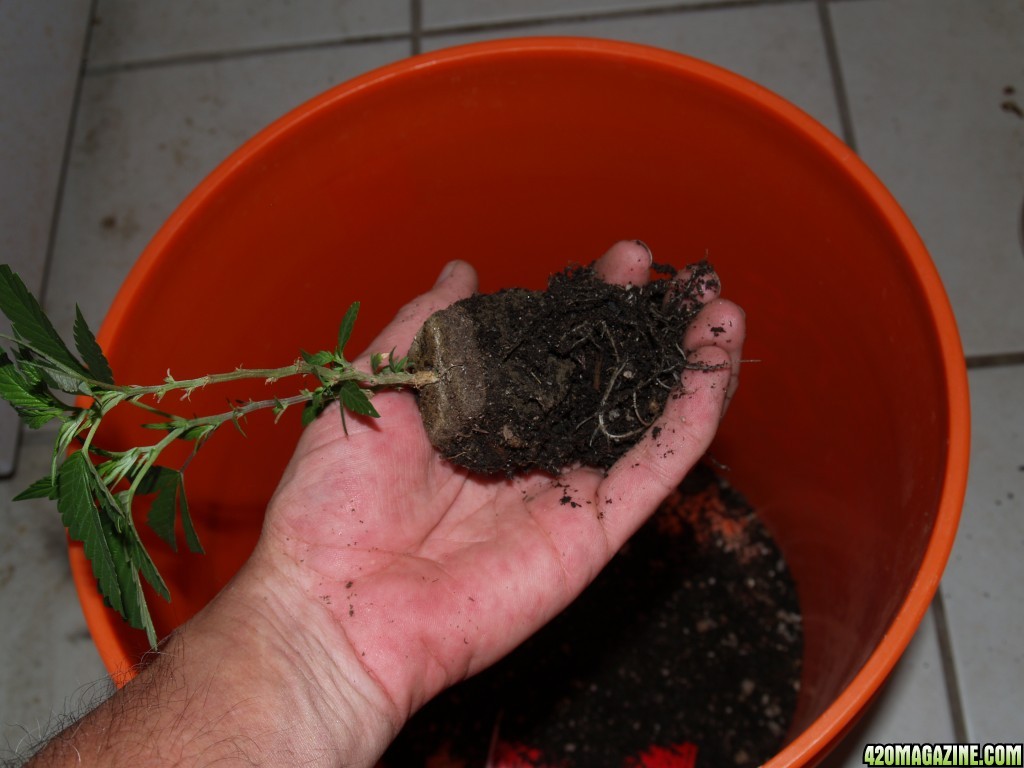
Here I am inserting the plant into the rockwool. As you can see the roots are nice and white and healthy, now lets keep them that way.
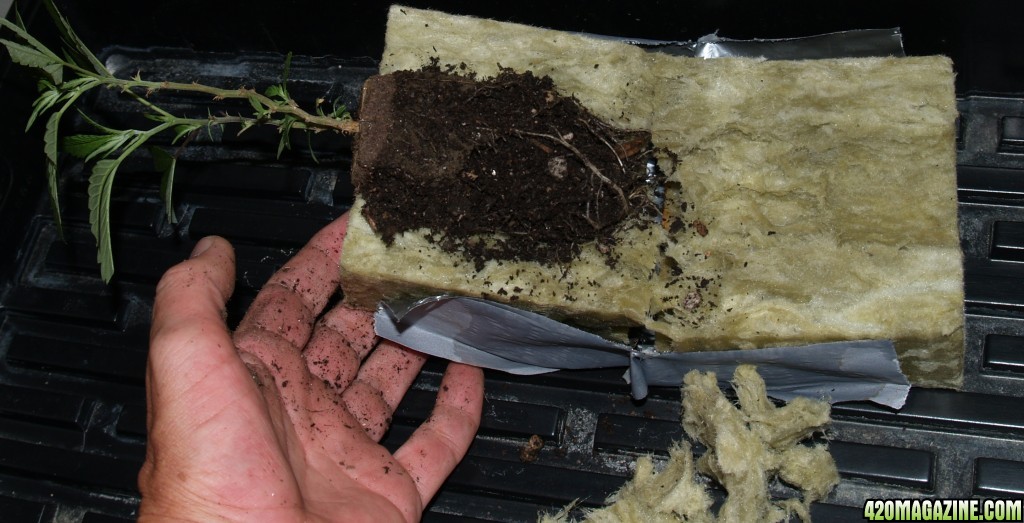
Fold it back together and use rubber bands to hold them.
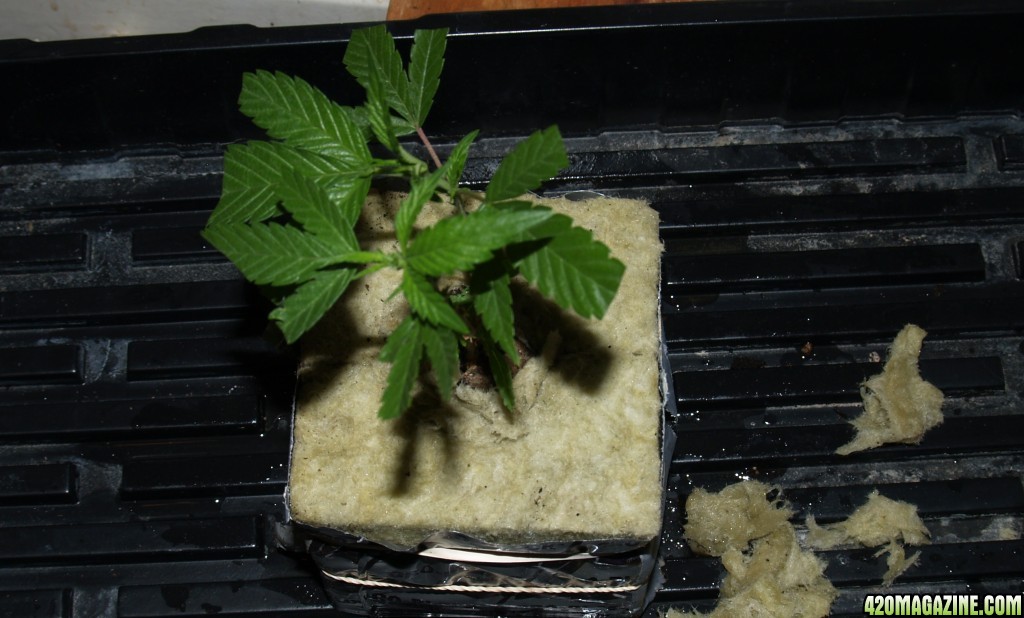
Here they are in there first temporary home until I can move my single plant BB LST. I used 4 CFL 75W for this.
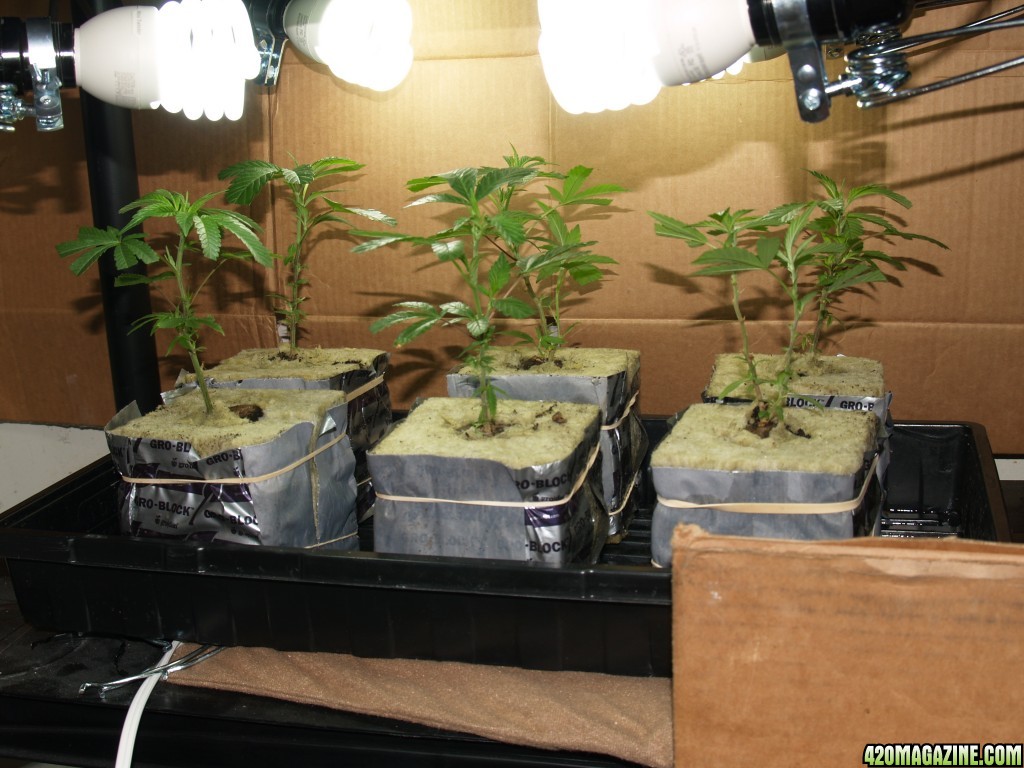
Then I decided they needed more and I added my spare Fluorescent.
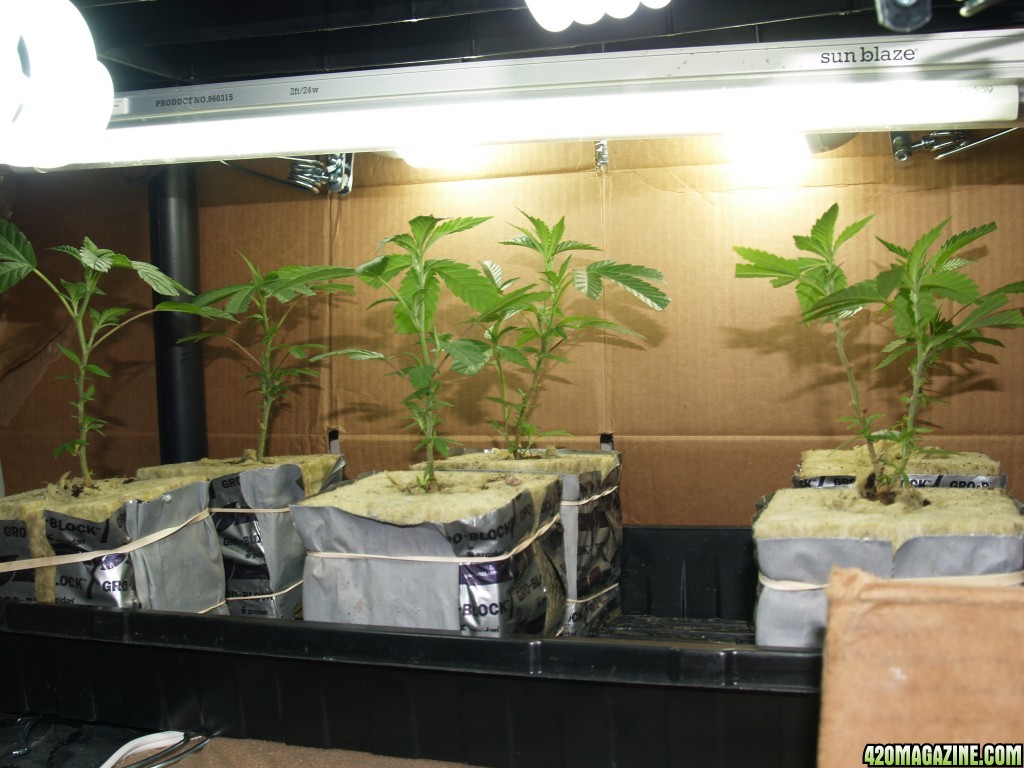
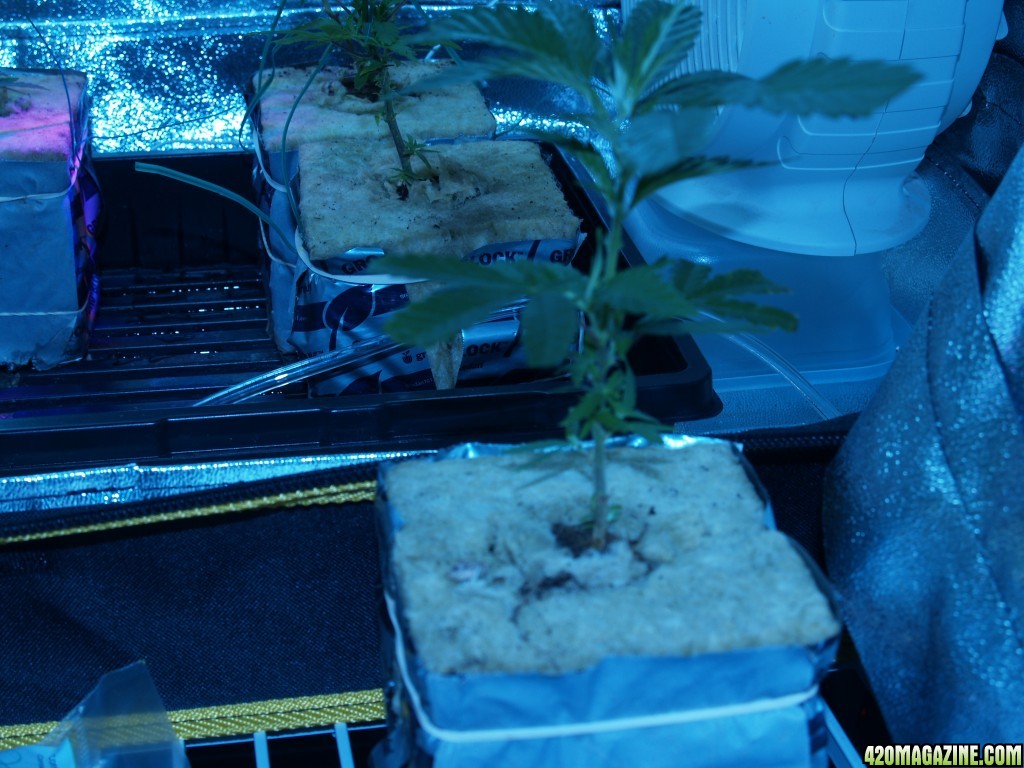
Here are some close up pictures of them. The transplant went well and they don't look any worse for the wear.
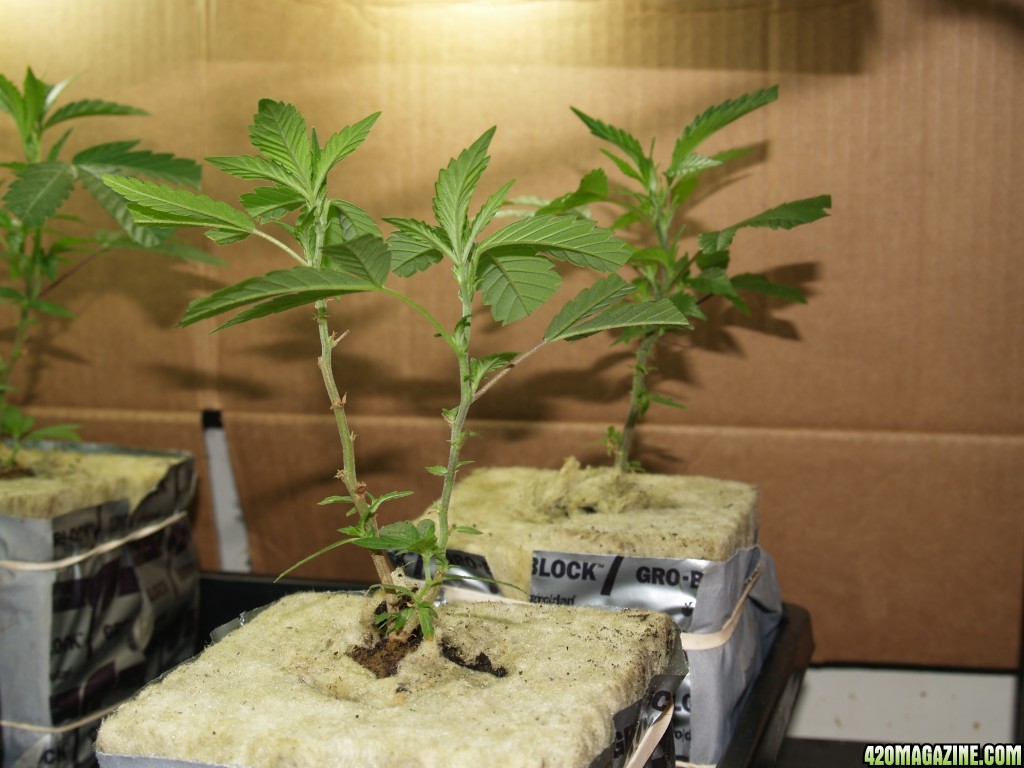
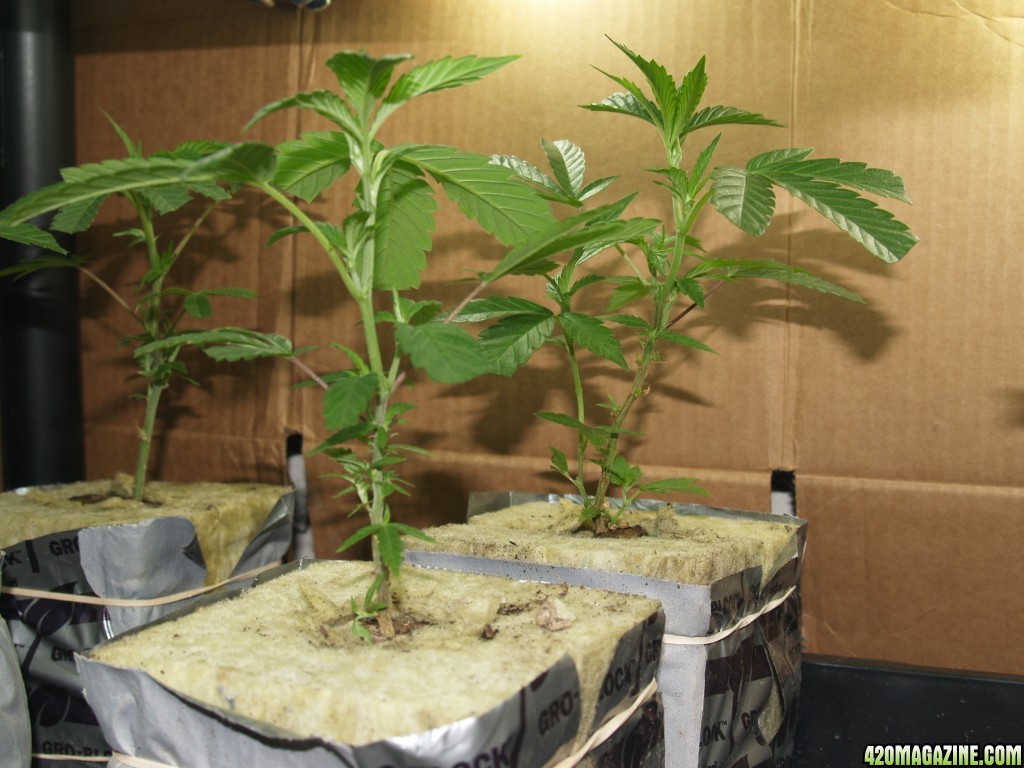
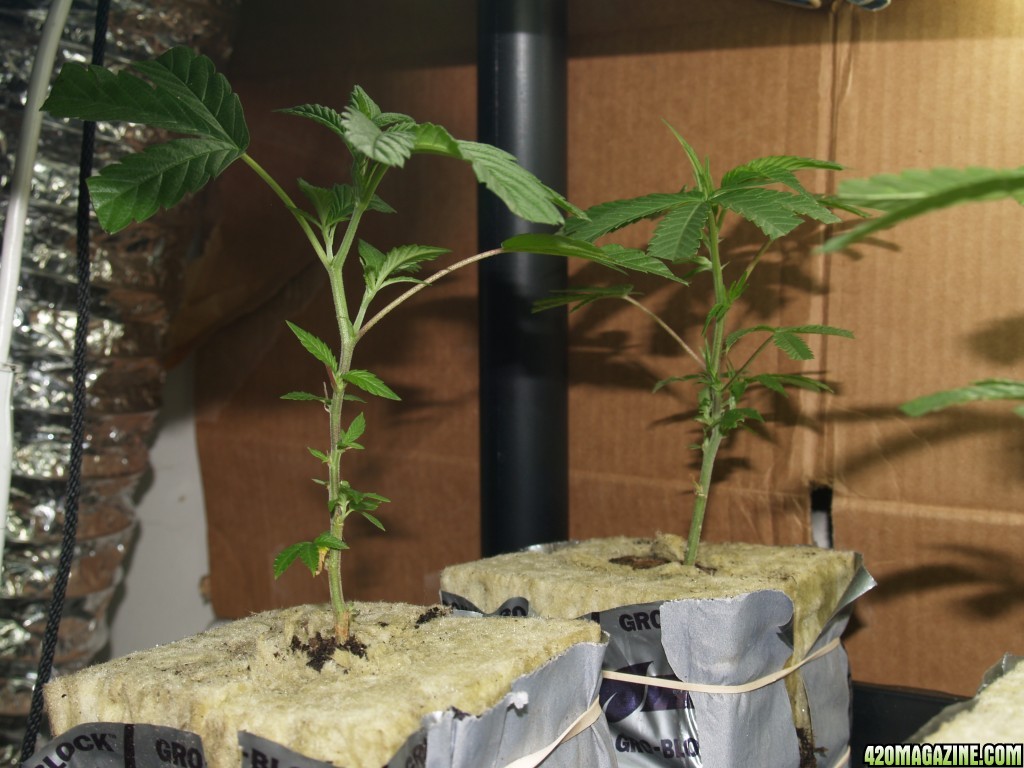
The next day I made some room in the main tent for the Single Blueberry and moved them into the Veg Tent. Next step start the training and get the new hydro set up.
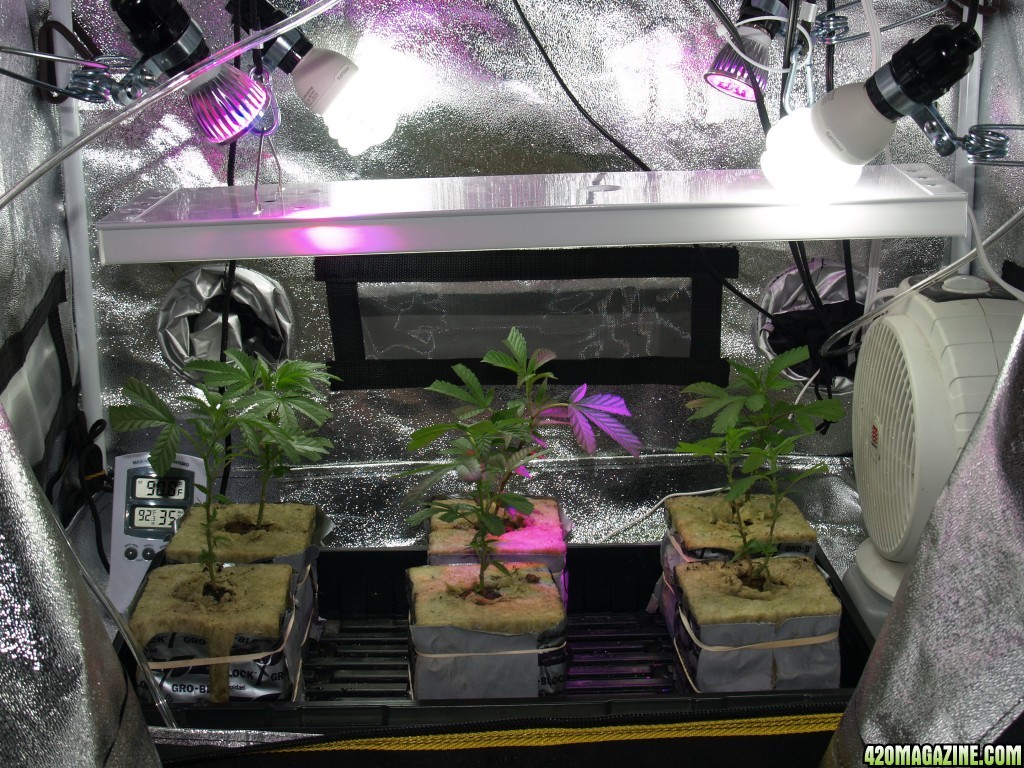
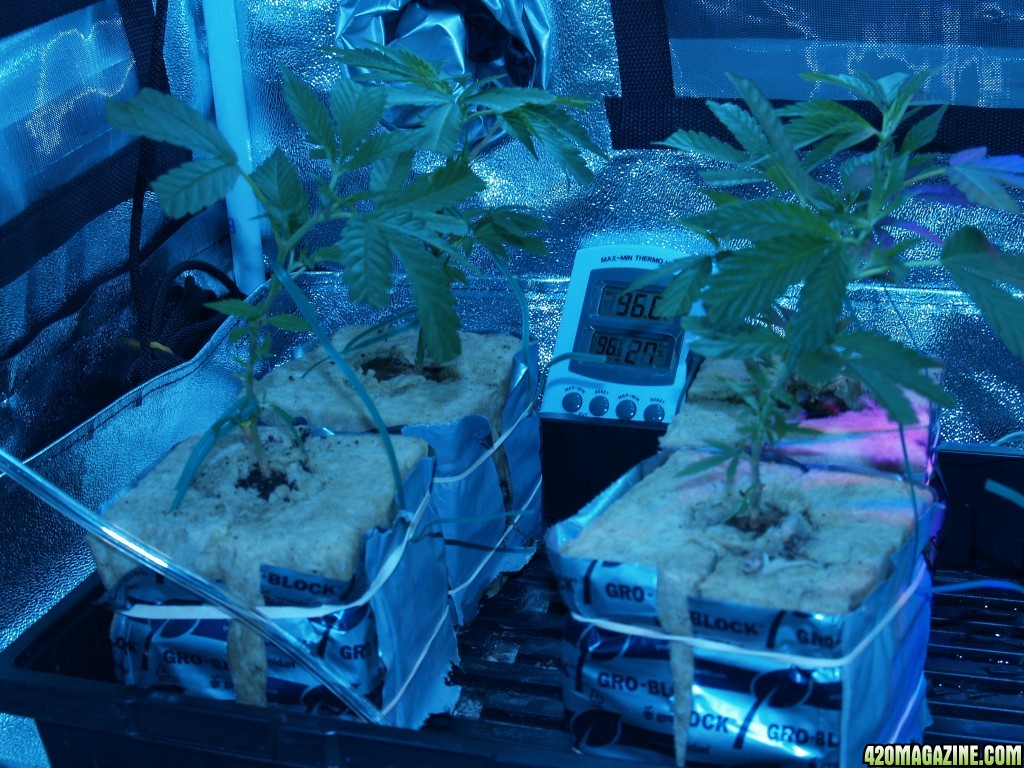
We were going through a heat spell here so I left the tent open a lot but it was still hot, they seem to be handling the heat fine, being sativas
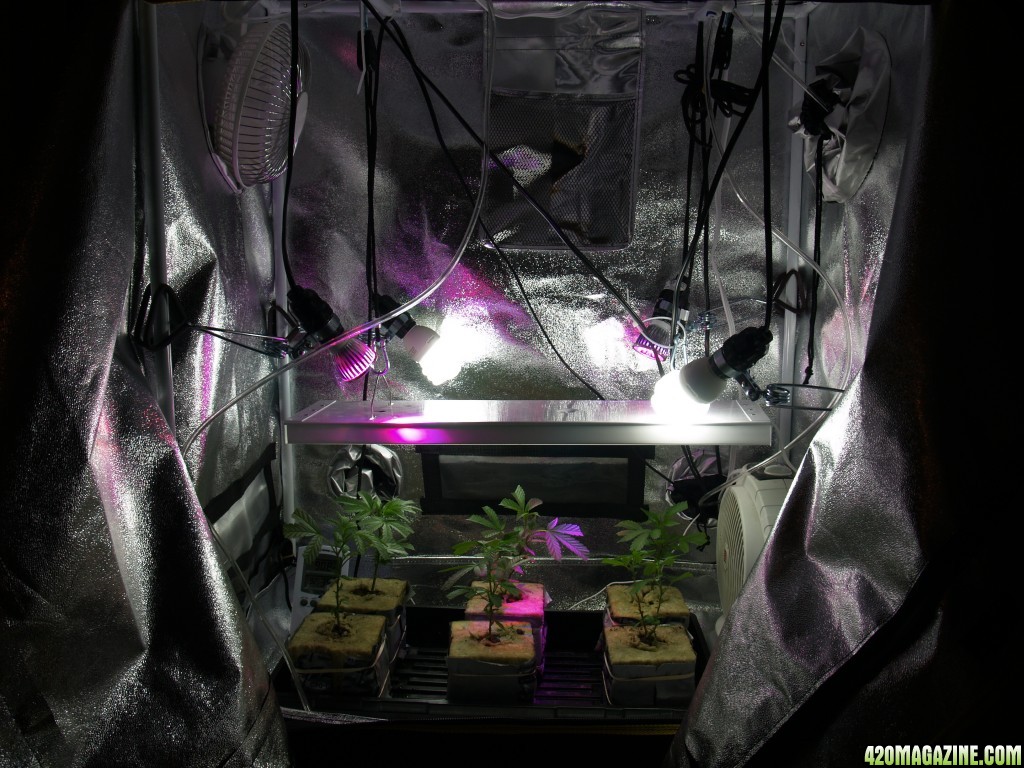
A series of first LST training using wire ties to lightly stress them into laying over. I do not have room for 6'+ Sativa's so if I'm going to be able to grow them they will have to lean over. But if done right it will open up many new bud sites for large Zips. Its what I did with my BB grow and I have a large number of large buds.
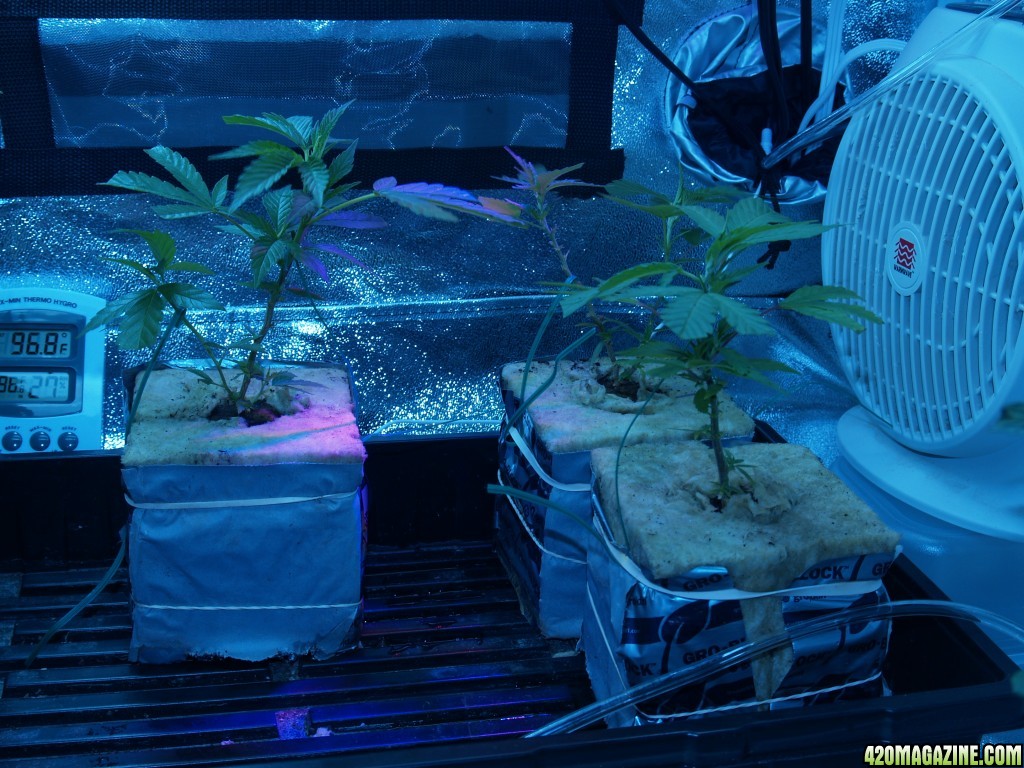
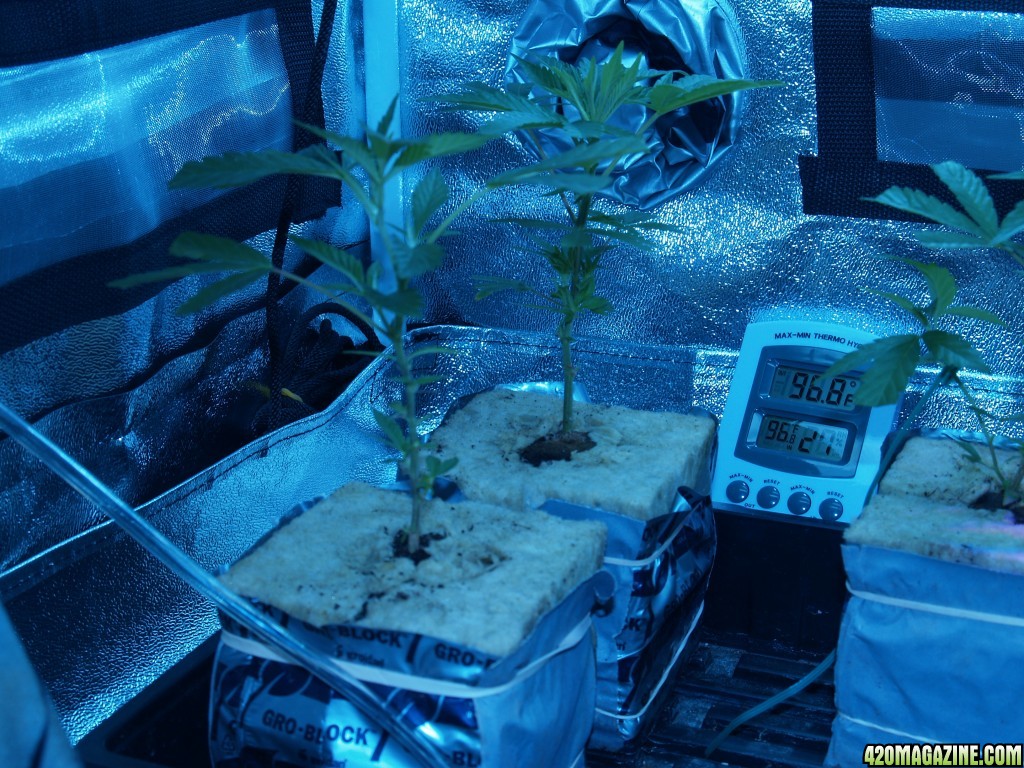
So a few days have passed and I have built my new Hydro System and its time to move the Cookies into the new pots for the Flood and Drain Hydro System.
I used 6" square aerated pots because I needed the holes up the side of the pot for it to work. I first laid down a layer of Hydroton so the rockwool wouldn't sit in the leftover nutrient at the bottom of the drain tray. Then a layer of rockwool cubes:
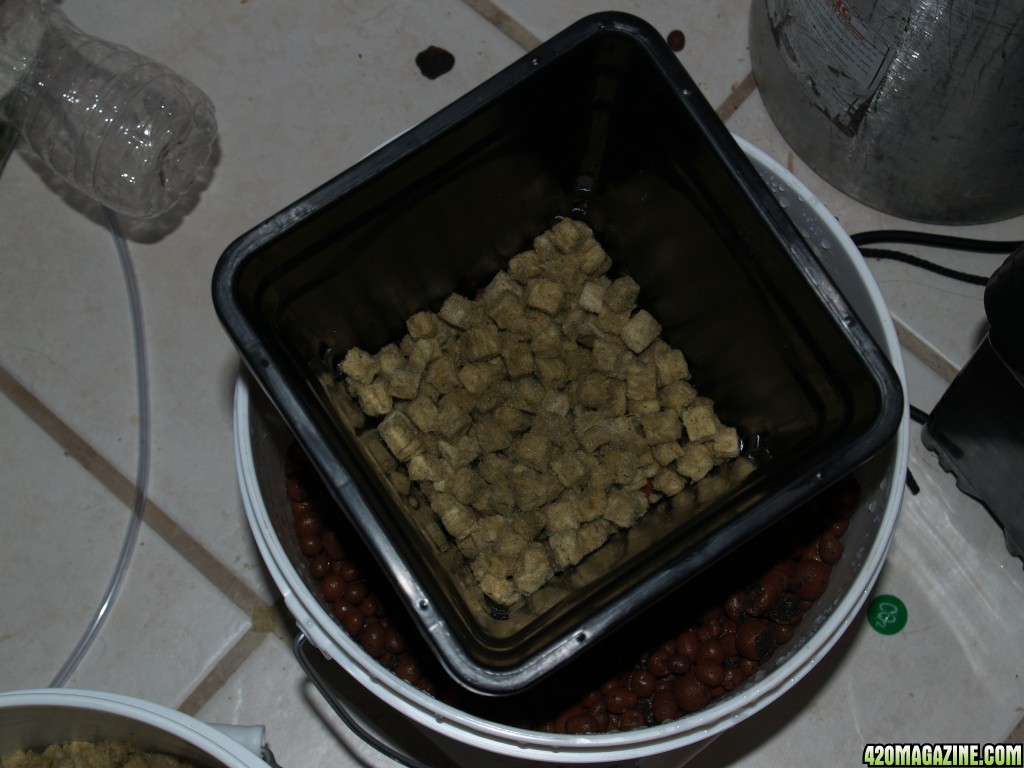
I removed the plastic from around the 4" rockwool cube and took a look at the bottom. After just two days the roots are starting to pop out the bottom!
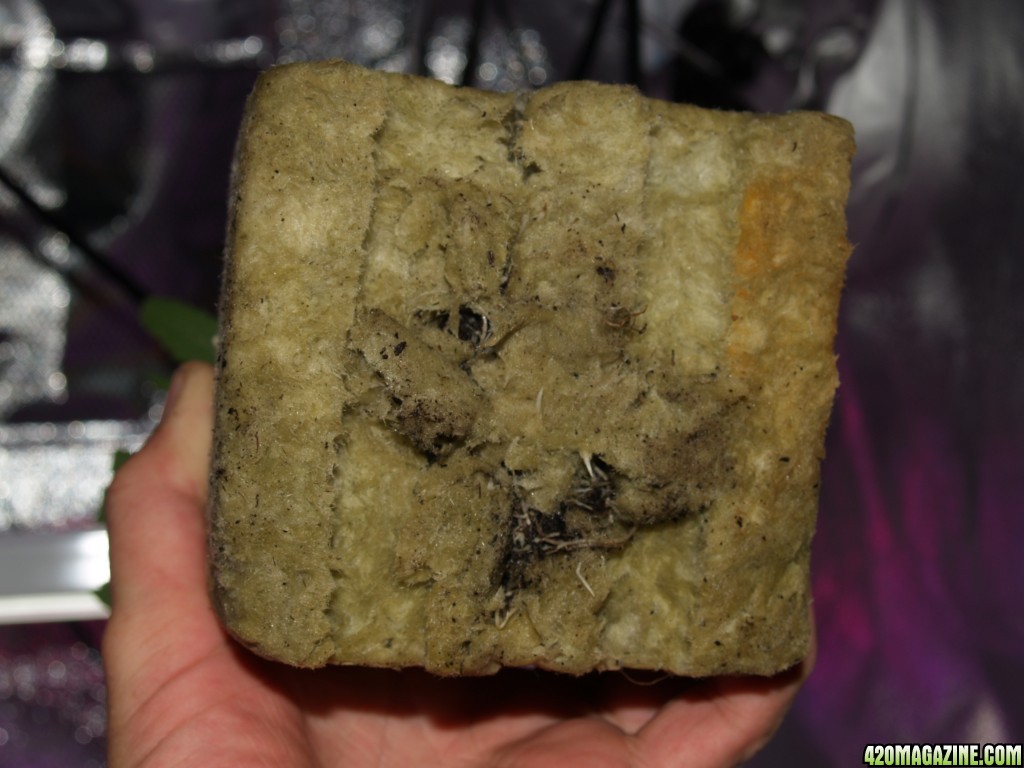
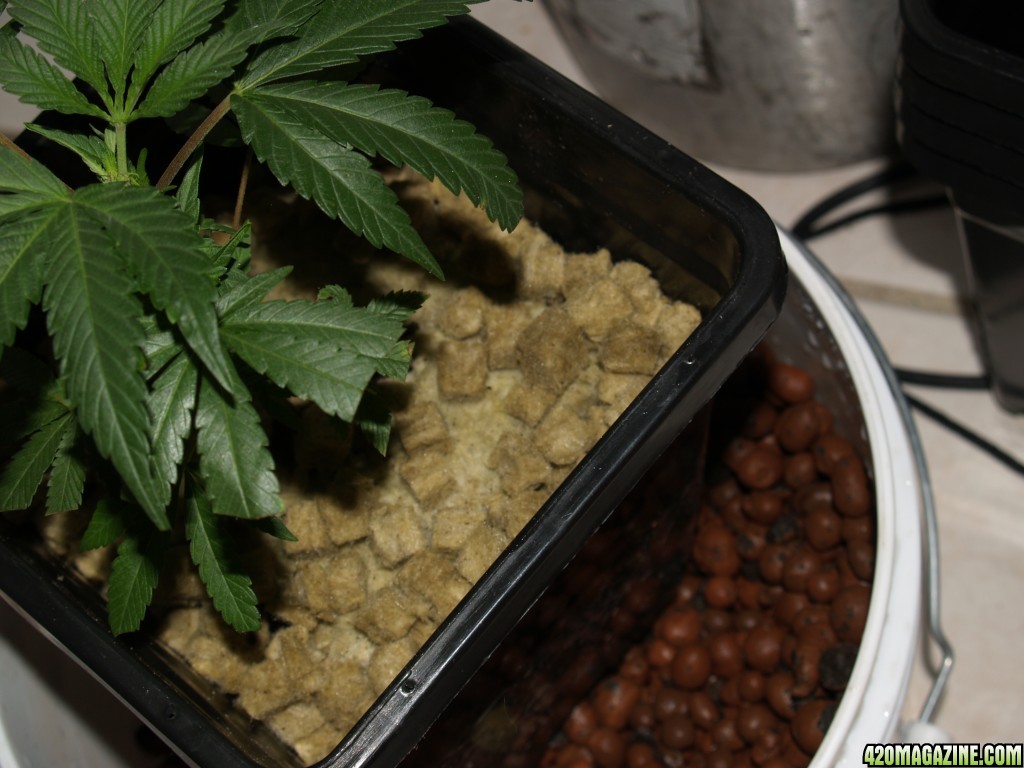
After putting the plant into the pot, you need to fill it with rockwool cubes. It was a tight fit and I wanted to makes sure there were no voids down the side I poked and pushed them down the side.
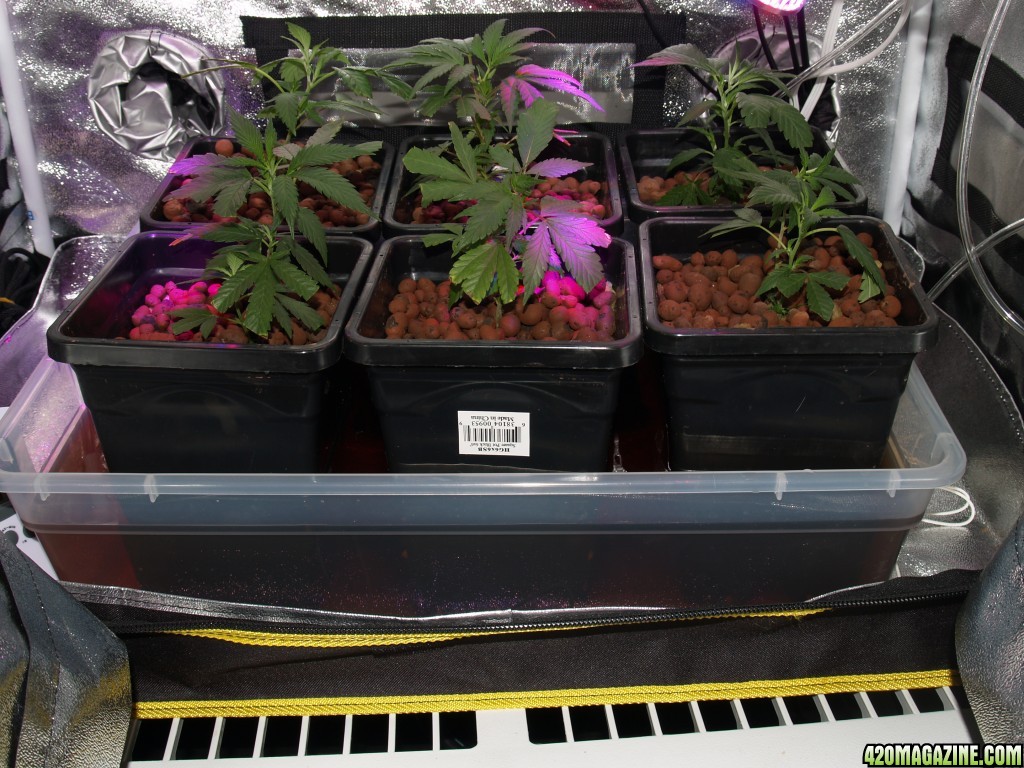
Top them off with some more hydroton to prevent rockwool algae. All six are done and you can see the first feeding.
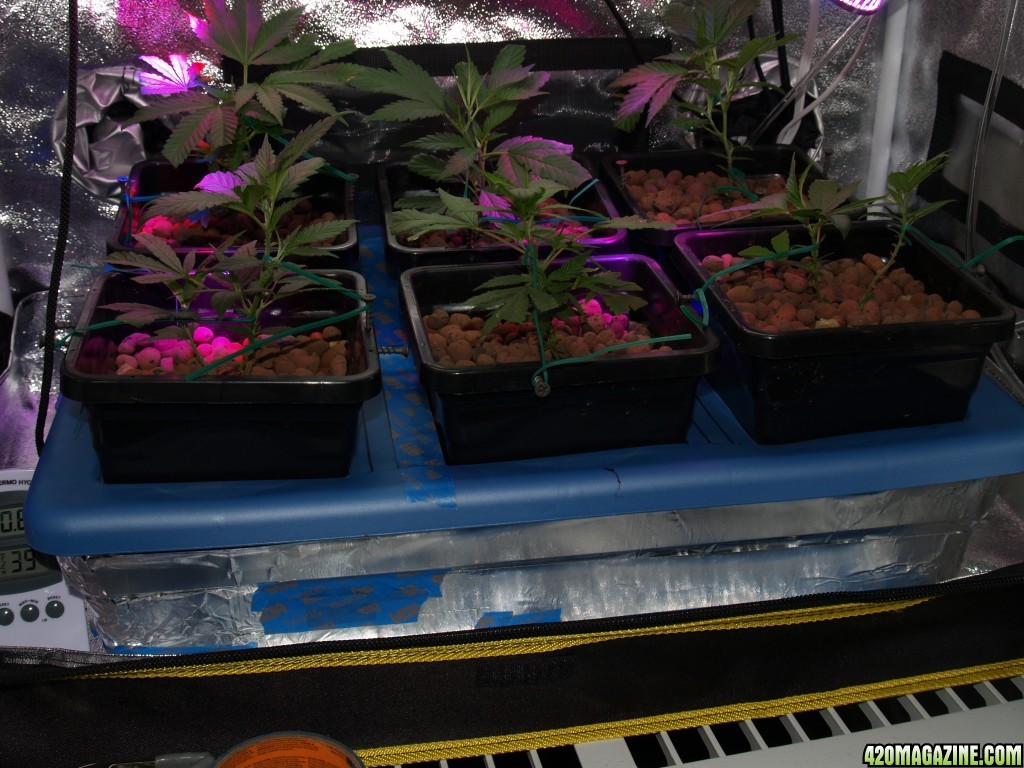
Then I was informed by helpful 420 members that light shining into my drain tray is bad so I made a top for the tray from the lid and covered the bottom with aluminum tape. There is a rather humorous recount of my experience making it in the tutorial.
OK caught up with the grow to date. Will be having daily updates from hear on out until harvest.
Genetics: Hybrid S80/I20
From Clones purchased 5/13/14
Currently in Veg from rooted clones
I have contract the grower of my clones and will have more detailed genetic data soon
Planned Veg Period: 4 Weeks
On 5-19 SOJ (Start of Journal) 6 days in Veg
This will be an indoor grow
Flood and Drain Veg, Ebb & Flow Top Feed final week of Veg and Bloom
Stage 1 Veg Tent:
Lighting 3 24" 5K Fluorescent and 4 12 W R/B LED's
$50 DIY Flood and Drain Hydro for Veg Tent
Current:
Temp: 86F
RH: 48%
Nutrient Temp 78F
Nutrients used:
General Hydroponics Flora Series 3 Part
Nutrient Schedule: GH Nutrient Chart Using the Expert Re-circulating Schedule with Supplements will detail in journal at appropriate time.
Grow Medium: Rockwool Cubes on a Hydroton base.
Training Planned: Yes
Type: LST started at day 1.
Bloom Tent currently occupied by Blueberry grow
Lighting: 1000W HPS Dimmable 2 48" Fluorescent with 2.6K Bulbs
Will be running Top Feed Ebb and Flow Hydro
So here we are DAY1 since SOJ (Start of Journal)
We need to catch up for the last week. I have done many things for this grow, primarily building a Flood and Drain Hydro System. I am not going over that again, if you need more info on it I have documented a tutorial on its build, you can find a link to it in my Sig.
So we will get started on the good stuff the new babies:
I bought these clones from the same place I got my Blueberries Clones I am totally happy with them.
Here are the pictures of them when I brought them home:
This first one had a nice little side branch already going
Nice and dark green very healthy
This one has a really nice double stalk if done right this could be a real jewel!
 Its unfortunate that I don't have room to do a flux, I think this would be a good start.
The stalks have lots of new growth sites and should really respond to LST
The clones came in soil, so still being new to this I asked around and got some good
 advise on the transplanting them to Rockwool.
First thing to do was prepare the rockwool cubes for transplant. I used 4" rockwool cubes split in half. I soaked them overnight with PH 6.0 DH20 Water with 1ml/G of Cal/Mag and 1ml/G of Roots Excelurator. I split the cubes in half before I soaked them figuring it would be less of a mess, and it was. Just be careful dry rockwool is ichy!

Here is the soaked Cube cut in half ready for the transplant:
I cut off the side of the cup and you can see they are well rooted.
I decided that since I was going to encase them in the 4" cube I did not need to totally wash off all the dirt. I also figured the residual dirt would provide some initial nutrients so I would only water them the first day or two until I built the new system
Here I am inserting the plant into the rockwool. As you can see the roots are nice and white and healthy, now lets keep them that way.
Fold it back together and use rubber bands to hold them.
Here they are in there first temporary home until I can move my single plant BB LST. I used 4 CFL 75W for this.
Then I decided they needed more and I added my spare Fluorescent.
Here are some close up pictures of them. The transplant went well and they don't look any worse for the wear.
The next day I made some room in the main tent for the Single Blueberry and moved them into the Veg Tent. Next step start the training and get the new hydro set up.
We were going through a heat spell here so I left the tent open a lot but it was still hot, they seem to be handling the heat fine, being sativas
A series of first LST training using wire ties to lightly stress them into laying over. I do not have room for 6'+ Sativa's so if I'm going to be able to grow them they will have to lean over. But if done right it will open up many new bud sites for large Zips. Its what I did with my BB grow and I have a large number of large buds.
So a few days have passed and I have built my new Hydro System and its time to move the Cookies into the new pots for the Flood and Drain Hydro System.
I used 6" square aerated pots because I needed the holes up the side of the pot for it to work. I first laid down a layer of Hydroton so the rockwool wouldn't sit in the leftover nutrient at the bottom of the drain tray. Then a layer of rockwool cubes:
I removed the plastic from around the 4" rockwool cube and took a look at the bottom. After just two days the roots are starting to pop out the bottom!

After putting the plant into the pot, you need to fill it with rockwool cubes. It was a tight fit and I wanted to makes sure there were no voids down the side I poked and pushed them down the side.
Top them off with some more hydroton to prevent rockwool algae. All six are done and you can see the first feeding.
Then I was informed by helpful 420 members that light shining into my drain tray is bad so I made a top for the tray from the lid and covered the bottom with aluminum tape. There is a rather humorous recount of my experience making it in the tutorial.
OK caught up with the grow to date. Will be having daily updates from hear on out until harvest.


