Stealthy's NL/BB Hydro Grow

Way to go Stealthy1:grinjoint:
Damn nice DIY on all the mods.

I loved what you did to the magnetic bar the didn't work out. If I grow inside again that will be the way I set up my lights. Thanks.:ganjamon:

Thanks man. Yah I thought a solid bar would be better with the limited height because when you use chain or rope they always sag no matter what...
The magnets just wernt strong enough once I put the second light on. I said "just one good bump and itll come down" well I bumped it once and it came down and that was that that bar came outta there at light speed. I had actually had this idea once I installed the light rail and saw all the holes but I couldnt abandon my magnet idea on a whim lol.
 
Wow.. your pretty crafty. lol. Sucks about all the males. Better luck to you with your new batch.

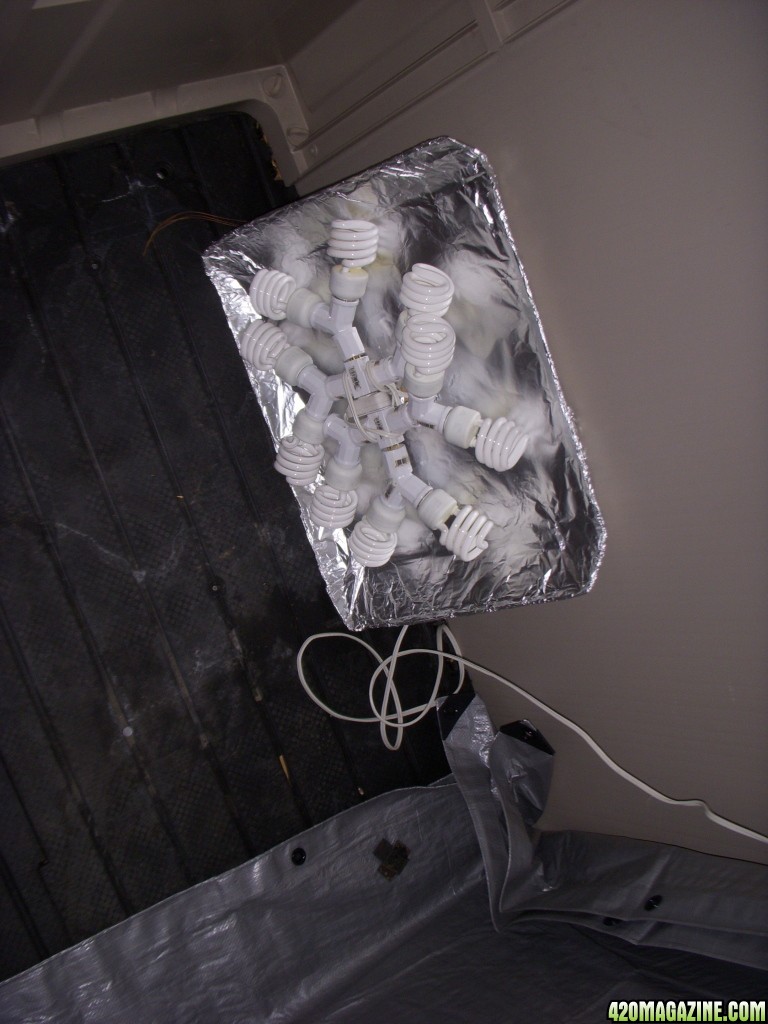
Check out this crazy light I made. lol. Maybe it can give you some more ideas.

11-22-098-10.jpg

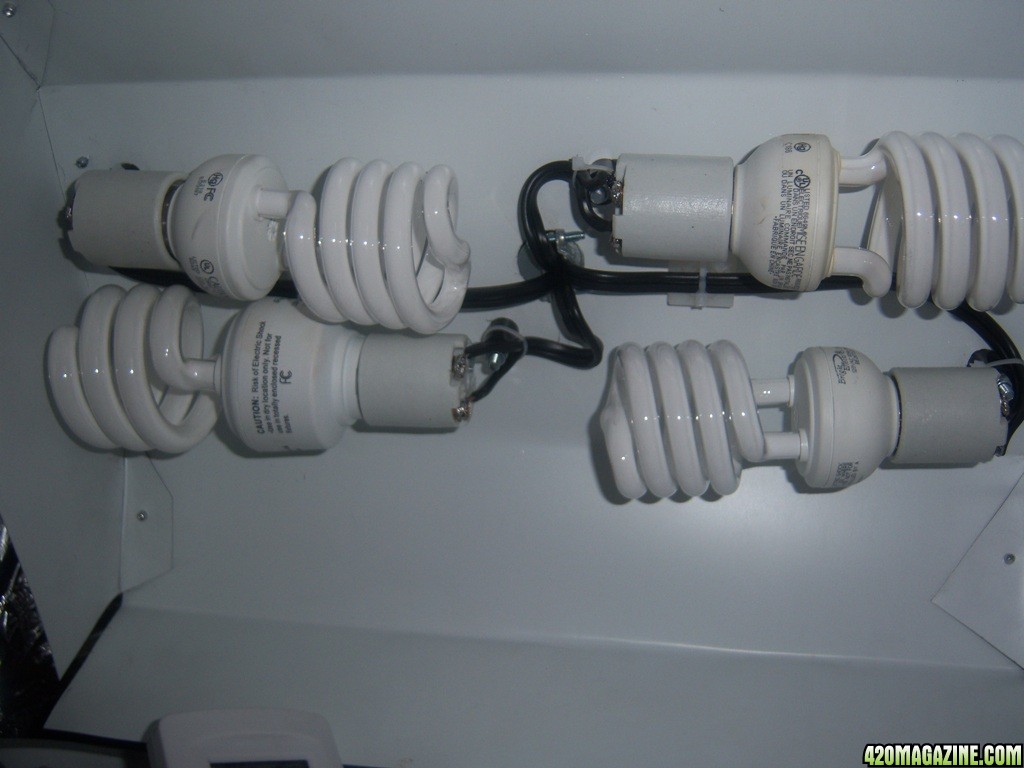
Well you definitely got me beat on number of lights. But I think I win on aesthetics lol. Very nice though I still debating if I should just do a cfl grow and ditch the HPS....
If I do Ill have to make something more on that scale. did you use tin foil or is that mylar?

100_12583.jpg


100_12634.jpg
 
I personally like CFL's better than MH or HPS. My plants seem to respond better to them and they dont create all of the heat the other lights do. I'd say to stick with the CFL's for as long as you can, as long as you can keep the lumens per square foot up. Light fades very fast as the distance between the light and the plant gets greater. For flowering though, I would definitely switch to a high watt HPS. That way all the bud sites get plenty of light.

You should check out my ghetto CO2 generator too. lol. I just added it to my garden last night and this morning I have 2 new inches on my plants. I'm not sure if the plants just decided to do that on there own, of if the CO2 generator I made caused the effect. Either way, its low cost and cant do any harm, only good.
 
Thanks Labrat I will..

Thanks Shadow. I love that quote too ha. For me it summarizes the experimentation process. Your going to break stuff or its not going to work like you wanted 100% of the time. I hear allot of people(though not in these forums lol) say "I cant do that I dont know how" they would rather pay someone to do everything or buy everything because they are afraid of failure. But the truth is if you limit yourself in this way then you really cant do "that" because you'll never try.
That my take on it maybe Im reading a bit into it though... =)
 
Hi Stealthy, happy to see you have some green things still growing. Regarding a pure CFL grow, I think it'd be fine for veg but from what I've read, you'll need the HPS for flowering. I'm vegging under about 125W of T5 High Output fourescents and the plants seem to like it. Not as many lumens as my 250W Metal Halide, but I can hang the fluorescents a lot closet to the plants so it's probably a wash. Once the plants get to be four weeks old or so I'll switch to the Halide to finish vegging then switch to HPs for flower.
 
Yah its just a heat issue to deal with now I guess I want to get a good fan but Im worried about the noise.
How loud are the fans your running usul?
 
Ok So I got some update pictures here. Picture quality not as good Im using my crappy cam because Im sick of resizing 5 million pics.lol

I dunno how recent this post is, but I thought I'd make and upload a tutorial for standardizing the resizing of images in Photoshop CS3. (it works in all PS's down to about version 4, but they look a tiny bit different.)

actionstut.jpg


I believe you can also add a Save function to the Image Resize Action, but I can't remember (and I closed PS before checking).

This action makes resizing images a 3 step process. Load, play, save, Go To Step 1. :) Hope it's helpful.

EDIT: I just realized the pic is a bit hard to read and a slight bit inaccurate. Here's the steps from start to finish:

1. Load image.
2. Click Actions.
3. Click Record.
4. Resize Images.
5. Click Stop.
6. Save.
7. Load New Image.
8. Click Play.
 
Yah its just a heat issue to deal with now I guess I want to get a good fan but Im worried about the noise.
How loud are the fans your running usul?

Yes, heat is the biggest issue with HID lighting - especially in small tents or cabinets. I'm running a 4" inline fan rated at 200CFM and it is louder than I'd like. I'm also circulating air in the tent - mostly between the lamp and the plants (helps with cooling) using a 4.5" axial fan, and it's loud too. So, when everything is running the sound is fairly obvious - even inside the sealed closet.

I'm all but certain you'll need your HPS to flower a crop. If anyone can figure a way to build a quiet HID cooling system it's you. Can't wait to see what you come up with :)
 
If anyone can figure a way to build a quiet HID cooling system it's you. Can't wait to see what you come up with :)

I'm working on the same thing - trying to slow down a 6" fan now to replace a 4" vortex type... the variable speed fan controls make the fan hum, and the 3 speed fan control is silent, but makes it too slow... off to the store to find a 4 speed.
 
Have you thought about putting that drain valve in the very bottom corner? It seems to me (based on you description) that you have it on the lower portion of the side of the tub. This would allow just a little lift of one side to drain whats left over.
Just a thought... I love the way think things through.

Yah Ive thought about it, but the rez is only 2 inches off the floor so Id have to lift it anyways to drain to anything other than a tray. And it would probably lead to me being lazy and not cleaning rez as often as I should lol

If anyone can figure a way to build a quiet HID cooling system it's you. Can't wait to see what you come up with :)

No pressure lol yah I will figure something out going to add another 70 watt hps so ill have too. Ive been seeing some people switch over to MH bulbs with this setup without issues so I might pick up a bulb and give it a go.
Maybe I will run a 70watt MH and an HPS at the same time...

and the 3 speed fan control is silent, but makes it too slow... off to the store to find a 4 speed.

Yes my 3 speed controller is like this 1st speed spins but does not move much if any air. 2nd speed is great without filter quiet moves plenty of air with filter it goes to full speed trying to move same amount of air. full speed well why bother explaining full speed might as well take controller off if you have to run at full speed all the time.


I have place my little guys into the the system and they are starting 12/12 tonight

Im am trying the lucas method right now at 40% strength.
Other than that I picked up some Floracious Plus man that stuff is funky turns the whole rez brown I added some @ 50% strength
The sprayers are on a 30min on/off cycle but they are in just rockwool cubes trimmed to fit in the 3" cups so it might be safe to go 60min off/30min on maybe.
 
I dunno how recent this post is, but I thought I'd make and upload a tutorial for standardizing the resizing of images in Photoshop CS3. (it works in all PS's down to about version 4, but they look a tiny bit different.)

actionstut.jpg


I believe you can also add a Save function to the Image Resize Action, but I can't remember (and I closed PS before checking).

This action makes resizing images a 3 step process. Load, play, save, Go To Step 1. :) Hope it's helpful.

EDIT: I just realized the pic is a bit hard to read and a slight bit inaccurate. Here's the steps from start to finish:

1. Load image.
2. Click Actions.
3. Click Record.
4. Resize Images.
5. Click Stop.
6. Save.
7. Load New Image.
8. Click Play.


Wow... this seems a little complicated for just resizing a picture and you have to pay for PhotoShop. No offense, but here's a much simpler way.

Go to download .com and download IrfanView. Its free and extremely easy to use.

Open it...
Irfanview_1.jpg


Drag and drop your picture into it...
IrfanView_2.jpg


Click "Image" then click "Resize"
Irfanview_3.jpg


Enter new size, Click Ok and then Save. Piece of cake and very fast.
Irfanview_4.jpg
 
I use infranview too - love the keyboard shortcuts and batch resize / rename.

I was thinking about your thread today Stealthy1 - finally found the fan / controller combo that works quietly! 6" growbright vortex fan, and growbright variable fan controller - it has much less "hum" than the other variable controller I tried.
 
Sorry for highjacking the thread a bit, but I just have to clarify. The description I gave was to make a repeatable action. You only do that once. For all the other pics you just load the pic and click play. You can even include quick-saving by pressing ctrl-s, and closing the file, before ending the recording. Say you have 15 pics you wanna resize, just load them all, click play 15 times and you're done.

And as for paying for PS. Lets just say you have a friend with the initials BT. I'm not suggesting anything mind you.
 
Ive been busy lately like most of you but here is a small update.
Here are the only survivors lol.
They had an issue before i put them in the hydro setup seemed to me like the PH shifted too much while they were in the germ box.
I dont know why because I soaked the cubes in PH adjusted water for more than 24hr.
Oh well they are good now.


003240.JPG

002280.JPG

001231.JPG
 
In other news they wife speaks of a grow off competition between us... she knows not what she speaks of lol but I will let her think she has a chance mwahaha...

Of course this requires a new cabinet but I think I have proved the stealthiness I can achieve with a system like this so a cab in the garage seems possible even though the tenant uses the garage on occasion.
 
Ok so couple projects to update here.

My cab got a bit warmer than id like last time with fan on 100% so I decided to make an inline unit I have this fan laying around from lord knows what (never throw anything away)

001_Medium_.JPG


Couple 6" to 4" reducers

002_Medium_.JPG


Cut a few tabs out to fit the fan mouting points

003_Medium_.JPG


overlap each other on the fan and taped.
Hole puched and wires tun through


004_Medium_.JPG


Inside view

005_Medium_.JPG


Here we have my ballast box. Cut a spot for the outlet.

007_Medium_.JPG


Here we separate the top and bottom receptacles on the outlet. Notice the tab in the middle

006_Medium_.JPG

008_Medium_.JPG


Outlet installed in box painted flat black


010_Medium_.JPG


everything wired and zip tied tight. Taped the terminals of the outlet for obvious reasons tested both outlets and it works as good as it looks.
I have plans for a fan for this box next.

011_Medium_.JPG
 
Man that was hard to write while stoned...
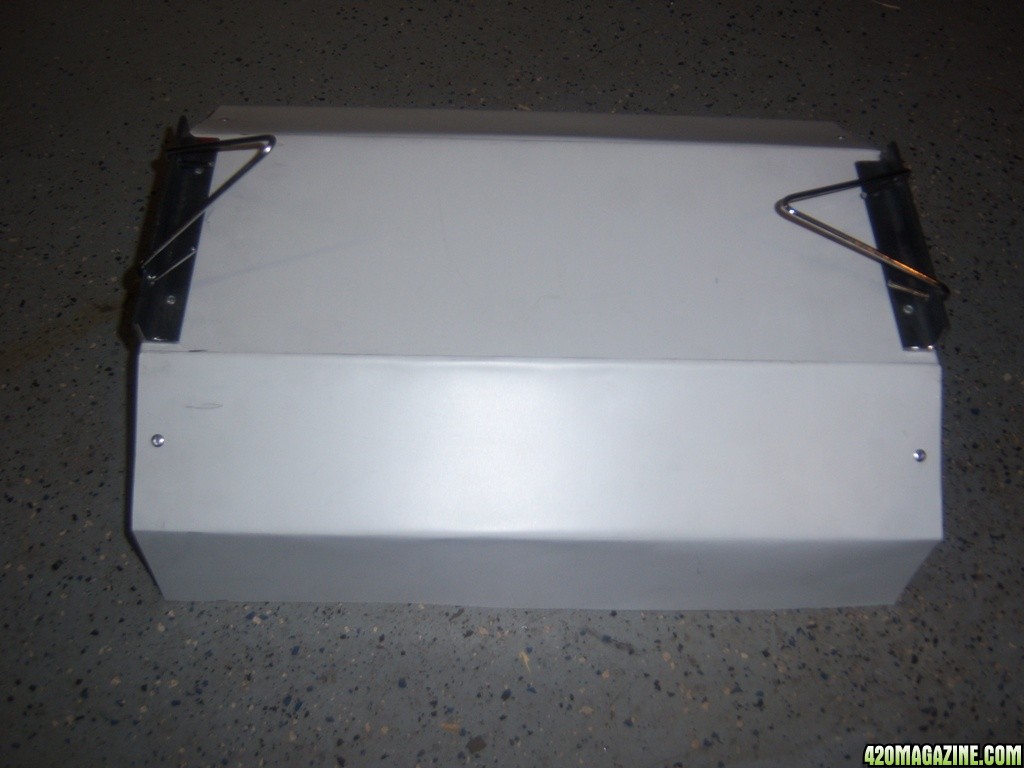
Forgot to mention I think Im going to rework my current HPS hood to accommodate another bulb and glass.
Or anyone think I should just not be lazy and make a new one from scratch?
 
Back
Top Bottom