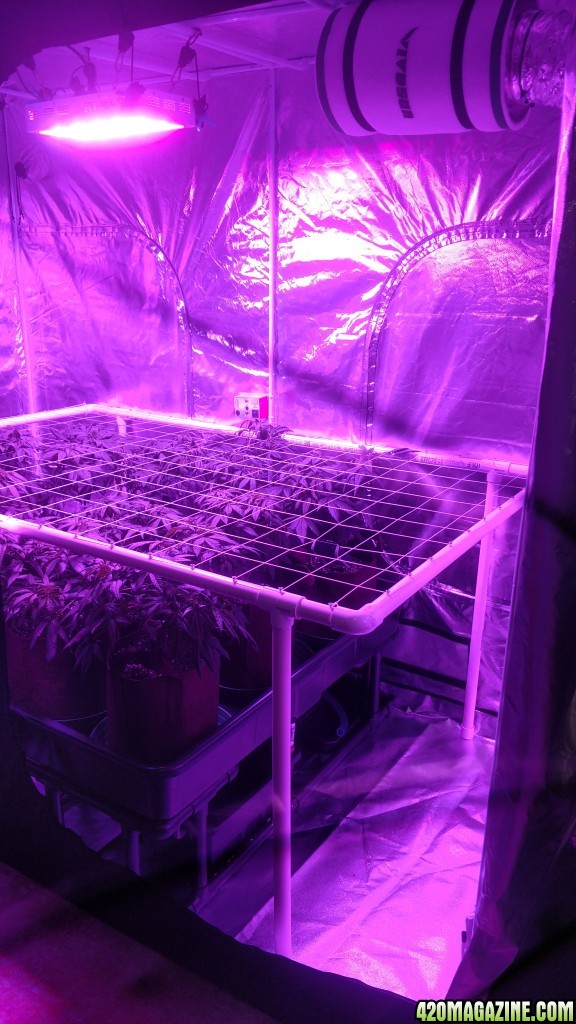
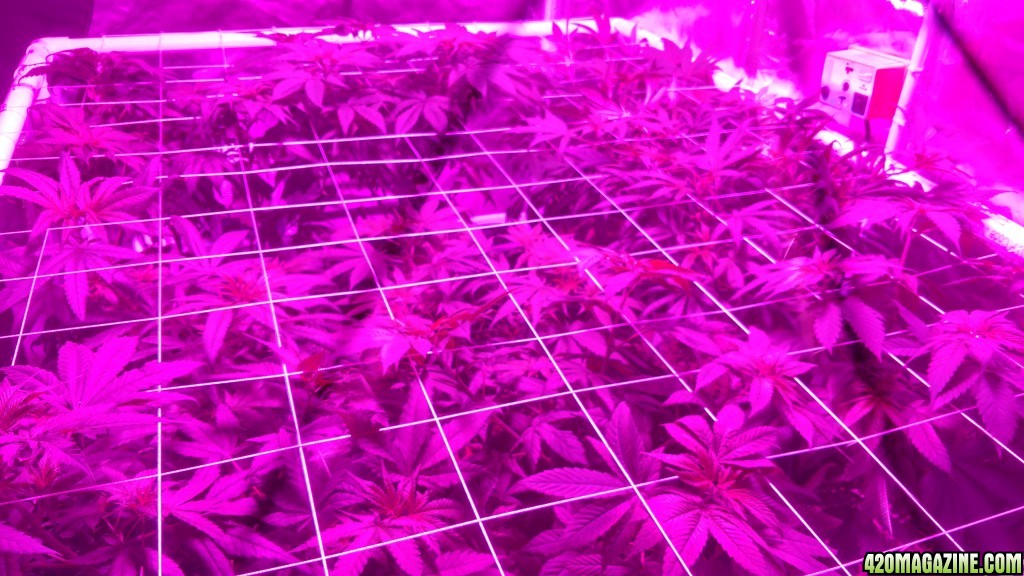
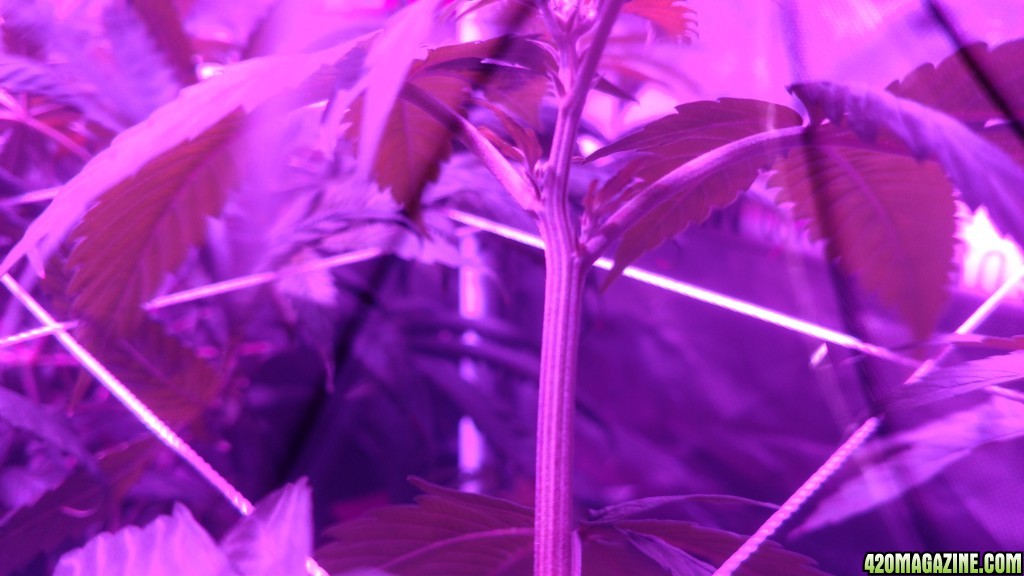
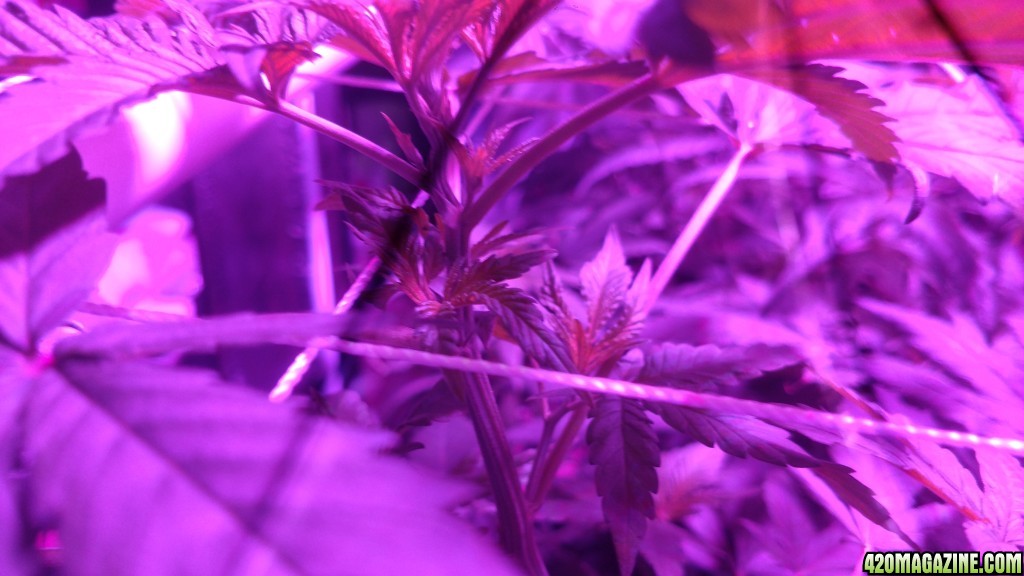
Today was a productive day. I decided to attempt, and with some luck, was successful, building a S.C.R.O.G stand and netting. I spend a little bit more than if I had bought a manufacturer's item, but I figured I could fine tune it to my needs and specs with the potential for adjusted height and durability.
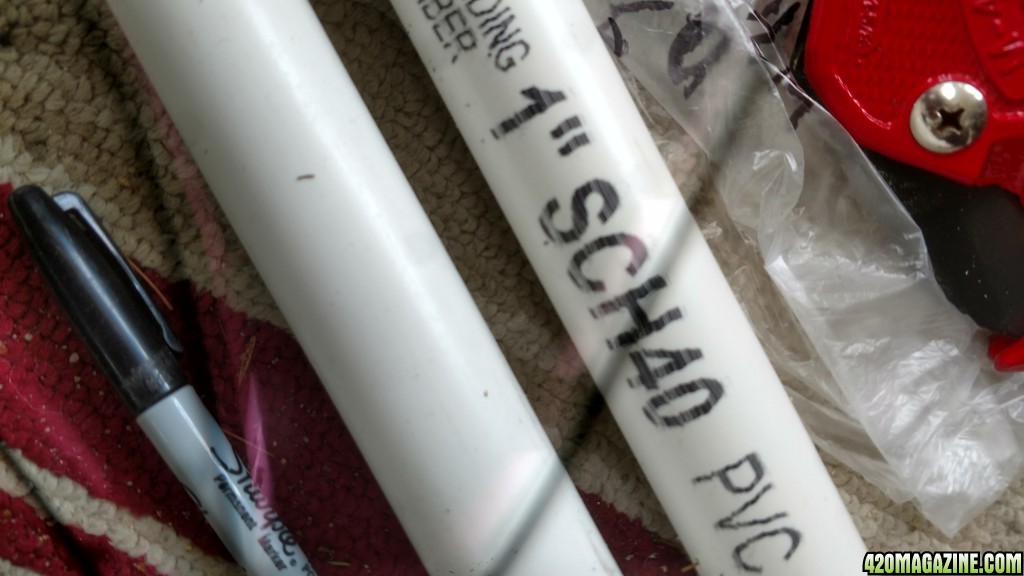
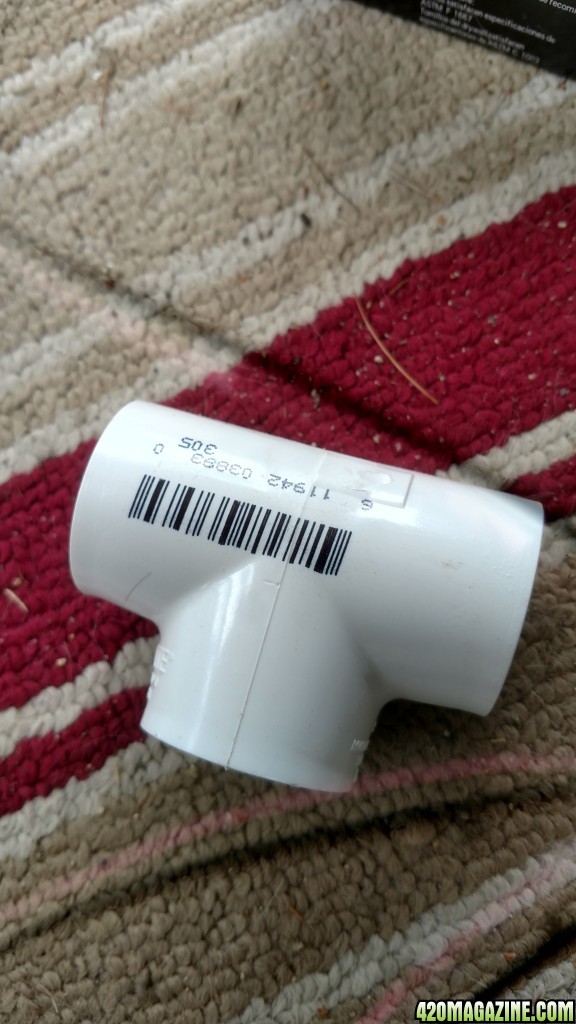
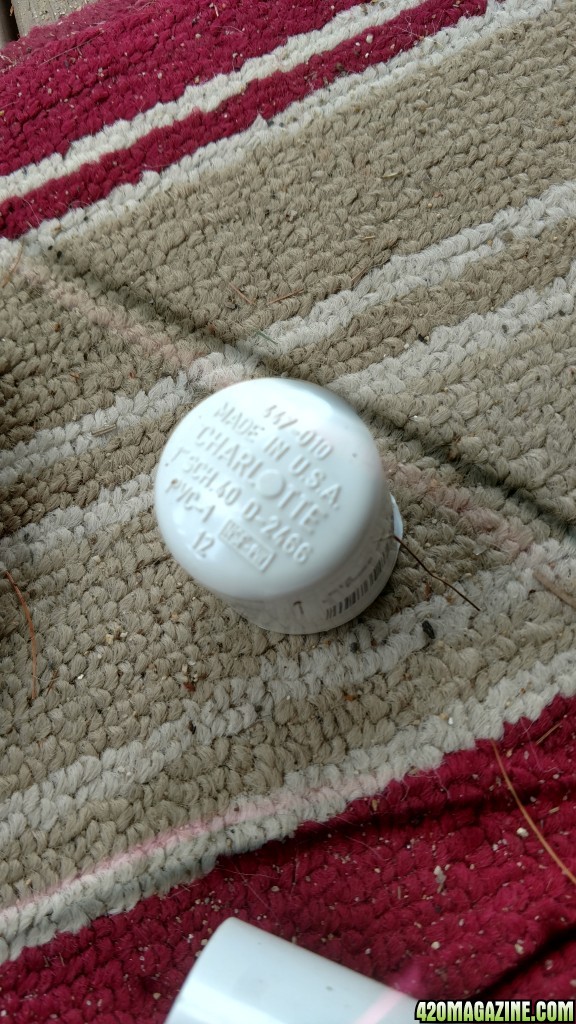
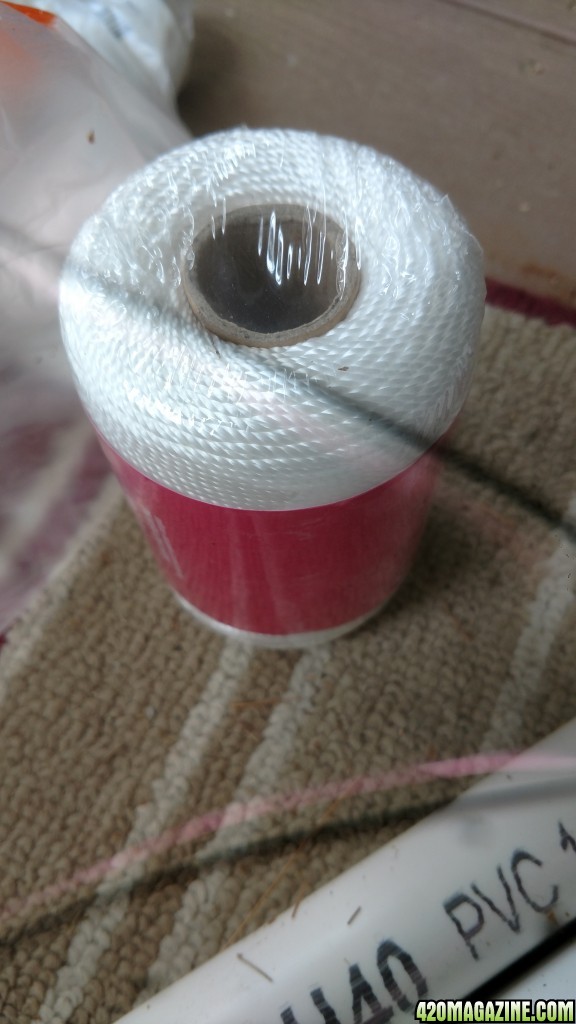
Here is a list of the items needed and used for the build, through pictures. (I neglected to photograph the 90° elbows, I'm sorry).
All PVC is 1 inch schedule 40.
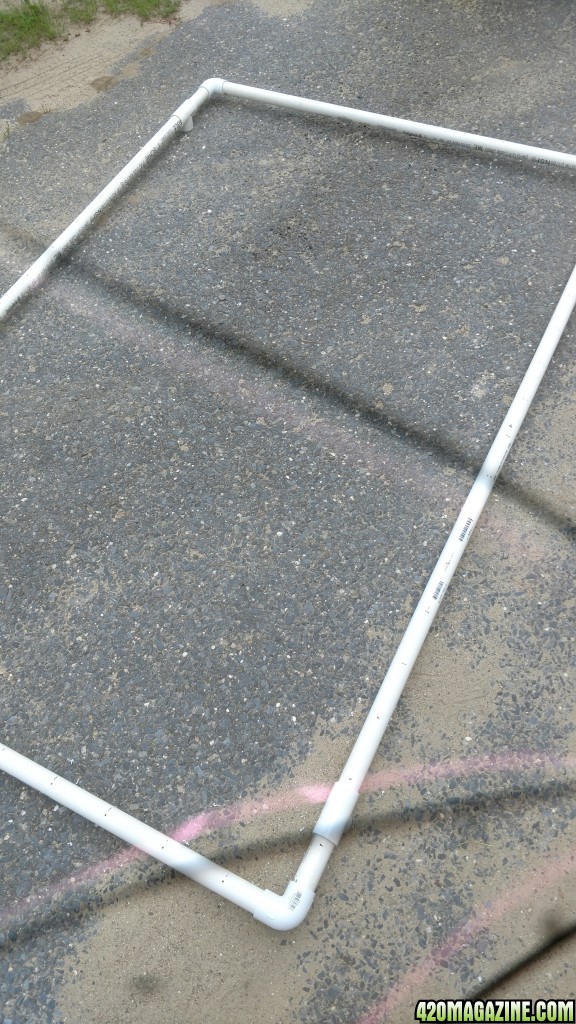
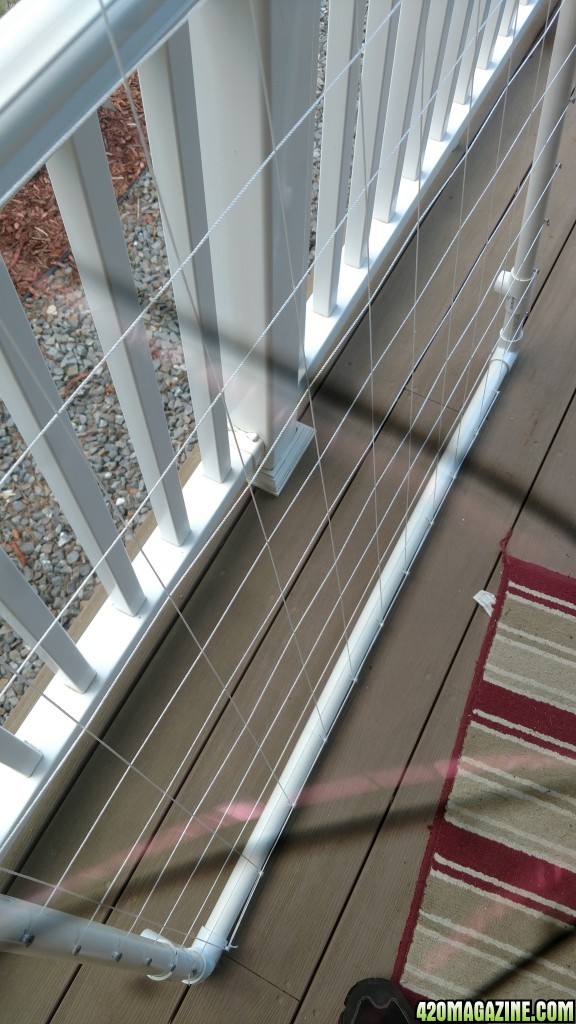
I did not glue the parts...the tension of the string line holds the framing together.
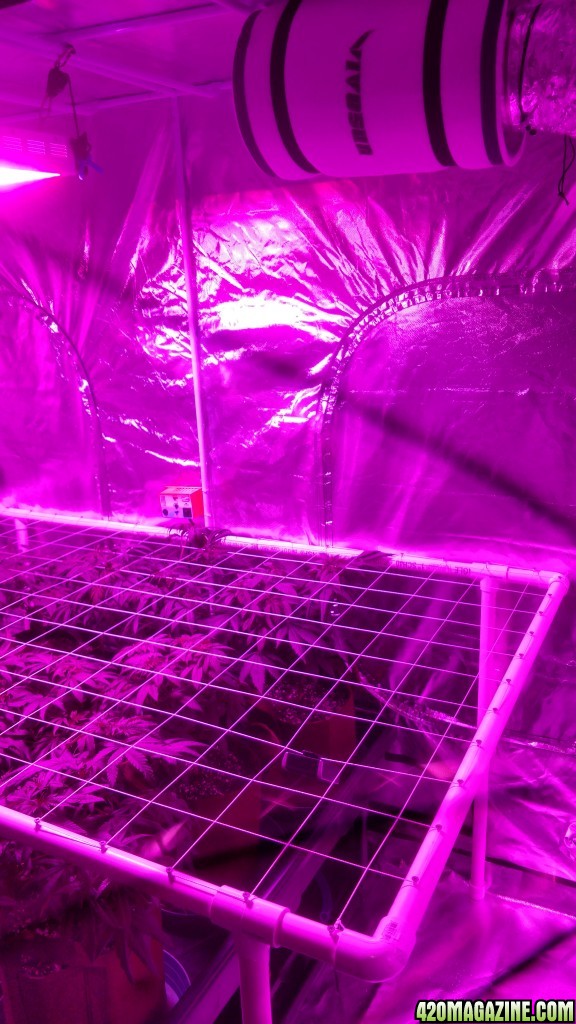
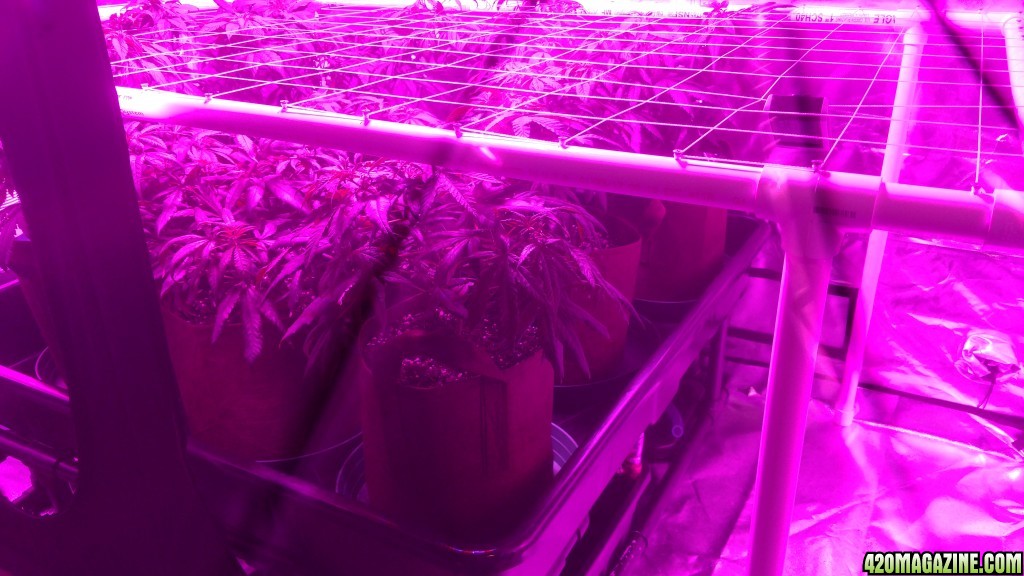
I began by, measuring the dimensions of the tents framework, from post to post. Keep in mind, the center of my 4x8 tent contains a 4x4 watering/overflow tray, so the position of my upright supports are placed to avoid contact and interference with the tray.
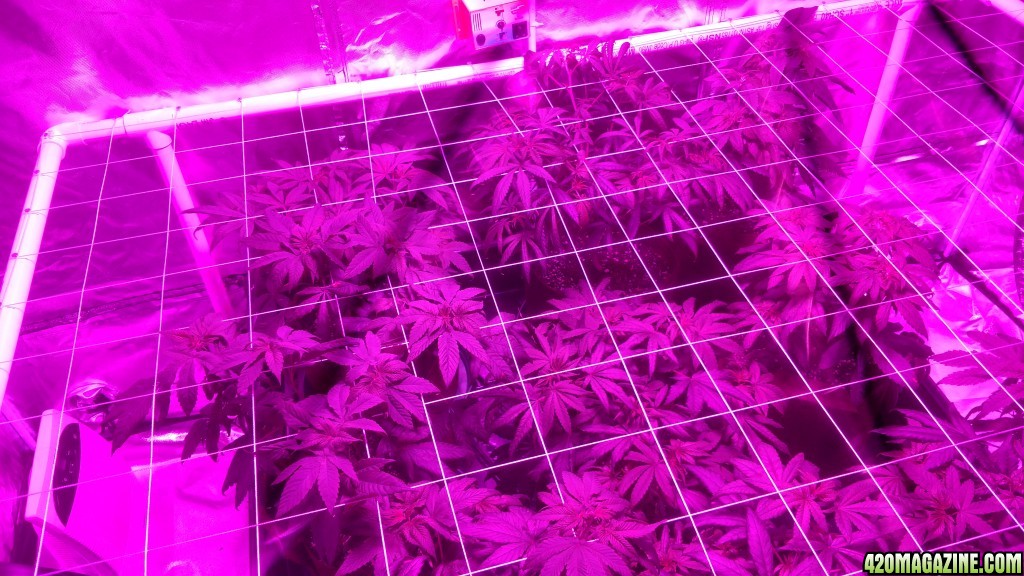
I decided to build a 47"X 72" frame, this way the plants will have more room to grow and hopefully be less invasive on one another.
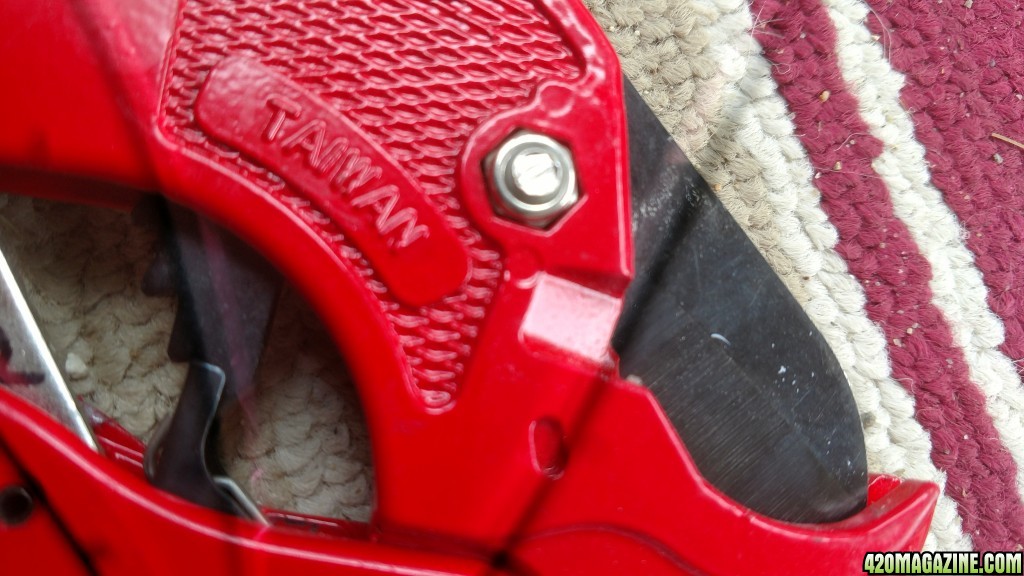
Now that I had the dimensions established, I used PVC cutters to cleanly cut the pieces to the proper length.
After I cut all of the pieces, I firmly pressed them together on a solid surface, to ensure their connection was tight.
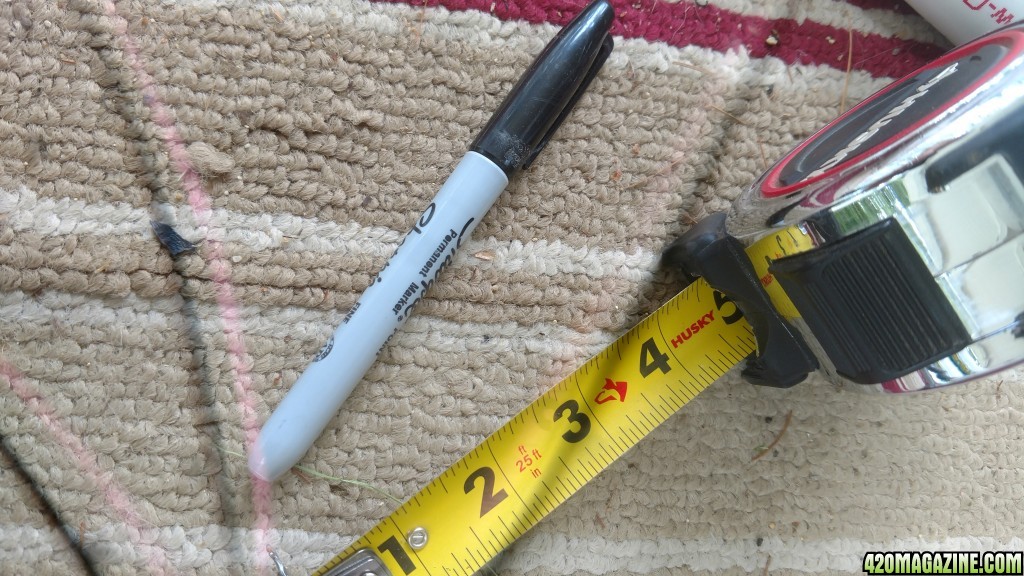
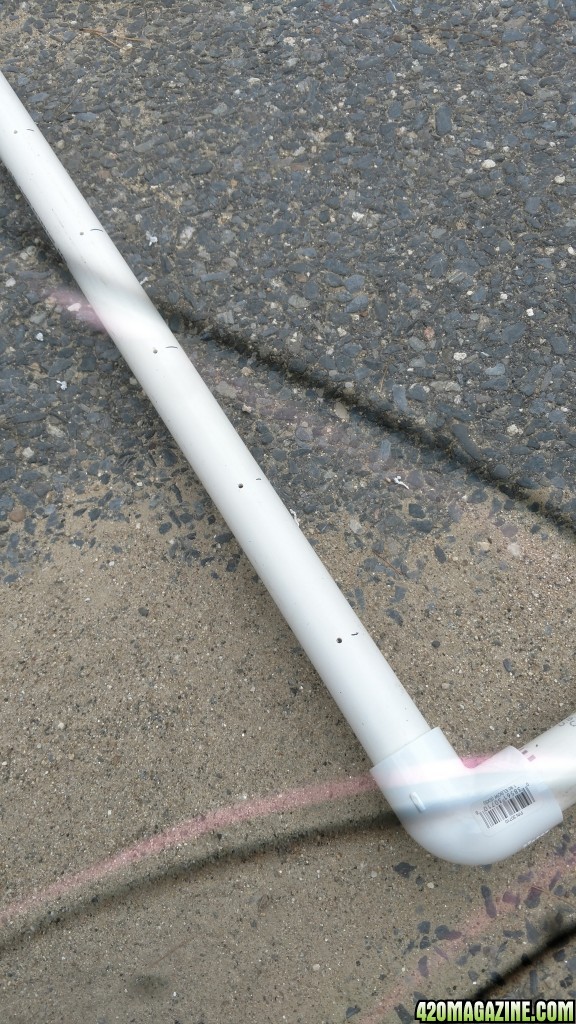
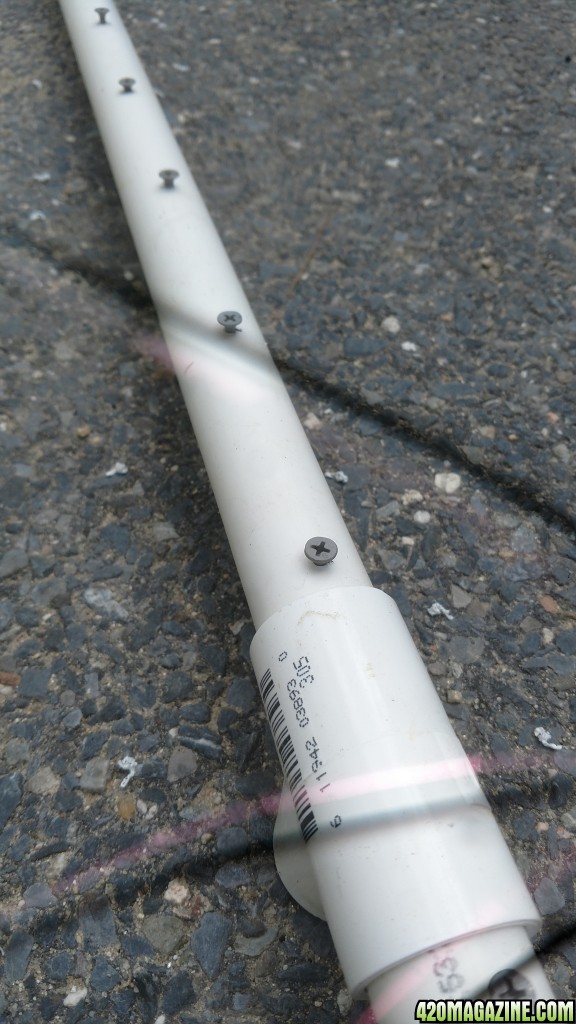
Deciding to build, I figured that 4"X4" openings would suffice. I used a marker and tape measure to lay out the holes.
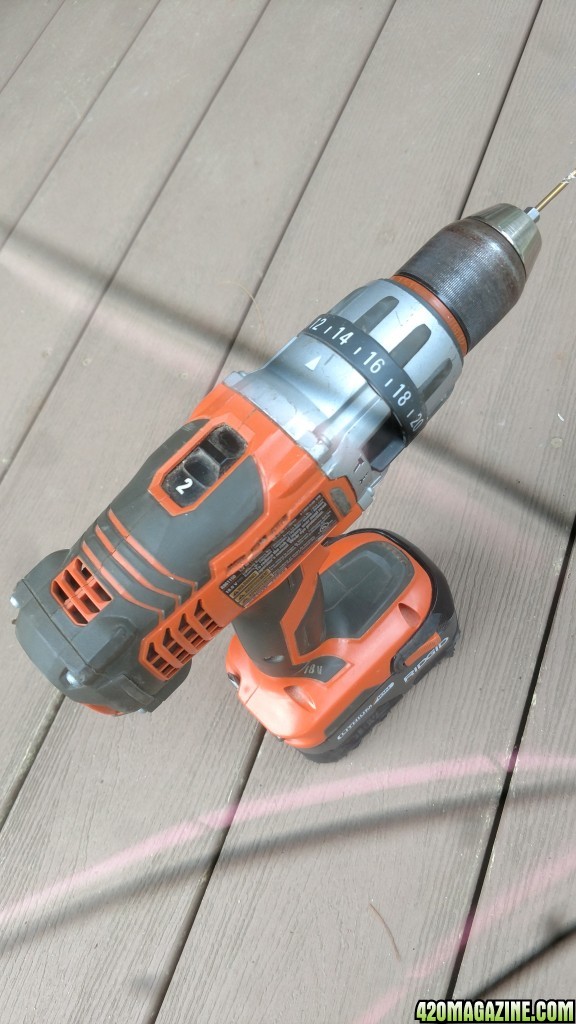
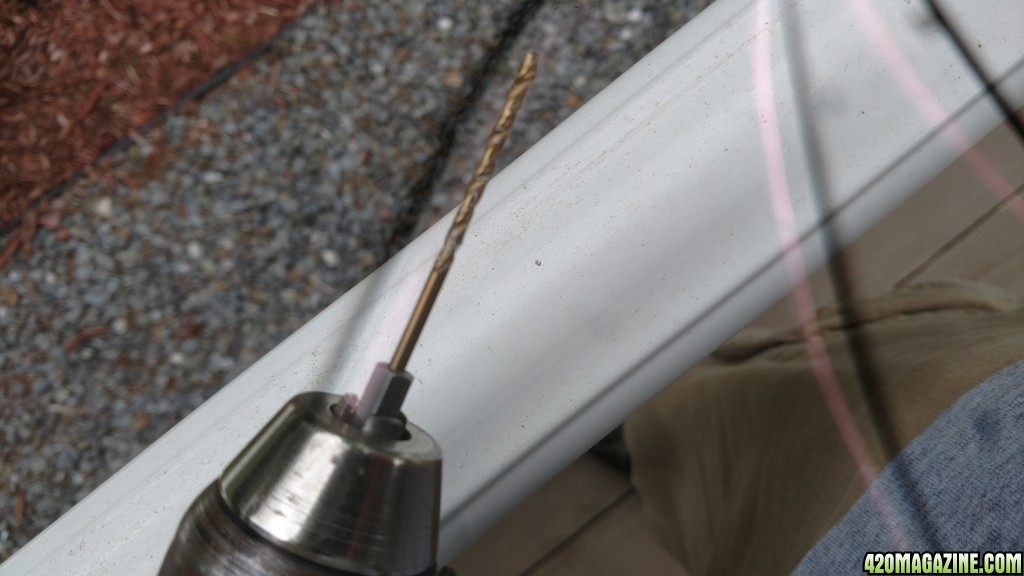
Using a cordless drill, I placed pilot holes on all of my four inch marks, as not to crack the PVC and help prevent water and bacterial from entering the frame.
Now that my frame was assembled and the holes were drilled (only into the top half of the PVC) I placed a coated screw (1 1/4") into each hole using the drill.
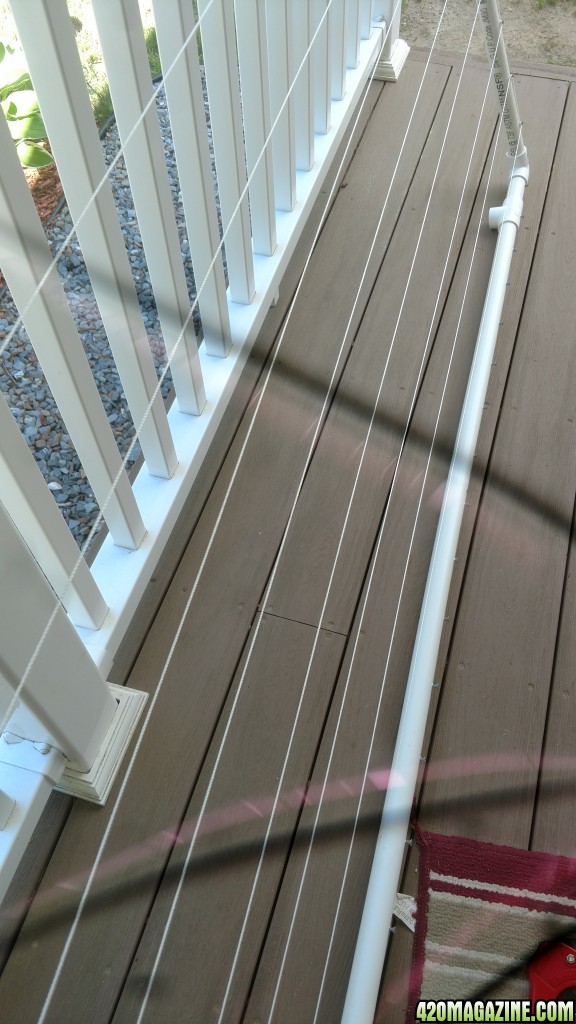
Now, what it thought was going to be a daunting task, didn't seem to bad at all. I began by tying the string on one of the short side corner screws and began to stretch it tightly across the open frame to the opposite side. Upon reaching the opposite screw, I looped it twice around the screw to help keep it taught, then to the adjacent screw. I repeated the process untill I reached the final screw on the opposite bottom side of the frame, where I then tied a knot and cut the string with the flame from lighter.
Next, I began the same process with acception to an alternating over under pattern until I reached the final screw in the frame.
As mentioned before, I could easily have purchased a manufactured net but felt, this grow is a test, and it has thrown some curve balls at me, so in good fashion, I would try to stay within my limits but also add a little more of me, to my grow.
Tomorrow I was intending on flipping the young ladies but will be holding off until the 1st...that way I will be able to keep better track of the flip date. I need to measure the over all height of the plants as they sit and will cut the legs to the appropriate length, placing caps on the ends, to protect the tent bottom.
I will be sure to post pics once the S.C.R.O.G. is set up.
Thank you all for following, for your feedback and suggestions.
KEEP IT GREEN
NO FRONT GROW YOUR OWN
