Welcome everyone!
This will be my 3rd grow journal here at 420 magazine. And please let me start by saying that without all of you and the amazing knowledge this site bleeds, that this wouldn't have been possible.. Although I have many years of experience growing outdoors, and have been helped with friend's grows for years. My first actual indoor grow was born here.
So thank you 420 magazine once again..
Now this is going to be my final grow with this strain of OG Kush just because there are so many amazing strains out there that I would like to try next. I know growing out the same strain 3 times in row may seem like overkill to some. But I love OG Kush and it is one of my favorite strains around. It offers such great medicinal qualities, and just tastes to god damn nice to me..
These babies have been cloned from a clone from a clone of a clone since I got 5 "clones" from a friend back in July of this year. They've been vegged under a combination of T5 floros and 6500 K CFL's.
CO2 will be used throughout this entire grow as I feel it really adds weight and hardness to these OG buds. Both bottle as well as DIY dispensers.
My nutrient lineup will be as follows:
-General Hydroponics 3 part grow, micro, bloom.
-General Hydroponics Cal mag plus
-General Hydroponics Floralicious plus
-General Hydroponics Liquid Koolbloom
-General Hydroponics Koolbloom dry
-General Hydroponics Bio Root
-Superthrive
-Grozyme
PH and PPM's will be closely monitored throughout the grow.
And meters will be calibrated weekly.
I will be running a feed, feed, 1/2 strength schedule up until flip, then be using a feed, feed, water schedule through flower.
A 36 hour lights out will occur just before flip..
And a Diminishing Lighting Schedule (DLS) will be used throughout flower up until harvest.
So lets get on with it!!
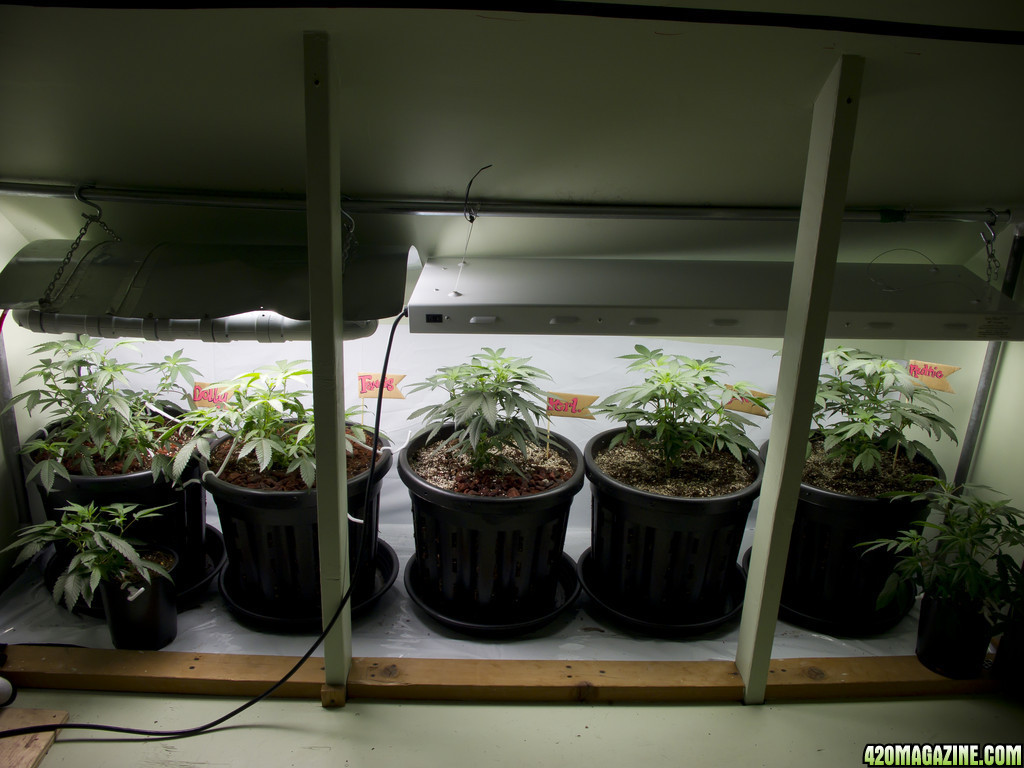
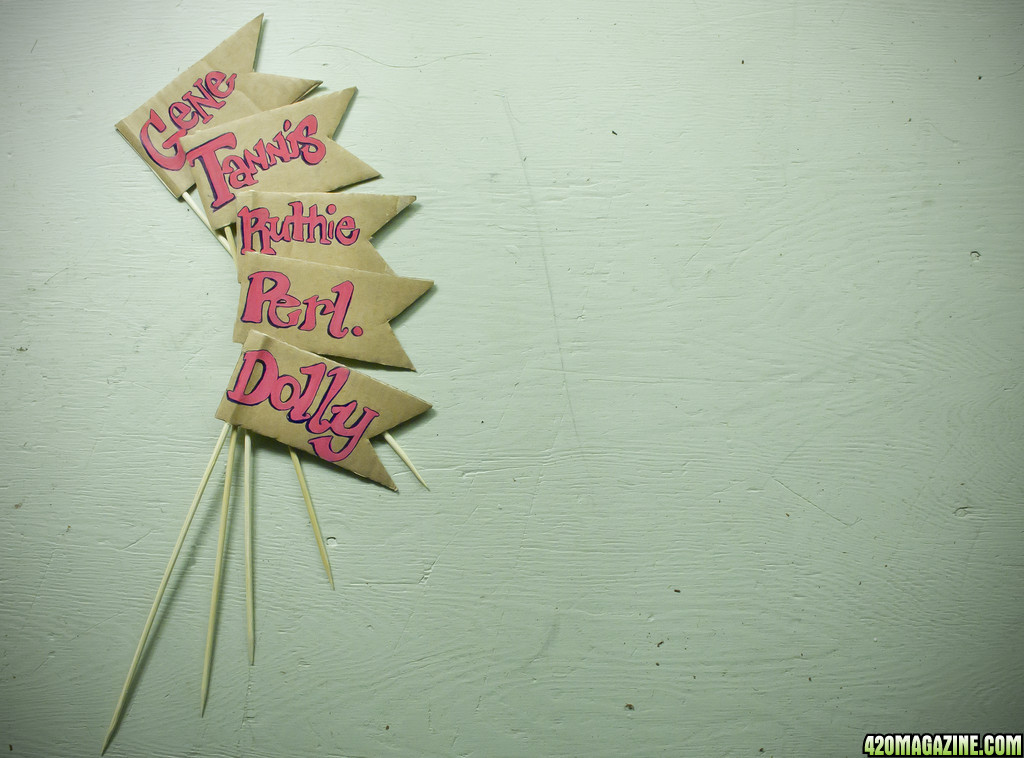
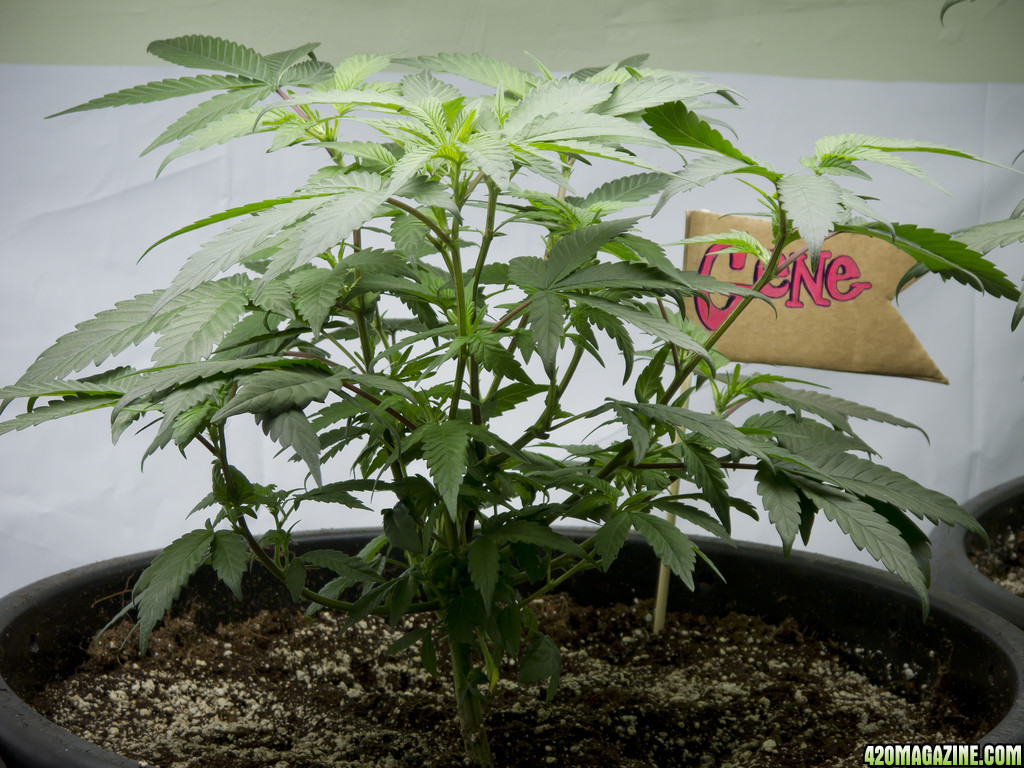
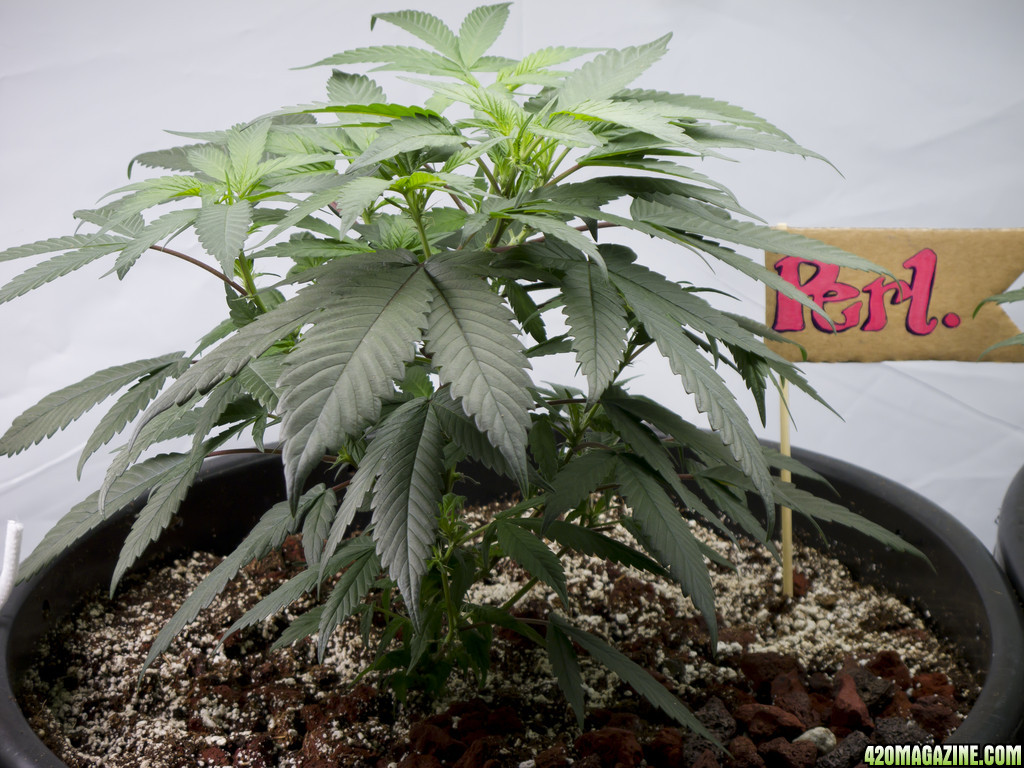
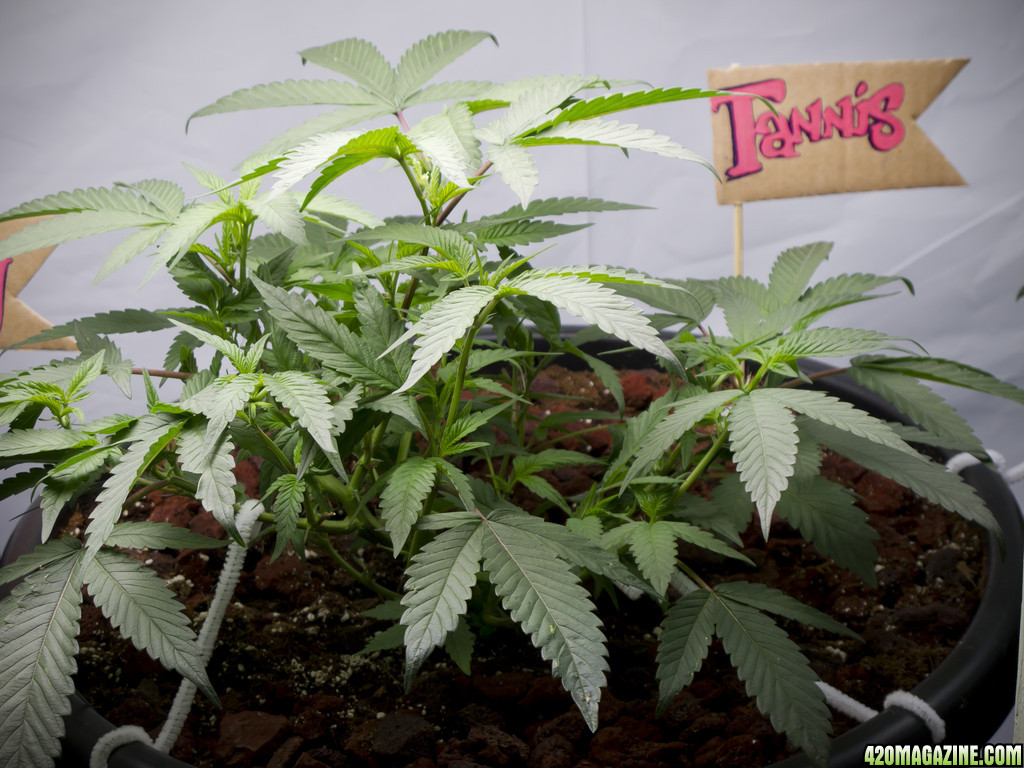
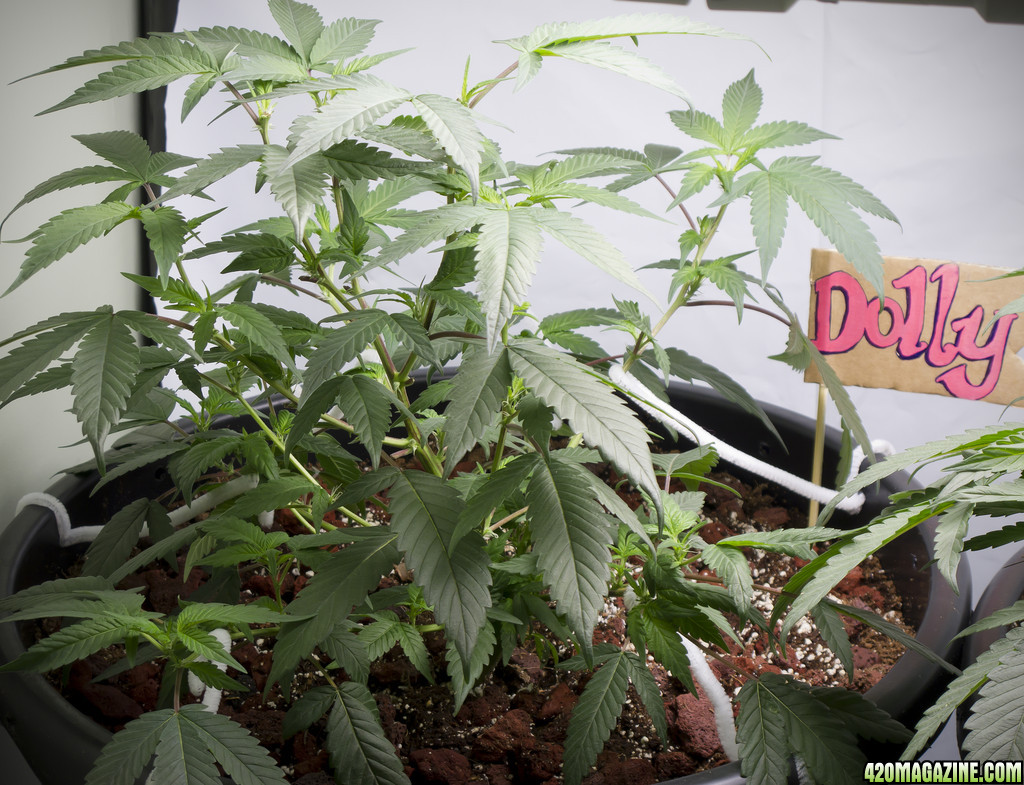
The mrs decided one night that they all had to be named, so she got vaped and went to town on the labels..
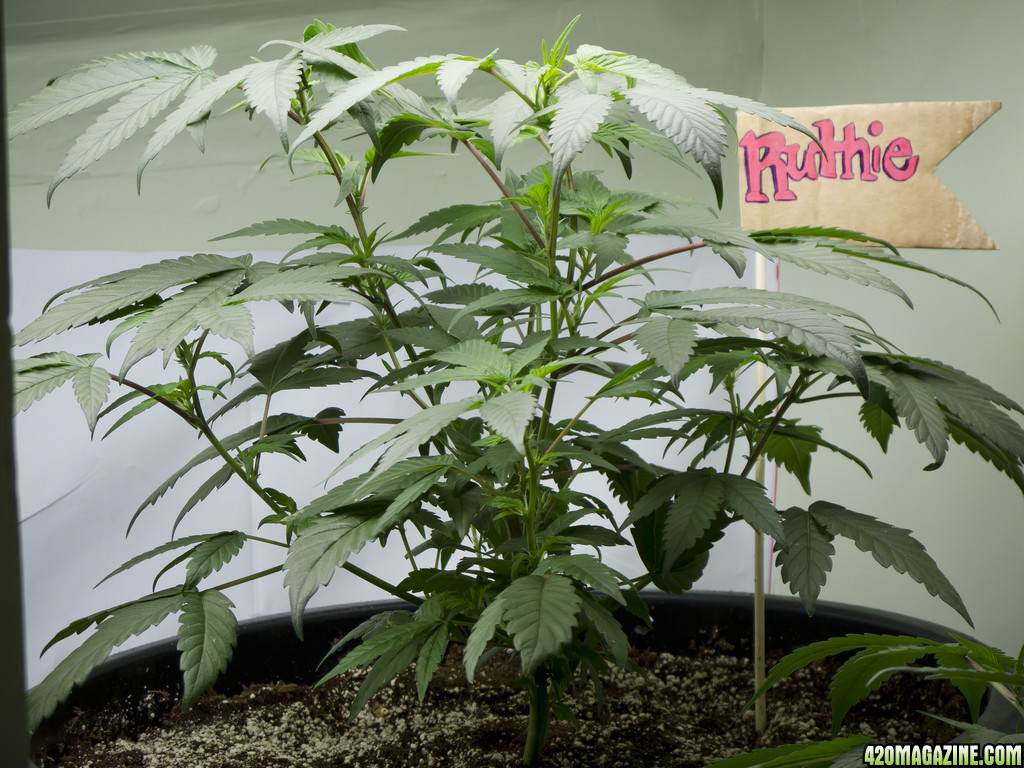
From right to left, please meet:
Ruthie
Gene
Perl
Tannis
& of course, Dolly
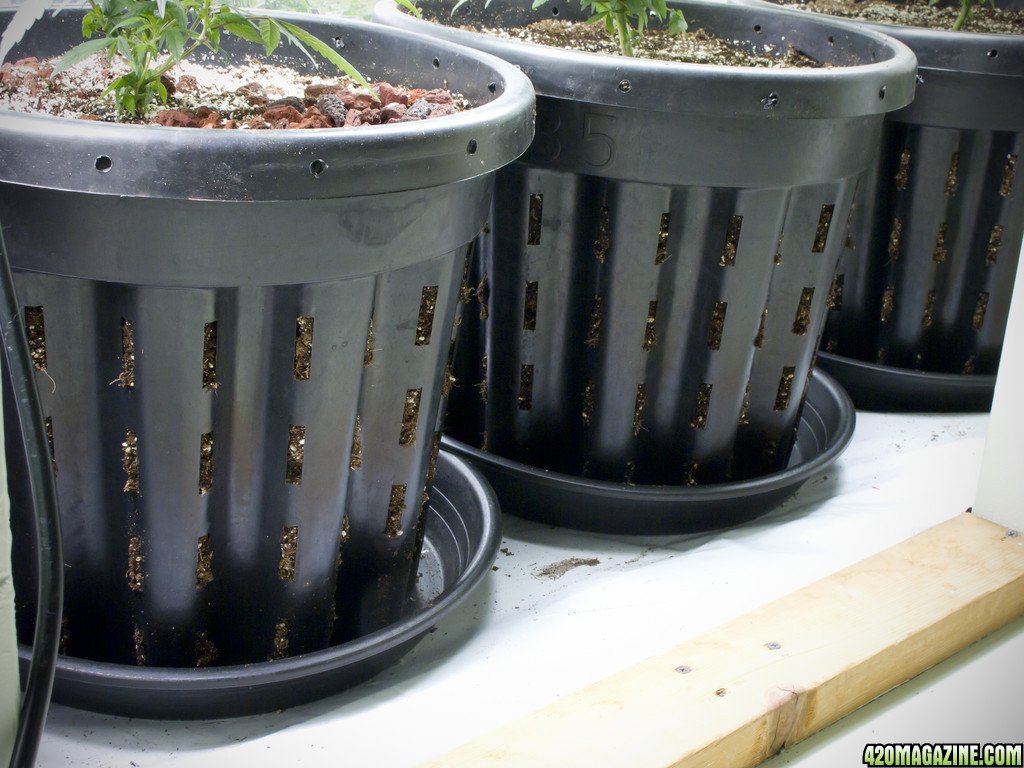
All five babies were planted in a mix of 50% Botanicare Coco and 50% Promix soil with a bit of added perlite. Soil/Coco mix was prepped with a 1/3 dilution of nutes, Grozyme, superthrive and Cal mag+. A layer of lava rock was added on the bottoms of pots as well as on top to help with water distribution and drainage when feeding. Pots are Hercules 35 litre airpots. They handled the transplant amazingly well, no droop or signs of shock.
The timing of harvest couldn't have come at a more perfect time. As my babies were quickly outgrowing their veg space. My lights were maxed out as high as they could go. If I had left them there for one more day they would have been touching bulbs. (why can't it always work out that good!?)
So all drying buds were removed from the space, the tent was vacuumed, scrubbed with bleach, all fans dismantled and bleached. Then a dokter Doom bomb was dropped in the tent and left for the rest of the day to air out. final wipe down. ( yeah I know I'm kinda anal about cleaning..) then the girls were moved into there new home. I replaced the Super Hortilux HPS bulb with a Light Energy enhanced spectrum 1000 watt bulb, because i heard they omit more blue. Even though I was going to be vegging for a few more weeks I didn't bother running a MH bulb. Didn't think it would really make that much of a difference.. The ballast was turned down to 50% for the first week to get them used to the intensity of the HID, with the cooltube and shade about 3 feet away from tops. Then light was then turned up to 75% after 2nd week, and light distance was gradually reduced..
I was running GLR schedule with these babies from early on and it was really working well. But for some reason once they were switched over to HID in the tent they were "overly" showing signs. Just female preflowers, but too much, its was kinda weird. So I figured they would benefit more from a 16-8 schedule since the rest of my lights were now turned off. and they've been doing really well now. Don't get me wrong though, I am a firm believer in the Gas Lantern Routine, and think that is the way to grow in veg with great results not to mention the transition to flower is almost immediate.. I just felt like blasting these girls with as much light as possible once they were used to the rays.
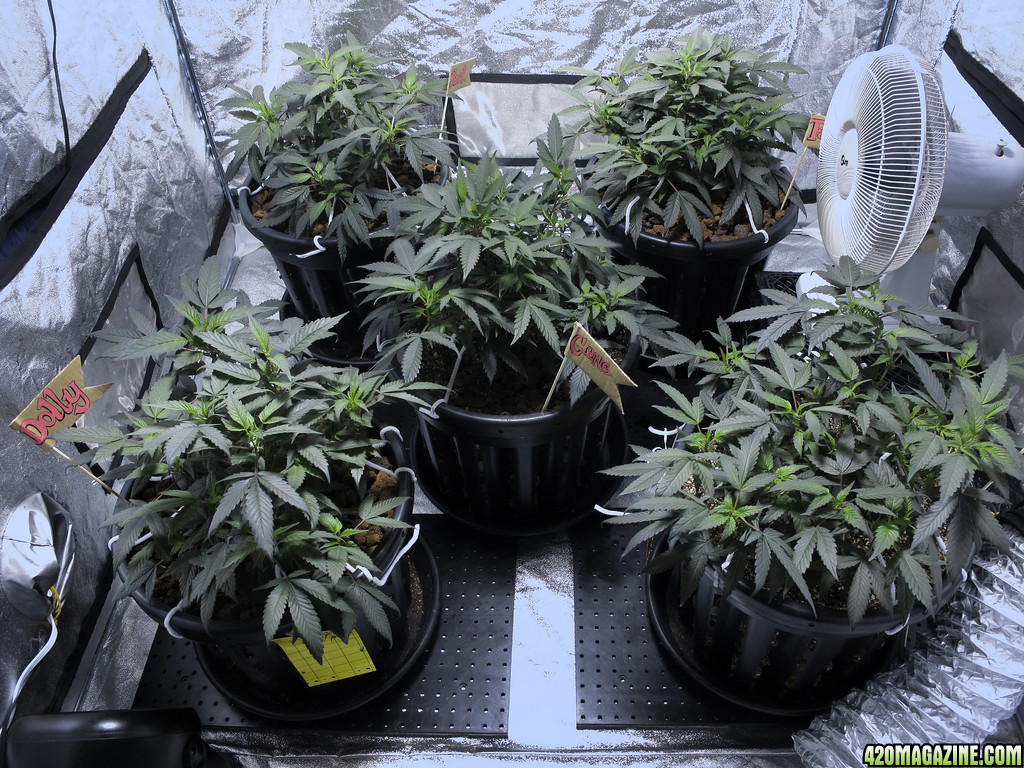
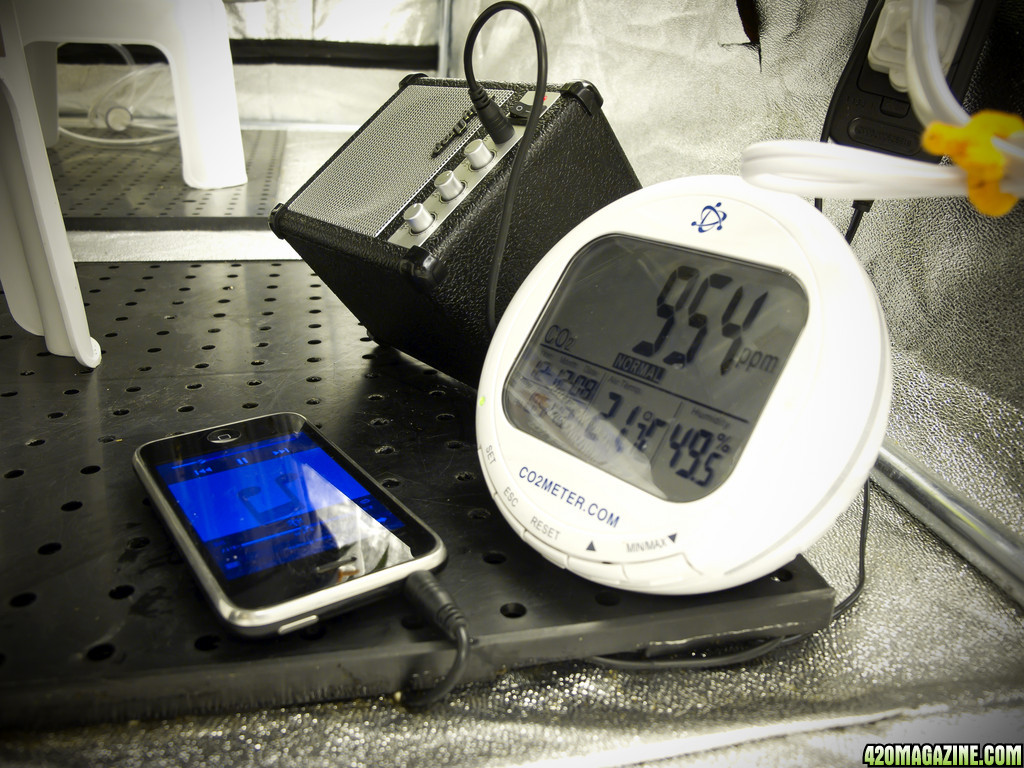
This is the motivation station/dancefloor. The girls get a wide range of music from death metal to Beethoven whenever the sun is shining..


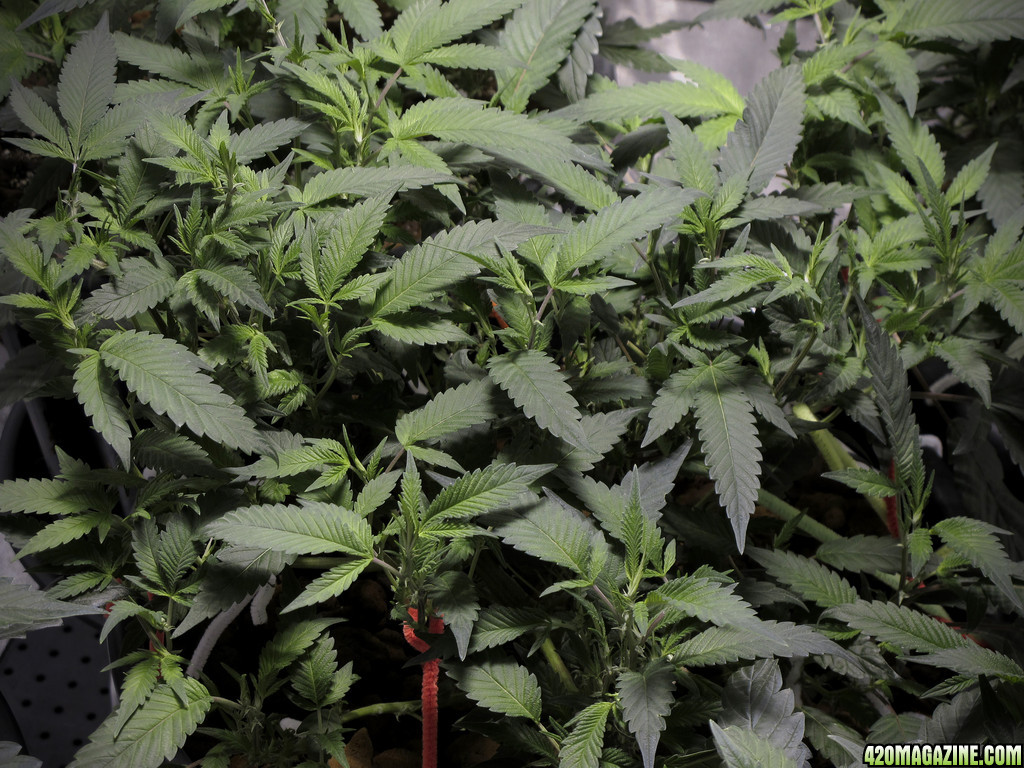
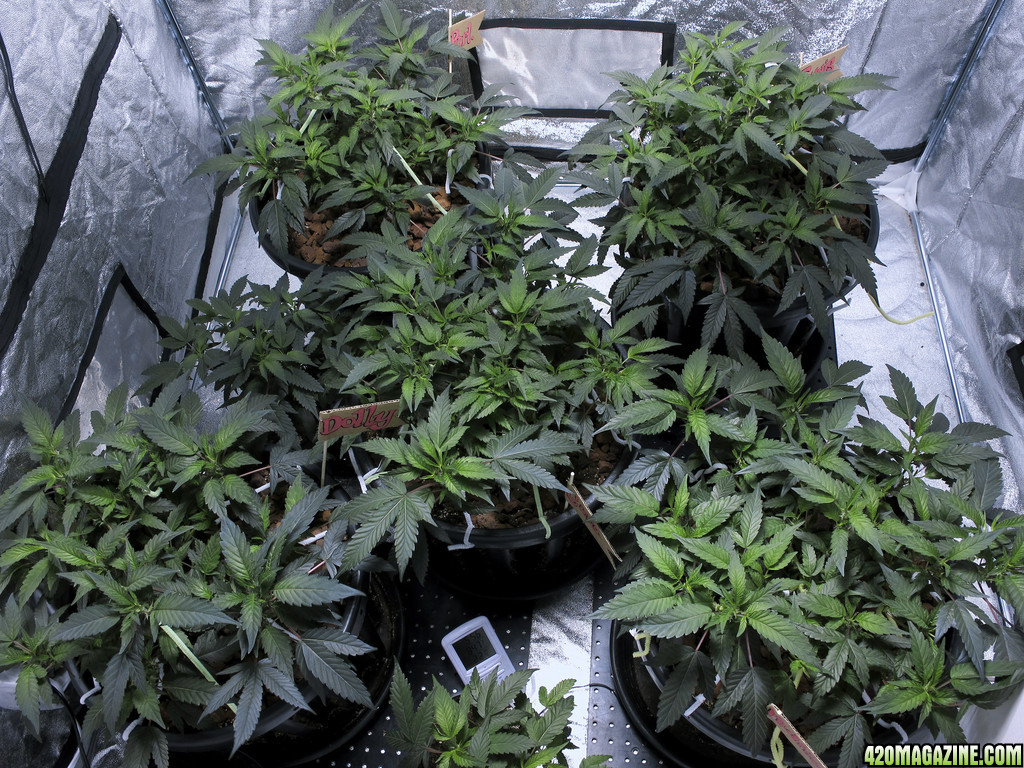
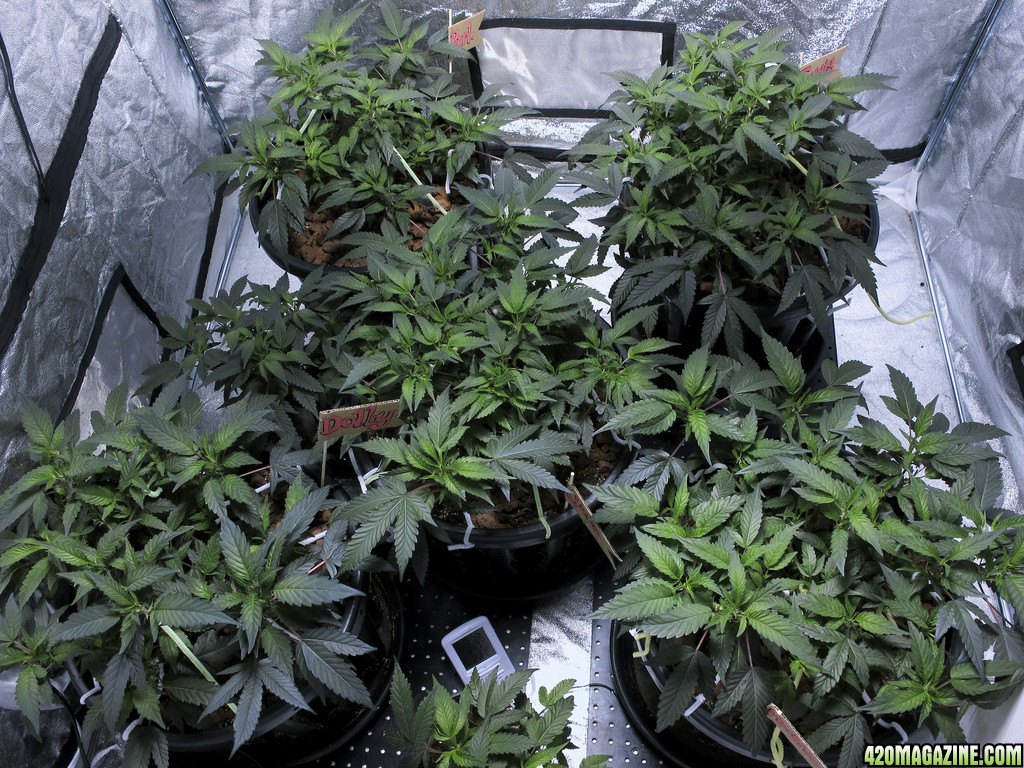
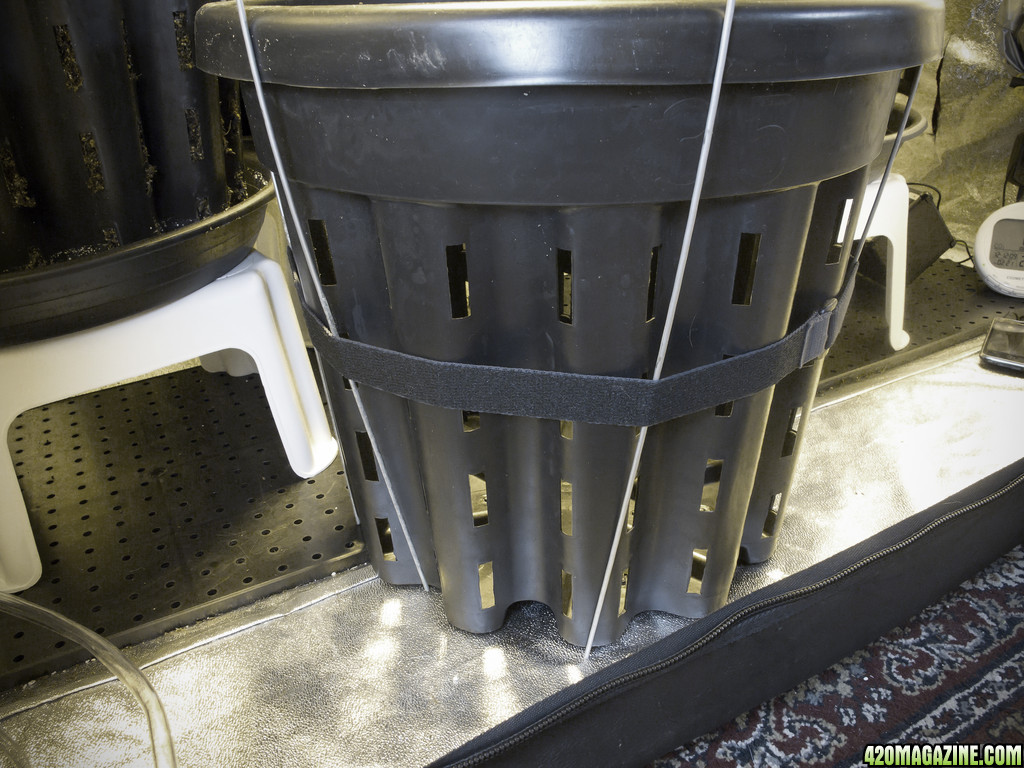
This is my wacky version of a porta scrog! made from 2 of the tomato cages I used in my previous grow, cut and spliced together with some chicken "wire"d to the top. Not sure if I'm going to use this exact style. But I will be coming up with 4 cage/scrog thingies to maximize the space as best as possible.. Stay tuned for updates on these suckers..
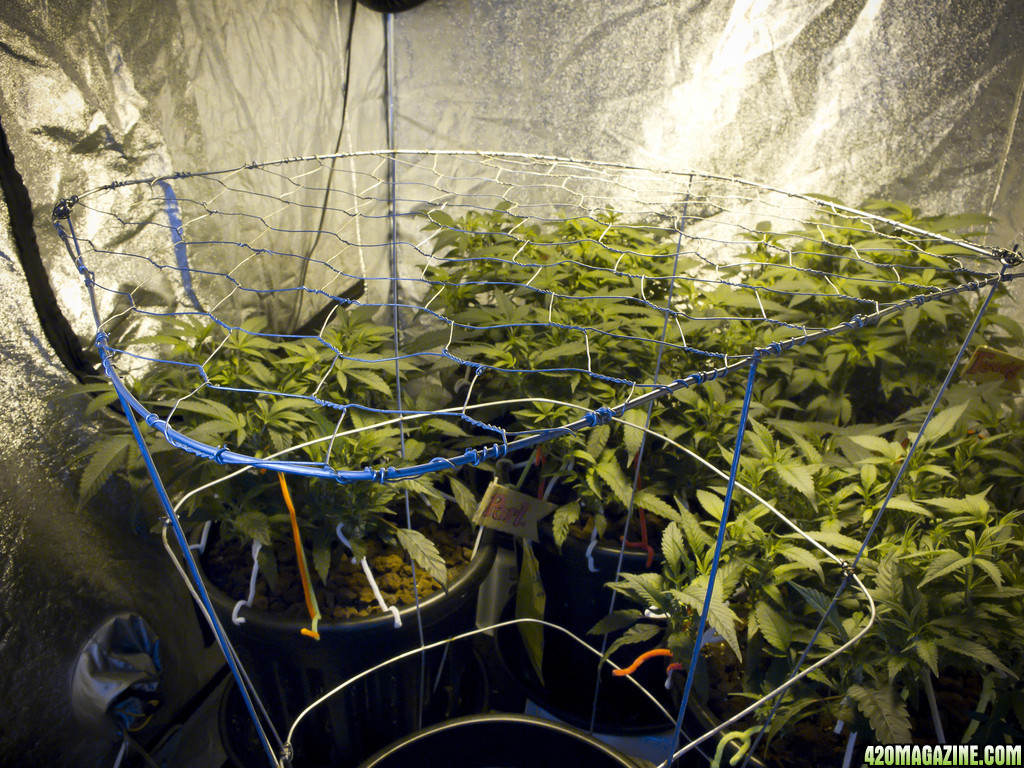
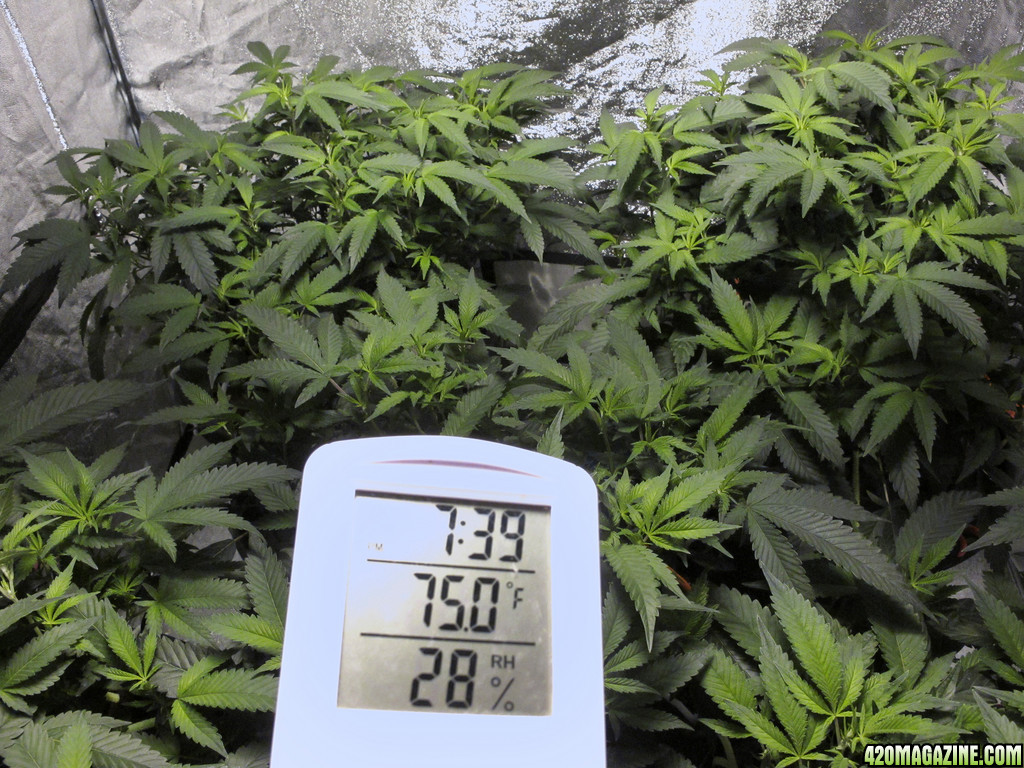
These photos are from tonight Dec 11th. I have been LST'ing these girls all the way through. And they've been topped about 4-5 times already. With close to 25 tops each, one more go of topping should give me close to 40 tops each plant before the switch is flipped. Hoping they should fill the screens up pretty good. Since I blocked all heat coming into the room that the tent is in. It's now the coldest room in the house. Perfect!!! A 1500 watt electric oil heater connected to a Cruise temperature controller keeps the room no colder than 69 degrees F when lights are off, and a steady 75 degrees when lights are on. And by some miracle this super basic setup is allowing me to maintain perfect temperatures day and night. Man I love growing inside when it's freezing outside! I mean who could complain about free AC?
When I flip the lights I'll bring the temps up a bit more around 80 F, so the CO2 will be of more benefit as they flower..
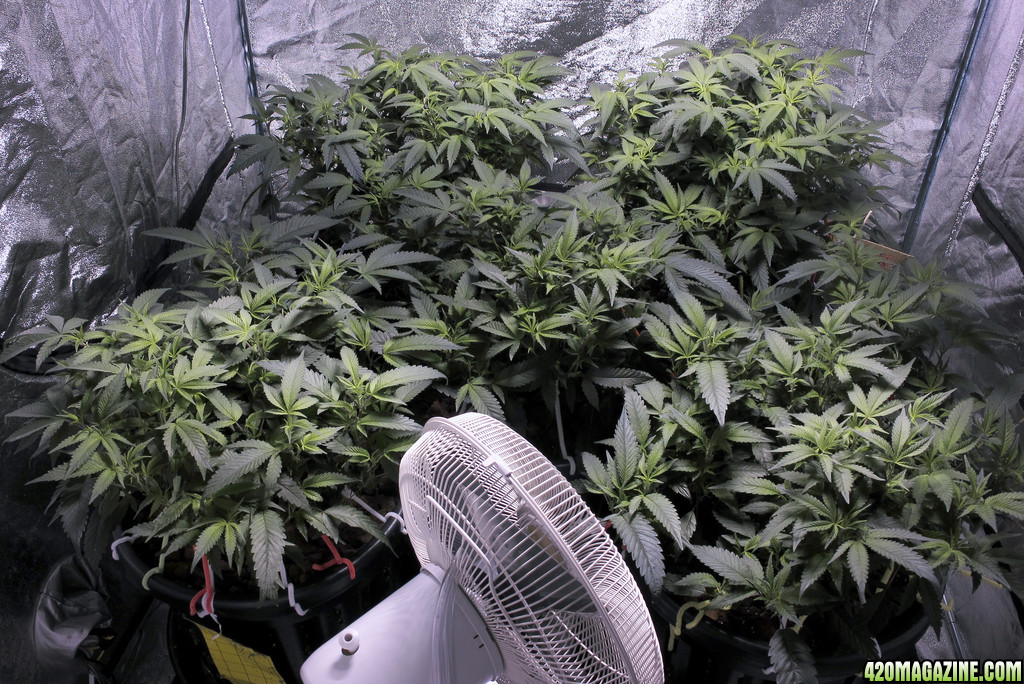
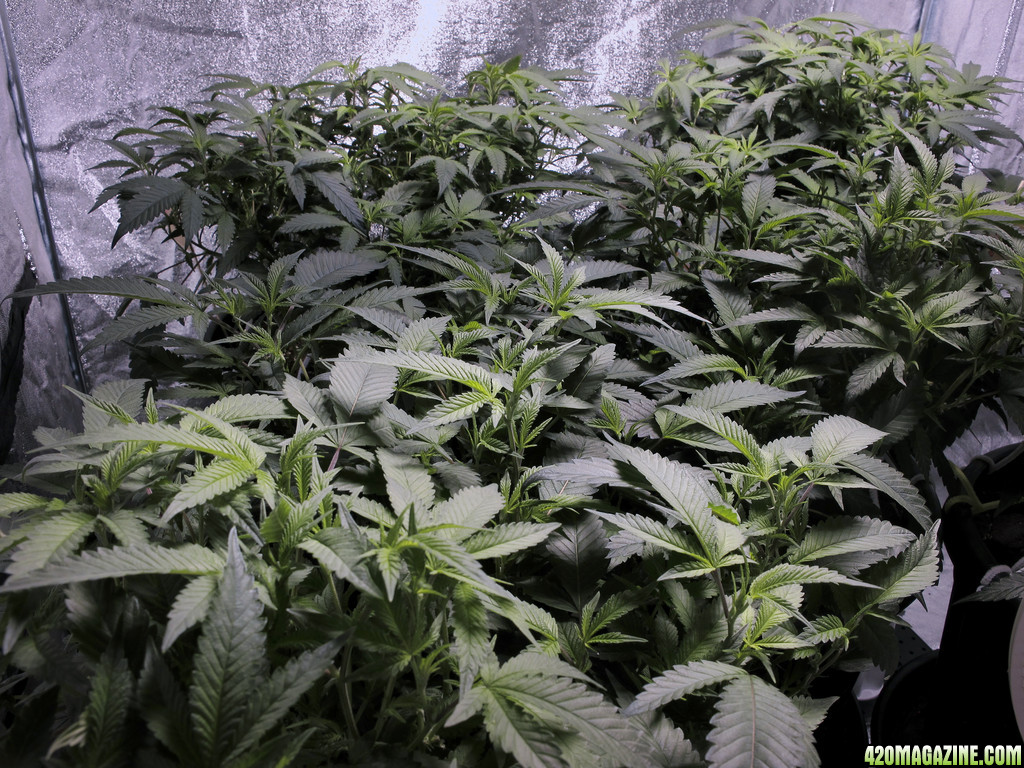
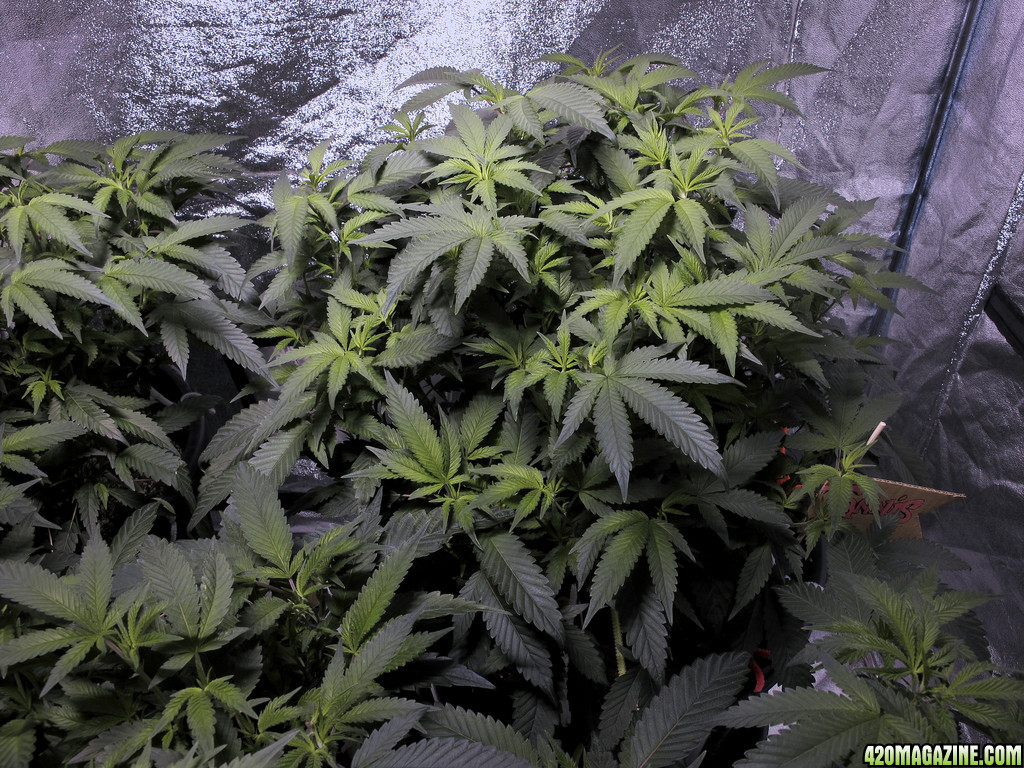
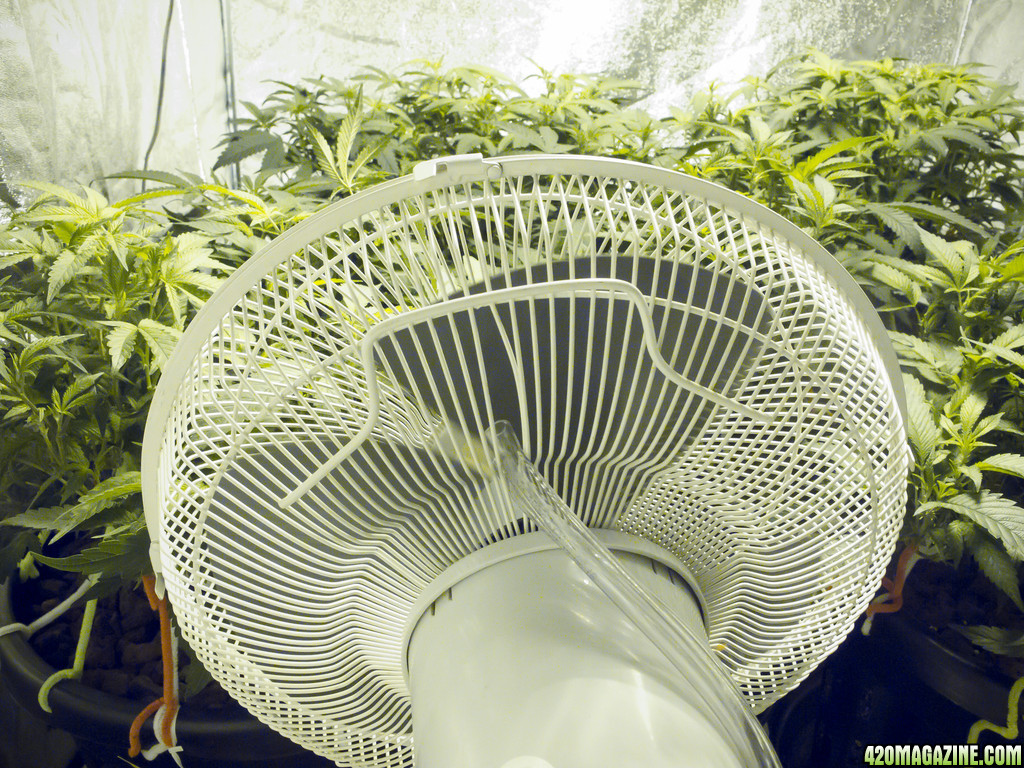
I have CO2 coming from the tank every hour for 2 minutes, to enrich the room to 1600 PPM. Exhaust is timed to shut off just before gas come on, then remains off for 5 minutes after shut off. The other hose coming from a DIY CO2 bubbler in a 10 liter carboy just outside the tent. I found when gassing the tent only, the PPM's would drop half way through the hour, but with the added bubbler it stays pretty consistent from 1000-1600 PPM all through lights on. The plants are loving it, and growing so fast!
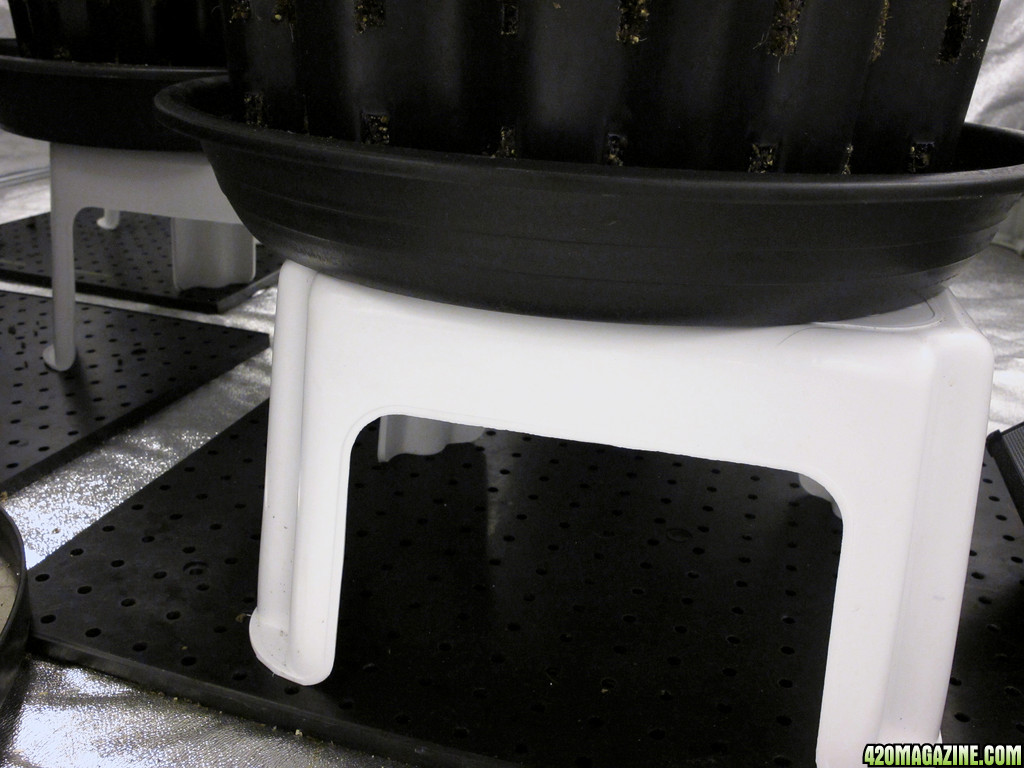
All 5 plants are on stilts right now just so I don't have to drop my light so low..makes it easy cleaning up, and also keeps air flowin.
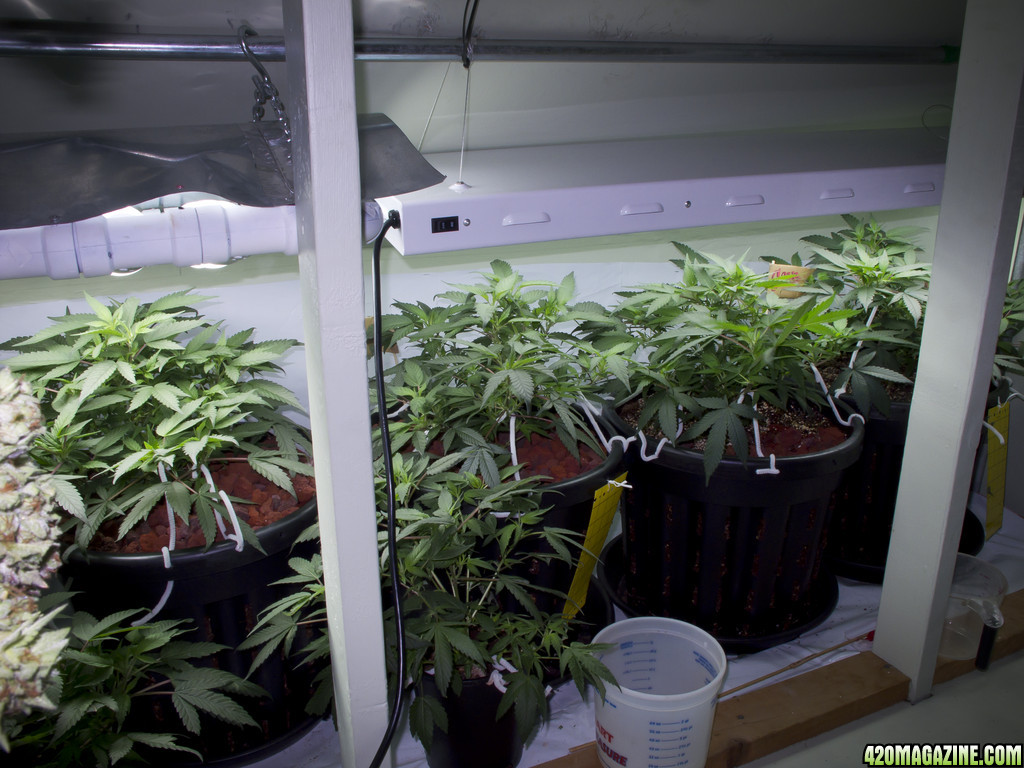
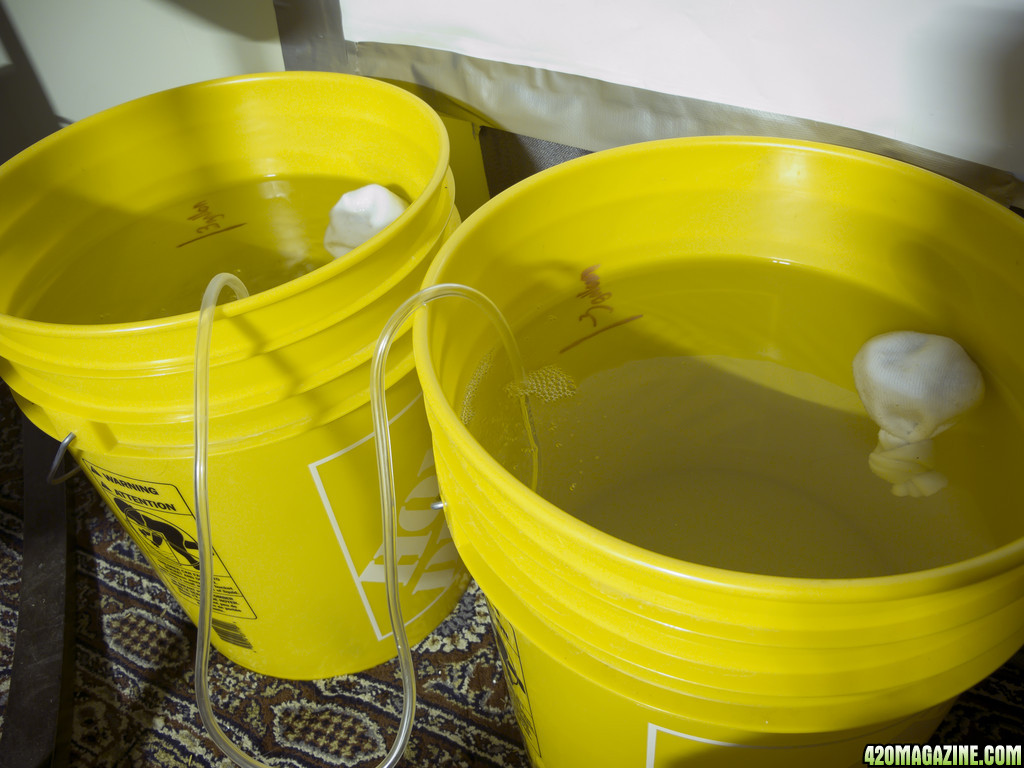
There's a single air pump split, with an airstone in each of my res buckets.. I age my tap water for the 2-3 days between feeding times in these buckets. Helps rid the water of chlorine and it brings it to an even 7.0 PH, before adding anything. The things floatin are mosquito dunks in socks to help deter fungus gnats and other buggers that seem to have loved my soil's in the past.. (Thanks for the tip Xlr8! ) It's working like a charm..
So I guess this will classify as my first update.
Sorry of it was too boring..
So you all know, I like to update with photos as much as possible.
As well, I won't be hiding anything in my grow.
If shit hits the proverbial fan somehow? You'll know about it..
The more I can help someone else avoid a mistake the better.
If you have any questions at all about anything, please feel free to ask at any time.
We're all here to learn and have fun growing this most amazing plant.
And I want everyone that visits this journal to feel comfortable.
So pull up a chair, pack a bowl, and enjoy yourself!
wiw!
This will be my 3rd grow journal here at 420 magazine. And please let me start by saying that without all of you and the amazing knowledge this site bleeds, that this wouldn't have been possible.. Although I have many years of experience growing outdoors, and have been helped with friend's grows for years. My first actual indoor grow was born here.
So thank you 420 magazine once again..
Now this is going to be my final grow with this strain of OG Kush just because there are so many amazing strains out there that I would like to try next. I know growing out the same strain 3 times in row may seem like overkill to some. But I love OG Kush and it is one of my favorite strains around. It offers such great medicinal qualities, and just tastes to god damn nice to me..
These babies have been cloned from a clone from a clone of a clone since I got 5 "clones" from a friend back in July of this year. They've been vegged under a combination of T5 floros and 6500 K CFL's.
CO2 will be used throughout this entire grow as I feel it really adds weight and hardness to these OG buds. Both bottle as well as DIY dispensers.
My nutrient lineup will be as follows:
-General Hydroponics 3 part grow, micro, bloom.
-General Hydroponics Cal mag plus
-General Hydroponics Floralicious plus
-General Hydroponics Liquid Koolbloom
-General Hydroponics Koolbloom dry
-General Hydroponics Bio Root
-Superthrive
-Grozyme
PH and PPM's will be closely monitored throughout the grow.
And meters will be calibrated weekly.
I will be running a feed, feed, 1/2 strength schedule up until flip, then be using a feed, feed, water schedule through flower.
A 36 hour lights out will occur just before flip..
And a Diminishing Lighting Schedule (DLS) will be used throughout flower up until harvest.
So lets get on with it!!


The mrs decided one night that they all had to be named, so she got vaped and went to town on the labels..
From right to left, please meet:
Ruthie

Gene

Perl

Tannis

& of course, Dolly

All five babies were planted in a mix of 50% Botanicare Coco and 50% Promix soil with a bit of added perlite. Soil/Coco mix was prepped with a 1/3 dilution of nutes, Grozyme, superthrive and Cal mag+. A layer of lava rock was added on the bottoms of pots as well as on top to help with water distribution and drainage when feeding. Pots are Hercules 35 litre airpots. They handled the transplant amazingly well, no droop or signs of shock.

The timing of harvest couldn't have come at a more perfect time. As my babies were quickly outgrowing their veg space. My lights were maxed out as high as they could go. If I had left them there for one more day they would have been touching bulbs. (why can't it always work out that good!?)

So all drying buds were removed from the space, the tent was vacuumed, scrubbed with bleach, all fans dismantled and bleached. Then a dokter Doom bomb was dropped in the tent and left for the rest of the day to air out. final wipe down. ( yeah I know I'm kinda anal about cleaning..) then the girls were moved into there new home. I replaced the Super Hortilux HPS bulb with a Light Energy enhanced spectrum 1000 watt bulb, because i heard they omit more blue. Even though I was going to be vegging for a few more weeks I didn't bother running a MH bulb. Didn't think it would really make that much of a difference.. The ballast was turned down to 50% for the first week to get them used to the intensity of the HID, with the cooltube and shade about 3 feet away from tops. Then light was then turned up to 75% after 2nd week, and light distance was gradually reduced..
I was running GLR schedule with these babies from early on and it was really working well. But for some reason once they were switched over to HID in the tent they were "overly" showing signs. Just female preflowers, but too much, its was kinda weird. So I figured they would benefit more from a 16-8 schedule since the rest of my lights were now turned off. and they've been doing really well now. Don't get me wrong though, I am a firm believer in the Gas Lantern Routine, and think that is the way to grow in veg with great results not to mention the transition to flower is almost immediate.. I just felt like blasting these girls with as much light as possible once they were used to the rays.


This is the motivation station/dancefloor. The girls get a wide range of music from death metal to Beethoven whenever the sun is shining..


This is my wacky version of a porta scrog! made from 2 of the tomato cages I used in my previous grow, cut and spliced together with some chicken "wire"d to the top. Not sure if I'm going to use this exact style. But I will be coming up with 4 cage/scrog thingies to maximize the space as best as possible.. Stay tuned for updates on these suckers..


These photos are from tonight Dec 11th. I have been LST'ing these girls all the way through. And they've been topped about 4-5 times already. With close to 25 tops each, one more go of topping should give me close to 40 tops each plant before the switch is flipped. Hoping they should fill the screens up pretty good. Since I blocked all heat coming into the room that the tent is in. It's now the coldest room in the house. Perfect!!! A 1500 watt electric oil heater connected to a Cruise temperature controller keeps the room no colder than 69 degrees F when lights are off, and a steady 75 degrees when lights are on. And by some miracle this super basic setup is allowing me to maintain perfect temperatures day and night. Man I love growing inside when it's freezing outside! I mean who could complain about free AC?
When I flip the lights I'll bring the temps up a bit more around 80 F, so the CO2 will be of more benefit as they flower..


I have CO2 coming from the tank every hour for 2 minutes, to enrich the room to 1600 PPM. Exhaust is timed to shut off just before gas come on, then remains off for 5 minutes after shut off. The other hose coming from a DIY CO2 bubbler in a 10 liter carboy just outside the tent. I found when gassing the tent only, the PPM's would drop half way through the hour, but with the added bubbler it stays pretty consistent from 1000-1600 PPM all through lights on. The plants are loving it, and growing so fast!


All 5 plants are on stilts right now just so I don't have to drop my light so low..makes it easy cleaning up, and also keeps air flowin.

There's a single air pump split, with an airstone in each of my res buckets.. I age my tap water for the 2-3 days between feeding times in these buckets. Helps rid the water of chlorine and it brings it to an even 7.0 PH, before adding anything. The things floatin are mosquito dunks in socks to help deter fungus gnats and other buggers that seem to have loved my soil's in the past.. (Thanks for the tip Xlr8!
 ) It's working like a charm..
So I guess this will classify as my first update.
Sorry of it was too boring..
So you all know, I like to update with photos as much as possible.
As well, I won't be hiding anything in my grow.
If shit hits the proverbial fan somehow? You'll know about it..
The more I can help someone else avoid a mistake the better.
If you have any questions at all about anything, please feel free to ask at any time.
We're all here to learn and have fun growing this most amazing plant.
And I want everyone that visits this journal to feel comfortable.
So pull up a chair, pack a bowl, and enjoy yourself!

wiw!


 I'm Subbed....love to compare results from hydro, organic, aero, rdwc, etc so that I make good decisions in future grows. Where do you get mosquito dunks...sound like a solution for me also...damned if X isn't just a fountainhead of knowledge
 ....we are lucky to have him as a member of the community


