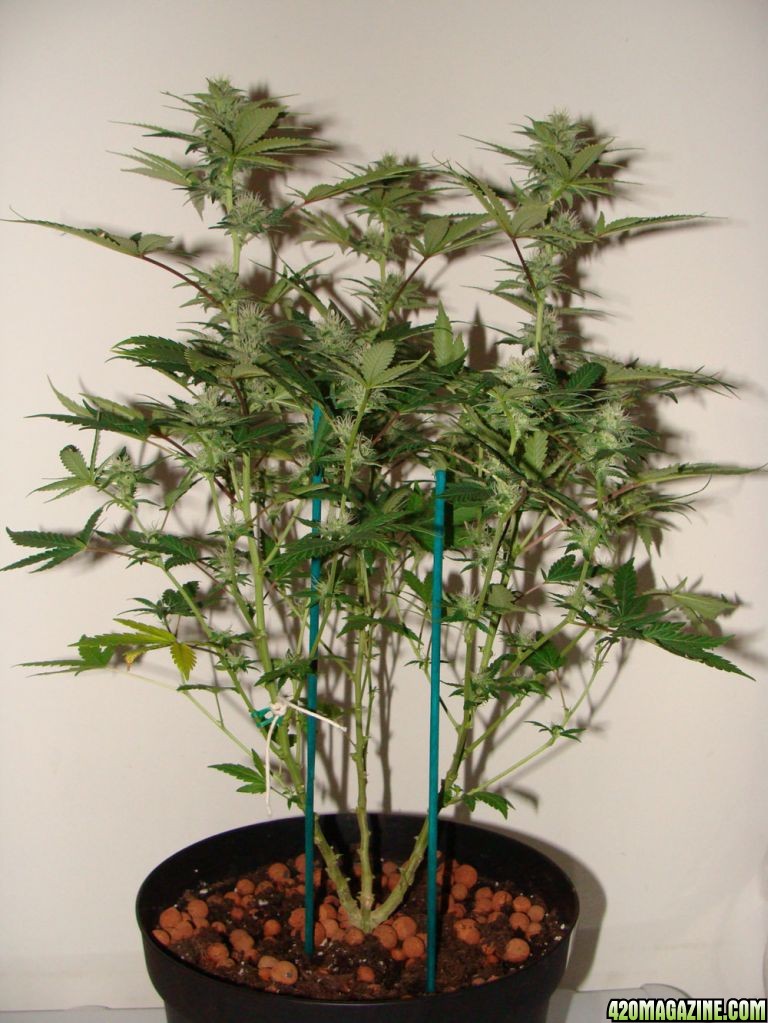
ThatBoyDean's Simple Grow

hello tbd, very nice, i like simple because simple is.......well simple.
great job tbd,:smokin:
rnwy29erclr

Welcome to my journal rnwy29erclr and thanx for the kind words.. :Rasta:

Thnak thatboydean, I do like looking at all the different strains etc very cool. so much choice nowadays, when I were a young 20 year old whippersnapper there seemed to be about 3 choices.

If its skunk based of course you will need some good odor control ;-)

Odor control has been sorted brother, look click me you'll see the carbon filter... :;):

There's hundreds of strains nowadays! You can look here click me for some of the popular choices...

Tbd
 
Clones in Stasis

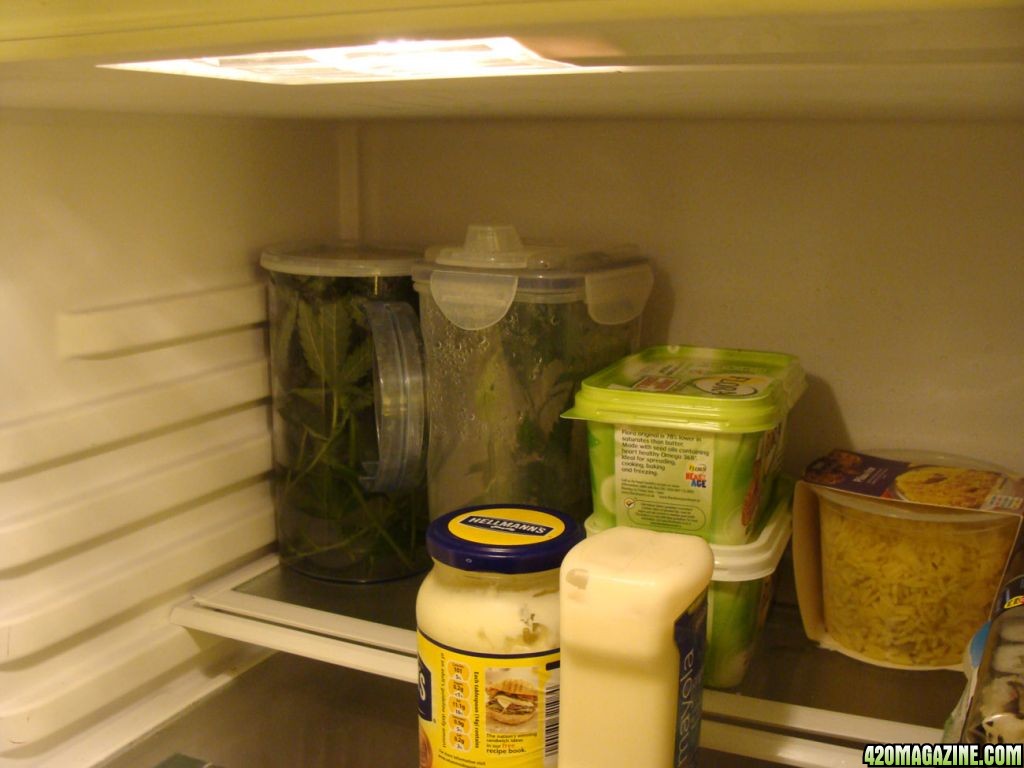
Okay while pruning i ended up with a few clones but do not want to start the cloning at the moment, so i have know choice but to use the Clones in Stasis (the fridge method) to prolong it

I have used this method before with success and will start the process of cloning April 1st

here is a post by another grower, that has put it in simple steps for you to follow!

Clones in Stasis

Keeping your clones in stasis by using your fridge is a handy way to both store them for future use or keep backups should there be some failure with your original cuttings. I have personally kept cuttings up to eight weeks using this method.

t_lothar.jpg

Simply put:

1) Take cuttings as you normally would, but with the one addition of leaving a longer stem, as you will be trimming this down further by at least half an inch when it is time to root them.

t_lothas.jpg


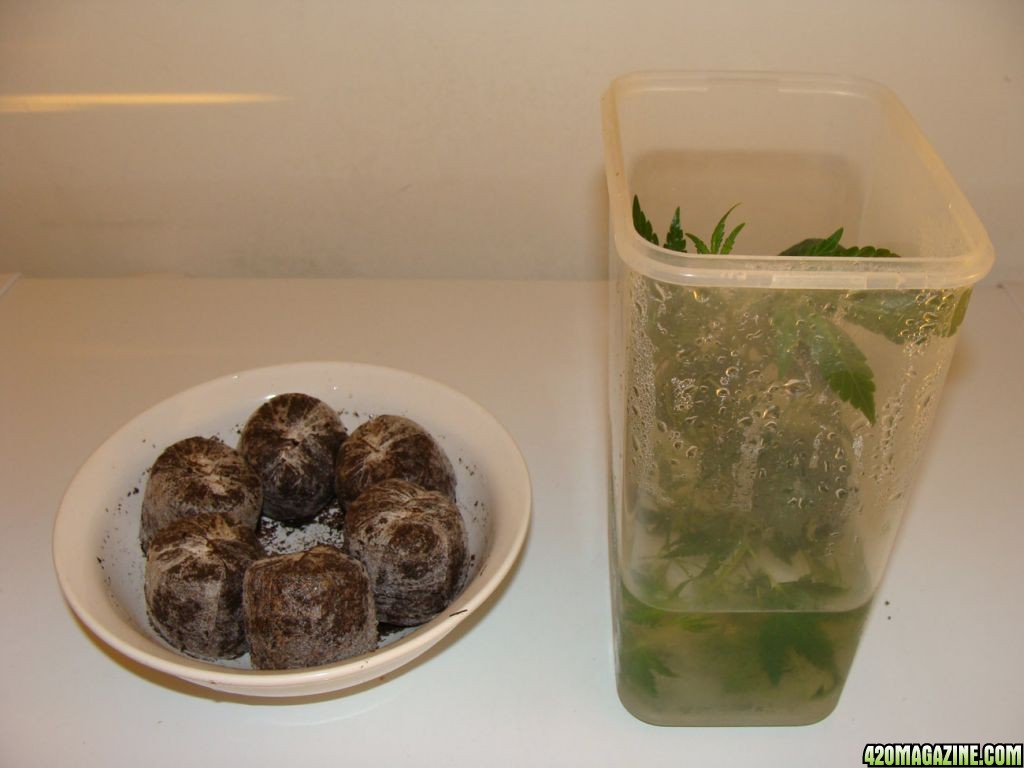
2) Place cuttings in a Ziploc bag (Tupperware can be used also.)There should be enough water in the bottom of the bag so that the stems are submerged. RO or good quality tap water should be fine. An inch or two should be in the bottom of the bag, keeping the stems wet.

Breathe some air into the bag, mainly so as not to crush the leaves and provide some cushion as they may get bumped about in the crisper drawer.

**Another variation on this is to simply put the cuttings in a water glass or jar (an ice cream bucket works well too -> basically, wide and shallow containers) and have them sit on the shelf in the fridge (stems also in water). This may or may not be convenient or stealthy for you.

3) I would recommend that you replace the air and water in the bag once a week. I have typically not bothered to replace the air or water at all for up to four weeks, but I continually come across this information and it seems like it cant hurt.

4) When you decide it is time to use your cuttings, remove them from the fridge and let them sit with their stems in a glass of water for half an hour or so to warm up as you prepare your cloning materials.

5) Cut half an inch or more off the stem to make a fresh end that you will dip in your favorite rooting hormome or rooting medium. I have found that fridge clones, if let to sit longer than a few weeks, will take longer to root.

This is fine for most since many are buying time with this method anyway. Clones older than 2 weeks will usually begin to root in 10 days and are mostly established by 14 days.

*Be sure that your fridge does not have a tendency to freeze your food. It should be stable. If your clones freeze, they will die. Happy Cloning.

t_lothat.jpg
t_lothau.jpg
 
Dean ,i forgot to ask you what kinda of medium are you growing in ? Looks like a mix of sunshine ,perlite and hydroton ? Thanks Bro :grinjoint: BC

Thats cool BC

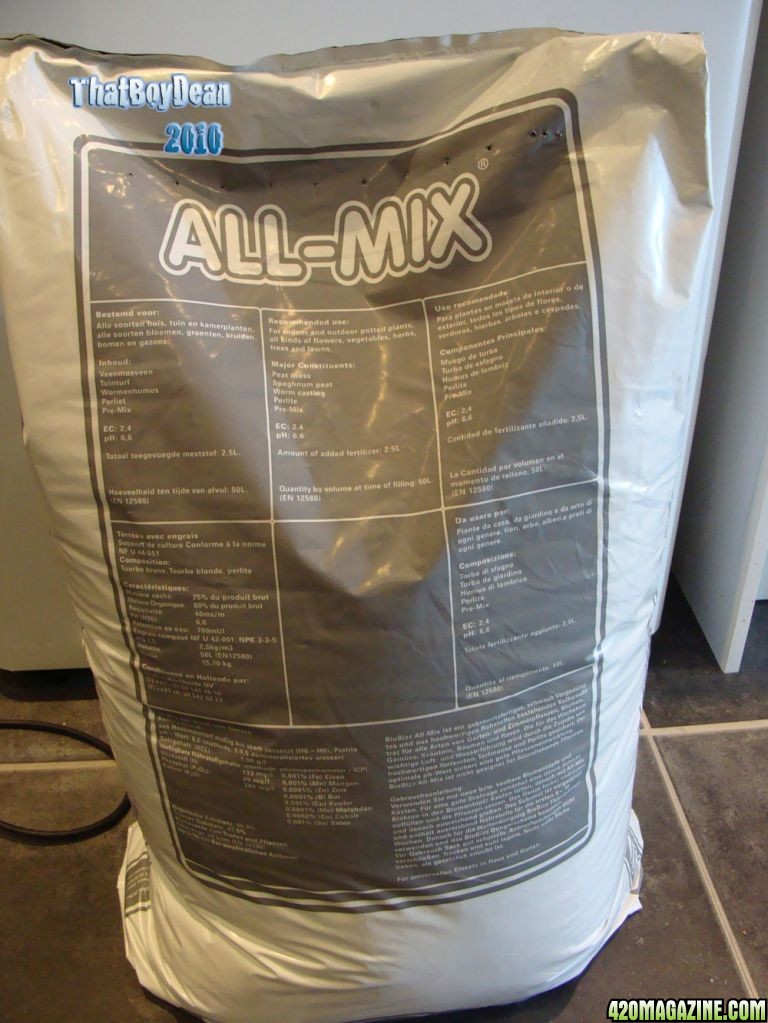
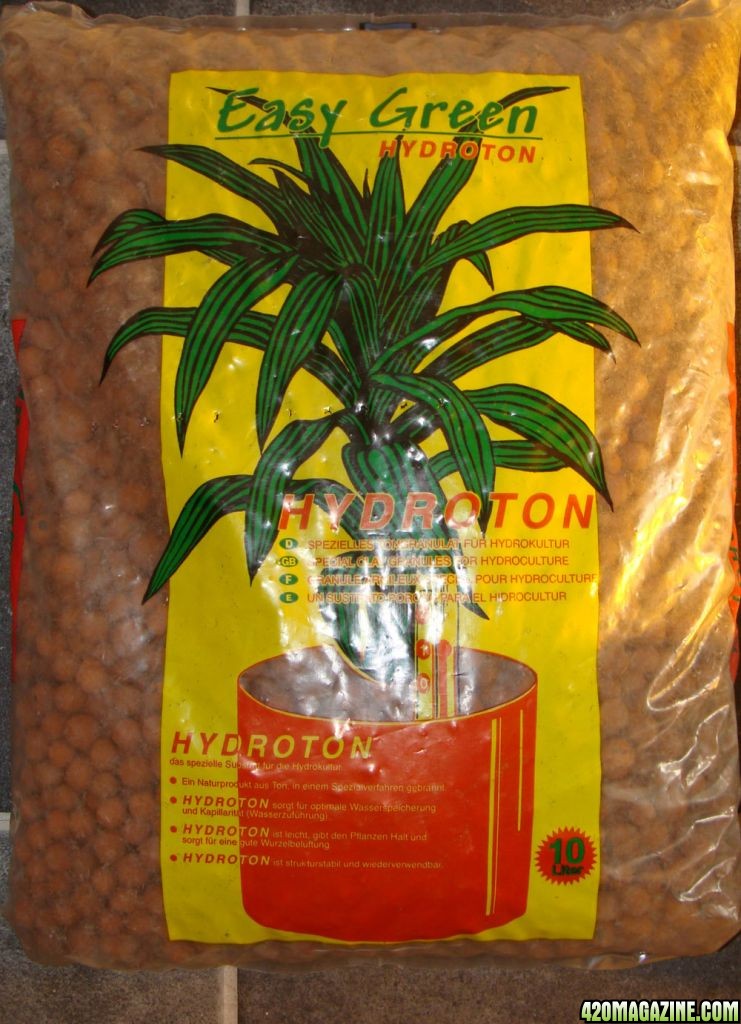
I'm using Bio Bizz All-Mix with a little hydroton on top to act as a mulch

DSC05881.jpg
DSC06037.jpg
 
Looking good Dean! I'm a little late here but better late than never. I was confused on the medium too....thought it was a hydro setup at first but didn't see any hoses/res etc. Anyway keep it up bud! Good idea on the clone in stasis method. Have you had better results when you do some light pruning as opposed to tucking/tying or lst?
 
Looking good Dean! I'm a little late here but better late than never. I was confused on the medium too....thought it was a hydro setup at first but didn't see any hoses/res etc. Anyway keep it up bud! Good idea on the clone in stasis method. Have you had better results when you do some light pruning as opposed to tucking/tying or lst?

:riskybusiness: Welcome brother, happy to have you join in, its better late than never as you've said already!
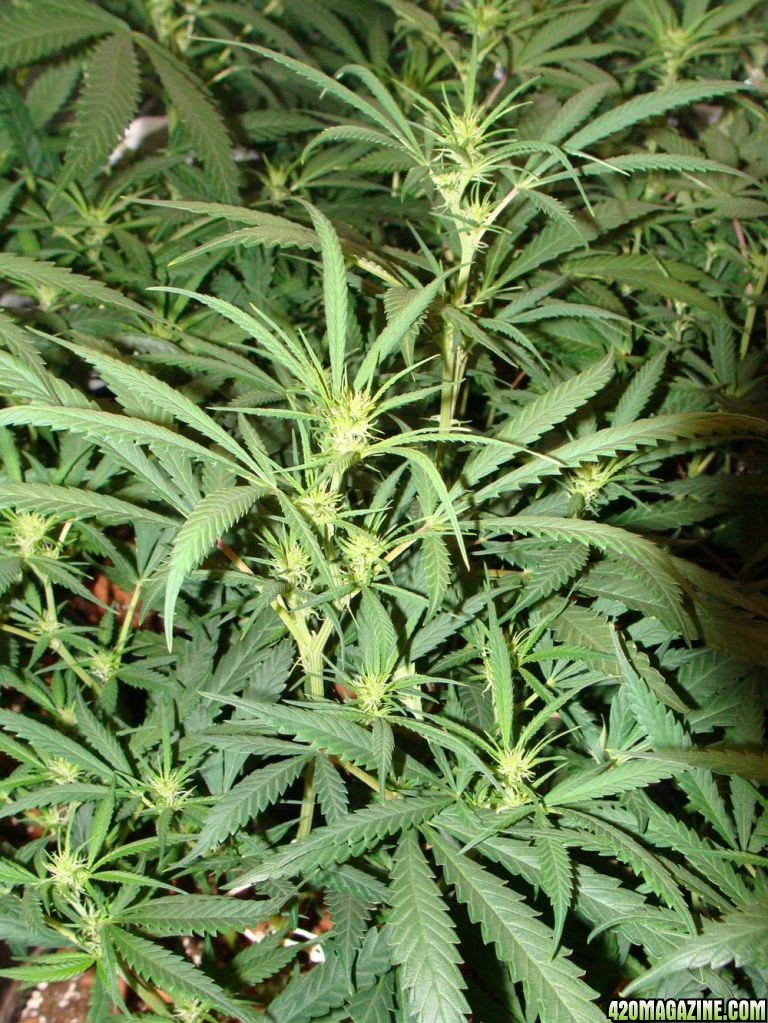
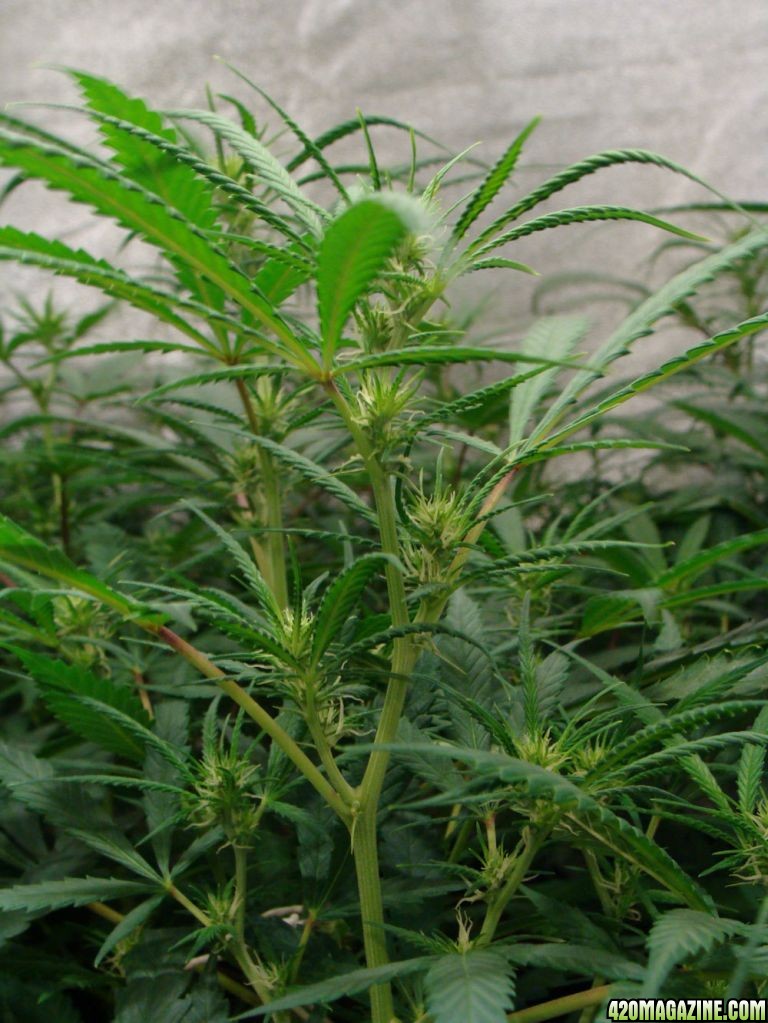
*Pruning, tucking and lst*

They all have there benefits but with the amount of plants i have within my space the lattar would not improve my yield! the way i want it

Anyway the trim was minimal! and IMO at the stage i'm at, it will benefit the plant more by using the energy meant for the bottom growth that i removed and would have produced what they call popcorn buds (fluffy unformed flower clusters)

In addition to that I'll get a better overall yield of prime dense buds

Note i only remove Flower sites that receive low light levels and hardly any leaves. Its the young flower tips at the bottom of the canopy that are snipped no foliage or sites from top...

Hope all is well and your enjoying today mcrog.

Tbd
 
Your journal is very informative amigo, not just good to watch, rep back at ya!

I have read that using those clay ball things on the top of the pots can utilise the space better in the pots and allow the roots to grow in the top 25% of the pots which they normally don't do. Would you agree with that?

Glad you are following my grow as Im sure your insights will be invaluable
 
Re: Clones in Stasis

Okay while pruning i ended up with a few clones but do not want to start the cloning at the moment, so i have know choice but to use the Clones in Stasis (the fridge method) to prolong it...

Awesome tips man!

Pipp....Pipp

Cheers.
SF
 
Re: Clones in Stasis

Your journal is very informative amigo, not just good to watch, rep back at ya!
I have read that using those clay ball things on the top of the pots can utilise the space better in the pots and allow the roots to grow in the top 25% of the pots which they normally don't do. Would you agree with that?

Glad you are following my grow as Im sure your insights will be invaluable

Yes it does increase the root mass by keeping the top layer of soil moister longer, therefor creating conditions for roots to develop. Without it the top layer dries out so fast, the roots never get the chance to inhabit nearer the top.

Thanx for the Rep brother and i'm happy your finding this journal enjoyable...

Awesome tips man!

Pipp....Pipp

Cheers.
SF


Thanx SF, glad you found it useful.. I was thinking of maybe adding the best tips ive tried and tested. Maybe i might add one each week and post them here! I could call it Awesome Tip of the Week lol

Tbd
 
Hope all is good everybody!

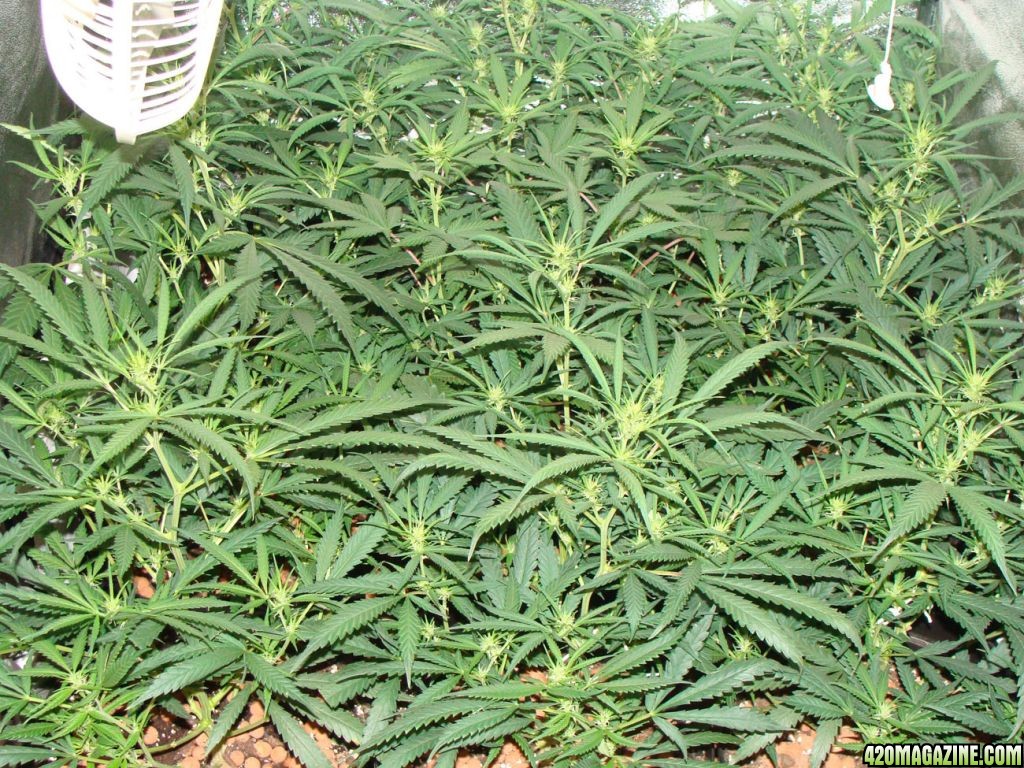
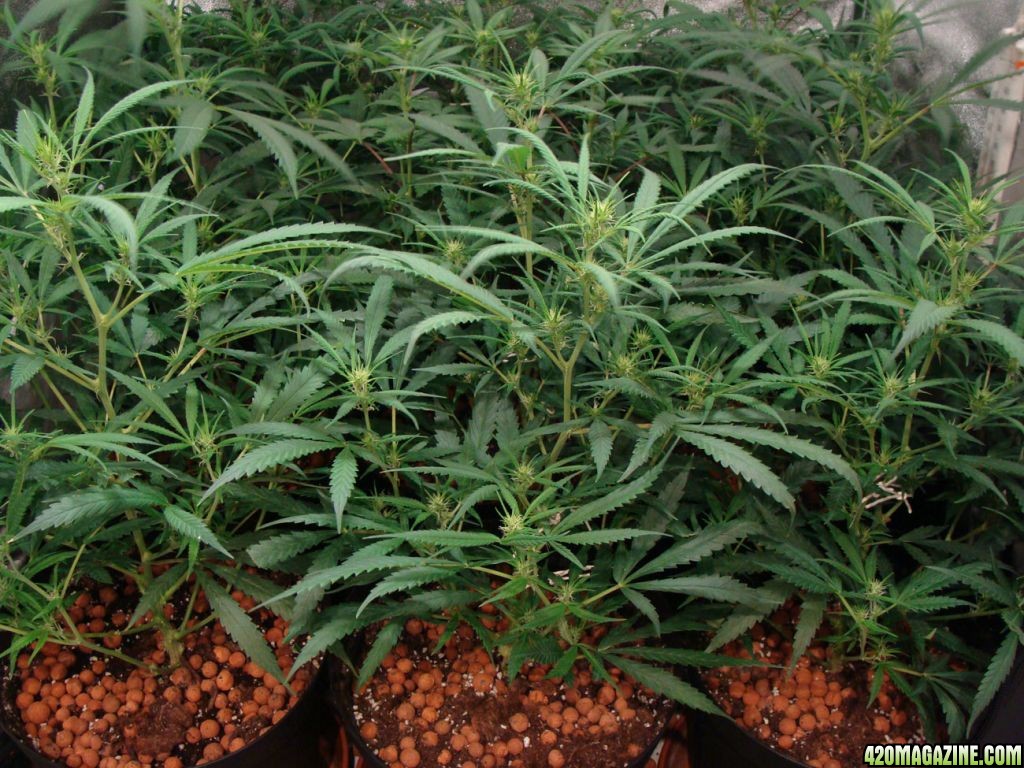
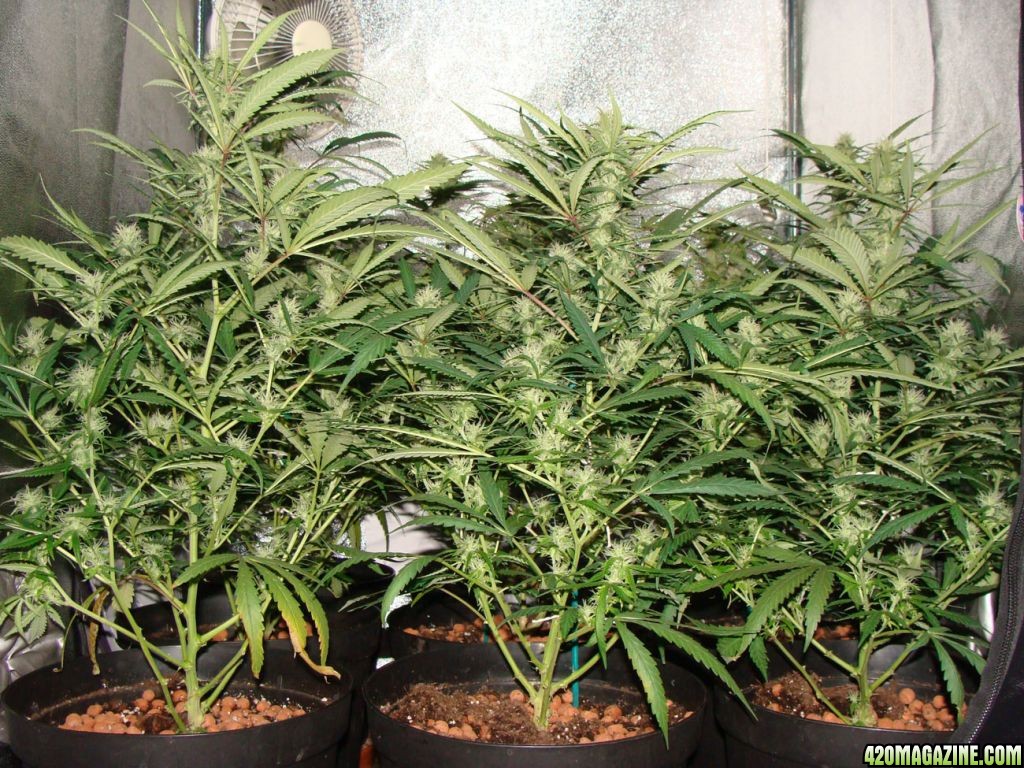
Its been 14 days since flowering began so i've taken some pictures with the flash on and off, for you all to get a better idea of how the plants look...

DSC06399.jpg
DSC063841.jpg


inside.gif


As you can see they are well on there way and all i have to do now is provide them with what they need. I have still not bought any bat guano but hopefully i'll have enough time this week to sort it out! Anyway other than that i hope you enjoy the pictures... :riskybusiness:

DSC06408.jpg
DSC06419.jpg


Tbd
 
Okay here is a couple of post that i've discovered and have found useful by a very knowlageble grower called OT1

The importance of potting up and soil management

"A plant needs to build as large a rootmass as possible from an early stage, this gives sturdy plants full of vitality, this is why when growing in compost we recommend starting in small pots and as soon as the compost is full of roots pot on to a larger pot. By doing this in stages until you reach the final pot size you maximise the root mass for any given final pot size. You get many times the root mass you would if you planted a small cutting/seedling in a final pot. Once the plant goes into flowering mode it uses the roots it made to build the parts needed to reproduce its self, if the roots are inadequate for the job the plant will sacrifice parts of its self to make the reproductive parts.

Out of interest another problem with planting small plants in final pots, is the plants roots only occupy a tiny portion of the compost, so the unoccupied part tends to become anaerobic inhibiting new growth and encouraging the multiplication of pathogenic fungi and bacteria, the larger the pot the worse the problem.

In the early days of cannabis growing indoors stoners tended to try and grow like this as its easy and its what you would do if you were planting outdoors in soil, well as we have said compost is not soil, its a medium that is made to act in place of soil in an enclosed container. The early books on cannabis growing answered the problem by advising that the compost was mixed half and half with perlite, rather than the practice of potting as used by the horticultural industry world wide. So the myth still abounds today in the cannabis world today, that cannabis needs loads of drainage. Its not true.."


The advise going back over a hundred years, was to crock pots to improve drainage and stop compost seeping out of the pots and keep worms out. All has proved to be totally wrong.

Especially with the advent of capillary beds or matting. What you really want is the same medium going from the top to the base of the pot so its capillary profile constant without a break. If you want to change the water/air/drainage capacity of a medium it is best to change the whole medium.

For the most healthy root profile, it is best to water with a fine rose over the entire the compost surface untill you get run through, this oxygenates the water/feed when applied, it also drives stale and toxic gasses down through the rootball drawing in fresh air as it drains down from saturated to its natural holding capacity.

It has been found that crocking pots rather than helping drainage to the surface a pot is standing on, in fact it inhibits it. This means whatever potting medium you use holds more water and less air than its natural capacity, the thicker the crocking level the worse the problem.

The best growing results come from a wet dry cycle, by dry I mean down to 5 or 6% of the composts wet capacity, if you go much lower than that the root ball will shrink away from the pot walls killing a large percentage of the fine feeder roots, you don't want to do this as it sets the plant back and every time you do it, it will reduce the final yield a bit more. Another problem where a rootball is allowed to dry out to the shrinkage stage is that it is very hard to wet it properly again, What happens is the water runs off the surface and down the gap round the pot edges leaving 70% of the rootball dry.

If your plants are on a sand/matting bed providing there is no crocking the odd over dry rootball will fully rehydrate its self from the bed after the area has been watered.

It is not a good idea to water or feed from a capillary bed unless you have a very very open medium, if you are going to do this you might as well grow hydro.

Where the myth about needing 30 to 70% perlite in compost an an ideal medium for growing cannabis came from:-

In the early days of cannabis growing in the states, the heads growing indoors did not have a clue about gardening or horticulture at all. They wanted to grow plants like outdoors, big plants, so they would use a big pot 10 to 50 gallons fill it with a couple of bags of Schultz container compost, water, sow a few seeds.

Now we all know what happens to 10 gallons of saturated compost in an enclosed container, with no roots to pump the water out and just a little surface evaporation, within a couple of weeks the whole mess goes anaerobic and sour. To compound the problem, the surface dries so they keep watering the seedlings that in turn get sicker and sicker as root fungus get a grip in what is now an ideal environment for it.

Did they look at what the plant industry did? No they were growing cannabis they had to resolve the problem, they stuck with big pots. One method was to fill the pot and just use a tiny amount of water around the seed. Of course this meant watering several times a day as the surrounding compost sucked up the water. Then they tried adding more and more drainage! Grit, sharp sand and finally perlite. Until the 10 gallon pot was only holding 3 or 4 gallons of compost and the rest was inert filler ie they were nearly growing with just water and nutrients. They never learnt about standard potting on techniques or considered them irrelevant or too time consuming.

Even today 40 years on, where large pots and huge plants are no longer the thing. Then the firm belief was that for optimum yield you should not grow more than one cannabis plant under a 1kw light, no one even thinks about that now, its laughable.

Yet we still see people adding large amounts of inert perlite and vermiculite to compost. It just goes to show what a tough plant cannabis is, as it often survives and crops despite the things that are done to it. Its not done any where else in the horticultural industry. So why oh why, when its a completely groundless bit of nonsense does it still hang on in the cannabis world.
 
Its different over here in Europe perhaps where cannabis has been grown for hundreds of years if not thousands. Countries like Holland have been testing conditions and mediums thousands of times over and those are the people we should be listening to in my opinion. Perhaps that is who's opinion that is?

Personally if I buy from Canna or someone who have specialised in Cannabis growing for a long time and if they use vermiculite for example then I am pretty much rest assured that vermiculite has given better results on average then without it.

A lot of that makes sense, logical sense. some of it doesnt allow for differences in conditions, soil can get wet spots and dry spots, particularly with the bio soils that use bark and bits of tree etc

I have already fell out with people on here cos I said that potting into huge 10 gallon pots in smallish areas is just a waste and unneeded, you do grow to your space and use the pot size for that space as oppose to the size of plant potential. A healthy root system is required, not neccassarily a large one. The roots job is to take up mutrients for the plant. If that is receiving enough nutrients etc to feed the plant sufficiently then even a very small pot and root system can produce a very large healthy plant. This saves on soil, ferts, space and time.

Ermm, yeahh overall I am aggreeing with most of that, a great post.

:thumb:
 
Thank you to everyone thats taken the time to post...

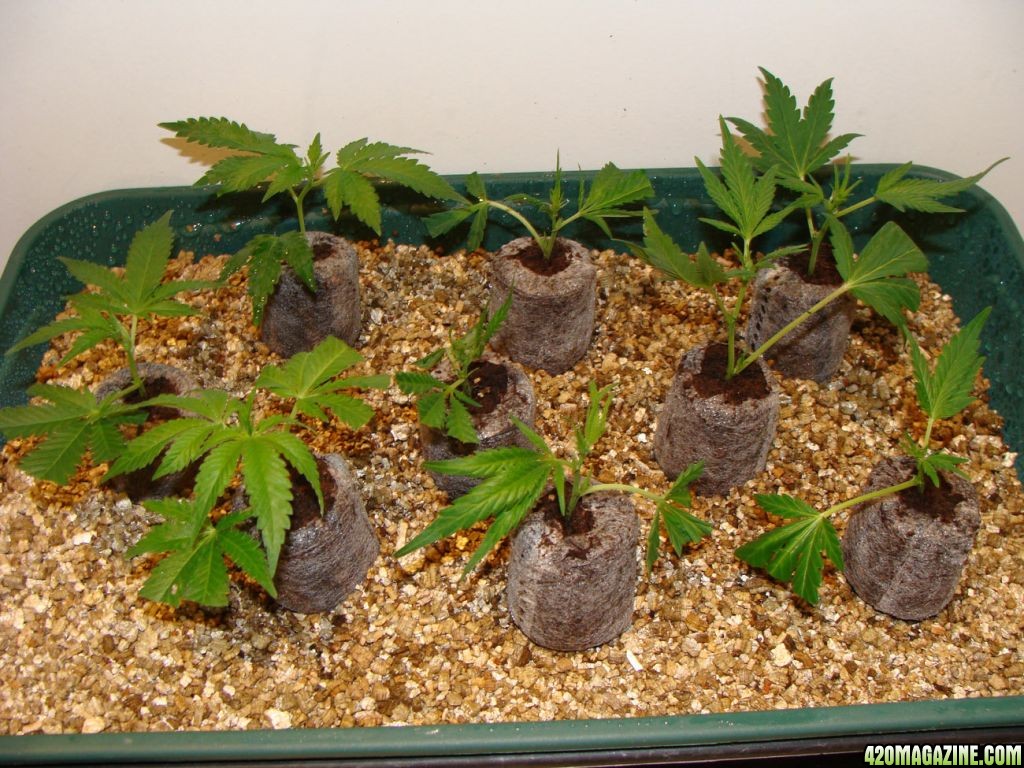
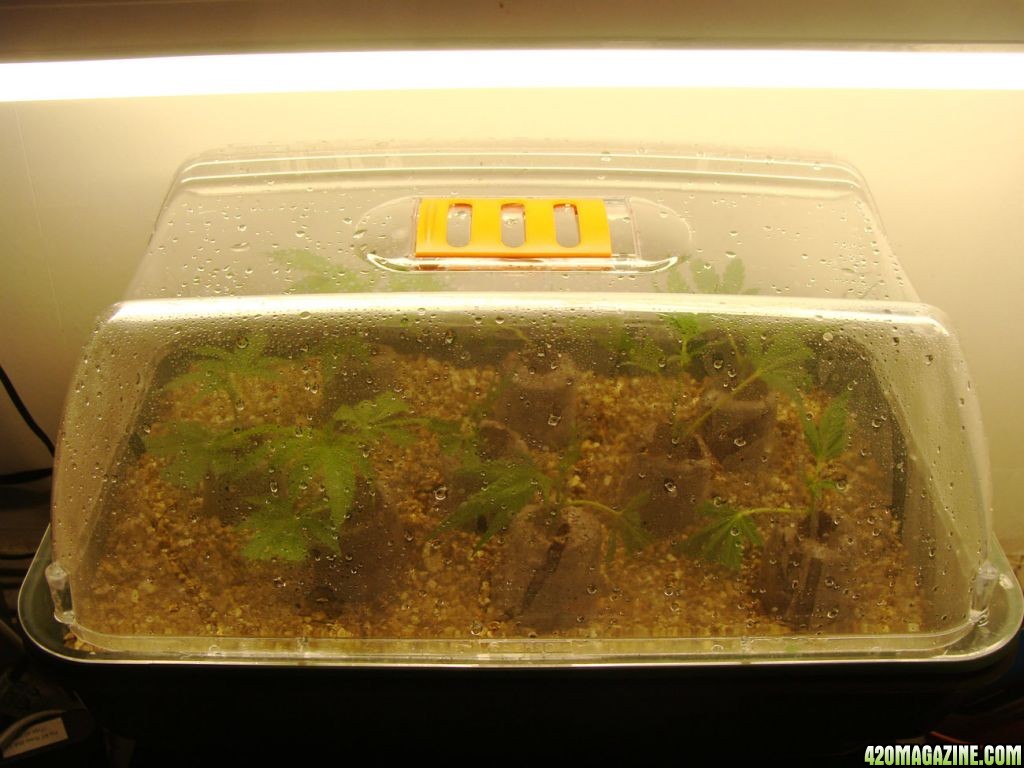
Anyway i have now taken some of my clones in stasis and begun the rooting process, like i mentioned a couple of weeks ago!

DSC06423.jpg
DSC065182.jpg


These plants will go outside for my outdoor crop this year but mainly to keep as mothers because i have hardly any where to keep these babies at the moment, plus a few others will go to friends that are able to keep em going.

DSC065192.jpg
DSC065241.jpg


Tbd
.
 
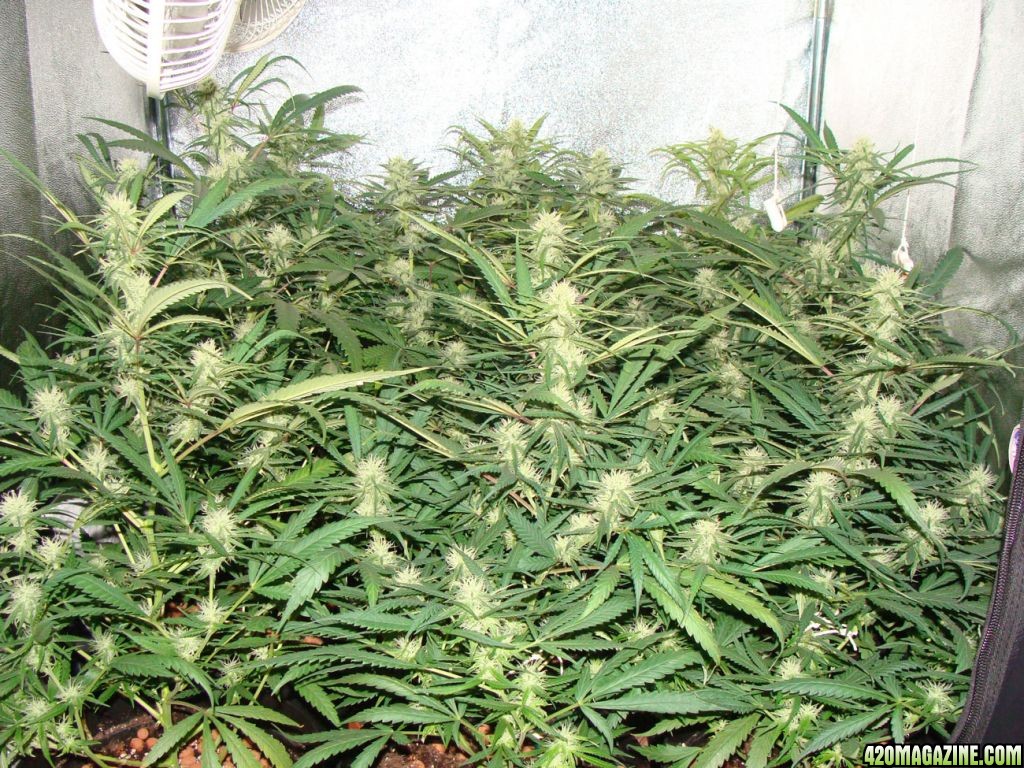
Hi everyone Hope all is well... Its early in the morning and i can not sleep so decided to give a little update on how the girls are doing!

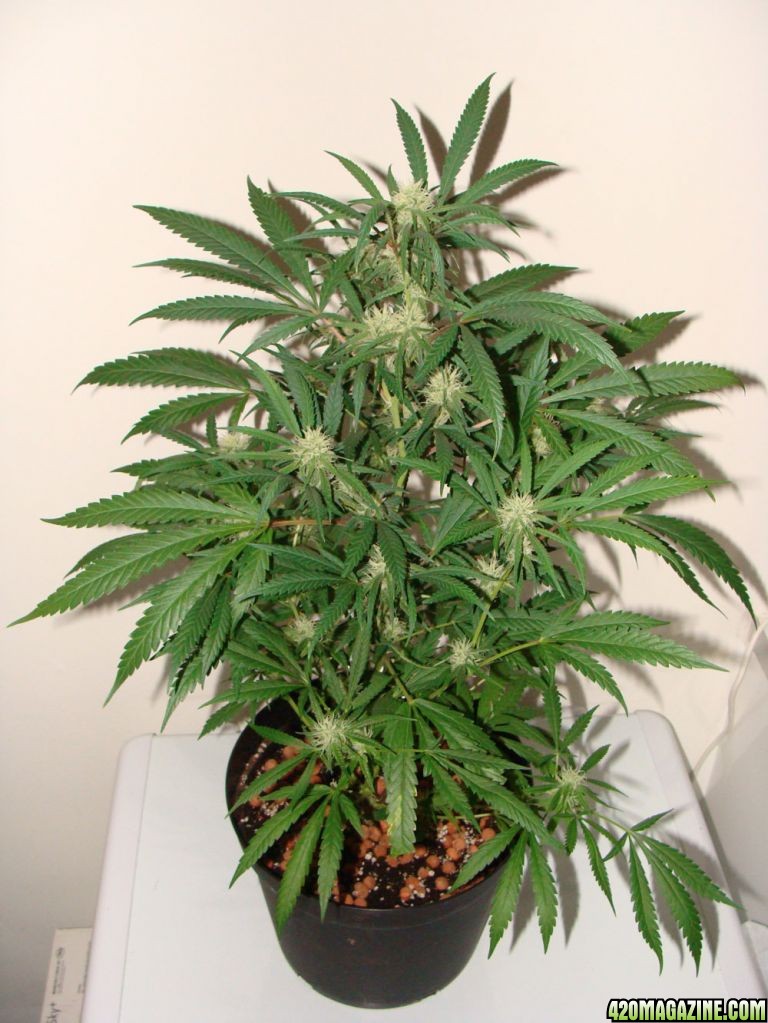
Its day 31 of flowering and i gotta keep these girls as healthy as possible for another five weeks, so hope i don't mess up. Things are developing nicely at the moment, here are some pictures i've just taken

5.4.2010


Lemon Skunk


Blue Cheese


Tbd
 
Back
Top Bottom