Re: My continuous auto closet grow. Pink salad!
How to make feminized seeds Colloidal silver method by 420magazine member BigIrishDoode
ok im gonna walk you thru my method of making colloidal silver that can be used for many purposes including making feminized seed from virtually any female cannabis plant, i have been making CS for many years after getting frustrated with the relatively high cost of a small amount that goes really quickly,,with this info you can create many gallons of CS for the cost of just 1 bottle of CS from perhaps ebay, and you may even have all the items laying around home!
or from radio shack
ok heres the list of "ingredients"
a small project box (optional)
3 9-volt batteries
3 9 volt connectors harvested from old gadgets,or from radio shack
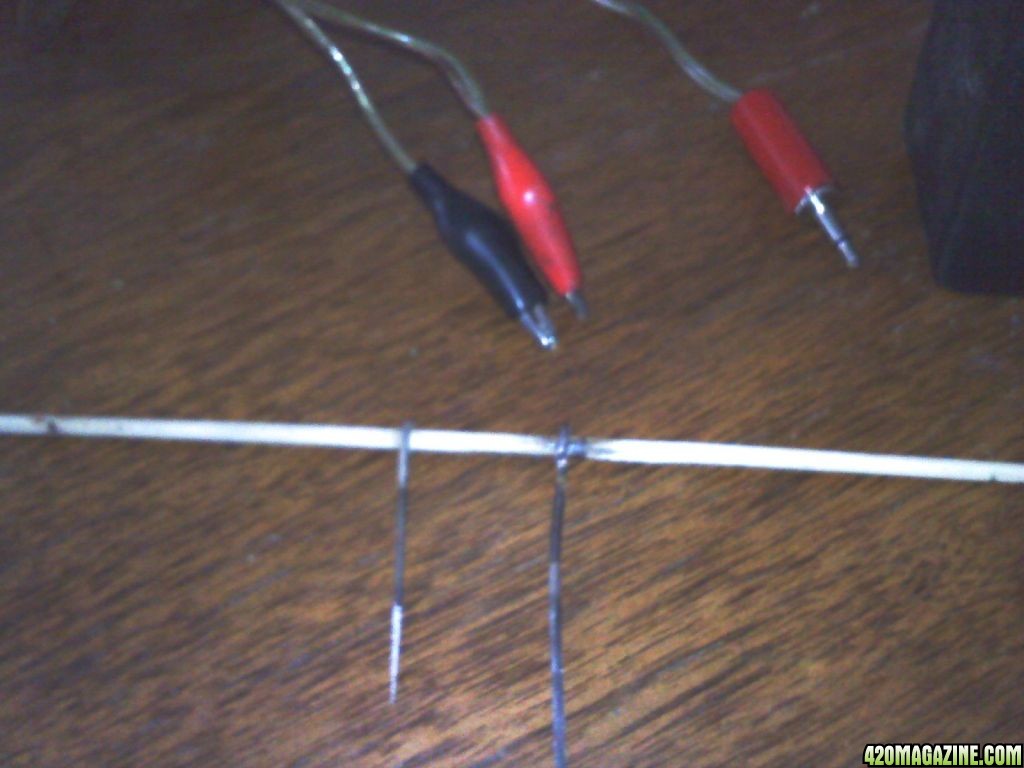
1 bamboo skewer (or similar item)
2-4 insulated alligator clips
a foot or so of heavy speaker wire
matching plug and receptacle
6-8 inches pure 99% silver jewelers wire or 2 troy oz 99.99% silver
distilled water
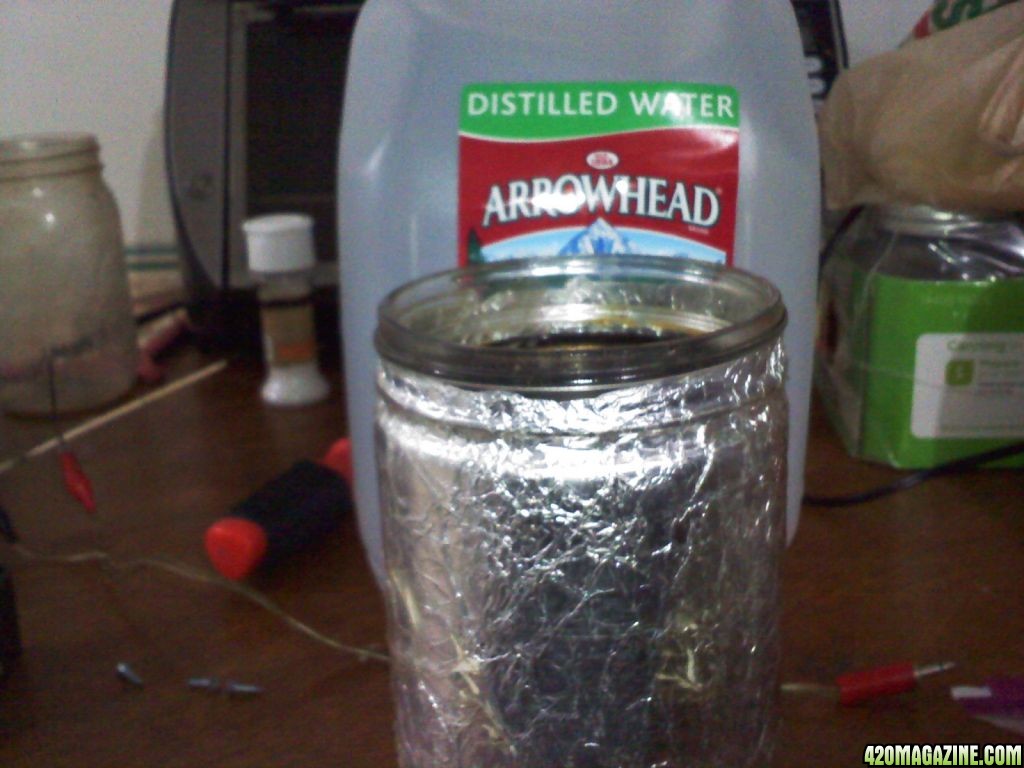
a light proof glass jar, masons quart jars work well
ok there are 2 different ways to make this device with 9-volt batteries
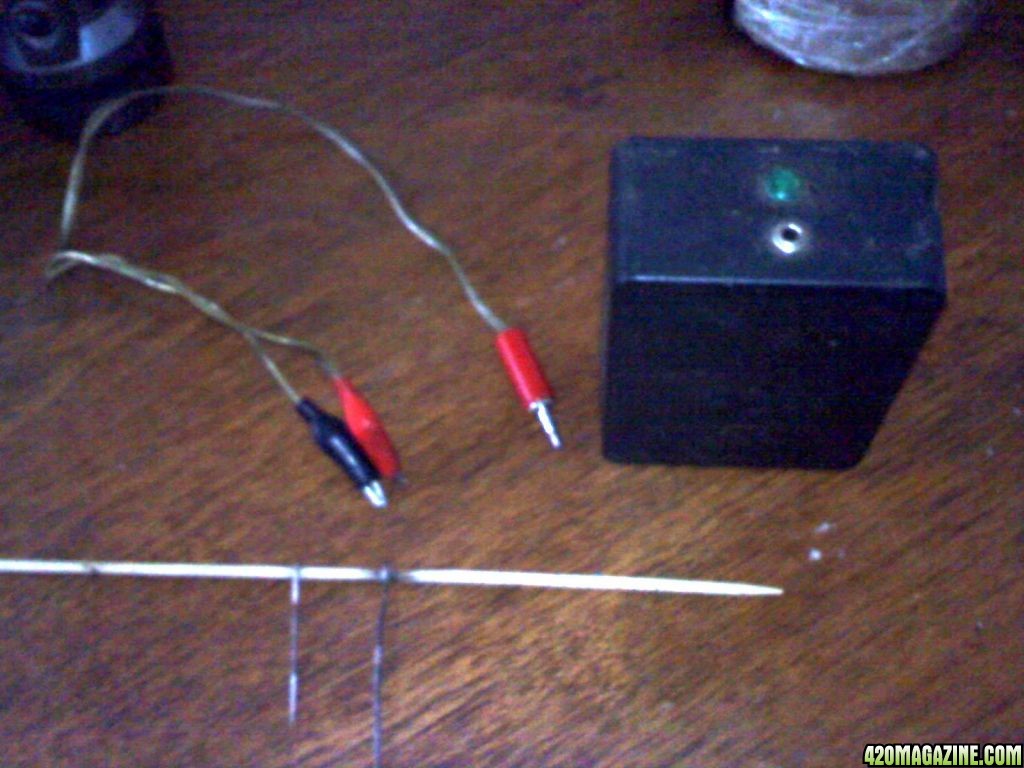
the method i have pictured and another (even more simple) i will explain as i go, i use this one because i have it
heres a pic of the CS maker
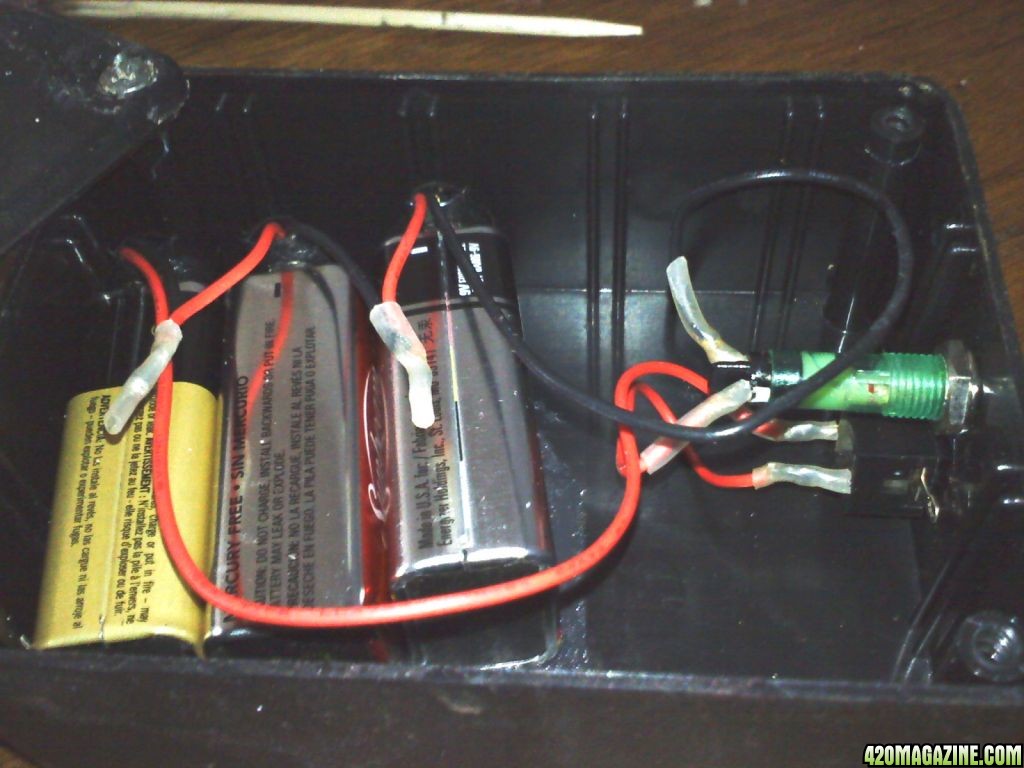
and a pic of the guts
i built this box this way because i had the stuff to do it but it does not need to be this detailed
it is possible to just plug the 3 9volts into each other one on top pointed down and the other 2 connected to it, and taped tightly together with electrical tape,due to the standard 9volt connectors fitting into each other
* never short circuit only 2 9volts together as they will likely explode* but if you connect 3 in a chain you just get 27 volts same as they are wired in my box ,
if done this way you dont need the box,and plug/plug receptacle, just an alligator clip on each end of the wire 4 total and connect to the 2 remaining
exposed 9-volt terminals to the 2 silver wires or troy ozs
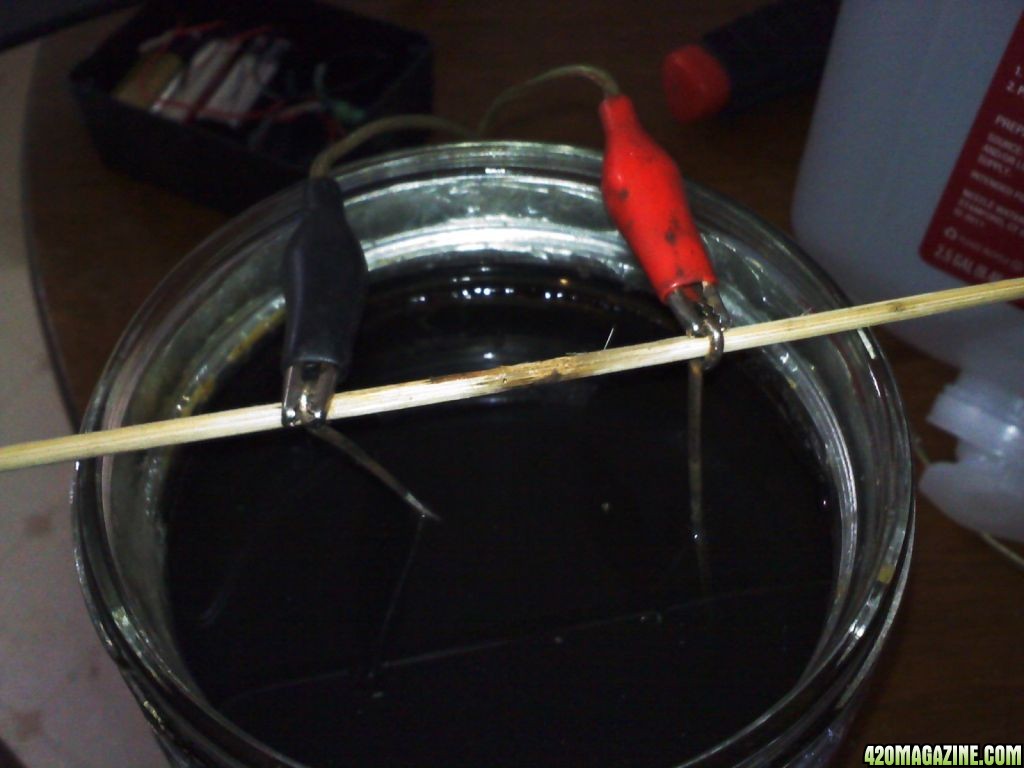
if you use troy oz you will need to drill a small hole in the corner of each one to accommodate suspending them in the water with the skewer
on another side note i happen to have a laboratory type power supply that adjusts the output from 0-50 volts and 0-2 amps DC and it also can make CS,
once you decide how involved you want to get with the power supply
you will need to boil the distilled water and put it in your lightproof jar
i wrapped aluminum foil around my jar,and then again with clear packing tape, light destroys CS
i fill the jar with cold distilled water then into a pot to boil ,the reasn for this step is to only boil the exact amount of water i need
after your jar is filled with boiling water *run hot tap water over only the outside of your jar to warm it up and avoid it shattering from the boiling water being poured in*
then suspend your pure silver over and about an inch or several inches into the distilled boiled water do not allow the silver pieces to touch each other or the sides of the jar connect the power supply
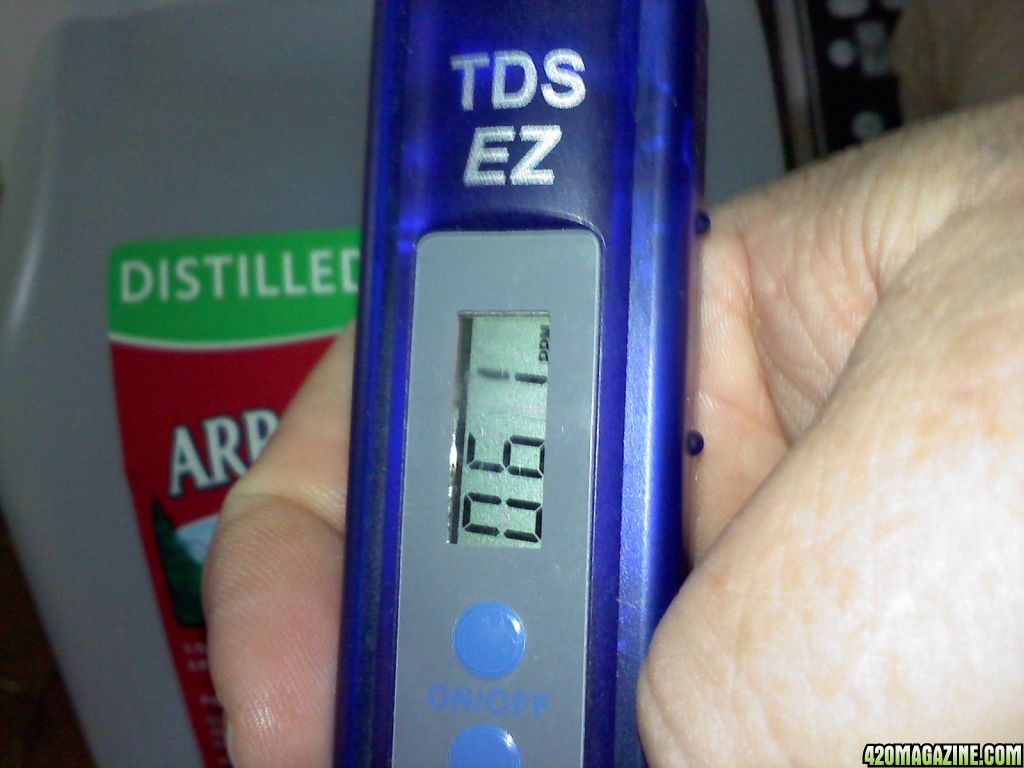
then wait if you have a ppm meter you can check every half hour till the desired ppm is reached in my case it took 2 hours to reach 60 ppm, (my batteries needed replacing and my water had cooled off alot before hand
normally it only takes 30-45 min to reach 50-60-ppm
you can also make it better and more stable if you happen to have an ultrasonic jewelry cleaner ,also commonly used for cleaning tattoo equipment, and dental tools, a small one can be had for 20-50 dollars from ebay, but it is not necessary if you will use all you make within a couple weeks to a month or even longer, if i didnt put it in the ultrasonic i just shake the living hell out of it and use it i dont feel it goes bad, just the silver particles tend to clump and settle on the glass
ok thats about it for now if you have further questions feel free to ask and i will do my best to answer
enjoy your CS for pennies on the dollar vs store bought
and have fun making those fem seeds


Alternative STS method not endorsed by BigIrishDoode
How to make feminized seeds STS method - Warning STS is highly toxic! Handle with care!
Preparation of
Silver Thiosulfate Solution (STS):
First, a stock solution of 1.0L is made. It consists of two parts (A and B) that are initially mixed separately, each into 500ml of water, then blended together. Part A is ALWAYS mixed into part B while stirring rapidly. Use distilled water; tap water may cause precipitates to form.
Wear gloves while mixing and using these chemicals, and mix and use in a
properly ventilated area.
A mask will
prevent the breathing of any dust, which is
caustic. STS is colorless and odorless, and poses minimal health risks if used as described here. Note that silver nitrate and STS can cause brown stains upon drying, so spray over newspaper and avoid spilling.
Part A: 0.5 grams silver nitrate stirred into 500ml distilled water
Part B: 2.5 grams sodium thiosulfate (anhydrous) stirred into 500ml distilled water
The silver nitrate dissolves within 15 seconds. The sodium thiosulfate takes 30-45 seconds to dissolve.
The silver nitrate solution (part A, 500ml) is then mixed into the sodium thiosulfate solution (part B, 500ml) while stirring rapidly. The resulting blend is silver thiosulfate solution (STS).
This stock solution is then diluted at a ratio of 1:9 to make a working solution. For example, 100ml of stock STS is added to 900ml of distilled water. This is then sprayed on select female plants.
Both the stock STS and the working solution should be refrigerated after use, as well as the powdered chemicals, to avoid activity loss. Excess working solution can be safely poured down the drain after use (with ample running water) with negligible environmental impact. It's pretty cheap.
Each liter of stock STS will make ten 1-liter batches of working solution of STS.
This is then sprayed on selected female plants.
This formula is strong and this much STS can treat 15-20 mid-sized plants.
Application:
Wear gloves, and a mask!
The STS working solution is sprayed on select female plants until runoff. Do the spraying over newspaper in a separate area from the flower room. You probably won't smell anything, but ventilate anyway. You now have what I call a "F>M plant"; a female plant that will produce male flowers.
After the F>M plant dries move it into 12/12 immediately. This is usually done three to four weeks prior to the date that the target (to be pollinated) plants will be ready to pollinate. Response times may vary slightly depending upon the strain. More specific times can be determined by trial with your own individual strains. In our trials it took 26 days for the first pollen. 30-35 days seems optimum for planning purposes.
So, assuming that a target plant needs 3-4 weeks to produce fully mature seeds, a strain that takes 8 weeks to mature should be moved into flower at about the same time as the female>male plant. A target plant that finishes flowering in 6 weeks needs to be moved into flower later (10 days or so) so that it doesn't finish before the seeds can fully mature.
A seeded individual branch can be left to mature on a plant for a bit longer, while harvesting the other seedless buds if they finish first. Just leave enough leaves on for the plant for it to stay healthy.
Effects:
Within days I noticed a yellowing of the leaves on the F>M plants. This effect persisted for two weeks or so; after this they became green again, except for a few of the larger fans. The plants otherwise seemed healthy. No burning was observed. Growth stopped dead for the first ten days, and then resumed slowly. No stretch was ever seen. After two weeks the F>M plants were obviously forming male flower clusters. Not just a few clusters of balls, but complete male flower tops. One plant still formed some pistillate flowers, but overall it was predominantly male.
When the F>M plants look like they may soon open and release pollen, ( 3-1/2 to 4 weeks) move them from the main flower room into another unventilated room or closet with lighting on a 12/12 timer. Don't worry too much about watts per square foot; it will only be temporary.
When the pollen flies, move your target plants into the closet and pollinate.
A more controlled approach is to isolate the F>M plants in a third remote closet (no light is necessary in this one, as they are releasing pollen now and are nearly finished anyway). In this remote other closet the pollen is very carefully collected in a plastic produce bag or newspaper sleeve and then brought back to the lighted closet, where the target plants are now located. If this is done, be careful to not mix pollen types by letting the F>Ms dust each other. Avoid movement, or use yet another closet.
Take special care to not let pollen gather on the outside of this bag- a static charge is sometimes present. Drop small open clusters of blooms inside and then close the bag at the mouth and shake. Important: next, step outside and slowly release the excess air from the bag, collapsing it completely, so that pollen doesn't get released accidently. Point downwind; don't let it get on your hands or clothes.
This collapsed pollinated bag is now very carefully slipped over only one branch and is then tied off tightly at the mouth around the branch stem with a twist tie or tape, sealing the pollen inside. Let the bag inflate slightly with air again before sealing it off, so the branch can breathe. This technique keeps the entire plant from seeding. Agitate the bag a bit after tying it off to distribute the pollen. Don't forget to label the branch so you know which seeds are which. Other branches on this same plant can be hit with different pollen sources.
If no lighted closet is available, the plant can be moved back into the main room, but- be very careful, pollen is sneaky. After 4-5 days, the bag is gently removed and the plant completes it's flowering cycle.
Yet another method is to position the target plants in a non-ventilated lighted closet, and then collect pollen on a piece of mirror or glass. This is then carefully applied to the pistils of one pre-labeled branch by using a very fine watercolor paintbrush. Care is taken to not agitate the branch or the pollen. No sneezing. The plant needs to be in place first; moving it after pollination can shake pollen free and blow this technique.
Regardless of technique, at completion you will have feminized seeds. Let them dry for 2-4 weeks.
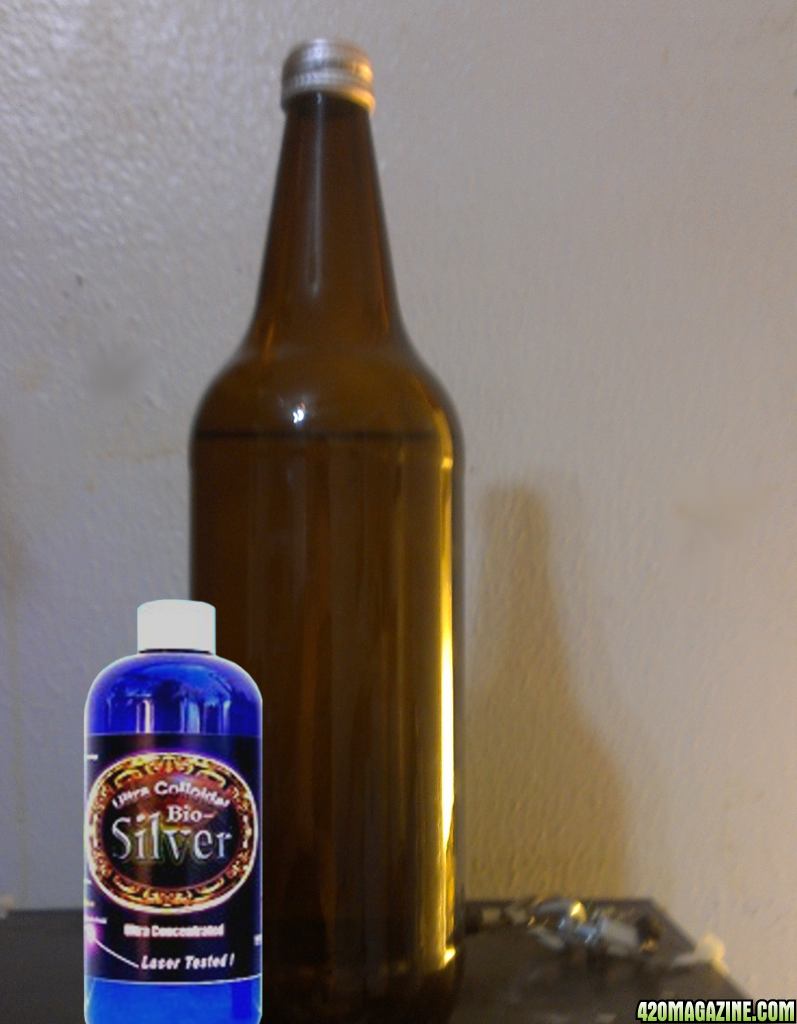
I've been thinking this over, and have decided I haven't been saving my old 32 oz bottle of colloidal silver just to throw it out now. I might as well try spraying a female, or two, and see what happens. If I can't get one to change sex because the colloidal silver has become to old I guess the worst that could happen is I'll have a female plant. I can always pull out some of my stored pollen, and use them to make more seeds. If I'm to buy something again it's likely I'll try the STS method. It has it's risks, but I plan to be careful. I'll be sure to start some new seeds in about 30 days just to have some fresh females to pollinate.


 If I've worked in enough shitty restaurants to be familiar with them.

