Medijuana - DIY Cabinet, Perpetual Grow, Airpots, Soil w/LST

Heres some trichome pics from today...day 60...

I just think they so cool to take pictures of..I hope some of you agree :)
20x
frame09.jpg

200x
frame25.jpg

This is a tip from the girl in left of cabinet...same tip just difrent zoom levels
frame34.jpg
frame51.jpg
frame62.jpg

And the same from the girl on the right...who went for extended dark period tonite :yahoo:
frame112.jpg
frame131.jpg


How about this...My first grow turned out a heart shaped plant...
this time I get a heart shaped trichome...how cool is that...:ganjamon:
frame91.jpg


almost done for the day(night):)
:peacetwo:bp
 
Ok, as requested by Giantsfan, some final plant dimensions...
This is the girl from the right as she got the tallest...measurement is from top of pot
DSC_07403.jpg

This is girl from the left
DSC_07432.jpg

Girl from the right
DSC_07422.jpg


just a couple of pretty buds
DSC_07471.jpg

DSC_07481.jpg


And this is the last shot of the girls together...one on the right gets chopped after 24 hours dark from tonite...:yahoo::ganjamon:
DSC_07452.jpg


thats it for now...goodnite all, or have a great day :)
:peacetwo: bp
 
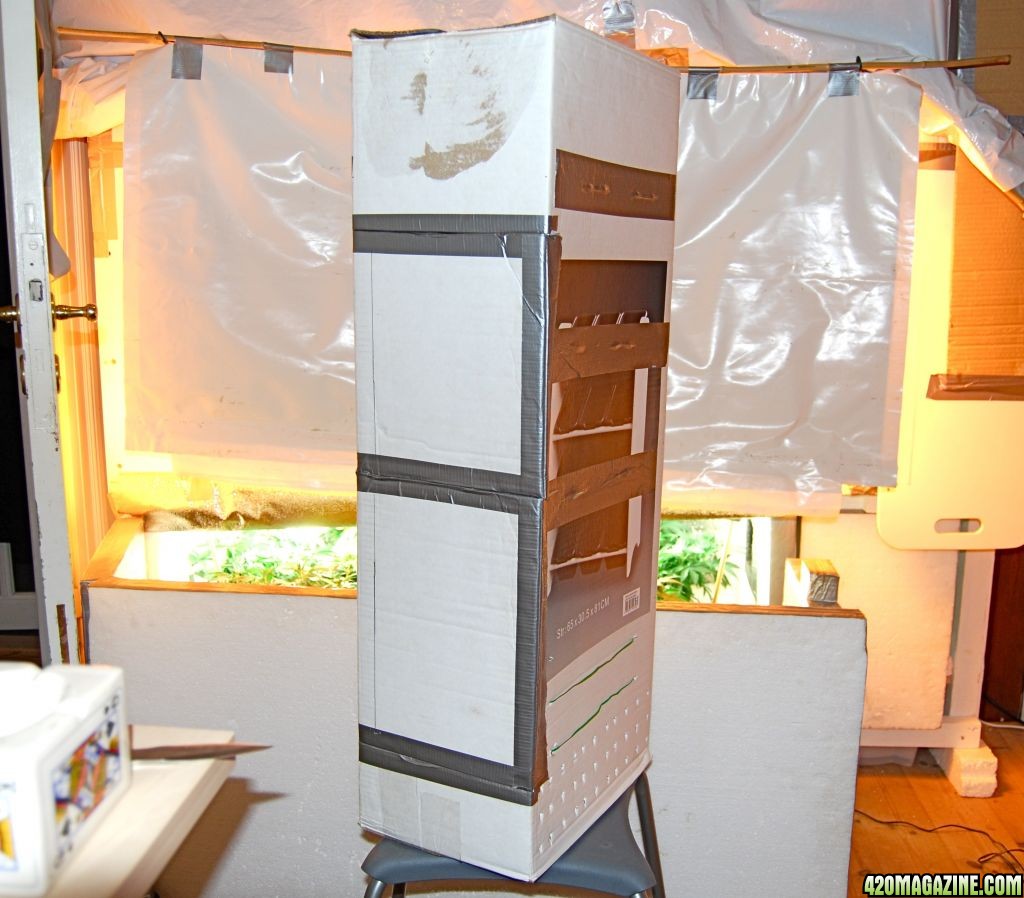
here is the drying cabinet closed up, showing 2 doors in front
DSC_07143.jpg

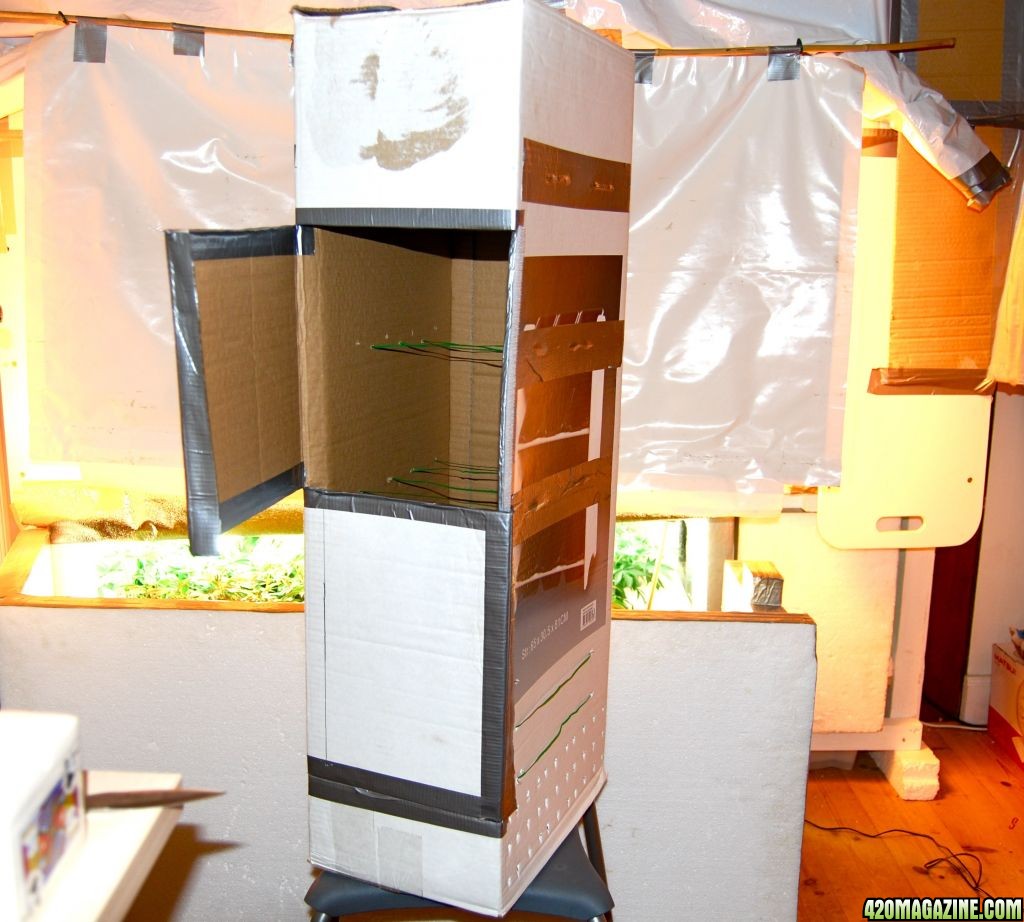
Both doors open , empty cabinet
DSC_07254.jpg

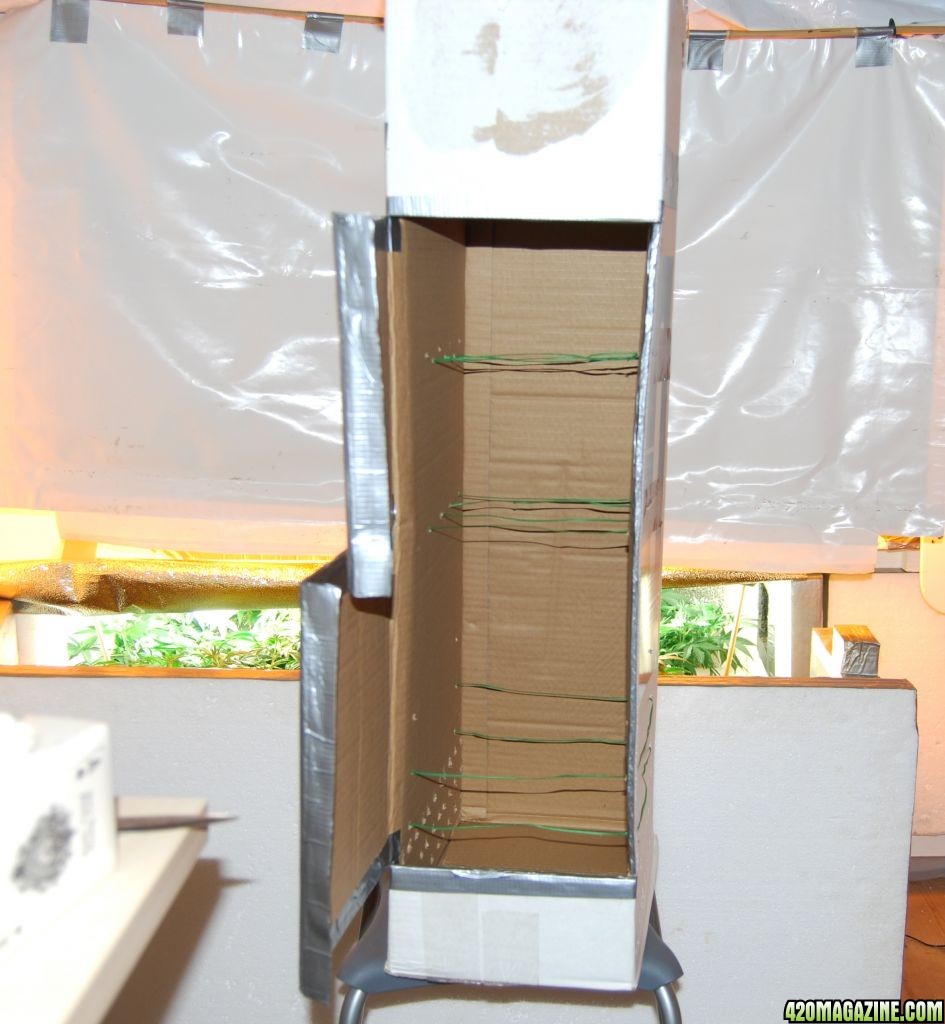
Top door open, access to 2 top hanging lines
DSC_07156.jpg

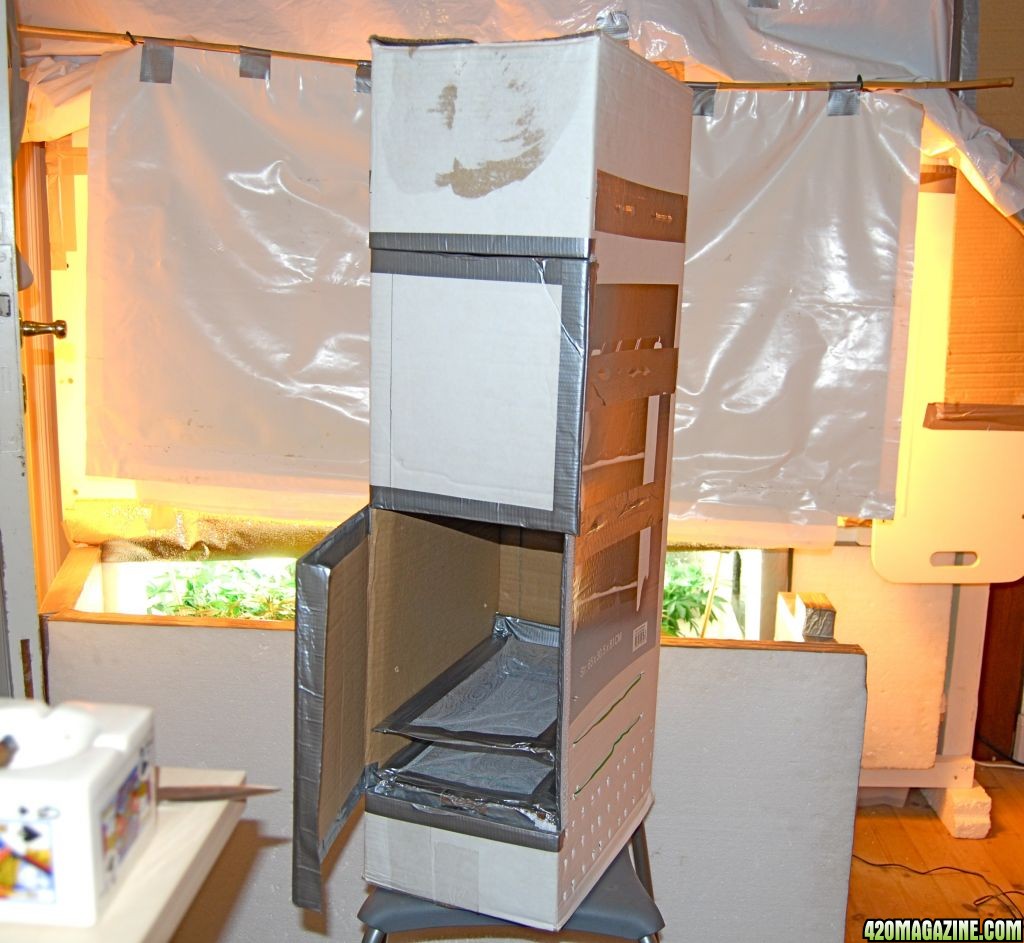
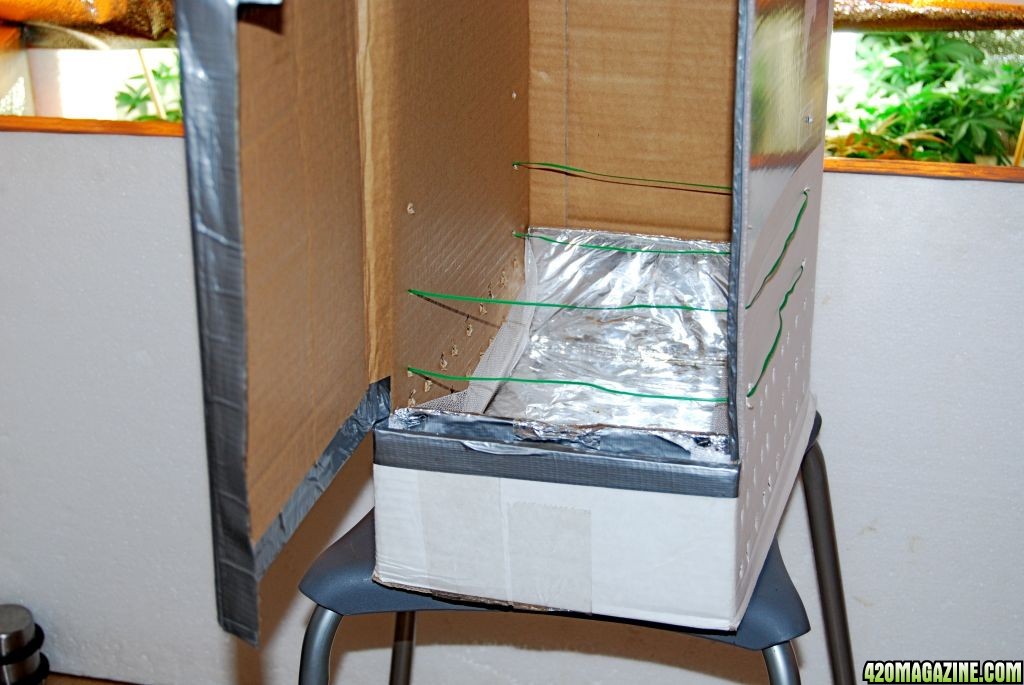
Bottom door open, access to bottom hanging line, 2 shelfs and bottom shelf/tray
DSC_07165.jpg

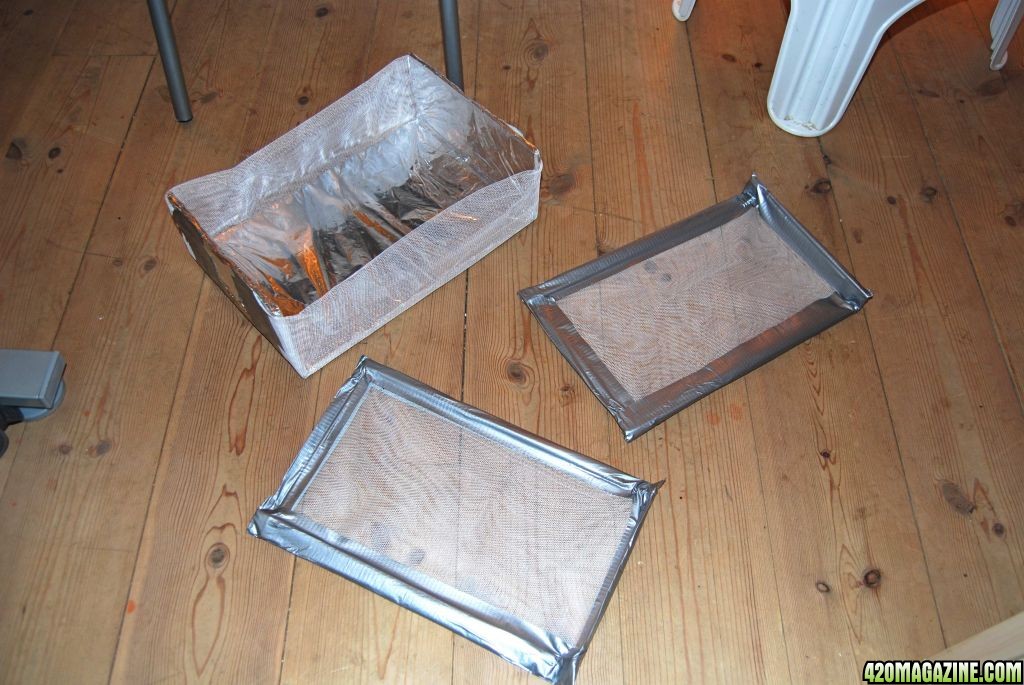
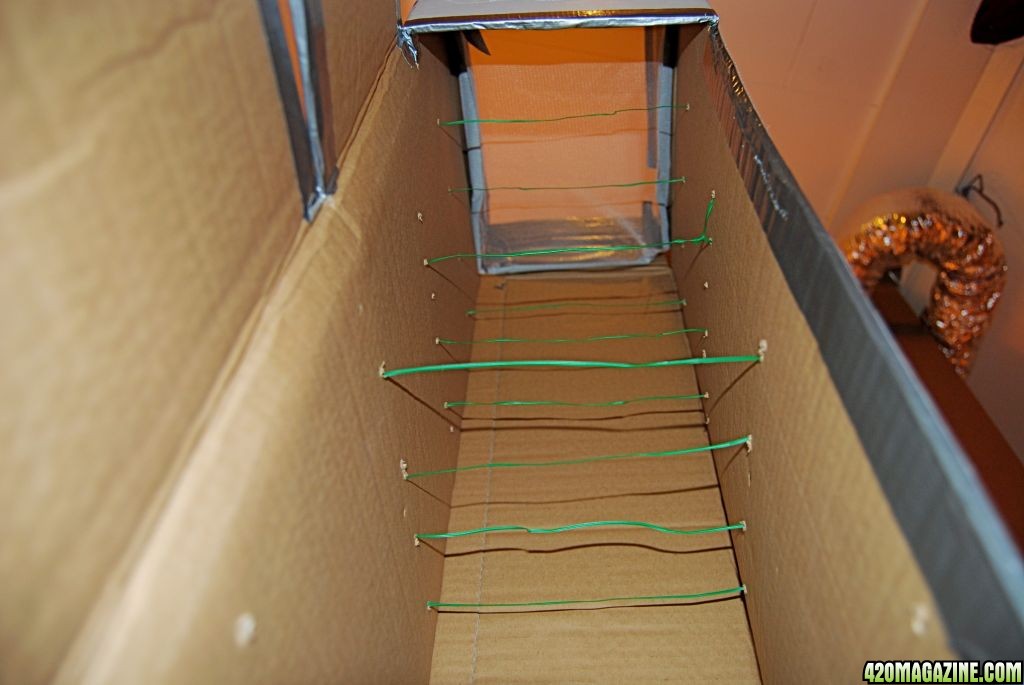
2 shelves and bottom shelf tray, shelvs made from 2 layers of mosquito net stretched between wire frames, bottom shelf is foil lined cardboard with mosquito net sides
DSC_07274.jpg

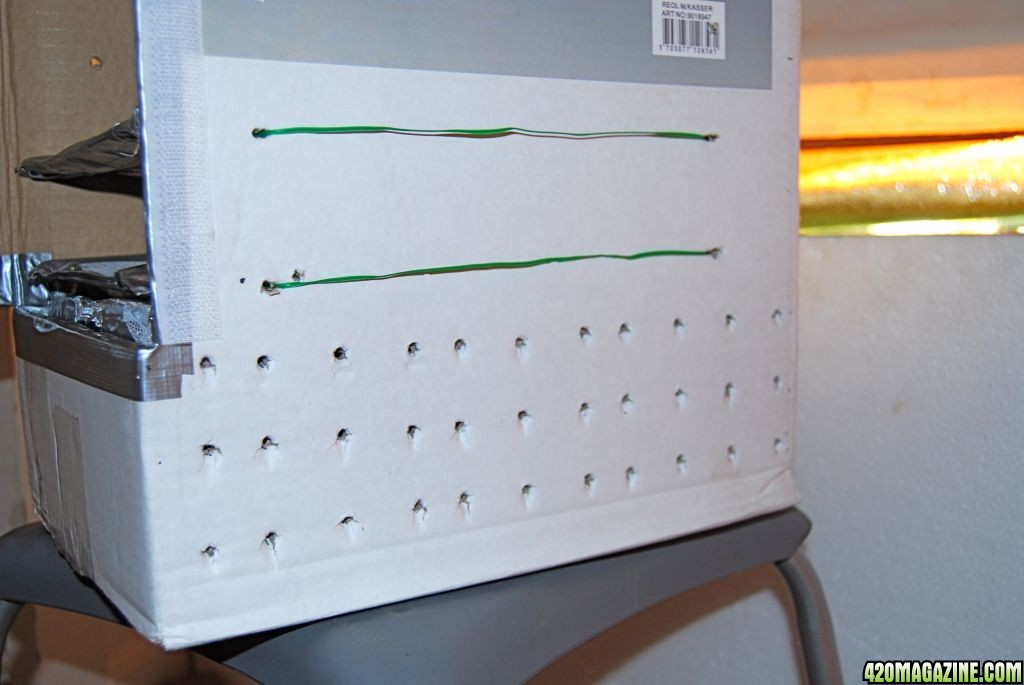
Position of bottom shelf, net is level with air intake holes in cabinet sides
DSC_07244.jpg
DSC_07223.jpg

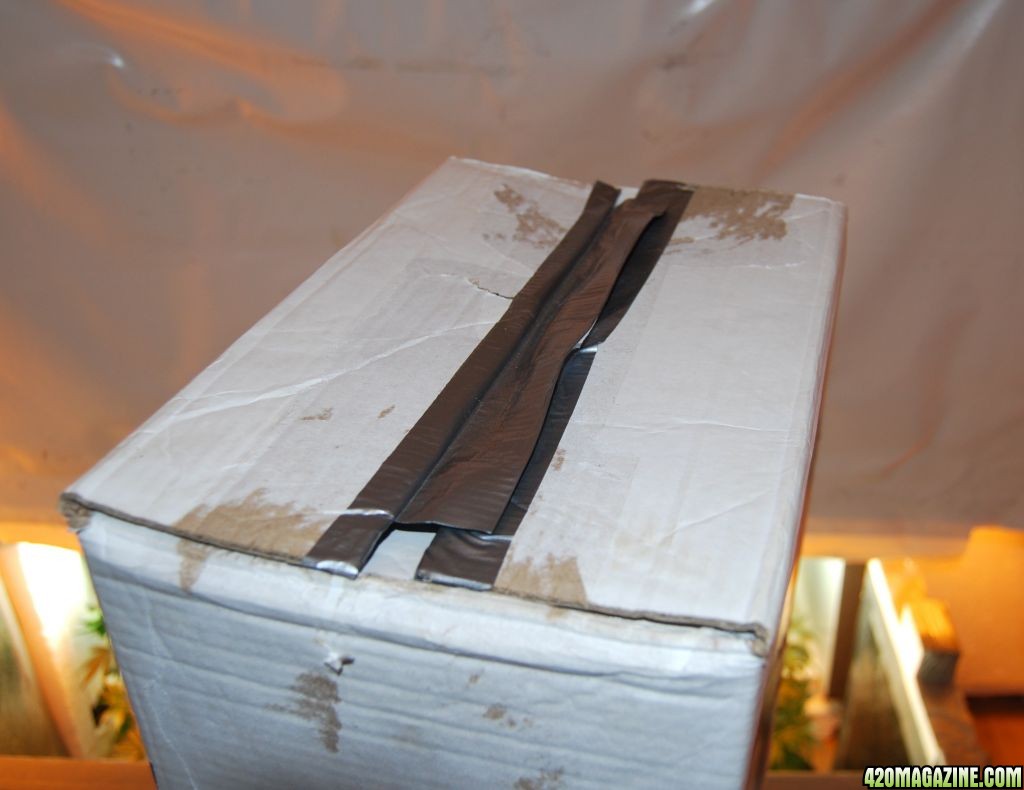
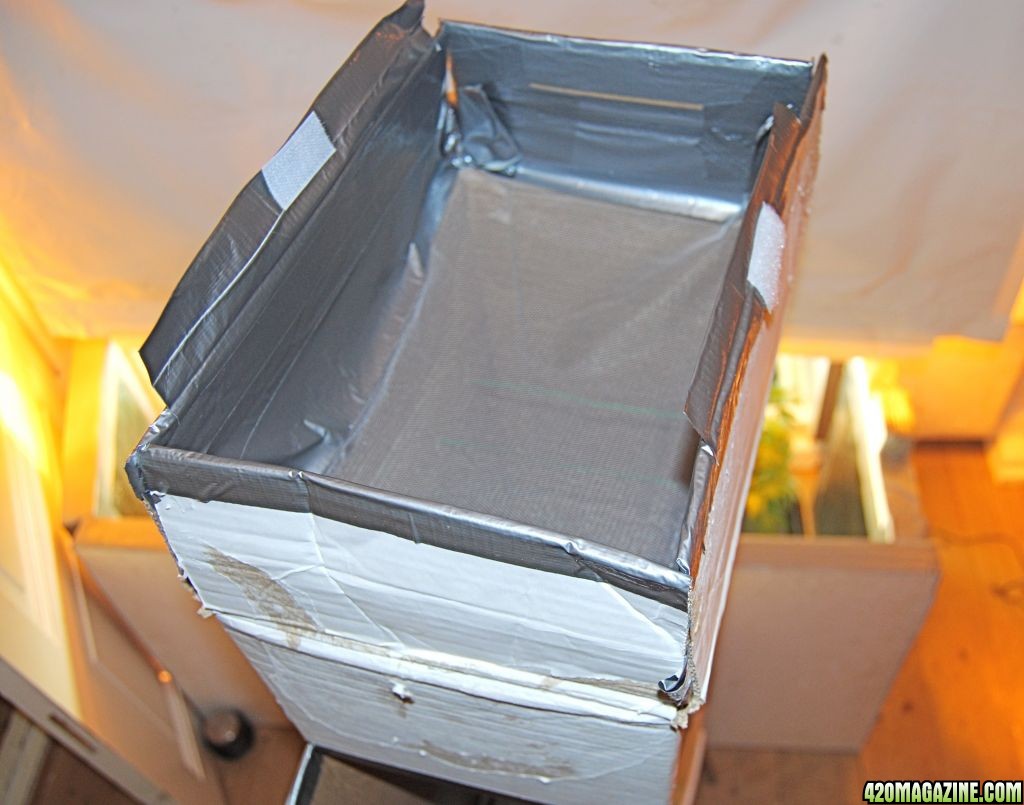
Top of drying cabinet, closed
DSC_07183.jpg

Top of drying cabinet, open..mosquito netting in place
DSC_07195.jpg

View from inside cabinet with top open
DSC_07206.jpg


:peacetwo:bp

Very cool Bass, where did you say you bought this drying box?....lol! ;) just kidding, very nice DIY. Makes my little DIY drying box set-up look amateurish (ok, technically it is :grinjoint: ). I like how you are going to use the fan/filter already in place for your air movement and smell control, very clever!
:peace:
 
Well I kept so busy that I ran out of time to do all i wanted...so I guess I call these pics, "harvest part 1":)

I cut all main branches and trimmed fan leaves, I hang each as I do this on a line under s shelf, thats as far as I got what with one thing and another, so I decided to cover them and let them hang there for the night...
front view, with fan leaves in tray bottom right...
DSC_07133.jpg

side view, and covered...
DSC_07157.jpg

colorful fan leaves...
DSC_07207.jpg

this is 2.5g, is gonna be my quick dry sample for the weekend :ganjamon:
DSC_07294.jpg

Trichs on the very top of the same bud...
frame010.jpg
frame26.jpg
frame15.jpg


so I guess thats all for now folks, tomorrow I trim a bit more and fill the drying cabinet...also I make sure to get a weight logged too...
:peacetwo: bp
 
Very nice Bass.

Lovely setup, great lst action as well. Your babies look simply devine!

Quick question. would you mind giving a quick lil tutorial on your diy co2 generators?. (parts,build, how much co2 generated, or how often you change the sugar/yeast.) I would like to build a few for my cabinet as well.Thanks in advance for your response.

CaneyeBus, :thankyou: for your comments...
regarding your question, i added the info you need to this thread, More effective CO2 producer

hope it helps
:peacetwo:bp
 
So, after hanging for 24 hours under the shelf, its time to get back to the harvest(part 2)...I had 12 branches from the main stem, trimmed these up some more, and separated popcorn and trim...
DSC_07158.jpg
DSC_07175.jpg
DSC_07214.jpg
DSC_07265.jpg
DSC_07255.jpg
DSC_07236.jpg
DSC_07302.jpg
DSC_07374.jpg
DSC_07353.jpg
DSC_07331.jpg
DSC_07411.jpg


I weighed the popcorn buds and trim
DSC_07472.jpg

heres some popcorn buds
DSC_07462.jpg

weighed manicured buds (remember they been hanging already 24 hours so some wet weight will have gone
DSC_07433.jpg

back under the shelf now trimmed
DSC_0749.jpg

scissor hash :ganjamon:
DSC_07511.jpg


so I guess thats me updated for now...I still have one to chop, I get to her tomorrow which will be after 36 hours dark, I have to lst the 4 in the veg room through the day, and they will be goin 12/12 from tomorrow once I have rearranged some lighting to better reach the side sections of flower chamber.

hope you enjoy the pics
:peacetwo:bp
 
All from plants at about or less than 30cm...?? Dude, you're my inspiration!! My cab is under construction. If I get half of your results, I'll post a plaque on my box with your name on it! lol

Thanks for being so informative, this has been a great thread to follow..

:thankyou:
 
All from plants at about or less than 30cm...?? Dude, you're my inspiration!! My cab is under construction. If I get half of your results, I'll post a plaque on my box with your name on it! lol

Thanks for being so informative, this has been a great thread to follow..

:thankyou:

kind words dude, :thankyou:...I still got one plant to harvest yet (today) and the thread will continue on, it is a perpetual grow so I hope you will continue to look in...:goodluck: with your build.
:peacetwo:bp
 
Finally I got the first girl into the drying cabinet, popcorn and trim on the 2 bottom trays...It got kinda full in there so my problem now is, where am I gonna put the other one:cheesygrinsmiley:
DSC_07531.jpg

this pic is from inside the drying cabinet, showing its position directly under carbon filter extractor...I make a light trap from the roof flaps to protect the buds...:ganjamon:
DSC_0757.jpg


I got a busy day ahead, need to harvest 2nd plant from this grow, need to add side lights and small mods to flower room, gotta get the veg room empty today except of course for the mum...all that to do and I still gotta find time to test the goods on my tray, dried nicely overnight...:lot-o-toke::yahoo:
:peacetwo:bp
 
Back
Top Bottom