Mars-Hydro LED Grow Light Discussion

:bravo:they are having a great time with Mars lights,haha:volcano-smiley:thanks for sharing with us your pics:high-five:
420-magazine-mobile1696423864.jpg
420-magazine-mobile127748414.jpg

Just had a trim
 
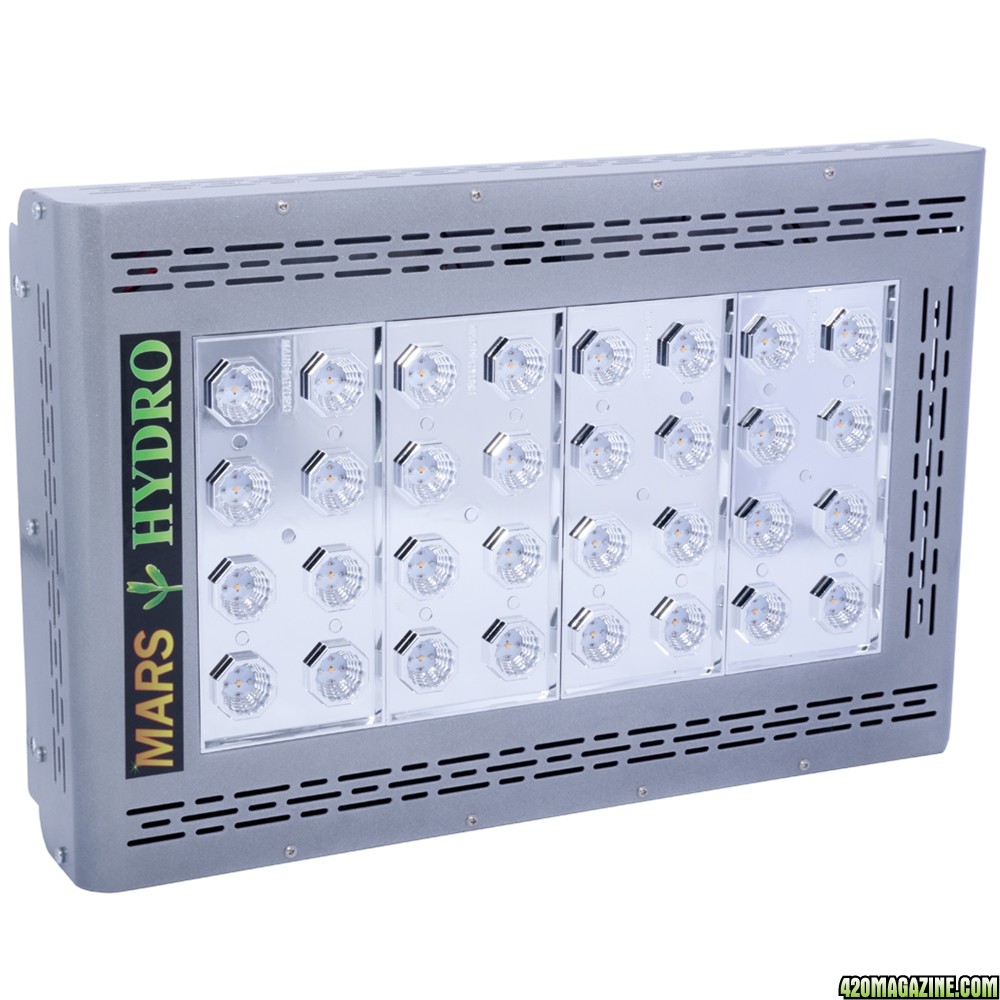
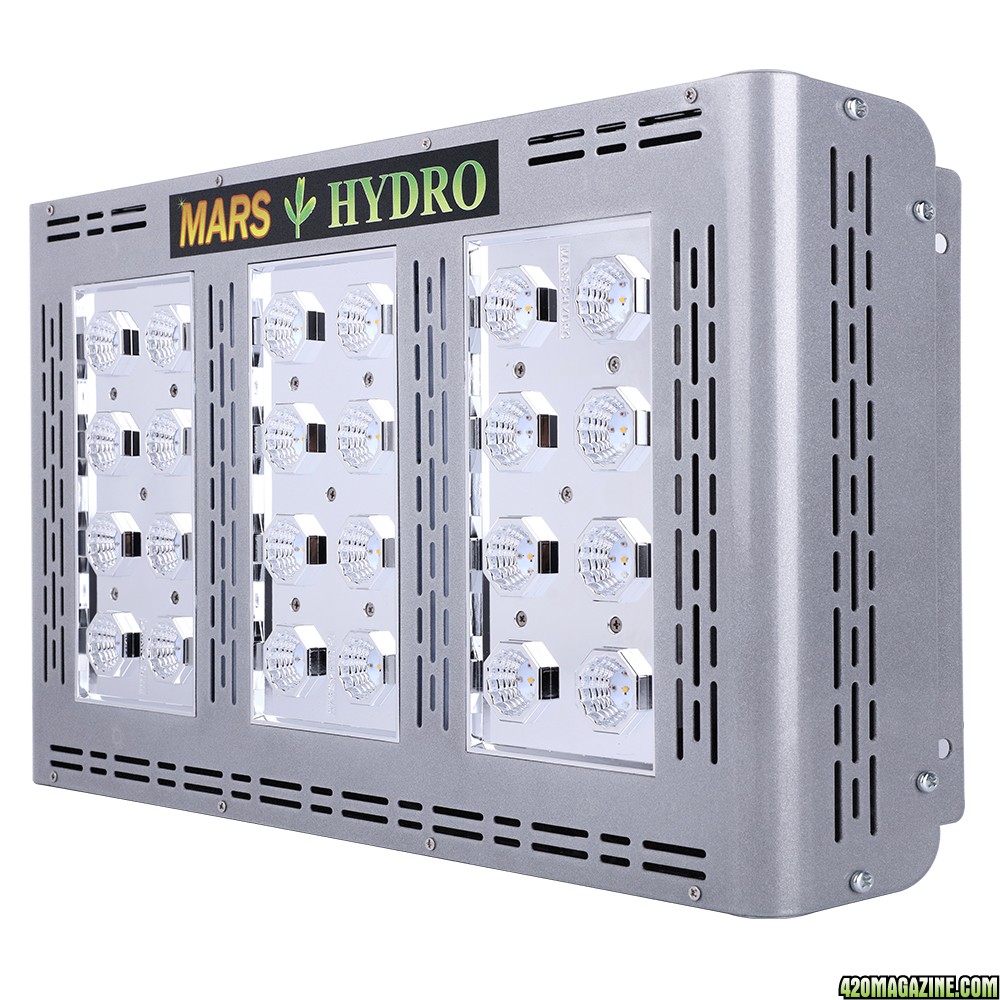
:circle-of-love:May i know your growing space? It will be better to recommend you a light based on your growing space.:high-five:If you are looking for a 400w-600w LED grow light,you can check out the Mars Pro II Epistar160,the draw power:352W±5% ,can replace a 400w HPS,it can cover 2'x3' growing area.As you are a 420member,i can give you a coupon code:marshydro,with this code you can place order on our official website,and it will be long-term-effective.
Mars_Pro_II_Epistar160-1.jpg

Alright guys am running hps ATM but switching to a mars hydro next time round I been advised on the hydro pro but the problem is there price I was wondering what sort of yields your look at with other mars hydros am looking for one with a rough output of 400w/600w 600 ideally but 400 if I don't have the cash when I need it let us know what you's think and also which mars hydro puts out around 600 as I hear the mars hydro 400 doesn't put out 400w?
 
:thanks:Mars Pro II series lights are the best light among all of our lights so far,it with upgarded chips and driver,with higher power and intensity compare to our other series lights.:cheer:How about the temperature in your 2pcs Mars Pro II Epistar160 at your growing room?:cheer:
Epistar and cree are the newest models. Epistar 320 puts out like 750 and so does cree 256. I have 2 of the epistar 160's and they push about 375 each from the wall. Cree 128 is about the same. I think that the big square reflector puts out around 450. Not sure on the mars 2 line.
 
:circle-of-love:Yeah,usually multiple lights will be better to cover your growing space,may i know your growing room?:high-five:
You can check out the Mars Pro II Epistar 120 LED grow light (with switches),and this model you can connect them as one group,or seperate to hang them in your growing room.
1000cemian.jpg

Epistar120_U.jpg

2pcs120.jpg

Yeah I looked at them for £500 but I don't really have 1000 spare hoping to spend around £500ish but I need two
 
:thanks:Mars Pro II series lights are the best light among all of our lights so far,it with upgarded chips and driver,with higher power and intensity compare to our other series lights.:cheer:How about the temperature in your 2pcs Mars Pro II Epistar160 at your growing room?:cheer:

Everything is great Sarah. Got a little light burn the first night because they are so strong and the penetration is fantastic. Temps are good though.
420-magazine-mobile671618000.jpg

That is since I put them up 5 days ago.
 
:bravo:the temperature isn't high there.
So what is the hanging distance you are using now?:high-five:
Everything is great Sarah. Got a little light burn the first night because they are so strong and the penetration is fantastic. Temps are good though.
420-magazine-mobile671618000.jpg

That is since I put them up 5 days ago.
 
:circle-of-love:As the summer holiday is coming,many families may go on their trips,and no one will be at home when their package arrive,so we can not make sure you will receive the package safely.
If anyone will be on their vacation and not be able to receive the goods at home,please inform us when you
place order,we can postpone delivery for you.:high-five:
Mars-hydro LED grow light.Discount code:marshydro
vacation.jpg
 
Follow these steps to better understand what makes ideal soil and how to build it in your own cannabis garden.
Step 1: Know What's in Your Soil
Know what's in your soil

To build a quality soil, you first need to know what's in it to begin with. When buying soil, you'll see a list of ingredients and information on what nutrients are readily available in it. If you're hoping to use soil that is already in your garden or being taken from another source, it's impossible to readily know what is actually in that soil. To remedy this problem, you can submit a soil test that will give you a base understanding of what nutrients it contains.

Additionally, you can work your hands through the soil and get to know it. Is it compact or fluffy? Is it sandy or claylike? Does it hold moisture or is it dry? Are there worms and insects present? These are all things you can consider by simply using sight and touch.
Step 2: Find the Right Soil Amendments

Once you've gotten to know your soil's nutrient levels and texture, it's time to add any necessary soil amendments. The basic building blocks for plants are based around N-P-K. This stands for nitrogen (N), phosphorus (P), and potassium (K). To build a strong healthy soil, it should have these nutrients readily available for your plants to absorb.

Nitrogen-Rich Nutrients:

1. Worm Castings

Providing a quick-release source of nitrogen for your plants while also introducing healthy bacteria, worm castings contain many micronutrients depending on where they are sourced from.

2. Crustacean Meal

A little slower to release than worm castings, crustacean meal adds nitrogen, phosphorus, calcium, and chitin to your soil. Chitin-eating microbes will help keep nematodes at bay.

3. Bat Guano

Bat guano provides the highest levels of nitrogen and phosphorus of all these listed nitrogen amendments. It does wonders for sustained plant growth while diversifying the soil's bacteria and microbes.

Phosphorus-Rich Nutrients:

1. Bone Meal

Bone meal generally comes from cattle bones, and it helps to keep phosphorus levels up. Keep in mind that your soil needs to be at a pH below 7 for bone meal to be most effective.

2. Chicken Manure

Chicken manure is a great way to introduce both phosphorus and nitrogen. Choose a high-quality manure that is fully processed and make sure to amend the manure into your soil with enough time to let hot manure cool off.

3. Rock Dust

Rock dust is a very slow-releasing phosphorus source that can be effective in soil for years, but it does not perform well in soils with a pH above 7.
Potassium-Rich Nutrients:

1. Kelp Meal

Kelp meal is a great source of potassium that promotes microbial diversity in the soil. A water-soluble amendment, kelp can be applied with water or by hand directly into the soil.

2. Wood Ash

Wood ash can be used to increase the potassium levels in your soil, but be aware that it generally raises the pH so make sure to test your soil's pH levels regularly.

3. Compost

Your compost bin can be an excellent source of potassium for your garden, especially if it contains fruit rinds and banana peels.

These three basic N-P-K amendments are most important, but there are also micronutrients that will help your plants grow. Products like gypsum, azomite, and kelp meal can add many micronutrients to strengthen your soil. When it comes to soil, a wide diversity of nutrients can introduce nuanced flavors, aromas, and effects in your end product.

You should also consider amendments that change the soil's density, airflow, and ability to hold water. For example, perlite and peat moss can improve drainage and water retention. Introducing a healthy worm population and fungal colonies will also help fluff up the soil, thus improving its structure. A healthy soil maintains itself, and living organisms both reap and share the benefits of a healthy soil with your cannabis plants.
Step 3: Mix Your Soil
Soil tiller

To till your soil, apply the amendments and start digging or use a rototiller. It takes time, but make sure everything is adequately mixed and that all corners of the pot or bed have been reached.

Once you've mixed everything in, water your soil to help cool any added manure. This process should be repeated every few days until the soil is cool to the touch when you bury your hand. At this point, the soil is ready for your seeds or clones.

Though tilling your soil is necessary for your first year as a gardener, it's up for debate whether or not tilling annually is beneficial. The argument against tilling is that it breaks down a complex network of mycelium, worm tunnels, and cavities created by beneficial organisms in the soil. However, by tilling your soil annually, you can easily add amendments and break down cover crops, thus making sure all the nutrients in the soil are mixed and readily available.

Still not sure whether to till or not to till? Try analyzing soil samples at the beginning and end of the season to determine whether or not annual tilling benefitted your garden in the end.
Step 4: Prepare Your Soil for the Next Season

To protect your soil for the next season, remove the stalks and roots of the previous cannabis plants; you can compost and re-apply them to your soils once they've decomposed.

Next, introduce a cover crop to your soil to help maintain it during winter. Common crops include legumes or radishes. Legumes sequester and preserve nitrogen while radishes have long taproots that help aerate and free up deep, compacted soils. These cover crops need to be destroyed before they go to seed. This can be accomplished by tilling or cover mowing to kill the plants.

In the offseason, you can add nutrients back to your garden by top dressing the soil. Adding compost, manure, and other amendments and allowing rainfall to bring the nutrients into the soil is a great way to improve the soil quality in the offseason without having to do much work.

Building your own soil is a rewarding investment that will only strengthen your understanding of gardening and how plants grow and thrive. With quality soil, you will find the need for liquid feeding to be greatly reduced, saving you time and money. You'll also find that the soil becomes a sanctuary for other living things as you improve the environment surrounding your garden.

Soil is unbelievably diverse and complex, and we still have much to learn about how to cultivate it to perfection. If you have any personal experiences with building perfect soil, chime in by leaving a comment below.
 
:hookah:everything looks good in your growing room,all your plants are in good condition,that's great:bravo:
I would give it a try for you Sarah.
By the way my plants are all accustomed to the new lights. They are loving the epistar 160's. Gonna flip them over to flower on Sunday ..❤️..
420-magazine-mobile1182113331.jpg
 
So I have the Mars Hydro Reflector 48

Been using it since seed and no problems

Now I am into flower and I though I had a nutrient problem, however it appears that the LED has cooked my plant.

Height is set to recommended for flowering stage and I am 4 weeks into flower.

Just increased the height to about 18" and hopefully there is no more problems (2.5 x 2.5 grow space)

Temp inside room is 26C
RH is 50%
 
Back
Top Bottom