Lil Neutrino
New Member
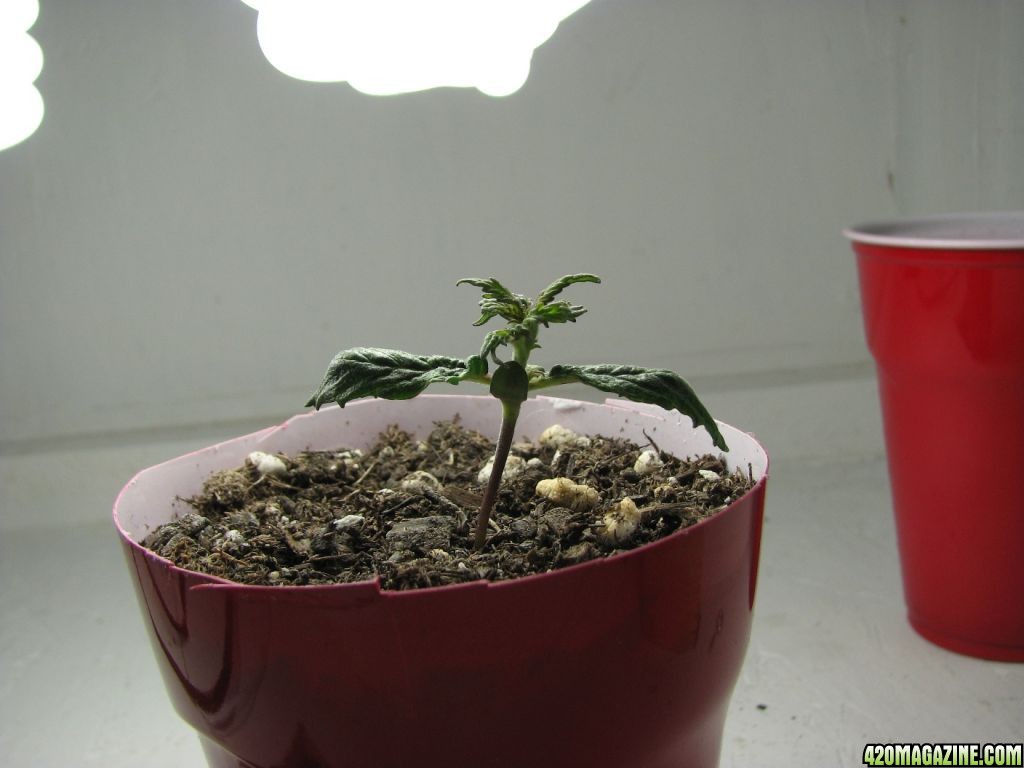
Planted four seeds during the blue moon on New Year's Eve to try and kick the new year off right...last year began with an unexpected trip to the hospital for my gf and being laid off, hopefully this one goes better. No pics, they're all in your run-of-the-mill red plastic drinking cups with soil substrate (FFOF). Details below:
What strain is it? Wait and see
Is it Indica, Sativa or Hybrid? It's actually your common variety surprise species.
Is it in Veg or Flower stage? Germinating
Indoor or outdoor? Indoor
Soil or Hydro? Fox Farms Ocean Forest
If soil... what is in your mix? All kinds of stuff, check their web page
If soil... What size pot? 12oz plastic drinking cups atm...or maybe 11oz, or 10oz...something.
Size of light? Starting with the 10 (or is it 12?) 26W 6500K CFL's from the last time...and still have 11 (1 burned out) of the 26W 3000K CFL's for use later on. We'll see where it goes. The 6500K's are rated 1300 lumens (mean, not initial output) and I forget about the 3000K's.
Is it aircooled? Yup
Temp of Room/cab? Room varies between 65-72F, cab untested with new fans but before temps were hovering around 10-15F above ambient air temp.
RH of Room/cab? Dunno...probably pretty dry considering the cold air/heater combination.
PH of media or res? Untested and I forget what FFOF pH'd at under normal circumstances last time. I use a Milwaukee pH 600, so far so good and well worth the $20 for the peace of mind (or stress if it shows the pH is off lol).
Any Pests? Money
How often are you watering? When the soil has had a chance to go through a dry cycle...no scheduling, just listen to the plants!
Type and strength of ferts used? I have some Earth Juice Bloom and Catalyst that seemed to work pretty well.
For those who followed my first grow (link in sig) you will recognize the cabinet but I've done some modifications to it after the initial "maiden voyage". This first post will outline what I've done with pics to follow eventually as I've finally got most of the resin cleaned off my camera lens LOL! Not quite as perfectly sharp as before but plenty good for my purposes at the moment.
I refer you to the posts below that are from my first journal to give you an idea of what the cabinet looks like until I get new pics up. The power supply was moved to the outside of the cabinet on the back at the recommendation of McBudz, lowered my cabinet temp by 1F...every bit helps but other than that nothing else really changed.
It had two 50CFM computer exhaust fans (rated...reputable company but it's probably a bit under that) for a rated 100CFM and a cabinet volume of 32ft^3 so the internal air was exchanged roughly 2.5-3 times per minute. Intakes were created by cutting out three square holes in the floor to ensure I had more intake area than exhaust (it's a pressure/smell thing) and allowing air to be pulled in from the sides of the cabinet as the front and rear extend to the floor. Actually the front is about 1/4-1/2" above the ground but the carpet gives the impression it is flush, makes it easier to open for sure.
Lighting "chandeliers" were achieved with various light fixture goodies from the hardware store...pretty self explanatory. Interior is coated with white primer and sealed with 100% silicon. Other than that there's not much to describe that isn't shown in the pics.
--------------------------------------------------
CABINET CHANGES
1) Flexing. Had to fix some minor structural issues, namely flexing of the top sheet at the front and a tiny bit on the right hand side where the latches are. Easily remedied by adding some more strips of 2X2's where there was none.
2) Light leaks from front door. This was due partially to the flexing mentioned above and a poor job of weatherstripping it in the first place. I am going to try some wider weatherstrip but haven't decided on which yet...rubber based most likely as it is more durable than foam. With the added 2X2's around the edge of the front I have a wider surface area to create a seal between the weatherstrip and the wood...before it was trying to seal along the 5/8" edge of the OSB board, worked ok but had some very minor light leaks.
3) Light leaks along the back out of the exhaust fan ports. Not for sure yet but I'm thinking some black 90 degree PVC elbows to place over the fans and silicone in to place. May move the fans to the outside of the box in that case as silicon is not usually easy to manipulate once it's dried...in my experience anyway. Also if that doesn't block enough light I'll have to see about extending the end of the elbow while trying to position the opening near the top in the center to maximize air circulation.
4) Light leaks from the intake holes in the floor. Lots of light spills out the sides of the box as you can imagine and this is something I haven't quite figured out how to remedy yet...not easily that is. I'm leaning towards some dark mesh doubled up over the intake ports with one sheet on the inside of the cab and the other sheet on the outside. The fans I am using don't have much static pressure so I have to be very careful with air flow restrictions.
5) Cabinet temp versus ambient temp. Last time my cabinet temps were on average 12F above ambient air temperature. Since it was also mid-summer and I was trying to save on utilities I ran the A/C as little as possible so my plants were seeing 85F-90F depending how hot it was that day after the lights had warmed up. Now that it is winter my indoor temps are down 10-15F so that should help immensely however I couldn't help but wonder if my air exhange rate was too low with those fans. After some research I decided to go with some 110CFM (rated) fans to replace the existing 50CFM models. Even if they only push 80% of their rating that's still about 80CFM per fan so times 2 = 160CFM divided by 32CFM = 5. So each minute I should be replacing the interior volume of air five times...six if they push 100CFM each. This is much more than the "paltry" 100CFM total I had before and should help.
6) Front door too heavy for hinges. I used three spring hinges but physics dictated that the front door was too long and heavy for those springs and required me to add a couple of casters to the other side to hold it up and ease opening/closing of the door. The wheels rarely stayed aligned and I found myself having to lift the door up slightly to open or close it or one of the casters would drag. I decided to cut the front panel in half so I have two 2' X 4' sheets. The sheet for the left side of the cabinet will be screwed in to place and sealed with silicon and the remaining sheet will be the new door but half the size. Experience showed me that I did not need that huge door for only 2-3 plants but one could easily decide to make it a double door that is hinged in the middle somehow. I haven't yet figured out how to hinge the new door to the other panel but I have figured out a way to create a nice seal at the door's pivot point. Easier to show pics when I'm done than describe...goes back to wider available surface area if anyone wants to try and figure it out. lol
7) Light fixtures. Yeah, I can't say I'm too proud of the lighting job I did last time. Meant to go back and redo it but once the plants took off there was no time. This time I have a great idea if I can make it work. Unfortunately it too is hard to describe without a picture but should have something setup this weekend. The important thing to keep in mind is that if it works it will save about 4" of mounting depth for the lights over using a power strip and the receptacle-thread converters (whatever they're called...the ones that plug in to a receptacle and have a light fixture on the other end) plus other fixture adapters and I think anyone dealing with limited space would love an extra 4" of plant height Beyond that it will be about as narrow as a power strip so it won't interfere with internal circulation as much as a larger, rectangular sheet of wood/metal/whatever would with the fixtures hanging underneath. Summary: Same amount of lights in the same space but requires ~4" less height and has a narrow base to mount the lights on.
8) Latches. Original design didn't work out, used sliding latches on the edge before I realized you can't bend metal 90 degrees to lock it lol. Had to cut a chunk of wood to mount along the outer edge so that I could get the slide to work properly (pic is worth 1000 words eh?). Still completely unsure how to latch this door closed...except...NOW I'M NOT! Just came to me, one of those obvious solutions you overlook. I could have it latch in the middle which would make a very easy spot to mount everything and just reuse my spring hinges. However this would require me to rethink how to seal the door with weatherstrip. Hmmm...maybe time for another wake and bake session this weekend
So uh....is anyone still reading this novella? lol
What strain is it? Wait and see
Is it Indica, Sativa or Hybrid? It's actually your common variety surprise species.
Is it in Veg or Flower stage? Germinating
Indoor or outdoor? Indoor
Soil or Hydro? Fox Farms Ocean Forest
If soil... what is in your mix? All kinds of stuff, check their web page
If soil... What size pot? 12oz plastic drinking cups atm...or maybe 11oz, or 10oz...something.
Size of light? Starting with the 10 (or is it 12?) 26W 6500K CFL's from the last time...and still have 11 (1 burned out) of the 26W 3000K CFL's for use later on. We'll see where it goes. The 6500K's are rated 1300 lumens (mean, not initial output) and I forget about the 3000K's.
Is it aircooled? Yup
Temp of Room/cab? Room varies between 65-72F, cab untested with new fans but before temps were hovering around 10-15F above ambient air temp.
RH of Room/cab? Dunno...probably pretty dry considering the cold air/heater combination.
PH of media or res? Untested and I forget what FFOF pH'd at under normal circumstances last time. I use a Milwaukee pH 600, so far so good and well worth the $20 for the peace of mind (or stress if it shows the pH is off lol).
Any Pests? Money
How often are you watering? When the soil has had a chance to go through a dry cycle...no scheduling, just listen to the plants!
Type and strength of ferts used? I have some Earth Juice Bloom and Catalyst that seemed to work pretty well.
For those who followed my first grow (link in sig) you will recognize the cabinet but I've done some modifications to it after the initial "maiden voyage". This first post will outline what I've done with pics to follow eventually as I've finally got most of the resin cleaned off my camera lens LOL! Not quite as perfectly sharp as before but plenty good for my purposes at the moment.
I refer you to the posts below that are from my first journal to give you an idea of what the cabinet looks like until I get new pics up. The power supply was moved to the outside of the cabinet on the back at the recommendation of McBudz, lowered my cabinet temp by 1F...every bit helps but other than that nothing else really changed.
It had two 50CFM computer exhaust fans (rated...reputable company but it's probably a bit under that) for a rated 100CFM and a cabinet volume of 32ft^3 so the internal air was exchanged roughly 2.5-3 times per minute. Intakes were created by cutting out three square holes in the floor to ensure I had more intake area than exhaust (it's a pressure/smell thing) and allowing air to be pulled in from the sides of the cabinet as the front and rear extend to the floor. Actually the front is about 1/4-1/2" above the ground but the carpet gives the impression it is flush, makes it easier to open for sure.
Lighting "chandeliers" were achieved with various light fixture goodies from the hardware store...pretty self explanatory. Interior is coated with white primer and sealed with 100% silicon. Other than that there's not much to describe that isn't shown in the pics.
--------------------------------------------------
CABINET CHANGES
1) Flexing. Had to fix some minor structural issues, namely flexing of the top sheet at the front and a tiny bit on the right hand side where the latches are. Easily remedied by adding some more strips of 2X2's where there was none.
2) Light leaks from front door. This was due partially to the flexing mentioned above and a poor job of weatherstripping it in the first place. I am going to try some wider weatherstrip but haven't decided on which yet...rubber based most likely as it is more durable than foam. With the added 2X2's around the edge of the front I have a wider surface area to create a seal between the weatherstrip and the wood...before it was trying to seal along the 5/8" edge of the OSB board, worked ok but had some very minor light leaks.
3) Light leaks along the back out of the exhaust fan ports. Not for sure yet but I'm thinking some black 90 degree PVC elbows to place over the fans and silicone in to place. May move the fans to the outside of the box in that case as silicon is not usually easy to manipulate once it's dried...in my experience anyway. Also if that doesn't block enough light I'll have to see about extending the end of the elbow while trying to position the opening near the top in the center to maximize air circulation.
4) Light leaks from the intake holes in the floor. Lots of light spills out the sides of the box as you can imagine and this is something I haven't quite figured out how to remedy yet...not easily that is. I'm leaning towards some dark mesh doubled up over the intake ports with one sheet on the inside of the cab and the other sheet on the outside. The fans I am using don't have much static pressure so I have to be very careful with air flow restrictions.
5) Cabinet temp versus ambient temp. Last time my cabinet temps were on average 12F above ambient air temperature. Since it was also mid-summer and I was trying to save on utilities I ran the A/C as little as possible so my plants were seeing 85F-90F depending how hot it was that day after the lights had warmed up. Now that it is winter my indoor temps are down 10-15F so that should help immensely however I couldn't help but wonder if my air exhange rate was too low with those fans. After some research I decided to go with some 110CFM (rated) fans to replace the existing 50CFM models. Even if they only push 80% of their rating that's still about 80CFM per fan so times 2 = 160CFM divided by 32CFM = 5. So each minute I should be replacing the interior volume of air five times...six if they push 100CFM each. This is much more than the "paltry" 100CFM total I had before and should help.
6) Front door too heavy for hinges. I used three spring hinges but physics dictated that the front door was too long and heavy for those springs and required me to add a couple of casters to the other side to hold it up and ease opening/closing of the door. The wheels rarely stayed aligned and I found myself having to lift the door up slightly to open or close it or one of the casters would drag. I decided to cut the front panel in half so I have two 2' X 4' sheets. The sheet for the left side of the cabinet will be screwed in to place and sealed with silicon and the remaining sheet will be the new door but half the size. Experience showed me that I did not need that huge door for only 2-3 plants but one could easily decide to make it a double door that is hinged in the middle somehow. I haven't yet figured out how to hinge the new door to the other panel but I have figured out a way to create a nice seal at the door's pivot point. Easier to show pics when I'm done than describe...goes back to wider available surface area if anyone wants to try and figure it out. lol
7) Light fixtures. Yeah, I can't say I'm too proud of the lighting job I did last time. Meant to go back and redo it but once the plants took off there was no time. This time I have a great idea if I can make it work. Unfortunately it too is hard to describe without a picture but should have something setup this weekend. The important thing to keep in mind is that if it works it will save about 4" of mounting depth for the lights over using a power strip and the receptacle-thread converters (whatever they're called...the ones that plug in to a receptacle and have a light fixture on the other end) plus other fixture adapters and I think anyone dealing with limited space would love an extra 4" of plant height
 Beyond that it will be about as narrow as a power strip so it won't interfere with internal circulation as much as a larger, rectangular sheet of wood/metal/whatever would with the fixtures hanging underneath. Summary: Same amount of lights in the same space but requires ~4" less height and has a narrow base to mount the lights on.
8) Latches. Original design didn't work out, used sliding latches on the edge before I realized you can't bend metal 90 degrees to lock it lol. Had to cut a chunk of wood to mount along the outer edge so that I could get the slide to work properly (pic is worth 1000 words eh?). Still completely unsure how to latch this door closed...except...NOW I'M NOT!
 Just came to me, one of those obvious solutions you overlook. I could have it latch in the middle which would make a very easy spot to mount everything and just reuse my spring hinges. However this would require me to rethink how to seal the door with weatherstrip. Hmmm...maybe time for another wake and bake session this weekend
So uh....is anyone still reading this novella? lol


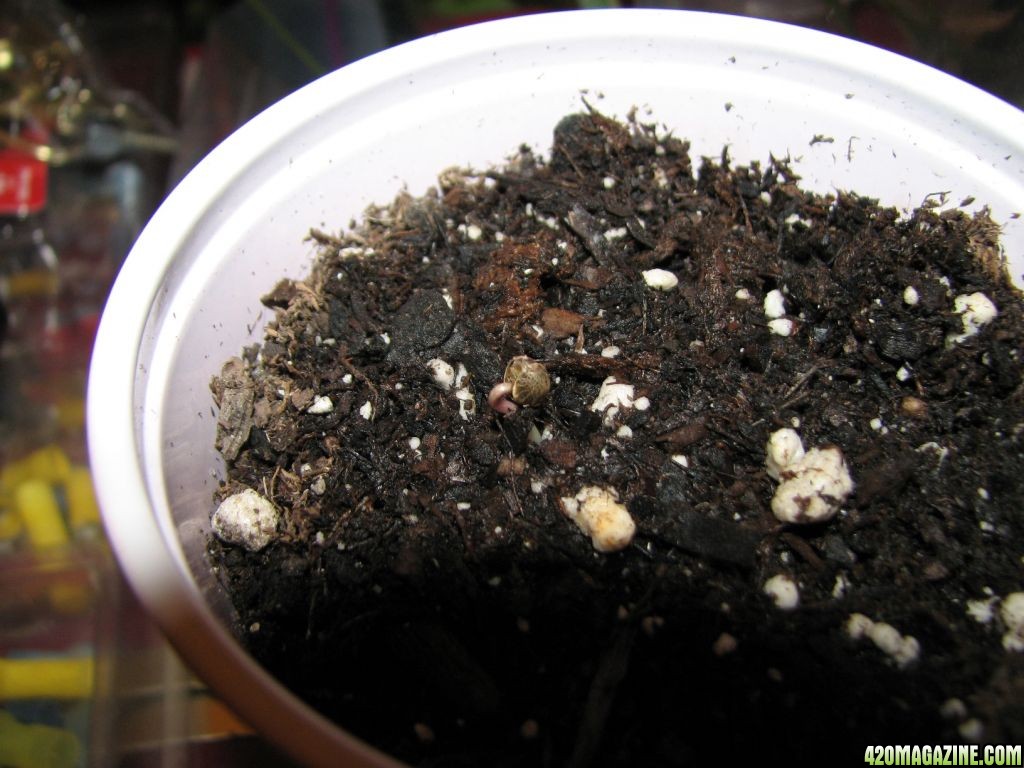

 I hate it when they take that long too...these seeds can be pretty old. For those who did not catch my first journal the seeds I am using I have been collecting for about five years or so which means these seeds could be anywhere from one year to five years old, stored in a desk drawer in a medicine bottle most of the time. They were not placed in a refrigerator until March of 2009 so viability is pretty iffy so even if I only get one out of four to germinate I don't consider that too bad all things considered lol. I have five more seeds that I will probably plant tomorrow and see what happens. I figure out of nine seeds total I may get five to sprout at best and of those five at least two will probably wind up being male given my experience lol. So that leaves three which will fit perfectly in my cabinet, I can squeeze four if need be and two works out very nicely as well...fingers crossed!
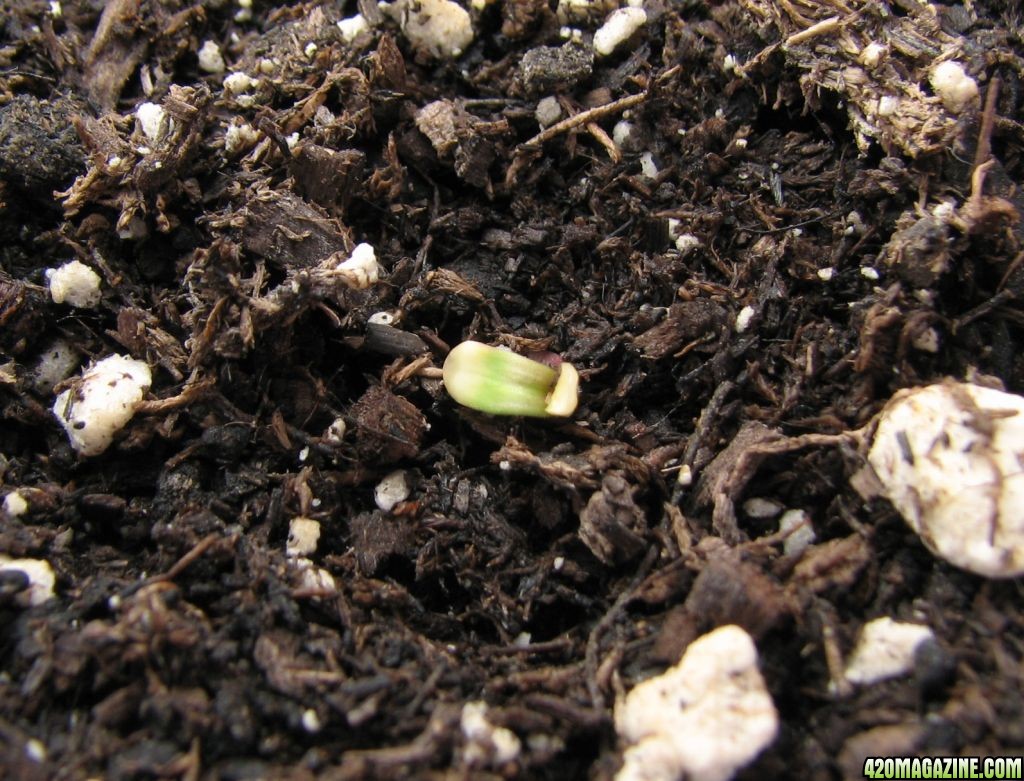
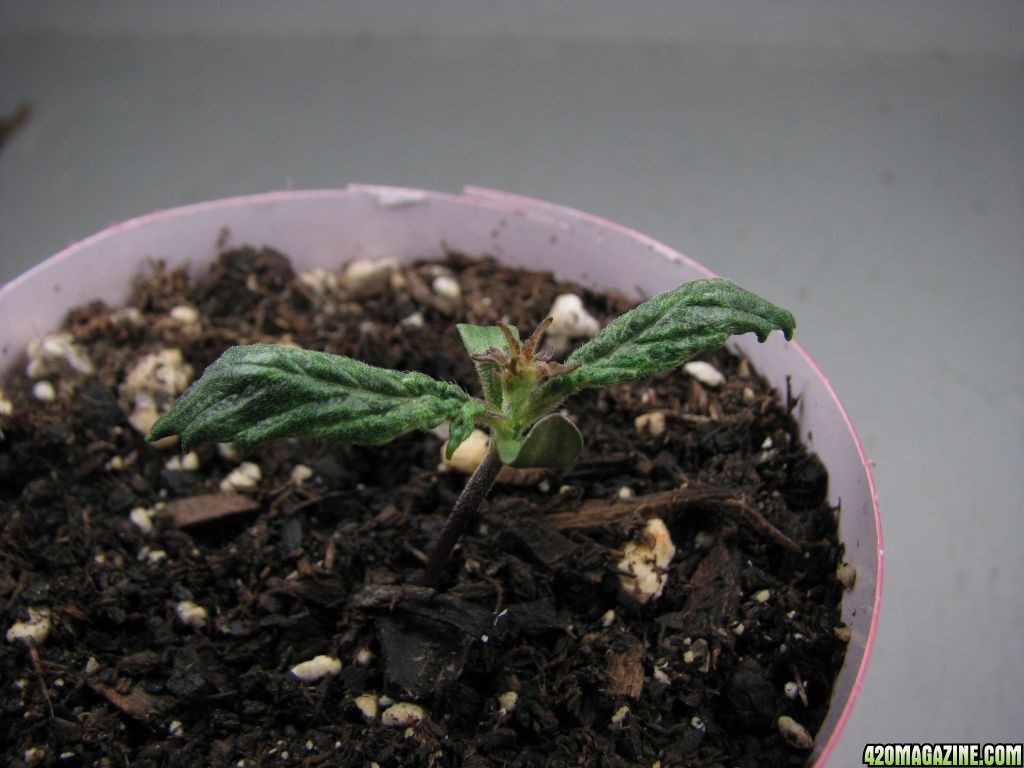


 . Interesting little plant you got there, should be an interesting grow.
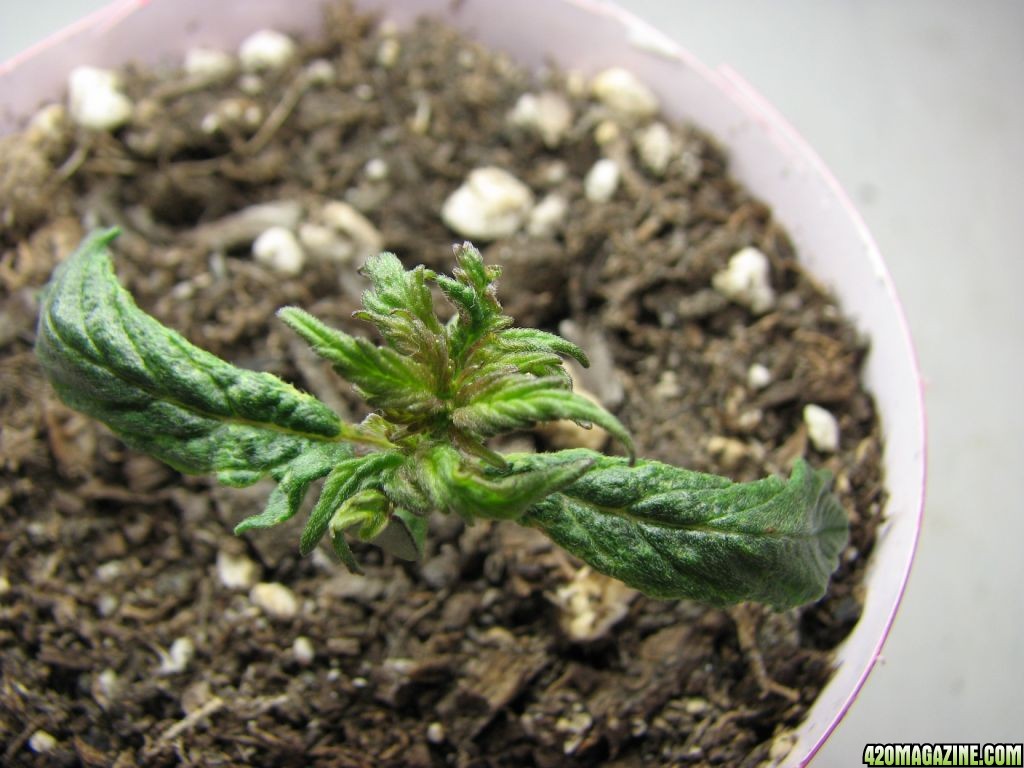
 .
.