- Thread starter
- #741
Beautiful run sir. How many plants was that again?
35 plants
How To Use Progressive Web App aka PWA On 420 Magazine Forum
Note: This feature may not be available in some browsers.
Beautiful run sir. How many plants was that again?
the quickest update ever...
Final weight was 2057g = 73.5oz = 4.59 lb
That's 1500w in ~5.5' x 10' space.
that includes some smaller stuff, as I will eventually sort out the 'top shelf' nuggs.
One note... I think Boveda packs are adding weight, but I'm running a test to confirm. I don't have enough packs for all my jars, so I swapped one and have before weights for both jars. I'll check in a few days.
oh ya... in case you didn't do the math, I think that's 1.37+ grams per watt.


 +reps brother on an amazing run.
 I did get my deer this year, but was trying to get a bear too. The venison is super yummy (made some stew last night), but bear meat is soooooooooo good.
 Well, I am going to Spokane Saturday, but that's related to the basement as I'm visiting my hydro store to get some more stuff.
 The main motivation to get out the old laptop was to play music. I was using my phone as the source, but that had it's issues. Having the laptop also means I can start using Excel to log some of my data. It also means my posts might start showing up at night instead of during work hours. We'll see about that.
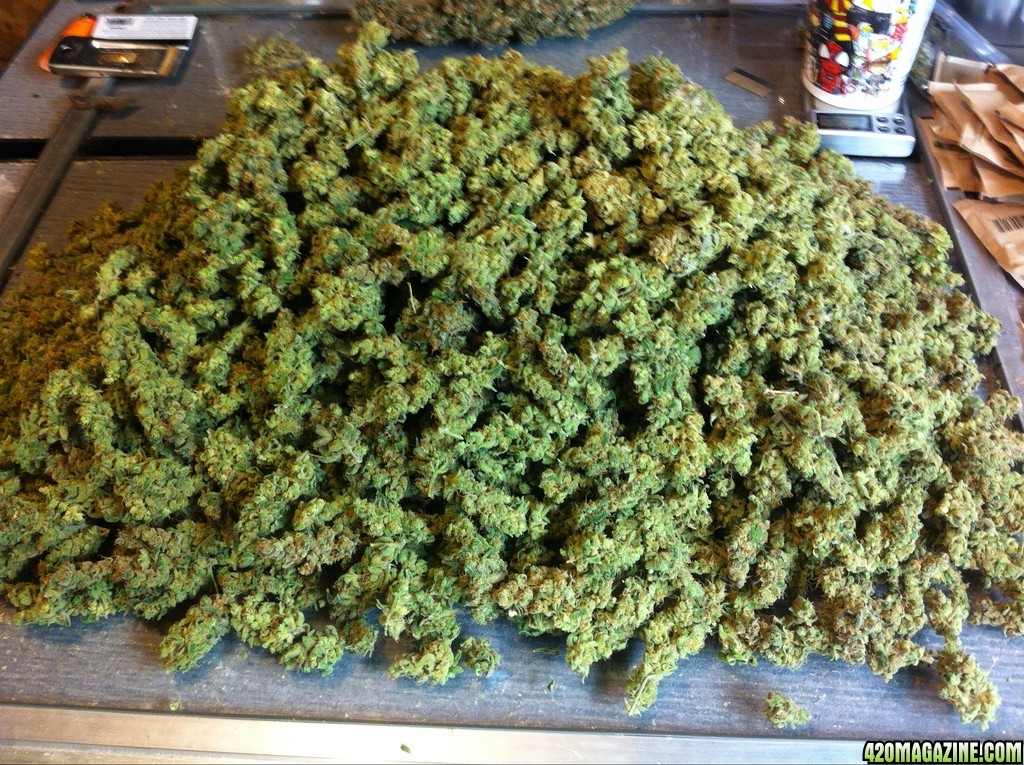
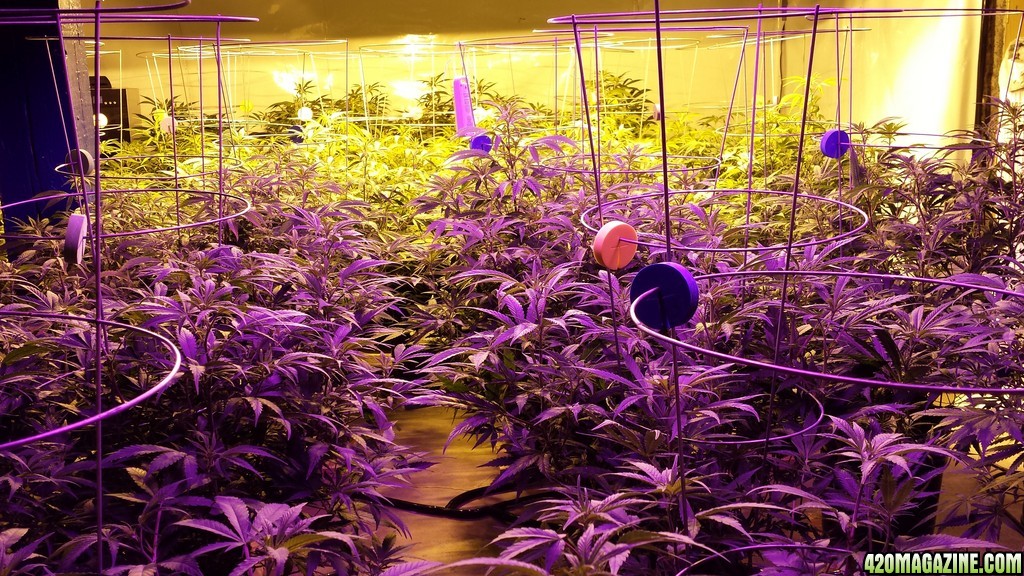
 (added: I just looked at the picture again while reviewing the post and I now think it may be the TGA Apollo13 x Vortex based on the calyx structure. I see foxtailing and that strain was doing that a lot this round. I'm not growing this strain next round partially due to this. I really love the smoke/taste/high from this strain. It really has a lot going for it, but it does seem to want to fox tail more than some of my others, so I'm leaving it out for at least one round.)


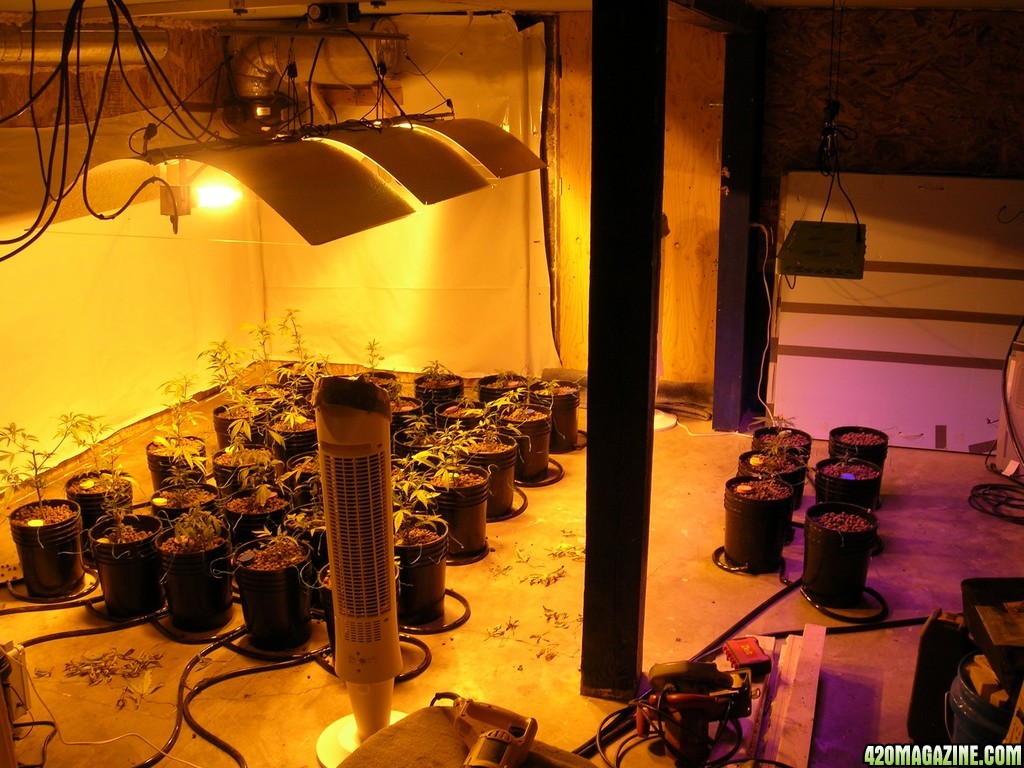


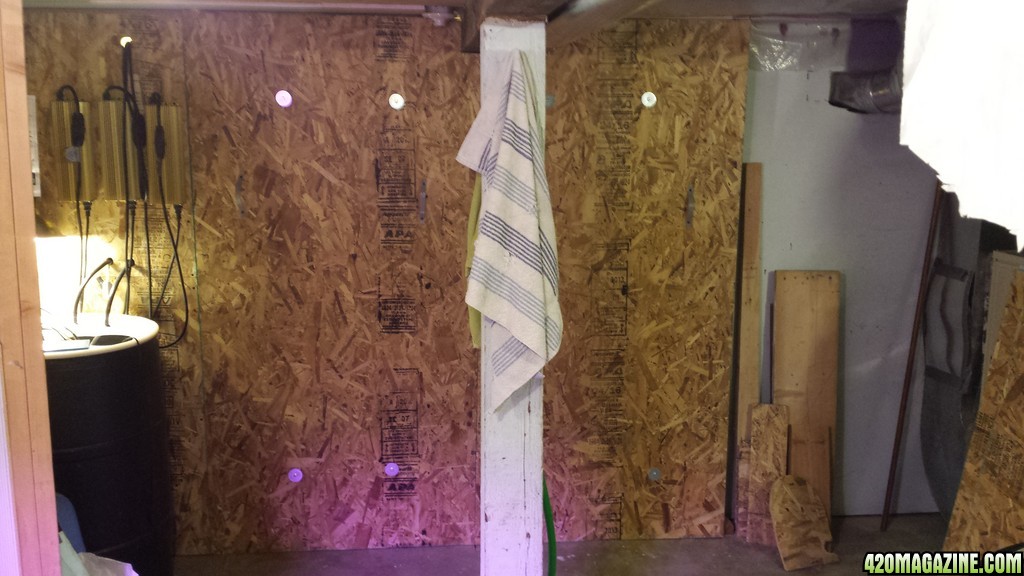


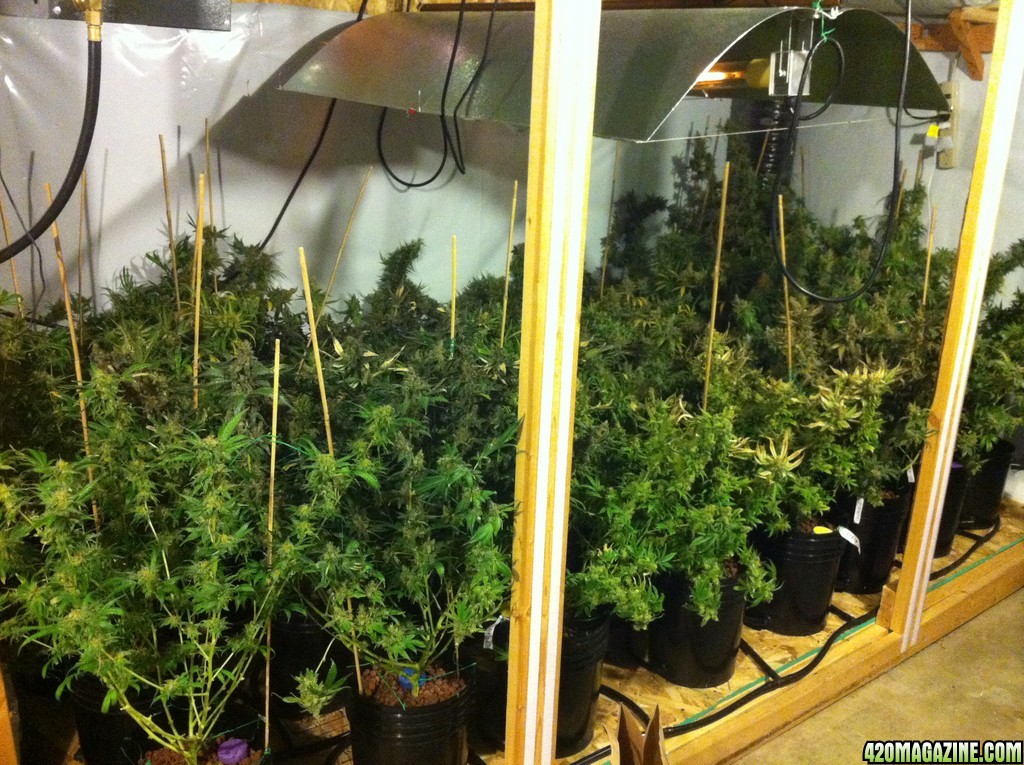

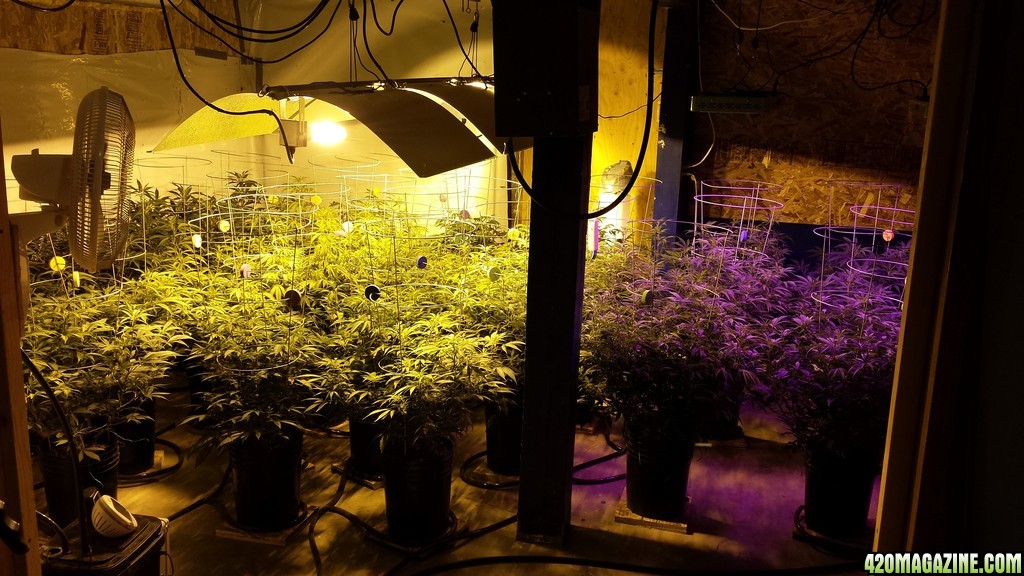
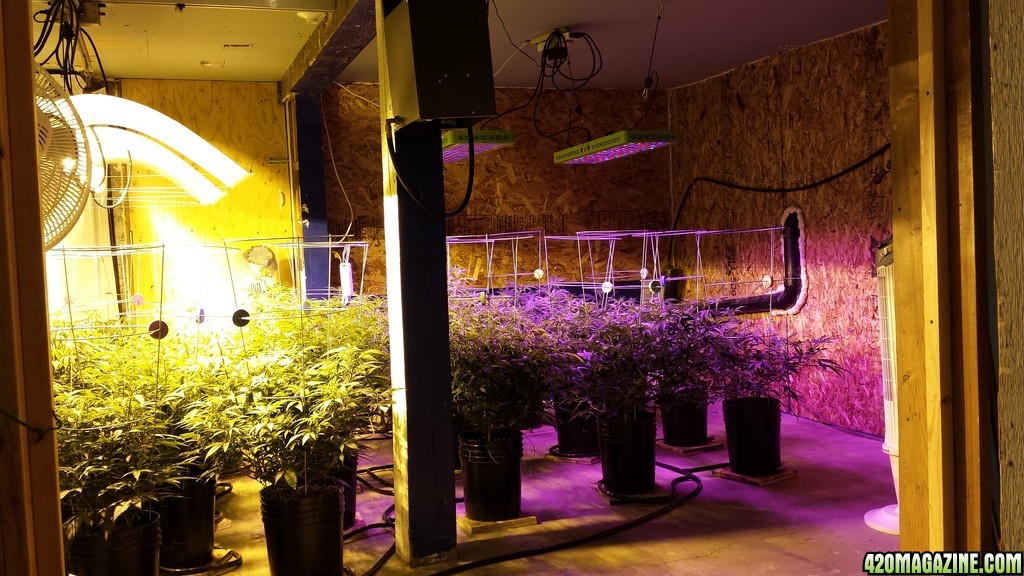
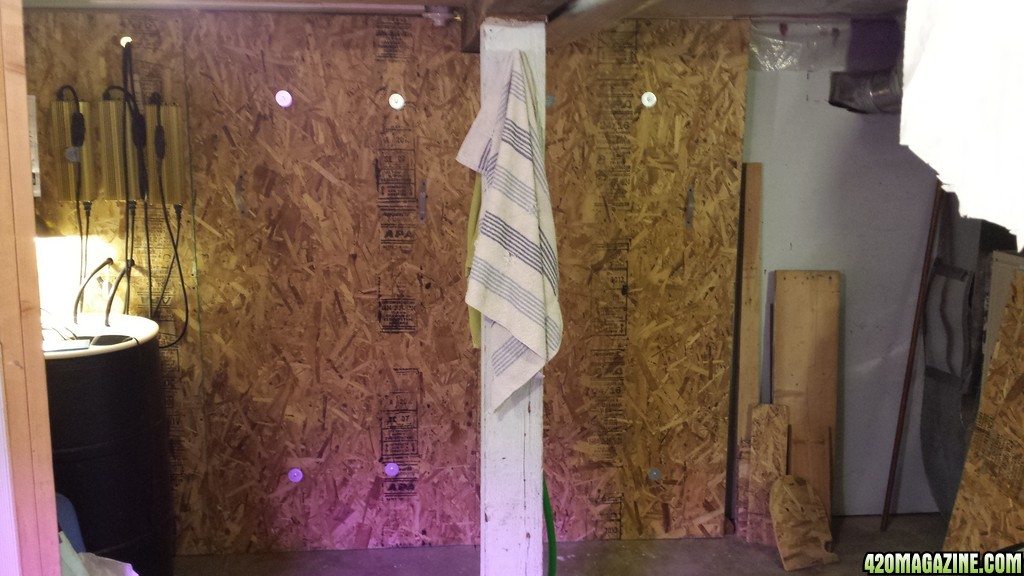
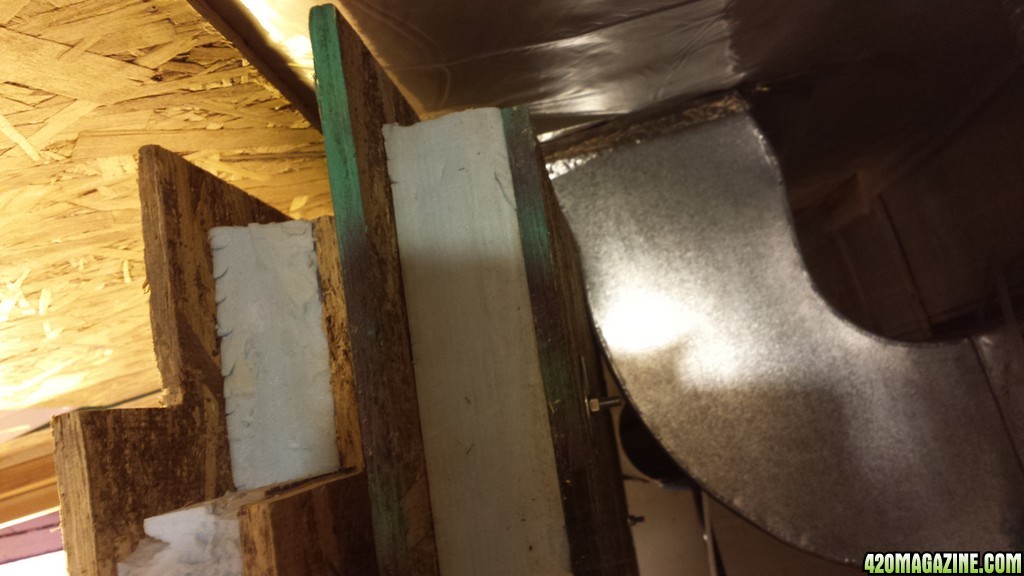

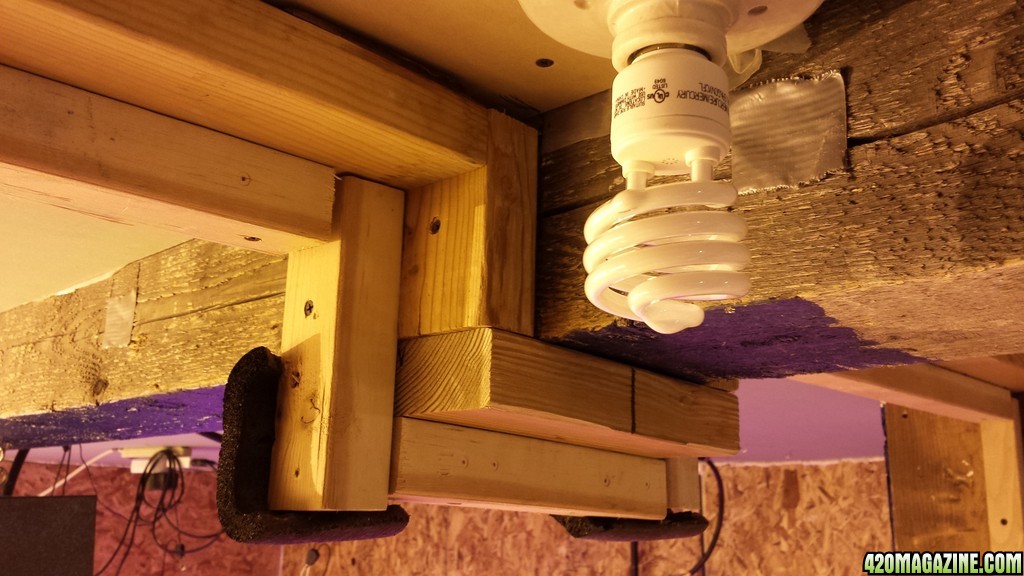
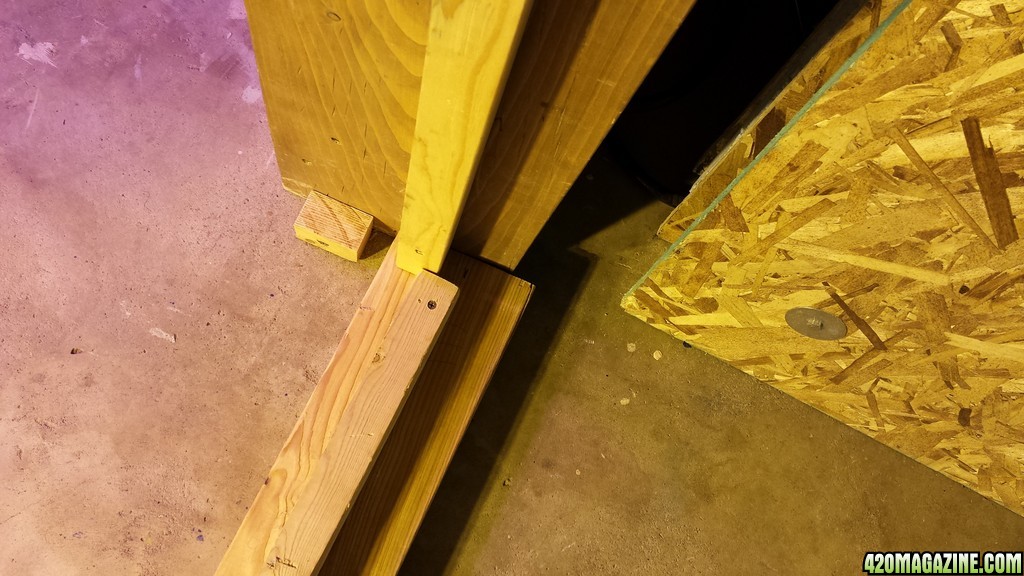
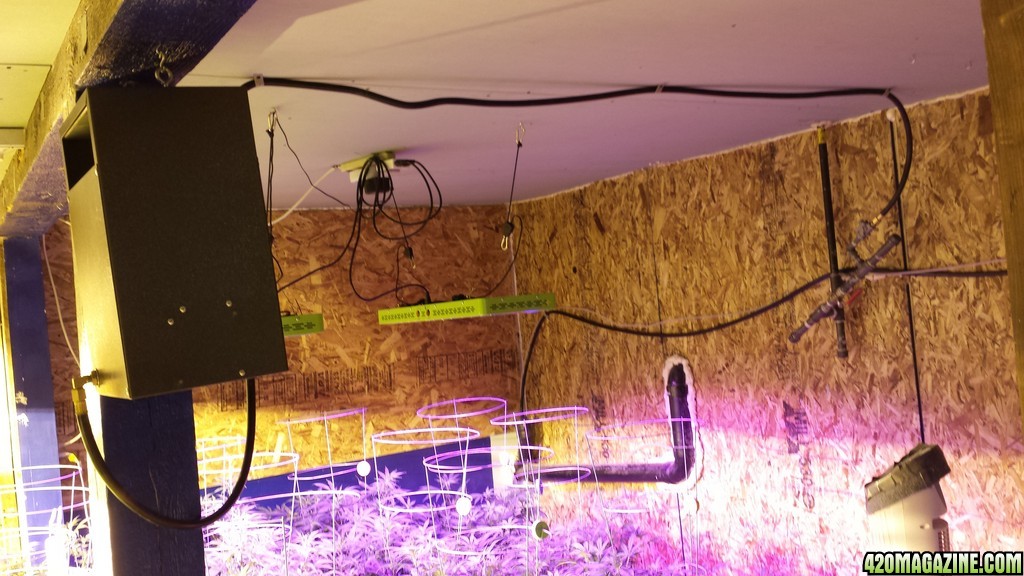
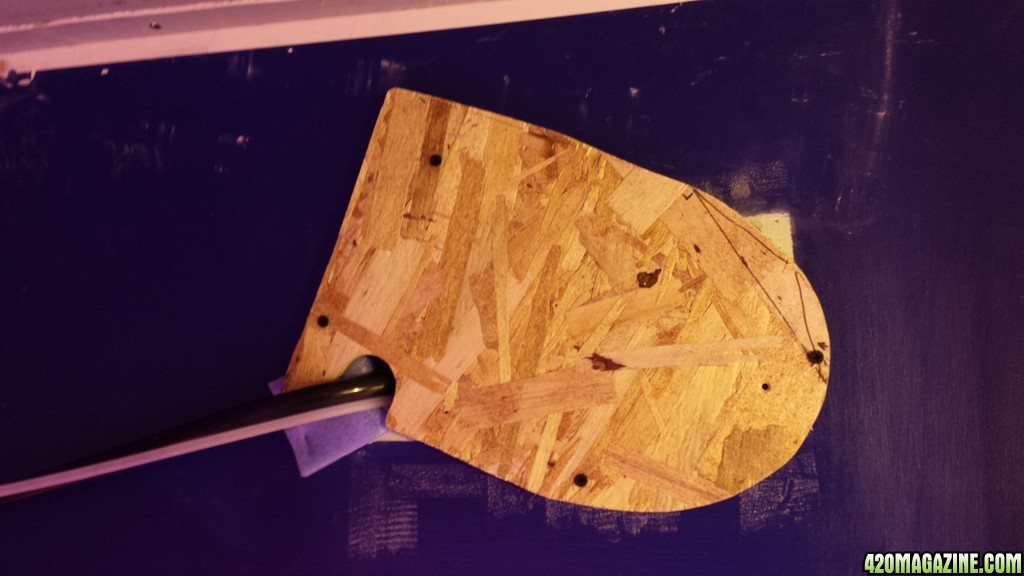
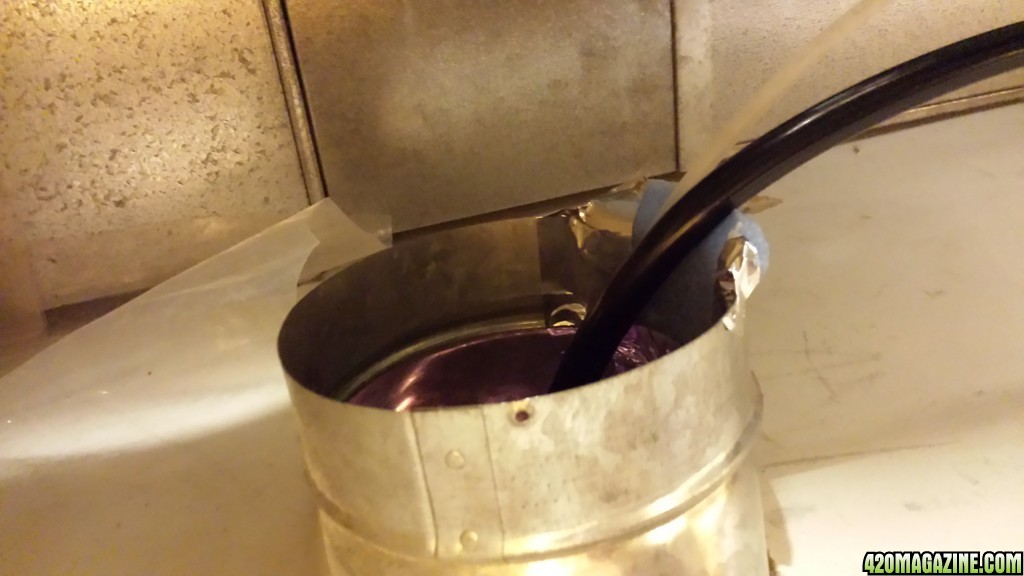

 This should take care of that.
 I'll be tucking and bending a bit more for the next week, but they look pretty good to me as is. I should be fine for vertical, but it will be close. I'm excited to see what the LEDs can do, but they might end too close. Did someone say hashtips?

 what kind of LED panels do you have? +reps brother
very nicewhat kind of LED panels do you have? +reps brother

 Veg will stay fluorescent, which is fine with me.
Thanks for stopping by my friend.
I bought 2 of the 3w x 144 "reflector" models from TopLED, ie Sara.
I liked the footprint for my long narrow veg area, but they are too strong for my vertical space. They burned the crap out of my moms, so now they are flowering lightsVeg will stay fluorescent, which is fine with me.
I like them so far. I'm hoping I will have the whole new side under LED next round. Should be doable.
Making the little filter chamber is letting me postpone (maybe even negate the need for) the AC upgrade to a mini split. Especially if I take out the HPS and replace them with LED. The current setup is more stealth. I am worried about a compressor out back. The neighbor behind me is retired border patrol. He might wonder why it's running year round.
I actually had a question last week and I thought to myself, "I should ask ronnie", but now I can't recall what it was. LOL

No, don't pm the questions, post them. I sure I'm not the only one learning right now from the two of yous conversation.Led's are the future of grow lights I'm sure. I'm thinking about picking up a =Lush lighting dominator 2x (435w) and running a comparison against 430w of Advanced leds.
love the upgrades , pm me with any questions you have.


