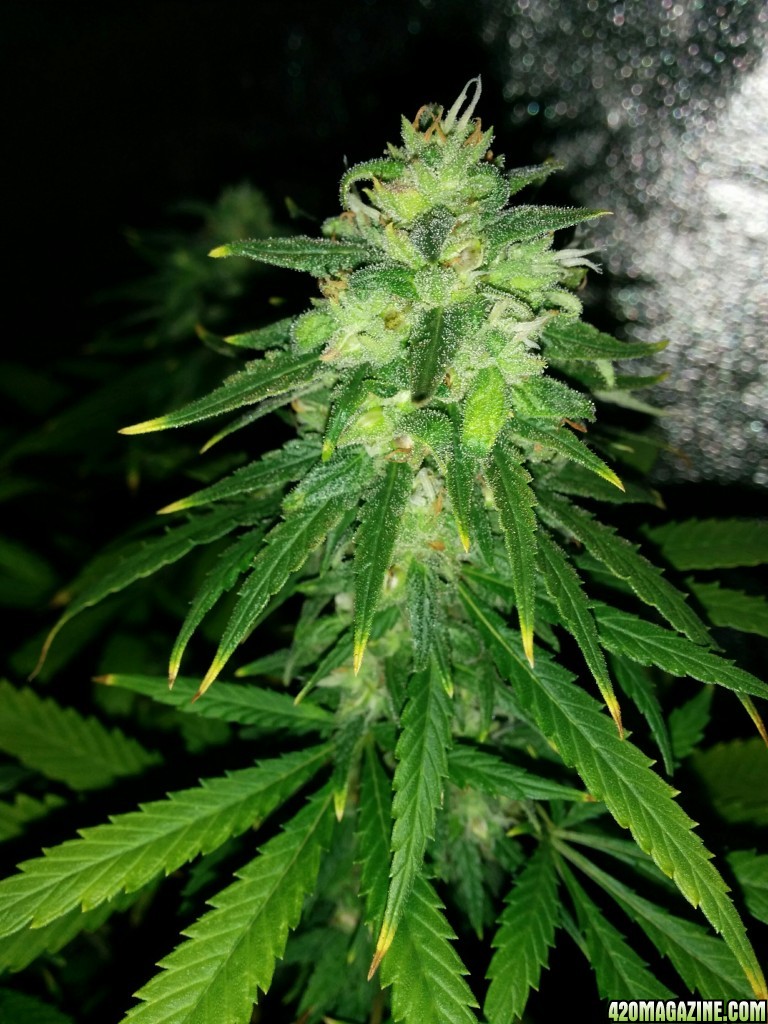
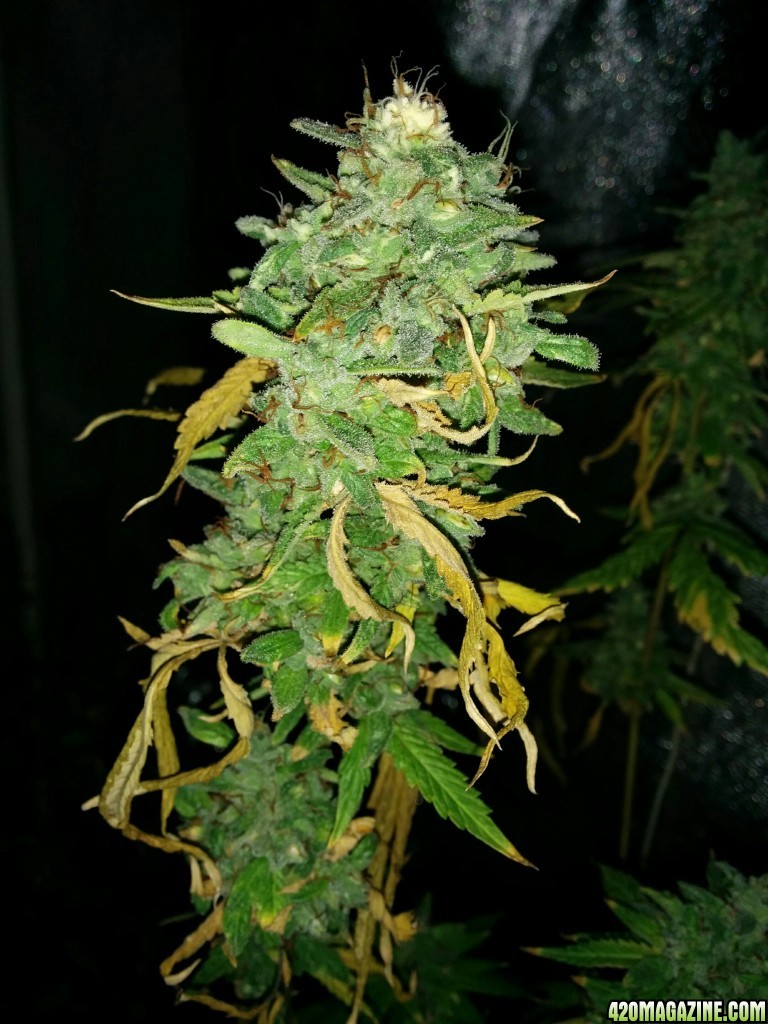
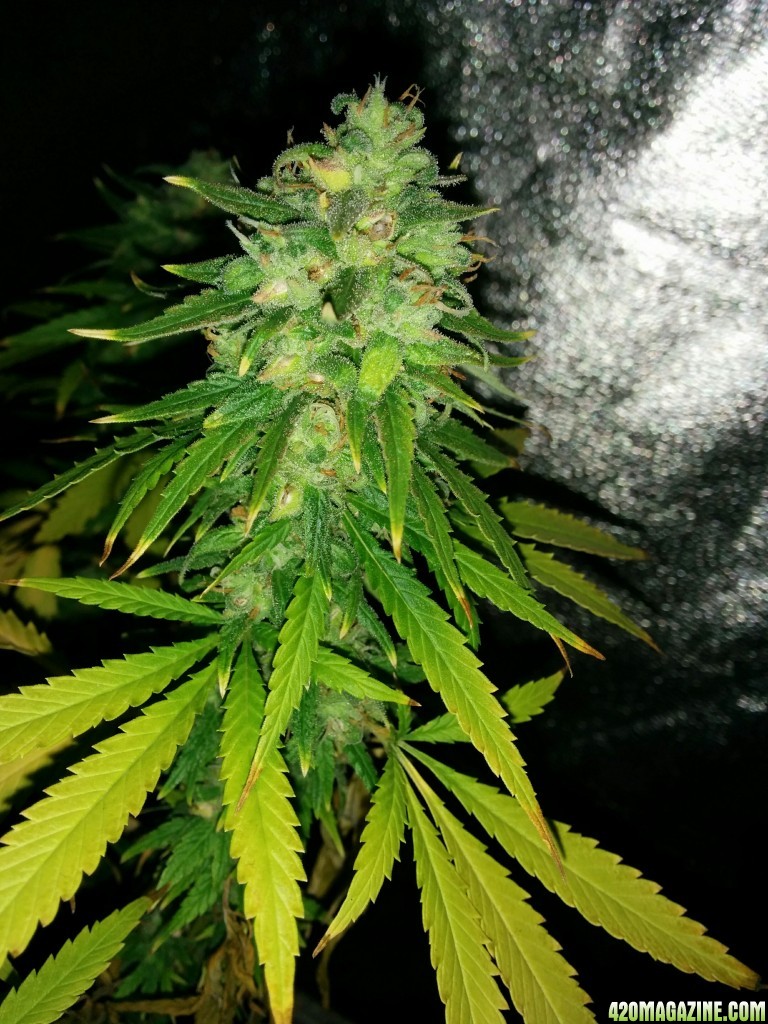
Well everyone!!!! I finally have started my 3rd seed project!!!!!!!
WOOOO HOOOO!!! LOL...
Sorry for the delay everyone.... working with different projects and tent rotations to keep alive all my genetics takes a lot of planning so my apologies for the wait...
So what strain did we choose to reverse with Colloidal silver?
Well after a lot of thought, I decided that my GDP will be next to spray with colloidal silver, and create pollen with. I love the flavor of GDP and rate it up in my probably top 5 flavored strain favorites and even though its not the strongest compared with todays hybrid cookies and kushes and all it still can hang in terms of terps and high in my opinion. I've had about 3-4 other clone suppliers fail on me in terms of correct GDP genetics so finally I am happy to say I do have the real deal after finishing my last harvest

Its got a squatty indica dom structure with tight branching and large long bladed leaves and the smell and flavor is amazing. Its almost like a grape soda smell with a deep rose type floral smell to it and a skunkyness as well. Its that Purp smell if you know what I'm talking about

So anyhow, after finally finding the correct genetics and verifying it myself, I decided I better keep them around and make feminized seeds which took priority over my other choices I was considering.
I also like that when I looked up GDP on the phylos galaxy (look it up, its cool!) it was pretty genetically different from many other common strains like kushes and hazes so I thought it may make for some interesting crosses and variations in what the offspring produce. So the choice seemed right... GDP it is!!
So what day is it? How old are the plants?
The plants are on day 3 of flowering (from the flip to 12/12) and the GDP has received 1x spray of 20ppm colloidal silver every day. (until I dilute my 240ppm by 4x to around 50ppm. I will continue to spray the GDP (Spray only the plant you want to make produce pollen, and DO NOT spray any plants you will be smoking!)
The plants I will be crossing it with range from about 3-4 weeks veg to 3-4 months or so of veg. Even though I would have liked to have things more even in size, I had to get the project moving forward so I decided this was the right time to do it despite the optimal conditions I would have preferred.
What are you feeding the plants?
I am feeding the plants mostly Earth Juice (5 part bloom, veg, micro, catalyst and meta k) making EJ teas and feeding the plants about 1x per week when needed. I am also adding beneficial bacteria with Kangaroots, and Mammoth P, and also using BioZyme enzymes in each tea along with a few drops of yucca extract. I rotate cal mag products depending on veg or bloom feedings, generally using a higher 5-0-0 calcium nitrate magnesium nitrate product in veg, and trading off to a much lower or 0 nitrate cal mag during flowering.
Every so often I also will brew a light feeding/compost tea to break up the heavy feedings and give the soil a good rinse as well as adding a bunch of beneficial bacterias.
What strains/cultivars are you crossing GDP with?
I will be not only making S1 seeds by backcrossing the Reversed GDP with another replica clone from the same mother plant, but I will also be crossing the GDP with:
Black Cherry Soda (very excited about this cross with GDP)
Trainwreck (also a very genetically diverse strain so very excited about this one too)
Harlequin (hopefully can make a higher cbd version of GDP, also the blend of terps would be amazing)
GG#4 (this also is going to be a very interesting cross and hopefully I can get some of those amazing frosty trichomes in a GDP type plant
 Tangie #5
 My Tangie #5 pheno is more of an indica type plant with a very tight structure, long massive colas develop, extremely resonous and has a extremely pungent smell of orange peels and almost a garlic... should make a very interesting cross with GDP)
Tangie #3My Tangie #3 is my most potent fragrant strain I have even in early veg smelling like ripe oranges and orange peels, with a garlicy spice to it. The buds on this develop with very little leaves and more of a crowning bud structure. Very frosty as well.
Racefuel OGThis one has a lot of true OG characteristics with the lanky structure pine cone shaped dense buds, low leaf to calyx ratio on the buds and this has a light kerosene gas smell to it... should also prove to be good
 Mendo Grape Kush
This plant really surprised me as it grow unbelievably well, very branchy and thriving large plant with very large buds on it, but no grape smell. More of a citrus rind orangy smell to it, like the grapefruit parent. It does share some lineage with GDP so hopefully the characteristics of the flavor will come out more in the cross
 Ogiesel
I can't say enough good things about this strain, no matter what the circumstances this plant always comes through fantastic, dank, extremely fragrant and potent! A cross of another indica dom plant like GDP may be very interesting with this one

exiting!
CandylandWell Candyland let me say is a pain in the you know what to grow... It shares a common trait with cookies which is one of its parents, and that is it hates being topped a bunch of times... top it more than 2x and it seems to lose direction of which way up is, and starts growing like a vine and very weird.. its also extremely temperamental to soil extremes of any kind and out of probably 30 strains I have grow, other than cookies its the hardest plant to keep happy. I haven't yet flowered this out yet but figured since I was able to save 2 clones before the mother died, lets run it and see what happens while we veg out the other.. Its parents are GSC and GDP so basically I am back crossing it to one of its parents, which hopefully will add more indica structure to the plants stretchy behavior!.
What equipment are you using?
I'm using a combination of 3 and 5 gallon round and square pots... (using what fit to make all these crosses possible) and the soil is a 4 way blend of (4 parts promix to 1 part ocean forest, 1 part coco coir, worm castings). I also blended in some of my 3 year old recycled soil and added blends of organic nutrients. I also am using a time release synthetic pelletized product called osmocote in small amounts to do a synthetic and natural/organic blend.
I'm growing in a 2x4 hydrohut growtent, which actually measures closer to 2.5'x5'x7' and using a 6" fan with scubber and manual speed controller set to medium low.
For lights I am using the Budmaster HPS-6 (2 of them) which each rates around 240w draw.
For making teas and bubbling my earth juice I am using a 2 output air pump, with 2 large round airstones in a 5 gallon bucket.
Ph is checked with the color drops and I don't use a ppm meter.
Colloidal silver will be 240ppm collidal silver (called Biosilver) by a brand called Silver Mountain Minerals and will be diluting it with my 0ppm reverse osmosis and deionized water.
What pest products are you using?
Currently none, but do have many organic and biological products on hand just in case.
For gnats yellow cards and stickys, BTi mosquito dunks, and spinosad
For thrips and spidermites: sns products, spinosad, bon neem, insecticidal soaps, neem oil... etc..
For fungus: copper spray, serenade, SNS Fungicide, Neem..
How to make seeds:
The steps:
1
First and foremost, you want to veg all of your cannabis plants to the size of choice. I usually tend to veg mine until they reach about 18"-24", and usually I prefer to top them 1-2x to get more main tops that will generate seeds. This includes the plant you will be using to create male pollen, as well as all the female plants.
2
Once your plants are at a desired height and you are ready to start flowering set your light timers to 12/12.
3
On the very first day of flowering, you are going fill up your small sprayer bottle with colloidal silver 50ppm. Take the plant that you will be converting to make pollen (this is called reversing) and remove the plant away from your other plants. Spray the entire plant, both top sides and bottoms of leaves, stems and all with colloidal silver.
****ONLY spray the plant that you want to "reverse" and take extreme care NOT to spray the plants that will be receiving pollen (the females)
******* especially take care to MAKE SURE NOT TO SPRAY ANY PLANTS YOU PLAN ON SMOKING WITH COLLOIDAL SILVER. (I have not found the exact reason why, however, every source I researched said to make sure you don't smoke any plants sprayed with CS).
4
Place the plant you sprayed with colloidal silver, back into your grow area with the other plants you will be pollenating. (Make sure to do this ONLY if you want all the other plants in your grow area to get pollenated. Some people even keep the plant they will be "reversing" in another area, far away from any female plants. Pollen travels and last thing you want to do is get it on plants not intended for getting seeds.
5
For the entire first week of flowering (12/12) you want to spray your "reversed" plant 2x, generally I do this 1 time in the mornings and 1x before lights out. Again, make sure to ONLY spray the plant with CS that you plan to reverse, and do this away from your other plants.
6
For the 2nd week you will continue to spray the plant you are "reversing" with CS, but you only need to now apply the CS 1x per day. Make sure to coat the entire plant, both sides of leaves, nodes, and all green plant material including stems. ***ONLY spray the plant you are "reversing" and be very very careful not to get any on your other plants, especially if you plan on smoking them. YOU DO NOT WANT to smoke any plants sprayed with CS.
7
Around the 2nd to 3rd week you will see all of your other NON sprayed plants start to flower as they normally do. The plant that you have been spraying with CS, may start to develop female flowers, but this is ok, as they will quickly start to convert to male pollen sacks. The pollen sacks look like clusters of oval football shaped pods and you will slowly start to see many many pods form, usually where the flowers would form. AT this point its a good idea to turn off any circulation fans in your grow area as even a slight breeze will knock loose pollen all over. Its much easier to control it before it forms, then to worry about cleanup later.
8
Once you see no more female flowers (white pistils) and see large clusters of pollen sacks on the plant you are reversing, you can stop spraying colloidal silver (CS).
It should look like this:
9 Around week 3-4 of flowering, you will notice the pollen sacs beginning to open up and this is when you will start to see a fine yellow powder starting to fall out of the pollen sacks, this is generally noticeable on the leaves below the pollen sacks as sometimes it will fall on the leaf and collect. This is Active pollen, and will pollinate any female plants in the area so if you have other plants around in flowering, that you DO NOT want to make seeds, be very very careful with the pollen.
**again a word of caution... do not have your "reversed" plant that is producing pollen anywhere near plants that you DO NOT want to create seeds... IT WILL GET ON THEM.
10
Spreading the pollen:
Now this step there are many ways to spread the pollen to the flowering female plants that you want to produce seeds. Since I do all of the above inside of 1 grow tent, I don't mind if pollen spreads however I still make sure to have all of my circulation fans off, and handle the "reversed" pollen plant very carefully, as even a slight shake or bump will create a cloud of pollen.
Now my personal process is to cut off one of the clusters of pollen sacks from the "reversed plant". Very carefully making sure not to bang it around while cutting it off, I remove it. Then I take this cluster of pollen sacks and slowly move plant to plant (Females flowering) and rub the pollen sacks on each flower of the female plants that I want to seed. Sometimes i will give the pollen sacks a little flick in order to help knock pollen from the sacks, onto the female flowers.
Now many people also at this point will collect the pollen in a sandwhich bag, or some even will wrap the entire "reversed" plant into a black garbage bag to prevent pollen from spreading where they don't want it. Some people will just collect the pollen inside a sandwich bag and use a paintbrush to spread the pollen onto the female flowers. All of these ways will work, as long as somehow the pollen gets onto the female flowers.
11
Within the next day or 2 after you have spread the pollen from the "reversed" plant onto the female plants/flowers, you will know if they received the pollen because all the white hairs (pistils) will turn orange/brown. Make sure to look at each flower set on each plant to see if they have orange hairs/pistils, or if they are still all white. If the flower pistils/hairs have not changed orange, and are still white you will want to go back to step 10 and repeat this. At this point you should not be spraying any colloidal silver.
Your Female plant buds should look like this, once they have received pollen, notice the amber hairs early in flowering.
12
Once you have finished pollenating all the female plants, and have seen the pistils change from white to orange, you are done with the "reversed" plant and you can carefully discard of it. Again, this pollen will spread very very easily so its best to move very slowly avoiding any bumps, wind or shaking as this will make clouds of pollen very easily, and you may want to wrap the whole plant in a garbage back, tighten the opening around the stem and cut the stalk at the soil level, which should contain any loose pollen. You can decide whether to keep some pollen for future use by collecting it in a small baggie, or you can just get rid of it all together if you don't want to keep it. I haven't tested the methods of storage yet, but a cool dry and dark place from what I read is the best to store pollen.
13
If you happen to make a mistake with your "reversed" plant, and get pollen all over, you can use water to deactivate the pollen. I usually will wait a few days after I have pollenated my plants, the pistils have turned orange and then I will spray the entire tent down, including the walls, floor, plants and soil with just plain water to make sure any loose pollen is deactivated.
14
Now the last part of the process is the waiting period. After all the female plants are pollenated, the "reversed" plant has been removed, all you have to do now is treat your plants with love, just as you would if you were flowering them normally and make sure they stay healthy. As the buds form, you will start to notice that within the buds, the calyx's (place where the hairs attach to the buds, looks like a teardrop shape) will start to swell. This is your seeds forming.
Notice on these photos, you can see the swollen calyx's with the seeds forming inside.
15
When to harvest... If you have so far followed this process to a T, then everything should work as planned, buds will form, thicken up, mature and you will notice seeds forming in the buds, as the calyx's swell. By now you should be nearing the end of flowering, but you want to make sure that you get those nice brown, tiger stripe seeds. Wait until you start to see the swelling calyx's which contain the seeds actually start to split showing the hard seed coat, which at this point usally will be an offwhite color. Within the next week to 2 weeks at this point you will seed the seeds go from a green/offwhite color to a light brown and then they will turn to a darker brown with black lines.. These are the tiger stripes! When you start to see most of your seeds turn this darker brown color, your plant is ready to harvest. You may even want to pull a few of these seeds/calyx's off, to check them to make sure the seeds are done, which will be all dark brown with black stripes (usually) some strains produce seeds that might not be dark brown but more of a tan, and I've even had some seeds not produce stripes, but its uncommon.
Notice on these photos how the calyx's have split and the seeds are showing through the splits, and most are a darker brown. This is when they are about ready.
16
How to harvest and gather seeds:
You treat your seeded plants/buds the same as you would harvesting a normal crop. Cut each plant from the soil, hang it for your preferred dry time.. Usually I go for 7-10 days until the buds are fully dry. I generally don't plan on smoking any of the plant material afterwords so personally I don't cure it or anything as I pretty much grind up everything with my fingers to remove the seeds.
How I personally remove the seeds:
Once your plants are dry, buds are dry I usually will take a flat surface with a lip on it, like a mirror or a picture frame and I will lay it flat, but on a slight 10-15 degree tilt. I use this as my work surface. I remove all the dead fan leaves, and most of the leaves I can just pull off, and put this in my compost pile. Then once I have just buds left, I remove 1 bud at a time, roll it between my fingers pulverizing the bud. The seeds at this point will drop out, and most of them will roll down the angled flat surface/mirror and get caught in the "lip" of the surface you are using, where the grinded/pulverized plant material will just fall down directly below my fingers. After a full bud is ground up and in a pile of grinded green, I sift through it with my fingers removing any other seeds that I find that are nice and mature. These get bagged up, labeled and stored for future use. All the immatture seeds, and ground up buds get placed in separate ziplocks and put in my freezer until I am ready to use them for edibles.
17
Seed storage: Now this is something that I have only researched but not tried yet, so take this part with a grain of salt and you may want to do your own research on this part (storing seeds). The rest of the instructions if followed should work perfectly as they worked for me with 100% success.
If you plan on using your newly created seeds right away or in a short amount of time, then you don't need to really store your seeds in any specific way, but its best to keep them cool, dry and out of direct light. If you do plan on storing your seeds for long term, then I have read the best way to do this is to store them with less than 10% oxygen. So for this, if you have a food sealer, or canning jars with vaccum pump then you want to suck out all the air out of the food sealer bag/jar which will remove most of the oxygen. This helps the seeds stay fresh and active because water and oxygen are what allow the seeds to want to sprout, so if you remove both water and oxygen, then they will stay fresh for long storage. You also will want to keep them cool, and in a dark place, like a refrigerator, basement or cool closet.
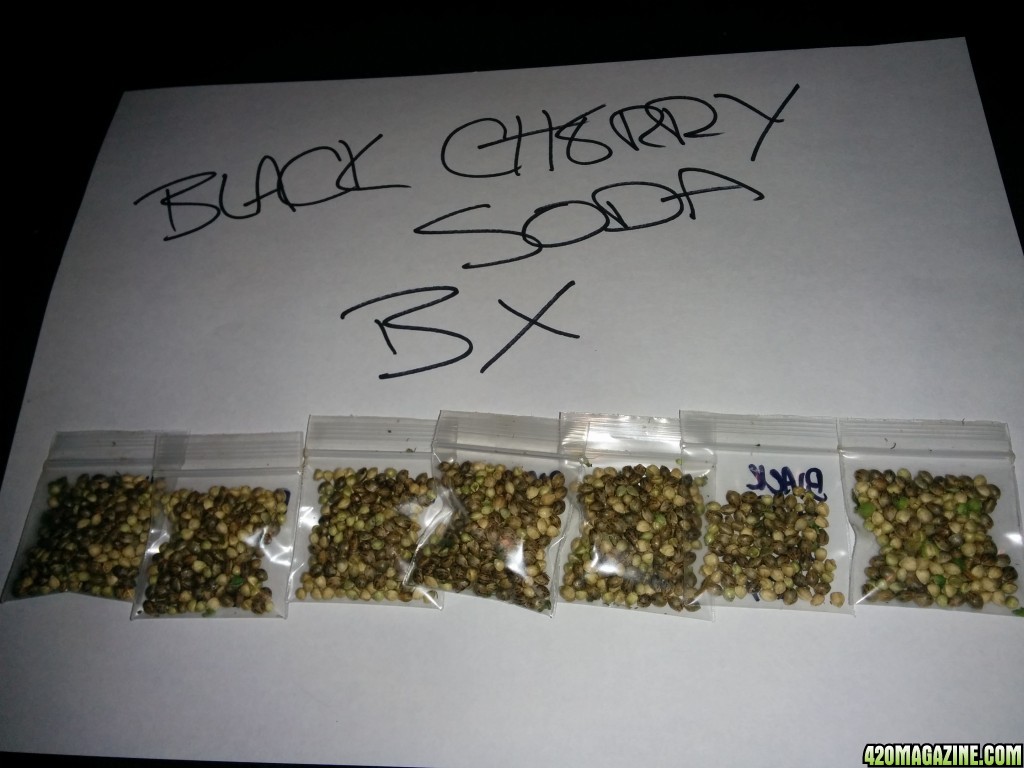
Well that is the process, and if done right.. you will end up with this::: (seeds from my last project)


 Mornin' Ice'