- Thread starter
- #781
I dissolve it in butter or coconut oil or MCT oil. It works well.Hay @Granpaw Tokin! How do you get that blob evenly spread through your gummy mix?
Thanks,
hb
How To Use Progressive Web App aka PWA On 420 Magazine Forum
Note: This feature may not be available in some browsers.
I dissolve it in butter or coconut oil or MCT oil. It works well.Hay @Granpaw Tokin! How do you get that blob evenly spread through your gummy mix?
Thanks,
hb
Yo! Don’t tease me and then walk awayWhy not use a distiller? that everclear is too expensive to just evaporate into the air. with my homemade one, I don't even smell the alcohol much less dangerous. Is that fan explosion proof? even turning on a light switch or running electric motor, in room filled with fumes is dangerous. Pm me if you want to build one
 I would love to reclaim my alcohol! I don’t want to spend a fortune either, but as you say, the alcohol is expensive. Show me Bro!!!
Made this recipe pretty much as written Grandpa. It's Perfect! Two does it for me to get me vibin nicely. Today is three day. Time to get a buzz! Thanks for your good work!Hello friends! My little trip got shortened due to really bad weather. Drove 4 hours in blizzard conditions. Not the brightest move I've made, but not close to the worst.
Anywayz, here's what I did with my blob of very nice trichomes. Enjoy!
I weighed out the blob, because I can:
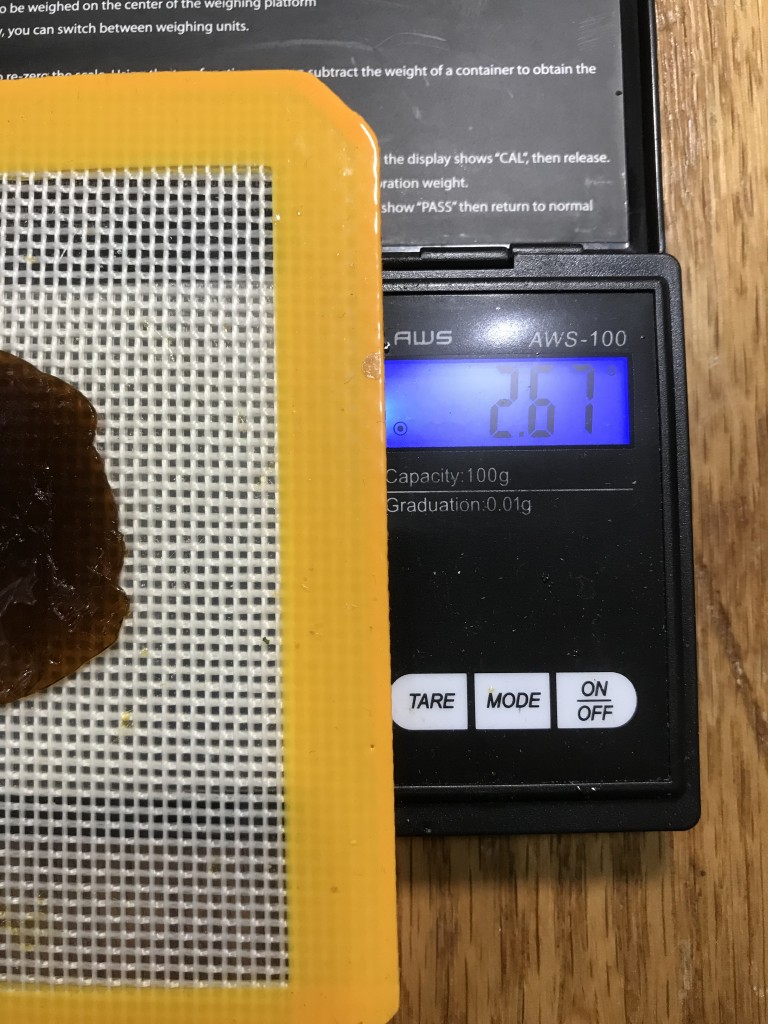
I separated the blob into two smaller blobs to fit in my silicone containers, and put them in my toaster oven at 250F for 10 minutes:
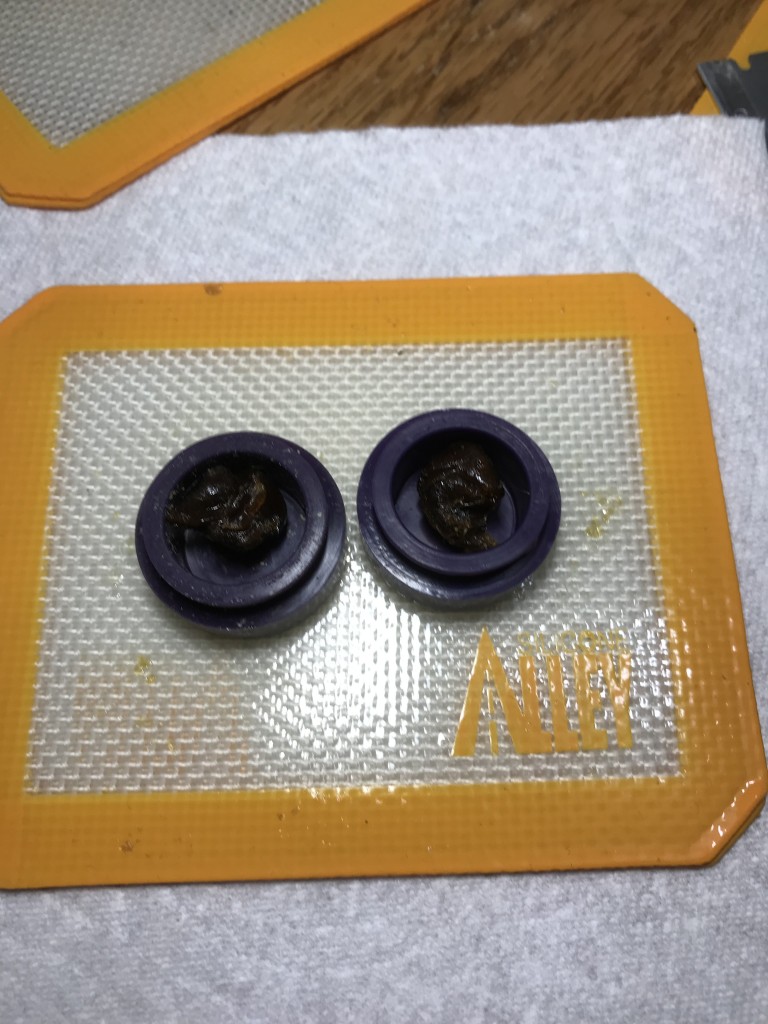
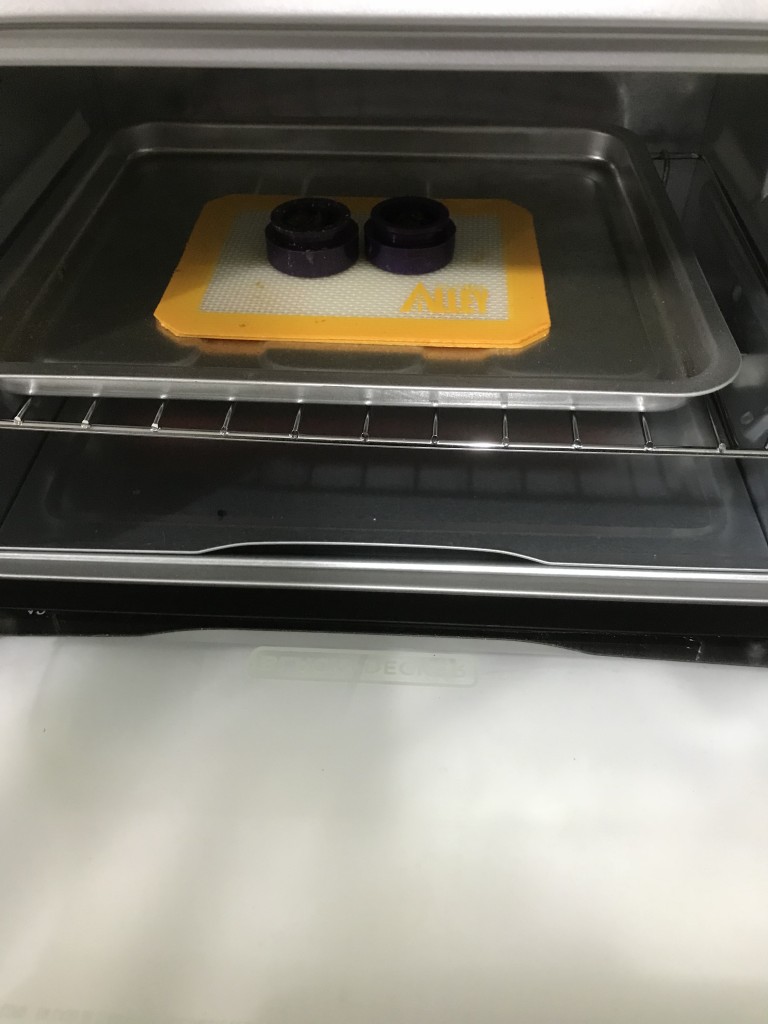
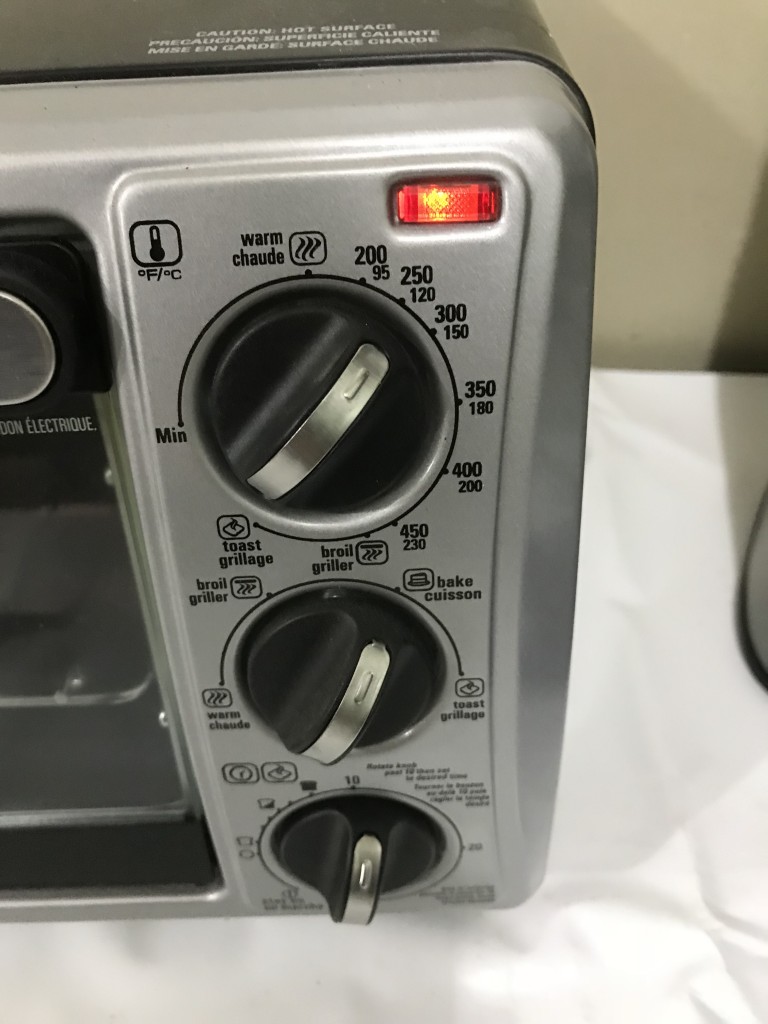
While that is going on, I measured out ~one cup of coconut oil and put it on the heat to melt. I also use one teaspoon of lecithin per cup.
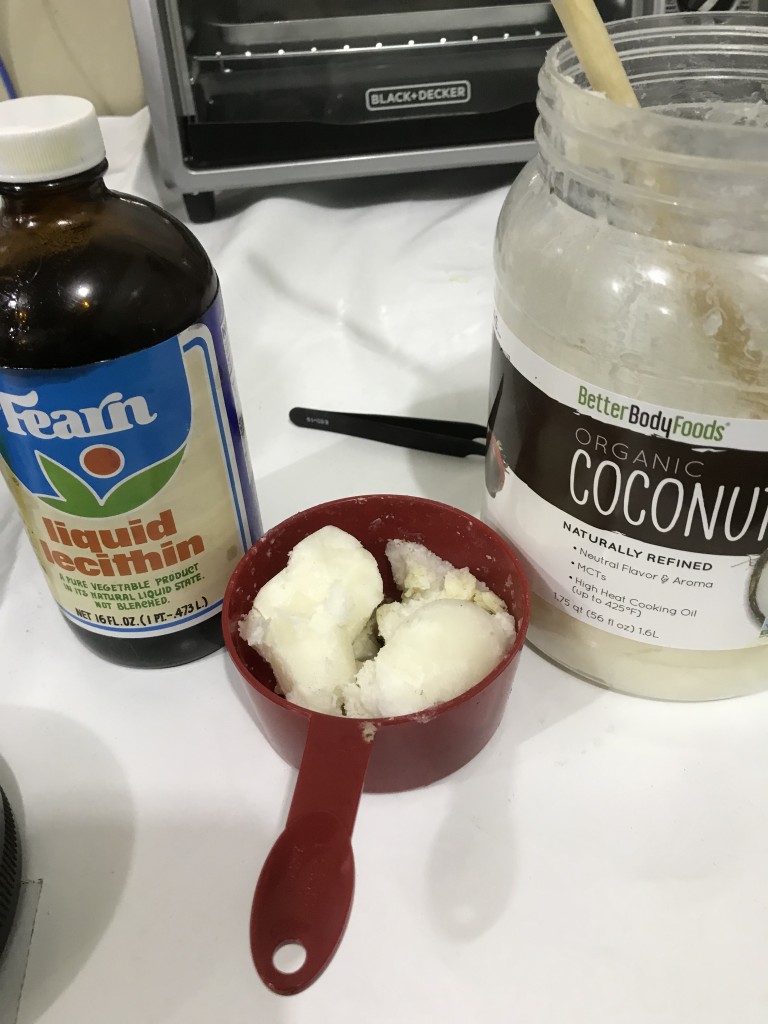
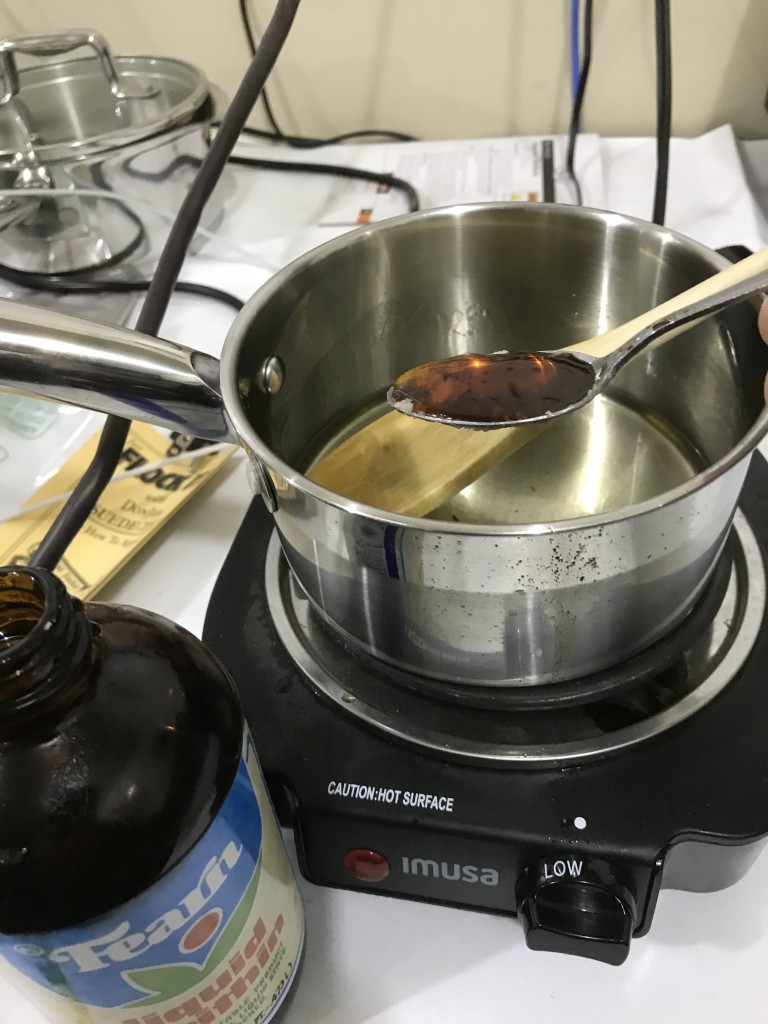
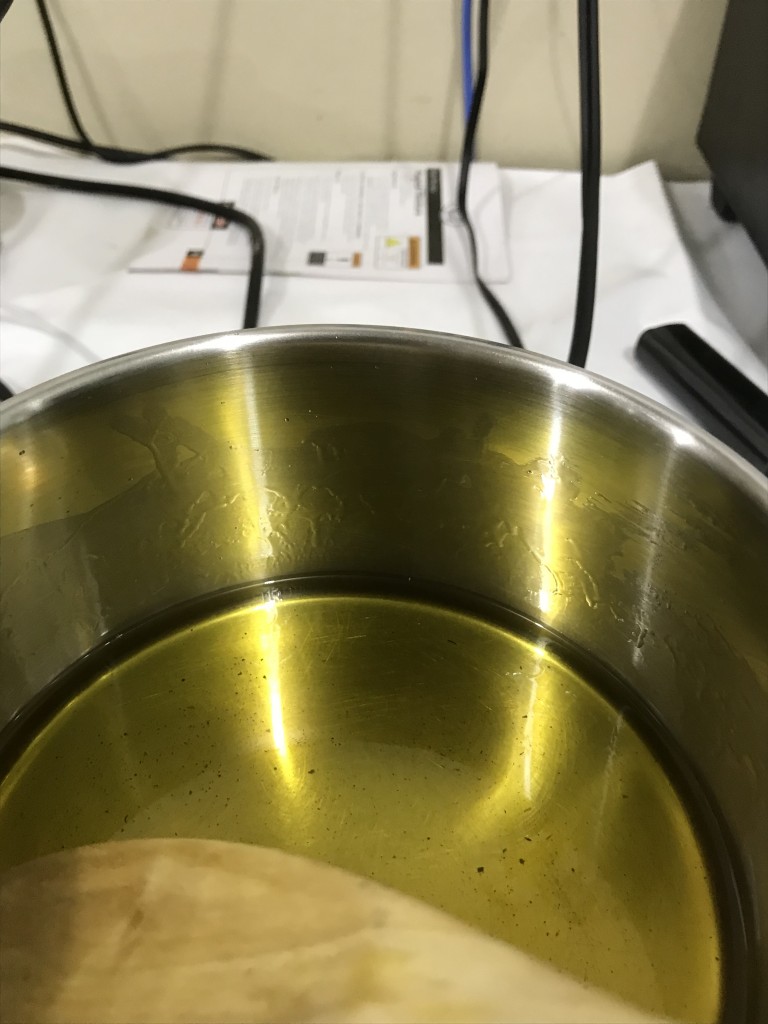
When 10 minutes was complete on the toaster oven I checked and things were still bubbling so I put it on for another 5 minutes and watched it closely. In another 3 minutes it had stopped bubbling so I know it's decarb'd:
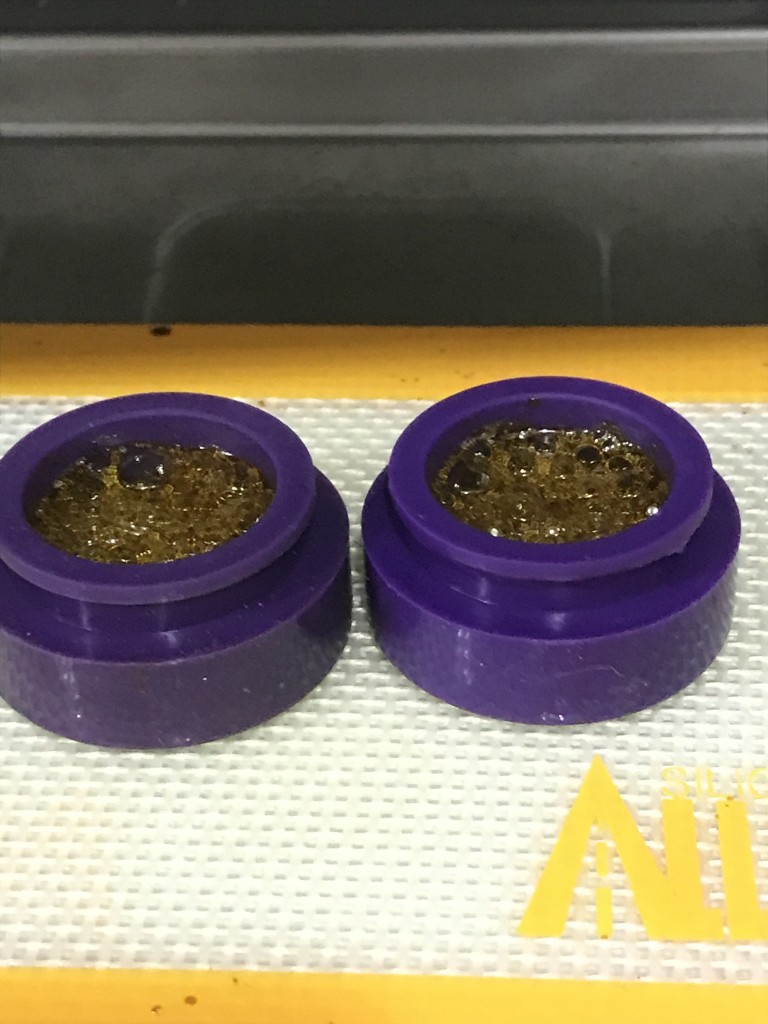
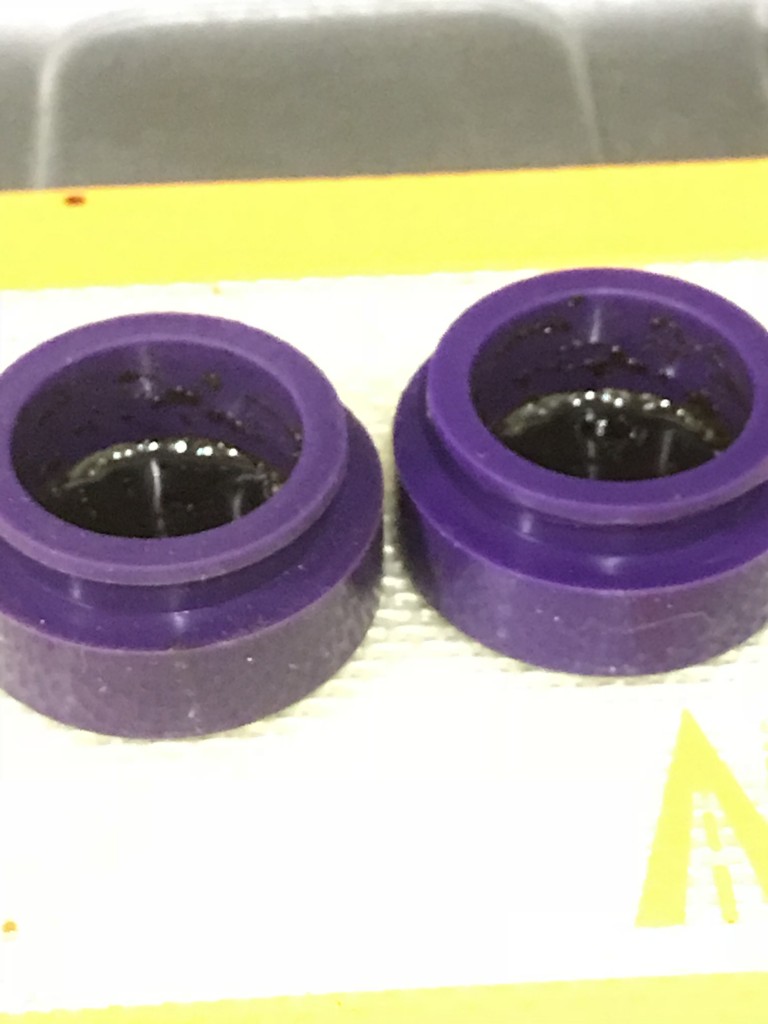
Then, I simply add the containers to the coconut oil. *Caution! Hot!
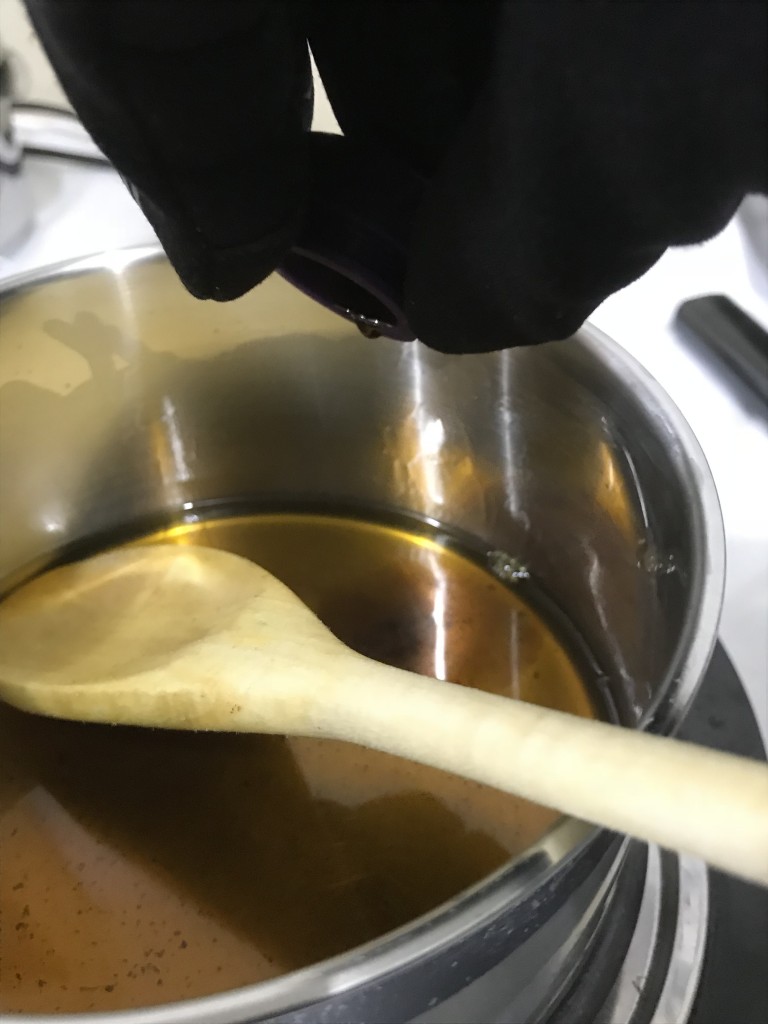
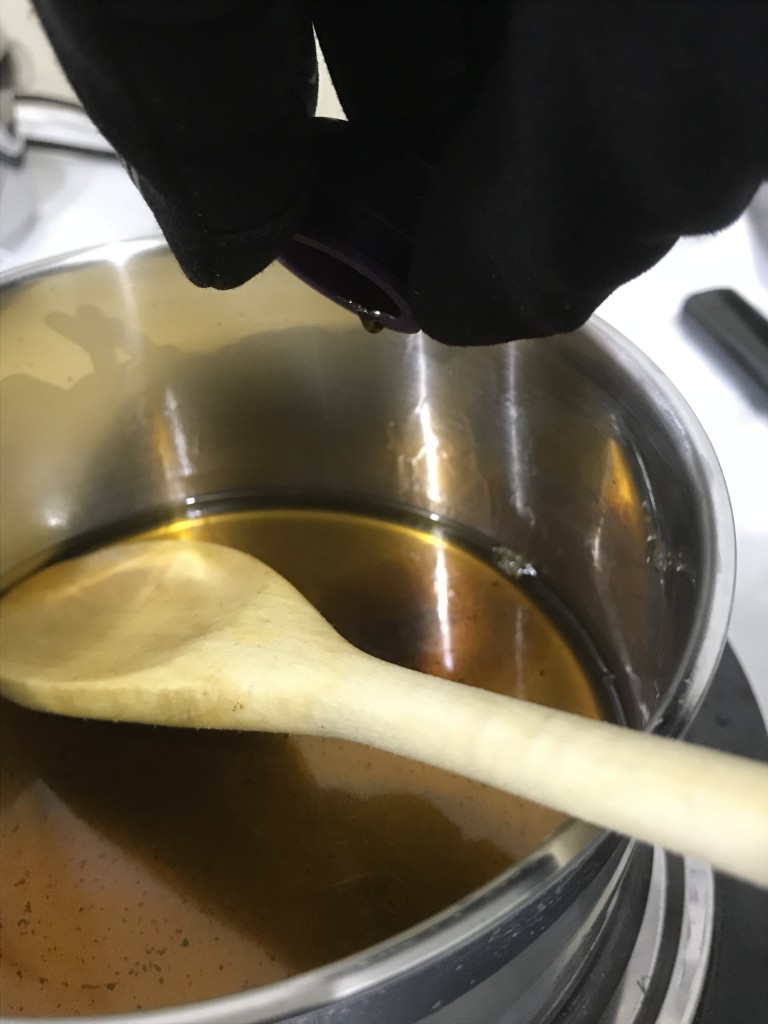
Then, it's just a matter of filling capsules. I made 30 and took 3 immediately. I'm vibrating nicely!
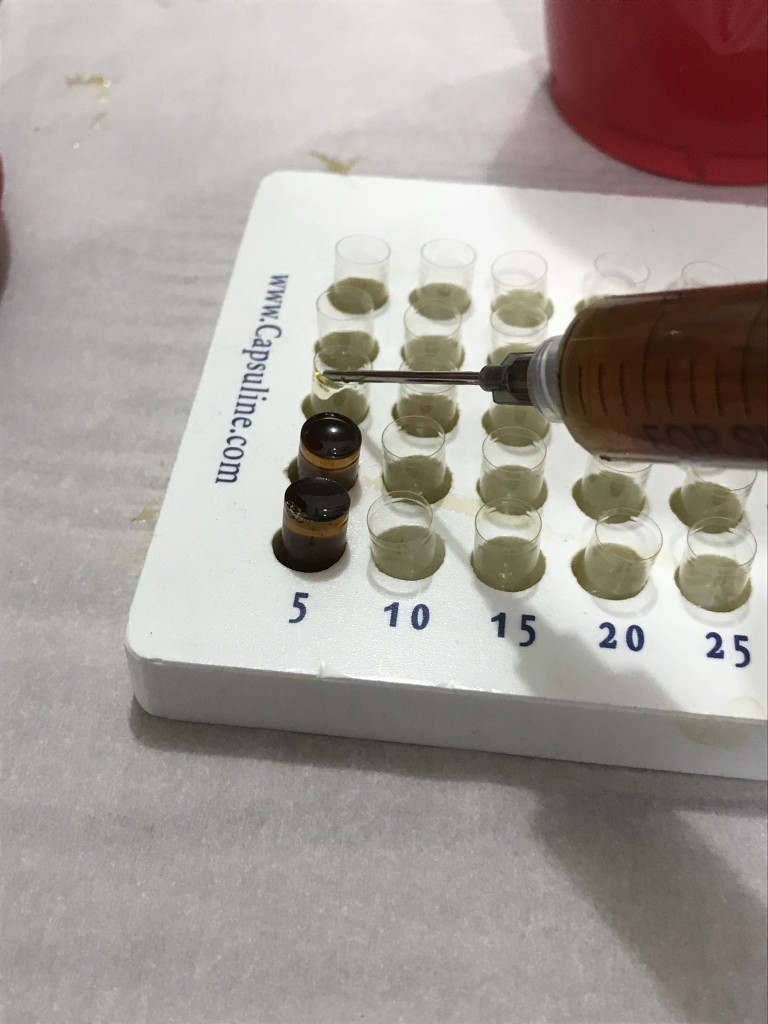
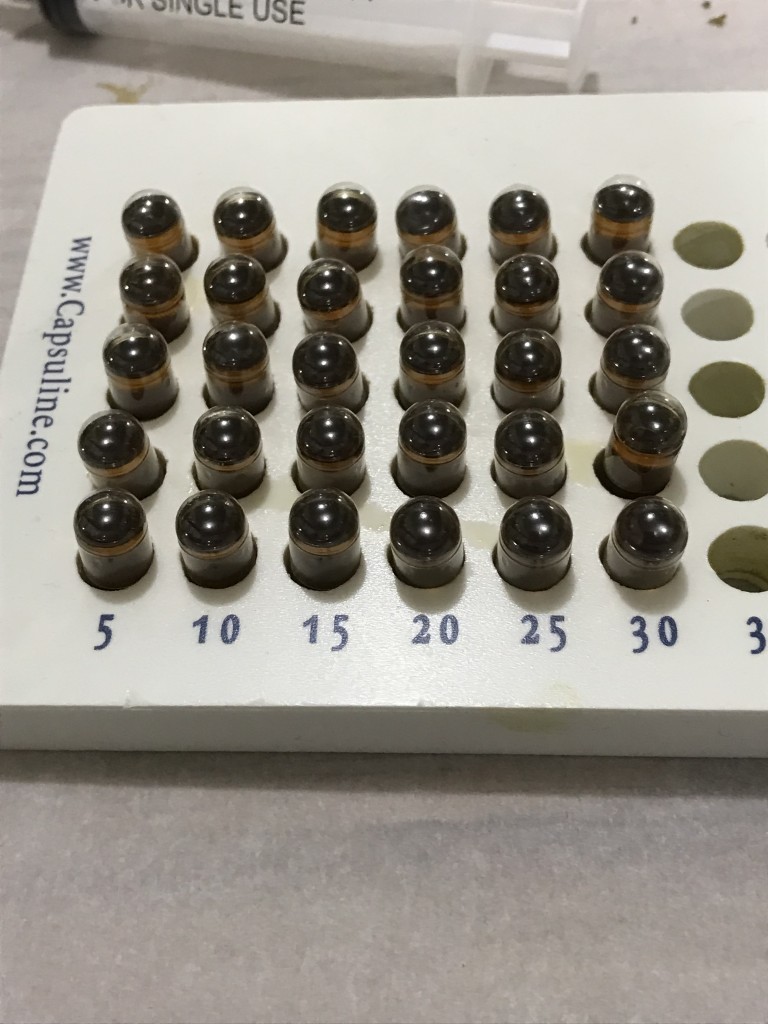
I only used about 30ml since each capsule contains 1ml. And, since there's 236ml per cup I'm set for a few days. The leftovers go in the fridge for later.
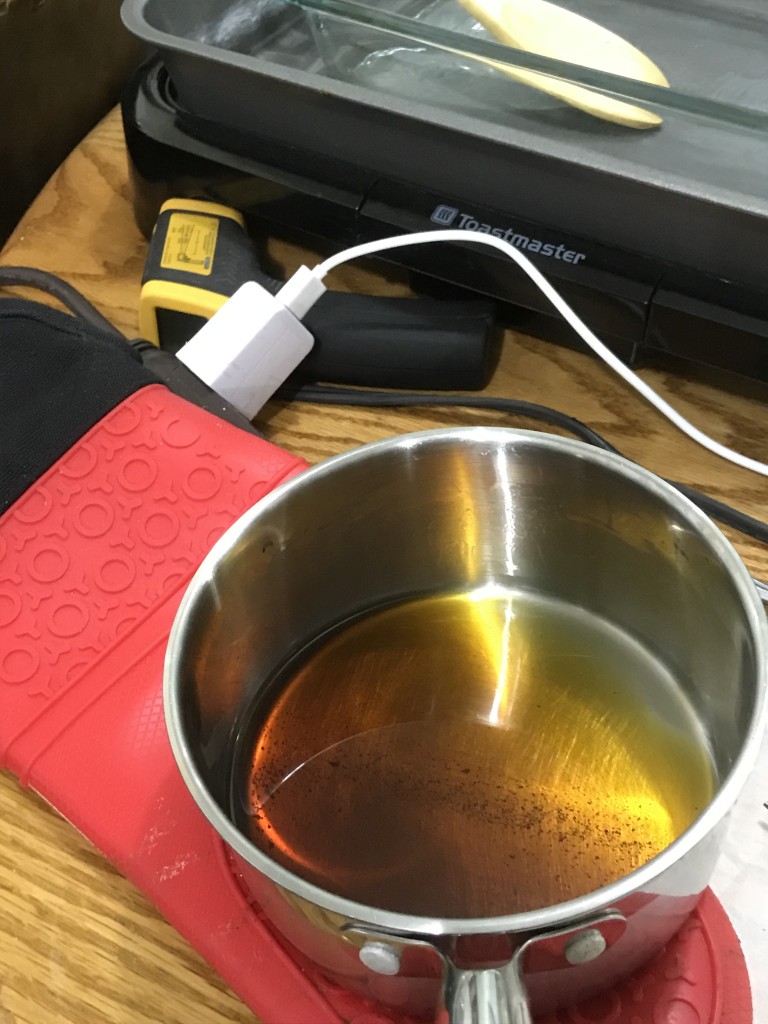
Now, this is a pretty strong batch. I'm comfortable knowing that 3 capsules will rock my world. That may be too much for some and not enough for others. You know the deal. You need to experiment to find your sweet spot. I hope this was helpful!

Hey TRS, I had not thought of dropping voltage to stop mine from going too hot too fast. Nice idea!I use a water distiller with a $10 fan speed controller all the way to slow, lowers the temp for ecaporating the Everclear instead of water. Other choice is to double distill your own sugar mash for almost free home brewed Everclear.
I actually took 120 proof Everclear to 180 by double distilling it (we can't get 190 in California), but I used a distiller with a thermostat so I could set it at 168°F.I use a water distiller with a $10 fan speed controller all the way to slow, lowers the temp for ecaporating the Everclear instead of water. Other choice is to double distill your own sugar mash for almost free home brewed Everclear.
Do you decarb the bud first?Hello everyone! Grandpa’s making some killer oils and I want to share the process I go through. The goal with this particular batch is to get the best I can from the material I’m using. I’m in search of trichome heads and as little green (Chlorophyll) as possible.
We want the Everclear to do its job and extract the best of the best. For the first batch, this means no shaking and just swirling the material slightly in the alcohol. This will extract more THC, terps, and goodies the plant has to offer.
With that in mind, let’s make some shatter!
*Warning! This process is extremely dangerous if you don’t take care. I am doing this in a large shop with 12 foot ceilings. I make sure there is adequate cross ventilation by keeping a window and a door open to the outside, and a small fan blowing to help circulate to the outside. This is key to not blowing your ass up! You must also ensure there are no open flames...PERIOD! Alcohol fumes are extremely volatile. Be careful damn it! I will not be responsible for you blowing your house up.
Here’s a list of the components that will be used with current US dollar prices at Amazon:
1. I use this griddle, but there are other less expensive options, $30.94: Toastmaster TM-201GR Griddle, 10 x 20", Black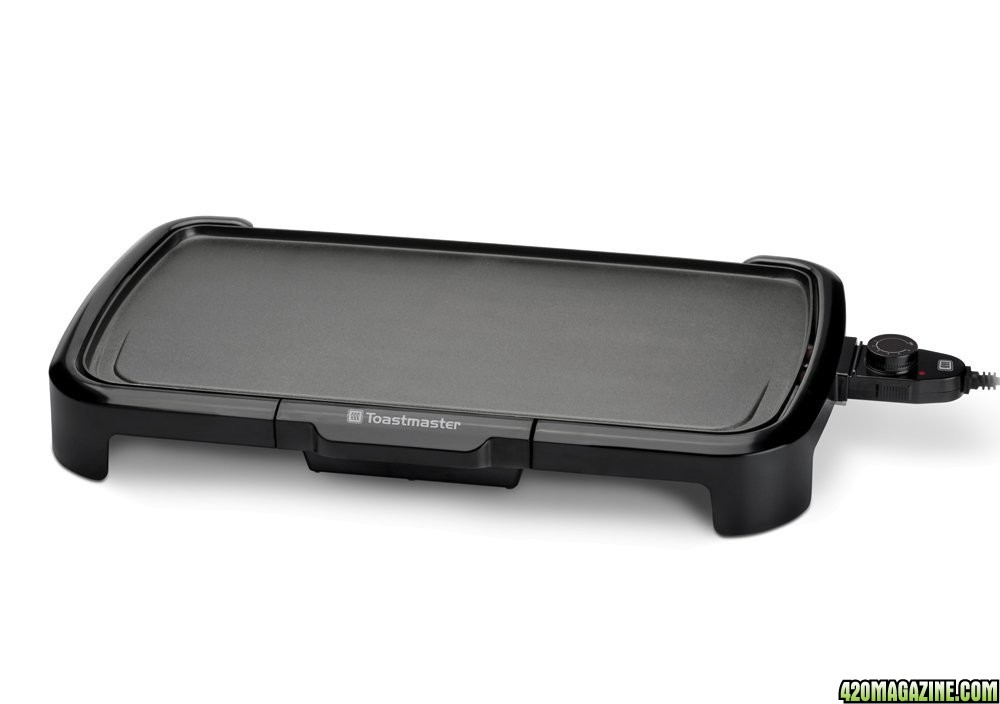
2. Pyrex dish, $11.09: Pyrex Basics 3 Quart Glass Oblong Baking Dish, Clear 8.9 Inch X 13.2 Inch - 3 Qt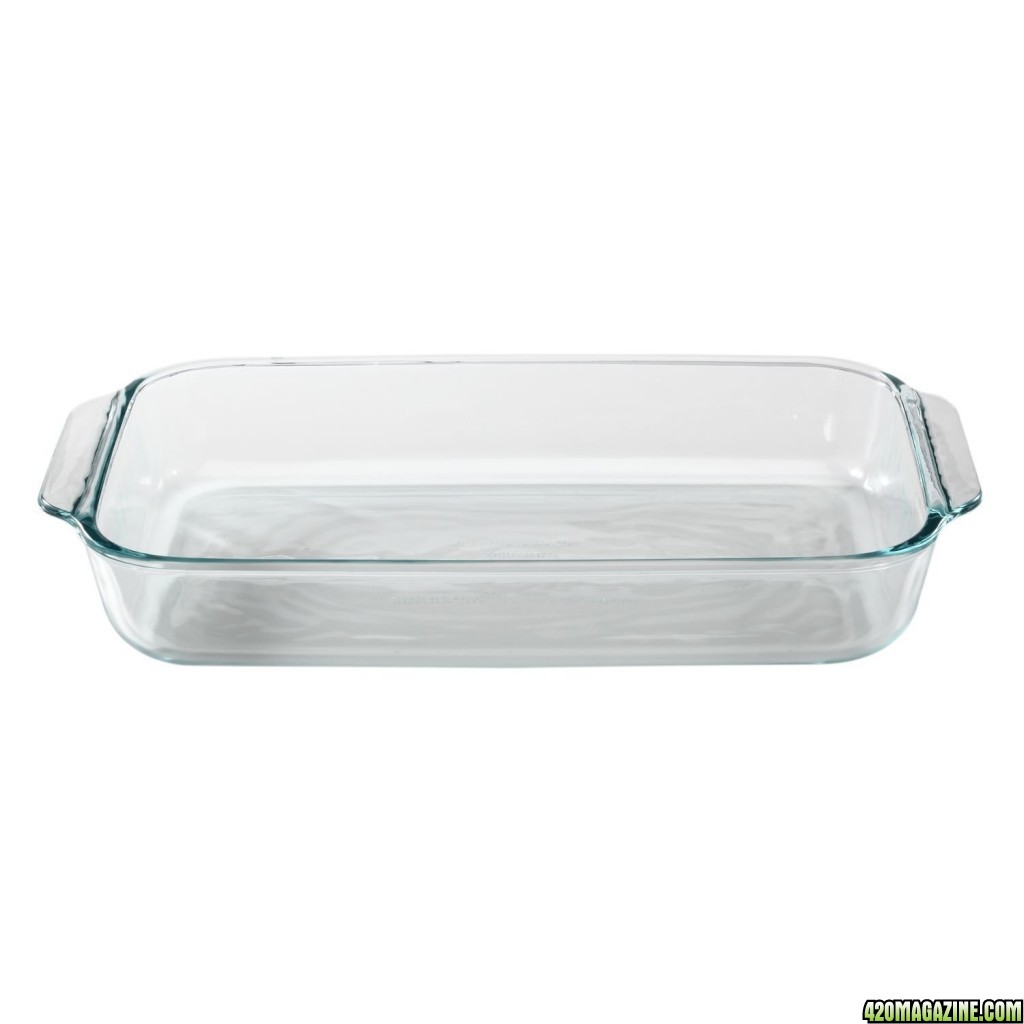
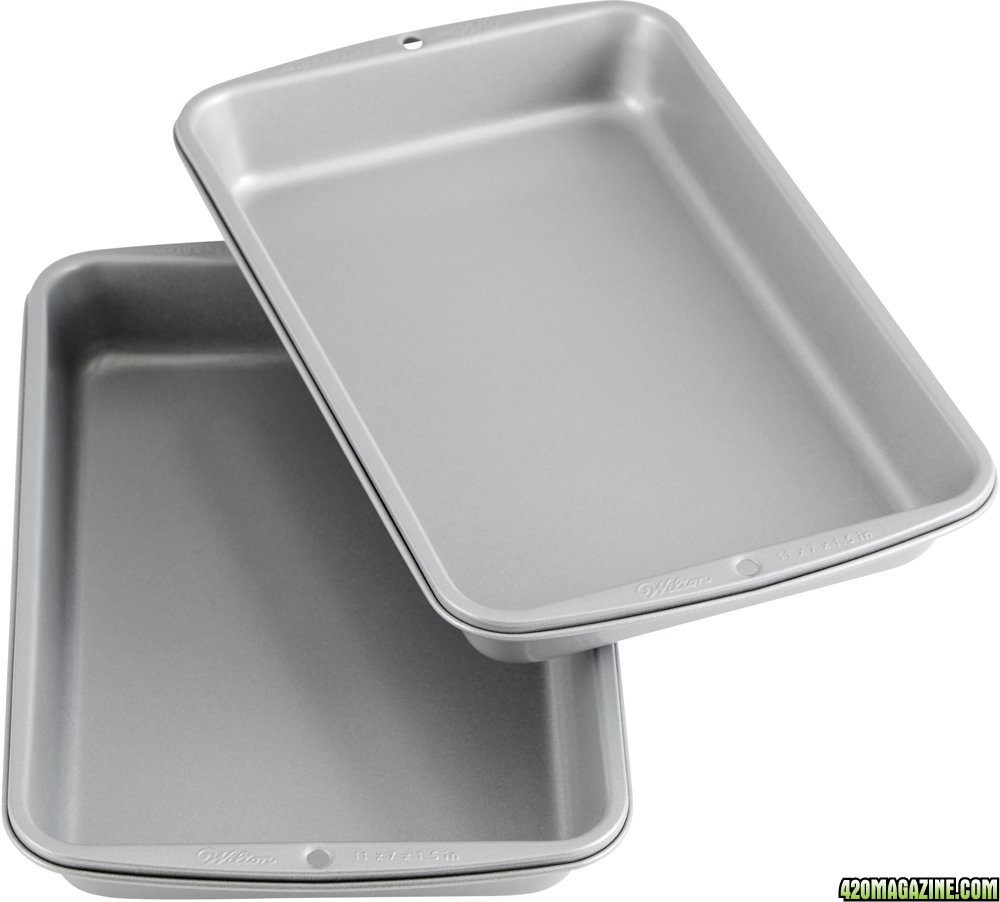
3. Cake pan, I don’t know where I got mine, but this will do, $13.99: Wilton Recipe Right Non-Stick Biscuit and Brownie Pan, 11 in. x 7 in. (2-Pack)
4. Stainless strainer, $8.99: CHICHIC Set of 3 Stainless Steel Kitchen Fine Strainers Tea Fine Y Mesh Strainers Juice Egg Filter 3 Sieve Colander Sets Wire Filter Mesh for Tea Coffee Food Rice Vegetable with Handle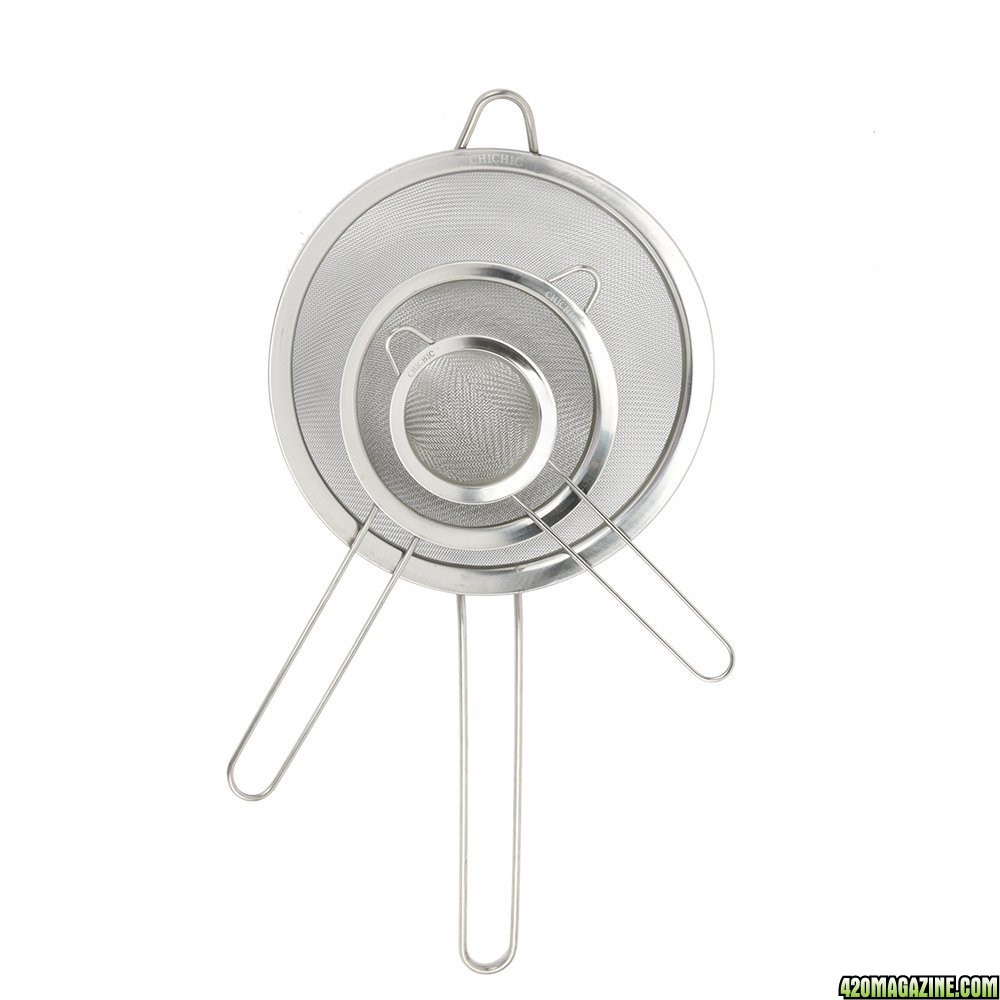
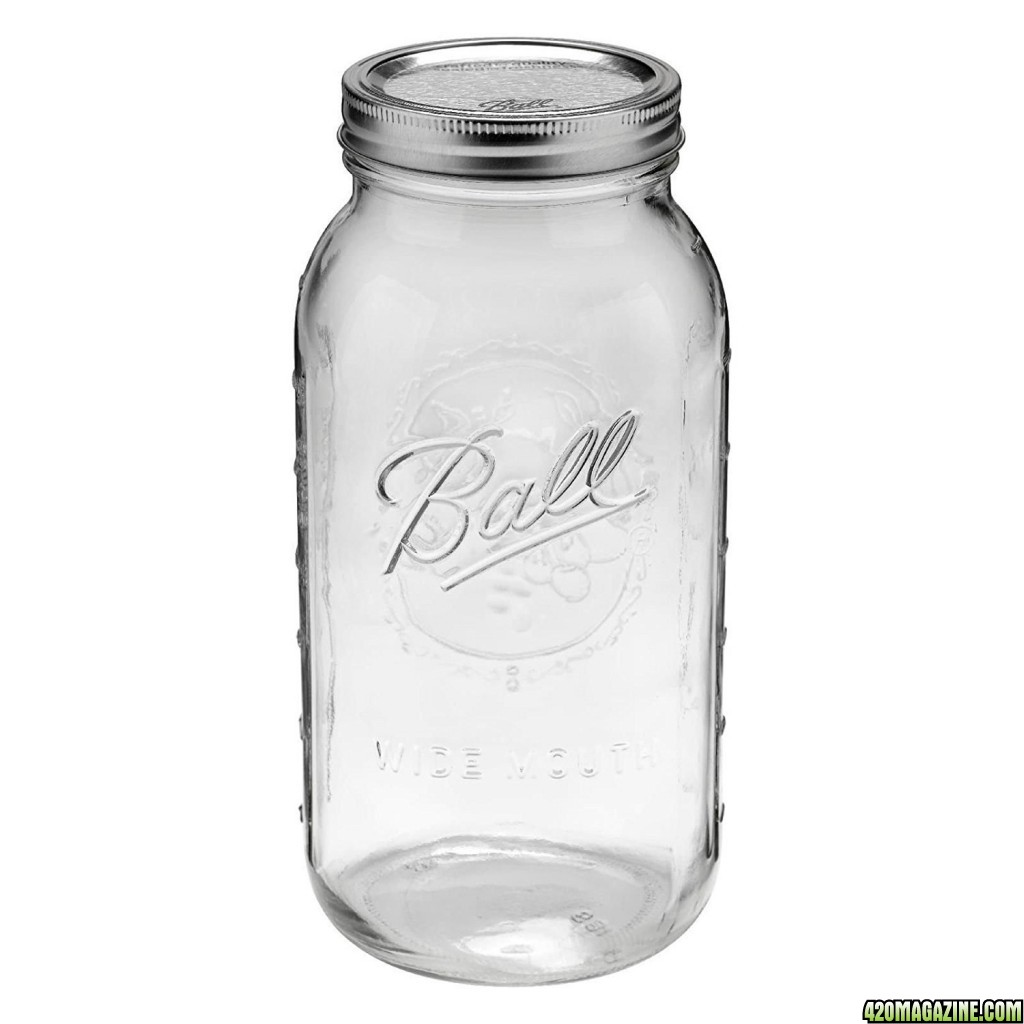
5. Large mason jars. I use these because they are on-hand, I usually buy these at Walmart, $6.00: 1 Ball 64oz Wide Mouth Half Gallon Mason Jar
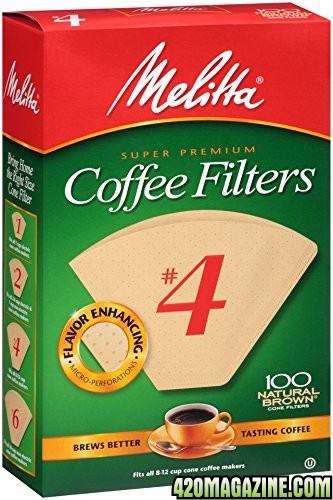
6. Unbleached cone coffee filters, the #4s fit the wide mouth mason jars well, $3.99: Melitta No. 4 Cone Coffee Filters, Natural Brown, 100 Count
7. Silicon pad, $11.00: Oil Slick Duo Platinum Cured Medical Grade Silicone Pads, Set of 2, 3.25x4.5" Pads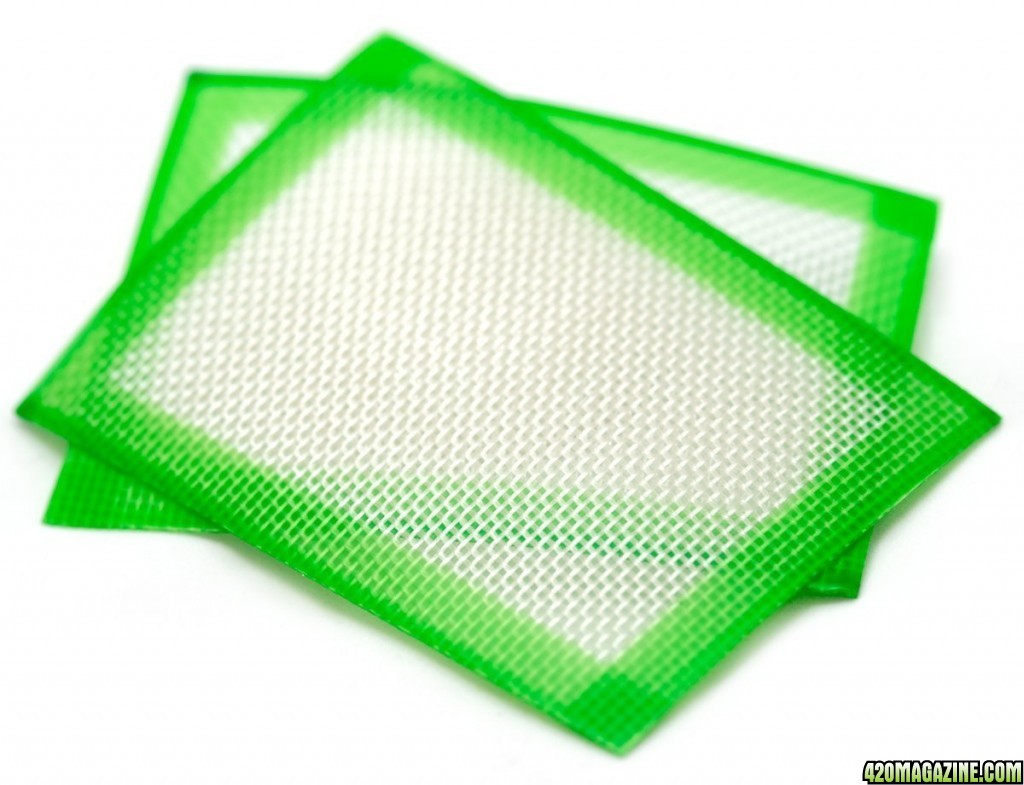
8. Razor blades.
9. Gloves. It’s sticky-icky!
Please shop around. You can probably find everything cheaper!
The first things I do is gather all my materials. I put the cake pan on the griddle, and put hot water in the cake pan. This is the beginning of a diy double boiler. I turn on the griddle to keep the water hot.
After that I gather the weed, alcohol, mason jars, and filters to begin the process. Today I’m using some fresh frozen bud from my last harvest. The strain is called Amherst Sour Diesel and the seed came from Humbolt.
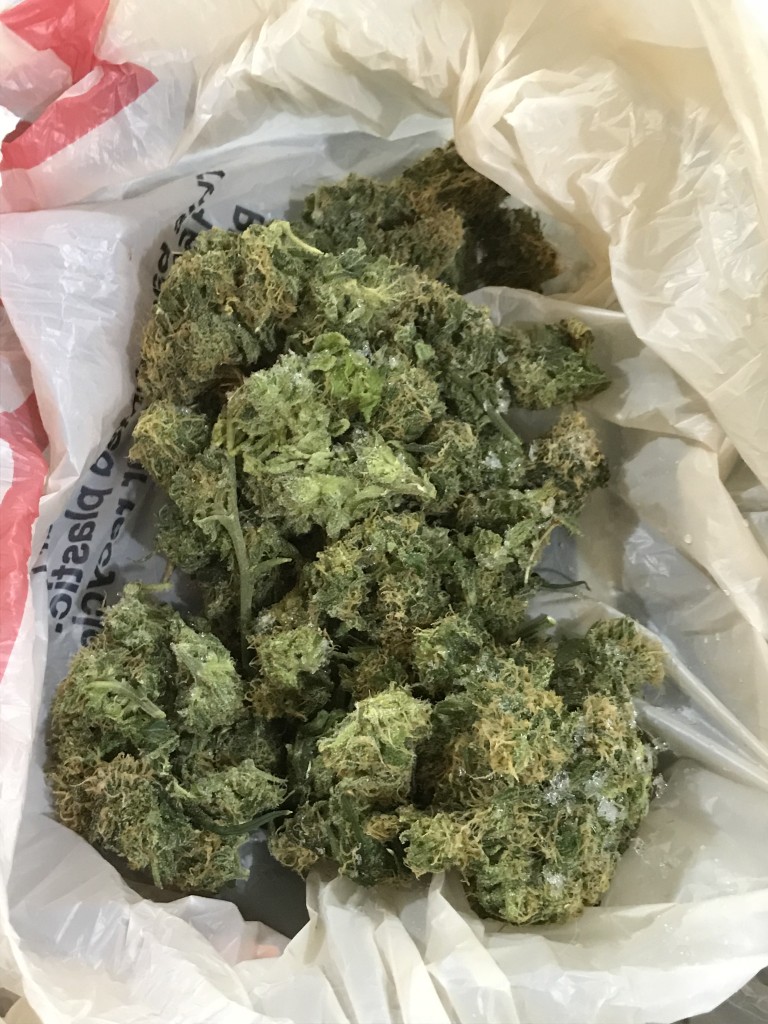
I then put the material in a mason jar and cover the weed with the Everclear:
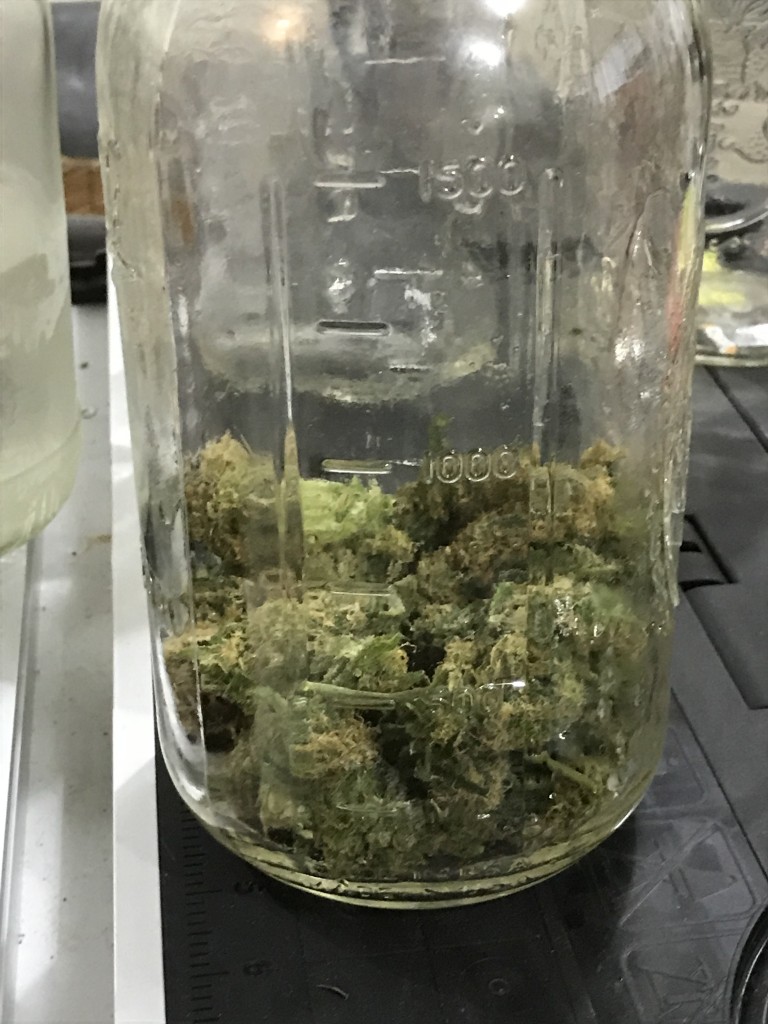
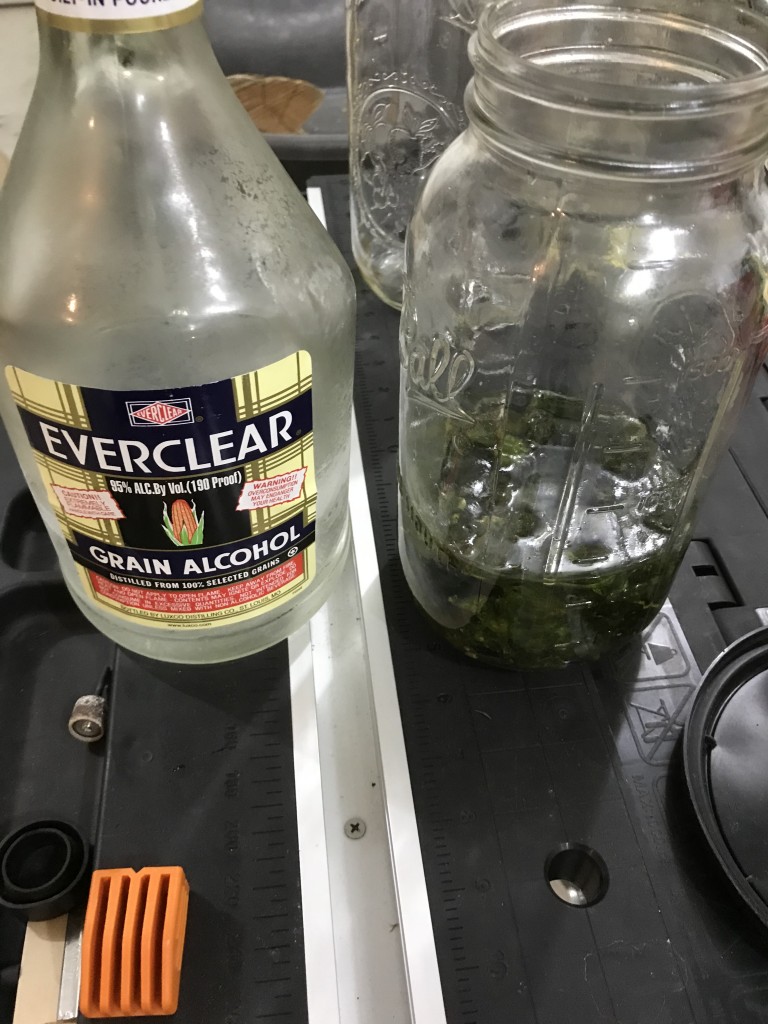
I put the lid on the mason jar and let the alcohol and weed just sit for about 15-30 seconds. Then, I slowly swirl (not shaking; remember, we are going for the best of the best here) for another 20-30 seconds.
The jar then gets dumped into my stainless strainer. I sit the strainer over a plastic Folgers Coffee container to capture the goodness (naturally it’s been cleaned beforehand and there’s no coffee in it).
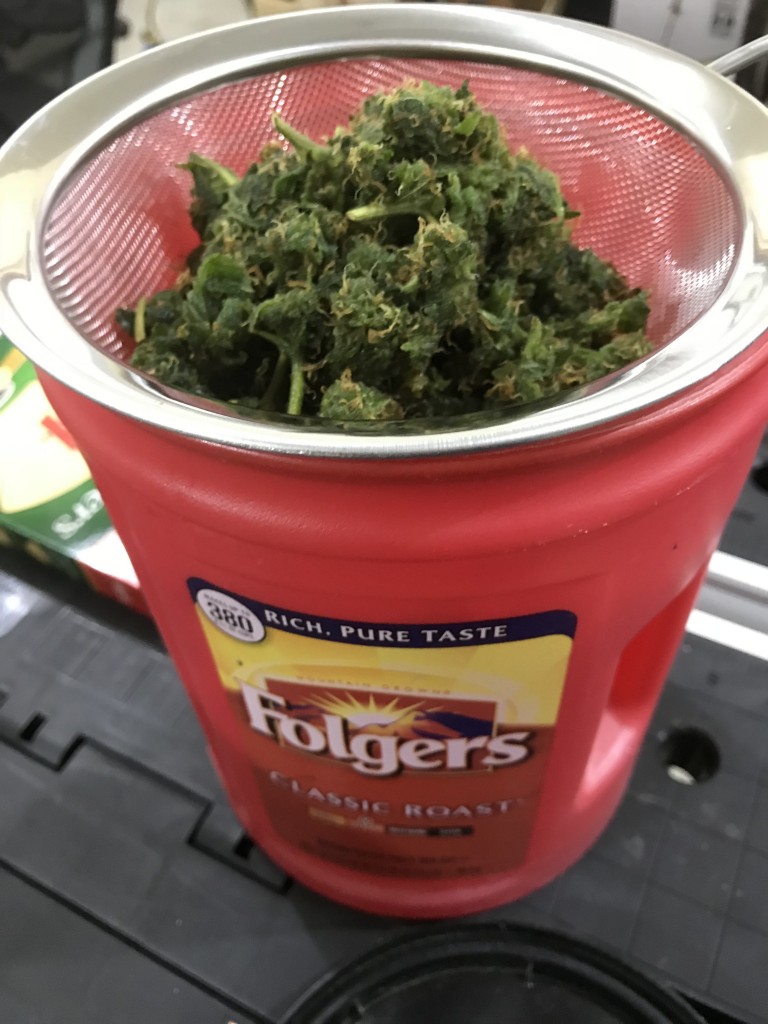
Then starts the most annoying part for me and that’s filtering. I simply pour the mixture from the Folgers coffee container threw a coffee filter that’s sitting in the mason jar. I completely filter the mixture at least 2 times, depending on what it looks like. Sometimes I’ll filter 3 times.
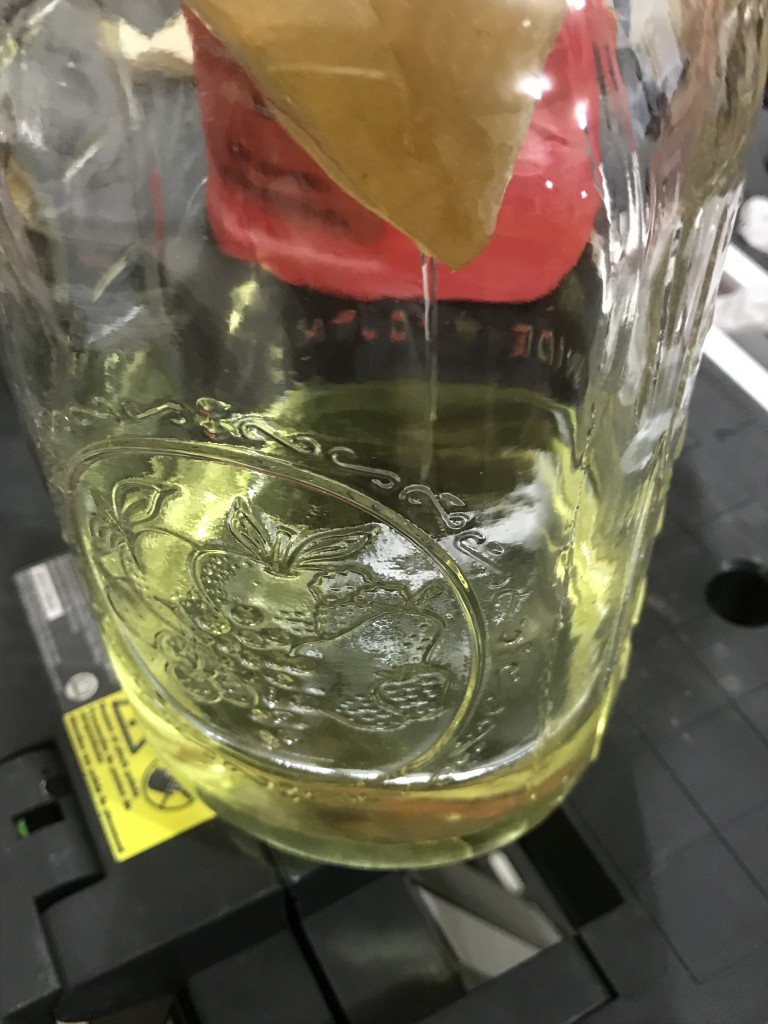
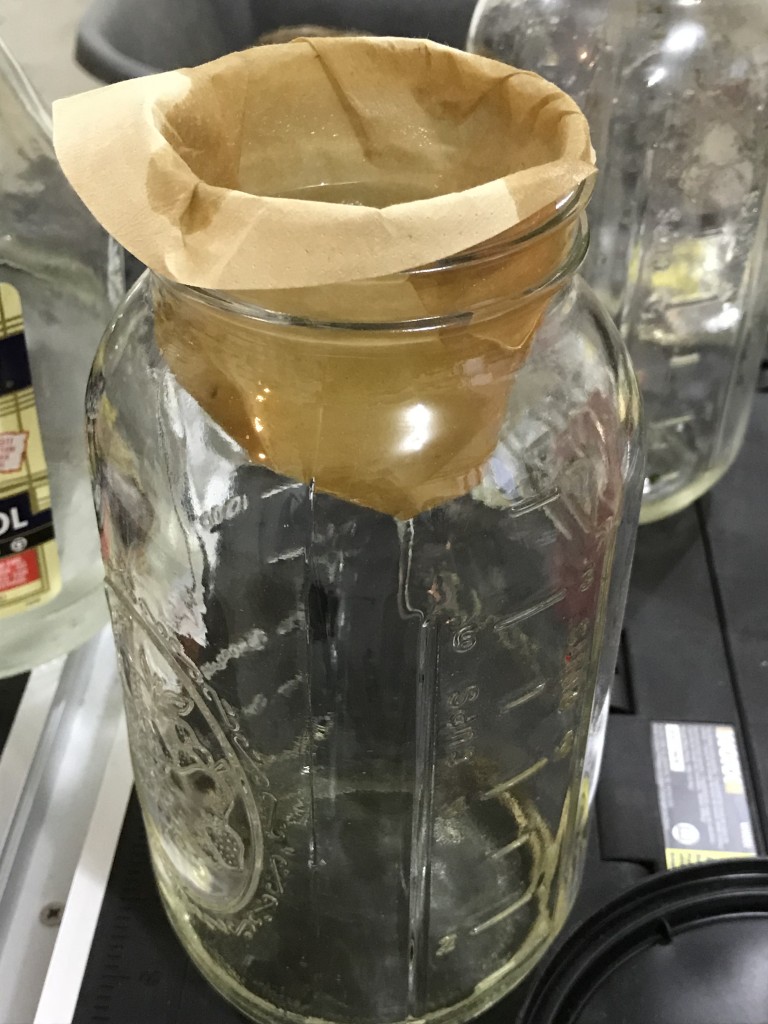
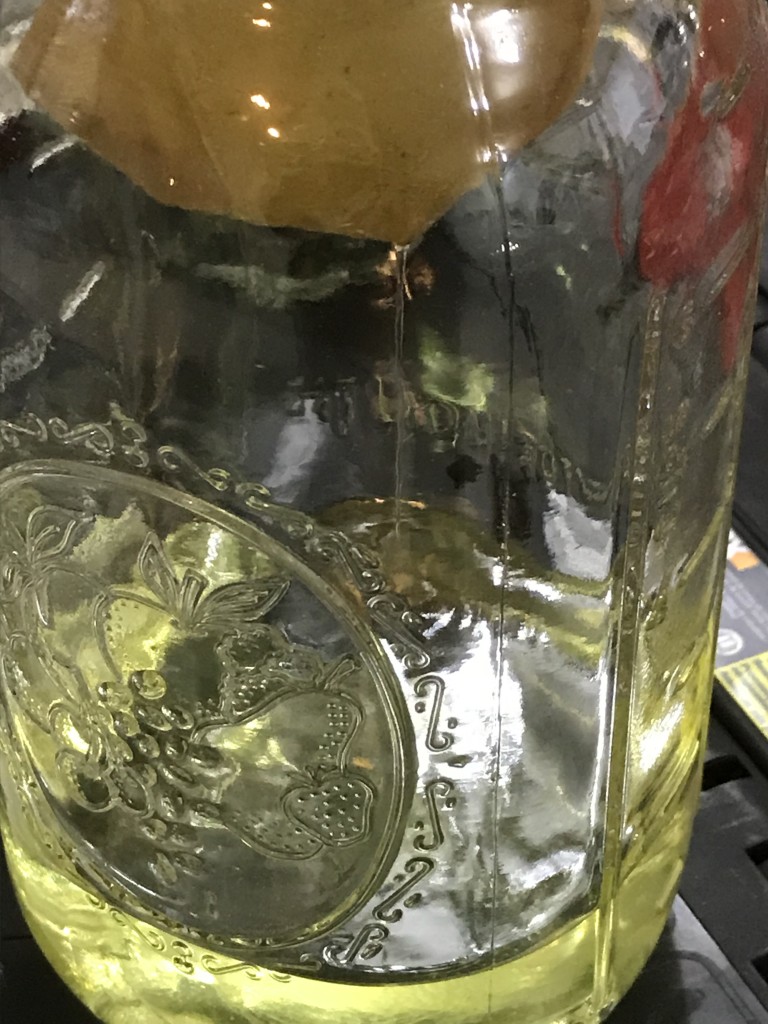
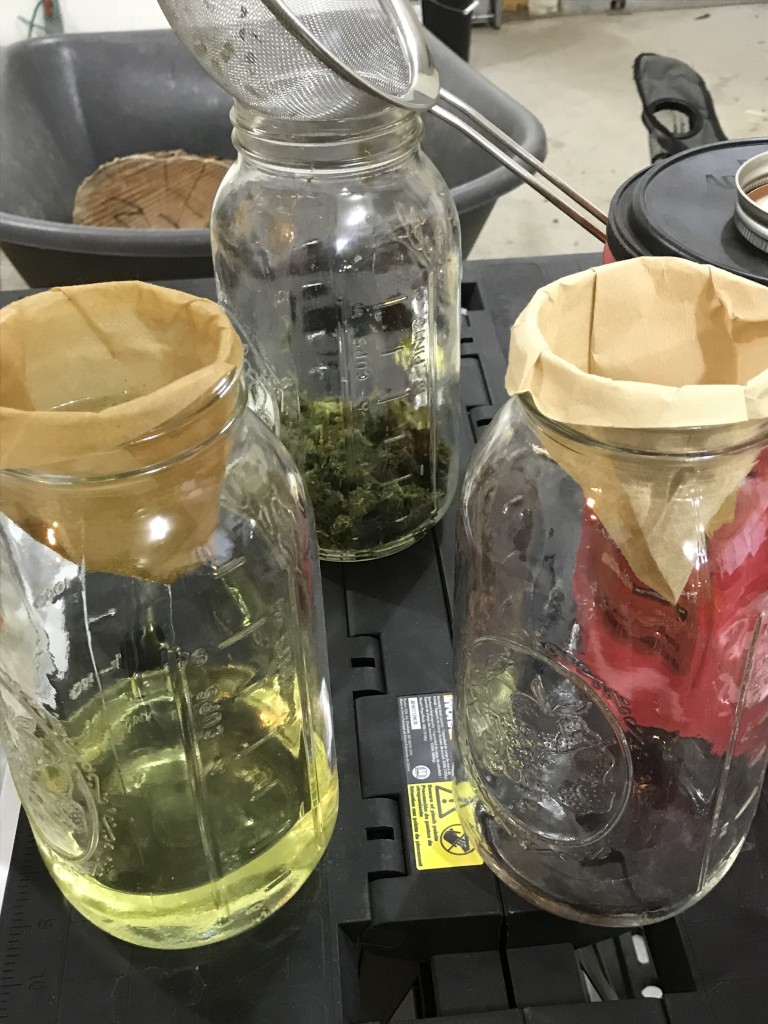
It takes a little while to complete, but be patient. I don’t squeeze the living shit out of filters either. When it’s filtered it’s filtered. No need to dick with it. I will tap on the filter at times if it seems to slow down too much. Remember the idea is to capture the best!
The mixture will look slightly different from strain to strain, whether it fresh frozen, bud or trim, and naturally how well the plant was grown, and when it was harvested. The main thing I look for is a very light golden yellow. A good piss color...
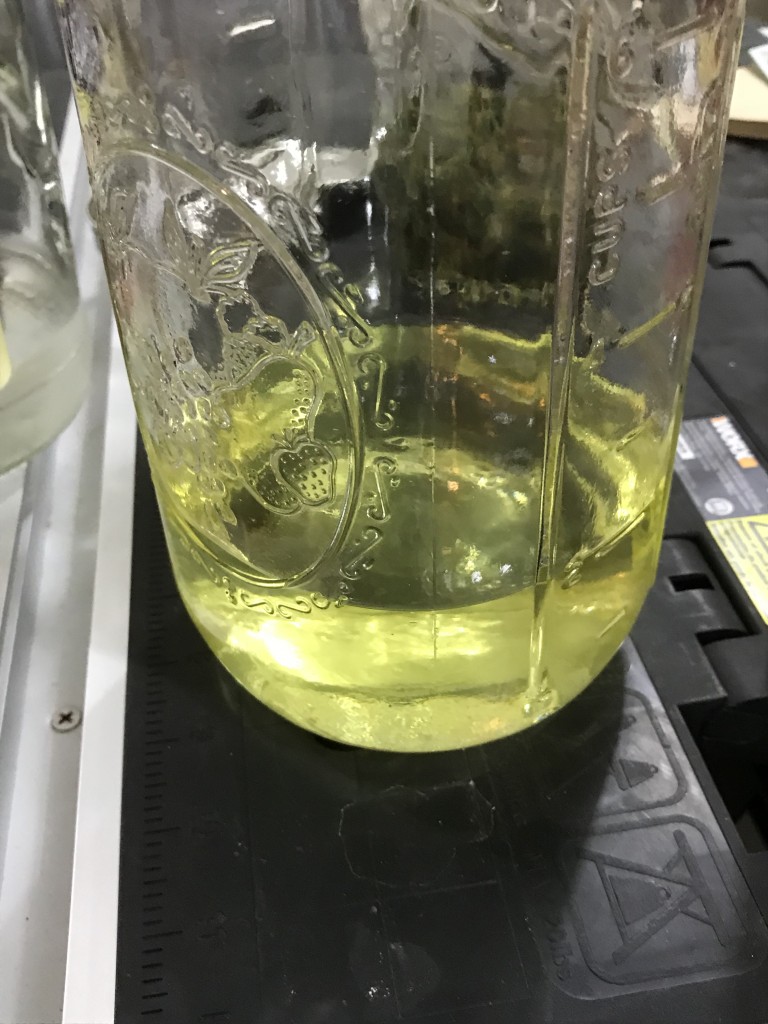
Next, it’s time to help evaporate off the alcohol with the diy double boiler. This is where it can be dangerous. The evaporation process will make dangerous fumes. No smoking! Keep your area ventilated.
I pour the mix into the Pyrex and place it in the cake pan with hot water. I keep the griddle heat at a medium to medium-low heat (on my griddle, 1 is low and 8 is full high. I keep it at about 3.5-4).
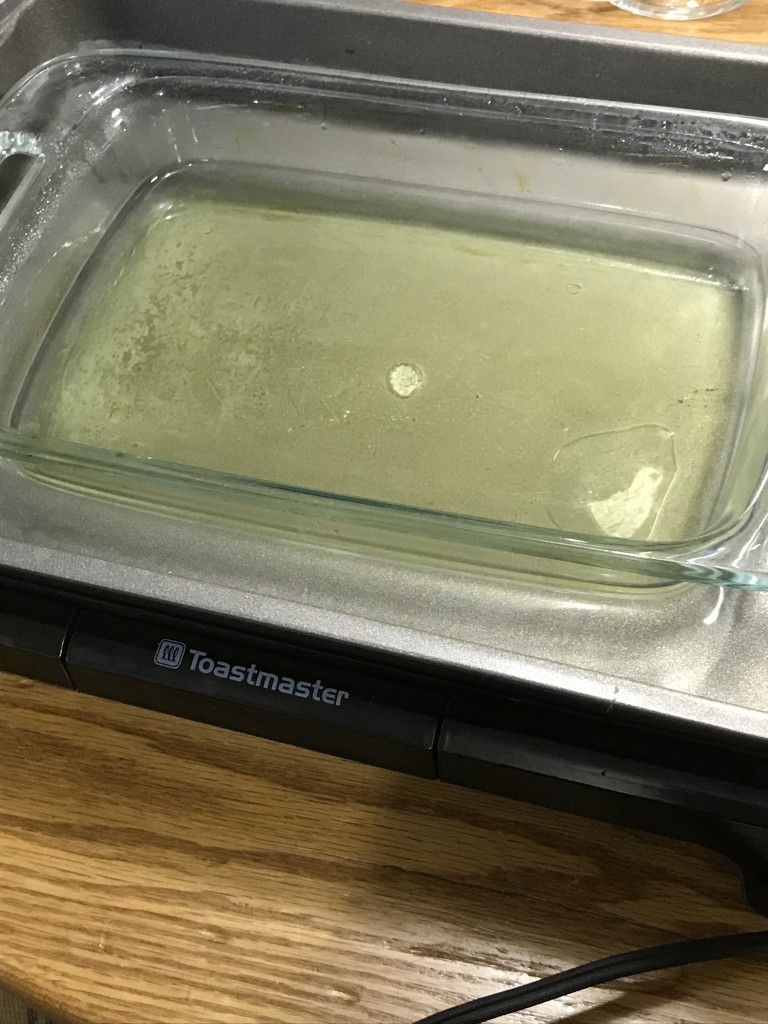
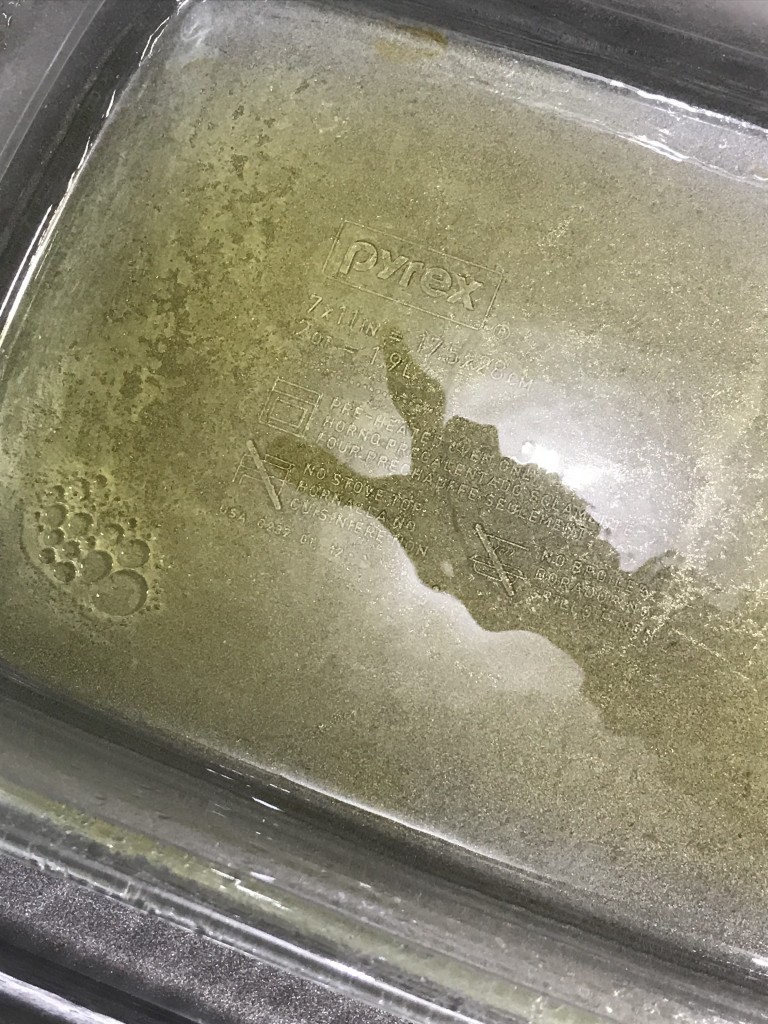
At that heat, it takes about 1.5 hours to cook off most of the alcohol. Alcohol will boil faster than water so we are looking for that sweet spot—not boiling but hot enough to evaporate. In my experience, keeping the temps of the mixture below 140F is the best. The slower the better to keep as many terpines as possible. Trust me, you’ll thank me later.
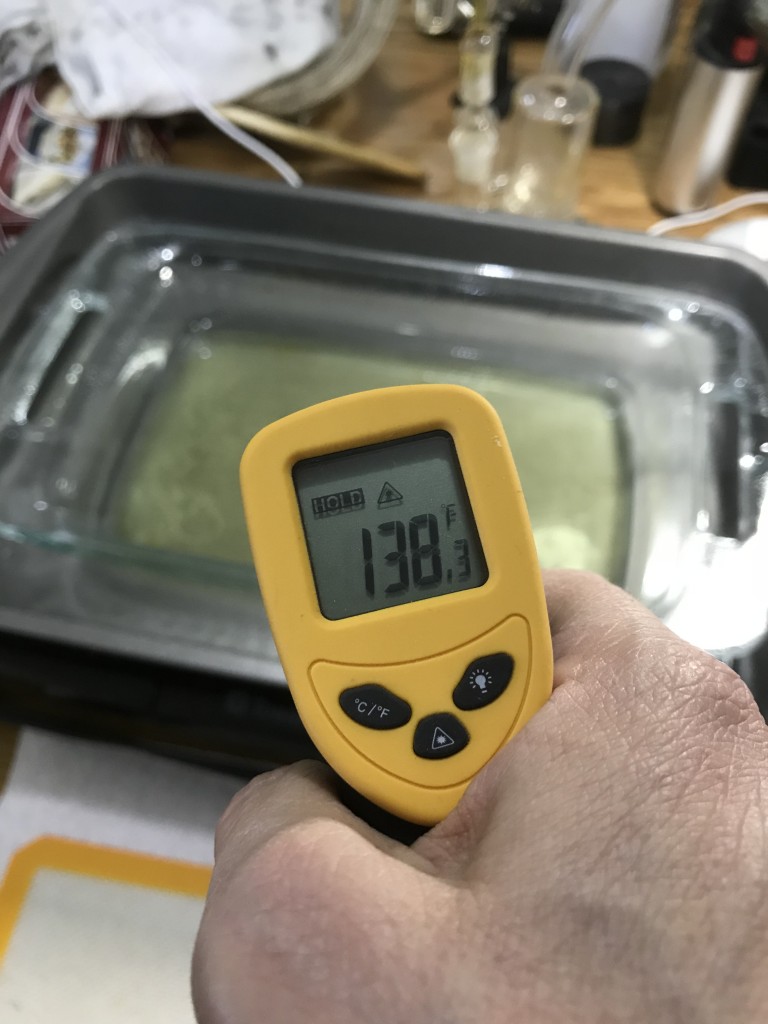
You will be able to see as the mixture is rendered down to the goodness. I use razor blades to scrape and collect onto a silicone pad. It takes awhile and is very sticky, but so satisfying. At least to me.
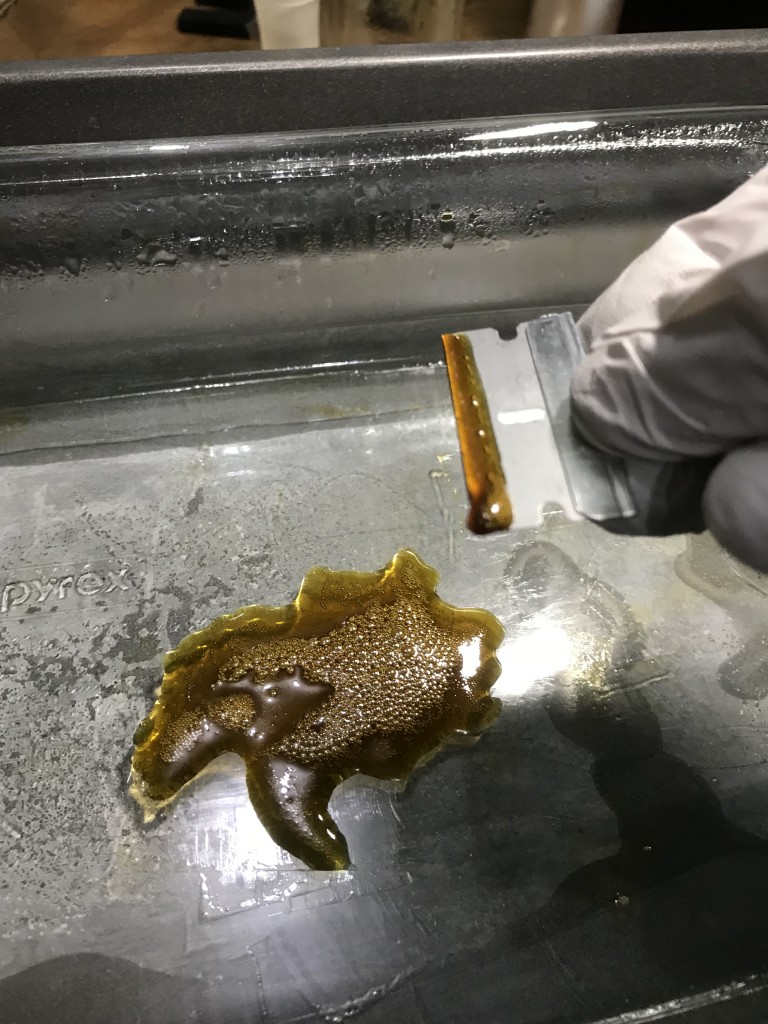
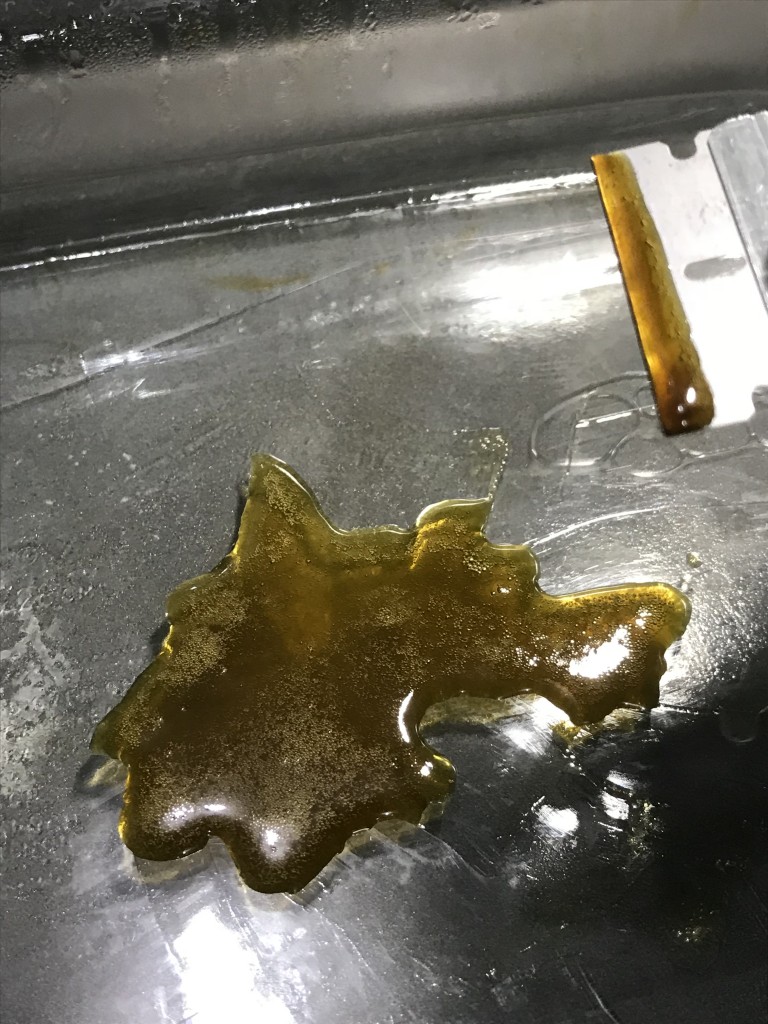
Once it’s all collected, I sandwich it between two silicone pads and place the pads on the warm Pyrex to help smash it flat.
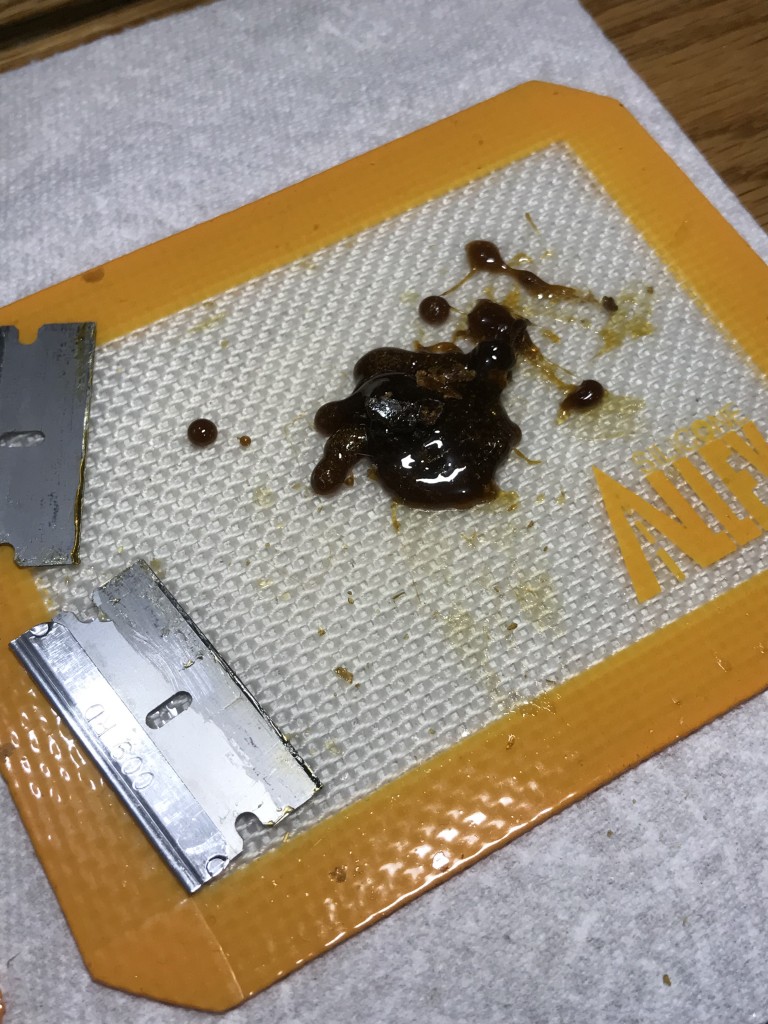
Then, it goes directly into the freezer while I clean up my stuff and put everything away. Here’s what it looks like coming right out of the freezer.
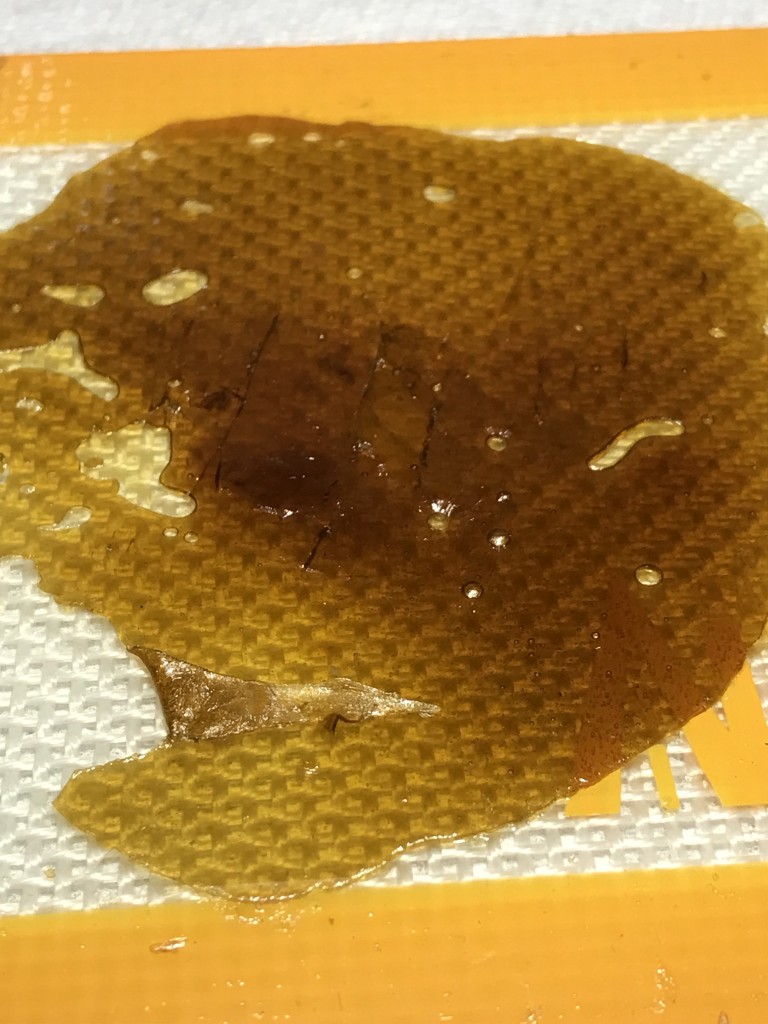
Normally, I’ll let it sit in a drawer, at room temperature, for a few days. This allows for more alcohol to be evaporated, if there’s any left, while also making it more stable. In just a short time it will be stable enough to pickup and handle. This is what it looks like after 8 hours:
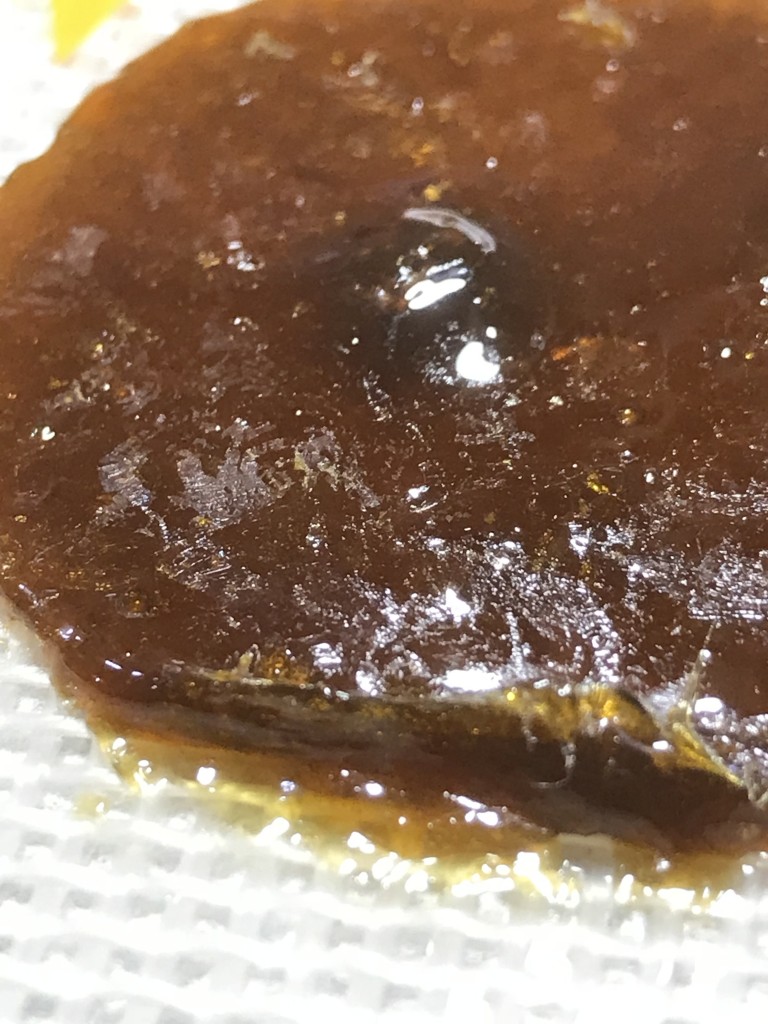
I wish we had smellavision! There’s a strong pepper and spice smell with a hint of pine and a fruit that I can’t put my finger on. It tastes like a gummy bear on steroids...
It can be dabbed immediately, and I do it all the time. It’s just better if you let it “cure,” for lack of a better word, for a few days. In this particular case, I’m going to use it for making canna coconut oil capsules... I’ll post those pictures here...as soon as it gets done.
Well, that’s Grandpa’s Everclear shatter tutorial. I hope you enjoyed it. Remember, SAFETY FIRST! Peace out!
Cheers!
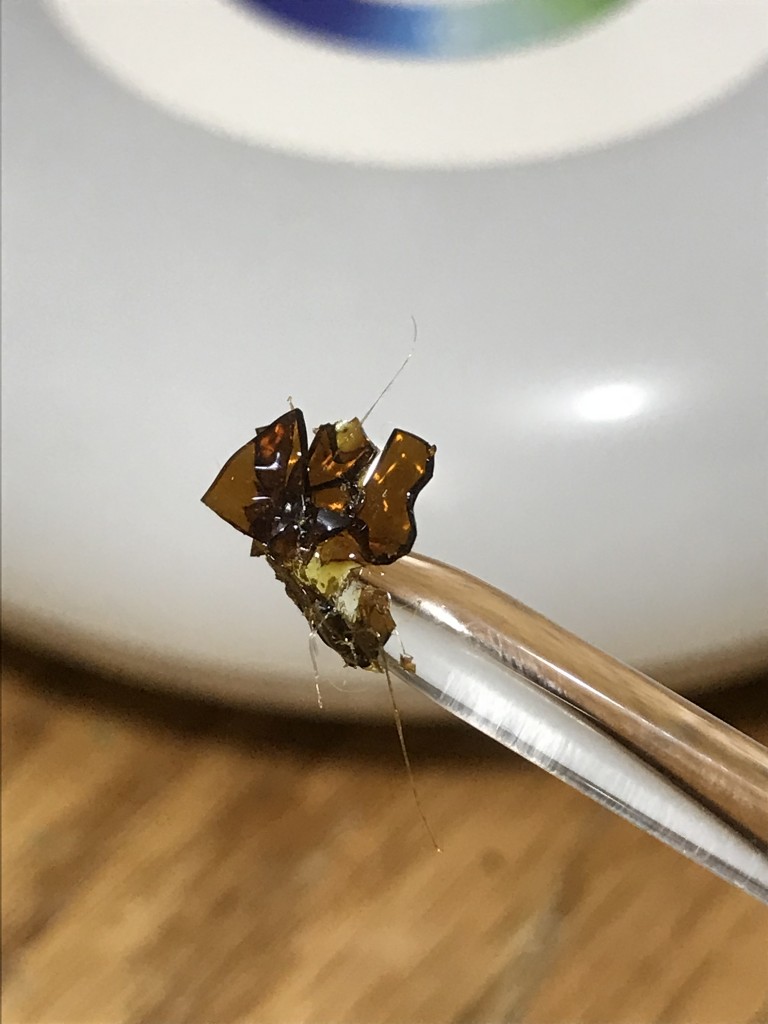
Edit: More safety tips.
1. Razor blades are very sharp.
2. Please be cautious and don’t run with scissors.
3. Wrap that rascal!


And I would be the one to blow myself up ( don't worry I'm all the blameHello everyone! Grandpa’s making some killer oils and I want to share the process I go through. The goal with this particular batch is to get the best I can from the material I’m using. I’m in search of trichome heads and as little green (Chlorophyll) as possible.
We want the Everclear to do its job and extract the best of the best. For the first batch, this means no shaking and just swirling the material slightly in the alcohol. This will extract more THC, terps, and goodies the plant has to offer.
With that in mind, let’s make some shatter!
*Warning! This process is extremely dangerous if you don’t take care. I am doing this in a large shop with 12 foot ceilings. I make sure there is adequate cross ventilation by keeping a window and a door open to the outside, and a small fan blowing to help circulate to the outside. This is key to not blowing your ass up! You must also ensure there are no open flames...PERIOD! Alcohol fumes are extremely volatile. Be careful damn it! I will not be responsible for you blowing your house up.
Here’s a list of the components that will be used with current US dollar prices at Amazon:
1. I use this griddle, but there are other less expensive options, $30.94: Toastmaster TM-201GR Griddle, 10 x 20", Black
2. Pyrex dish, $11.09: Pyrex Basics 3 Quart Glass Oblong Baking Dish, Clear 8.9 Inch X 13.2 Inch - 3 Qt
3. Cake pan, I don’t know where I got mine, but this will do, $13.99: Wilton Recipe Right Non-Stick Biscuit and Brownie Pan, 11 in. x 7 in. (2-Pack)

4. Stainless strainer, $8.99: CHICHIC Set of 3 Stainless Steel Kitchen Fine Strainers Tea Fine Y Mesh Strainers Juice Egg Filter 3 Sieve Colander Sets Wire Filter Mesh for Tea Coffee Food Rice Vegetable with Handle
5. Large mason jars. I use these because they are on-hand, I usually buy these at Walmart, $6.00: 1 Ball 64oz Wide Mouth Half Gallon Mason Jar

6. Unbleached cone coffee filters, the #4s fit the wide mouth mason jars well, $3.99: Melitta No. 4 Cone Coffee Filters, Natural Brown, 100 Count

7. Silicon pad, $11.00: Oil Slick Duo Platinum Cured Medical Grade Silicone Pads, Set of 2, 3.25x4.5" Pads
8. Razor blades.
9. Gloves. It’s sticky-icky!
Please shop around. You can probably find everything cheaper!
The first things I do is gather all my materials. I put the cake pan on the griddle, and put hot water in the cake pan. This is the beginning of a diy double boiler. I turn on the griddle to keep the water hot.
After that I gather the weed, alcohol, mason jars, and filters to begin the process. Today I’m using some fresh frozen bud from my last harvest. The strain is called Amherst Sour Diesel and the seed came from Humbolt.

I then put the material in a mason jar and cover the weed with the Everclear:


I put the lid on the mason jar and let the alcohol and weed just sit for about 15-30 seconds. Then, I slowly swirl (not shaking; remember, we are going for the best of the best here) for another 20-30 seconds.
The jar then gets dumped into my stainless strainer. I sit the strainer over a plastic Folgers Coffee container to capture the goodness (naturally it’s been cleaned beforehand and there’s no coffee in it).

Then starts the most annoying part for me and that’s filtering. I simply pour the mixture from the Folgers coffee container threw a coffee filter that’s sitting in the mason jar. I completely filter the mixture at least 2 times, depending on what it looks like. Sometimes I’ll filter 3 times.


It takes a little while to complete, but be patient. I don’t squeeze the living shit out of filters either. When it’s filtered it’s filtered. No need to dick with it. I will tap on the filter at times if it seems to slow down too much. Remember the idea is to capture the best!
The mixture will look slightly different from strain to strain, whether it fresh frozen, bud or trim, and naturally how well the plant was grown, and when it was harvested. The main thing I look for is a very light golden yellow. A good piss color...

Next, it’s time to help evaporate off the alcohol with the diy double boiler. This is where it can be dangerous. The evaporation process will make dangerous fumes. No smoking! Keep your area ventilated.
I pour the mix into the Pyrex and place it in the cake pan with hot water. I keep the griddle heat at a medium to medium-low heat (on my griddle, 1 is low and 8 is full high. I keep it at about 3.5-4).


At that heat, it takes about 1.5 hours to cook off most of the alcohol. Alcohol will boil faster than water so we are looking for that sweet spot—not boiling but hot enough to evaporate. In my experience, keeping the temps of the mixture below 140F is the best. The slower the better to keep as many terpines as possible. Trust me, you’ll thank me later.

You will be able to see as the mixture is rendered down to the goodness. I use razor blades to scrape and collect onto a silicone pad. It takes awhile and is very sticky, but so satisfying. At least to me.


Once it’s all collected, I sandwich it between two silicone pads and place the pads on the warm Pyrex to help smash it flat.

Then, it goes directly into the freezer while I clean up my stuff and put everything away. Here’s what it looks like coming right out of the freezer.

Normally, I’ll let it sit in a drawer, at room temperature, for a few days. This allows for more alcohol to be evaporated, if there’s any left, while also making it more stable. In just a short time it will be stable enough to pickup and handle. This is what it looks like after 8 hours:

I wish we had smellavision! There’s a strong pepper and spice smell with a hint of pine and a fruit that I can’t put my finger on. It tastes like a gummy bear on steroids...
It can be dabbed immediately, and I do it all the time. It’s just better if you let it “cure,” for lack of a better word, for a few days. In this particular case, I’m going to use it for making canna coconut oil capsules... I’ll post those pictures here...as soon as it gets done.
Well, that’s Grandpa’s Everclear shatter tutorial. I hope you enjoyed it. Remember, SAFETY FIRST! Peace out!
Cheers!

Edit: More safety tips.
1. Razor blades are very sharp.
2. Please be cautious and don’t run with scissors.
3. Wrap that rascal!
 )
)
Grandpa's not hear anymore (at least not for a year), but never ever evaporate ethanol indoors without excellent ventilation and not a single source of ignition nearby, or flames will abound!And I would be the one to blow myself up ( don't worry I'm all the blame)
BUT...
the video I saw the gal was talking about small amounts like 1 ounce.. which would get back 3 to 4 g and the way she did it, she had a double boiler with a that small amount and she didn't mention fumes, I didn't see fumes.
She did it right in her kitchen
and that's what I got excited about ,
so after reading all this now which is very informative and in-depth and very much appreciated
I'm thinking what now? I guess that's a rhetorical question for me to try to answer but really
Is it, the more flower you use, it would be more stinky ?
or just stinky in general because of the Everclear. Thank you.
So basically in an apartment even with the slowest burn in double boiler , it's a given NO?Grandpa's not hear anymore (at least not for a year), but never ever evaporate ethanol indoors without excellent ventilation and not a single source of ignition nearby, or flames will abound!
I would say the less flower the less stinky, but the evaporating expensive Everclear is odorless until most of it is gone. Then you would be getting more concentrated terpenes in what's coming out of the pan.

 jk but I'm frustrated cuz , where I HAVE TO live, and what i need to mix
100% NO with a flame. With an induction stove, every window and door in the apartment open, and the exhaust fan over the stove venting to the outside? Your call.So basically in an apartment even with the slowest burn in double boiler , it's a given NO?

