andIhalped
Well-Known Member
DIY = DIY !For the calcium I would think you just don't burn the shells, for the Potassium add wood ash
How To Use Progressive Web App aka PWA On 420 Magazine Forum
Note: This feature may not be available in some browsers.
DIY = DIY !For the calcium I would think you just don't burn the shells, for the Potassium add wood ash
I dunno.I made a batch of this yesterday. I only had 4 eggs so went with a smaller amount. I never realized that molasses have a lot of magnesium, maybe that's a part of why they function well as a fertilizer? Also, if anyone could explain (like I'm five) what is the chemical reaction happening in this particular operation I would be very interested ( I smoked a joint yesterday before I started roasting the egg shells and I had some crazy theories pop up in my head about what was happening there, but yeah I was just stoned
).
you guys keep blowing my mind. So greatfulllThis is an awesome product to use during the changeover period from growing to flowering/fruiting on all of your plants. For most of us, by using molasses we are able to get the magnesium that our plants need, but for our calcium needs, most of us have to fall back on a commercial product, and we end up buying one of the many versions of calmag supplement that are available. Because of a lock on the market by being the only source of an important nutrient, prices for this supplement, especially organic versions, are way overpriced.
I am going to show you how to make a superior calcium supplement that is cheap, easy to make and definitely cheaper than the commercial versions. By using organic materials, not only can calcium and magnesium be easily supplied, but also phosphorus, potassium and natural enzymes, making our homemade supplement just as "plus" as calmag+.
Any bones, sea shells, oysters, clam shells or egg shells can be used. Being severely landlocked in the midwest, I chose to use eggshells to create my calcium phosphate.
First collect about a dozen eggs and wash each egg out after use to get rid of the filaments and protein inside. I washed mine out and sat them on the windowsill for a couple of days to dry out, and then using my hands crumbled them up into a bowl.
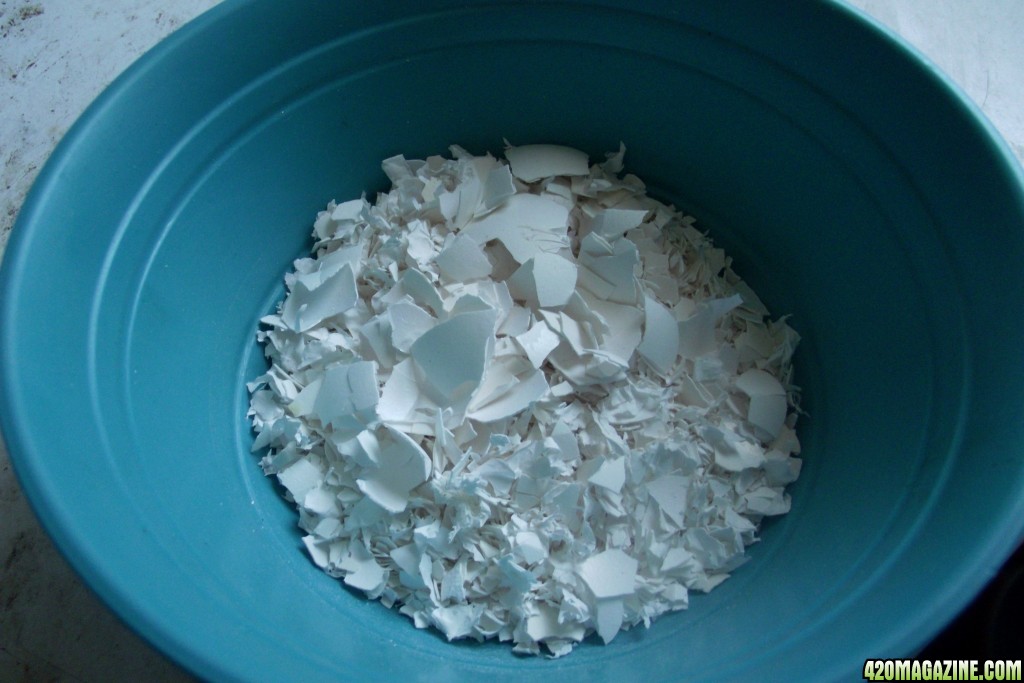
The next step is to pan fry the egg shells to the point that most of them are brown or even black, and there are just a few white ones left. Heat changes the shells, and the white ones will be your phosphorus source and the burned ones will be the calcium.
Here they are just starting to turn
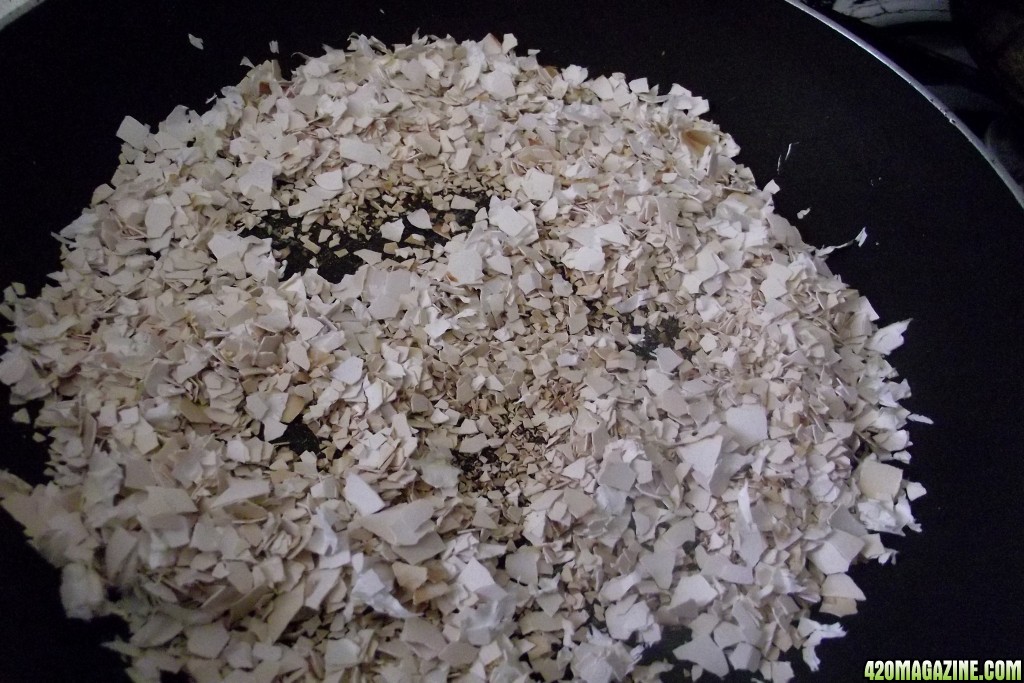
And here we have the eggshells burned just right.
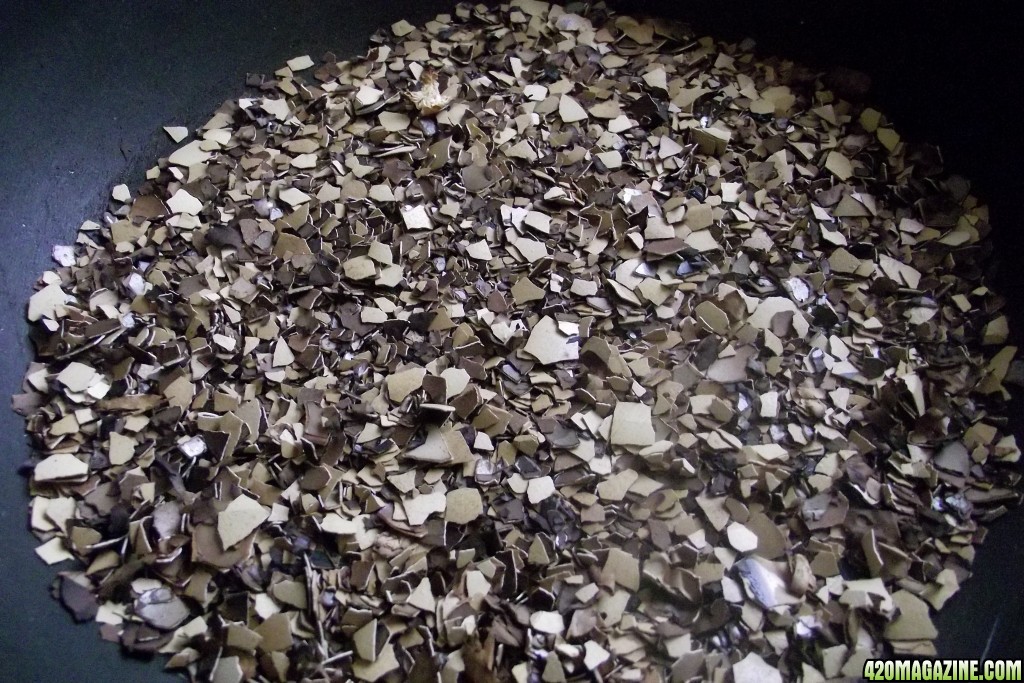
Next we put the cooked shells into a coffee grinder or in some other way grind them up into a powder.
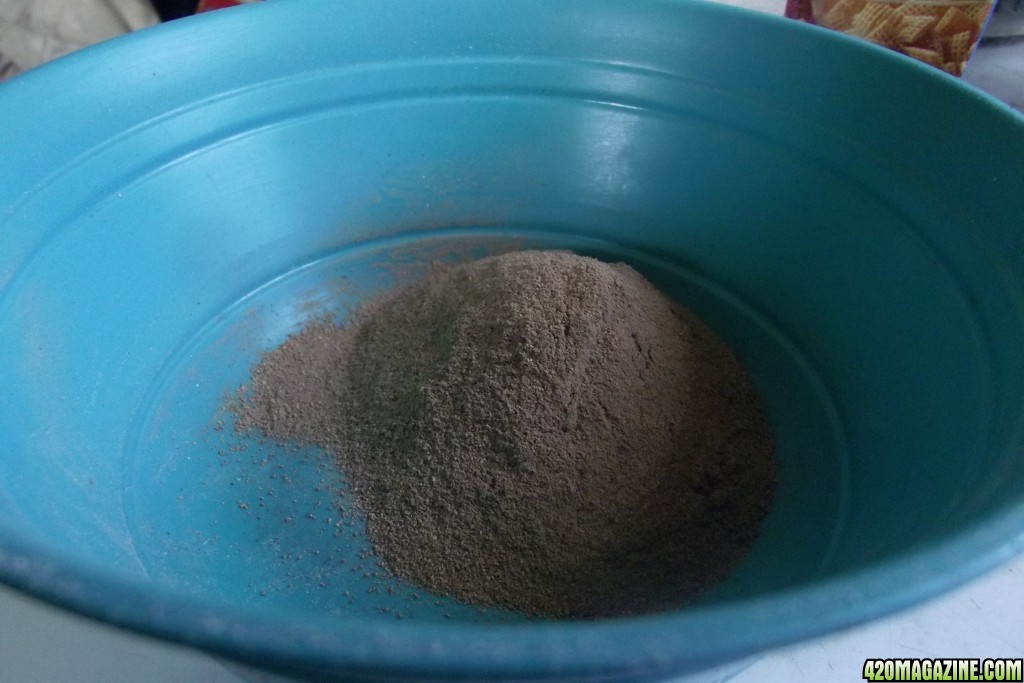
Next, add 5 parts vinegar to the pile of powdered eggshells. I used an organic organic apple cider vinegar in order to capture its natural goodness too. This step will fizz up quite dramatically, depending on how well you ground up the egg shells, and I suggest doing this in your kitchen sink. The vinegar is going to eat the egg shells, and it will fizz for a while.
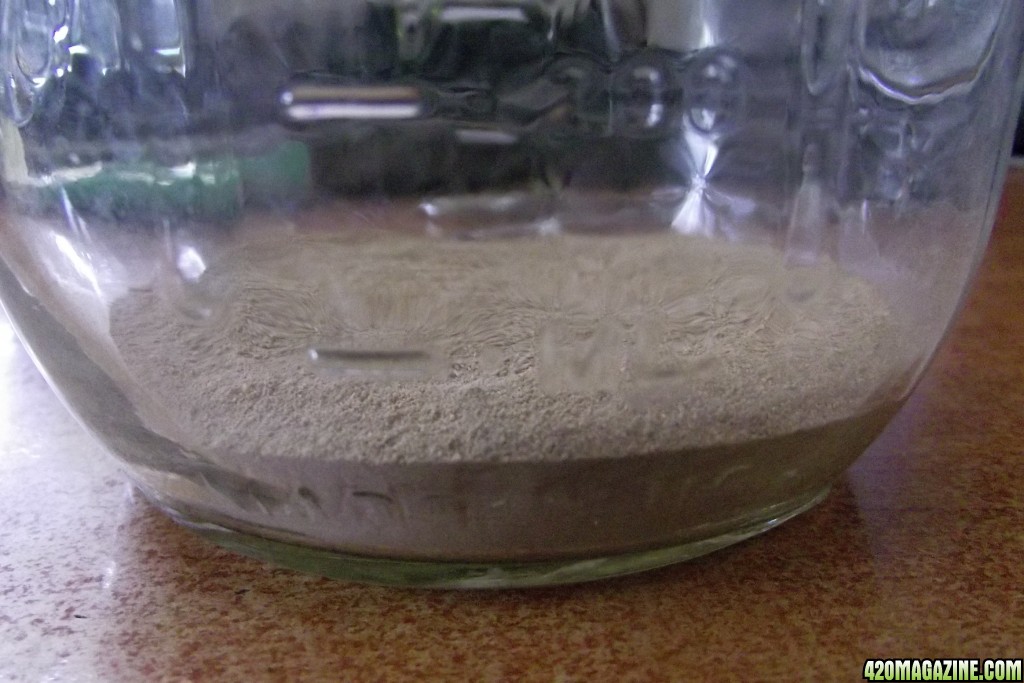
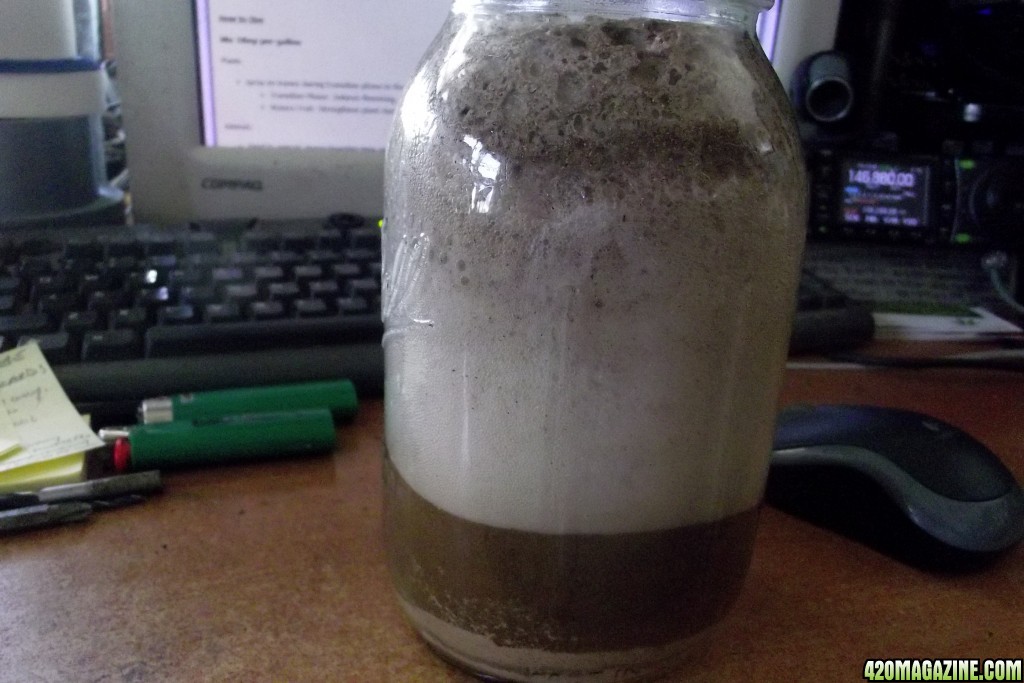
After about half a day, the fizzing should mostly stop. Seal the jar up and let this ferment for 20 days. Filter into another jar, and you have homemade calcium phosphate. Use it by adding 1 tablespoon per gallon of water. Add 1 tablespoon of molasses to the gallon and you will have with the combination the equivalent of using calmag+ at the recommended dosages.
I spent $18 on my last quart of organic calmag. My homemade product costs pennies per gallon to produce. Guess what I will be using from now on?
is it going to smell bad?you guys keep blowing my mind. So greatfulll
the egg shells smelled like burnt hair but it's no big dealThe eggshell vinegar mix? Smells like vinegar!

My pleasure... glad you found it.This is incredible , thank you


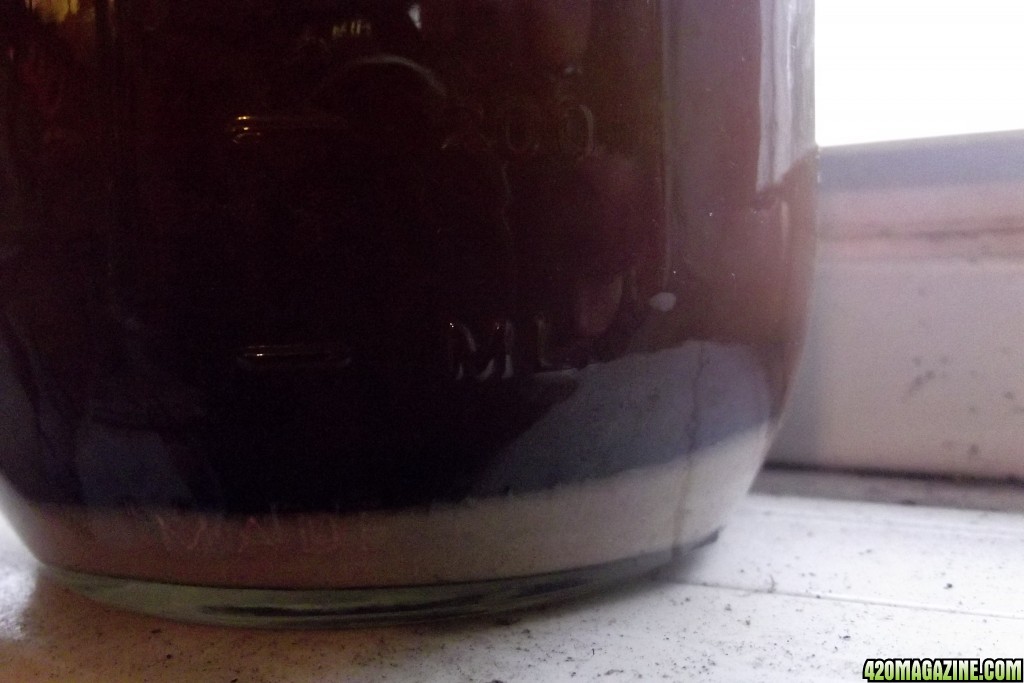
Do you seal tight, or leave open a bit for gas to escape?Here we are 10 days into the fermentation. You can see two clear layers of calcium and phosphorus settling out and over time getting smaller and smaller as more ferments into the solution. I am coming along about once a day and shaking the jar real well, and I have noted that all of the pressure seems to be gone now, even after shaking. This one is easy to maintain and keep going... it just takes a while. Looking at the layers of sediment, I have resolved to use twice as much vinegar next time with my dozen eggshells.
Ten more days to go!

I seal loosely and burp as needed.Do you seal tight, or leave open a bit for gas to escape?
I used the 1/8 recipe and followed it exactly. This was 6 years ago and everything was bought online on A***** and ran just about $120 for everything I needed. Here, several years later, I still have at least most of the original components in sufficient quantities that I could probably build another batch today for about half that cost. I used a combination of used FoxFarm Ocean Forest and some new Roots Organic 101 as my base soil.Hey @Emilya I wanted to do a smaller batch of the SubCool super soil mix , can you tell me roughly how much your initial cost was on the amount you put together, I’m just trying to feel it out. Any help would be great, I’m just trying to find some local places to see if I can find a small farm doing all organic stuff, what did you use for your base soil ?? And did you follow it exactly ?
Anyway thanks for your time and have a wonderful day


Thanks for your reply...loving your profile, there's sI seal loosely and burp as needed.
Thanks for your reply...loving your page, there's some really great stuff on there.I seal loosely and burp as needed.

 I'm making another batch ( I used the first batch mostly on my tomatoes and they look great so far!), and after reviewing the procedure I realized that the molasses is added to the gallon of diluted mixture. I didn't do this with the first batch. I just added a tablespoon of molasses to the concentrate - which I now realize probably wasn't enough.

