Monsignor
New Member
Okay folks,
Bear with me. This is my first grow and first journal on here.
A little background...
I decided to do some research to find a highly desirable strain that would do well indoors and have potentially large yield with easy to moderate difficulty. Originally I wanted to try my hand at a SoG setup with "Shipwreck" and chose to purchase through a Canadian company that was a fraud. $250 down the drain and a hard lesson learned quickly. The website was very well put together and they seemed legitimate (I have no way of knowing what is and what isn't legitimate at this point). My second choice was Blue Dream (BD) and happened to have a close friend who is in the know coming to Michigan from Denver. I asked if he could help me out and two days later I had seven BD seeds gifted to me.
I built a nice grow room in my current house and intended to do my full operation there but as I was nearing completion with the room I decided that it was time to sell the house... Prior to making this decision I had germinated the seeds and had the seedlings growing in Styrofoam cups. The room took longer to build than I thought it would so I had to keep them in that stage for longer than anticipated and eventually had to make a makeshift grow room elsewhere that isn't nearly as nice but will do.
Feel free to follow along as I break this grow down into several stages. I am always open to advice and have many questions. I intend on growing fully organic for all future grows but this time I was gifted nutrients (nutes) and didn't have the cash at the time so that's what we're doing. I would have been curious to see the difference in person anyway so I may as well find out from the beginning. Here is the breakdown of my setup:
Strain: Blue Dream
Sativa/Indica: 60%/40%
Organic: No
Germination: Seed Between Wet Paper Towel Between Two Plates
Origin: Denver from Unknown Source
Substrate: ProMix BX
Bucket Size: 4 gallon fabric
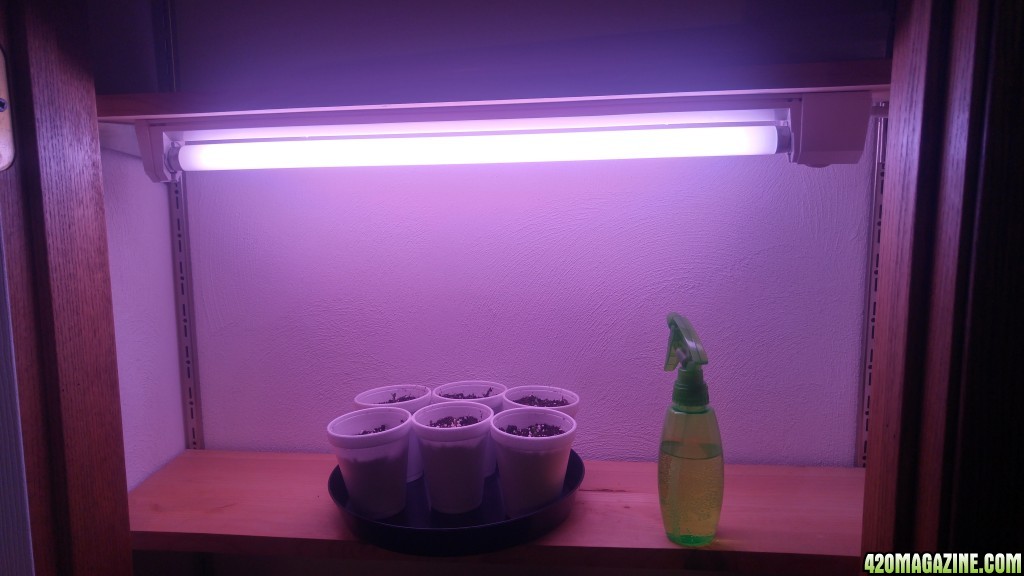
Seedling Light: Meijer 16" Florescent Grow Light
Lighting Veg: 1000 watt MH
Lighting Flower: 1000 watt HPS
Cooling: Air
Seedling Nutrients:SUPERthrive and Organic Molasses
Veg Nutrients: General Hydroponics FloraDuo Part-A and Organic Molasses
Flower Nutrients: General Hydroponics FloraDuo Part-B and Organic Molassess
Germination: 8/15/2016
I placed the seeds between two wet paper towels on a plate. I filled the plate with enough water to stand and then dumped off the excess. I added water in this manner until they were ready to place into soil. It took three days for five of the seven to be ready.
I filled three paper cups with ProMix BX after I poked a few holes into the bottom of the cup. I chose to use Styrofoam because I figured it would allow me to peel the cup away without damaging the baby roots and it worked like a charm when I finally transplanted.
After a couple of days I remembered that I had forgotten the other two seeds in the cupboard. Upon inspection I found one with a really long tap root and one that would never end up germinating. I carefully poked my hole in the ProMix with a skewer as I had done with the others and sent it in, gently, root first.
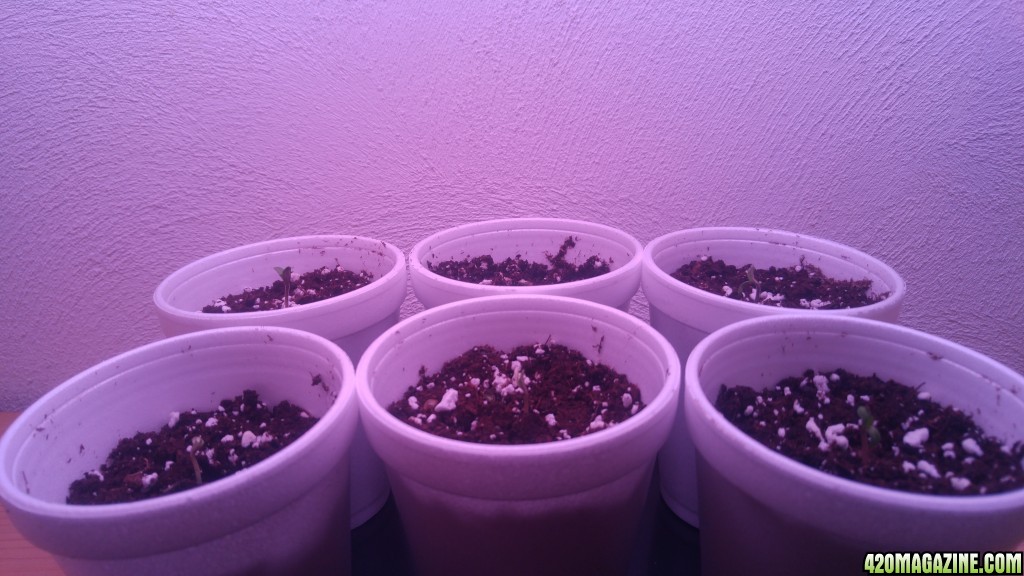
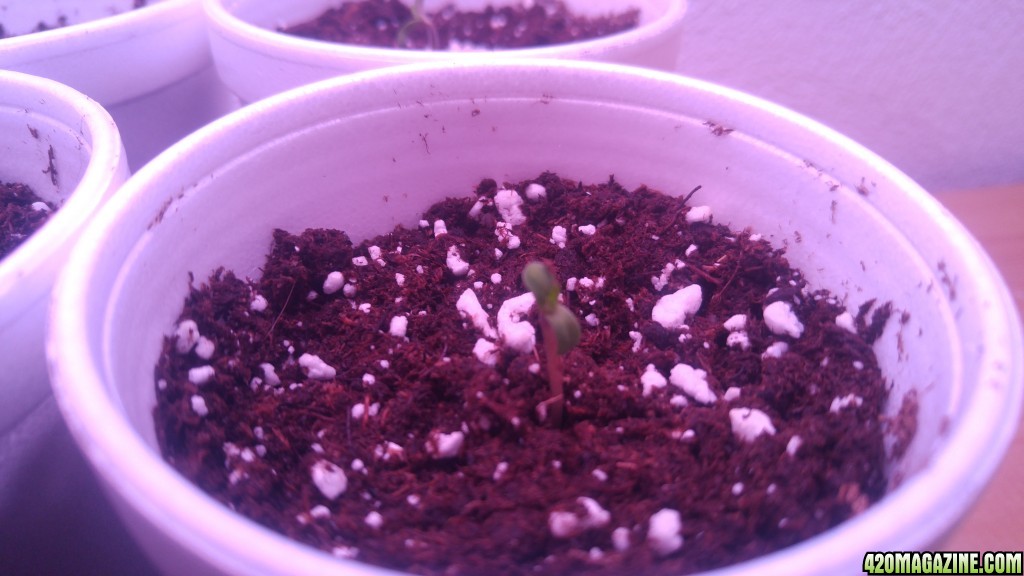
A few days later I was delighted to see my little babies poking through the dirt... All but one. One of them was missing, the one that I had left in the paper towel to long. The next day I got antsy and gently dug it out. It was nearly at the bottom of the cup and had started growing it's first leaves under the soil. I raised her above the surface so she was proud to the same height as the rest. By 8/22/2016 they were all the same height and looking good:
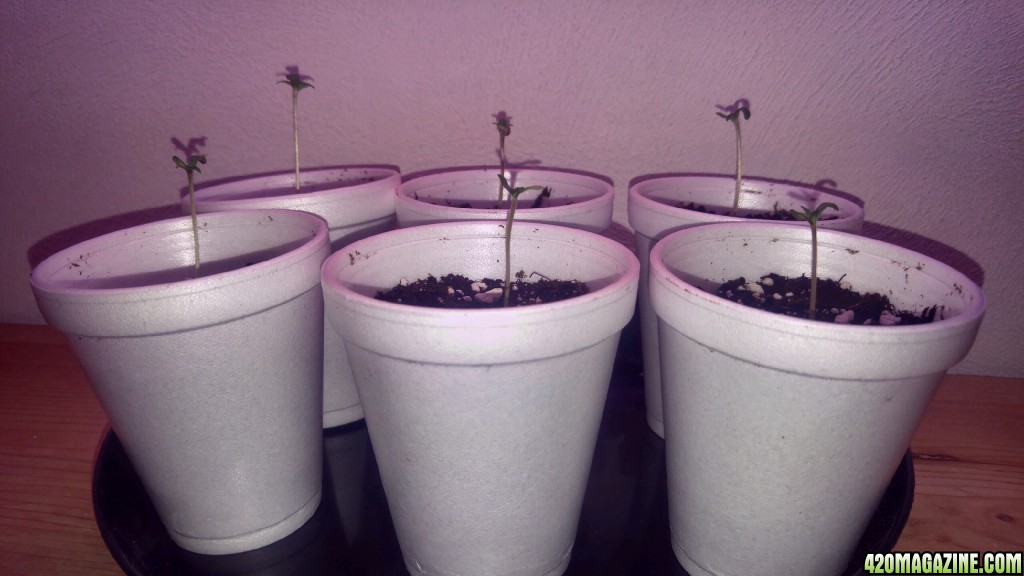
It didn't take very long and I started to notice that there was a little issue with one of my weedlings and I bet you can guess which one it was...
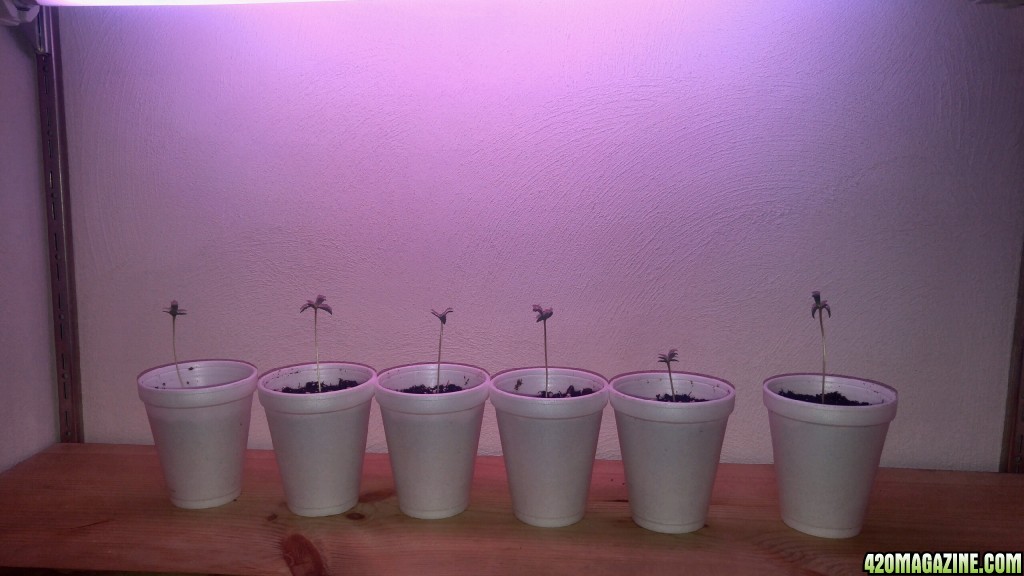
One of these babies aren't like the other ones! Somehow my attempt to save the life of Junior turned out to backfire. I can only assume that this is due to my involvement because the rest turned out to be identical. I guess there is a chance of coincidence but I'm not buying it. Next time I'll wait another week to see if it pops on it's own just for essay's sake.
Stretchy...
I initially had my light about 12 inches above the leaves because I was afraid of burning them. I understand that it could have been within four inches now but hindsight is 20/20. As I was texting back and forth with one of my weed friends he mentioned that the node spacing was too much and I needed to get my light closer. I ajusted accordingly and they seemed to improve (until I topped them right at where they finally started getting close node spacing).
Unfortunately I had to keep them in this state of adolescence for far longer than I intended as I did not finish my grow room nearly as quickly as I thought I would. Upon (structural) completion of my room I decided that it was time to sell the house and buy a sailboat for summer residence. I had to make a makeshift room at my other house that I rent to my brother in his basement furnace and water heater room that I had converted to a tool/work room when I lived there. The furnace created it's own layer of issues regarding lack of humidity that I will address later.
After the second week of being seedlings I mixed up a quarter teaspoon of SUPERthrive and a half teaspoon of molasses and started to feed them once a week with a sprayer and continued watering them as normal once the ProMix became very dry. After a few weeks I started noticing a distinct smell about the ProMix and my nute solition I had made. Upon inspection of the bottle and jug I noticed that it had cultured a mother of bacteria. The mother looked like a wispy cream or white tornado swirling up the middle of the jug when moved. Then it hit me... I put the molasses in the nutes to feed the beneficial bacteria in the ProMix and activate their culture; of course bacteria on the bottle and in the jug would thrive in that environment. At any rate, I dumped it out and from then on only mixed when needed.
These pictures will take you up to transplant:
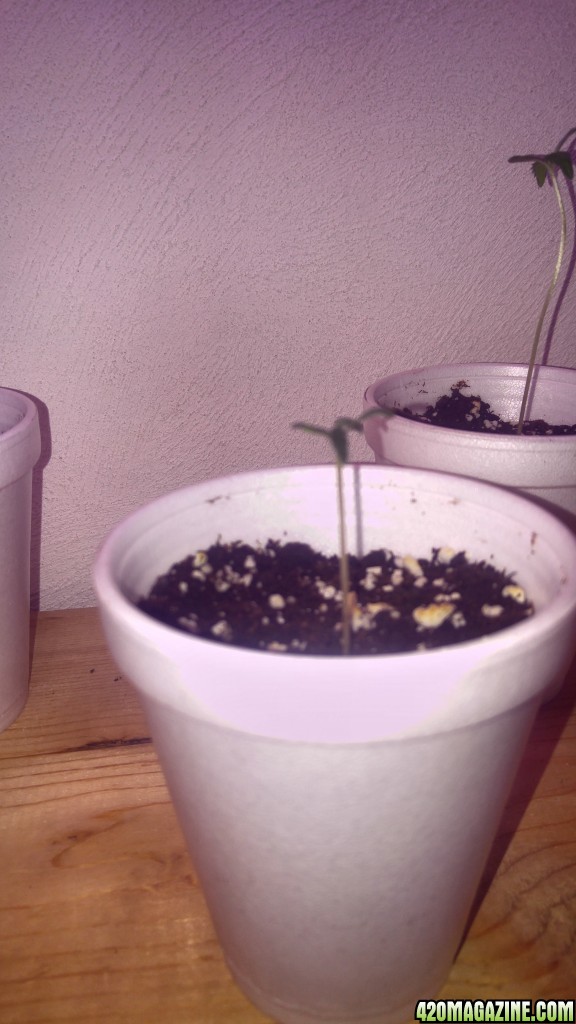
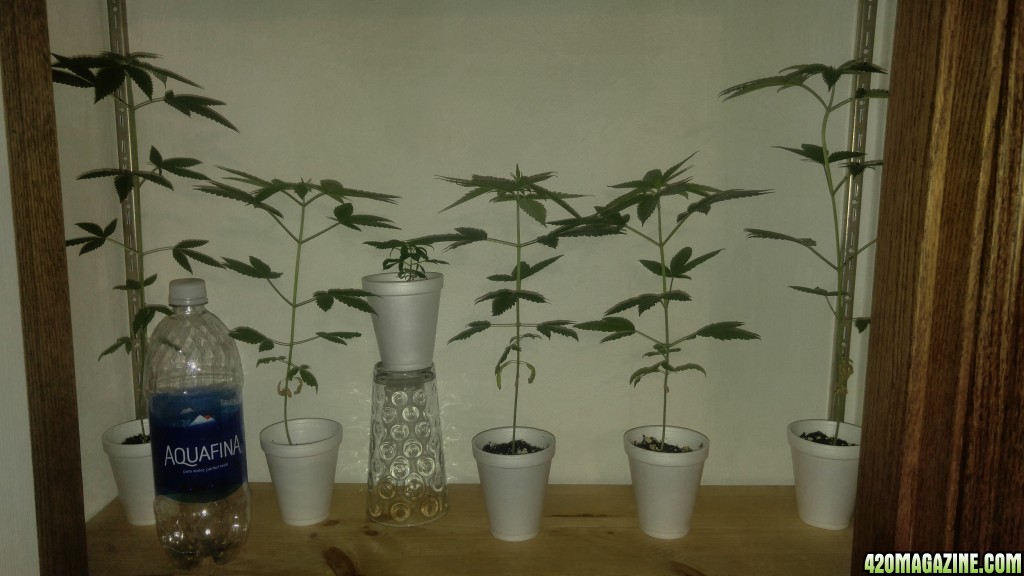
Isn't Junior CUTE!!! ... We were pretty sure those really tall ones were going to end up being male.
Transplant and Grow Room Setup: 10/23/2016
At this point my teens should be quite a bit more than teenagers but as I stated before, I had to lock them into that phase of grow so that I could build a home for them. I decided to transplant, take them to their new home, and build said home all on the same day... Yeah right... I finally got it pretty much how I like it yesterday, 11/2/2016.
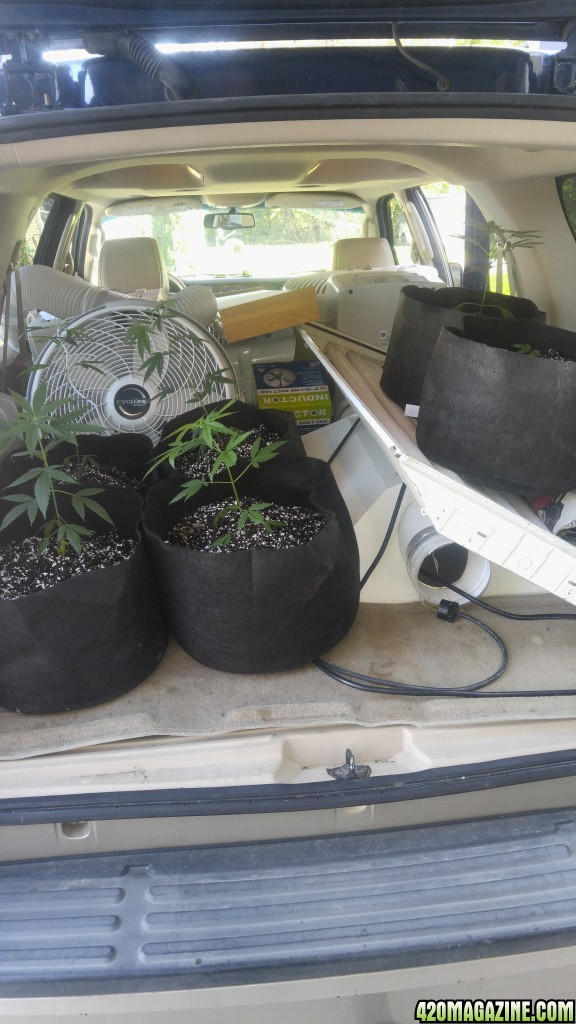
Here is a picture right after I transplanted and gave them their first water in the new fiber pots and loaded them up to go to their new and final home:
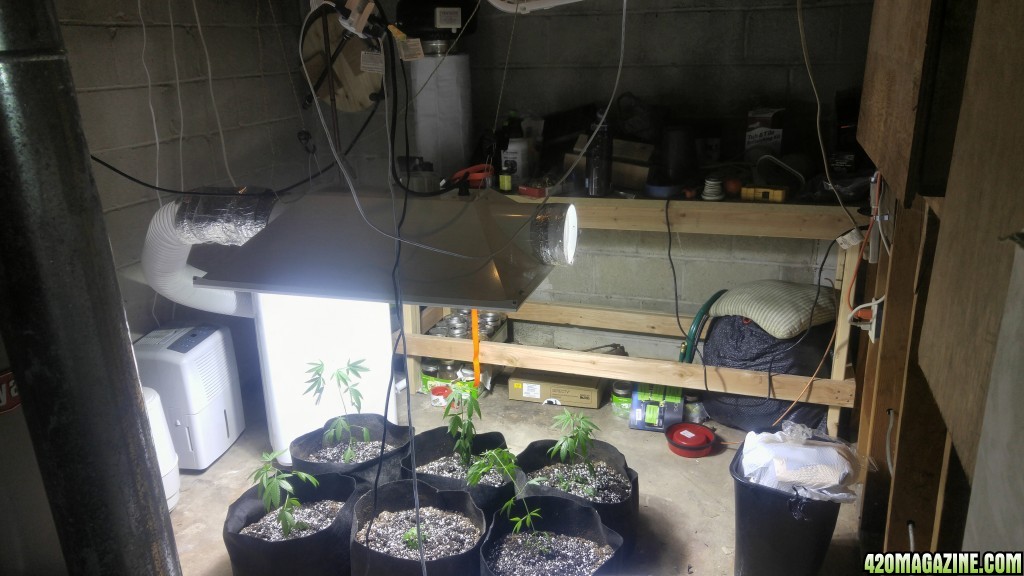
By the end of that Sunday I had gotten to this point in the following photograph. I know there's a lot going on here but I have a 6" carbon filter to scrub the air for smell. The intake for the Air Conditioner comes from the light, cooling it. I have a humidifier and a dehumidifier to allow me to have decent control over the environment.
Problems:
I attempted to put a float valve in the humidifier so that I could automate the filling and found out the hard way that the jug you carry water in is just a loading cartridge and not the basin itself. After a minor flood, yesterday, I was able to get it working properly. It's a beautiful thing.
The room is the furnace room so hit has kept it around 35-45% relative humidity until now. Additionally, I cannot run the AC on anything other than fan because it trips the breaker. I will be running a heavy duty extension cord from the next room, which is on a different circuit, this weekend. This has lead to my temperatures being upwards of 85-95° Fahrenheit and a bit cooler at night. I'm hoping that they don't suffer too much but they seem to be doing much better now.
Topping and Sexing and Panda Film: 10/30/2016
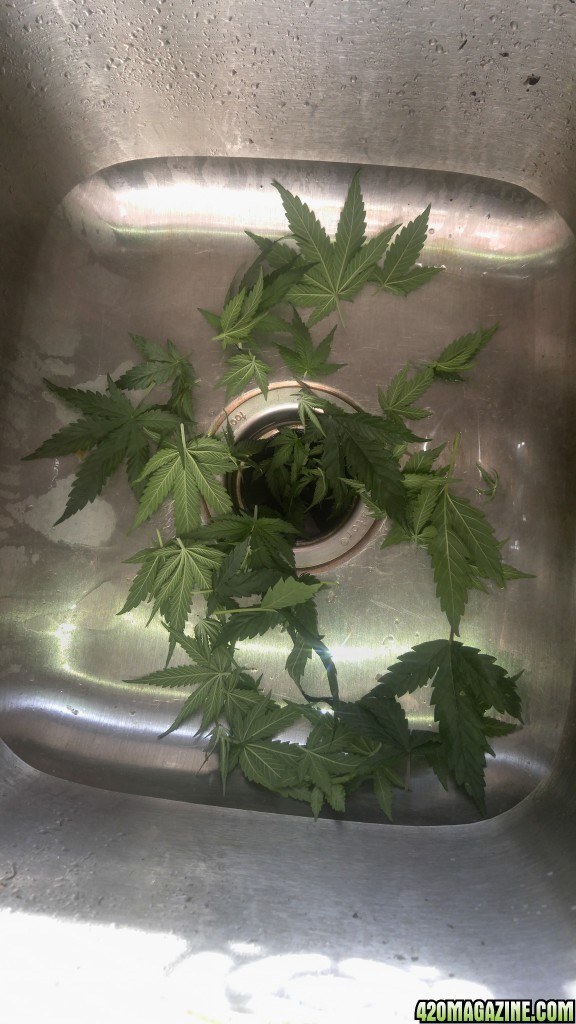
They really started to fill out above the fourth and fifth nodes and I decided to defol the lower branches.
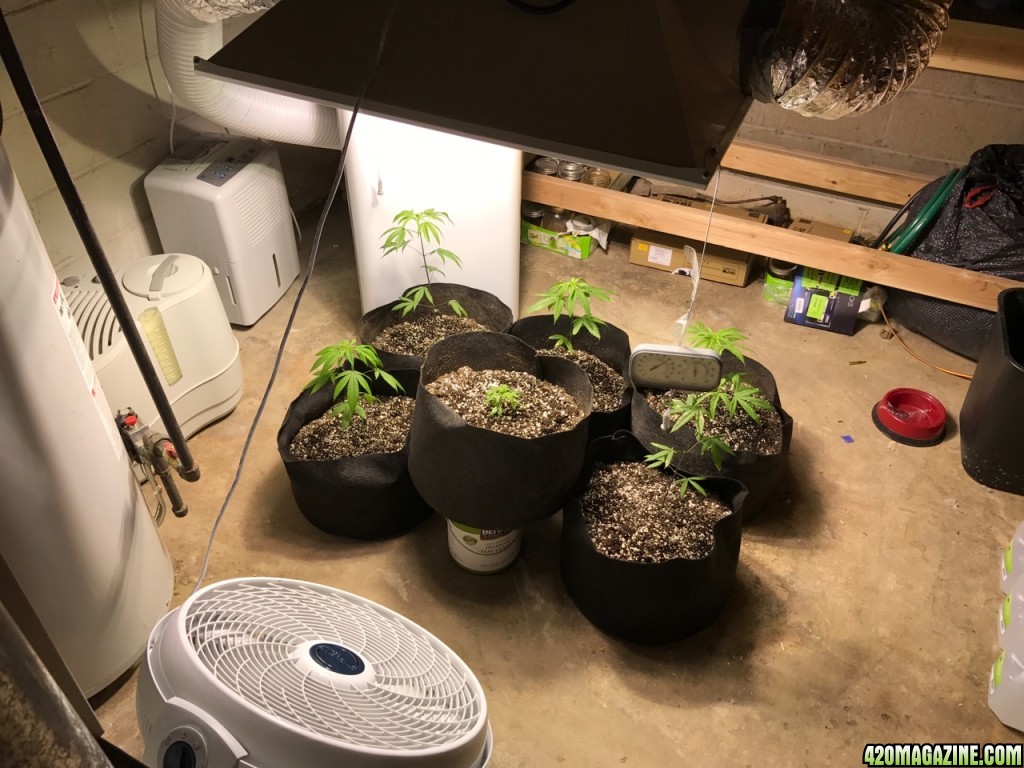
This picture was taken on 10/28/2016 Look at Junior starting to come into it's own!!! Junior topped itself so I will have to take a cutting later to sex.
A few days later on October 30 I decided that I wanted to finally top them and get them into Rapid Rooters. I put them into the "Harry Potter Closet" under the stairs in permanent darkness. This was recommended to me as the quickest way to get them to show gender by my guy at the Hydro store.
***(Put picture of clones here)***
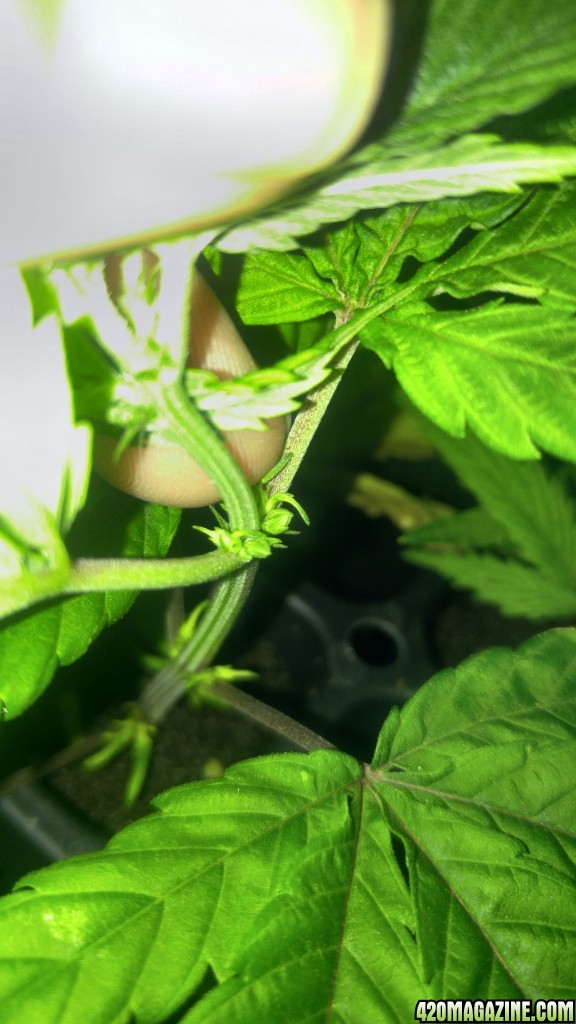
Now they're topped and labeled. As of yesterday, November 2, A and B have grown balls and were discarded. E grew pistols and I'm excited to announce that I have at least one ladygirl!!! C and D is up in the air. C looked like it could be developing balls and D looked like it could be getting hairs. Junior is also up in the air but I'm afraid it looks, prematurely, awful male-ish in the crotch! I may end up regretting naming it "Junior".
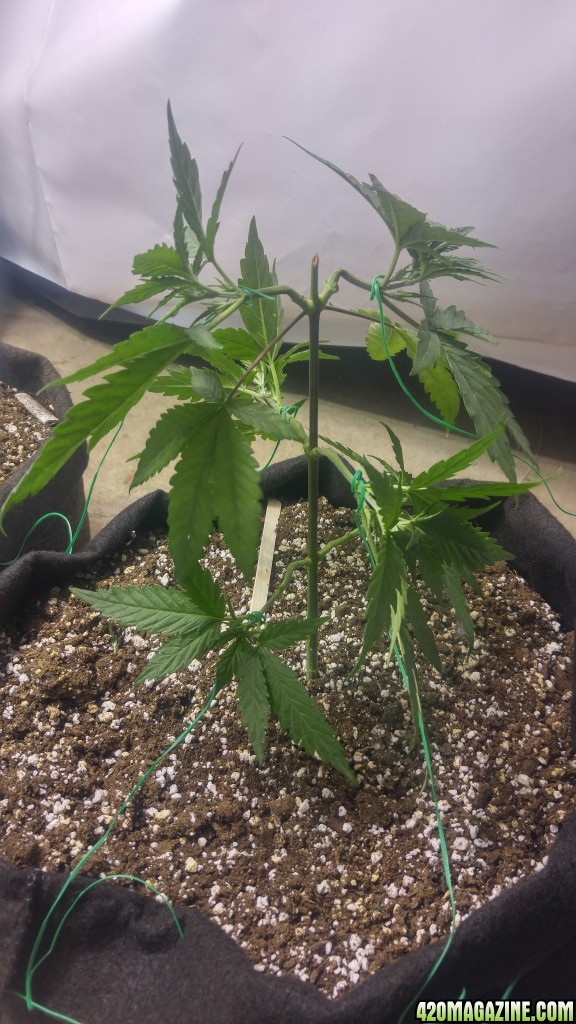
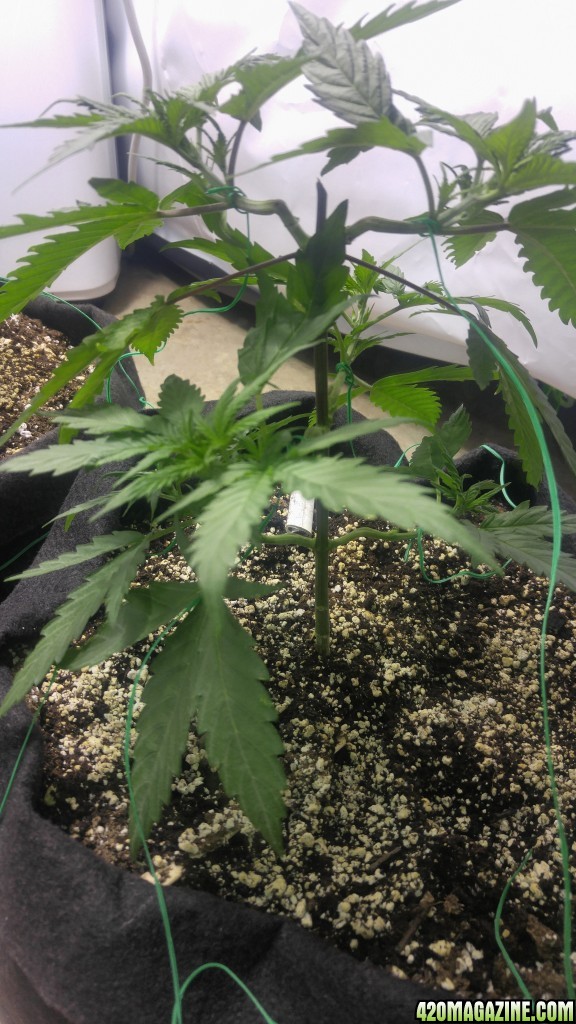
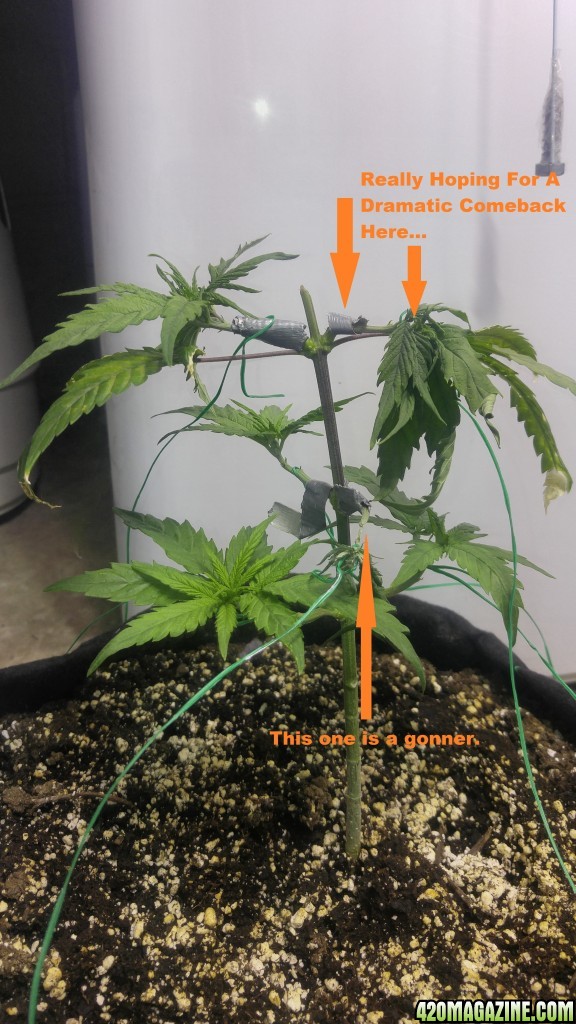
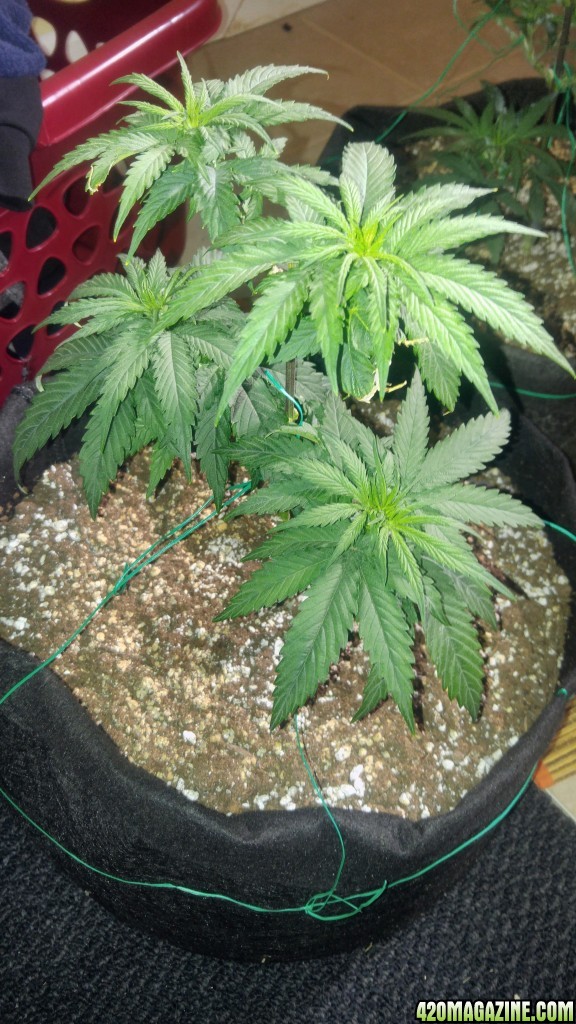
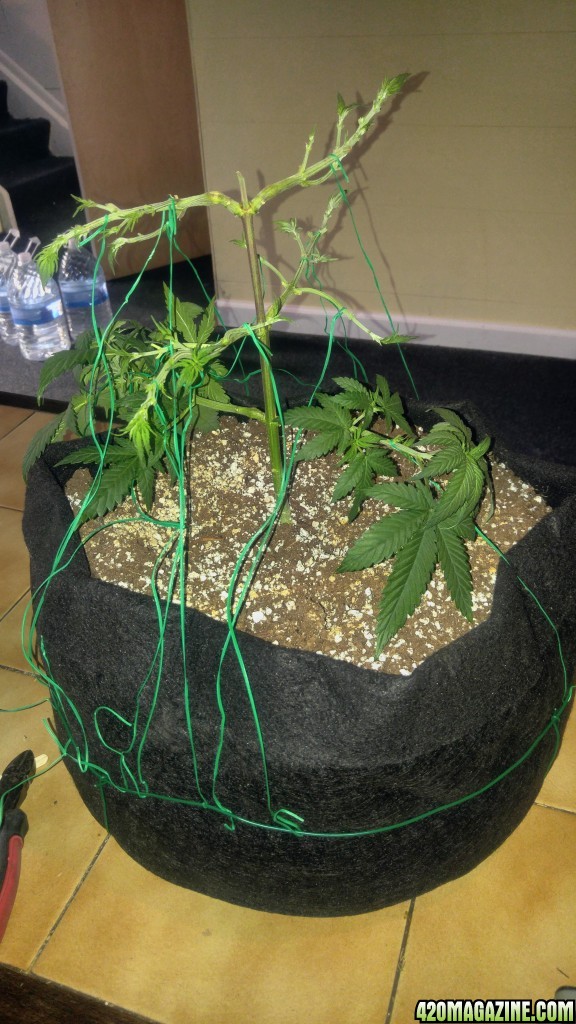
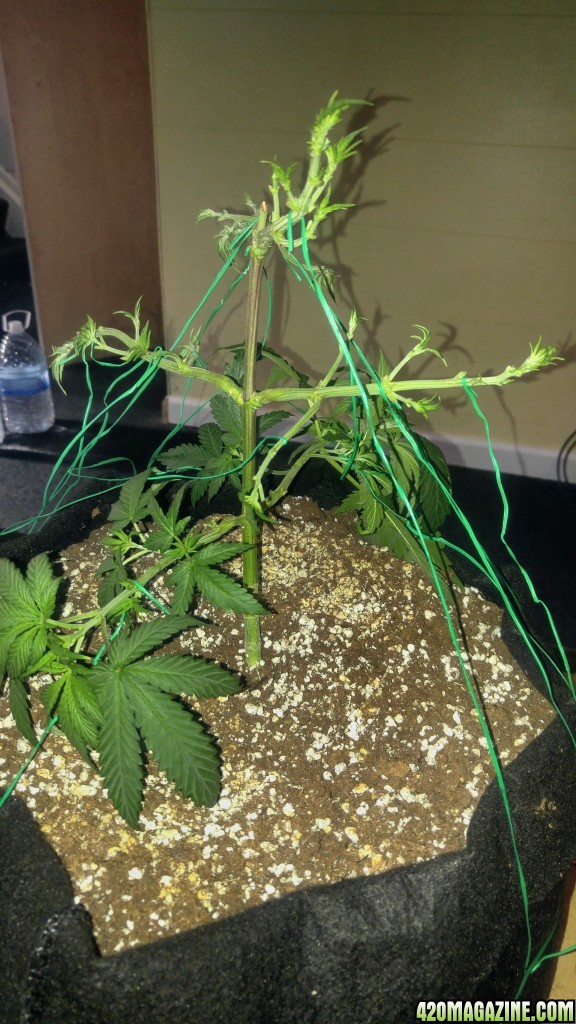
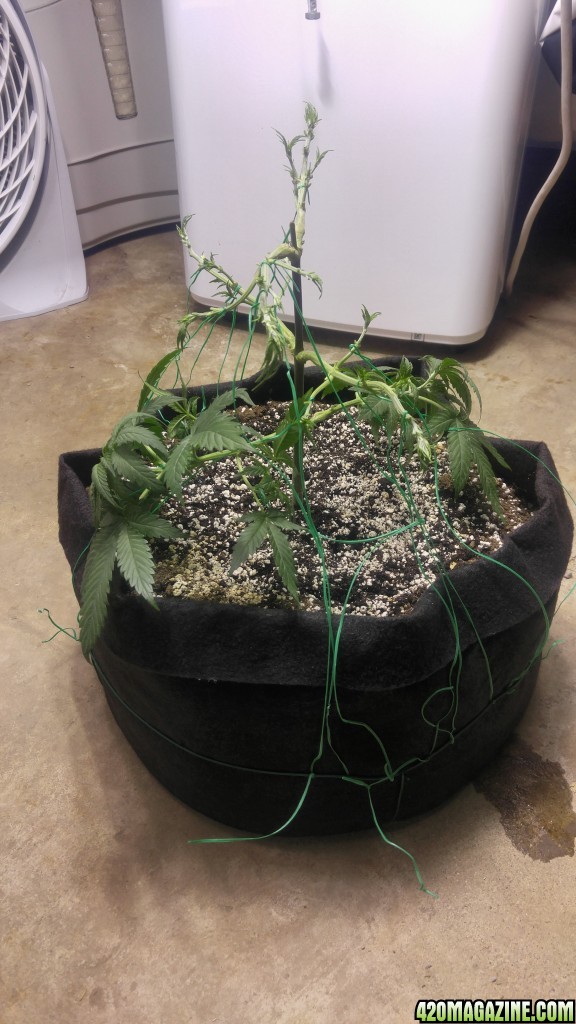
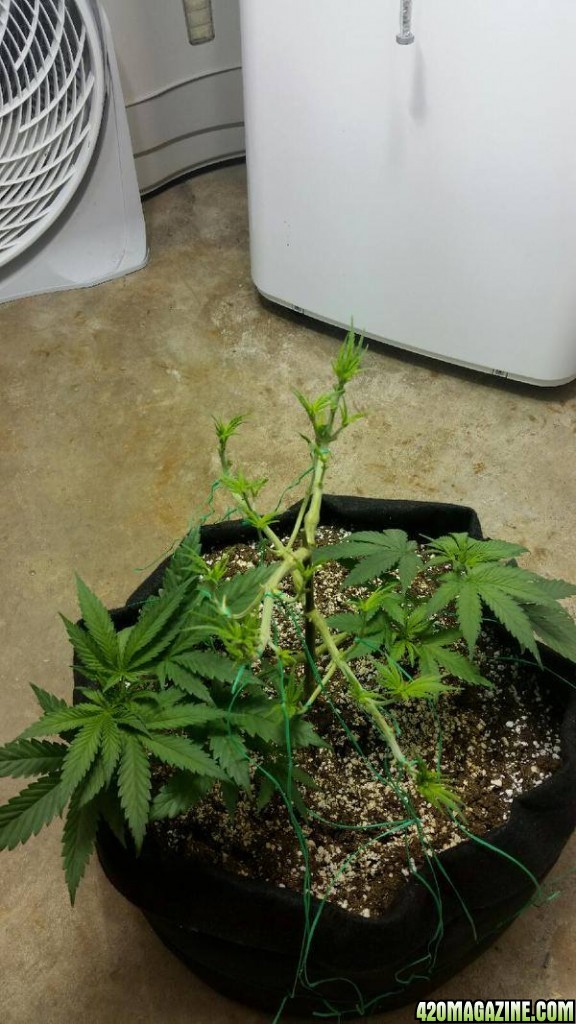
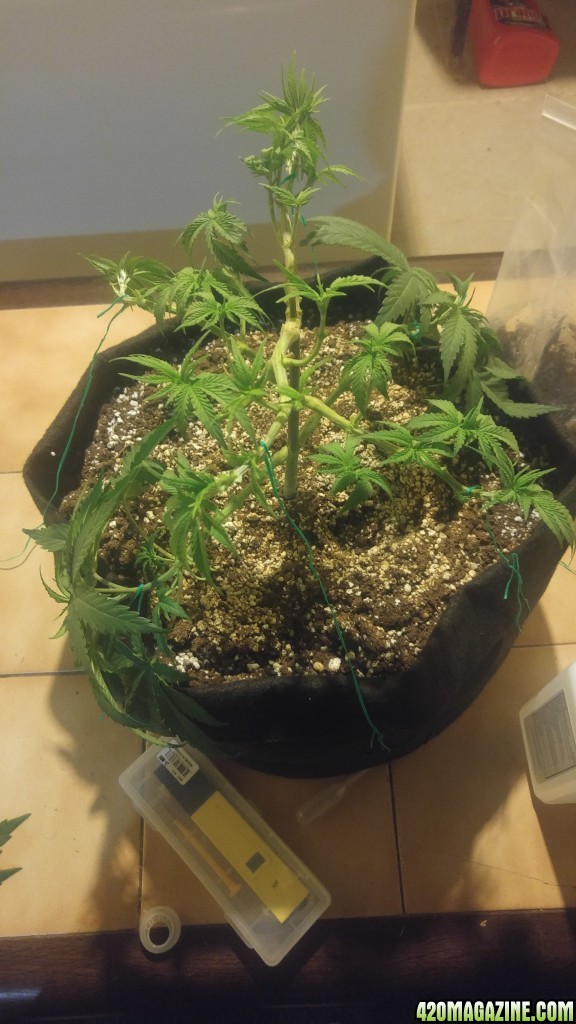
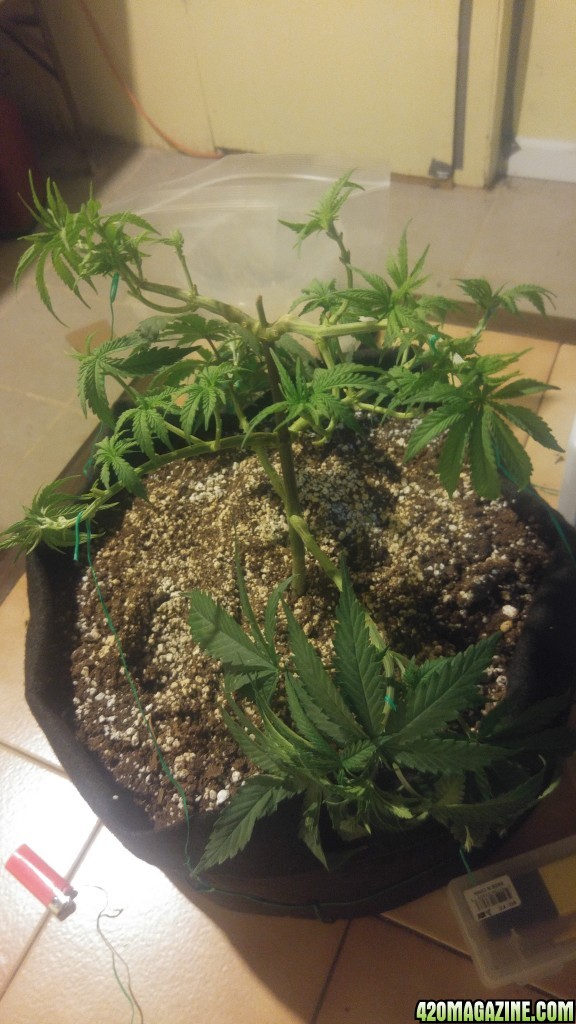
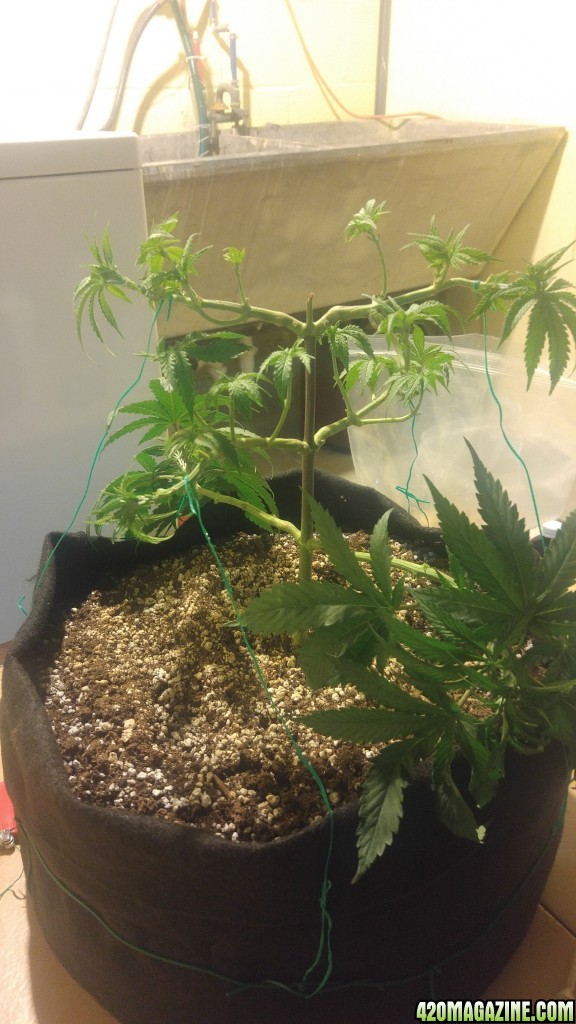
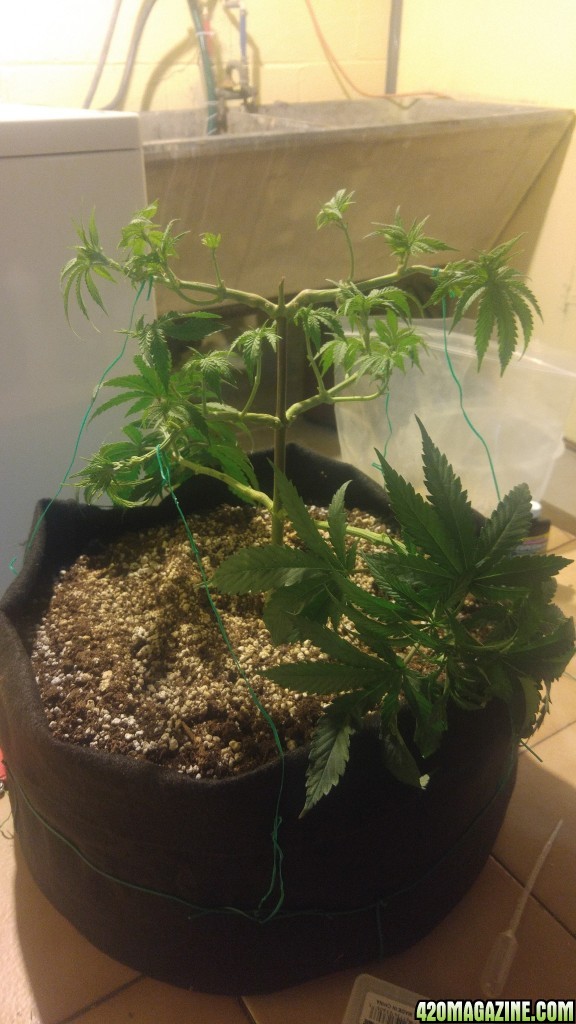
Here is a picture of them topped and beginning to grow new shoots. I will be training the shoots using Low Stress Training (LST), Supper Cropping, and shaping the outgrowths in a "fluxy" manner. Once the out growths have gotten acceptably long, parallel to the floor, I will allow vertical on the lower branches. Once they even with the next level I will let them go and finally I will let the top go. I'm aiming for a very flat topped lollipop.
A huge thanks to Light Addict for sharing all of your knowledge and technique!!!
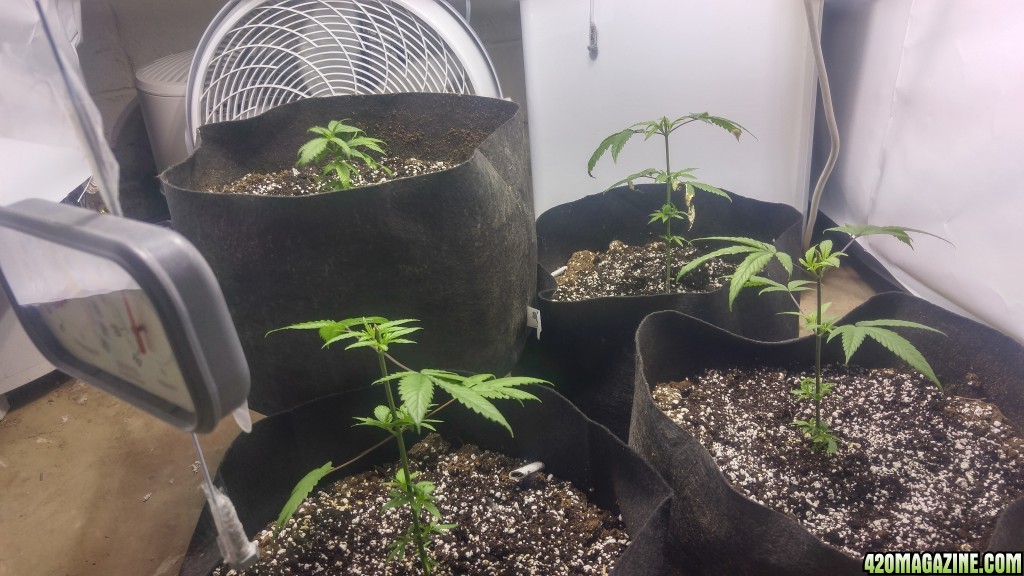
I thought the brightness was intense until I hung the Panda Film.... Oh... My... Gawdddd... This stuff is great!!! And relatively inexpensive. Thank you to one of my weed buddies for the recommendation!
This picture is of the current setup with the Panda Film and the remaining four plants:
TOO BE CONTINUED...
(As always please comment below. Let me know what I'm doing right and what I'm doing wrong. Thank you in advance for the feedback!!!)
Bear with me. This is my first grow and first journal on here.
A little background...
I decided to do some research to find a highly desirable strain that would do well indoors and have potentially large yield with easy to moderate difficulty. Originally I wanted to try my hand at a SoG setup with "Shipwreck" and chose to purchase through a Canadian company that was a fraud. $250 down the drain and a hard lesson learned quickly. The website was very well put together and they seemed legitimate (I have no way of knowing what is and what isn't legitimate at this point). My second choice was Blue Dream (BD) and happened to have a close friend who is in the know coming to Michigan from Denver. I asked if he could help me out and two days later I had seven BD seeds gifted to me.
I built a nice grow room in my current house and intended to do my full operation there but as I was nearing completion with the room I decided that it was time to sell the house... Prior to making this decision I had germinated the seeds and had the seedlings growing in Styrofoam cups. The room took longer to build than I thought it would so I had to keep them in that stage for longer than anticipated and eventually had to make a makeshift grow room elsewhere that isn't nearly as nice but will do.
Feel free to follow along as I break this grow down into several stages. I am always open to advice and have many questions. I intend on growing fully organic for all future grows but this time I was gifted nutrients (nutes) and didn't have the cash at the time so that's what we're doing. I would have been curious to see the difference in person anyway so I may as well find out from the beginning. Here is the breakdown of my setup:
Strain: Blue Dream
Sativa/Indica: 60%/40%
Organic: No
Germination: Seed Between Wet Paper Towel Between Two Plates
Origin: Denver from Unknown Source
Substrate: ProMix BX
Bucket Size: 4 gallon fabric
Seedling Light: Meijer 16" Florescent Grow Light
Lighting Veg: 1000 watt MH
Lighting Flower: 1000 watt HPS
Cooling: Air
Seedling Nutrients:SUPERthrive and Organic Molasses
Veg Nutrients: General Hydroponics FloraDuo Part-A and Organic Molasses
Flower Nutrients: General Hydroponics FloraDuo Part-B and Organic Molassess
Germination: 8/15/2016
I placed the seeds between two wet paper towels on a plate. I filled the plate with enough water to stand and then dumped off the excess. I added water in this manner until they were ready to place into soil. It took three days for five of the seven to be ready.
I filled three paper cups with ProMix BX after I poked a few holes into the bottom of the cup. I chose to use Styrofoam because I figured it would allow me to peel the cup away without damaging the baby roots and it worked like a charm when I finally transplanted.
After a couple of days I remembered that I had forgotten the other two seeds in the cupboard. Upon inspection I found one with a really long tap root and one that would never end up germinating. I carefully poked my hole in the ProMix with a skewer as I had done with the others and sent it in, gently, root first.
A few days later I was delighted to see my little babies poking through the dirt... All but one. One of them was missing, the one that I had left in the paper towel to long. The next day I got antsy and gently dug it out. It was nearly at the bottom of the cup and had started growing it's first leaves under the soil. I raised her above the surface so she was proud to the same height as the rest. By 8/22/2016 they were all the same height and looking good:


It didn't take very long and I started to notice that there was a little issue with one of my weedlings and I bet you can guess which one it was...

One of these babies aren't like the other ones! Somehow my attempt to save the life of Junior turned out to backfire. I can only assume that this is due to my involvement because the rest turned out to be identical. I guess there is a chance of coincidence but I'm not buying it. Next time I'll wait another week to see if it pops on it's own just for essay's sake.
Stretchy...
I initially had my light about 12 inches above the leaves because I was afraid of burning them. I understand that it could have been within four inches now but hindsight is 20/20. As I was texting back and forth with one of my weed friends he mentioned that the node spacing was too much and I needed to get my light closer. I ajusted accordingly and they seemed to improve (until I topped them right at where they finally started getting close node spacing).
Unfortunately I had to keep them in this state of adolescence for far longer than I intended as I did not finish my grow room nearly as quickly as I thought I would. Upon (structural) completion of my room I decided that it was time to sell the house and buy a sailboat for summer residence. I had to make a makeshift room at my other house that I rent to my brother in his basement furnace and water heater room that I had converted to a tool/work room when I lived there. The furnace created it's own layer of issues regarding lack of humidity that I will address later.
After the second week of being seedlings I mixed up a quarter teaspoon of SUPERthrive and a half teaspoon of molasses and started to feed them once a week with a sprayer and continued watering them as normal once the ProMix became very dry. After a few weeks I started noticing a distinct smell about the ProMix and my nute solition I had made. Upon inspection of the bottle and jug I noticed that it had cultured a mother of bacteria. The mother looked like a wispy cream or white tornado swirling up the middle of the jug when moved. Then it hit me... I put the molasses in the nutes to feed the beneficial bacteria in the ProMix and activate their culture; of course bacteria on the bottle and in the jug would thrive in that environment. At any rate, I dumped it out and from then on only mixed when needed.
These pictures will take you up to transplant:


Isn't Junior CUTE!!! ... We were pretty sure those really tall ones were going to end up being male.
Transplant and Grow Room Setup: 10/23/2016
At this point my teens should be quite a bit more than teenagers but as I stated before, I had to lock them into that phase of grow so that I could build a home for them. I decided to transplant, take them to their new home, and build said home all on the same day... Yeah right... I finally got it pretty much how I like it yesterday, 11/2/2016.
Here is a picture right after I transplanted and gave them their first water in the new fiber pots and loaded them up to go to their new and final home:

By the end of that Sunday I had gotten to this point in the following photograph. I know there's a lot going on here but I have a 6" carbon filter to scrub the air for smell. The intake for the Air Conditioner comes from the light, cooling it. I have a humidifier and a dehumidifier to allow me to have decent control over the environment.

Problems:
I attempted to put a float valve in the humidifier so that I could automate the filling and found out the hard way that the jug you carry water in is just a loading cartridge and not the basin itself. After a minor flood, yesterday, I was able to get it working properly. It's a beautiful thing.
The room is the furnace room so hit has kept it around 35-45% relative humidity until now. Additionally, I cannot run the AC on anything other than fan because it trips the breaker. I will be running a heavy duty extension cord from the next room, which is on a different circuit, this weekend. This has lead to my temperatures being upwards of 85-95° Fahrenheit and a bit cooler at night. I'm hoping that they don't suffer too much but they seem to be doing much better now.
Topping and Sexing and Panda Film: 10/30/2016
They really started to fill out above the fourth and fifth nodes and I decided to defol the lower branches.

This picture was taken on 10/28/2016 Look at Junior starting to come into it's own!!! Junior topped itself so I will have to take a cutting later to sex.
A few days later on October 30 I decided that I wanted to finally top them and get them into Rapid Rooters. I put them into the "Harry Potter Closet" under the stairs in permanent darkness. This was recommended to me as the quickest way to get them to show gender by my guy at the Hydro store.
***(Put picture of clones here)***
Now they're topped and labeled. As of yesterday, November 2, A and B have grown balls and were discarded. E grew pistols and I'm excited to announce that I have at least one ladygirl!!! C and D is up in the air. C looked like it could be developing balls and D looked like it could be getting hairs. Junior is also up in the air but I'm afraid it looks, prematurely, awful male-ish in the crotch! I may end up regretting naming it "Junior".
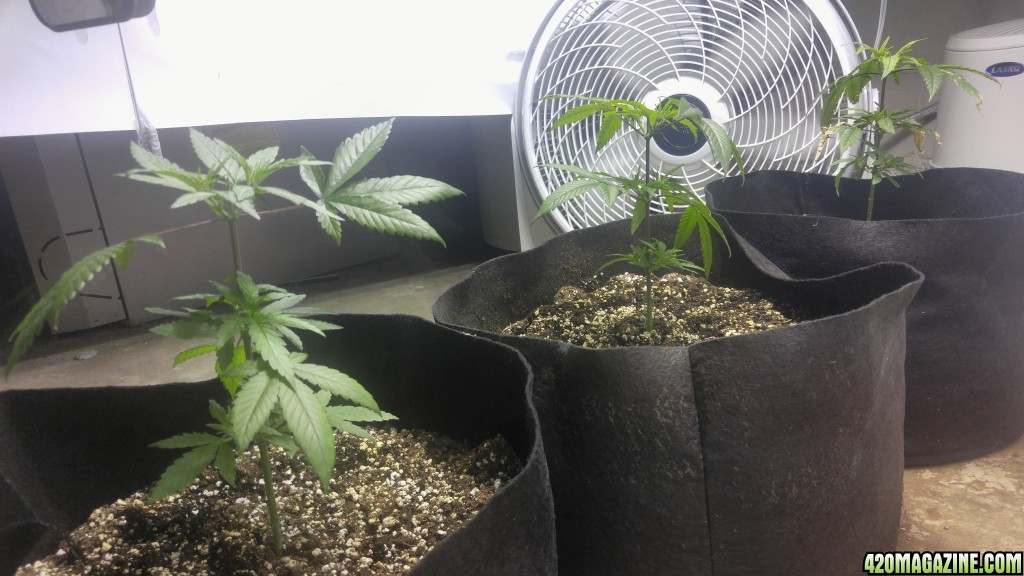
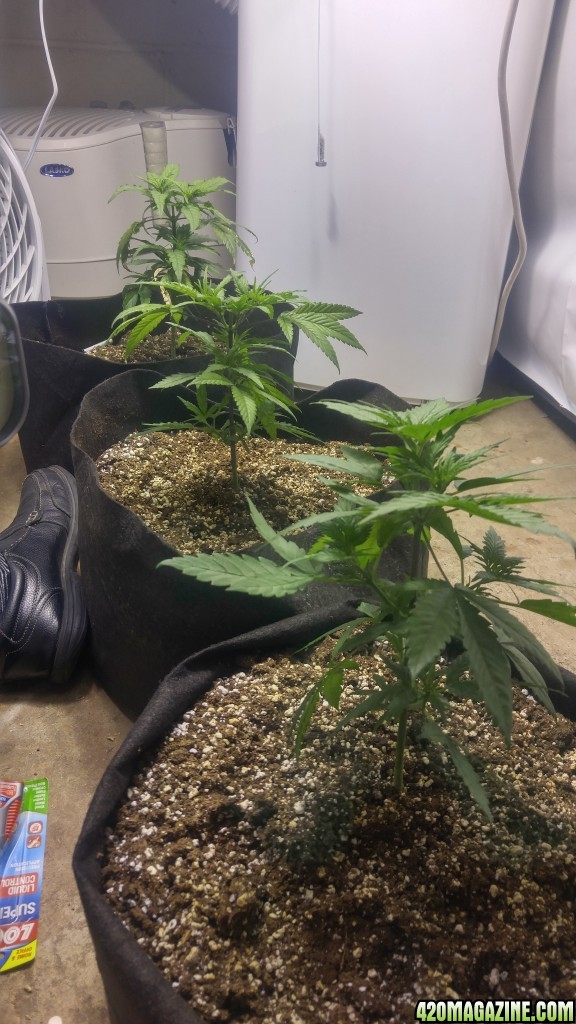
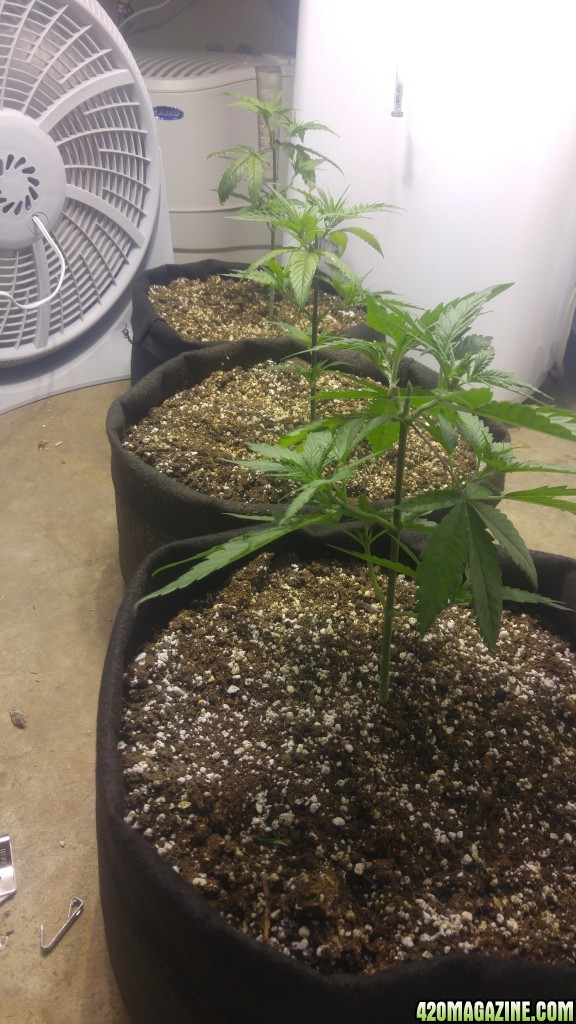
Here is a picture of them topped and beginning to grow new shoots. I will be training the shoots using Low Stress Training (LST), Supper Cropping, and shaping the outgrowths in a "fluxy" manner. Once the out growths have gotten acceptably long, parallel to the floor, I will allow vertical on the lower branches. Once they even with the next level I will let them go and finally I will let the top go. I'm aiming for a very flat topped lollipop.
A huge thanks to Light Addict for sharing all of your knowledge and technique!!!
I thought the brightness was intense until I hung the Panda Film.... Oh... My... Gawdddd... This stuff is great!!! And relatively inexpensive. Thank you to one of my weed buddies for the recommendation!
This picture is of the current setup with the Panda Film and the remaining four plants:

TOO BE CONTINUED...
(As always please comment below. Let me know what I'm doing right and what I'm doing wrong. Thank you in advance for the feedback!!!)


