Navigation
Install the app
How to install the app on iOS
How To Use Progressive Web App aka PWA On 420 Magazine Forum
Note: This feature may not be available in some browsers.
More options
You are using an out of date browser. It may not display this or other websites correctly.
You should upgrade or use an alternative browser.
You should upgrade or use an alternative browser.
TheFrizz Is Back! VC/DC, CBD Therapy & Northern Lights Medical Grow For Mom
- Thread starter TheFrizz
- Start date
- Thread starter
- #182
TheFrizz
Well-Known Member
The irony of this is I was literally just gushing on your journal about how wonderful your plants look and then I clicked back to mine and saw this! We must have been typing at the same time

The differences in bud size are related to training techniques, your plants are the ideal shade of green and appear very healthy

- Thread starter
- #183
TheFrizz
Well-Known Member
Hello friends!  Today is Day 36 of flowering and I performed backbuilding on Jenny and Monique.
Backbuilding is essentially "topping" the buds, you snip off the tip and this tricks the plant into thinking that it ran into something (or so they say). This inhibits vertical growth and encourages the plant to send growth hormones to the lower buds and fatten up your colas. I did this last grow and was quite pleased with the results
Regarding timing, you want to snip them about 1/2 to 2/3rds of the way through flower, or when they are mostly done getting taller. Since Muffinz and Sidney are still stretching, I will not backbuild them for a few more days. For more details on backbuilding you can read Light Addicts thread about it on here
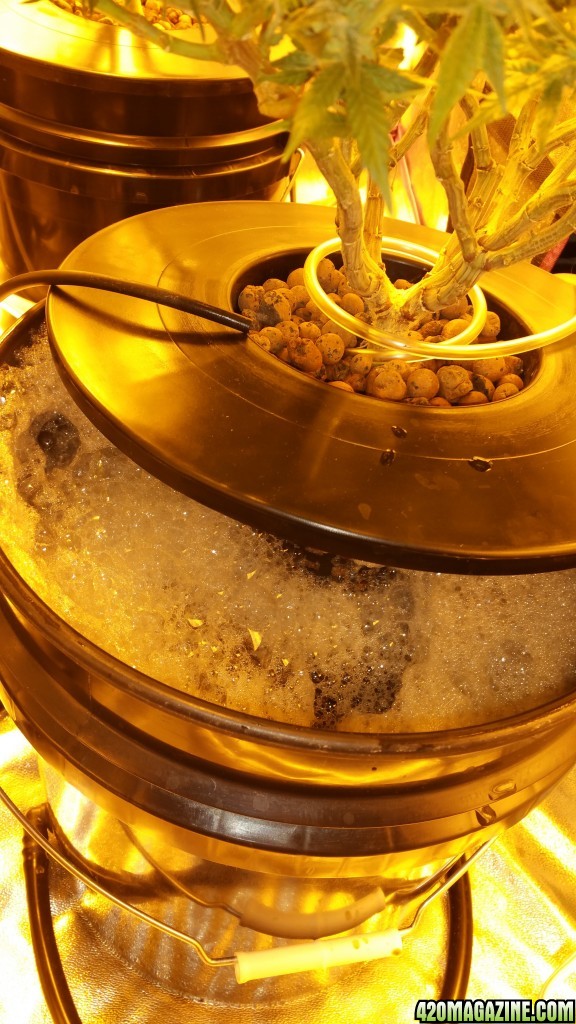
Oh by the way, here is what the inside of the buckets looks like since I added the fulvic acid: Beautiful oxygen rich foam, the plants are loving it! With the humic and fulvic acid together now, along with a 2 month old colony of friendly bacteria, the roots are literally bathed in life. Like I said.... don't fix it if it ain't broken!
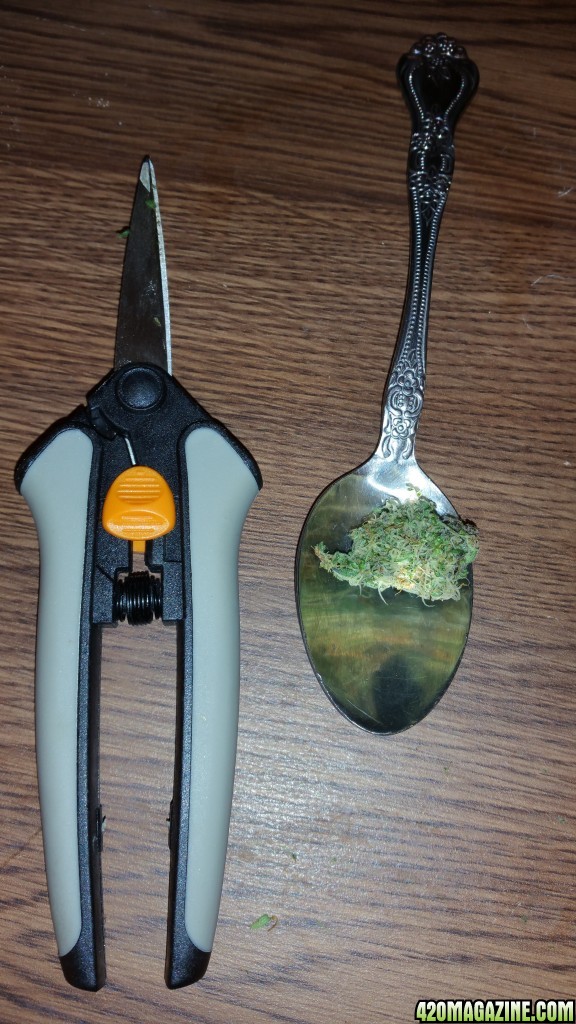
After snipping every top bud on Jenny and Monique (about 100 snips total) here is the total amount of matter removed with a teaspoon for scale. Just a teeny tiny bit is all it takes, last grow I snipped more than was necessary.
Jenny pics
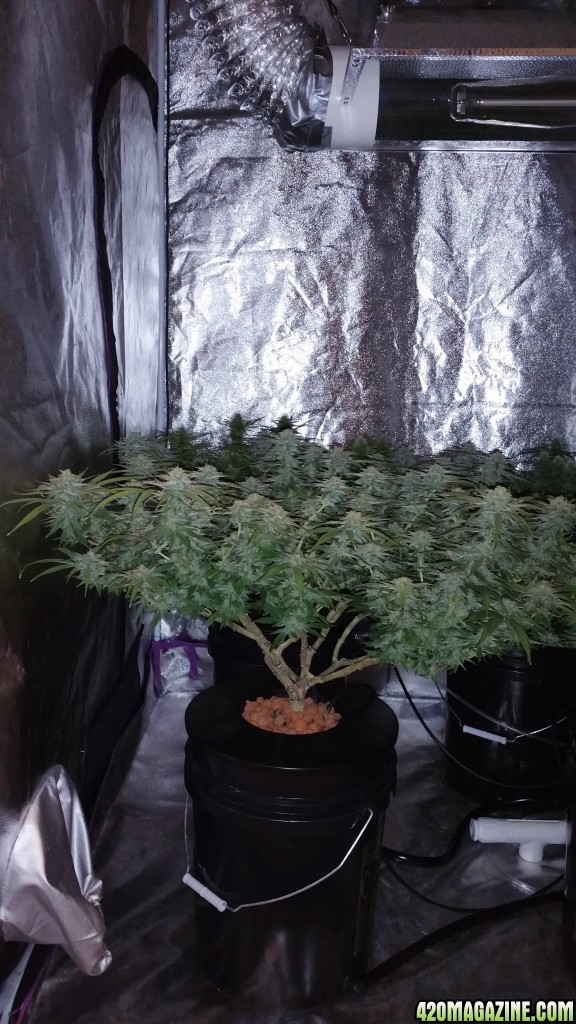
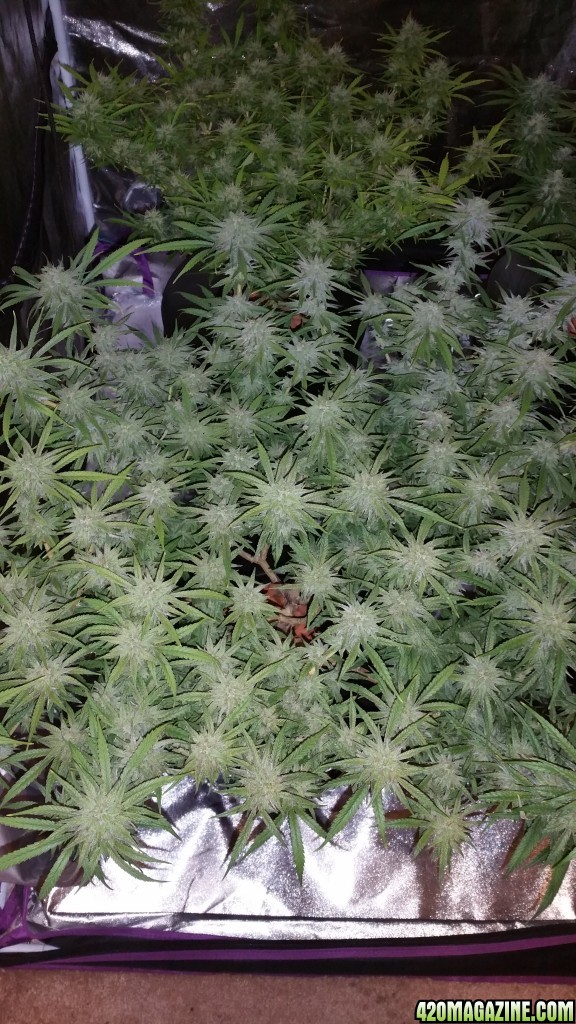
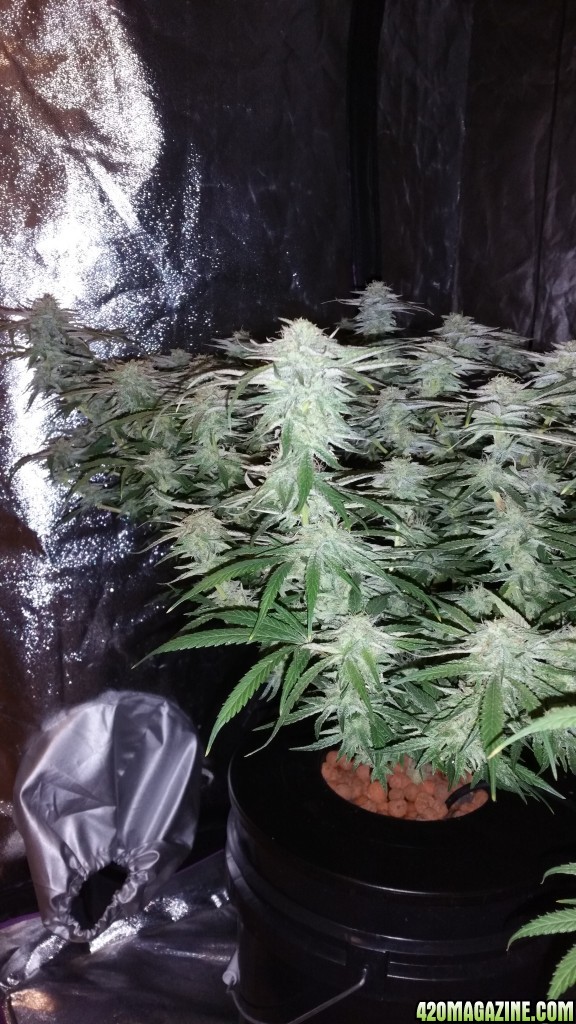
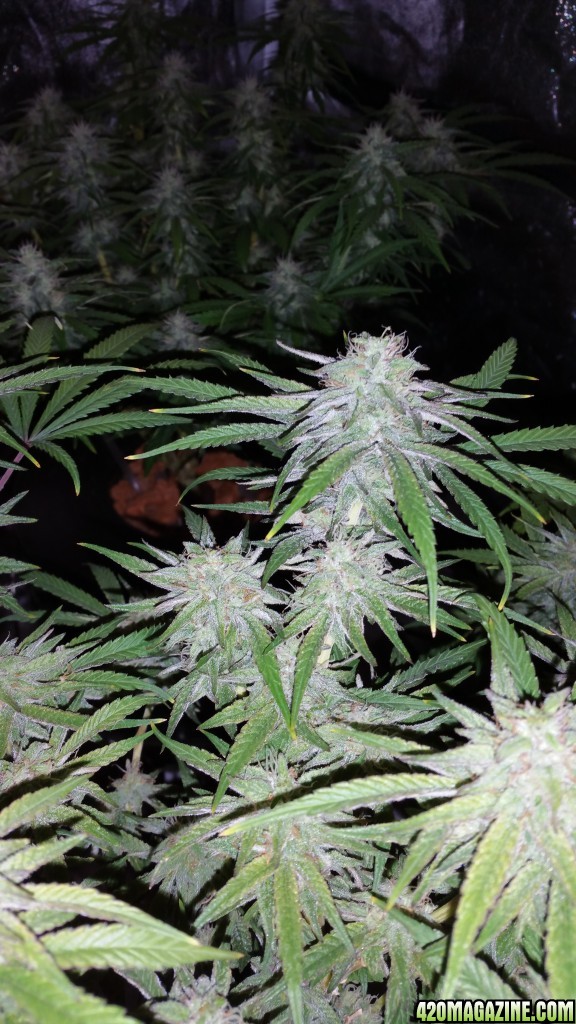
Monique pics
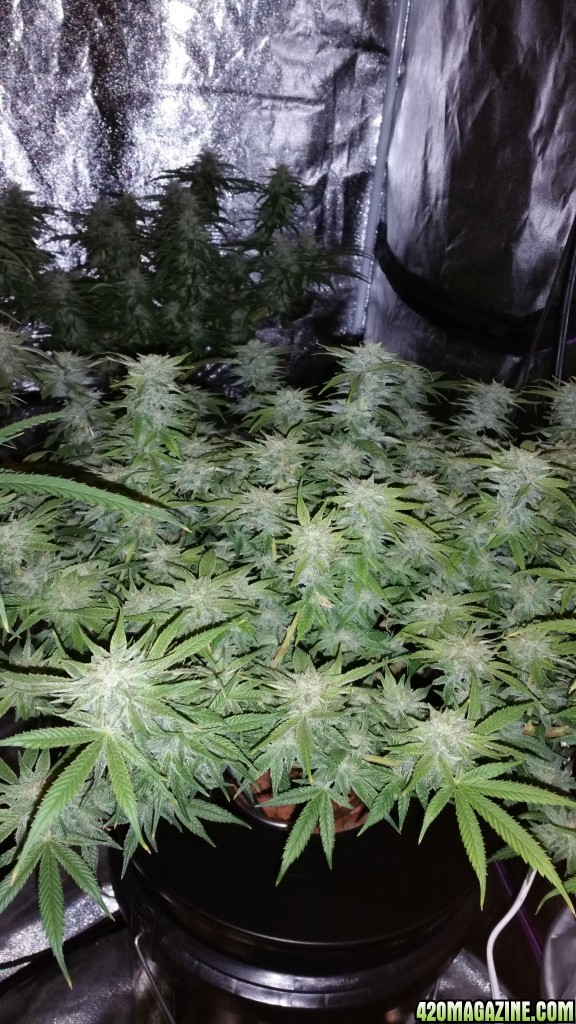
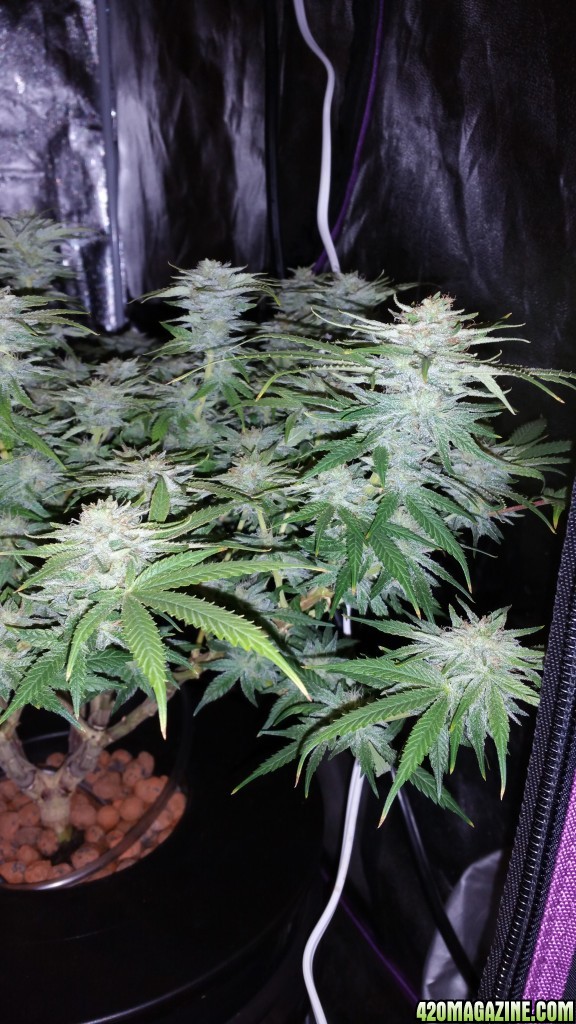
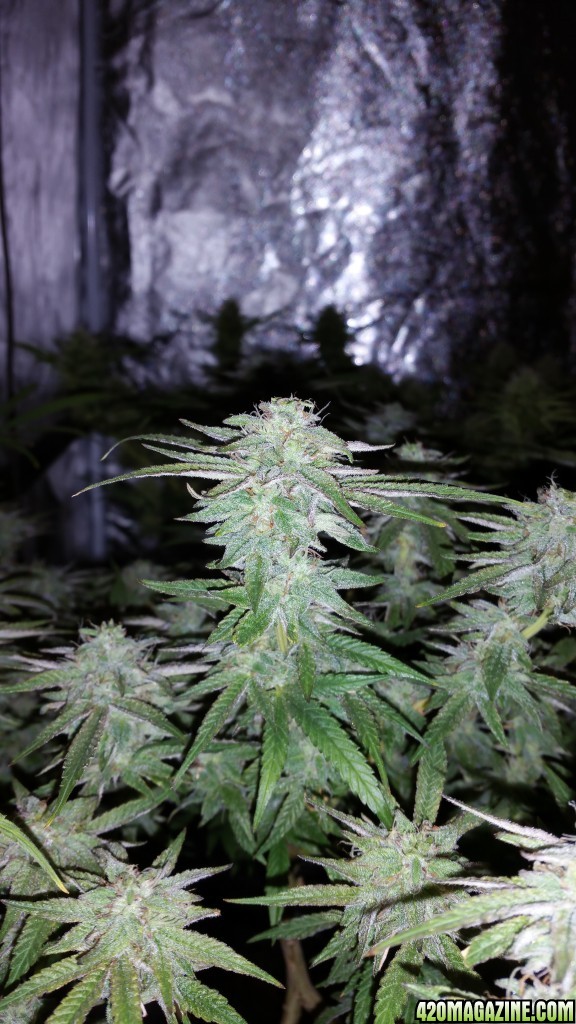
Side profile of both ladies. Today was super hot, and I noticed the humidity got up to 60% which is the highest it has been all grow!
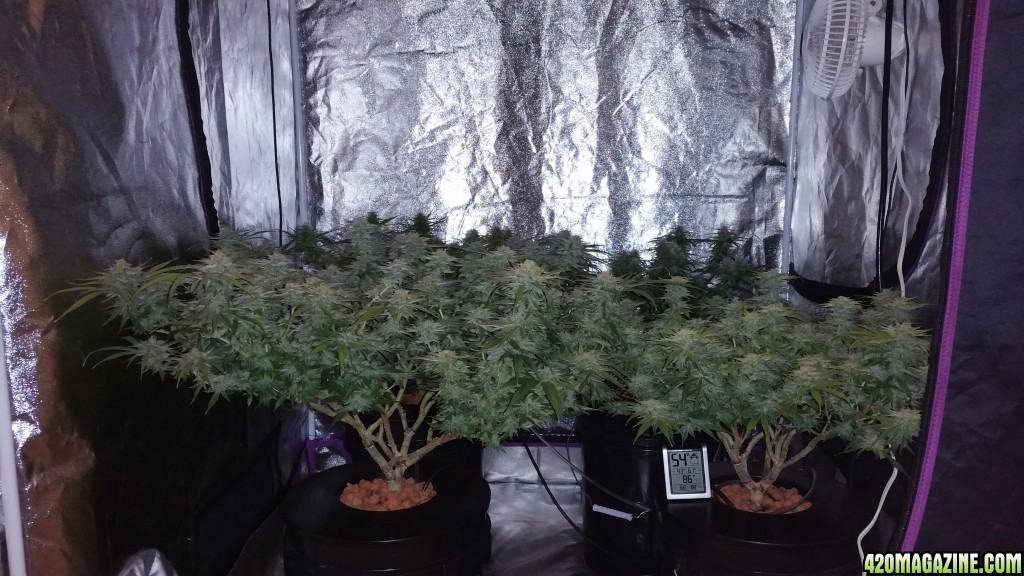
Update with Sidney and Muffinz should come in a few days after they look ready for some snippage. As always, questions, comments, and feedback are welcome and appreciated!


~TheFrizz
 Today is Day 36 of flowering and I performed backbuilding on Jenny and Monique.
 Backbuilding is essentially "topping" the buds, you snip off the tip and this tricks the plant into thinking that it ran into something (or so they say). This inhibits vertical growth and encourages the plant to send growth hormones to the lower buds and fatten up your colas. I did this last grow and was quite pleased with the results

Regarding timing, you want to snip them about 1/2 to 2/3rds of the way through flower, or when they are mostly done getting taller. Since Muffinz and Sidney are still stretching, I will not backbuild them for a few more days. For more details on backbuilding you can read Light Addicts thread about it on here

Oh by the way, here is what the inside of the buckets looks like since I added the fulvic acid: Beautiful oxygen rich foam, the plants are loving it! With the humic and fulvic acid together now, along with a 2 month old colony of friendly bacteria, the roots are literally bathed in life. Like I said.... don't fix it if it ain't broken!


After snipping every top bud on Jenny and Monique (about 100 snips total) here is the total amount of matter removed with a teaspoon for scale. Just a teeny tiny bit is all it takes, last grow I snipped more than was necessary.

Jenny pics


Monique pics


Side profile of both ladies. Today was super hot, and I noticed the humidity got up to 60% which is the highest it has been all grow!

Update with Sidney and Muffinz should come in a few days after they look ready for some snippage. As always, questions, comments, and feedback are welcome and appreciated!


~TheFrizz
Philsthetent
Well-Known Member
Wow
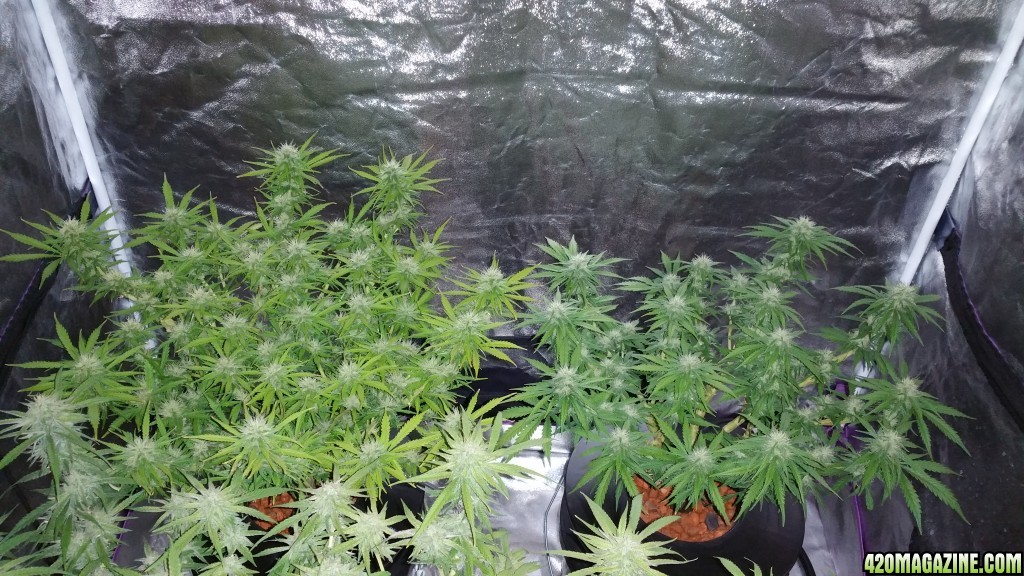
Holy cow frizz.. you've got a sea of colas in that tent.. getting nice and frosty too. There are so many bud sites per plant and they are all just about at the same level on each plant. Very well done! I love the foamy buckets too, looks like some great stuff there! . .
- Thread starter
- #187
TheFrizz
Well-Known Member
Holy cow frizz.. you've got a sea of colas in that tent.. getting nice and frosty too. There are so many bud sites per plant and they are all just about at the same level on each plant. Very well done! I love the foamy buckets too, looks like some great stuff there! . .
That's some quality growing happening here! I'll definitely sub!
Keep up the good work
And you had me from the title, just the fact that you are growing to help your mother says a lot
Thanks guys! For what it's worth, these are two quotes by Michelangelo that have influenced my overall approach to growing and helped me achieve this:
"I saw the angel in the marble and carved until I set him free."- Essentially this means, you need to have a clear vision in your head of what the end product is going to look like, and simply remove or modify anything that does not align with that vision.
"The greater danger for most of us lies not in setting our aim too high and falling short; but in setting our aim too low, and achieving our mark."- This is self-explanatory and applies to all aspects of life. A task is only impossible if you deem it to be so. The only time you can truly fail is by giving up, making "mistakes" is essential to learning, so take risks and push new boundaries!


Grow looks amazing! Subbed
- Thread starter
- #189
TheFrizz
Well-Known Member
Grow looks amazing! Subbed
Thanks very much! Subbed to yours as well, great strains and training!
Edit: Giorkos, do you have a journal? Just saw your nug pic in the monthly contest, very impressive! I am especially interested since it was Northern Lights

Thanks very much! Subbed to yours as well, great strains and training!
Edit: Giorkos, do you have a journal? Just saw your nug pic in the monthly contest, very impressive! I am especially interested since it was Northern Lights
Yes actually i do, and thank you
 that nug was from my first grow! Now i am growing 2 WW, you can take a look if you like
Remember that one post where I joked about making a slingshot from my plants after harvest? Well...it just happened!!!
First off here is a lil comparison, Derpy (left, yielded ~6oz) and Queen Sativa (right, yielded ~11 oz). Notice the difference in the root thickness. Queen Sativa has a strong taproot system while Derpy has a few thin side shoots. These differences were apparent since the time they were seedlings.
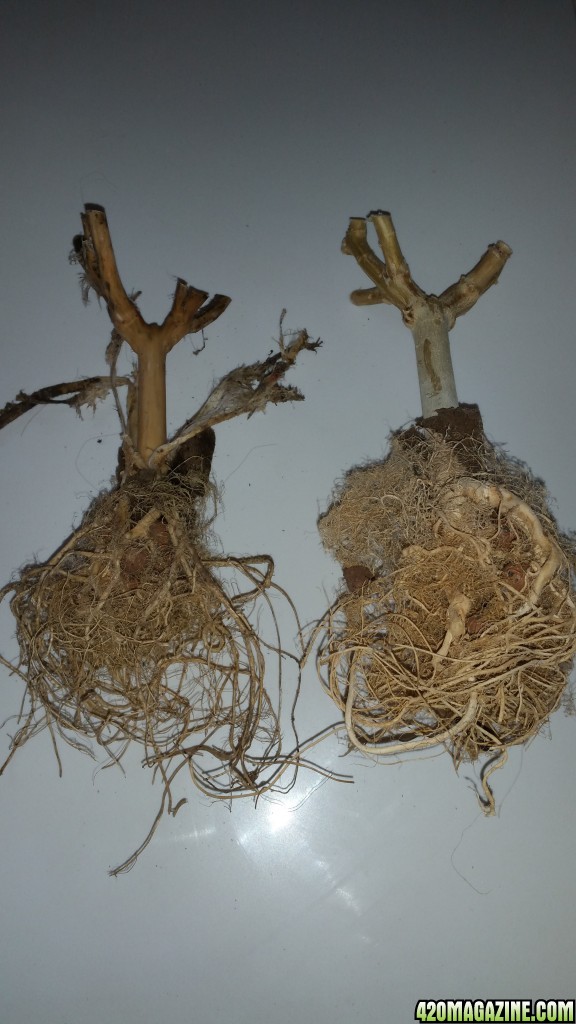
I tossed Derpy with the other plant stems in a pile of yard debris, but she seems to have weathered well enough. It is cool to see the super fibrous skin, I can totally understand how hemp is such a valuable textile after feeling this! Queen Sativa's stem was allowed to "season/dry age" in the garage so the plant material is now lightweight and extremely strong. I will be using her to make the slingshot
Step 1.) Manicure! I cleaned up the root mass, leaving what I felt to be a tasteful amount attached
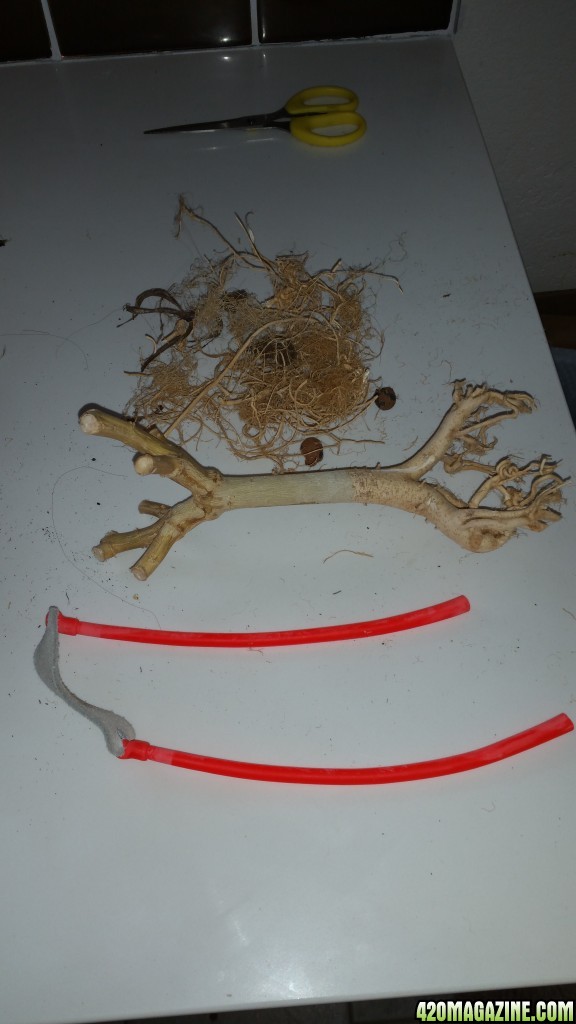
Step 2.) Whittle/sand the two tallest stem tips into smooth curved shapes that will accommodate the elastic tube...rubber..urgh. Damn it there's no way to describe this step without it sounding dirty!
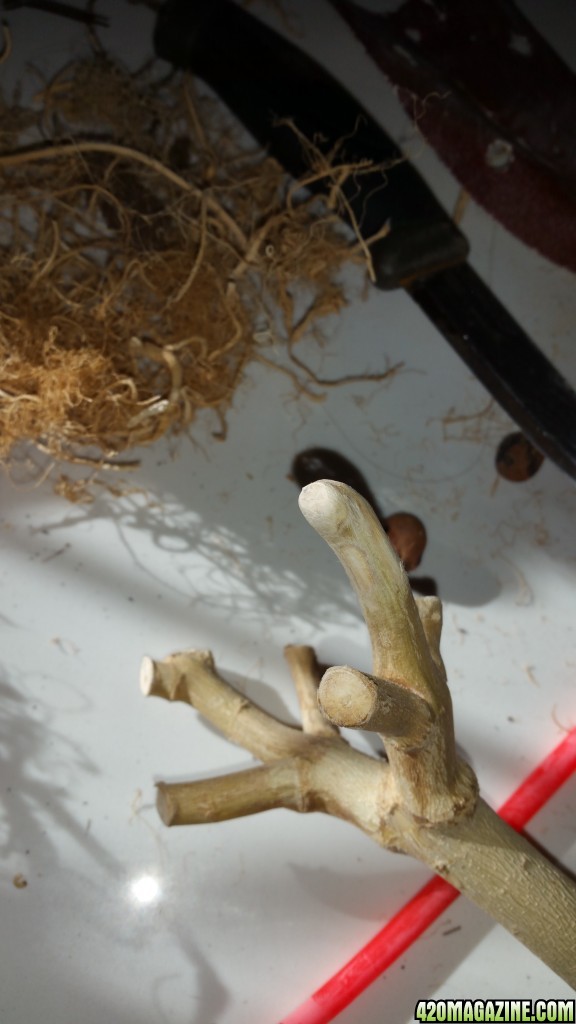
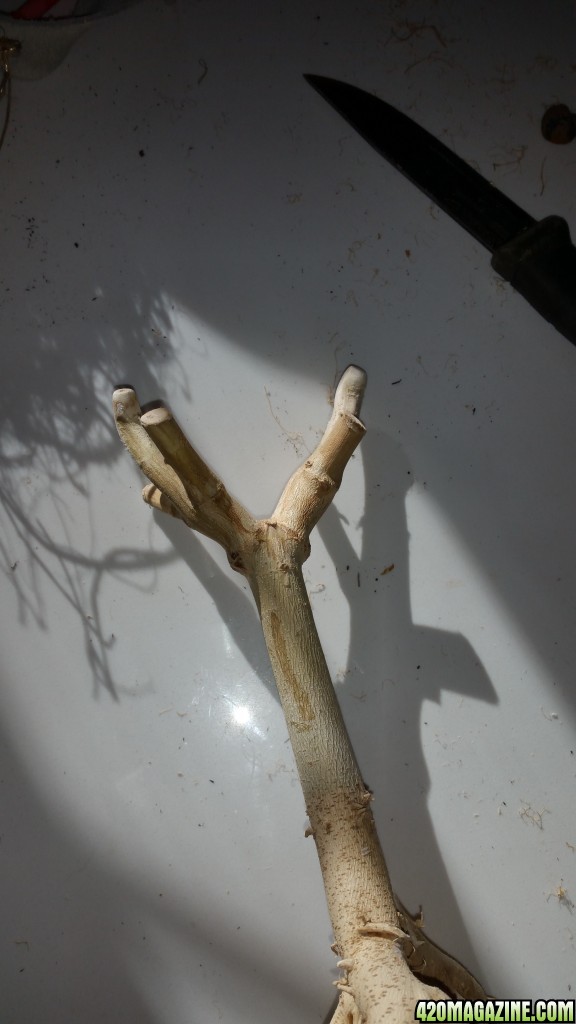
Step 3.) Lubricate the curved ends of the slingshot (I used coconut oil) and slide on the...rubberGODAMNIT THIS SOUNDS EVEN DIRTIER THAN STEP 2! Whatever here's a picture.
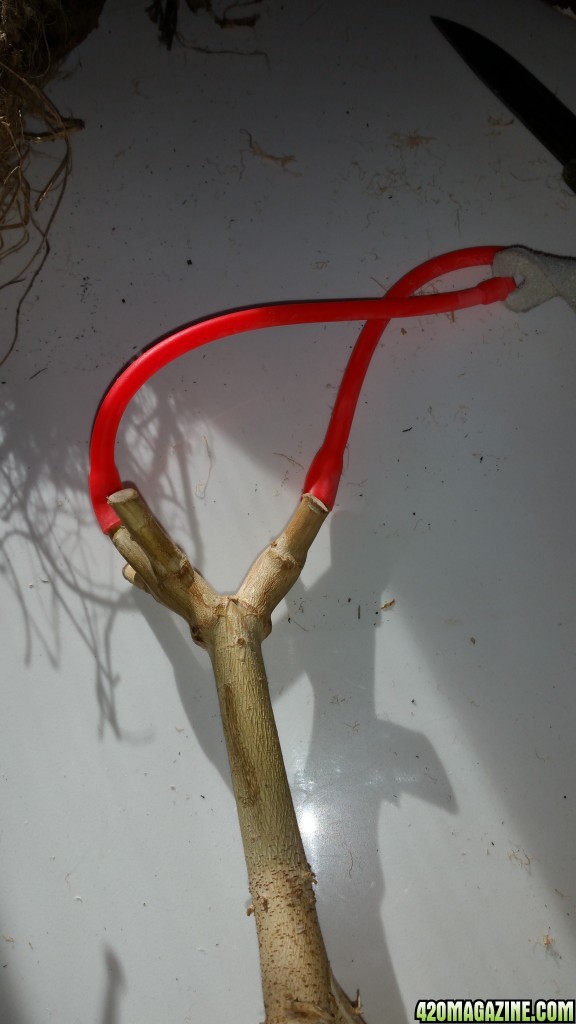
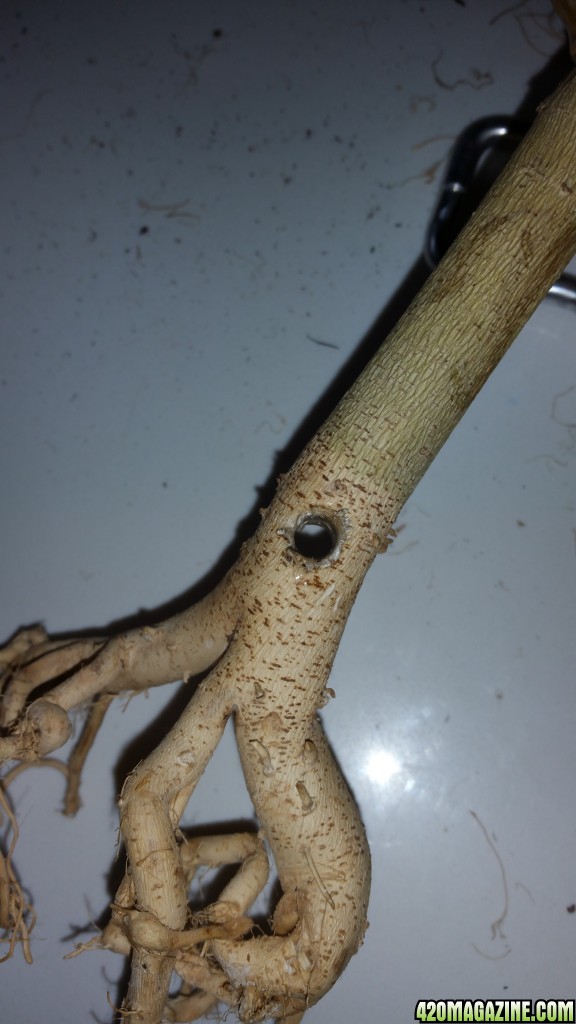
Step 4.) Drill a hole through the stem parallel to the Y shape. Attach the wrist strap section through the drilled hole.
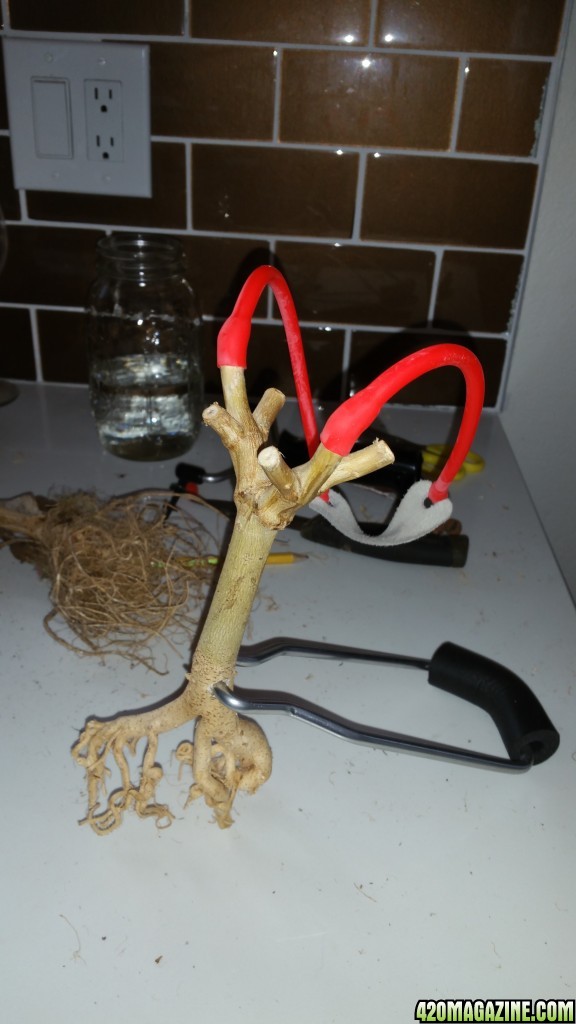
Step 5.) Wrap in black leather for comfort, durability, and style.
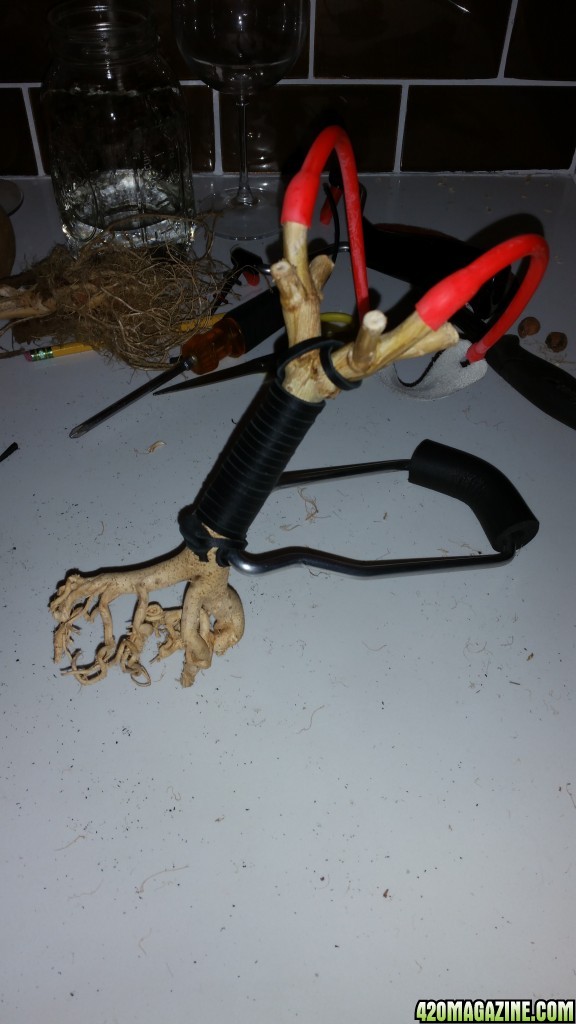
Step 6.) "I have a slingshot and I want to painttttt it blaaaacccck". Ok actually the stain I used was "Java", not black. Here she is after her coat of gel. I also tinted the metal and the pocket and the rubber to match.
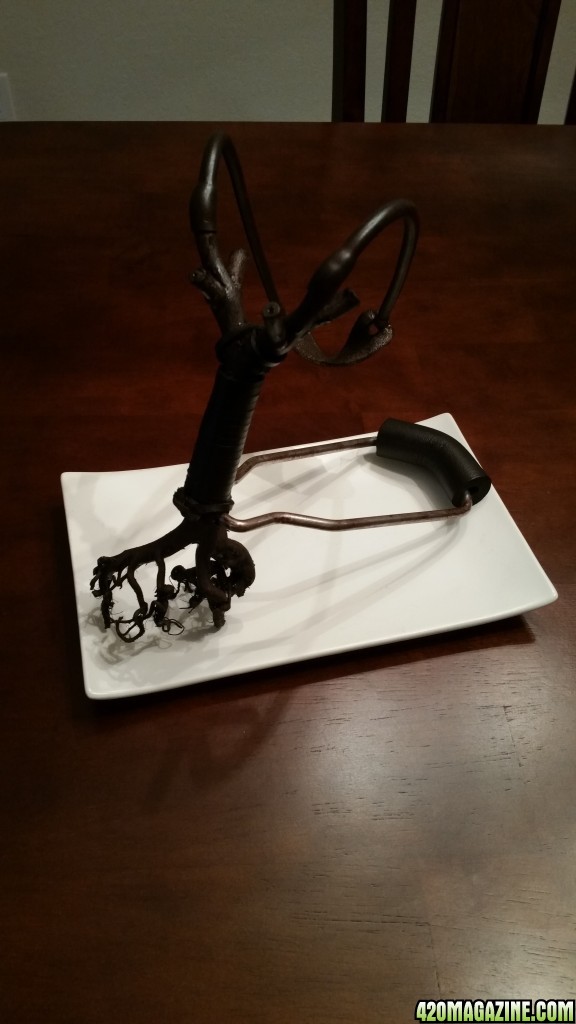
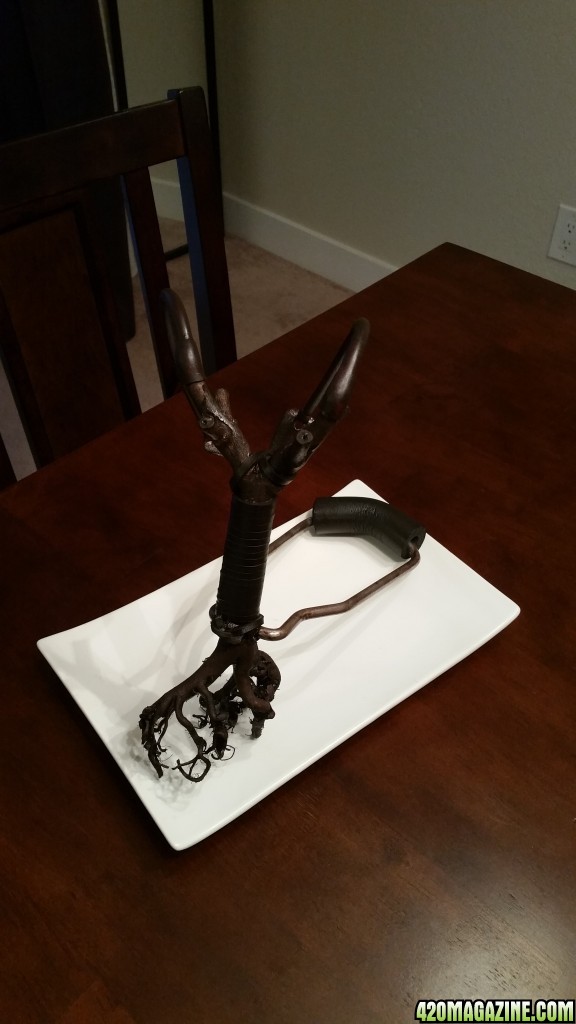
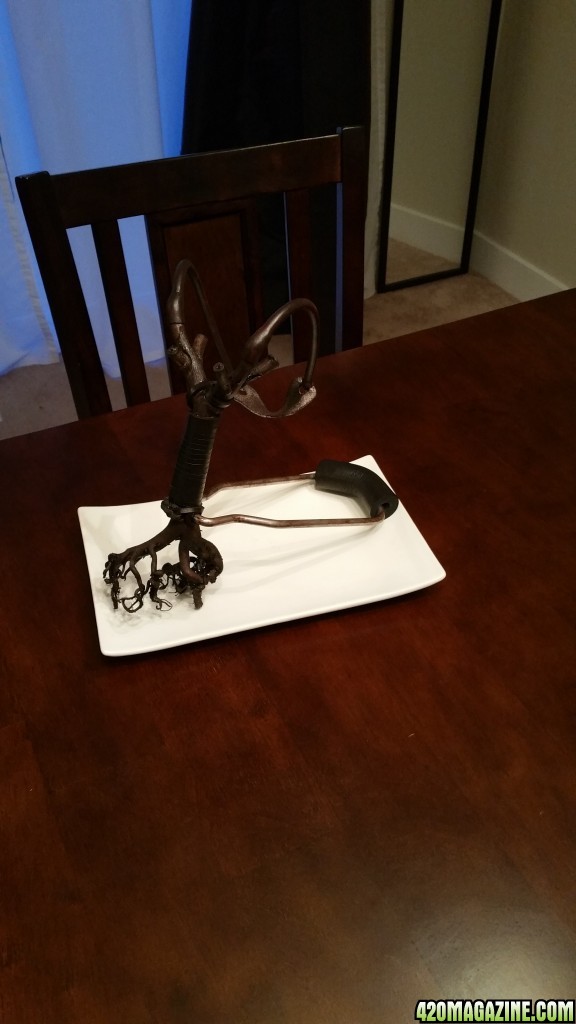
Not too bad for a first attempt if I do say so myselfI think this will start a new Frizz tradition- I will immortalize the best plant from each grow in the form of a slingshot!
Awesome idea, I love it Frizz. I might steal that idea from you.
- Thread starter
- #192
TheFrizz
Well-Known Member
Awesome idea, I love it Frizz. I might steal that idea from you.
 Yes, please do, it was quite fun! my only recommendation is to wait a few months so the stem is dry and seasoned enough to treat like wood
Dankestbuds and I were joking about this, and how fun it would be to have a "bud battle", launching buds from cannabis-made slingshots at each other. What if we got like 10 people and turned it into like a paintball match...but with slingshots and weed instead of guns and paint? Mwahahaha

DankestBuds42
New Member
Hey Frizz, Girls are looking beautiful! Right frosty and that even canopy is on point.  I'm blown away with how far along you are in your grow. Just goes to show, plants grow faster in oxygenated water than in soil. Gotta get myself on the hydro train haha. Seems like just the other day you were training and defoliating much smaller plants, but all your hard work is paying off! Jenny is certainly a force to be reckoned with
I'm really stoked that you're backbuilding, an amazing trick for sure! I was a little confused by the picture. In the teaspoon, I thought it was one whole bud-top and got a little worried that each of your cuts was that size lol. Nah man you got this all the way. I remember LA saying "My friend who had years experience told me it was like the bud hitting a barrier, such as another branch! He advised me to take 3 white hairs and a couple of the tiny green points off end of buds!". But yeah, just phenomenal work.
 I'm blown away with how far along you are in your grow. Just goes to show, plants grow faster in oxygenated water than in soil. Gotta get myself on the hydro train haha. Seems like just the other day you were training and defoliating much smaller plants, but all your hard work is paying off! Jenny is certainly a force to be reckoned with
I'm really stoked that you're backbuilding, an amazing trick for sure! I was a little confused by the picture. In the teaspoon, I thought it was one whole bud-top and got a little worried that each of your cuts was that size lol. Nah man you got this all the way. I remember LA saying "My friend who had years experience told me it was like the bud hitting a barrier, such as another branch! He advised me to take 3 white hairs and a couple of the tiny green points off end of buds!". But yeah, just phenomenal work.

Philsthetent
Well-Known Member
I may not make a slingshot - but I am stealing that idea to make artwork .
Tomula
Well-Known Member
Looking good! The back building will bring you fat colas for sure! 


Looking good! The back building will bring you fat colas for sure!

Back building does not increase the bud's size, it just makes a better shape for commercial reasons, right?
That's what I've read at least
- Thread starter
- #197
TheFrizz
Well-Known Member
Back building does not increase the bud's size, it just makes a better shape for commercial reasons, right?
That's what I've read at least
Yeah, I think I remember reading that on LA's thread as well.
Essentially, backbuilding is breaking the apical dominance of the bud/stem. This means that instead of the plant sending most of its energy/growth hormones to the top growth tip, they are spread out more evenly across all the buds on that cola, causing it to be shorter, but thicker. I am happy to trade a bit of length for more "girth".

It would be really neat though for someone do a side by side with clones to see if it makes a yield difference, and also compare potency

- Thread starter
- #198
TheFrizz
Well-Known Member
Hey Frizz, Girls are looking beautiful! Right frosty and that even canopy is on point.I'm blown away with how far along you are in your grow. Just goes to show, plants grow faster in oxygenated water than in soil. Gotta get myself on the hydro train haha. Seems like just the other day you were training and defoliating much smaller plants, but all your hard work is paying off! Jenny is certainly a force to be reckoned with

I'm really stoked that you're backbuilding, an amazing trick for sure! I was a little confused by the picture. In the teaspoon, I thought it was one whole bud-top and got a little worried that each of your cuts was that size lol. Nah man you got this all the way. I remember LA saying "My friend who had years experience told me it was like the bud hitting a barrier, such as another branch! He advised me to take 3 white hairs and a couple of the tiny green points off end of buds!". But yeah, just phenomenal work.
Thanks! I was scrolling back through my phone and couldn't believe it, here is what they looked like about 1 month ago in the 1st week of flower:
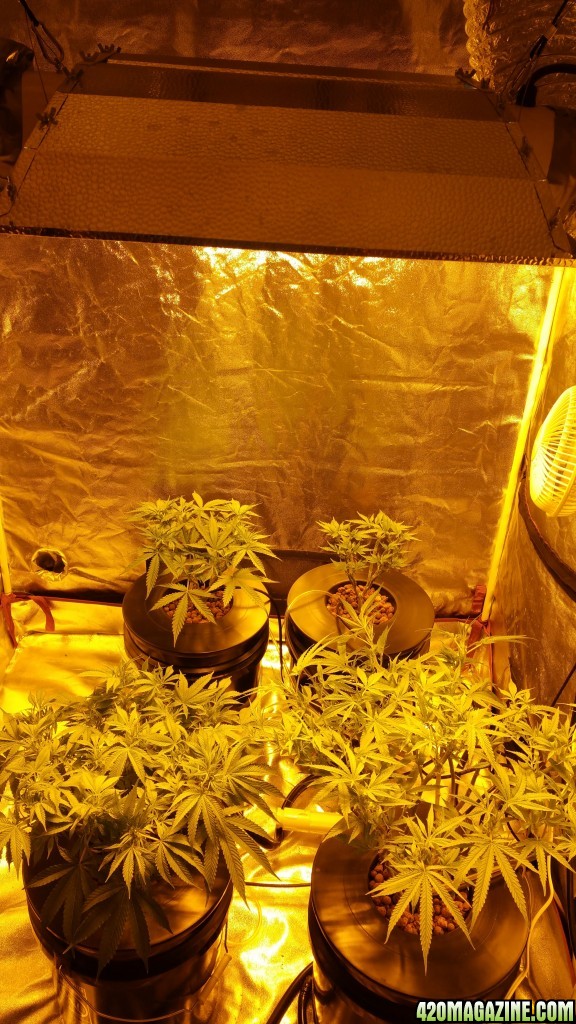
Sniff....cry...they grow up so fast!!

I may not make a slingshot - but I am stealing that idea to make artwork .
Awesome!! The fibers on the outer bark are super tough and pliable too, you could totally make them into cloth or twine to accentuate whatever you craft with the stem.

Looking good! The back building will bring you fat colas for sure!

Woohoo thanks! Also, have some good news, Yaddle (the soil plant) is still alive and green! I took notes from your grows and she is doing well, so thank you sir

Yeah, I think I remember reading that on LA's thread as well.
Essentially, backbuilding is breaking the apical dominance of the bud/stem. This means that instead of the plant sending most of its energy/growth hormones to the top growth tip, they are spread out more evenly across all the buds on that cola, causing it to be shorter, but thicker. I am happy to trade a bit of length for more "girth".
It would be really neat though for someone do a side by side with clones to see if it makes a yield difference, and also compare potency
Sounds like you figured out your next experiment!! LOL
- Thread starter
- #200
TheFrizz
Well-Known Member
Hello friends, as of today I am officially engaged!! My boyfriend of 5 years proposed with a ring that he crafted by hand 
Now it's time for me to make one for him!! This will be so much fun

Now it's time for me to make one for him!! This will be so much fun


