First off I want to thank all of you here at 420magazine.com who have created a superb place to learn how to grow. I have spent many months reading, learning, planning and designing and without resources like this available I would not have gotten anywhere, so thank you.
I've wanted to grow my own Cannabis for a long time (almost since I started smoking) and this year I finally decided to go ahead and give it a go. I began planning/designing back in March and have just now gotten to the point where I am building my cabinet. At the end of this month I hope to be well within my first grow (sharing the whole experience of course with all of you in a grow journal )
)
The main theme of this cab is stealth. I designed it to fit in my closet and to be sealed so that I can hopefully eliminate all smells. My greatest ally in the design phase was Google SketchUp, it's an awesome free 3D modeling program and was immensely helpful.
Here are the final mock ups of my closet and cabinet.
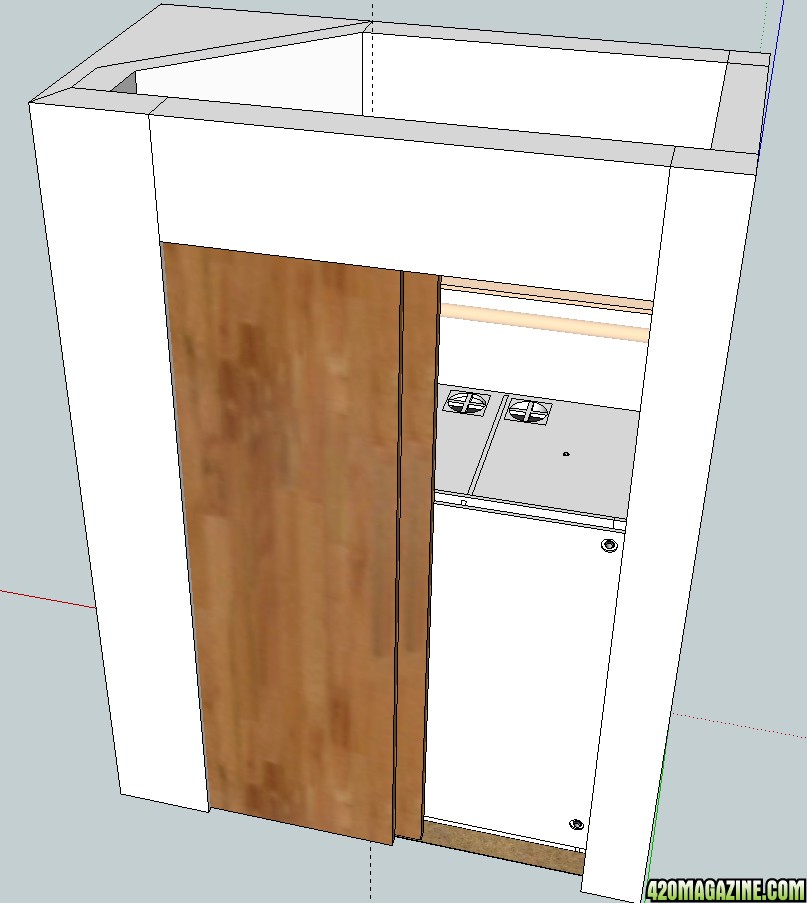
Yes, I know the closet door covers a good part of the cabinet, fortunately for me the doors are very easy to remove so I'll just be taking them off when I need to access the cabinet.
And now let's take a look inside.
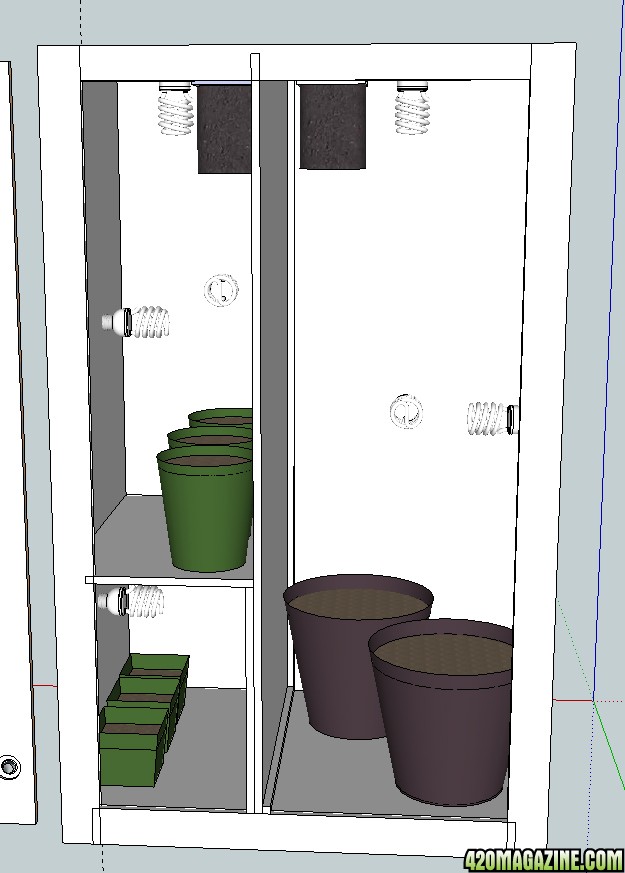
As you can see I have 2 separate chambers; one of course for cloning/vegging and the other for the big beautiful females to flower. If possible I'm going to be trying to make the middle divider removable so that the times when both cycles have lights on they can share the light, if I can't get it to work as a removable panel then I will just make it permanent.
The big black things you see at the top are my carbon filters (more on those later) one for each side, along with an intake hole at the bottom of each side. All of the CFLs will be adjustable to keep them close to the plants.
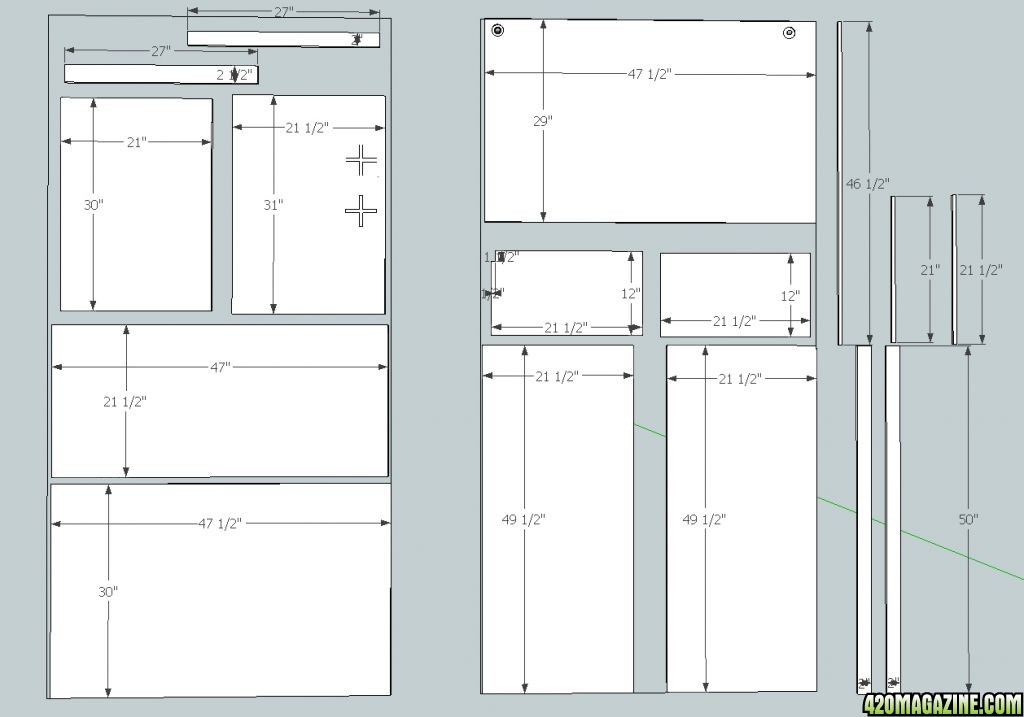
This is a pic of how I figured out all the sizes for the pieces to the cab, basically I pulled the cabinet apart and laid the pieces out on a 4' x 8' sheet.
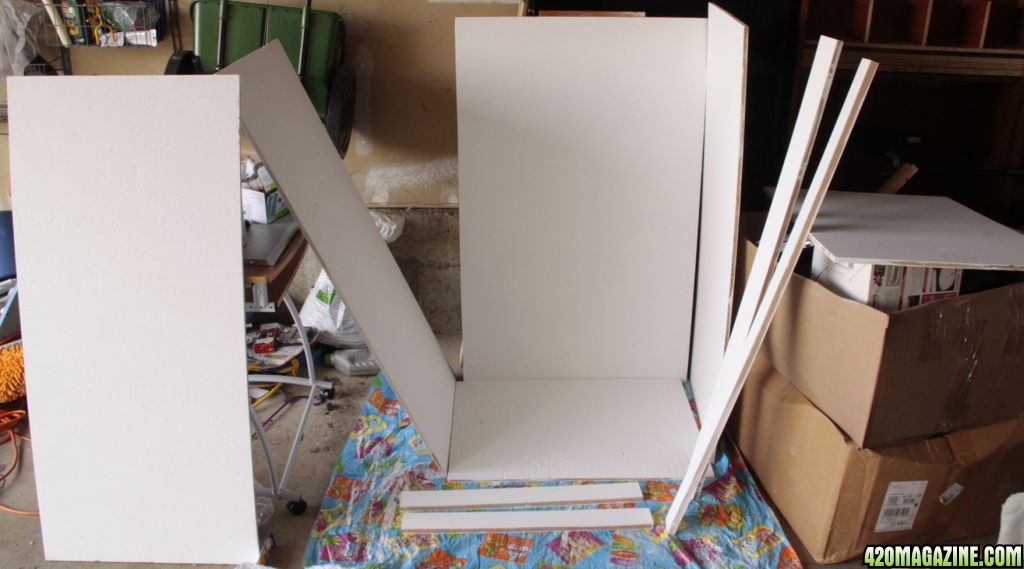
Here are all the pieces cut and painted.
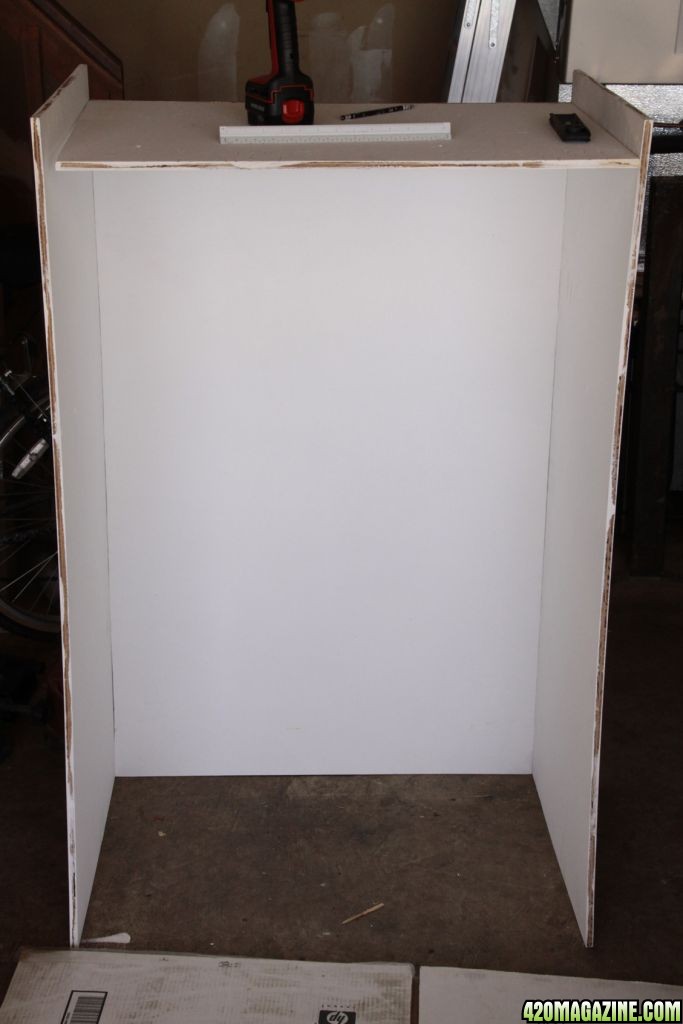
Here is the cabinet being assembled (its upside down in this pic)
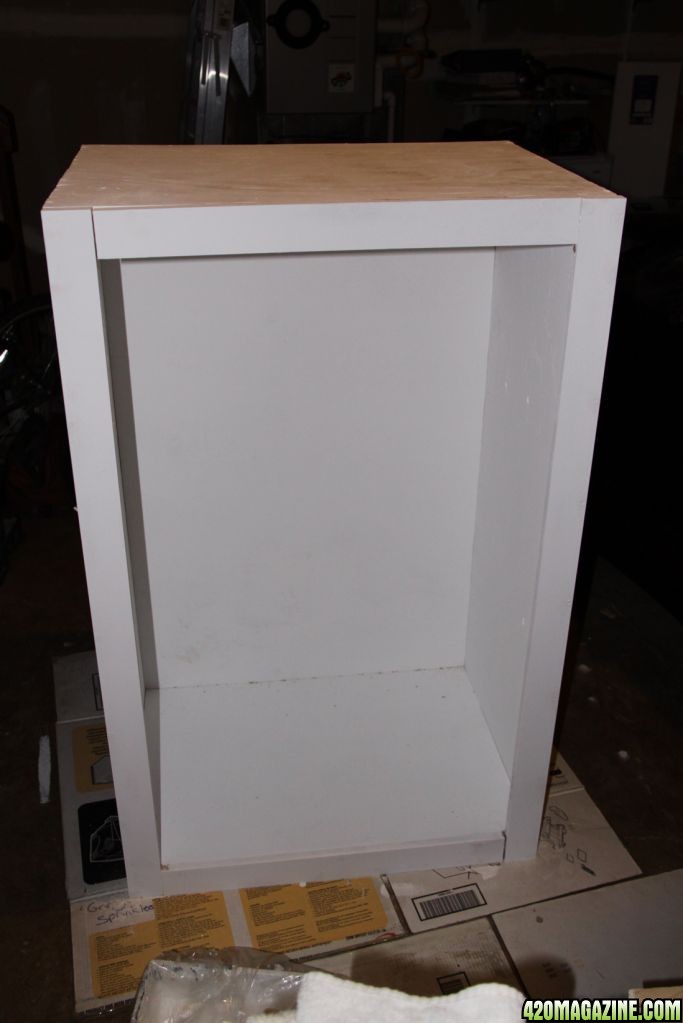
And here is the outer structure fully assembled.
In the closet with all the seams sealed with caulk.
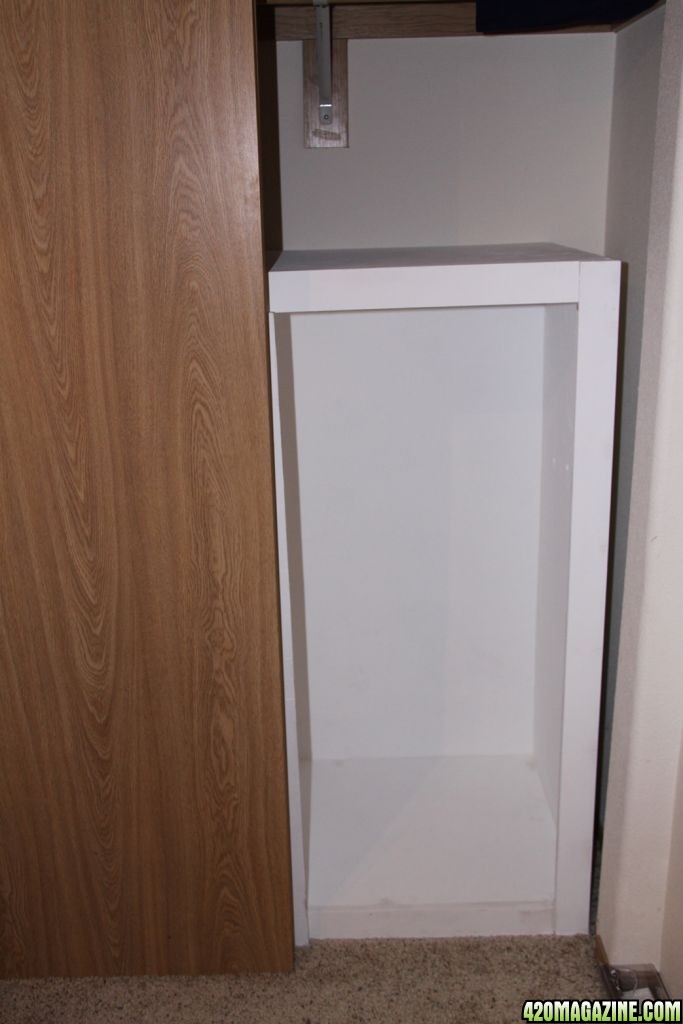
I used half inch plywood to build the cabinet and I don't recommend it, I wish I would have used ¾ in for a couple of reasons, the wood warps fairly easily and it's harder to screw together but I got mine for free so I can't complain too much.
Obviously I still have a lot left to do on the cabinet; I still have to cut the holes for the fans and the passive intake, also need to install the shelf on the veg side.
Here is what I have so far for the fans and odor control
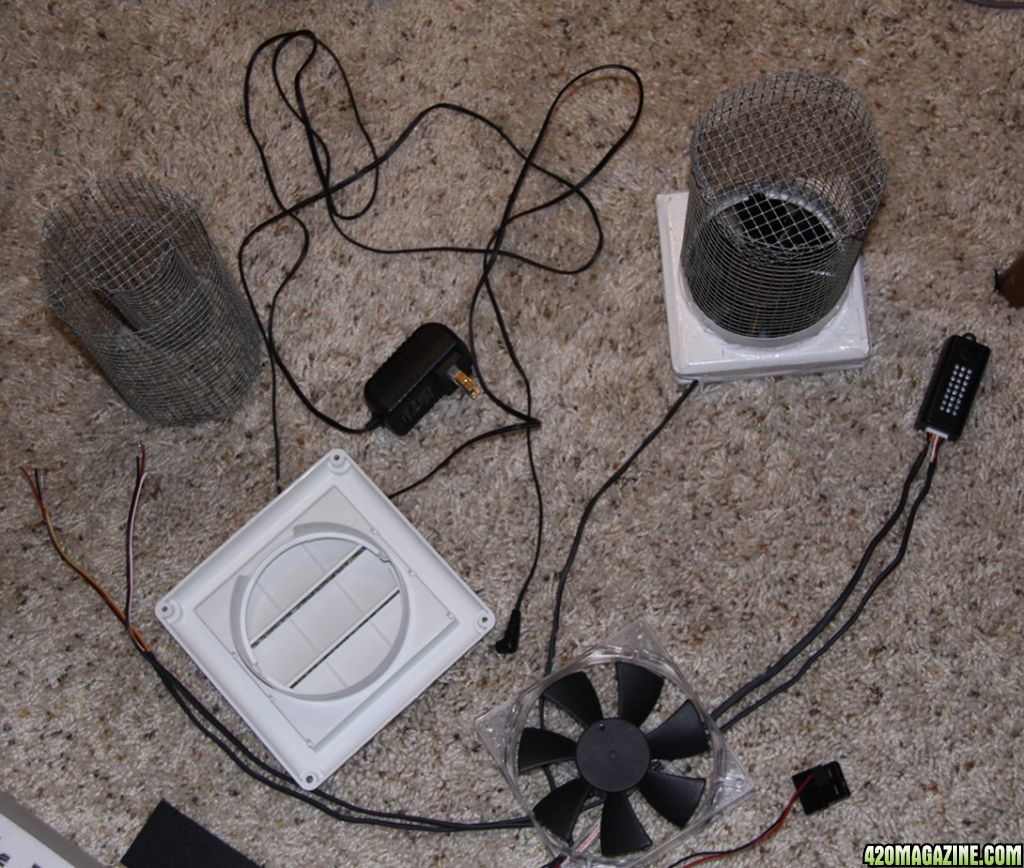
there are two 120mm computer fans that I had along with a fan controller. For power I am going to be using a 12v adapter. To attach the air scrubber I cut a dryer vent hood and duct taped it to the fan, the vent hood is excellent because it has clips on the inside that grip the mesh and will make for very easy removal of the filters for maintenance.
Here is closer look at the wire mesh cylinders.
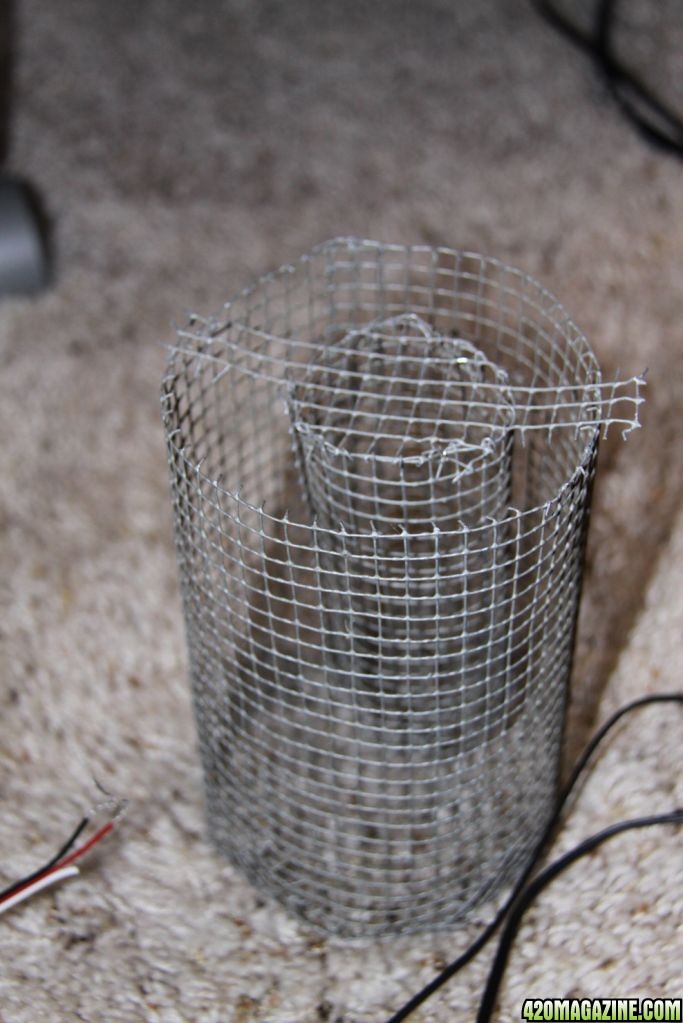
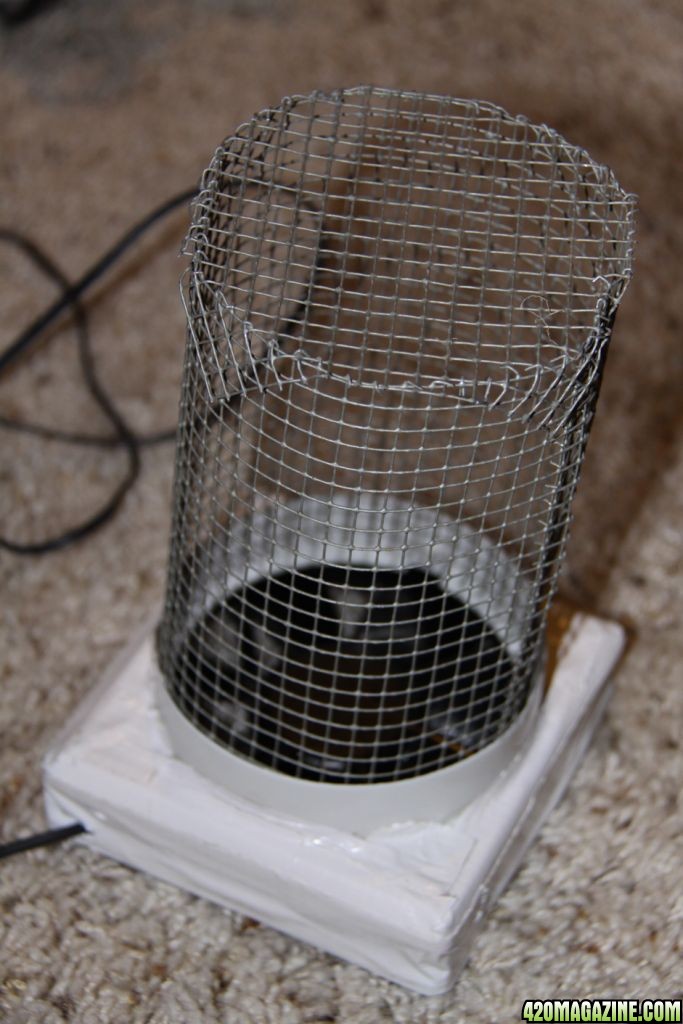
I will be covering all wire mesh with cut to size pre filters (still waiting on UPS for that one) and then filling the larger cylinder with activated charcoal. I did some tests with various layers of cloth over the fan and it seems to have great air flow so I have high hopes that these filters will be a success.
My goal at this point is to have the cabinet 99% done before my vacation on the 13th and then to start my grow right away when I come back.
Thanks for stopping by to check out my work, I will be posting more pics as I get things done this upcoming week. Any and all suggestions are welcome.
Have a very merry 4th!
I've wanted to grow my own Cannabis for a long time (almost since I started smoking) and this year I finally decided to go ahead and give it a go. I began planning/designing back in March and have just now gotten to the point where I am building my cabinet. At the end of this month I hope to be well within my first grow (sharing the whole experience of course with all of you in a grow journal
 )
)The main theme of this cab is stealth. I designed it to fit in my closet and to be sealed so that I can hopefully eliminate all smells. My greatest ally in the design phase was Google SketchUp, it's an awesome free 3D modeling program and was immensely helpful.
Here are the final mock ups of my closet and cabinet.

Yes, I know the closet door covers a good part of the cabinet, fortunately for me the doors are very easy to remove so I'll just be taking them off when I need to access the cabinet.
And now let's take a look inside.

As you can see I have 2 separate chambers; one of course for cloning/vegging and the other for the big beautiful females to flower. If possible I'm going to be trying to make the middle divider removable so that the times when both cycles have lights on they can share the light, if I can't get it to work as a removable panel then I will just make it permanent.
The big black things you see at the top are my carbon filters (more on those later) one for each side, along with an intake hole at the bottom of each side. All of the CFLs will be adjustable to keep them close to the plants.
This is a pic of how I figured out all the sizes for the pieces to the cab, basically I pulled the cabinet apart and laid the pieces out on a 4' x 8' sheet.

Here are all the pieces cut and painted.
Here is the cabinet being assembled (its upside down in this pic)
And here is the outer structure fully assembled.
In the closet with all the seams sealed with caulk.

I used half inch plywood to build the cabinet and I don't recommend it, I wish I would have used ¾ in for a couple of reasons, the wood warps fairly easily and it's harder to screw together but I got mine for free so I can't complain too much.
Obviously I still have a lot left to do on the cabinet; I still have to cut the holes for the fans and the passive intake, also need to install the shelf on the veg side.
Here is what I have so far for the fans and odor control

there are two 120mm computer fans that I had along with a fan controller. For power I am going to be using a 12v adapter. To attach the air scrubber I cut a dryer vent hood and duct taped it to the fan, the vent hood is excellent because it has clips on the inside that grip the mesh and will make for very easy removal of the filters for maintenance.
Here is closer look at the wire mesh cylinders.


I will be covering all wire mesh with cut to size pre filters (still waiting on UPS for that one) and then filling the larger cylinder with activated charcoal. I did some tests with various layers of cloth over the fan and it seems to have great air flow so I have high hopes that these filters will be a success.
My goal at this point is to have the cabinet 99% done before my vacation on the 13th and then to start my grow right away when I come back.
Thanks for stopping by to check out my work, I will be posting more pics as I get things done this upcoming week. Any and all suggestions are welcome.
Have a very merry 4th!


