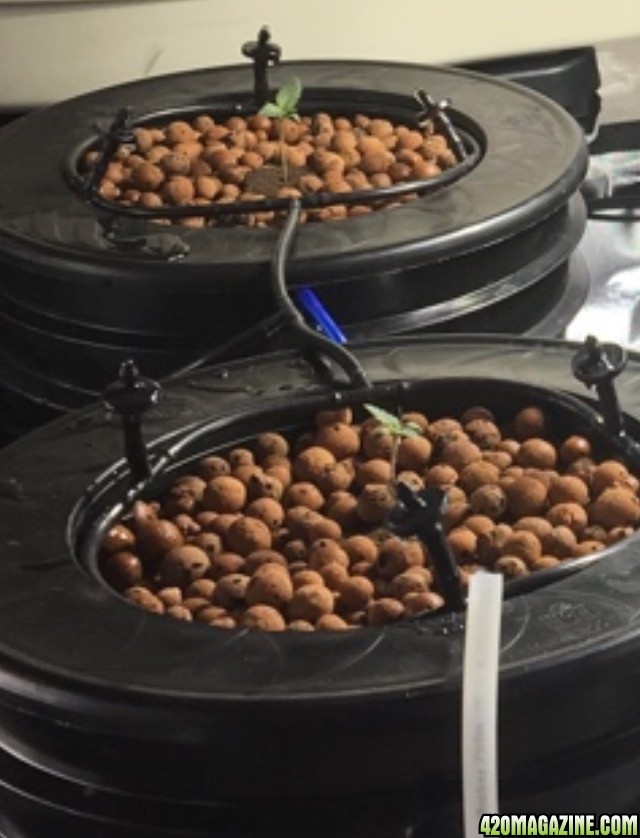
BedroomFarmer
Well-Known Member
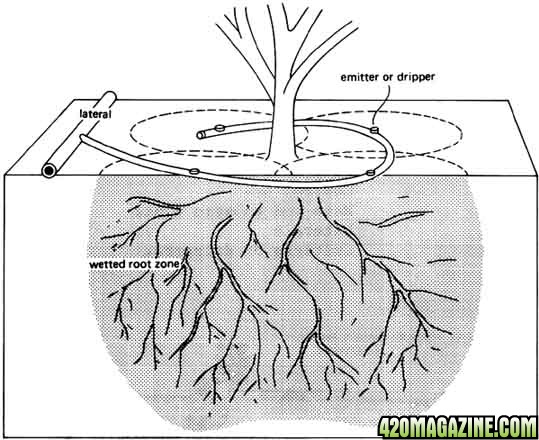
How I made my drip system, hope it helps. There are many ways to skin a cat but this works for me.
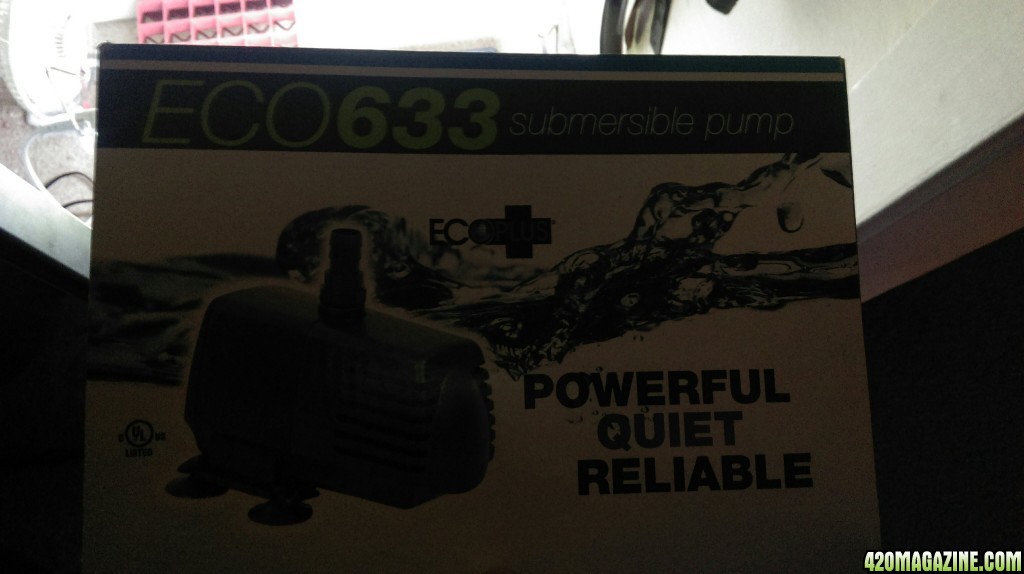
You need a pump. I use a Eco 633 gph pump. You have to pay attention to the head height. This one says 7.5'.
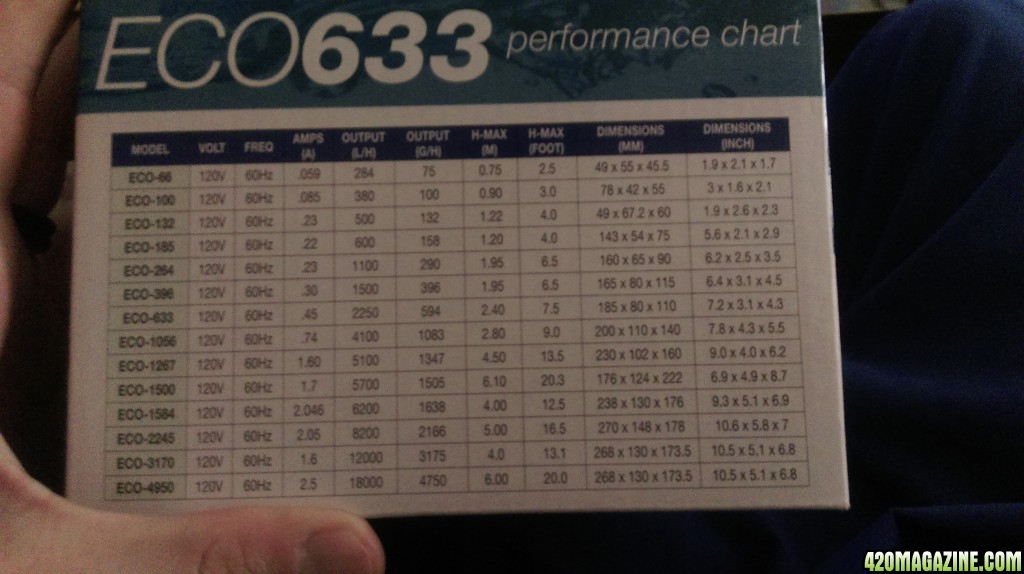
That means this pump will push water vertically up to 7.5'. This is important if your rez is tall you want to make sure you have good pressure. I've ran this pump from 4 to 9 plants no problem.
These are the types of fittings for your mainline 1/2" tubing. You have compression fitting (I use)
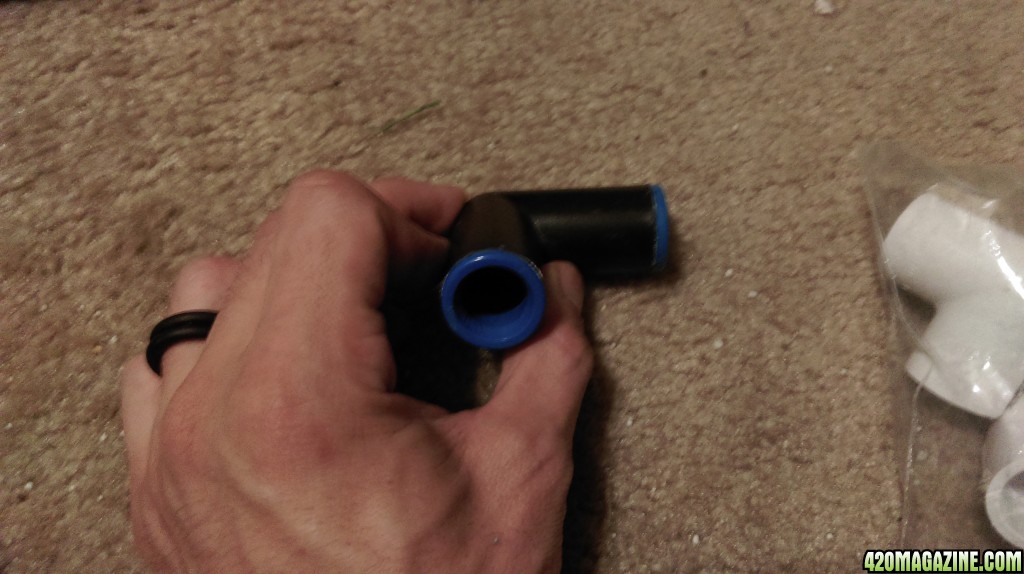
And you have 1/2" barbs. This one has a valve to stop water. They sell ones without the ball valve.
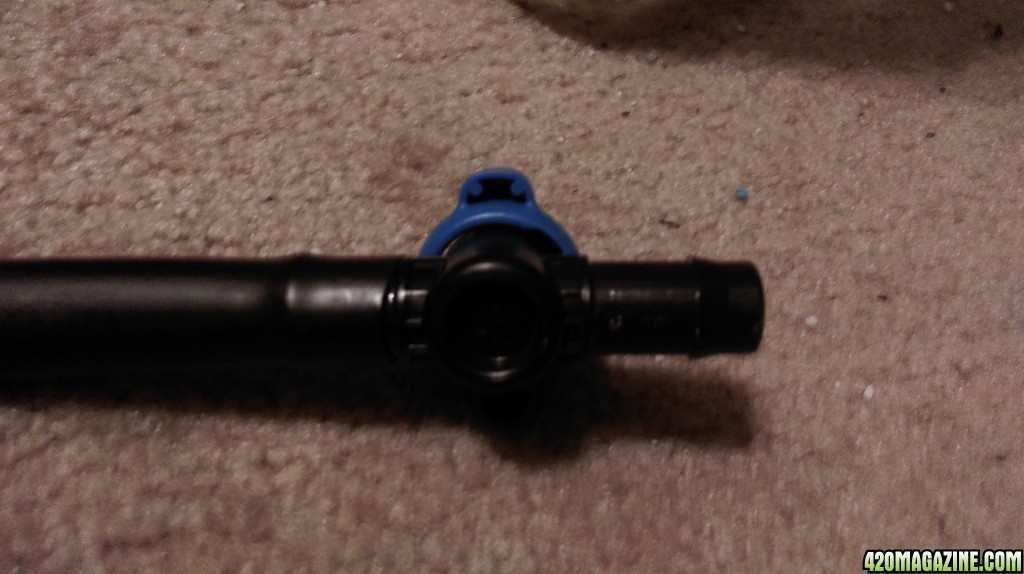
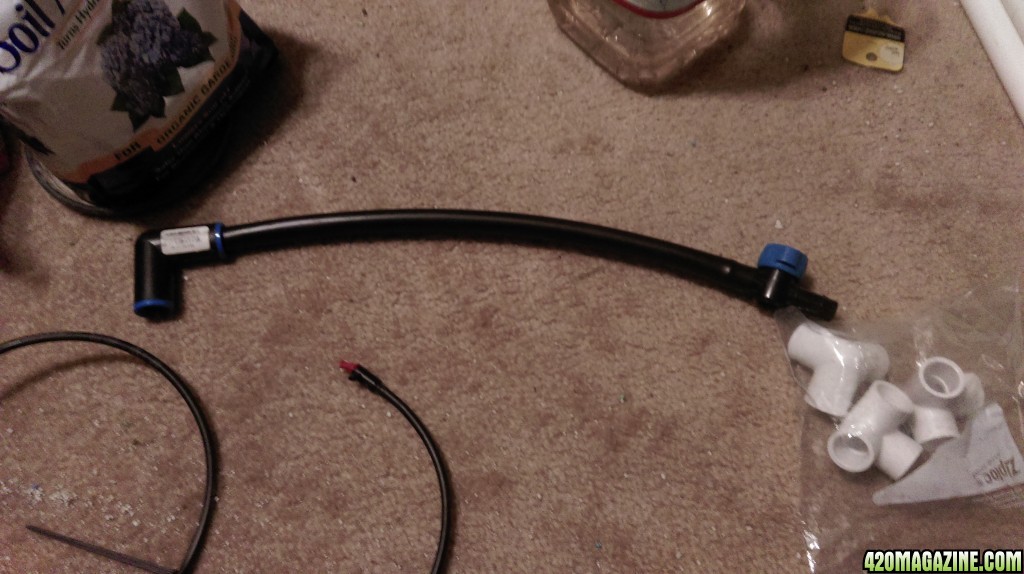
Here is what the 1/2" barb and the 1/2" compression fitting look like on the 1/2" mainline tubing.
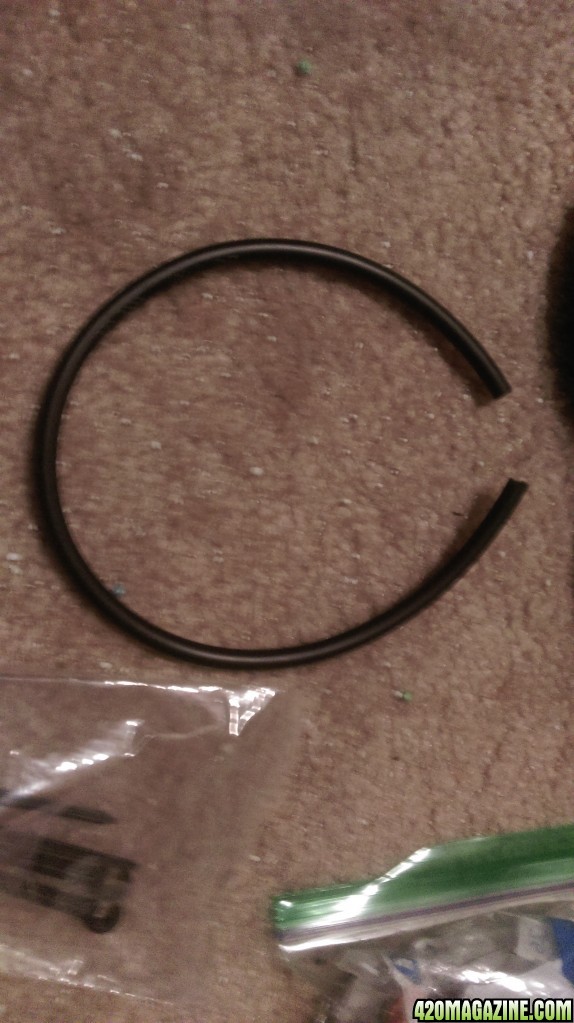
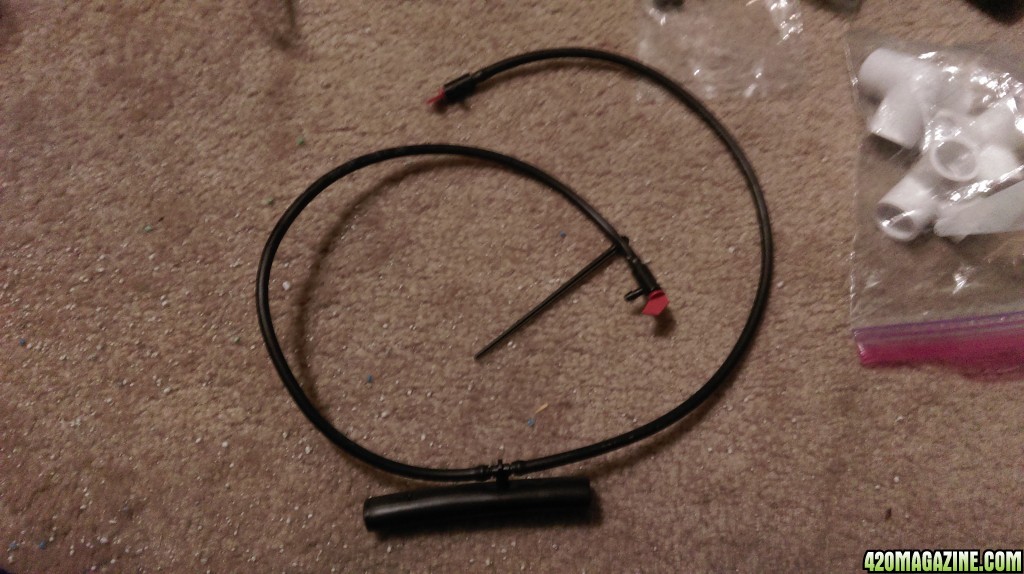
Here we have your driper tubing/ spaghetti line. It comes in a roll it's 1/4" tubing that comes out of the 1/2" mainline and goes into your pot
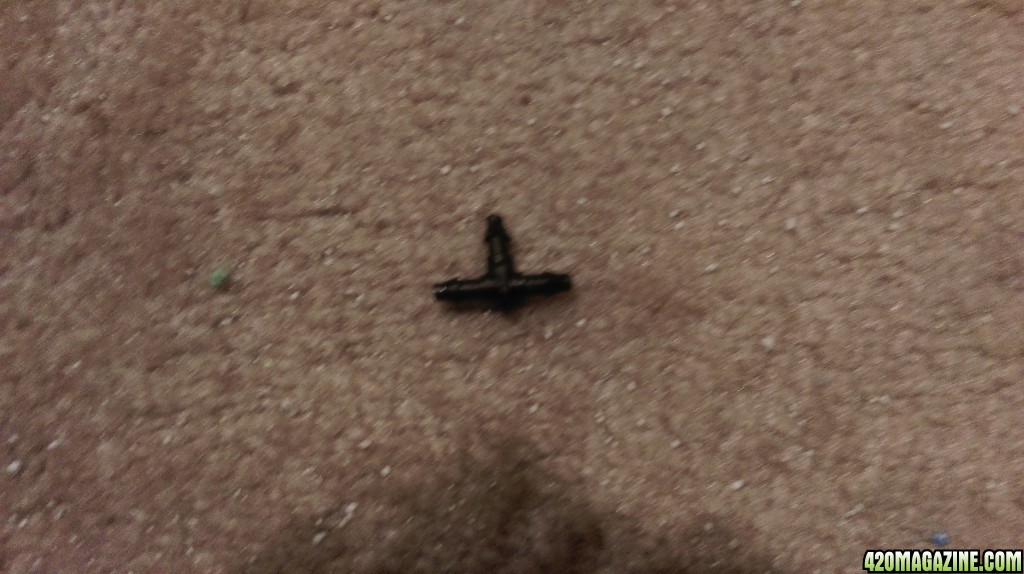
Here is 1/4" barb. I use the T type but the have ones with only two barbs. These go into your mainline to connect to the 1/4" tubing
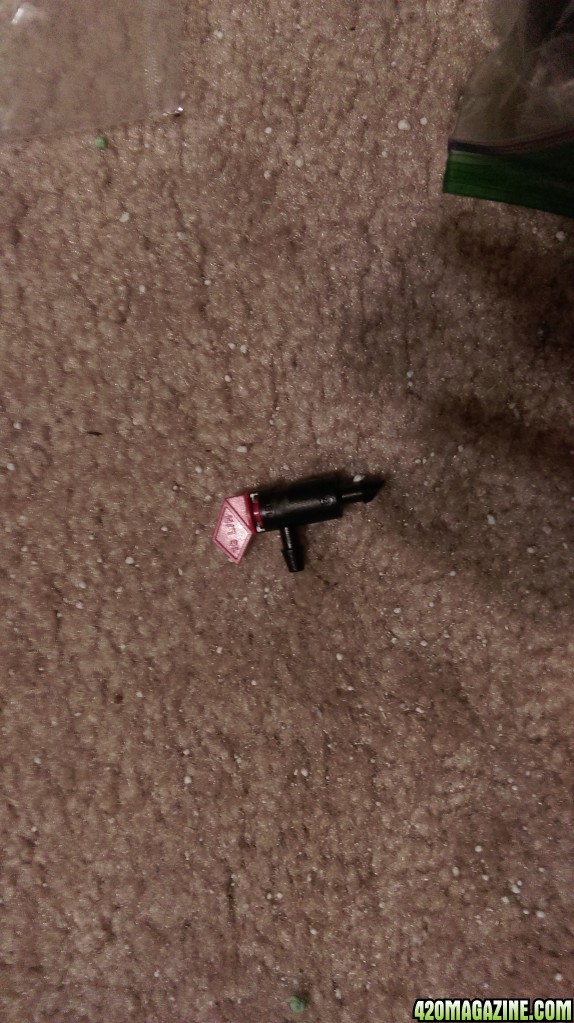
Dripper. Since I'm not using a big pump like a sump pump I cannot use the normal drip irrigation products. Stuff like Manifolds, pressure compensating drippers or button emitters, and antisiphon valves may not work since there is not much pressure in these little pumps. I use these flag emitters because they are pretty much free flow and you can open them to clean if it gets clogged! You can use anything you like. Halos, steaks, even make a ring with 1/4" tubing.
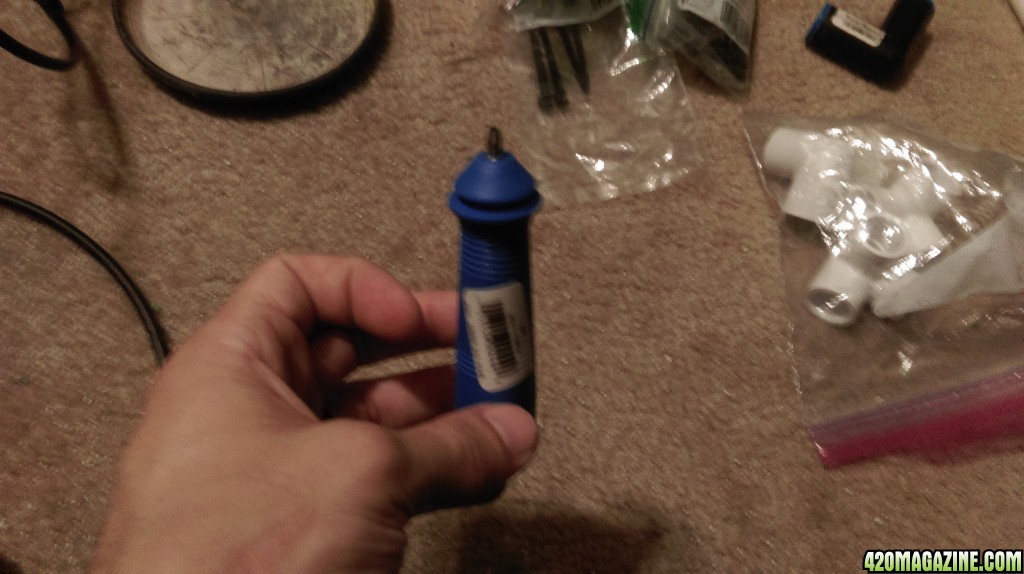
1/4" punch. This is what your use to punch a hole into your 1/2" mainline so you can put a 1/4" barb and connect the 1/4" spaghetti tube.
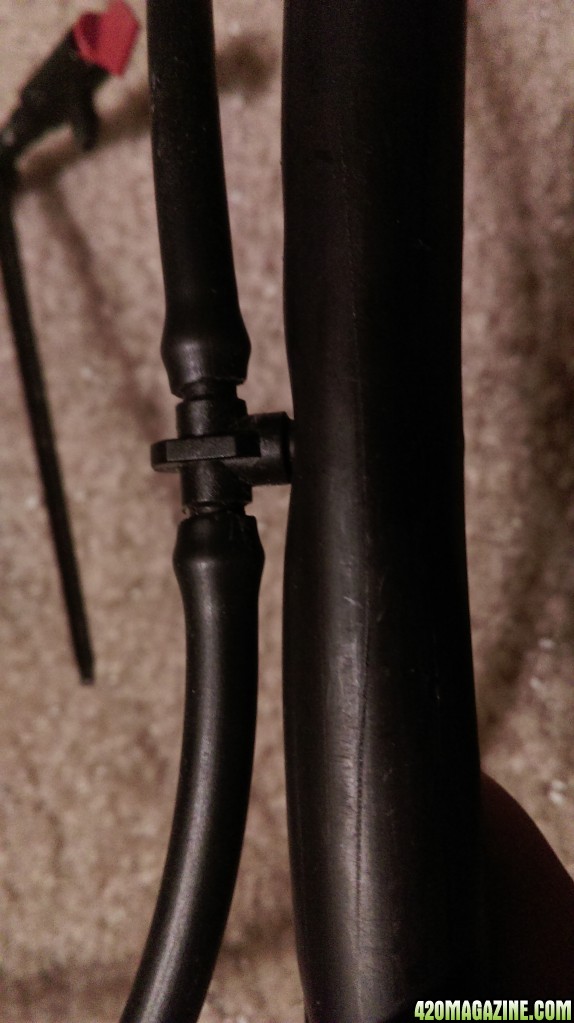
Here is what it looks like all connected. 1/2" mainline tubing. Either poly or vinyl. I use poly 1/2" because it's rigid and can stand up on its own. I punched a hole with the blue punch. Push in my barb and push on the 1/4" spaghetti/ feeder tubing.
It ends up being water tight. I have leaks sometimes but I just wiggle the 1/4" barb until it makes a good seal.
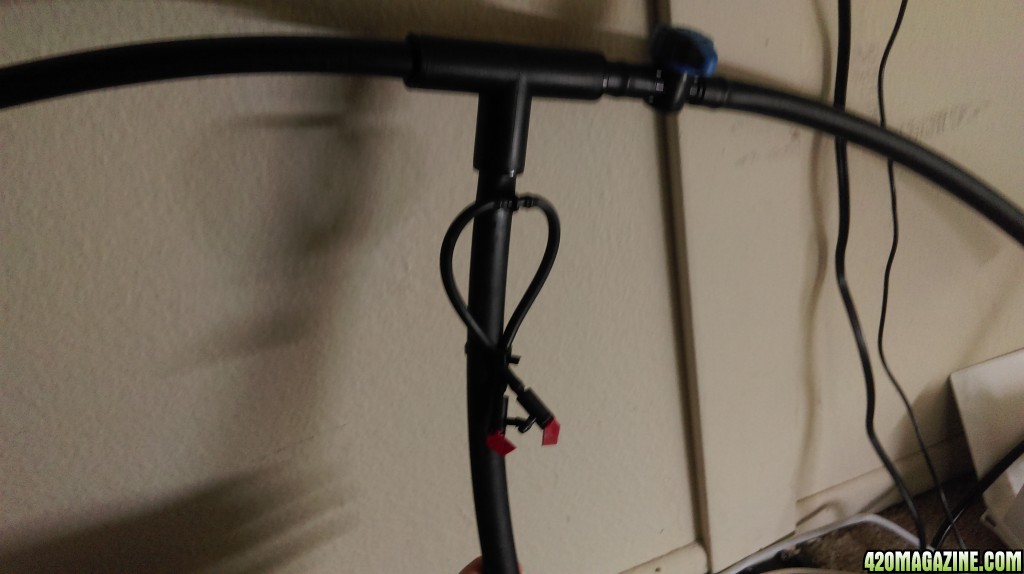
Here we have the 1/2" mainline that comes out of my rez. I punched a hole put a barb, some spaghetti tube, and my flag drippers. This allows air to enter the tubes once the pump shuts off. If you don't add an anti siphon hole in your tube once the pump shuts off you will continue to be irrigating your plants or flood your room.
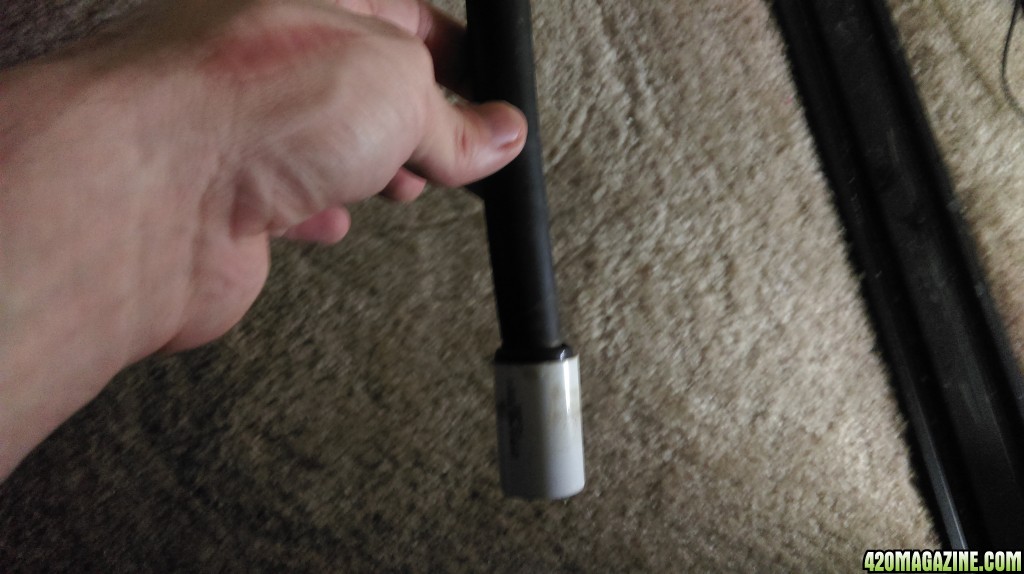
Ok so back to barbs and compression fittings. You can use a barb that comes with the pump. screw it into the pump and push the 1/2" tubing in. For me. This didn't work. My barbs were the exact same size as my 1/2" tube so I ended up with a compression fitting. One side goes on the tube the other slips into a female pvc piece.
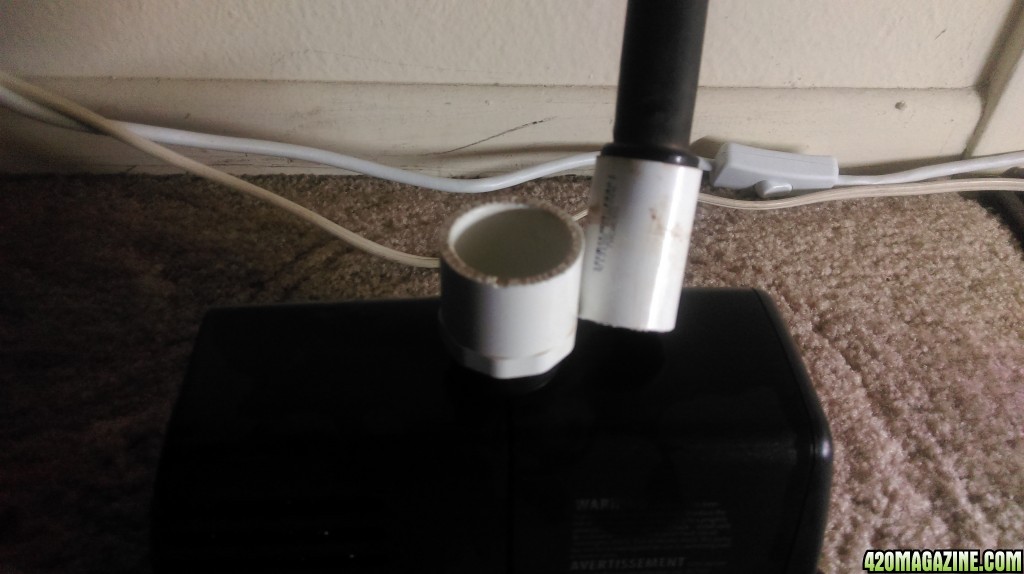
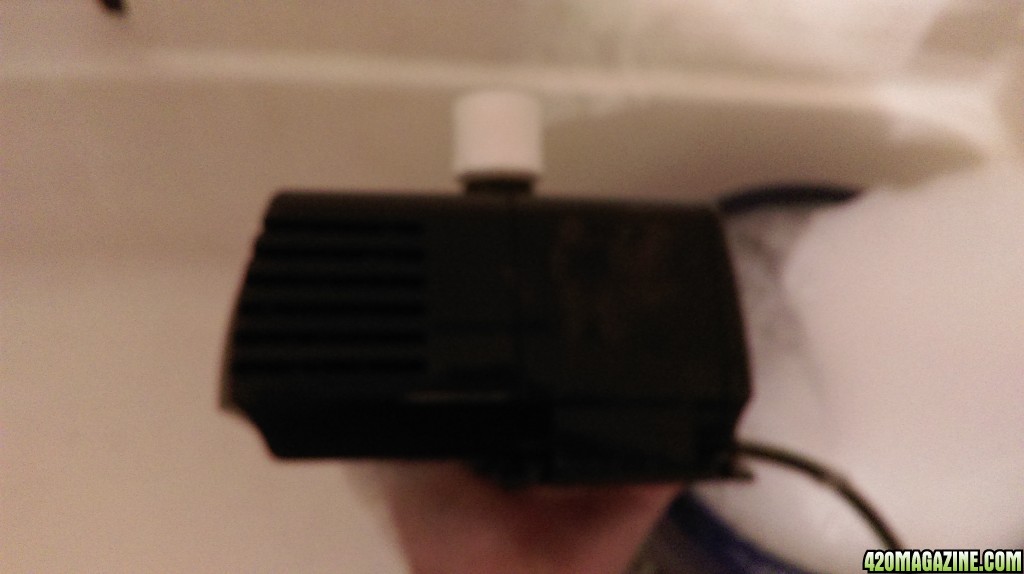
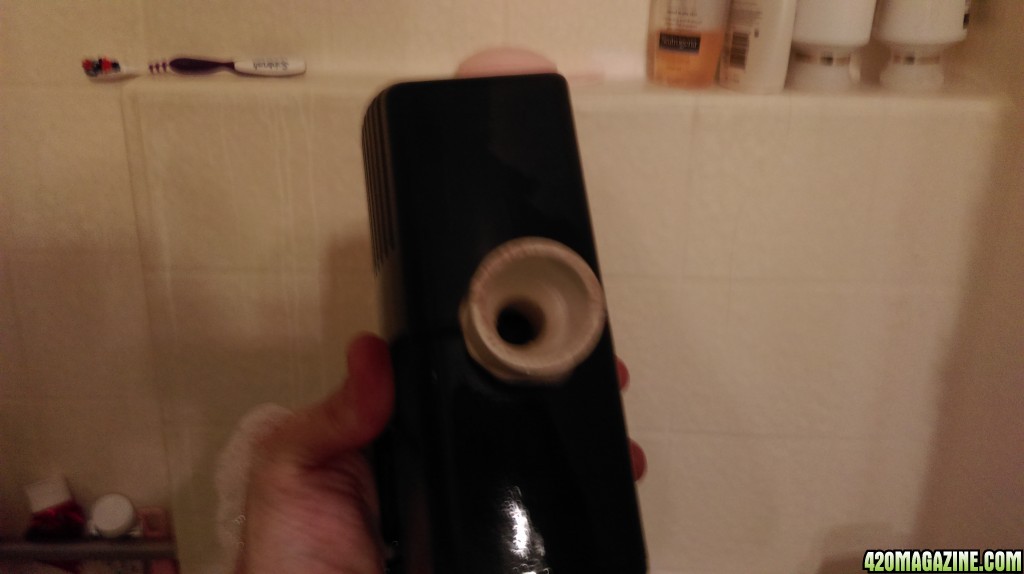
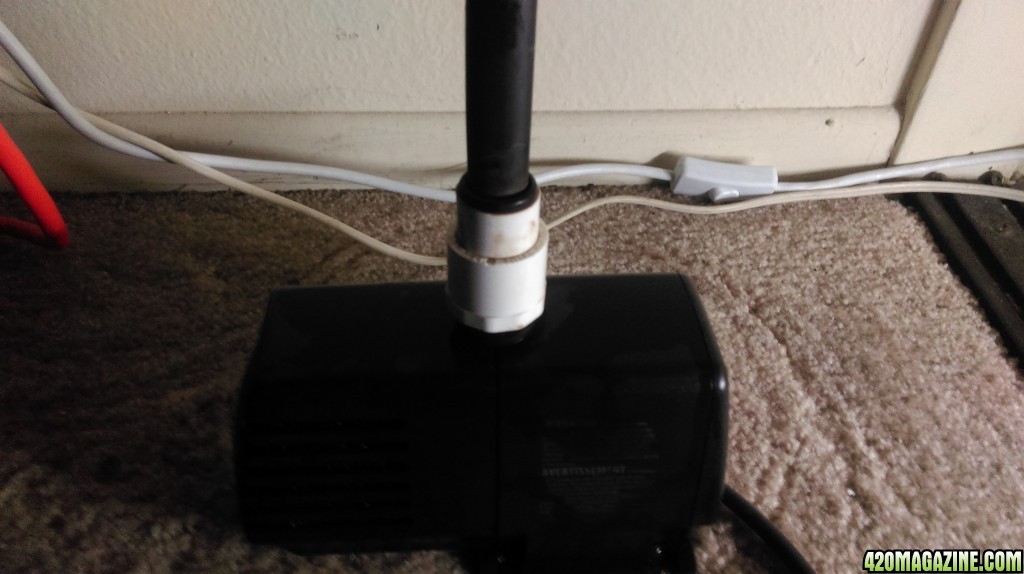
I'm using a pvc part. One side is threaded and screws into the pump the other side is female and the compression fitting slides in there. I like this because it makes it easy to dismantle for cleaning.
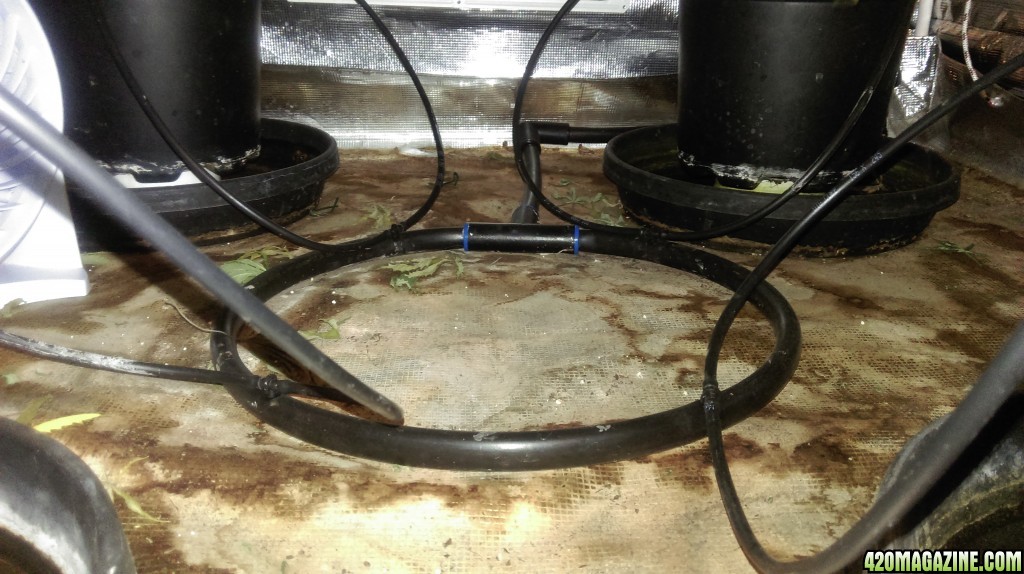
Now you make your layout. No matter what it can never be straight tubing. If you want even waterings to your girls you have to have the 1/2" mainline loop into itself. I've done a rectangle with 9 plants. This works for my current 4. Use your punch to make your holes. Make sure they are equally spaced I think it was 8-12" being ideal.
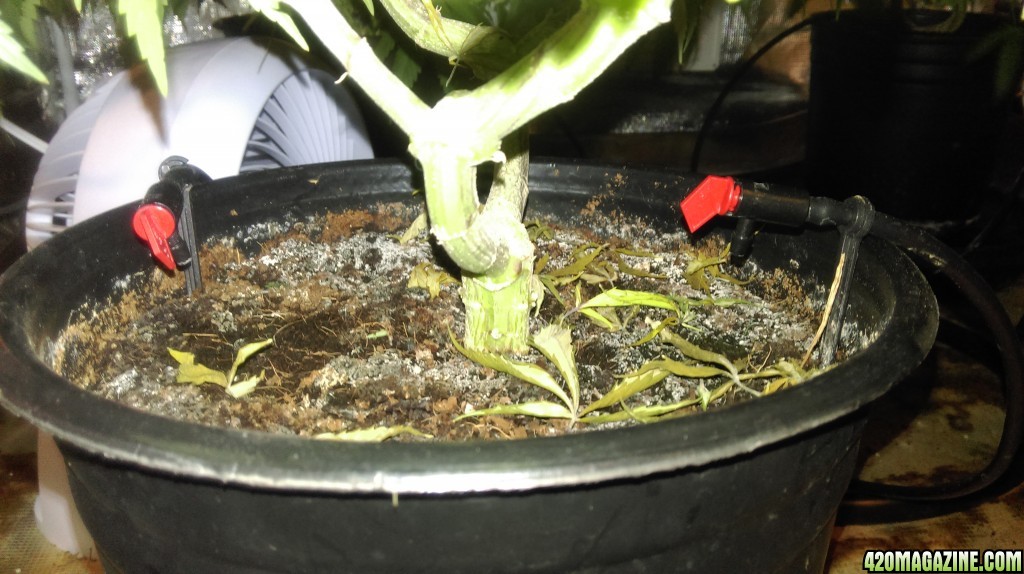
Put on your choice of emitters or drippers. I liked the flag ones. Home depot had a few different ones, I went with the most open ones. You can run open lines but a lot of water came out pretty quick. Their are many other styles of drippers. Here they are steaked into the pot
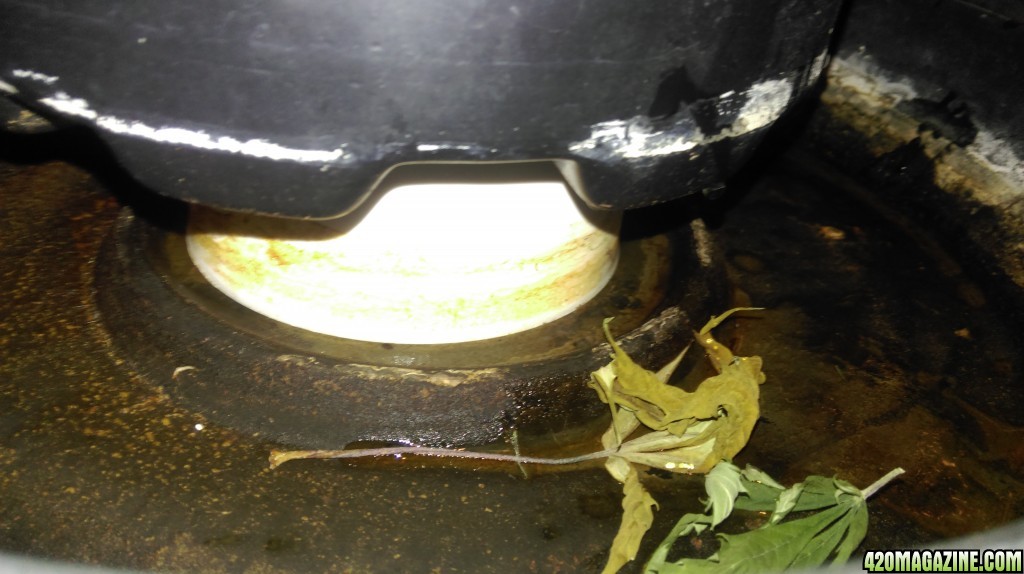
Elevate your pot so it's not sitting in dirty water.
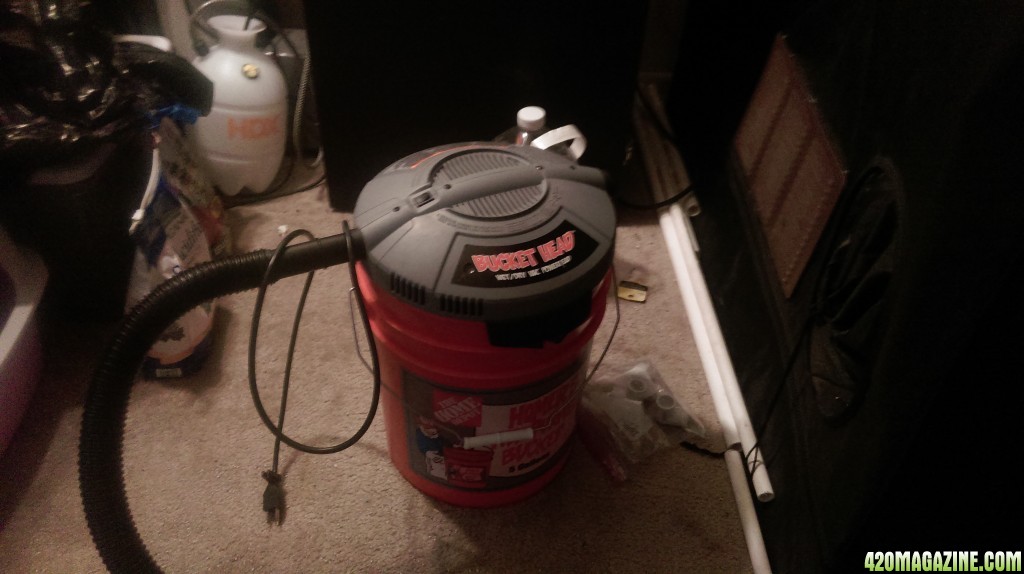
Wet/dry vac for the saucers.
Once you set up your system put some cups under each dripper. Turn on your system and make sure each cup is filled the same amount at the same time. Also note you don't need to have two 1/4" lines like I have it but I wasn't going to buy two different sets of barbs. Now put in your plants. Turn on your system and see how long it takes to get run off. Buy a seconds or 1 minutes timer based on that. Not the 15 min cycle timer. I have a seconds timer and run between 1- 2:45min 3-4 times a day. Your going to want a strong air pump or another small fountain pump to stir your nutrients. I use a air pump because the 100gph pump I was using got my water hot. Think about what rez your going to use. I have a brute trash can. It's nice because it's not too wide. I'm able to get down to 3-5 gal of water in that trash can before the pump doesn't work. I also use a 5gal bucket and I can get that down to 1-2 gal before the pump can't pick up anymore water. If you have a long container you may not be able to fully utilize it.
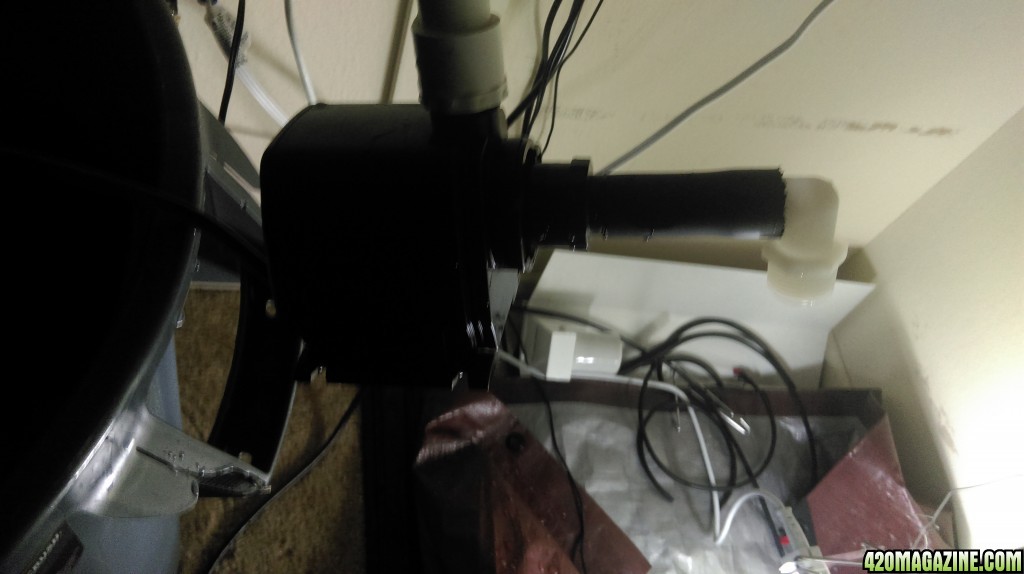
I made a little mod on my pump to suck more water then before. It's still going through trials though. Just a barb that goes onto the ecopump into the mainline and a elbow barb

You need a pump. I use a Eco 633 gph pump. You have to pay attention to the head height. This one says 7.5'.

That means this pump will push water vertically up to 7.5'. This is important if your rez is tall you want to make sure you have good pressure. I've ran this pump from 4 to 9 plants no problem.
These are the types of fittings for your mainline 1/2" tubing. You have compression fitting (I use)

And you have 1/2" barbs. This one has a valve to stop water. They sell ones without the ball valve.


Here is what the 1/2" barb and the 1/2" compression fitting look like on the 1/2" mainline tubing.

Here we have your driper tubing/ spaghetti line. It comes in a roll it's 1/4" tubing that comes out of the 1/2" mainline and goes into your pot

Here is 1/4" barb. I use the T type but the have ones with only two barbs. These go into your mainline to connect to the 1/4" tubing

Dripper. Since I'm not using a big pump like a sump pump I cannot use the normal drip irrigation products. Stuff like Manifolds, pressure compensating drippers or button emitters, and antisiphon valves may not work since there is not much pressure in these little pumps. I use these flag emitters because they are pretty much free flow and you can open them to clean if it gets clogged! You can use anything you like. Halos, steaks, even make a ring with 1/4" tubing.

1/4" punch. This is what your use to punch a hole into your 1/2" mainline so you can put a 1/4" barb and connect the 1/4" spaghetti tube.

Here is what it looks like all connected. 1/2" mainline tubing. Either poly or vinyl. I use poly 1/2" because it's rigid and can stand up on its own. I punched a hole with the blue punch. Push in my barb and push on the 1/4" spaghetti/ feeder tubing.

It ends up being water tight. I have leaks sometimes but I just wiggle the 1/4" barb until it makes a good seal.

Here we have the 1/2" mainline that comes out of my rez. I punched a hole put a barb, some spaghetti tube, and my flag drippers. This allows air to enter the tubes once the pump shuts off. If you don't add an anti siphon hole in your tube once the pump shuts off you will continue to be irrigating your plants or flood your room.

Ok so back to barbs and compression fittings. You can use a barb that comes with the pump. screw it into the pump and push the 1/2" tubing in. For me. This didn't work. My barbs were the exact same size as my 1/2" tube so I ended up with a compression fitting. One side goes on the tube the other slips into a female pvc piece.


I'm using a pvc part. One side is threaded and screws into the pump the other side is female and the compression fitting slides in there. I like this because it makes it easy to dismantle for cleaning.

Now you make your layout. No matter what it can never be straight tubing. If you want even waterings to your girls you have to have the 1/2" mainline loop into itself. I've done a rectangle with 9 plants. This works for my current 4. Use your punch to make your holes. Make sure they are equally spaced I think it was 8-12" being ideal.

Put on your choice of emitters or drippers. I liked the flag ones. Home depot had a few different ones, I went with the most open ones. You can run open lines but a lot of water came out pretty quick. Their are many other styles of drippers. Here they are steaked into the pot

Elevate your pot so it's not sitting in dirty water.

Wet/dry vac for the saucers.
Once you set up your system put some cups under each dripper. Turn on your system and make sure each cup is filled the same amount at the same time. Also note you don't need to have two 1/4" lines like I have it but I wasn't going to buy two different sets of barbs. Now put in your plants. Turn on your system and see how long it takes to get run off. Buy a seconds or 1 minutes timer based on that. Not the 15 min cycle timer. I have a seconds timer and run between 1- 2:45min 3-4 times a day. Your going to want a strong air pump or another small fountain pump to stir your nutrients. I use a air pump because the 100gph pump I was using got my water hot. Think about what rez your going to use. I have a brute trash can. It's nice because it's not too wide. I'm able to get down to 3-5 gal of water in that trash can before the pump doesn't work. I also use a 5gal bucket and I can get that down to 1-2 gal before the pump can't pick up anymore water. If you have a long container you may not be able to fully utilize it.

I made a little mod on my pump to suck more water then before. It's still going through trials though. Just a barb that goes onto the ecopump into the mainline and a elbow barb


 Make sure it's pic heavy!!