Shiggityflip Hits The Brix - Growing Using High Brix Soil

good luck :smoke2:
 
This is going to be educational, like school house rock baby!:nomo:


:) I'm just a bill...yes I'm only a bill....sitting here on Capitol Hill...:high-five:
 
I don't think you have anything to worry about ShiggityFlip. Have you seen the little paint buckets I use for my drenches in the one-gallon pots? I found them at the local big-box hardware and home improvement. Those are the perfect size for this job. I highly recommend them. Not only are they the perfect size but they have handles, which came in so handy more than once. I have two, which turned out to be perfect for me because I did mine individually, so as one was soaking I was preparing the second. By the time the second one was soaking it was time to drain the first. It worked into a lovely dance in the end.

I just tore my root balls apart and this system grows some monster roots. Your plants will love you for it and reward you with some of the best produce you have ever indulged in. Keep up the good work. You're making it like school around here. It warms my educator's heart.

Oh yes, I didn't notice any answer to your question. Growth Energy is at 4-5 nodes. I waited until 5.
 
Oh, thank you. You're going to make this Kit look so good it's going to be irrestible to those sitting on the fence. Even though my heart belongs to my worm-filled no-tills, growing with Doc's Kit was so exciting I'll always recommend it. Once you get the hang of it, the simplicity is stunning and the plants..... Well, you'll see. :battingeyelashes: You've enough natural talent this will be easy for you to catch. I'm going to enjoy your excitement when they take off on you.
 
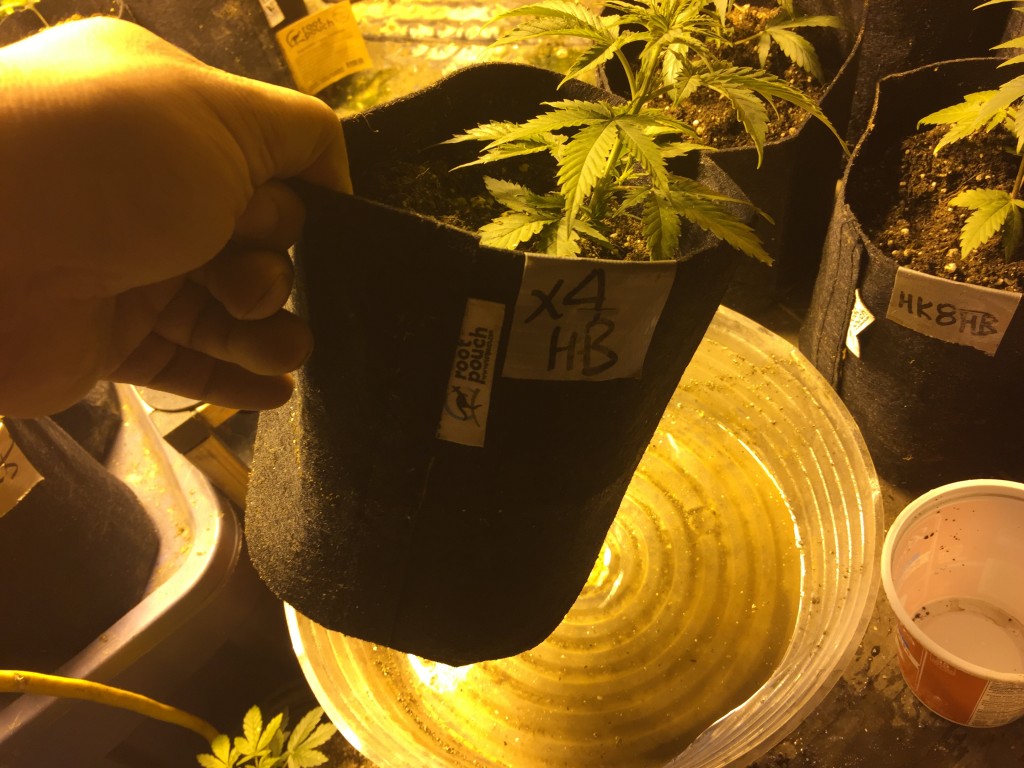
One week and it is time for another drench. I added 1/4oz (about 7.5 ml) transplant to 3 gallons water to drench the little ladies, they were nice and dry and though not wilted yet since this is the first wet/dry after cloning I didn't want to push them too hard. I also added an X6 plant to the mix to make Oldergrower happy. She is a little yellow so it will be fun to see her green up inside Doc's soil. This makes 8 plants competing for six spots. I like to make things interesting.
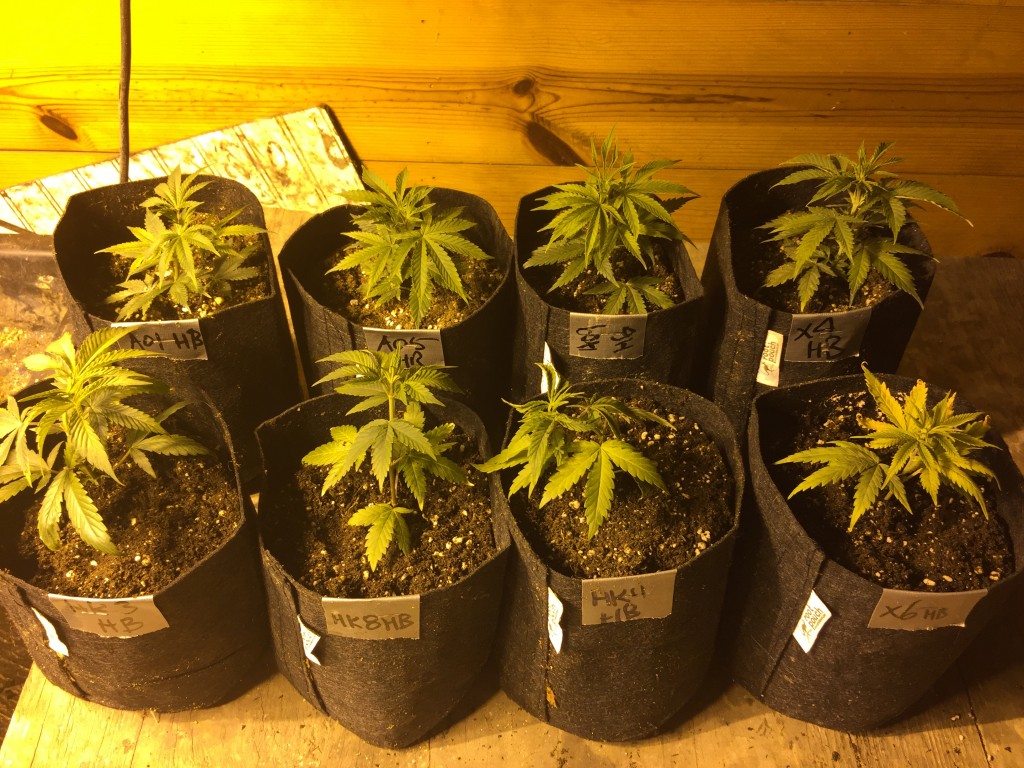
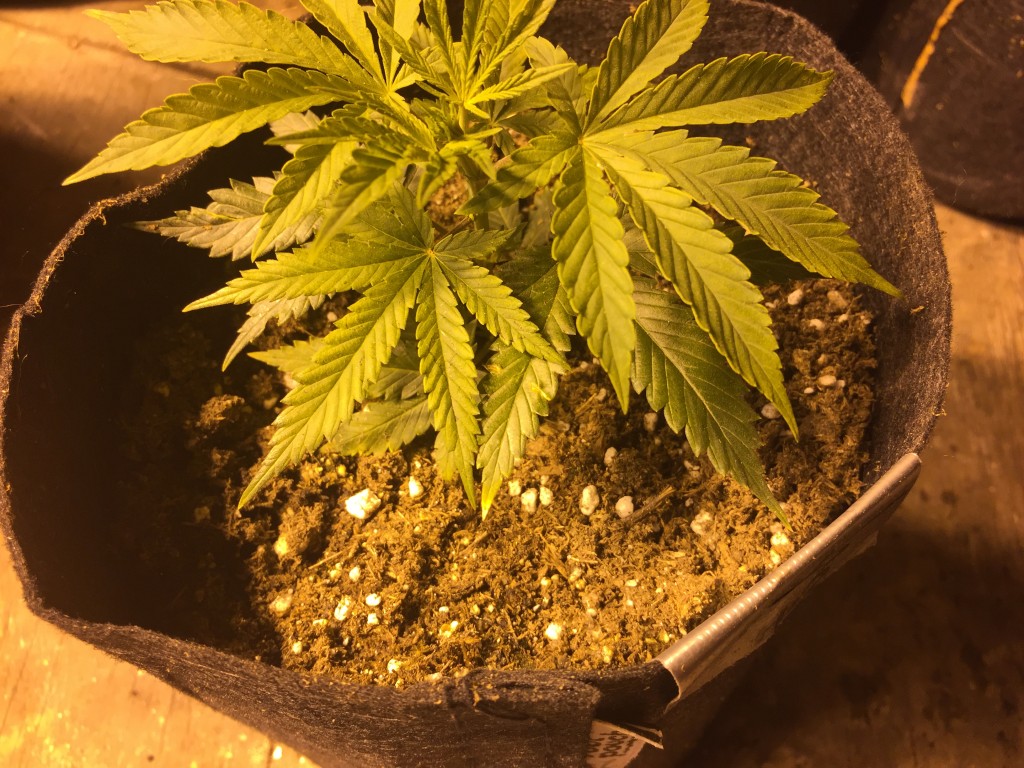
image4732.jpeg

image4731.jpeg


I had some destress left from last time in my flairasol sprayer so I let it come up to room temp from the fridge while drenching. Destress can be kept up to a week in the fridge.
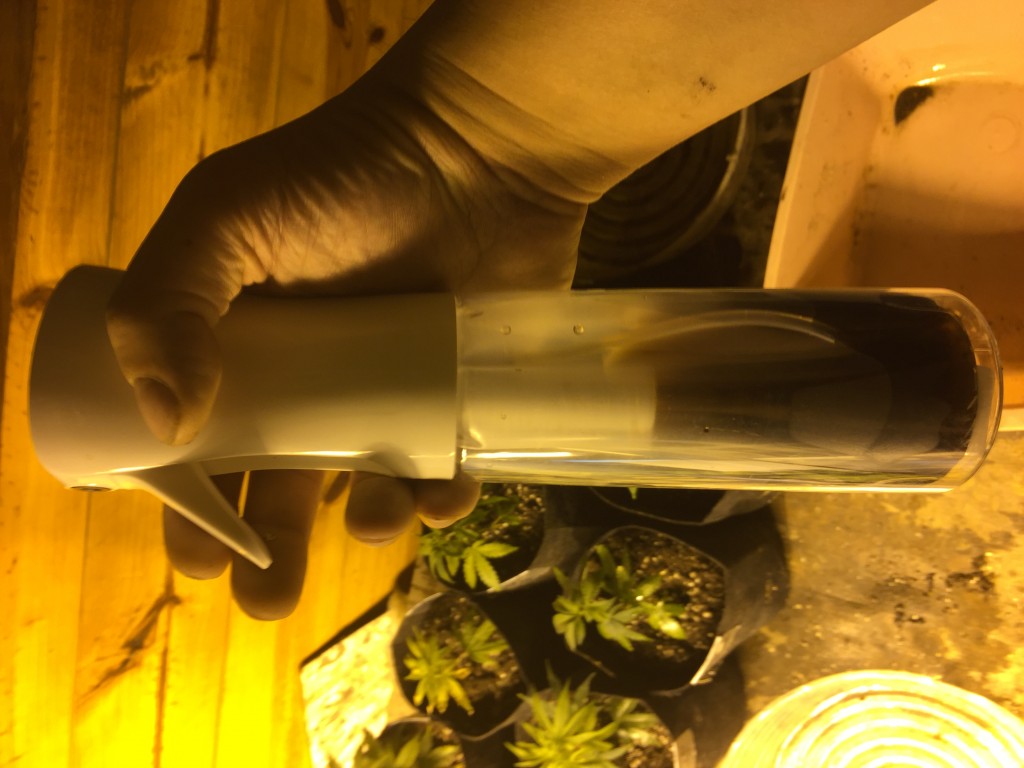
image4735.jpeg


So I put some of the water in a little tub that I have that goes up 2/3 of the way on the fabric pots and dunked them for a couple minutes then held them to drain on an angle. I then let them sit in a saucer for a 5 minutes and poured some of the drench on top to soak the upper layer of soil before lifting them on an angle and letting them drain. They were drained until the drops coming out only came every several seconds or so.

Then I took the sprayer with destress and made spray the underside of the leaves, then the top as well.
Afterward, I ran clean water through the sprayer so I don't have destress drying inside and clogging things up. After this I think it is one more wet dry cycle before we start the regular feeding regimen. Is that when you Brix people start Growth energy drench?

Any of you Brix veterans, please speak up if I ever do anything wrong or if I could do something better. I would appreciate it because I am a noob at this method. It will help all the new people that come after me as well. Feel free to post ANYTHING you Brix guys think may help! I have no growers ego, I just want to do this right!!!

How to use Doc's High Brix Kit:
In The Lab With Doc Bud
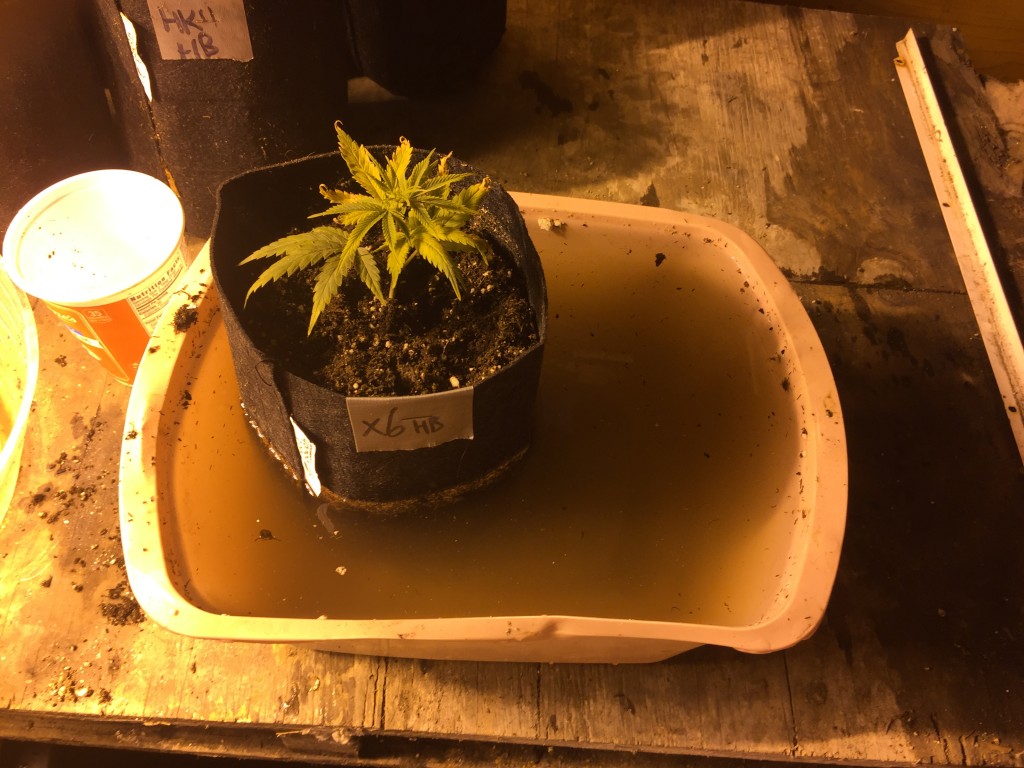
image4733.jpeg
image4734.jpeg

You can go ahead and feed those now bro. I'd do a Transplant drench first, because the aerocloner roots aren't quite the same and the plant really needs to build a root system pronto.

Next time you soak them like you just did, mix up an ounce of Transplant into that tub. Gently top water a bit while soaking it. Should be great. Then you can start with the GE drenches. This is due to the aerocloner.
Thanks Doc. I absolutely will do just that.
 
So for people that are wondering what Doc is talking about...the aerocloner is an aeroponic cloning system that uses sprayers to coat the cut stems in oxygenated water. It roots very efficiently but makes water roots, the kind that are suited for hydroponics. I love the cloner because it has 60 stations and I get 95-100% efficiency. A large number of the clones never yellow and are ready to go with big roots. The problem that Doc is addressing is that soil roots tend to be super fine like small hairs. Water roots tend to be thicker.

In order to let the water roots change their tune I usually cut them at 5" when planting into soil. Doc has suggested a good transplant drench on the next wet/dry cycle to really bathe the roots in a drench that will help establish the microbial colonization of the roots and get those fine soil roots growing.
Once the roots are happy on the next drench I can start growth energy which will feed the spoil microbiota and signal the plant to start spending energy toward vegetative growth.


So for a recap...
1. I received the kit and all the goodies. Bought a 3.8 cu ft. Bale of promix hp with mycorrhizae and a 30 gallon bag of wiggle worm earth castings. It is important to use earthworm castings that have no added potassium. Many growing methods utilize large amounts of potassium (the K in NPK) but High Brix soil cannot have a large amount of K. Instead it relies on high Calcium. Too much Potassium can interfere with Calcium usage in the plant and we want to avoid that.

2. I mixed the promix, castings, bag of amendment in the kit, and moistened the soil with 3 gallons of water. Moist, not damp or sopping wet.The amendment contains the nutrients needed for growing and microbial innoculum . These microbes are needed to create a thriving soil community and to digest the nutrients in the amendment. I put some foam camper pad on the floor of my basement and put the kit soil in some Rubbermaid tubs. They were rotated top to bottom every week so that the tub on the bottom didn't get lack of oxygen from the weight of the other tubs on the lid.

3. After a month minimum (for me 1.5 months) at 62-85 degrees, the soil is ready to use. I saw some white fuzz on top of some of my bins. It is normal if you see it or don't see it. So you could even use these tubs in your veg tent as an elevated floor if you lack the space elsewhere. I didn't touch my soil in that time period and it came out nice and fluffy and homogeneous with a good earthy smell.

4. Time to plant clones. I added the HB soil to one gallon fabric pots. The kit as I made it should grow six plants in 7 gallon containers. I will see if I can manage six 10 gallon fabric pots. If not then 5 plants for me. In each one gallon pot I made a hole for the clone to go into and sprinkled 1 Tbs of Roots! in and around the hole. Roots has nutrients and microorganisms to establish new plants.

5. After planting each clone I made a drench of 1/4oz transplant in 2 gallons of water and drenched the new pots as I showed in the last post. I also mixed up one cup of destress foliar spray. Destress is used whenever a plant needs to heal and doesn't look great. I don't have big plants so I mixed up one cups worth which comes out to 1/8 oz destress concentrate per cup (7.5 ml). I use a flairosols prayer which produces an extremely fine spray, really it is more mist than spray. It is easy to get under the leaves where you want it to go mostly. The flairosol actually gets pressurized and keeps putting out must after a few pumps. A really fantastic device. I then out the pump with remainder in the fridge. It can be kept for a week.

6. After the soil became dry again I performed another 1/4 oz transplant drench and sprayed the leftover destress. With each drench we will now wait until the plants just begin to show a sign of wilting. This will encourage roots to seek out water in the soil. We will end up with a vast network of superfine roots in the pot by the time it is ready for flower. Soon I will alternate destress and Brix foliar sprays, each once per week. If I am correct destress can be skipped if the plants look perfect but Brix is mandatory. Brix foliar cannot be stored and must be used all at once. But we do not want sopping wet leaves with any foliar. A misting is enough, underneath and on top of the leaves.

7. Next drench will be full strength transplant which is 1/2 to 1oz spread amongst the girls. The one after will be growth energy with 1/4 transplant.

That brings us current. Sorry for the verbosity. Veteran Brixers please check my regimen for accuracy and comment if something is incorrect.
 
Doc says DeStress isn't necessary unless the plants look stressed, but I wouldn't go weeks without it. It alters the plant's root exudates in coordination with Transplant and Roots. I've never gone 2 weeks without a spraying of DeStress.

I think what Doc means is that when we're in mid-bloom and the plant isn't fading, DeStress isn't all that helpful. At that point, we're pushing Cat or Energy anyway.

As a guide for working with the Brix foliar, I tend to ramp up Brix applications when the plants are thriving, and cut back if they seem weak. Brix amplifies leaf photosynthesis. Use it as a booster when things look right.

Nice start! :cheesygrinsmiley:
 
Last spring (or earlier) the lab made a change in the destress formula that doubled the strength without informing Doc. I was a casualty.. I was informed when I asked why my plants were getting fried.
 
Back
Top Bottom