Greetings 
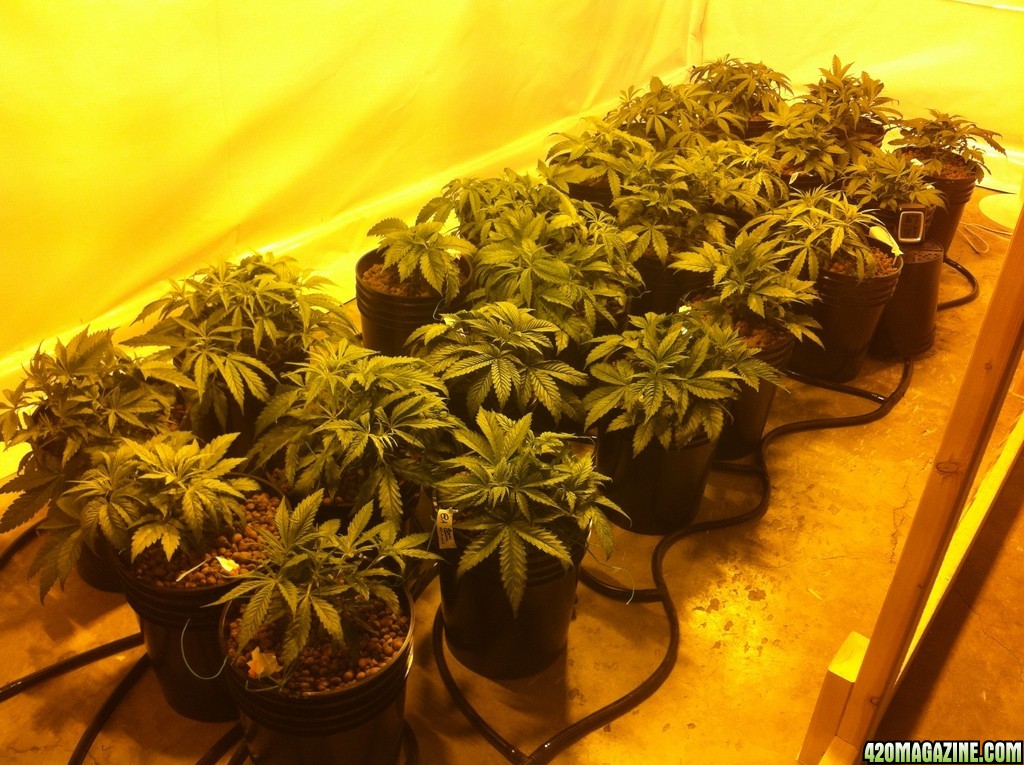
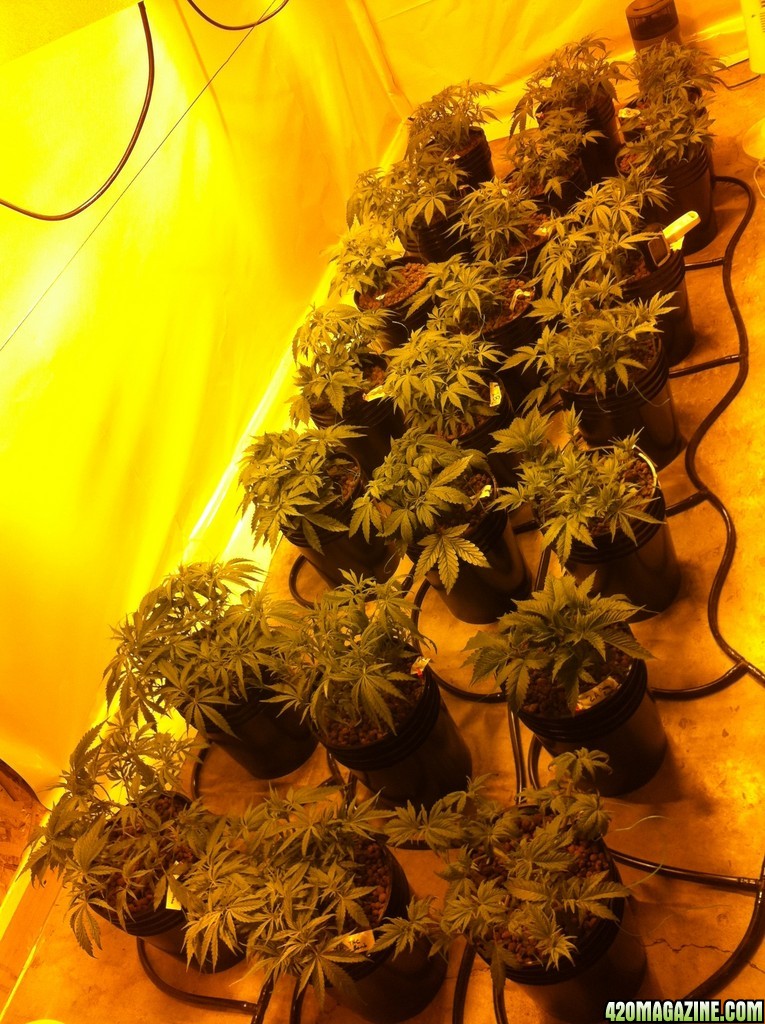
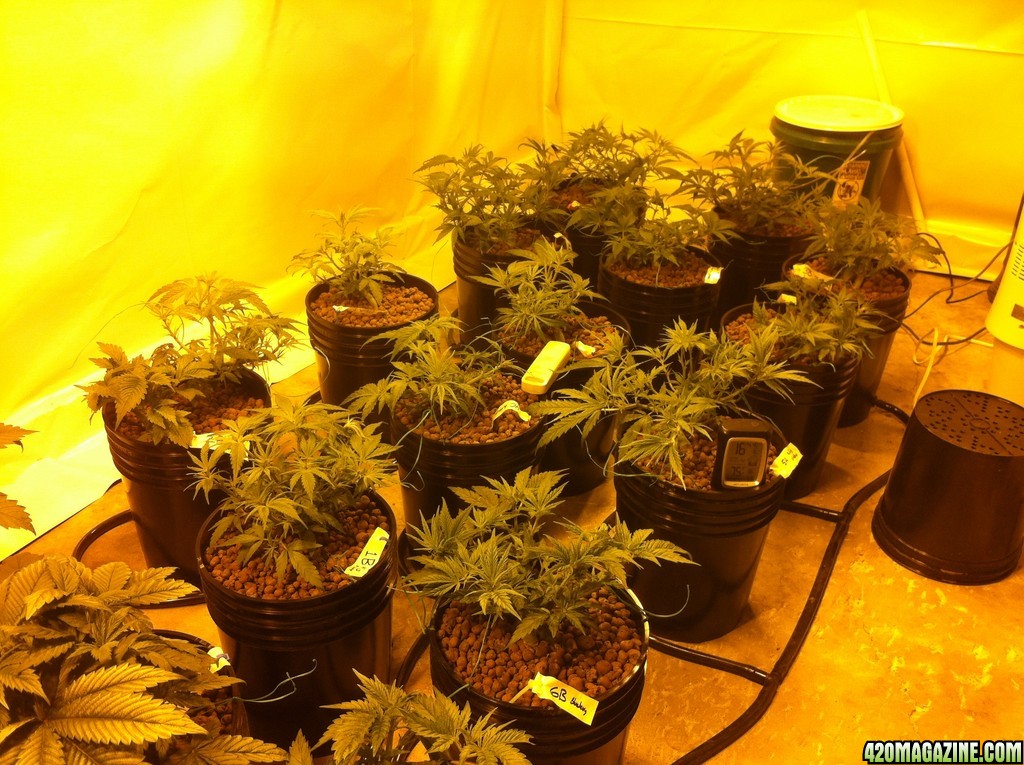
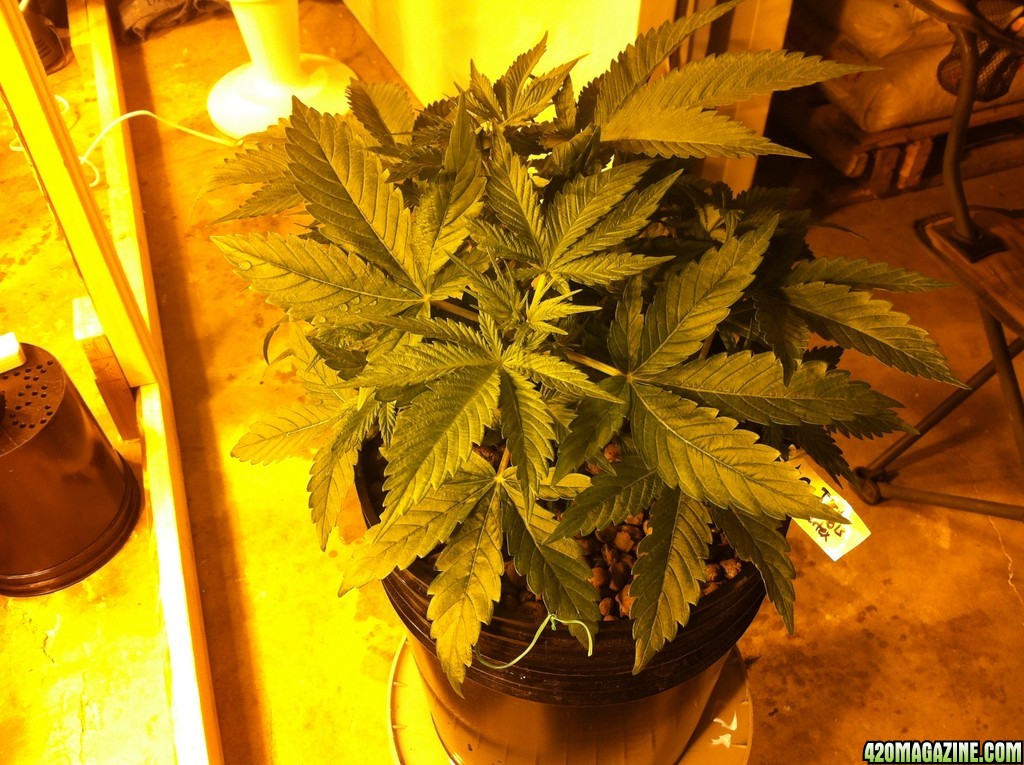
This is the journal for my first grow in a brand new flowering room. The plants have been in the buckets for a couple weeks already. I started a journal on another site, but I think I prefer the community here. There is too much bickering over there, so I've found myself here more and more lately.
So let's get started!
Quick Info:
6' x 12' flowering room in basement
3 x 750W HPS w/digital ballasts in AAW knockoff reflectors
C.A.P. Ebb & Gro with 22 sites.
GH Flora line of nutrients
I'm going to start out with a lot of discussion about how I setup the room. I know many folks just want to see the plants/buds, but I like to read about the room itself as much as the plants. Maybe someone will be able to take one of my ideas and apply it to their situation, or even better, improve on it. If anyone does take inspiration from any of my ideas, please share what you did with the rest of us. This will help us all become better growers.
I need my grow to be stealthy, so keeping the sound down is important. Before I started building the first room, I needed to seal up the basement ceiling by installing insulation between the joists, covering that with plastic, then installing a layer of plywood, and finally putting green board on top of that. My theory is the extra layer of plywood might help reduce the noise coming up through the floor of the main house, but It will also provide the advantage of being able to put a screw anywhere I want and hit wood (although the only things attached to the ceiling are the lights).
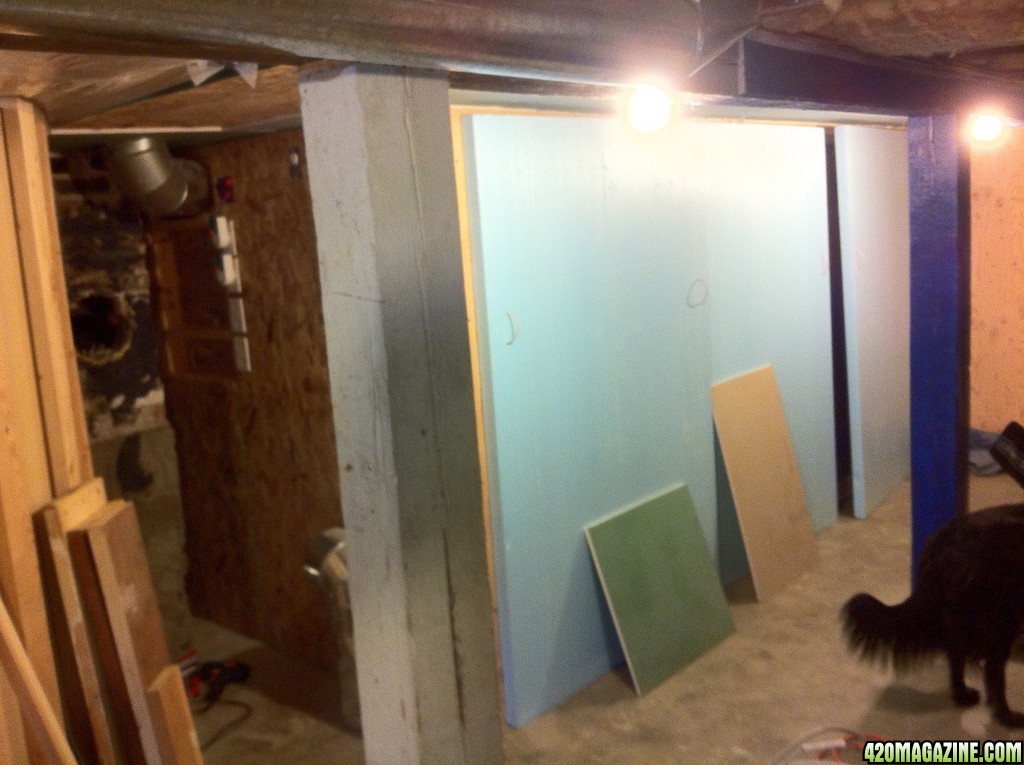
My home office is directly above the flowering room. I have an airfilter/fan that I run in my office, and I was surprised how much it caused the floor to vibrate. You can hear it throughout much of the house, and it was somewhat loud down in the basement. While I think it would do well to mask any fan sounds coming from the basement, I still have the goal of minimizing any noise coming from the grow rooms. One of the ways I helped minimize vibration noise was to build the walls of the room without attaching to the ceiling. On 2 sides of the first flowering room, I used Liquid Nails to attach some 2x2 (2x4 ripped in half) lumber directly to the basement's concrete walls without touching the ceiling. I built a wall at one end where all the electrical outlets are located, and that wall too does not attach to the ceiling. The remaining long wall is my removable wall. Rather than trying to access the plants through a door, I used 3 4'x8' sheets of Styrofoam insulation to make a movable wall (pictures later). Again, this 'wall' does not attach to the ceiling. I stopped all the walls ~1/2"-3/4" from the ceiling, then sealed that gap with spray foam. Then I hung the exhaust fan, charcoal filter, and the ducting from the walls rather than the ceiling. You cannot hear ANY fan noise inside the house, so I guess my ideas worked.
So far I only have the first flowering room up and running. I will add a second flowering room after this one is dialed in and all the other parts of the grow are up and running (mothers, veg area, clone/seed area, etc). Here are the strains I am working with:
Well I have been trying to get this journal started here for a few days now, but I've been spending the time I have to browse these forums reading other journals. I wanted to include all the detail from the other journal, but that's not going to happen. I'll add more information as I make more posts on this thread. This has gotten long enough, so it's time for some pictures.
Looking south in the basement at the start of construction. I don't even have the ceiling sealed up in this shot. The area in that corner to the left is flowering room 1.
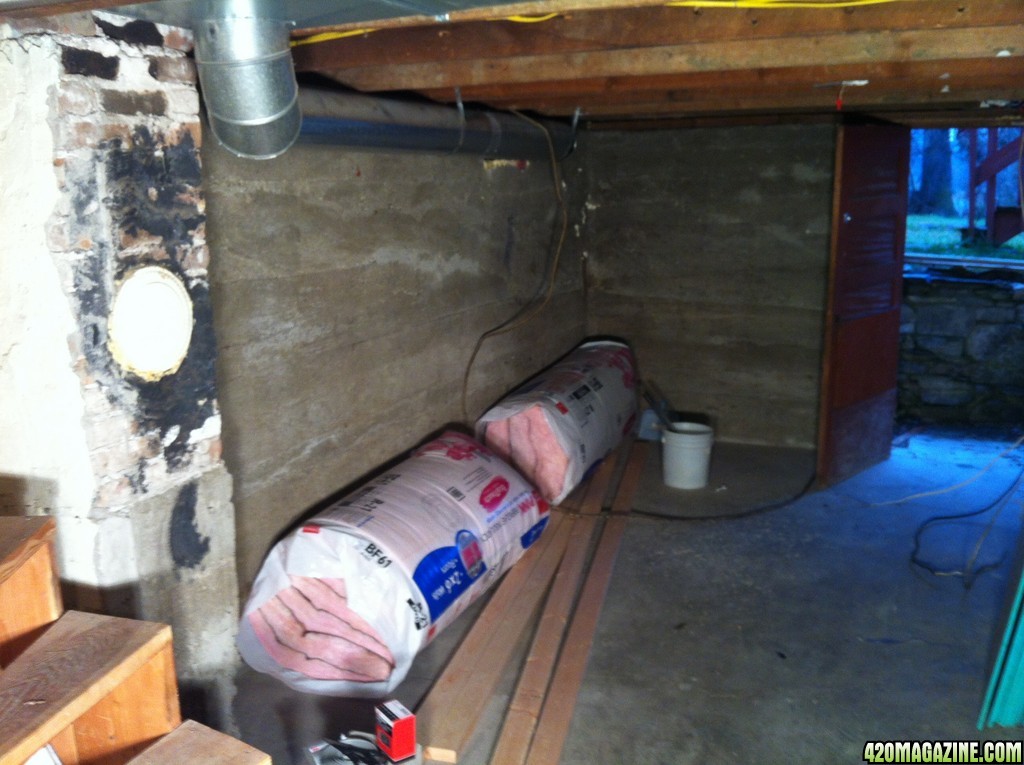
Looking north in the basement. You can see the stairs leading up into the house. The raised area in the back will be the area I use for vegging clones. The other side will likely be a drying cabinet.
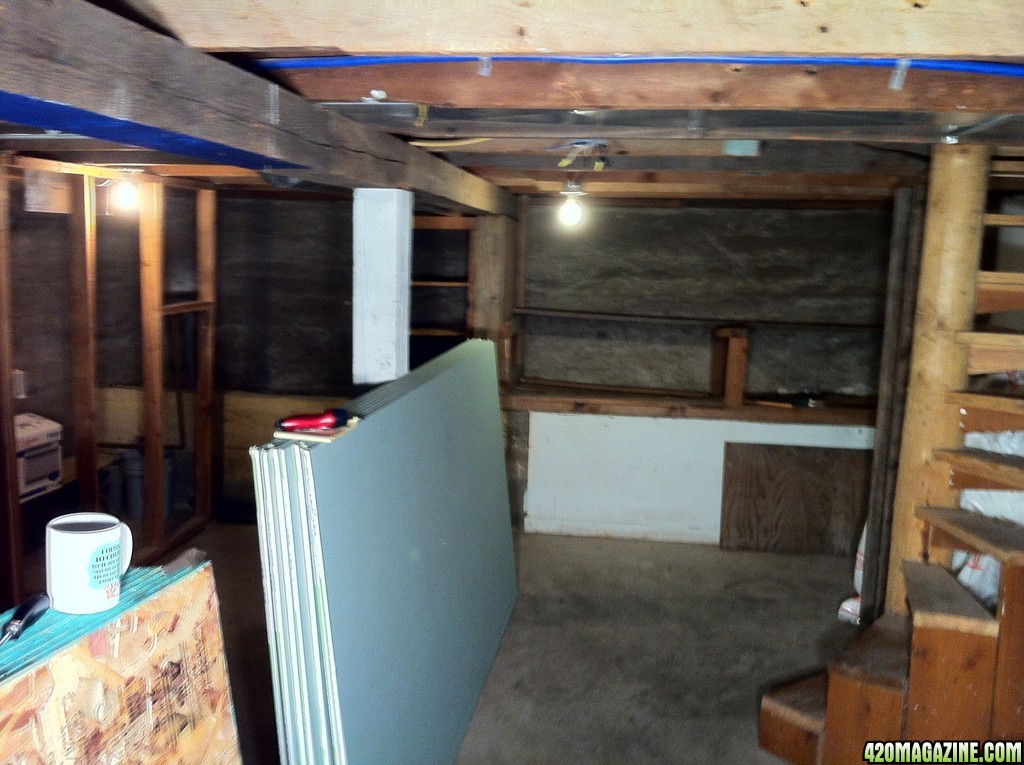
This is where flowering room 2 will go. One of those pallets of pellets are already gone.
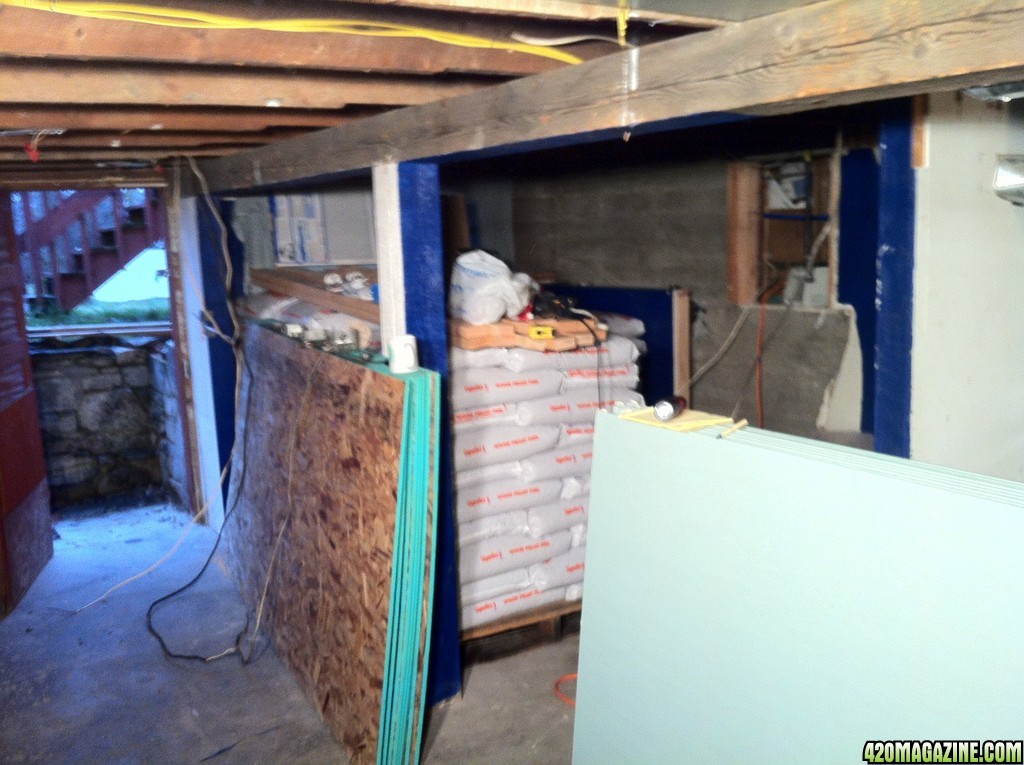
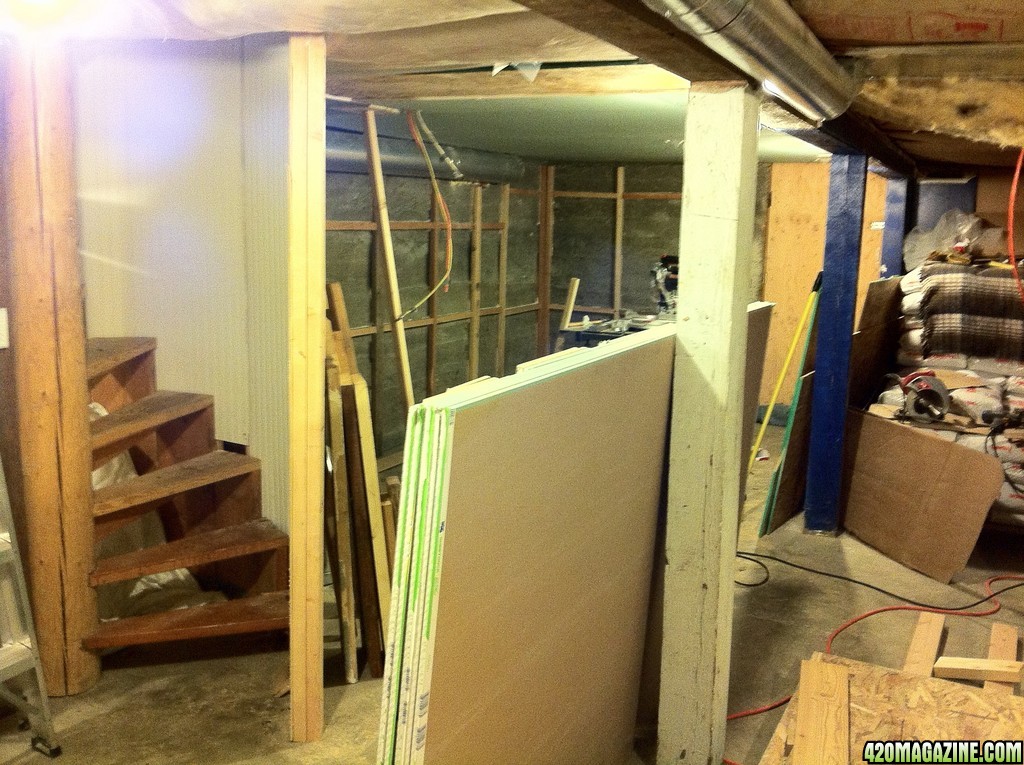
Insulation in. Plastic up. Plywood up. Building wall around stairs.
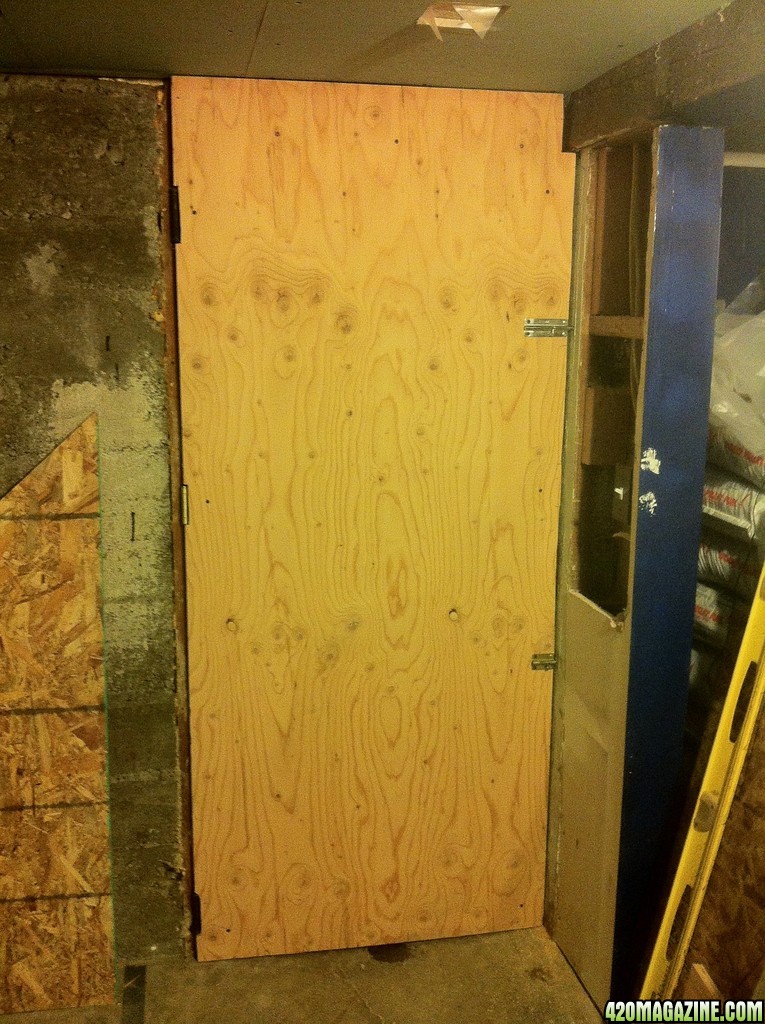
The reinforced door leading out of the basement. I added a third hinge and second, larger, barrel bolt. The barrel bolts are also going directly into a large support beam. This door would be extremely difficult to bust down.
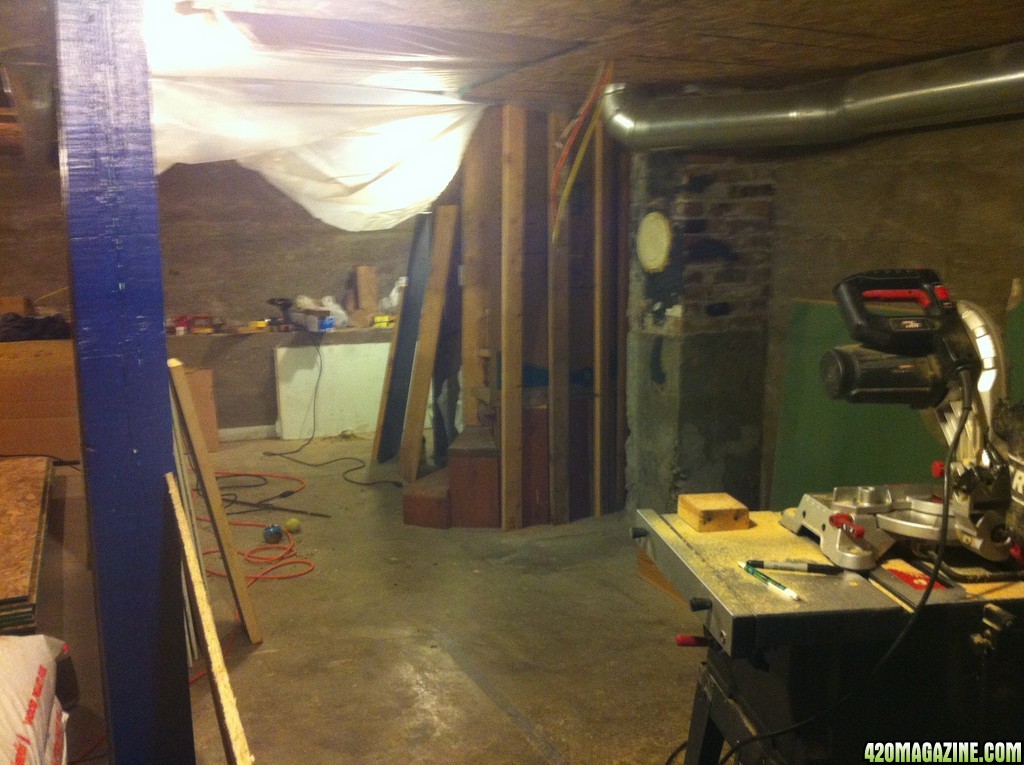
The drywall is starting to go up on ceiling and some of the wall supports are going up.
view from the inside.
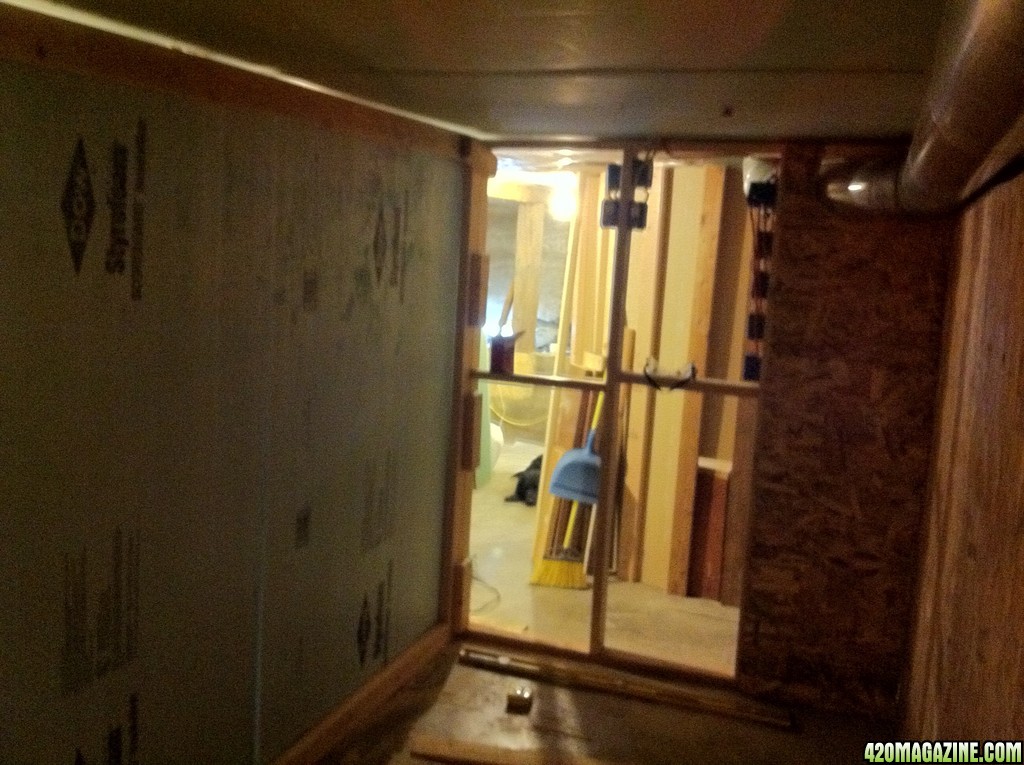
View from the outside.
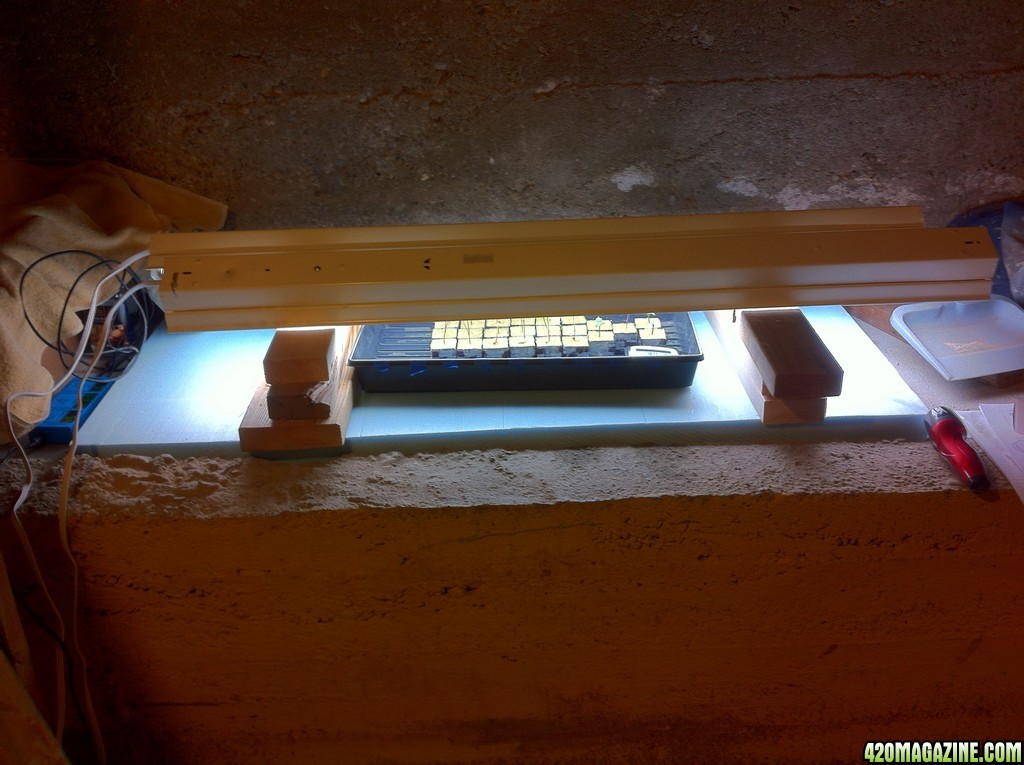
The nursery. I've already removed the heating pad and humidity done at this point.
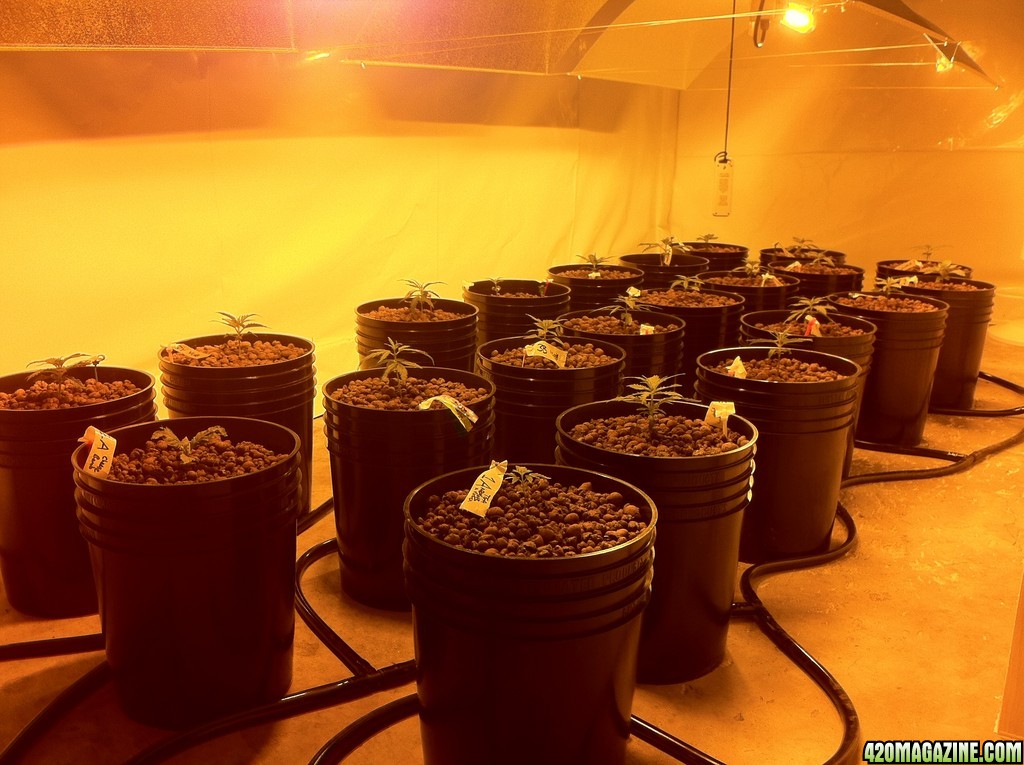
The babies in their new home.
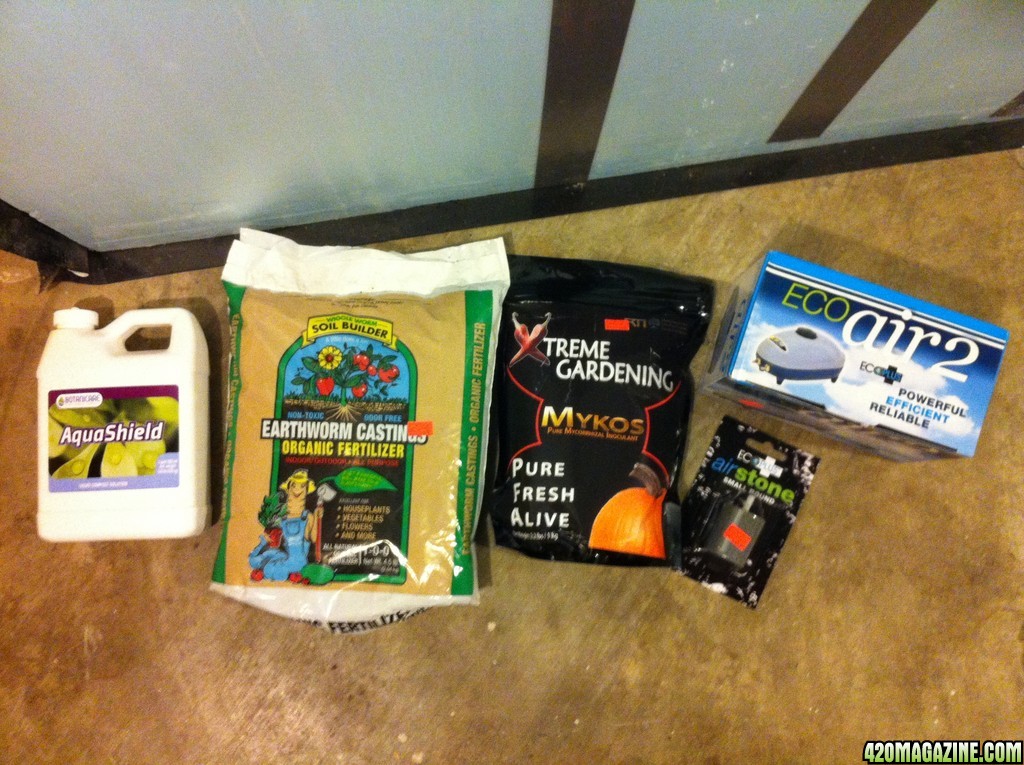
Ingredients for bennie tea!
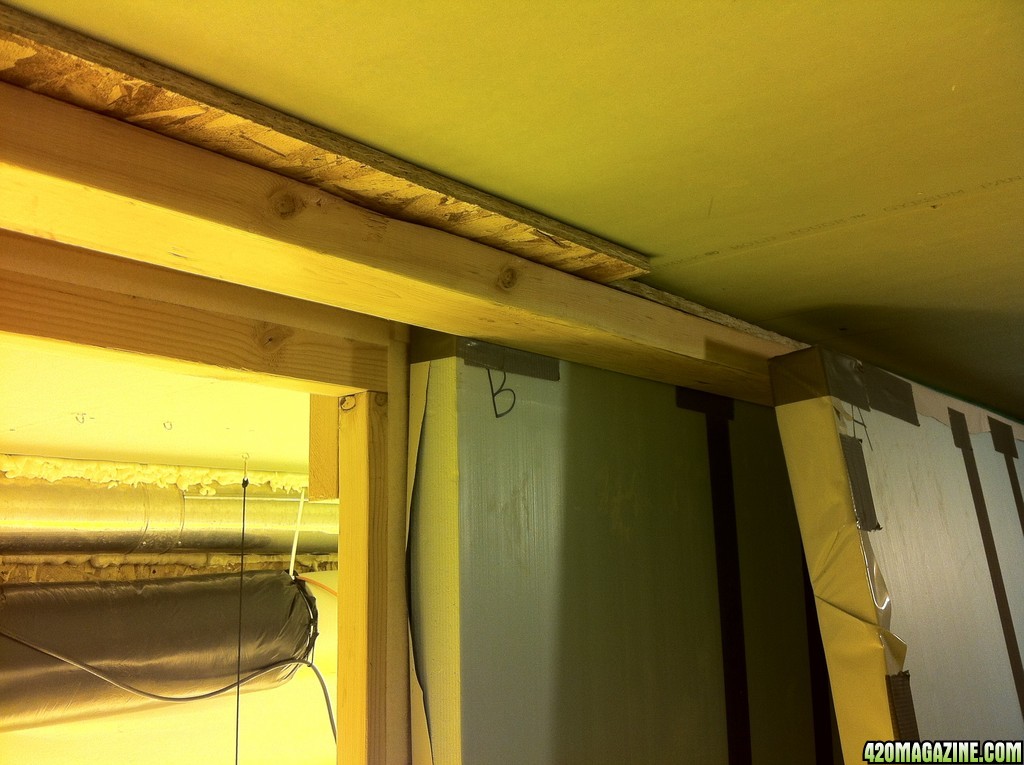
Detail of how foam panels are held up.
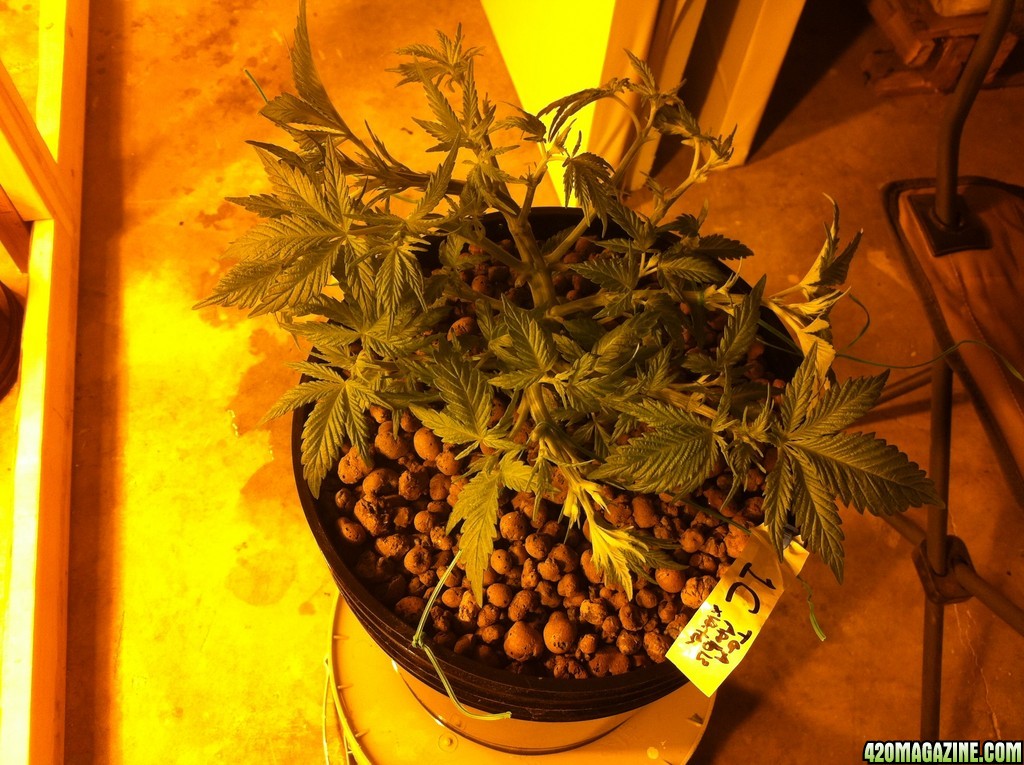
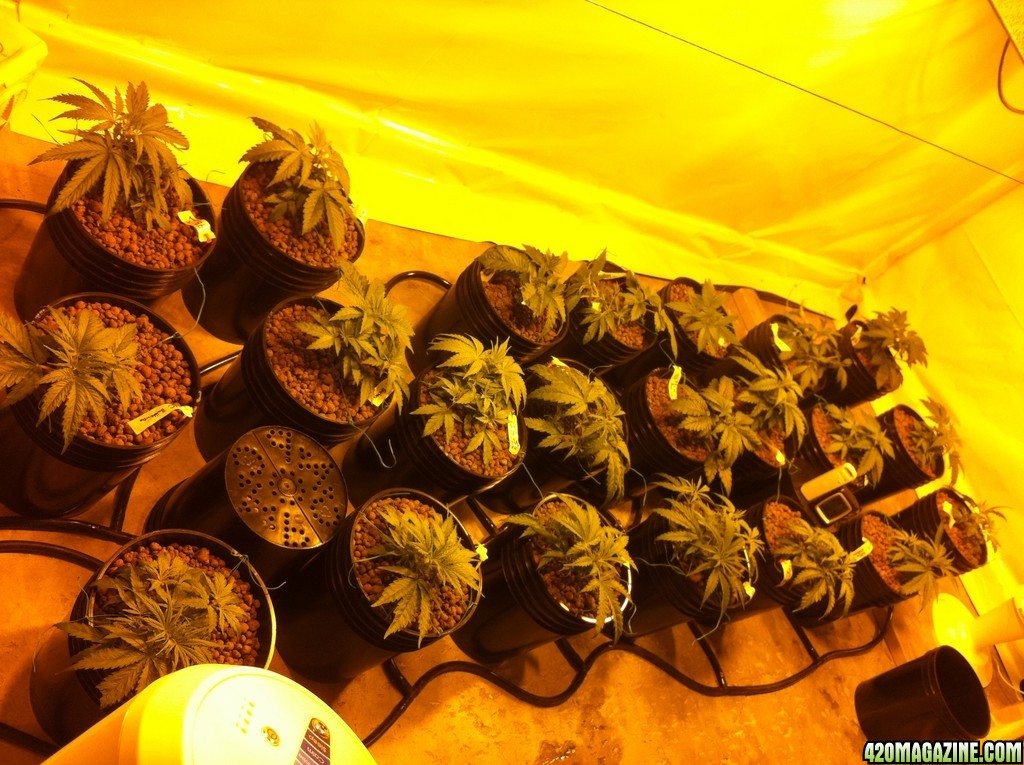
This is at the start of a round of LST. If you look closely, a couple have already been tied down.
Well that is for now. There have been several trials and tribulations along the way, but the room is working well now. Perhaps I'll discuss more of those details along the way. If you are really curious, I can PM a link to the old journal.

This is the journal for my first grow in a brand new flowering room. The plants have been in the buckets for a couple weeks already. I started a journal on another site, but I think I prefer the community here. There is too much bickering over there, so I've found myself here more and more lately.

So let's get started!
Quick Info:
6' x 12' flowering room in basement
3 x 750W HPS w/digital ballasts in AAW knockoff reflectors
C.A.P. Ebb & Gro with 22 sites.
GH Flora line of nutrients
I'm going to start out with a lot of discussion about how I setup the room. I know many folks just want to see the plants/buds, but I like to read about the room itself as much as the plants. Maybe someone will be able to take one of my ideas and apply it to their situation, or even better, improve on it. If anyone does take inspiration from any of my ideas, please share what you did with the rest of us. This will help us all become better growers.

I need my grow to be stealthy, so keeping the sound down is important. Before I started building the first room, I needed to seal up the basement ceiling by installing insulation between the joists, covering that with plastic, then installing a layer of plywood, and finally putting green board on top of that. My theory is the extra layer of plywood might help reduce the noise coming up through the floor of the main house, but It will also provide the advantage of being able to put a screw anywhere I want and hit wood (although the only things attached to the ceiling are the lights).

My home office is directly above the flowering room. I have an airfilter/fan that I run in my office, and I was surprised how much it caused the floor to vibrate. You can hear it throughout much of the house, and it was somewhat loud down in the basement. While I think it would do well to mask any fan sounds coming from the basement, I still have the goal of minimizing any noise coming from the grow rooms. One of the ways I helped minimize vibration noise was to build the walls of the room without attaching to the ceiling. On 2 sides of the first flowering room, I used Liquid Nails to attach some 2x2 (2x4 ripped in half) lumber directly to the basement's concrete walls without touching the ceiling. I built a wall at one end where all the electrical outlets are located, and that wall too does not attach to the ceiling. The remaining long wall is my removable wall. Rather than trying to access the plants through a door, I used 3 4'x8' sheets of Styrofoam insulation to make a movable wall (pictures later). Again, this 'wall' does not attach to the ceiling. I stopped all the walls ~1/2"-3/4" from the ceiling, then sealed that gap with spray foam. Then I hung the exhaust fan, charcoal filter, and the ducting from the walls rather than the ceiling. You cannot hear ANY fan noise inside the house, so I guess my ideas worked.

So far I only have the first flowering room up and running. I will add a second flowering room after this one is dialed in and all the other parts of the grow are up and running (mothers, veg area, clone/seed area, etc). Here are the strains I am working with:
- TGA Subcool seeds - Apollo 13 X Vortex
- Nirvana seeds - AK 48
- Nirvana seeds - Bubblelicious
- Bomb seeds - Cheese Bomb
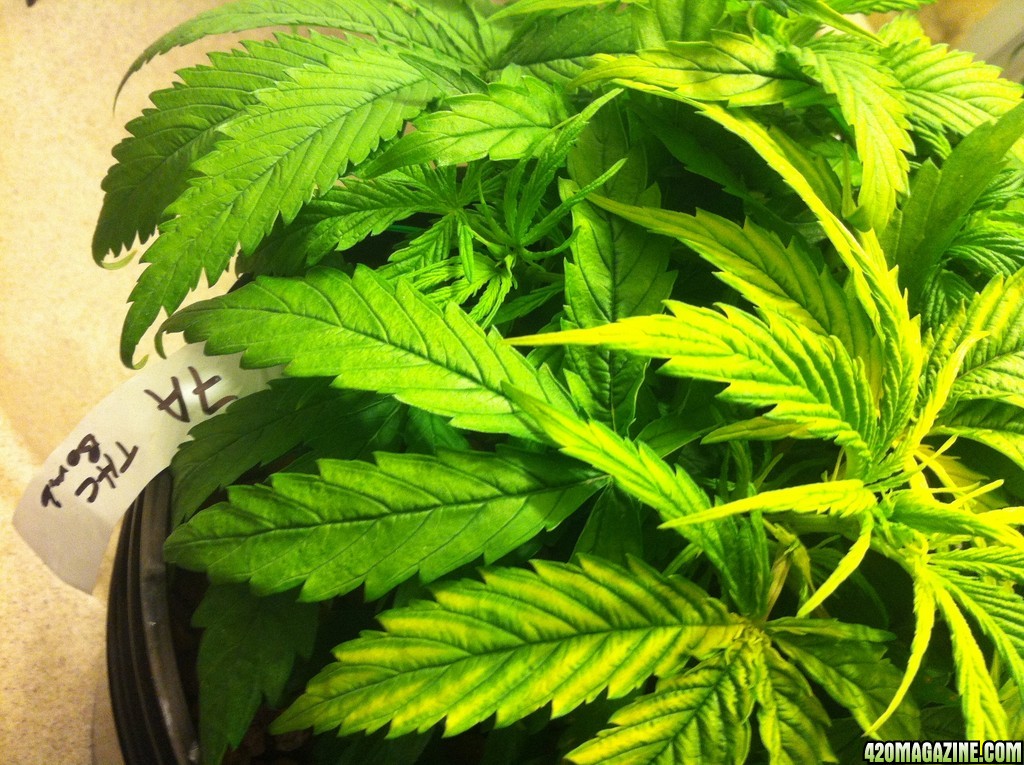
- Bomb seeds - Bomb THC
- Dutch Passion - Blueberry
- Seedsman - White Widow
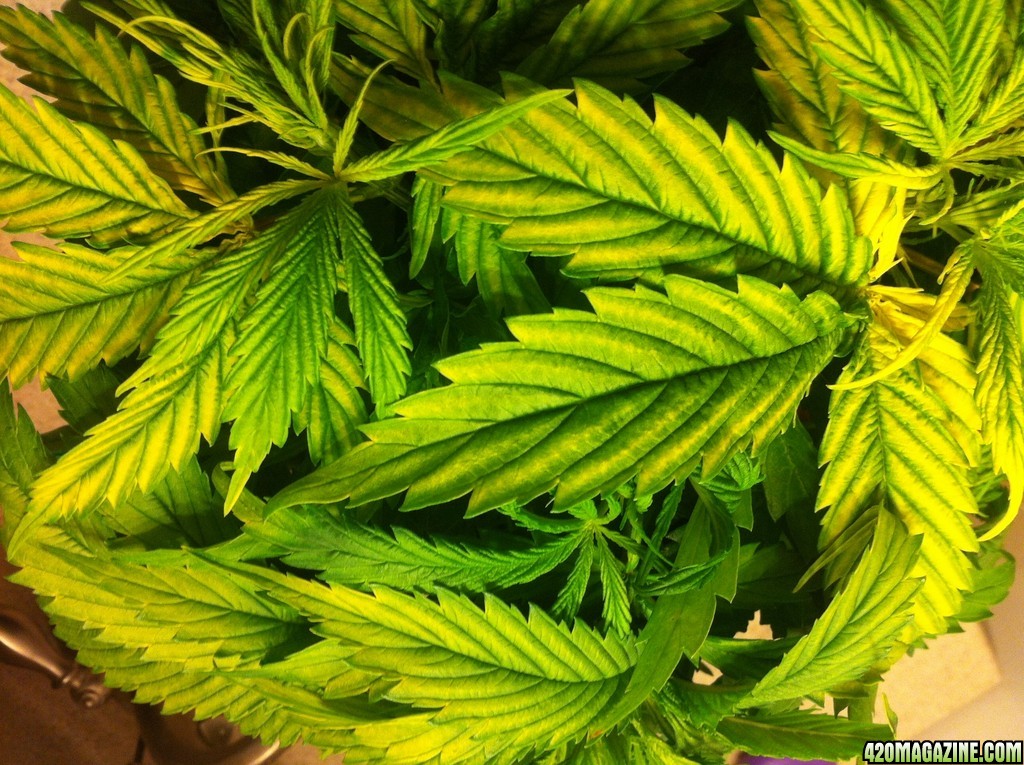
I started 3 of each strain, plus 3 femmed freebies, for a total of 24. All of them cracked, but one of the Cheese Bombs never made it out of the rockwool. The other 23 have all made it into the buckets. Four of the seedlings were struggling compared to their sisters, but it turned out to be a Mg deficiency. My tap water is very hard. It measures ~360ppm out of the faucet! Two of the four were growing, just much slower than the others. The other two were almost doing nothing. Both of the remaining 2 Cheese Bombs were among these 4 runts. Apparently, Cheese Bomb is very sensitive to hard water. I was able to identify the problem when some of the larger plants started to show signs of a deficiency. Knowing I have very hard water helped in the diagnoses. I had an RO system on order, so I had already purchased some Calimagic. I put some of that into the hard water res, and within 24 hours, they all looked better. Even the 4 runts showed an immediate improvement. Before transplanting into the buckets, I had considered killing the 2 smallest of them, but decided it wouldn't cost me anything to put them in a bucket together. In hindsight, I should have given them each their own buckets. They will always be smaller than their sisters, but they look great now. I only had to subject them to 2 reservoirs (about 2 weeks) of hard water. I got the RO system in and it is much much better. With tap water, I had to add up to a half cup of ph down to get the ph right. This is after adding the nutrients. With the RO water, I add the nutrient, and the ph settles at exactly 5.5.Well I have been trying to get this journal started here for a few days now, but I've been spending the time I have to browse these forums reading other journals. I wanted to include all the detail from the other journal, but that's not going to happen. I'll add more information as I make more posts on this thread. This has gotten long enough, so it's time for some pictures.
Looking south in the basement at the start of construction. I don't even have the ceiling sealed up in this shot. The area in that corner to the left is flowering room 1.

Looking north in the basement. You can see the stairs leading up into the house. The raised area in the back will be the area I use for vegging clones. The other side will likely be a drying cabinet.

This is where flowering room 2 will go. One of those pallets of pellets are already gone.

Insulation in. Plastic up. Plywood up. Building wall around stairs.

The reinforced door leading out of the basement. I added a third hinge and second, larger, barrel bolt. The barrel bolts are also going directly into a large support beam. This door would be extremely difficult to bust down.

The drywall is starting to go up on ceiling and some of the wall supports are going up.

view from the inside.

View from the outside.

The nursery. I've already removed the heating pad and humidity done at this point.

The babies in their new home.

Ingredients for bennie tea!

Detail of how foam panels are held up.

This is at the start of a round of LST. If you look closely, a couple have already been tied down.

Well that is for now. There have been several trials and tribulations along the way, but the room is working well now. Perhaps I'll discuss more of those details along the way. If you are really curious, I can PM a link to the old journal.


