Hello fellow growers, medical users and Cannabis aficionados!
I thought I would start a journal of a slightly different format. It's going to be an informational journal, where I'll demonstrate what I do, from seedling to harvest, step by step.
I won't be posting as often, as plants take time to grow, so in between posts I'll be happy to answer questions about my methods. I'll also dish out unsolicited advice, tell fish stories and generally have a curmudgeon-like negative opinion about most topics....so take it all with a grain of salt!
So, the first thing I do is mix up soil. This is very boring. It involves putting soil in a cement mixer, adding amendments, and turning the damn thing on for about 10 minutes. After that, the soil goes into rubber garbage cans, seen in the photo's below. I let it "cook" there for about a month before using the soil.
So, here we have the cooked soil placed in 1 gallon pots.
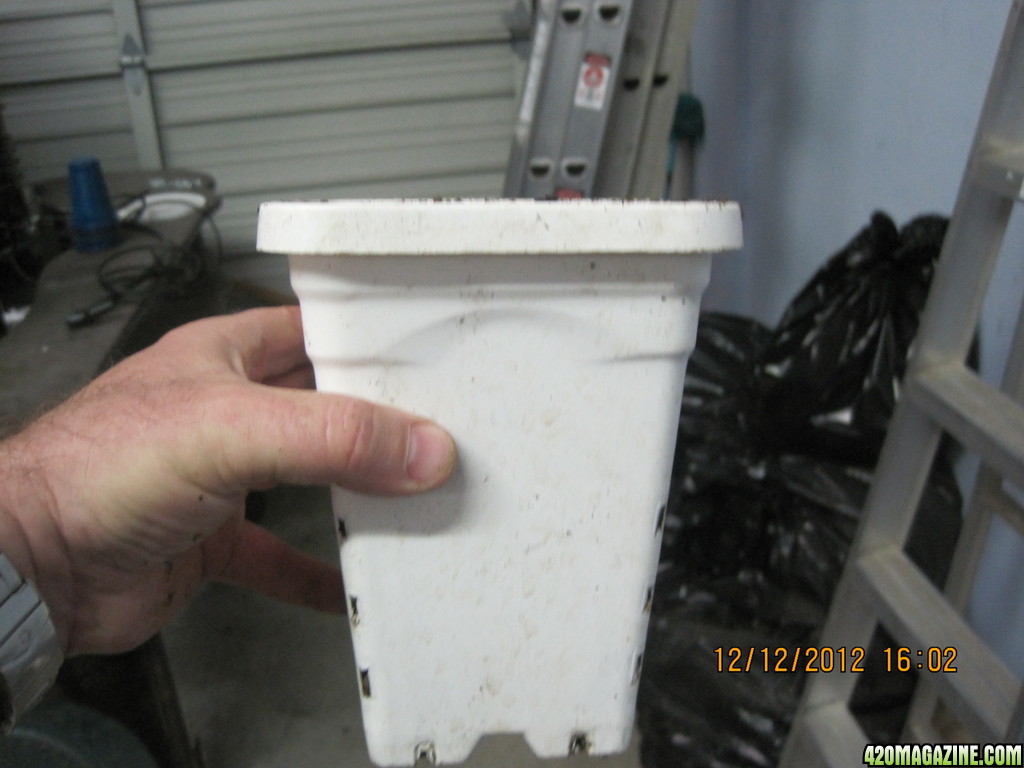
Here's my method for starting with clones:
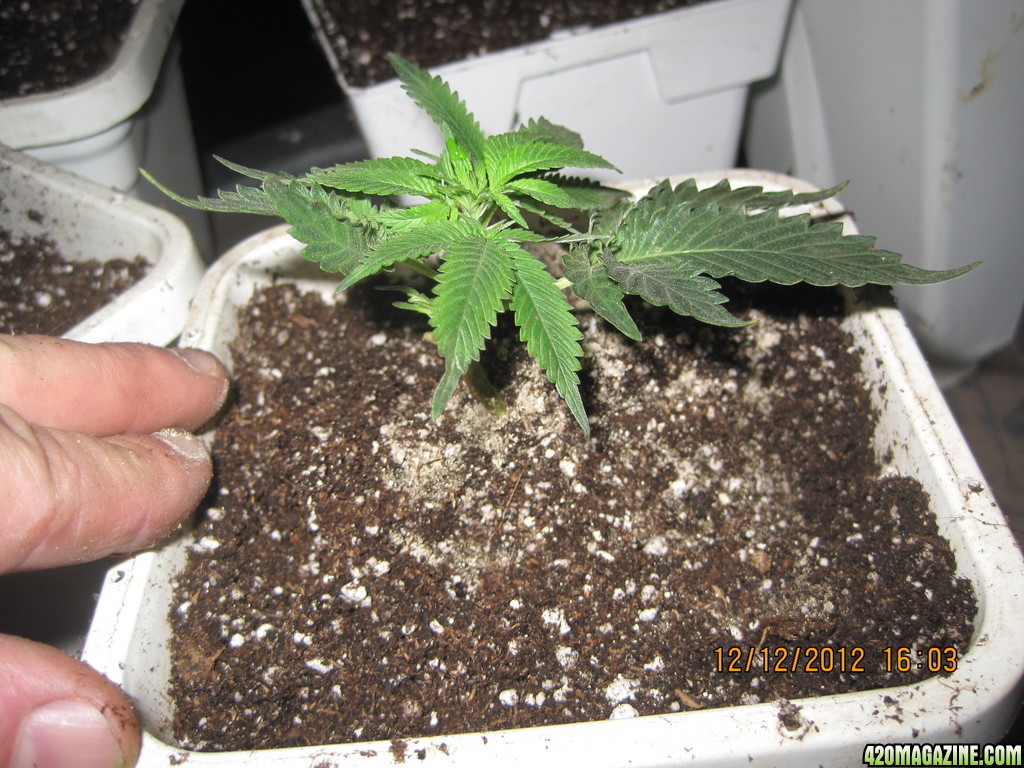
1.)place soil in the pot, compress by hand and make a little "pooch" in the soil large enough to accommodate the cutting.
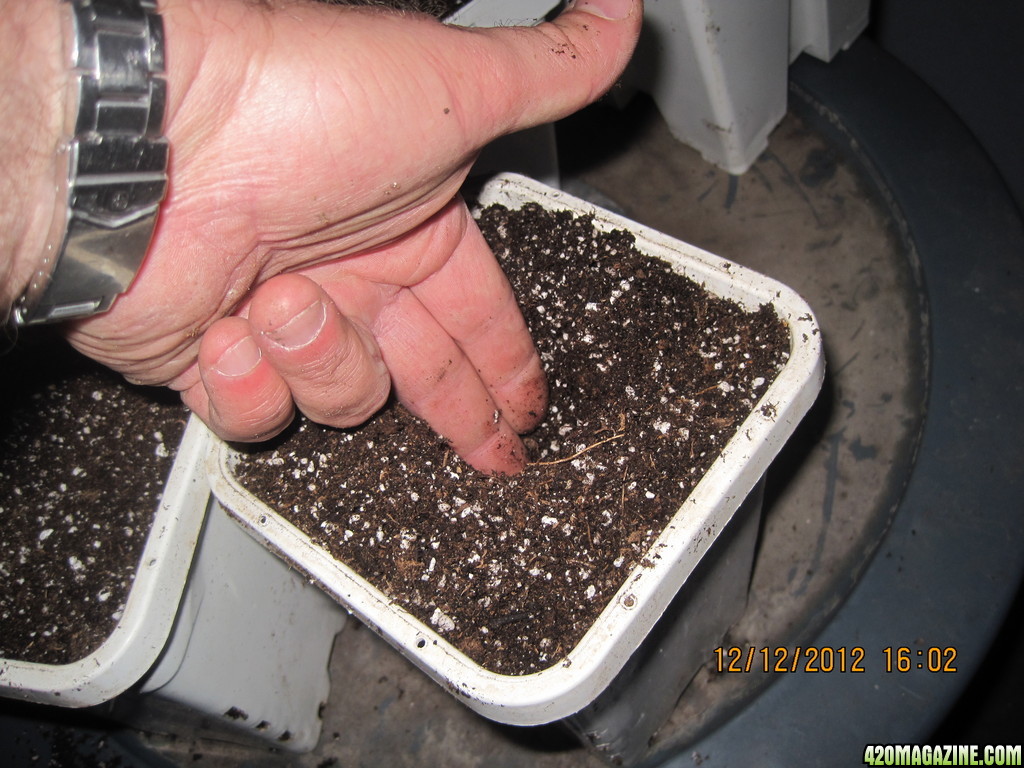
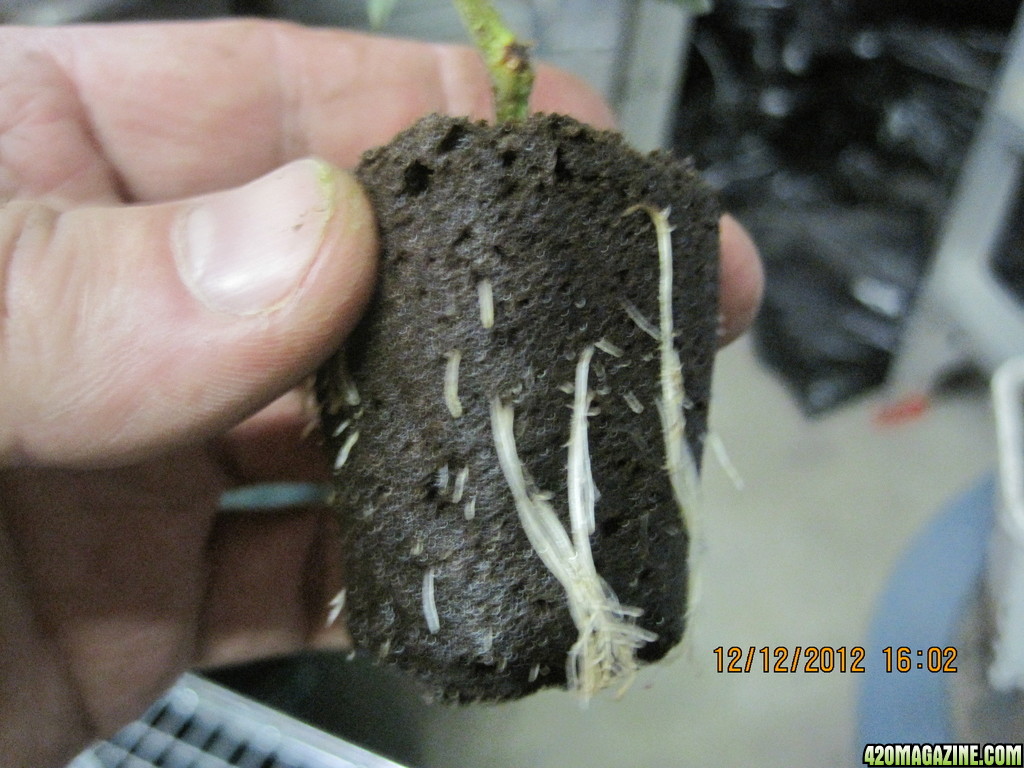
2.) put a liberal coating of Root Zone inoculate in the hole, especially on the bottom. You can also dust the actual roots of the cutting if you wish, but I find I waste product this way. It just works better to put it in the soil.
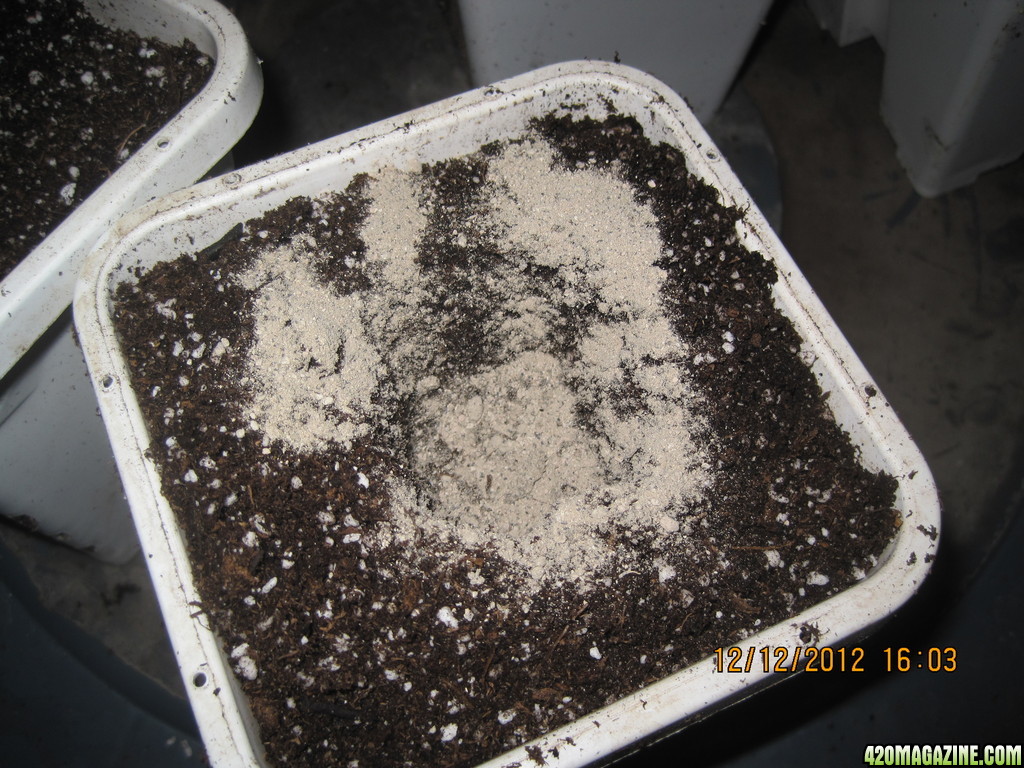
This product that I'm using is designed specifically for High Brix growing. It contains all the right mycorrhiza, some pre-digested rock powders and a few other doodads that really make healthy roots and colonize the soil to prepare for a hyperactive soil biology.
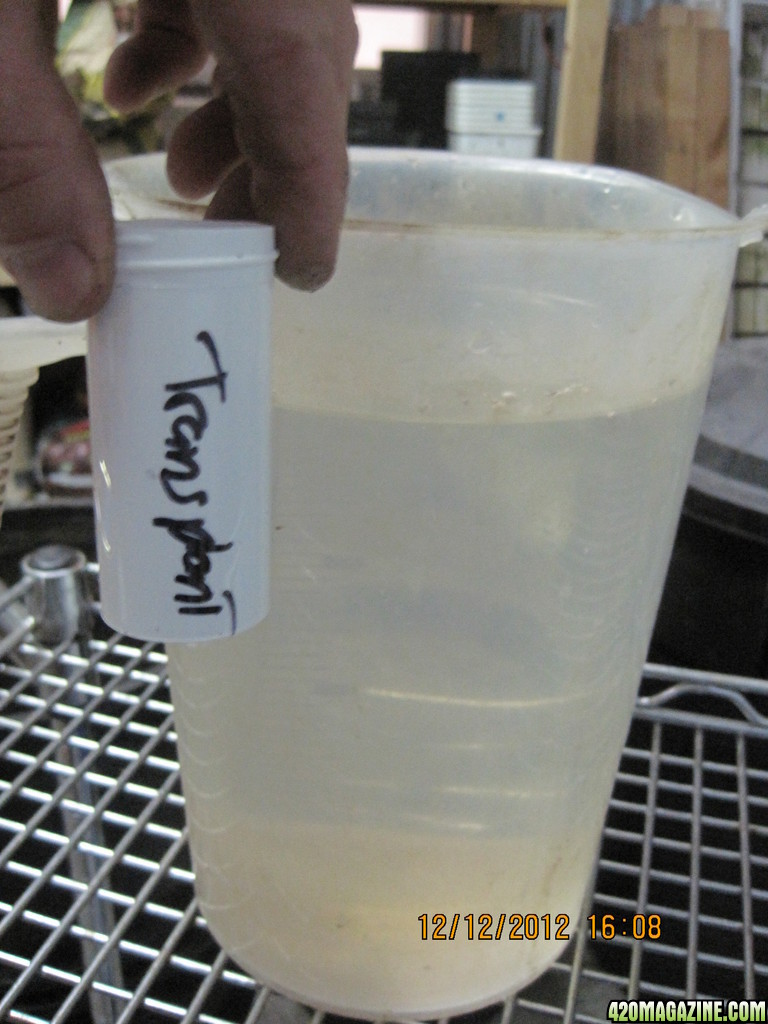
3.)Here's a gallon of water, mixed with one ounce of "Transplant," which is made by adding one ounce of "Transplant" to one gallon of water. This is a concentrated organic nutrient broth, with everything in the right ratio. It is designed to be used specifically with the Root Zone product and basically contains about 2 weeks worth of nutrition for the soil.
4.)Carefully fill in around the cutting and gently pack it in place.
5.)The final step is to water each cutting with 1 pint of transplant water, made in step 3.
The plants are now ready to go under the T5 lights and will live there for 1 to 4 weeks, depending on space in the garden.
A word about "hardening off" clones and cuttings:
In the past, I would transition cuttings from the clone dome to pots by venting the dome, taking the lid off a bit, etc. The idea was to get the cuttings ready to leave their warm, moist little clone dome and prepare to live in the big bad world of the garden.
Well, since going High Brix some very nice things have developed!
Daily spraying with "Stress" makes for very healthy cuttings, faster rooting, and zero need for hardening off. They literally go from the under the unvented dome one day, to the T5 the next...and they take off!
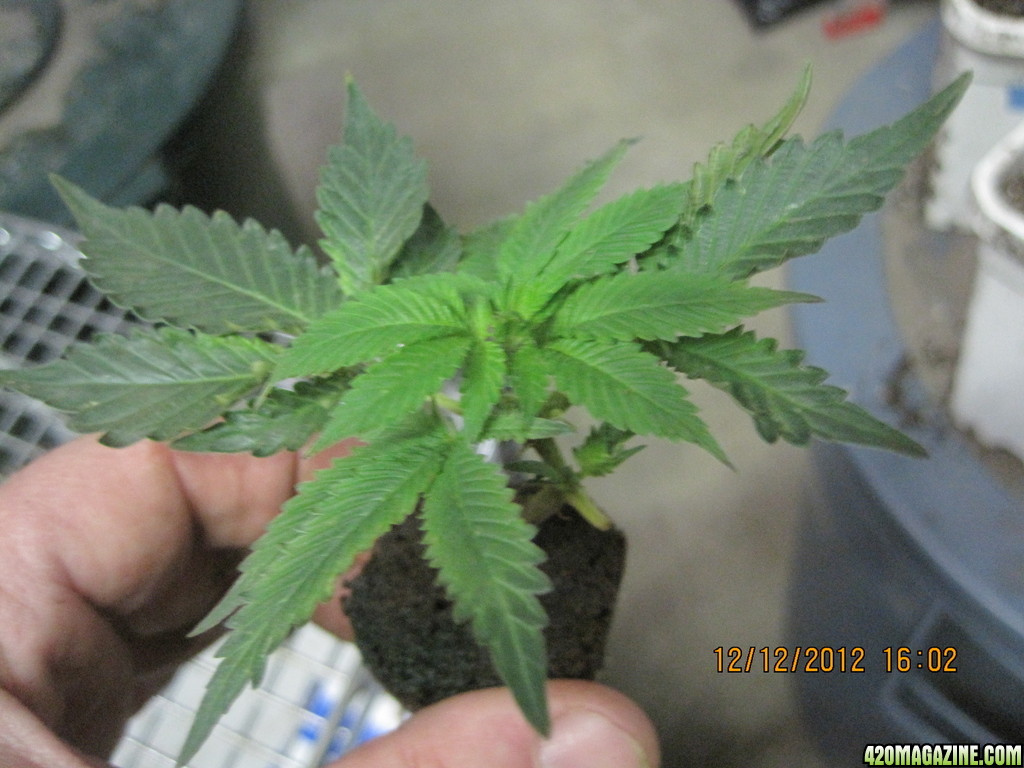
Here's what a healthy, High Brix clone looks like 10 days after being cut from the parent plant
So, I did this today. It took about 20 minutes.
Next installment: watering technique for vegetative growth.
I thought I would start a journal of a slightly different format. It's going to be an informational journal, where I'll demonstrate what I do, from seedling to harvest, step by step.
I won't be posting as often, as plants take time to grow, so in between posts I'll be happy to answer questions about my methods. I'll also dish out unsolicited advice, tell fish stories and generally have a curmudgeon-like negative opinion about most topics....so take it all with a grain of salt!
So, the first thing I do is mix up soil. This is very boring. It involves putting soil in a cement mixer, adding amendments, and turning the damn thing on for about 10 minutes. After that, the soil goes into rubber garbage cans, seen in the photo's below. I let it "cook" there for about a month before using the soil.
So, here we have the cooked soil placed in 1 gallon pots.

Here's my method for starting with clones:
1.)place soil in the pot, compress by hand and make a little "pooch" in the soil large enough to accommodate the cutting.


2.) put a liberal coating of Root Zone inoculate in the hole, especially on the bottom. You can also dust the actual roots of the cutting if you wish, but I find I waste product this way. It just works better to put it in the soil.

This product that I'm using is designed specifically for High Brix growing. It contains all the right mycorrhiza, some pre-digested rock powders and a few other doodads that really make healthy roots and colonize the soil to prepare for a hyperactive soil biology.
3.)Here's a gallon of water, mixed with one ounce of "Transplant," which is made by adding one ounce of "Transplant" to one gallon of water. This is a concentrated organic nutrient broth, with everything in the right ratio. It is designed to be used specifically with the Root Zone product and basically contains about 2 weeks worth of nutrition for the soil.

4.)Carefully fill in around the cutting and gently pack it in place.


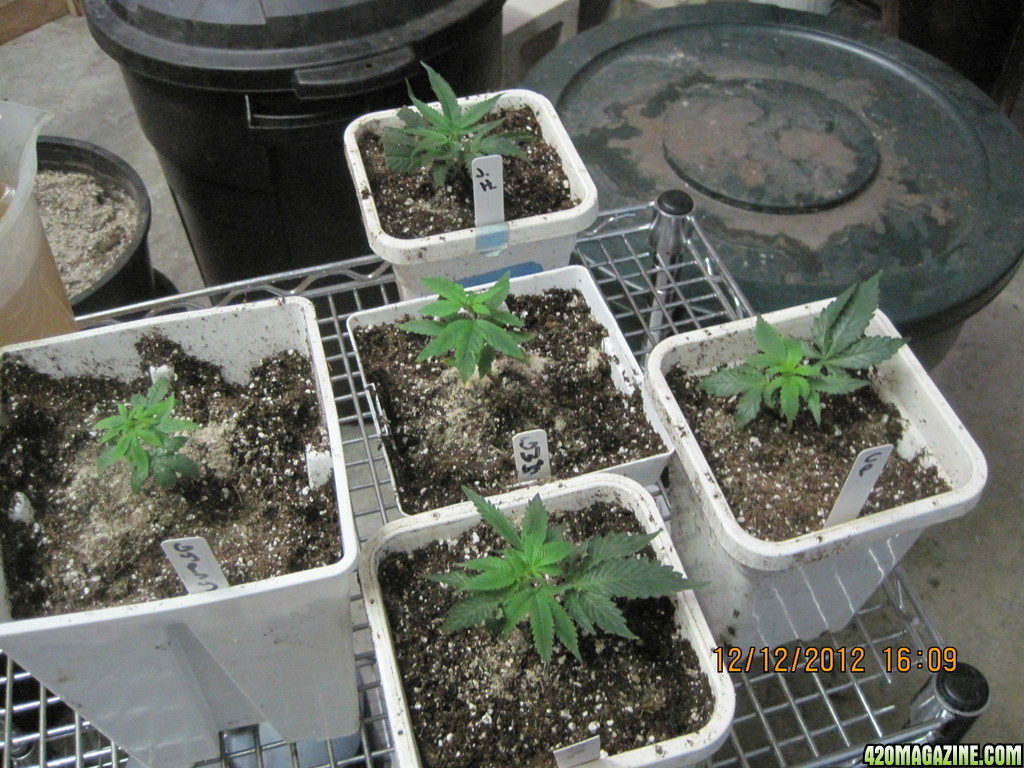
5.)The final step is to water each cutting with 1 pint of transplant water, made in step 3.
The plants are now ready to go under the T5 lights and will live there for 1 to 4 weeks, depending on space in the garden.
A word about "hardening off" clones and cuttings:
In the past, I would transition cuttings from the clone dome to pots by venting the dome, taking the lid off a bit, etc. The idea was to get the cuttings ready to leave their warm, moist little clone dome and prepare to live in the big bad world of the garden.
Well, since going High Brix some very nice things have developed!
Daily spraying with "Stress" makes for very healthy cuttings, faster rooting, and zero need for hardening off. They literally go from the under the unvented dome one day, to the T5 the next...and they take off!
Here's what a healthy, High Brix clone looks like 10 days after being cut from the parent plant

So, I did this today. It took about 20 minutes.
Next installment: watering technique for vegetative growth.


