Greetings 905jay -
I wish I had taken more photos, as I built the thing - but I didn't. The other photos posted here pretty much give you the jist of the project though. Most of the photos that I have were taken from others' posts at various sites.
Here's what I have in notes: (sorry - photos won't come through and most of the verbage is from the sites I checked out to complete this project)
Using Fantech FG XL 6: cfm = 483 6" Diameter core with a 24" length
GOAL: outside -> inner core hose — HC — screen — carbon — hose — screen - HC
Tools: flat head screw driver and wire snips
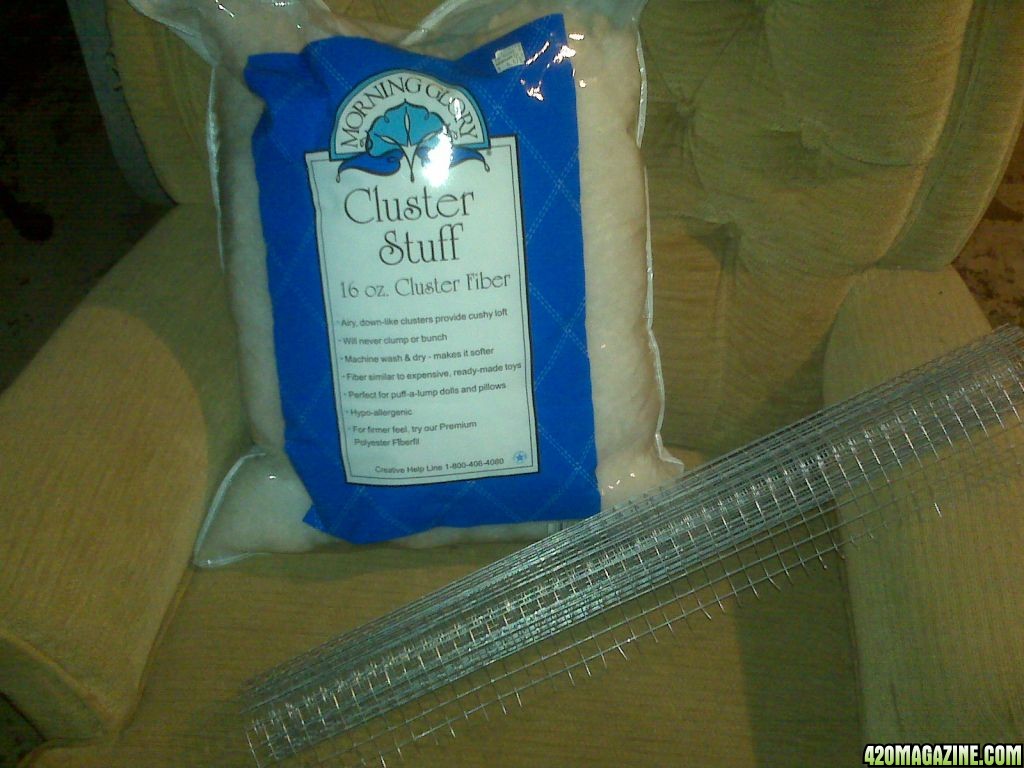
Steel hardware cloth or rat wire — fencing section at hardware store — 24" x 5'- used almost whole roll
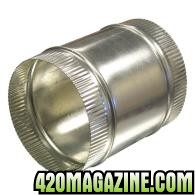
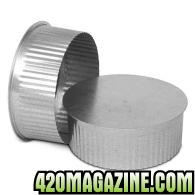
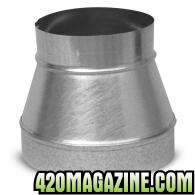
1 each 6" and 8" duct caps 1 x 6" duct collar 1 x 6" x 8" reducer aluminum or duct tape
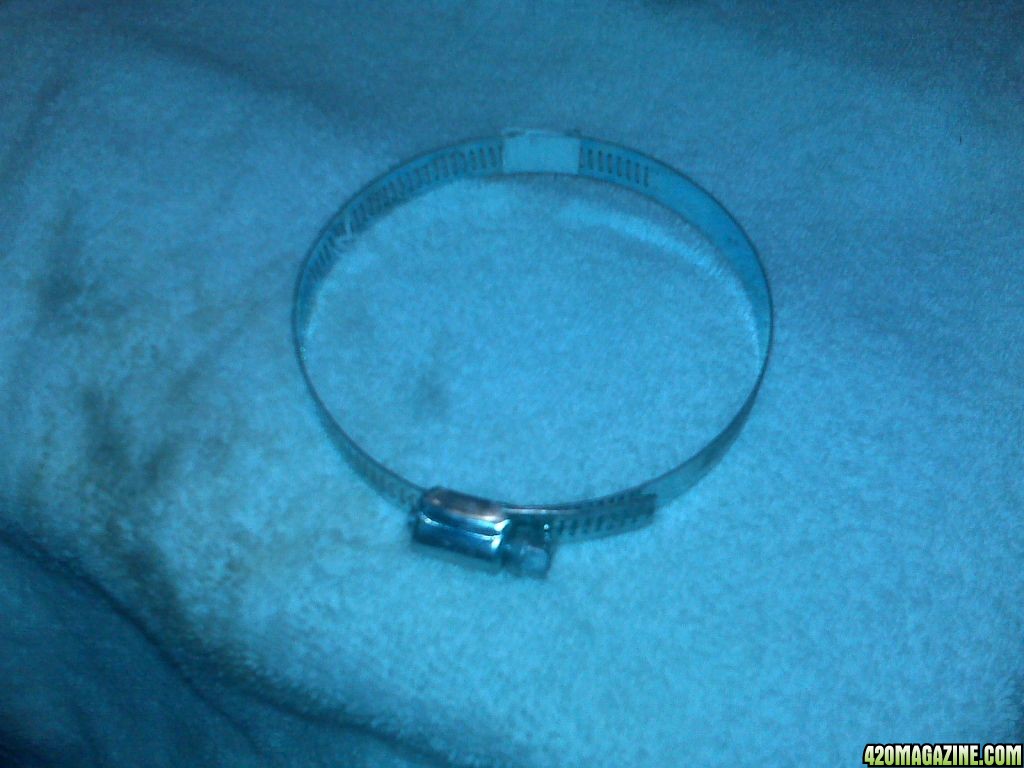
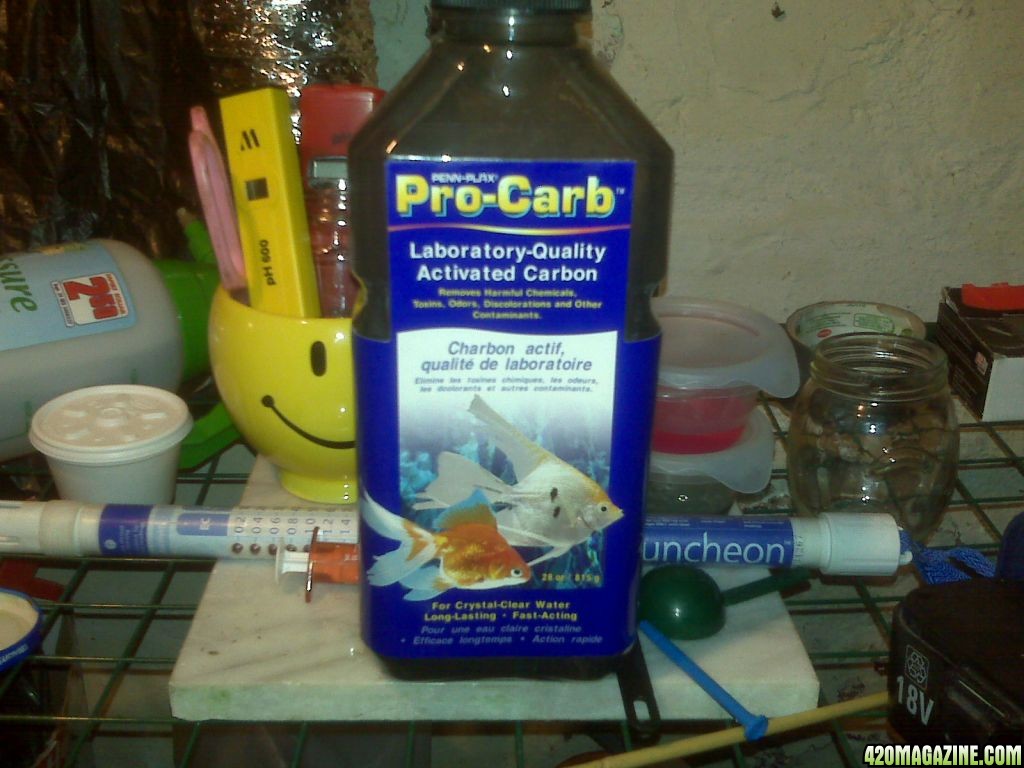
2 x 6" and 2 x 8 or 9" hose clamps Virgin activated carbon Small bag of poly-fill scissors
fine screen material (24"x5' min) — screen mesh must hold back the carbon 1 pkg extra queen size panty hose
To build the core: Cut the hardware cloth (HC) to a length of 24"
Wrap the 24" piece HC around the 6" cap and snip. Leave 1.5-2" overlap to strengthen the seam.
Snip to insure no points, or you'll get poked and they'll run the hose. Repeat with fine screen.
Use the 6" hose clamp to clamp HC onto cap.
Repeat on the other end, using the 6" collar — put the crimped end inside the core, leaving the tabbed end out.
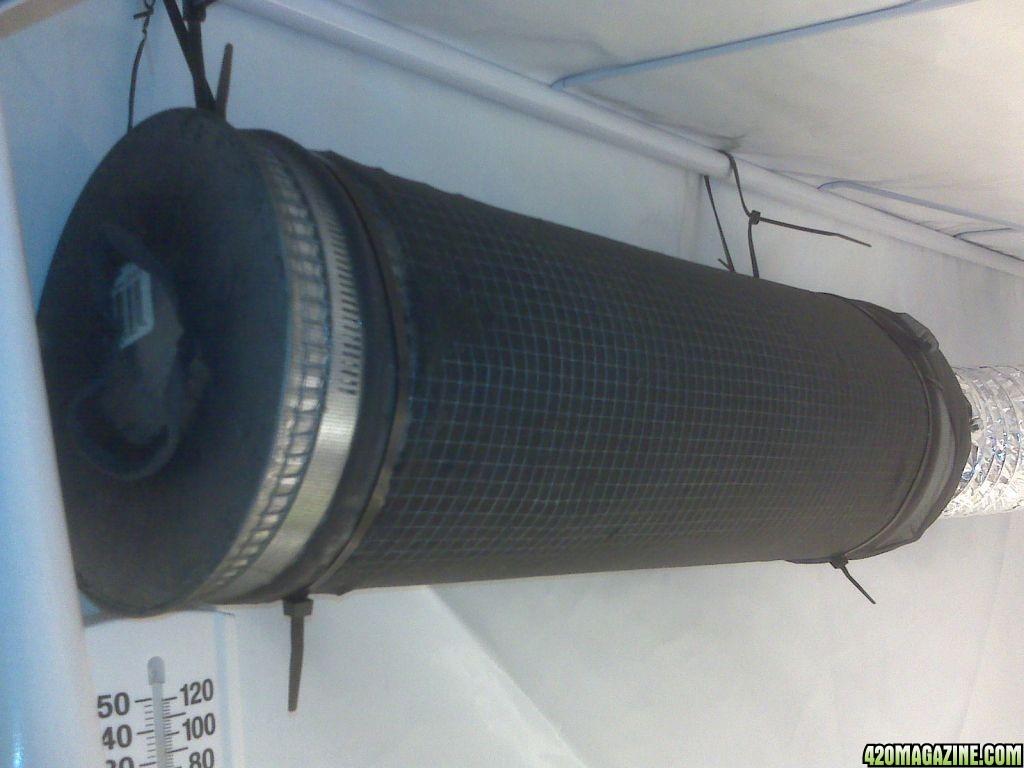
Cut the legs off of the hose and stretch each leg over the capped core end, stretch legs and cover the core with two layers. This is the FILTER'S CORE.
Twist ties in the middle add structural integrity; although not necessary. 11" ties would not fit.
Set the collar end into the 6"x 8" reducer. Flip it over and tape the collar to the inside of the reducer.
To ensure it's taped securely you can tape one part on the inside, then tape the opposite side. Kind of like lug nuts being attached to the wheel of a car. Of course you can do this however you like, but make sure it's taped on very tightly and also ensure that your filter core is lined up straight with the reducer.
Ok we now have a majority of the filter complete. Now just for the finishing touches. This part is also somewhat annoying, but you only have to do it once.
Take your batting and make a strip that will be long enough to go around the duct reducer once and slightly overlap, maybe 12" wide. Then fold the strip in half, and then in half again, "rolling it up". Then take this rolled up batting and stuff the inside of the reducer, filling the space:
Take out the 8" duct cap and set it upright. Put the filter on top of it as shown to figure out how much more mesh you will need for the filter shell.
Now cut some more mesh and also be sure it overlaps about 1-1.5" just like we did originally on the core - except this time we're working with a wider piece since the exterior shell is 2" larger in diameter.
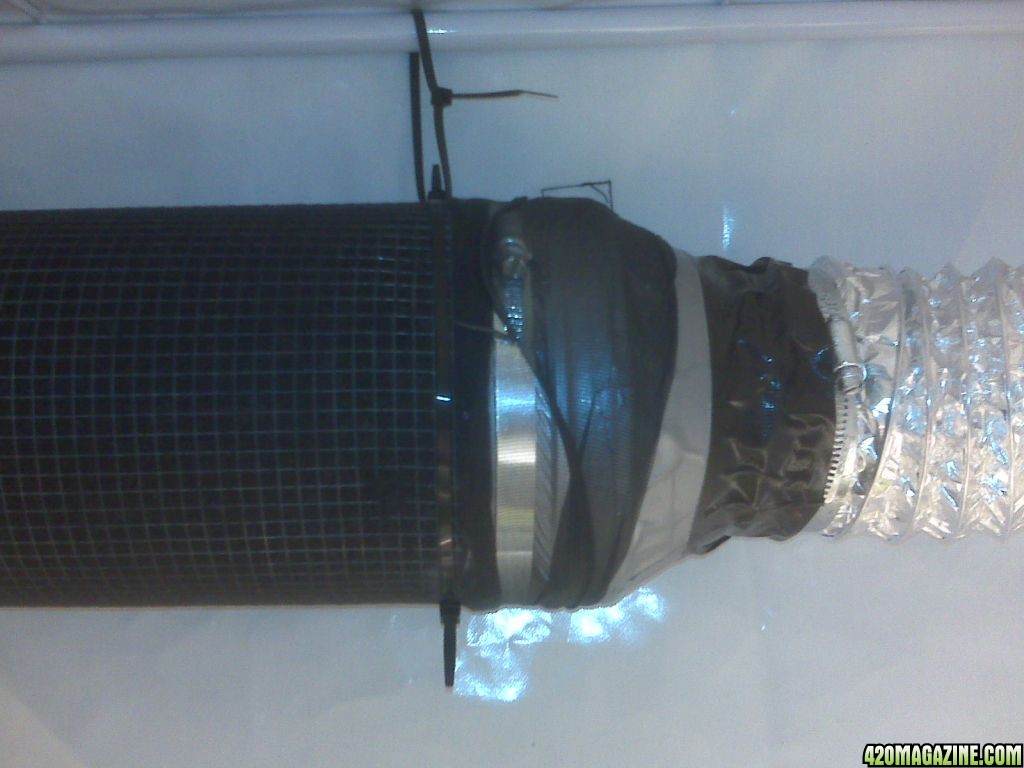
You can use the 8" duct cap to roll the mesh around to find the size again. Or you can measure, however you prefer. Once you have the size you need, wrap it around the front of the filter (the reducer side). For a 24" core length, I needed 20.5" x 27" of HC and screen. Then attach a 8 or 9" hose clamp. You should end up with this:
Once that side is on, add the 8" duct cap and do the same. You may need to size the mesh some, but tighten it somewhat loosely. (You want the 8" duct cap to be as close to the 6" duct cap as you can. ) You still want it tight, but we will be removing it again soon.
I used 3X Q sized hose and they barely fit over the 6" core. No way could you get these to fit over an 8" total diameter filter. Instead, I used window screen again. Cut this screen to wrap two or three times around the HC. When I added carbon, it poured out where the screen ends met. Perhaps buying even larger then extra queen panty hose would also help keep the carbon in the bed. Maybe hose over the screen but before the HC will hold the carbon in the bed. OR use the hip part of the hose after the screen.
Screen then body part of hose:
2X screen wrap plus hose:
Place the 8" cap in the opposite end of the HC for spacing and structure. Form the HC around the reducer, just as it was done with the 6", and clamp it down using one 4" and one 5" hose clamps together — running into each other. Do this if you can't find 9" hose clamps. I used two 4" and they were about impossible to get to fit. After buying 8" clamps, it was difficult to remove the 2x4" ones. Start with 8" or 9" to save the aggravation. Grow shops near me (Way to Grow) have all of these clamps and the hvac fittings for this.
Take the panty part of the hose and stretch it over the outside of the HC. Repeat with the other pair => 2 layers.
Fill it with carbon. You may need to hold the core at first = spacing even. Continuous 1" layer is perfect.
Leave an inch or two to fill in with the poly-fill. Replace the 8" end-cap, clamp it down and you're done.
Stuff that batting in good, but very carefully. Try to avoid snagging it on the mesh. Once done, add the 8" duct cap back on and tighten it down good. Again, longevity, not overkill. Also be patient, this can be a bitch. Then you can finish rolling the socks up and over the hose clamp. I stopped mine at the end of the duct cap, but do what you like.
The last step finally! Flip the reducer back over so the duct cap is on the floor. Cut the sock to make the hole where you will be connecting your ventilation to. Then you can roll the sock down some if you like.
BTW -
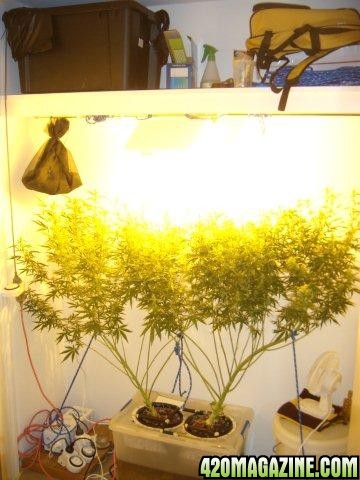
My room is large and this scrubber, perhaps not fit to the room properly, does not filter out all of the odor.
To take care of the rest of the odor, I made this: (also taken from this or other sites) - works GREAT while the ONA lasts.
ONA Ait Filter or Crude Bubbler
5 gallon bucket
9-10" fan - simple one for air circulation
ONA Pro
After doing this myself, I realized that I had drilled holes too far down the bucket. When I turned on the fan, water blew out the holes, creating a mess on the floor.
To complete -
Add 5" of water into the bucket. Place the fan such that it blows air into the bucket. Remove the fan and note how high up the water was splashed. Remove water, temporarily if you wish to be more green

Drills holes ABOVE this splash line, all around the bucket to the bucket top. The bucket will look like it has air holes for a pet.
Replace the water and add 1-2T of ONA PRO gel. Return the fan to blow air into the water and replace 1-2c water daily. The ONA Pro gel will also need to be added once you can smell the plants again, which is probably often. Although my grow is legal MMJ, it is stealth and I use the ONA Pro when a visitor stops by during flowering.
PEACE
To refill, simply loosen the clamp, remove the cap and dump the carbon. Refill and replace cap.


 Pics are very useful.