How To Build an Inexpensive Carbon Air Scrubber?

SmokeyMacPot

New Member
Building a carbon scrubber for de-odorizing stinky grows.
The design is such that there is no back pressure on the grow box exhaust fan, and there is maximum surface area for the exhaust air to contact the carbon.

The basic parts list:
2"x2"s and 1/4" plywood sheets, cut to the size of the furnace filters being used
4 furnace filters
4 to 5 lbs. of activated carbon
A set of four casters (wheels)
Duck tape, screws and four *hanger bolts 2" long by 1/4-20 with wingnuts and washers to fasten one removable side for filter servicing.
*Hanger bolts are machine threaded on one end and wood screw threads on the other end.

It starts with the frame construction:
In this example, the measurements of the box, furnace/fibre filters etc...
the scrubber is ~ 17" x 26" x 48" tall... the furnace filters are 16" x 25" x 1", though they are really only 3/4" thick. But again, your design dimensions will depend on the furnace filter size you choose based on the design criteria.

Wheels for mobility, and a wire screen on the bottom to hold the weight
of the de-odorizing filter without the filter buckling.

Using 4 furnace filters and 4 1/2 lbs. of activated carbon to make
a dual layer de-odorizing filter. 2 furnace filters on the bottom,
then a layer of carbon, another furnace filter, another layer of carbon,
and a furnace filter on top.

Carbon layer number one.

Carbon layer number two.

Tape up the carbon/screen layers, and then tape to the base,
creating a completely sealed bottom.

Add the walls and top.

Precut the input air opening before attaching the sides,
and add appropriate interface hardware.

Tape up the box seams with duct tape (the metal tape is best),
and it's ready for action.

Design criteria and further comments:
The design is solid and works well at eliminating that smell
as long as the following criteria is observed:
For every one (1) cubic feet of exhaust air to scrub:
Have a minimum of 1.25 ounces of activated carbon.
Have at least 8 square inches of filter surface area.

The concept has been tested for several months with multiple grows of the smelliest stuff available. not only does it work well during the grow, but the same technology has been used successfully in drying chambers to eliminate the odor of drying bud (sometimes far worse than the grow itself).

Ionizers are a waste of money to ganja growers. I did try the design with an ionizer inside the enclosure, no difference.
I have also used ozone and found it to be very effective in conjunction
with carbon for larger grows where the design criteria could not be met (too much air flow for the filters used), but the ozone is after the carbon and not before, since carbon absorbs ozone, and i want the carbon to saturate as much as possible with bud stink, then the ozone to clean up the rest.

The carbon is changed every three (3) months or so, and so far, it has not reached saturation within that time period.

Some Q & A about the carbon air scrubber

Why is the box so big?
To eliminate back pressure on the exhaust fan to maximize air movement through the grow box. I am sure the overall dimensions can be scaled down, though I am not sure to what dimensions.

Could you do this to a regular grow box?
Yes, although you want all of the workings in the top of the box. Exhaust fan, carbon filter, etc., venting out of the top of the enclosure.

Where did you purchase the carbon?
The neighborhood fish/aquarium store has the pricey stuff, at around $10+ per 2.25 lbs. It comes alot cheaper, though you might have to change it out more often. Mail-order fish supply places over the net are the way to go when purchasing bulk activated carbon/charcoal.

Author: GeeO
 
Activated Carbon is sold at pet stores for fish-tank filters. It depends on the amount you plan to buy. To give you an idea, a little less than $20 dollars worth fills my homemade scrubber pictured in this thread
 
Building a carbon scrubber for de-odorizing stinky grows.
The design is such that there is no back pressure on the grow box exhaust fan, and there is maximum surface area for the exhaust air to contact the carbon.

The basic parts list:
2"x2"s and 1/4" plywood sheets, cut to the size of the furnace filters being used
4 furnace filters
4 to 5 lbs. of activated carbon
A set of four casters (wheels)
Duck tape, screws and four *hanger bolts 2" long by 1/4-20 with wingnuts and washers to fasten one removable side for filter servicing.
*Hanger bolts are machine threaded on one end and wood screw threads on the other end.

It starts with the frame construction:
In this example, the measurements of the box, furnace/fibre filters etc...
the scrubber is ~ 17" x 26" x 48" tall... the furnace filters are 16" x 25" x 1", though they are really only 3/4" thick. But again, your design dimensions will depend on the furnace filter size you choose based on the design criteria.

Wheels for mobility, and a wire screen on the bottom to hold the weight
of the de-odorizing filter without the filter buckling.

Using 4 furnace filters and 4 1/2 lbs. of activated carbon to make
a dual layer de-odorizing filter. 2 furnace filters on the bottom,
then a layer of carbon, another furnace filter, another layer of carbon,
and a furnace filter on top.

Carbon layer number one.

Carbon layer number two.

Tape up the carbon/screen layers, and then tape to the base,
creating a completely sealed bottom.

Add the walls and top.

Precut the input air opening before attaching the sides,
and add appropriate interface hardware.

Tape up the box seams with duct tape (the metal tape is best),
and it's ready for action.

Design criteria and further comments:
The design is solid and works well at eliminating that smell
as long as the following criteria is observed:
For every one (1) cubic feet of exhaust air to scrub:
Have a minimum of 1.25 ounces of activated carbon.
Have at least 8 square inches of filter surface area.

The concept has been tested for several months with multiple grows of the smelliest stuff available. not only does it work well during the grow, but the same technology has been used successfully in drying chambers to eliminate the odor of drying bud (sometimes far worse than the grow itself).

Ionizers are a waste of money to ganja growers. I did try the design with an ionizer inside the enclosure, no difference.
I have also used ozone and found it to be very effective in conjunction
with carbon for larger grows where the design criteria could not be met (too much air flow for the filters used), but the ozone is after the carbon and not before, since carbon absorbs ozone, and i want the carbon to saturate as much as possible with bud stink, then the ozone to clean up the rest.

The carbon is changed every three (3) months or so, and so far, it has not reached saturation within that time period.

Some Q & A about the carbon air scrubber

Why is the box so big?
To eliminate back pressure on the exhaust fan to maximize air movement through the grow box. I am sure the overall dimensions can be scaled down, though I am not sure to what dimensions.

Could you do this to a regular grow box?
Yes, although you want all of the workings in the top of the box. Exhaust fan, carbon filter, etc., venting out of the top of the enclosure.

Where did you purchase the carbon?
The neighborhood fish/aquarium store has the pricey stuff, at around $10+ per 2.25 lbs. It comes alot cheaper, though you might have to change it out more often. Mail-order fish supply places over the net are the way to go when purchasing bulk activated carbon/charcoal.

Author: GeeO


any pics of this tutorial? THERE IS alot of stuff to put together here, a step by step pic tutorial would be KILLA~:ganjamon:
 
:goodjob: Pics are very useful.

Here's the one I made.

Tools:
flathead screwdriver
tin snips or wire cutters
duct tape (I like Gorilla brand)

Items needed:
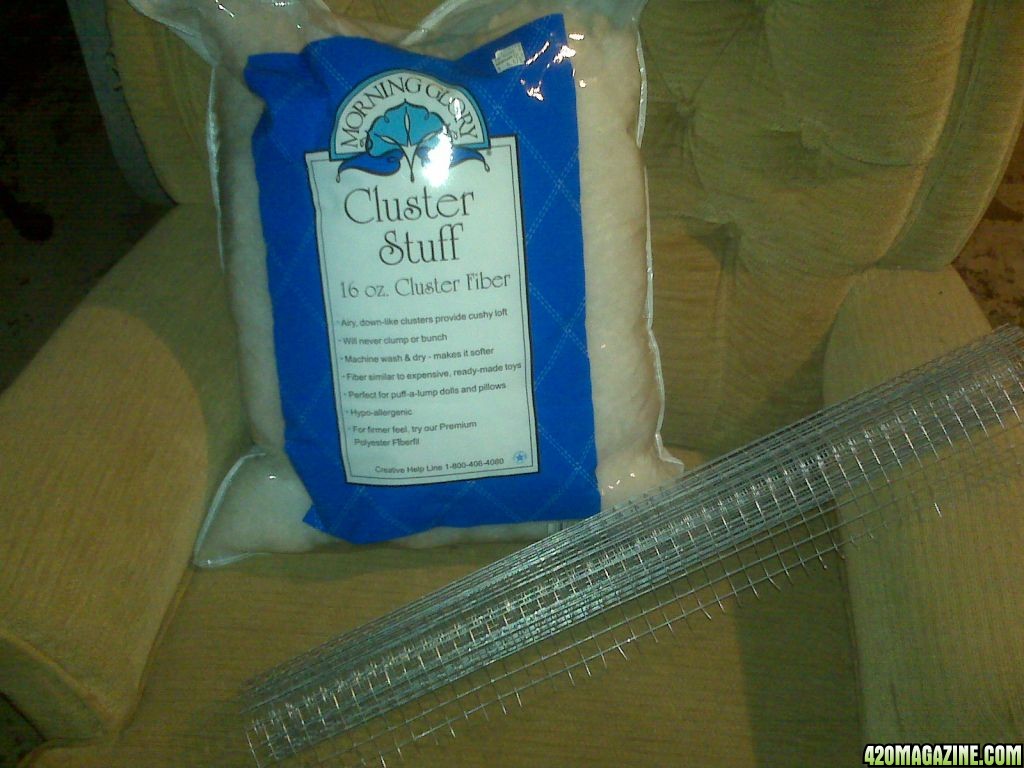
hardware cloth $7
stuffing (pillow, etc) $5
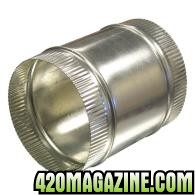
4 inch duct connector $3
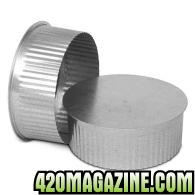
4 inch end cap (an elusive item) $4
6 inch end cap $5
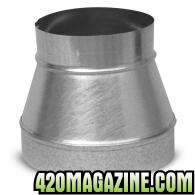
4 x 6 inch reducer $5
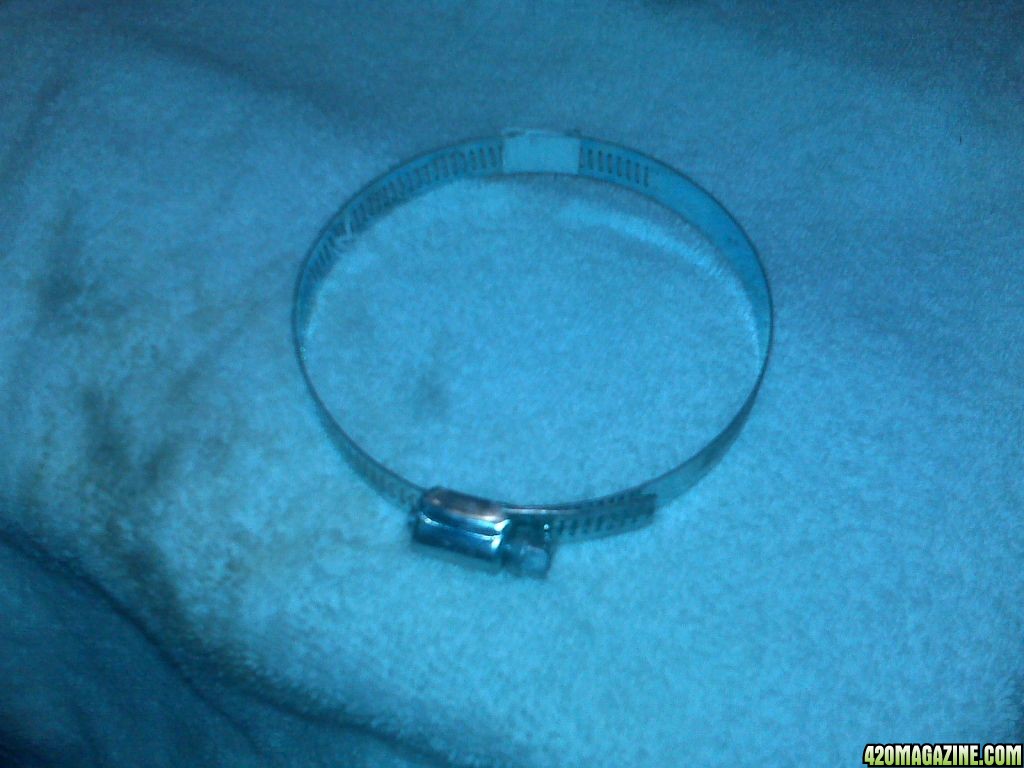
ring clamps (4 @ $1.50) $6
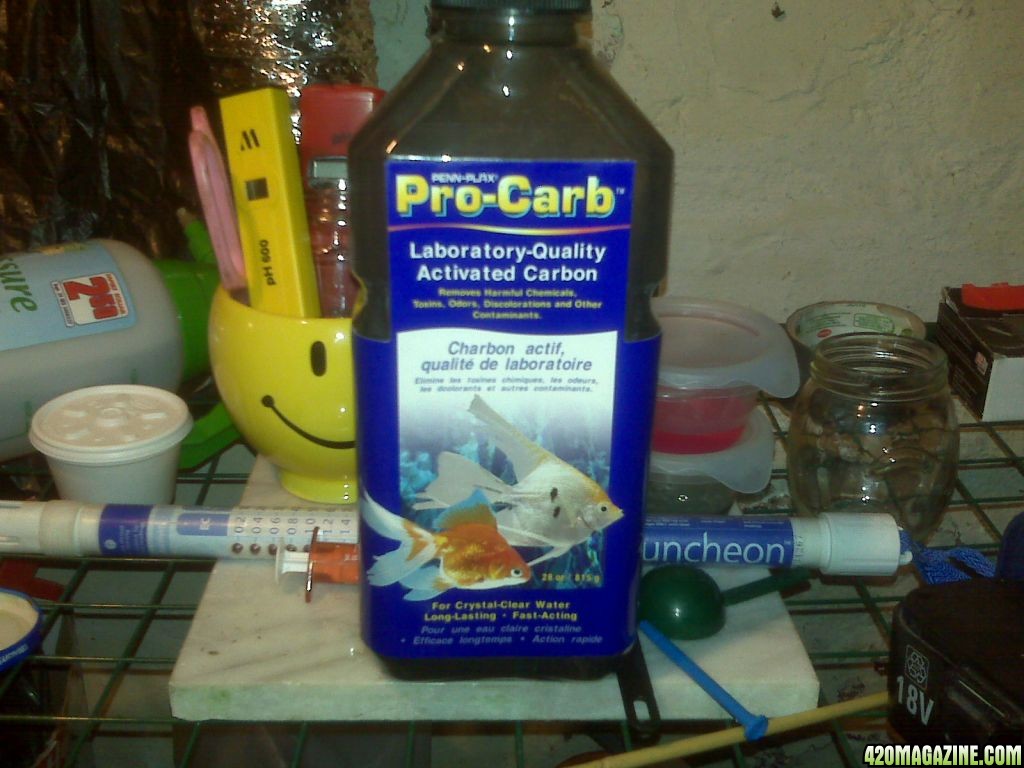
activated carbon (2-28 oz bottles @ $6.50 ea.) $13
nylons or stockings (from the $ store) $1
total - app. $49

filling_hardcloth.jpg

4inch_conn.jpg

6inchcap.jpg

4x6red.jpg

ringclamp.jpg

28oz_actcarbn.jpg


You are going to construct two tubes (one 4 inches in diameter and one 6 inches in diameter) using the hardware cloth. Begin by cutting a piece of the screen (hardware cloth) to measure 15" W x 18" H. Cut another to measure 22" W x 18" H. Take the 15" W screen and form it into a tube around the 4 inch duct connector (at the top) and the 4" end cap (at the bottom). Leave the top half of the connector protruding from the end of the screen. This end will fit into the 6 x 4 reducer. Use two of the clamps to secure each end. Cover the outside of the tube with one stocking and secure it to the top with some duct tape. Construct the other tube the same way using the 22" W screen, 6 x 4 reducer (top) and 6" end cap (bottom). But put the other stocking on from the top (leave the open end at the bottom).
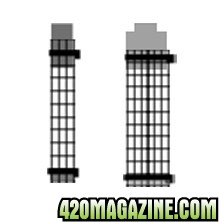
Here's a drawing of the completed tubes:
drawings.jpg

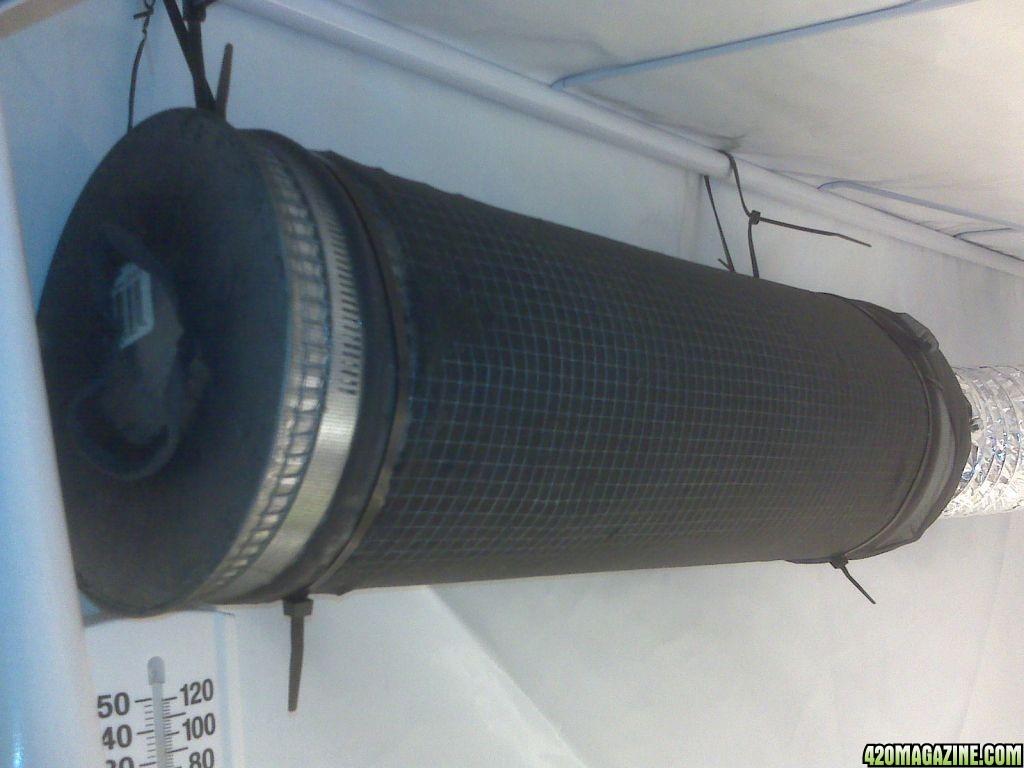
Loosen the bottom clamp on the 6" tube and stuff the padding down into the 6x4 reducer leaving the opening clear. Slide the 4" tube (connector end/top) down into the reducer opening. The padding should be thick enough to hold the carbon, without extending up to the open screen. Now fill the space between the tubes with the carbon, and be sure to shake/tap/vibrate the particles into a tight fit. Leave a little room for the stuffing at the bottom. Pack the bottom with stuffing, replace the 6" end cap, and cut an opening in the stocking at the top of the 6 x 4 reducer. Connect it your fan/ducting and prepare to eliminate all smells. You can even scrub smoke from the air.
scrubr_botm.jpg

scrubr_top.jpg


Hope this helps someone. :peace::peace::peace:
 
I just finished making a filter like Jolly Green's. AND I'm a chick!! I did need some help getting the outer clamps on/tightened because some dude obviously thought 8" clamps would fit onto 8.5" of metal. I'd increase to the next available size for the outer hose clamps.

Mine = 8" diameter, for a 6" fan. The core is 6" x 24".

The parts for 8" diameter was around $100. SO happy with the savings!!:slide:

THANKS to all the internet posts on how to DIY these!!

Also, 3X Q panty hose leg barely extended big enough to fit over a 6" tube. As recommended by other sites, I used window screen, as fine a mesh as possible, in addition to/in place of the hose. The screen should touch the carbon. Easier to understand when you are assembling, although it adds another frustration dimension.

SO worth the effort!! :thanks:
Have any pics of your creation...? I love pics they explain so much...I bought some parts for my scrubber. I am doing 6" into 4". Hope thats enough for my 4x4 tent. We will see...
 
How do I post a photo?

As I researched how to do this, I read maybe 5 threads, different sites. Maybe 4 of these had photos, which I compiled into a word document. This did help LOT. I could take a photo of my finished product. The carbon is on the way, so I have not yet added it.

I should have taken photos at each step, but if I give credit, can I post my word document here?

this site has photos if you register:

DIY Carbon Scrubber - Mycotopia Web Forums
 
FINALLY posted a few photos.

I added carbon and found a few issues with my project:

The activated carbon I ordered is very fine - like large sand

So when I filled the carbon bed, many grains drained from the screen merely because the screen I bought lacks a fine enough mesh for the sized carbon I bought. Figuring this out BEFORE filling will save aggravation. Also, I bought 8" hose clamps in anticipation of switching them with the original "2x 4 inch clamps made into 1x 8 inch clamp" used in the initial construction. The original clamps were difficult to remove. Starting with the correct parts is also a must. 9" hose clamps would have been even easier to use, but 8" worked with patience.

Then, the carbon began to leak from the seam created by the screen - where the 2 ends of the screen overlapped in the outer layer of the filter. I poured the carbon into a tote so I could dissassemble the filter and make improvements.

My core is surrounded by the panty hose so unless there's a "run" in the hose, it should keep the carbon in the bed. This part seems ok.

The DIY instructions state to use another panty hose leg to secure the carbon in the bed but I couldn't get the leg to fit. A 6" filter should be fine but my filter is 8". I decided to run the window screen 2-3 times around the bed and use the hips/belly part of the hose to cover this. Then the hardware cloth was reapplied. I was able to return all of the carbon, from the tote, back into the newly enforced bed and NO leaks - YEAH!!

I then covered the exterior with more batting and used 3 zip ties to hold it in place.

The filter weighed about 2 pounds assembled but empty and 8 pounds complete with carbon. I probably could have fit a bit more carbon inside but I was thoroughly frustrated and wanted it finished. The bed looks to be about 1" thick

My plants are not yet ready to flower but will update the effectiveness against odor when applicable.

If I did this again, and I will, I would try to make the bed at least another inch thick. This will require reducers larger then 8", so more creative shopping. I do see why people buy the premade filters, but I like the idea of a greener grow room.

I also want to figure out a greener way of reusing the carbon, but maybe not this tiny grain size.

PEACE
 
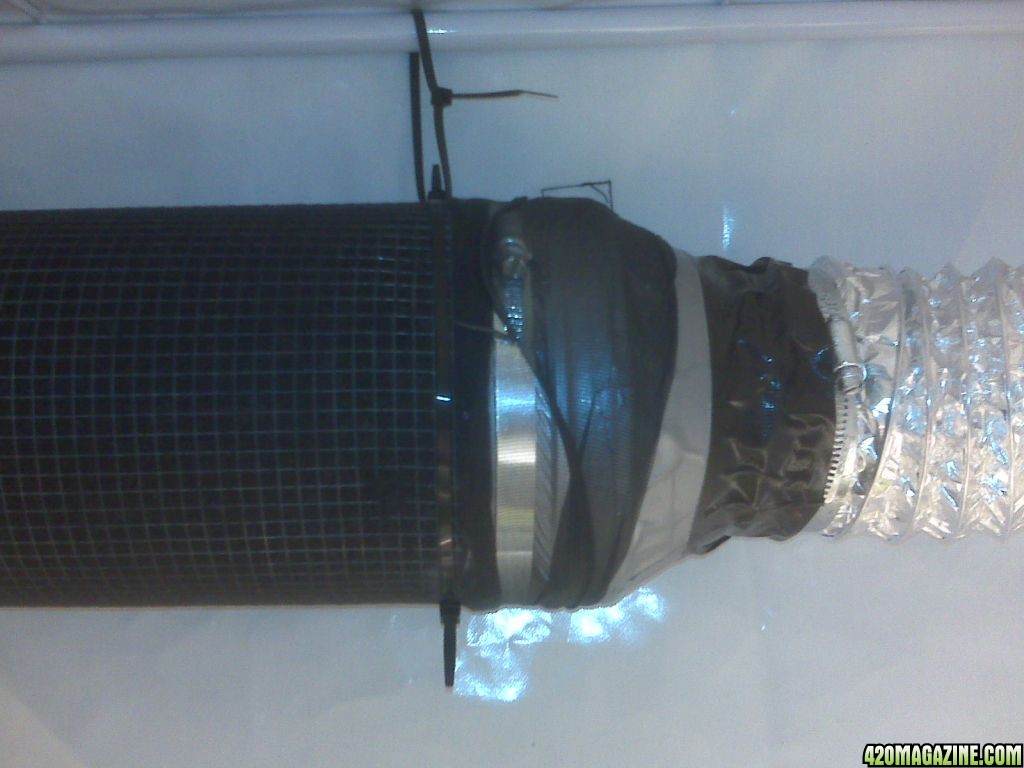
i came up with a smaller one, along these lines, for my stealth grow.


the fan is right behind the carbon filter there, and throws air out either side of the tube. works fantastic, lowered the temp in my grow wonderfully.
Very cool!
 
should have posted some pics of you doing it. Not for each step specifically but just to see how it should look when constructing it. Other than cleaning I think this is going to be my first part in constructing my closet into a grow room :)
 
mycotopia.net has detailed photos - that's where I found mine and saved them to a word document.

I'm not sure I can post those since they aren't mine -

Next time I build one though, I'll take photos as I go
 
mycotopia.net has detailed photos - that's where I found mine and saved them to a word document.

I'm not sure I can post those since they aren't mine -

Next time I build one though, I'll take photos as I go

Cool, Im making my list now, think im going to build one before i start my grow. I smoke a lot to it will be interesting to see how it works :)
 
is there any info about how much carob for how much space and how big of fan to use to push trow that amont of caron

Depends on the size of the scrubber you want to build. The one on the first page has 6inch ducting so a 6inch inline duct fan or a 6inch inline centrifugal Vortex or whatever fan will do...
 
Back
Top Bottom