Can’t wait to see this when you are done! It’s gonna be awesome!
Navigation
Install the app
How to install the app on iOS
How To Use Progressive Web App aka PWA On 420 Magazine Forum
Note: This feature may not be available in some browsers.
More options
You are using an out of date browser. It may not display this or other websites correctly.
You should upgrade or use an alternative browser.
You should upgrade or use an alternative browser.
Hello from Germany
- Thread starter Mounty
- Start date
- Thread starter
- #42
@ Mr. Magoo: Appreciate your positive vibes!! Mind faxing me some, for times of despair??
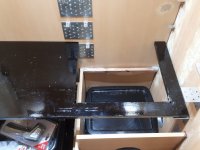
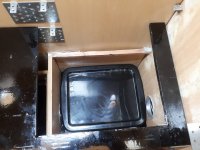
To the closet: Did some ducting installing today, or more like test fitting. It will all have to be removed again, to do a proper cleaning, smearing silicon in the corners, putting up white reflective foil, not to mention the H2O and pixie installation... You're more than welcome to join me on this ride...
Pix tomorrow, too dark and tired, just got off work. (it is 00:45 here..)
G'night
Mounty
- Thread starter
- #43
Sorry, haven't ud'd in a few days.
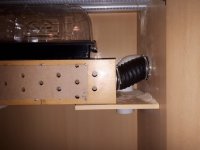
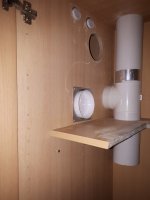
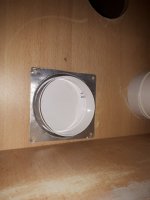
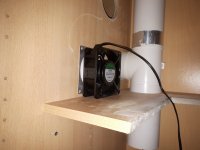
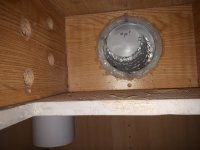
Got some more ducting installed. Small piece of flex duct from bloom area to under the propatation area/hood.
Intake and exhaust ducting installed as far as possible. waiting for hardware.
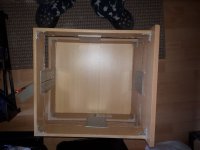
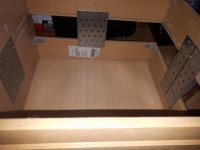
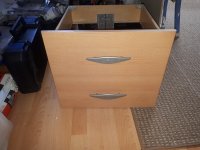
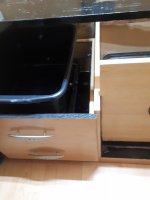
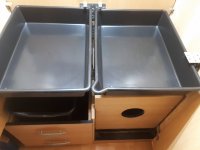
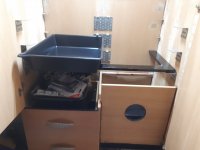
Took the 4 drawers out. Removed the bottoms of 2 drawers. Installed little 90° brackets in all corners, added much hot glue..
Waiting on brackets to attach upper and lower drawers. water reservoirs will be placed in the drawers. 1 Veg nutrients, 1 drain/waste. Must install 'sight glasses' on the reservoirs. Clear tubing on its way... damned waiting...
Mounty
Pix:
Attachments
-
 20180915_201957.jpg387.4 KB · Views: 150
 -
 20180915_202007.jpg383.9 KB · Views: 146
 -
 20180915_202015.jpg396.2 KB · Views: 147
 -
 20180915_202112.jpg449.9 KB · Views: 141
 -
 20180915_202250.jpg429.3 KB · Views: 143
 -
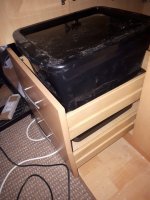 20180916_121052.jpg526.7 KB · Views: 164
 -
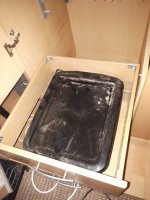 20180916_121108.jpg551 KB · Views: 140
 -
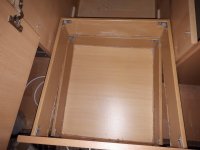 20180916_121133.jpg414.9 KB · Views: 131
this cab is coming together nicely. can't wait to see the finished product. 

- Thread starter
- #45
- Thread starter
- #46
Hey peeps, I am still here. Waiting...... damned neighbour accepted a package for me, and is out of town till tomorrow. I am out of town tomorrow till friday.... what a load... sitting here on hot coals..... could pull my hair out and scream at the top o my voice.... grr
Sorry. Will be back asap....
Mounty
Sorry. Will be back asap....
Mounty
- Thread starter
- #47
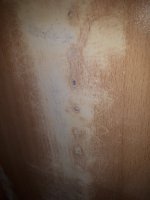
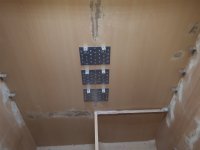
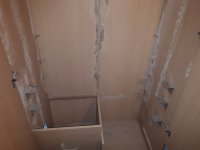
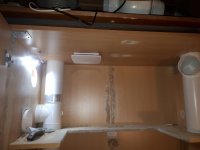
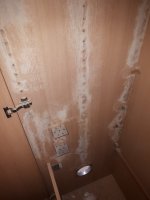
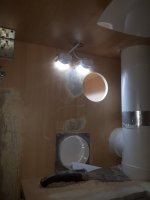
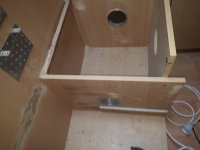
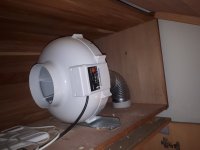
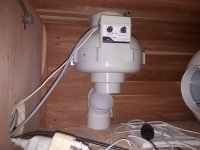
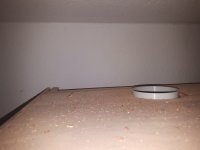
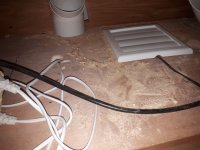
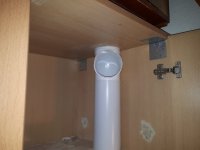
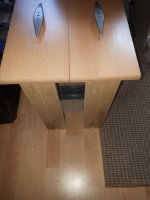
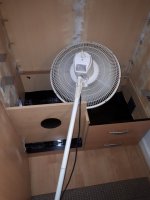
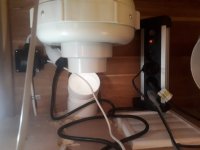
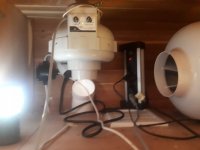
Hello. So, got home on Fri. Spent the rest of the day with my wife. Saturday, I installed a bunch of brackets supporting corners etc. I also upgraded my exhaust fan to a 790 m/hr prima klima fan. Small amount of adjusting req'd due to the larger fan. Fans are installed, in chest above the closet. Also installed a small inline fan to allow air into the chest.
Filled and sanded all the holes in the sides of the closet. The were there to adjust any shelving that was in the closet. I went thru this as not to invite bugs/mold to move into my closet. Not giving them dwelling quarters. (Foil will be installed over these, holes would be covered/not easily accessible/controllable)
Next step will be drill a few small holes and start pulling cables in/doing the wiring.
Mounty
Attachments
-
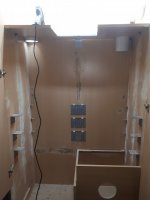 20180924_105137.jpg286.8 KB · Views: 151
 -
 20180924_105148.jpg490.1 KB · Views: 145
 -
 20180924_105204.jpg311 KB · Views: 130
 -
 20180924_105218.jpg287 KB · Views: 161
 -
 20180924_105225.jpg369.1 KB · Views: 128
 -
 20180924_105245.jpg397.3 KB · Views: 133
 -
 20180924_105251.jpg396.8 KB · Views: 134
 -
 20180924_105331.jpg284.5 KB · Views: 148
 -
 20180924_105432.jpg320.9 KB · Views: 164
 -
 20180924_105442.jpg383.3 KB · Views: 147
- Thread starter
- #48
.......
Attachments
-
 20180924_105457.jpg308.7 KB · Views: 161
 -
 20180924_105523.jpg531.3 KB · Views: 139
 -
 20180924_105553.jpg352.8 KB · Views: 146
 -
 20180924_105603.jpg334.8 KB · Views: 137
 -
 20180924_105706.jpg467 KB · Views: 104
 -
 20180924_105724.jpg409.9 KB · Views: 128
 -
 20180924_105738.jpg365.7 KB · Views: 128
 -
 20180924_105758.jpg532.7 KB · Views: 167
ikea will never be the same....
you might wanna ask a mod to move this over to the cabinet, closet , and grow room set up sub forum.
you might wanna ask a mod to move this over to the cabinet, closet , and grow room set up sub forum.
- Thread starter
- #50
Ha ha ha... Wondering if i'd had asked them, if they would have 'sponsored' a grow light from their product range...
Oh, did not see there is a cabinet/closet/growroom subthread.. will look into that. sorry and thanks
Mounty
Oh, did not see there is a cabinet/closet/growroom subthread.. will look into that. sorry and thanks
Mounty
Ha ha ha... Wondering if i'd had asked them, if they would have 'sponsored' a grow light from their product range...
Oh, did not see there is a cabinet/closet/growroom subthread.. will look into that. sorry and thanks
Mounty
no worries. was just thinking you may get a few more looks and maybe some ideas posted. sure more people would be interested.
- Thread starter
- #53
@ Admin/Mod Jeffrey: Thanks for moving my thread. Appreciate you!
@ All others: DAS Build continues...
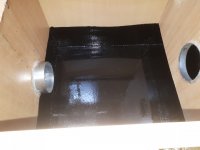
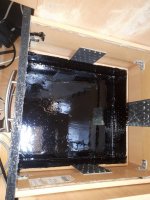
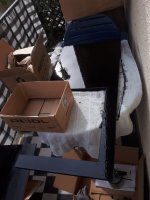
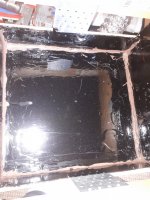
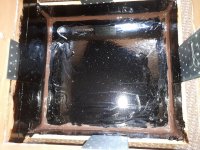
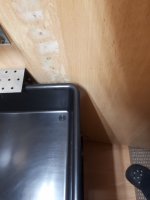
Where to start?? Hmm... I got myself some 'roof paint' (Bitumen/cold). Its a tar like mass that you spread with a brush/roller/your fingers if you like. It goes on fairly thick, but is water soluble, so not too toxic. I bought 1 liter, good for 5 m/sq depending on how thick you slap it on. I must mention, i had previously applied 'glue stick' to all corners, ALL corners. When the 1st application of paint went on, I noticed certain areas were brownish/caramel/dark honey colour. The paint looks black, but is a very dark brown. It seems that the 2kg of glue sticks i bought, were of nether quality, meaning either alot of wax or oil, to make it flow easier... The paint had certain problems adhering to this. Applied 2nd, 3rd and 4th coats of paint. It got better, but still, too iffy for me. I planned on applying silicone caulking to the corners anyway, so I went over these areas of distaste with caulking as well. This too I applied non sparingly. So, all lower areas, where I plan to have the water reservoirs is water tight, to a certain height. The rest of the corners, top to bottom, should be air tightish, no cracks or nooks where critters and/or funghi could feel welcome/at home. It is a bit of an eye sore, but it will be, for the most part, covered with white foil. Further insulation will not be installed. (No room!!!!)
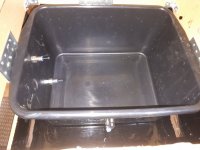
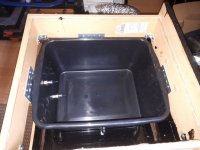
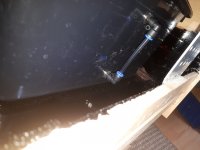
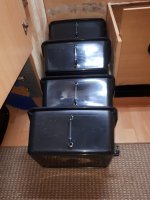
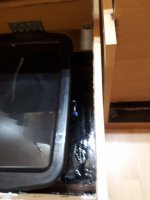
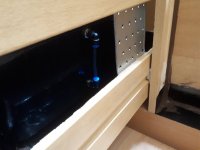
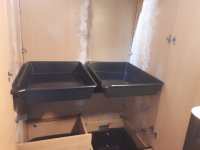
Took the basins/tubs i had acquired, and installed some QAD (Quick Attach De-attach) fittings on 2 sides of each of 4/5 of the tubs. (One is still virgin, not been touched, open for options) In the 'long' side, I installed 2 ea 90 degree fitting. with o-ring and counter nut on the inside. On the 'short' ends I did pretty much the same. Plan: The lon side fittings are connected via a short clear tube, to use as a 'sight glass'/water level display. The other two are there as A) top for water return from over pressure in the system, or as a siphon so the tubes don't empty in to plants uncontrolled, B) lower as a drain when changing nutrients/water. I tested for leaks in the bathtub, All is good.
Holes drilled into the wood at what seems haphazard places, are there for air movement and also ease of access to the sight glasses, perhaps needing a flash light. The tubs fit so damned tight into the drawers, with the lids on. I do not wish to have to manoeuvre these in and out every time.
The larger tubs, in which the plant/pots will reside, are a wee bit too long for the closet. They have a 'lip' going around the outside, as a strengthening shoulder. If I remove this, they will fit snug length wise. These are only there to collect any run off there might be. I will drill a hole in the bottom of each, install a small grommet, and run a tube to the drains tank, perhaps via a drains manifold 3>1 QAD as well.
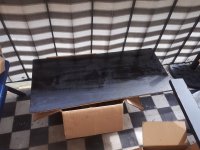
I took the 2 boards i had, to be used a shelves/height adjustment extra to the light height adjusters, and too painted them with the roof paint. Funny thing when I was doing the straight/through board (Bloom area board), just as i was about to clean up, i spilled the can, and had to apply the paint much thicker on one side... Took forever to dry, even in the sun, but has a nice springy/rubbery feeling now. Cool!! The other board, for the Veg area, I cut out a square space. This is to fit over "mom". allowing for the teenies to take place in the sun along side her. I left a 5 cm/2 inch lip to the side and front (or back, not sure yet). which i again strengthened with a few brackets. This board i had flying around, and it is approx 2 cm shorter then the bloom board. This is good!! I can run wires/piping along here without having to drill/weaken the board further. Behind the drawers there is small empty space, maybe 3 inches/8cm. I will have the cables coming in, in this area, somewhat higher up, above the water line. (Maybe 12cm/5 inches high)
What else have I done... hmmm. Oh, installed a whole pile of brackets in most corners, before i did the hot gluing, painting, caulking. I do not wish to ever have to take this apart!!! Fort Knox eat your heart out...
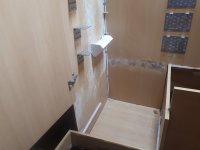
The doors are adjusted as best I can. There is a wee gap, but this will be filled/covered by 3M foam or sound proofing foam for corners.. I believe the next step is install the wiring. It would be best to have the wires behind the foil, added waterproofing for the electrical system. This will take a few days. I want to/need to take my time with the electric. No doo-doo's allowed.
Nuff said, on to the pix...:
Attachments
-
 20180926_142425.jpg364.7 KB · Views: 130
 -
 20180926_142433.jpg576 KB · Views: 143
 -
 20180926_142446.jpg415.8 KB · Views: 137
 -
 20180926_142521.jpg542.3 KB · Views: 134
 -
 20180926_142527.jpg707.4 KB · Views: 133
 -
 20180927_192814.jpg426.4 KB · Views: 127
 -
 20180927_192821.jpg450.3 KB · Views: 123
 -
 20180927_192830.jpg349.6 KB · Views: 124
- Thread starter
- #54
.....................
Attachments
-
 20180927_192944.jpg444.1 KB · Views: 132
 -
 20180927_192957.jpg675.4 KB · Views: 131
 -
 20180927_202011.jpg779.2 KB · Views: 132
 -
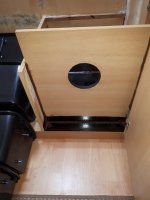 20180927_202038.jpg393.5 KB · Views: 117
 -
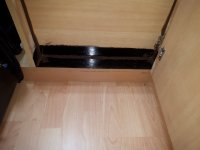 20180927_202047.jpg412.6 KB · Views: 131
 -
 20180927_202109.jpg375.8 KB · Views: 129
 -
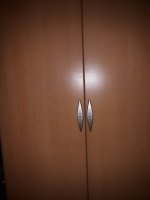 20180927_202950.jpg306.4 KB · Views: 130
 -
 20180927_202957.jpg313.3 KB · Views: 113
- Thread starter
- #55
*********************
Attachments
-
 20180927_220008.jpg304.3 KB · Views: 126
 -
 20180927_220024.jpg332.9 KB · Views: 129
 -
 20180927_220046.jpg335.3 KB · Views: 136
 -
 20180927_220057.jpg311.2 KB · Views: 127
 -
 20180927_220222.jpg328.3 KB · Views: 118
 -
 20180927_220230.jpg364.7 KB · Views: 125
 -
 20180927_221114.jpg315 KB · Views: 118
 -
 20180927_221121.jpg326.7 KB · Views: 130
 -
 20180927_221242.jpg289.8 KB · Views: 128
 -
 20180927_221256.jpg269.1 KB · Views: 133
- Thread starter
- #56
- Thread starter
- #57
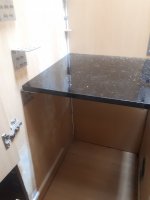
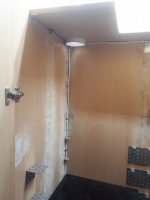
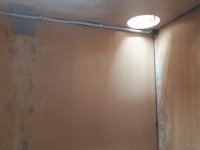
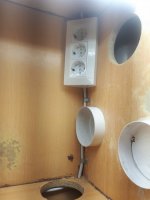
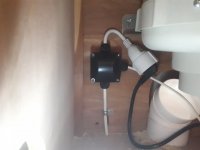
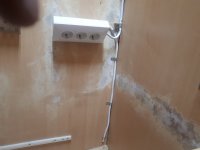
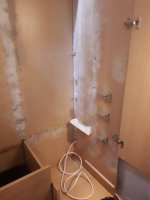
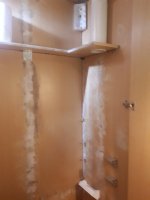
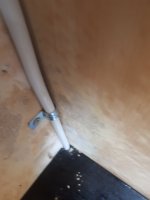
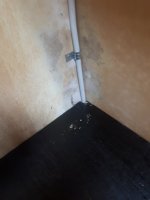
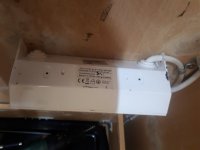
Electric is installed so far. Just one more connector/plug. Have 2 x 3er plugs per compartment. one lower for water pump, airs tone and water heater. Up top 1 ea for clw lights and controller. In the chest, I have a 6x plug. This will be used for the fans (4 ea) and also for the cli-mate controller which i intend to use for the propagator only. In/Out fans will have their own timers when propagator not on.
I took the electricity from 2 rooms. One from an outlet here in this room, one from the living room where i drilled through the wall and laid an extension. The longer extension, from living room has the least amount of end users/plugs. The longer the cable is, and the more end users, the warmer the cable gets. Each room here is protected with a 16a fuse. To take all electricity from this one room would more than likely blow the fuse. I will hook up something to each outlet I have just to see if I overdraw the power...
Mounty
Pix:
Attachments
-
 20180928_223012.jpg297.1 KB · Views: 122
 -
 20180928_223015.jpg291.7 KB · Views: 138
 -
 20180928_223030.jpg261.1 KB · Views: 134
 -
 20180928_223038.jpg443.7 KB · Views: 140
 -
 20180928_223108.jpg324.5 KB · Views: 119
 -
 20180928_223113.jpg389.5 KB · Views: 129
 -
 20180928_223117.jpg387.1 KB · Views: 129
 -
 20180928_223218.jpg324.3 KB · Views: 125
- Thread starter
- #58
}}}}}}}}}}}}}}}}}}}}}
Attachments
-
 20180928_223225.jpg327.6 KB · Views: 136
 -
 20180928_223322.jpg348.1 KB · Views: 118
 -
 20180928_223327.jpg315.5 KB · Views: 124
 -
 20180928_223527.jpg266.4 KB · Views: 86
 -
 20180928_223533.jpg274.6 KB · Views: 135
 -
 20180929_170628.jpg285.8 KB · Views: 119
 -
 20180929_170635.jpg258.4 KB · Views: 134
 -
 20180929_170646.jpg332.8 KB · Views: 131
 -
 20180929_170653.jpg310.8 KB · Views: 134
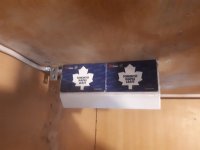
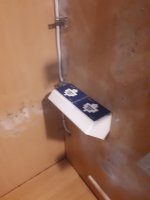
lol maple leafs in germany 
why not ? i have a german avatar in canada lol

why not ? i have a german avatar in canada lol
hi mounty.
if you have cable getting warm already without running anything, you may want to find another circuit with less on it or run one dedicated right from the breaker box. heat means there is resistance indicating an overdraw and /or failing circuit, and indicates a possible fire hazard.
remember you are going to be running stuff up to 24hrs a day, meaning that stressed circuit won't get cycled off.


