Dr. Cannabi's Kali Mist - DIY Organic Soil - Medical Grow & Show

I bought one of them usb ones too....but it is a pain trying to set the lap top in the room with me hold the microscope still...just a pain.....i bought a cheap pair of glasses that have a loupe on both eyes and both have a little led light....can only use one side at a time but it allows me to stable myself with both hands and get in close:)....i get to shaky holding a jewelers loupe and trying to balance myself:)lol its a sight to see:)
 
Hey Dr, did you just come up with your soil blend or did you follow a recipe? Im asking because from what I can tell you hit the nail right on the head bro :)
 
That's my problem too GD. I shake way too bad to see what's going on. Even when I cut a leaf off and set it on a plate with the microscope on a stand, I can't see individual trichomes. Waste of a hundred bucks.

The 60x with led light works freaking awesome though. 12 bucks lol. Funny how it usually works out like that.
 
Hey Dr, did you just come up with your soil blend or did you follow a recipe? Im asking because from what I can tell you hit the nail right on the head bro :)
Hey scrubby,

I followed the recipe except I added 5 gallons of EWC. Should be ok. I probably should have stuck with the original recipe and added the EWC to the top of the containers. Well see what happens.
 
I've got some pretty cool updates. I have solved my issues with cooking soil, started a couple new seeds, and got the tent set up.

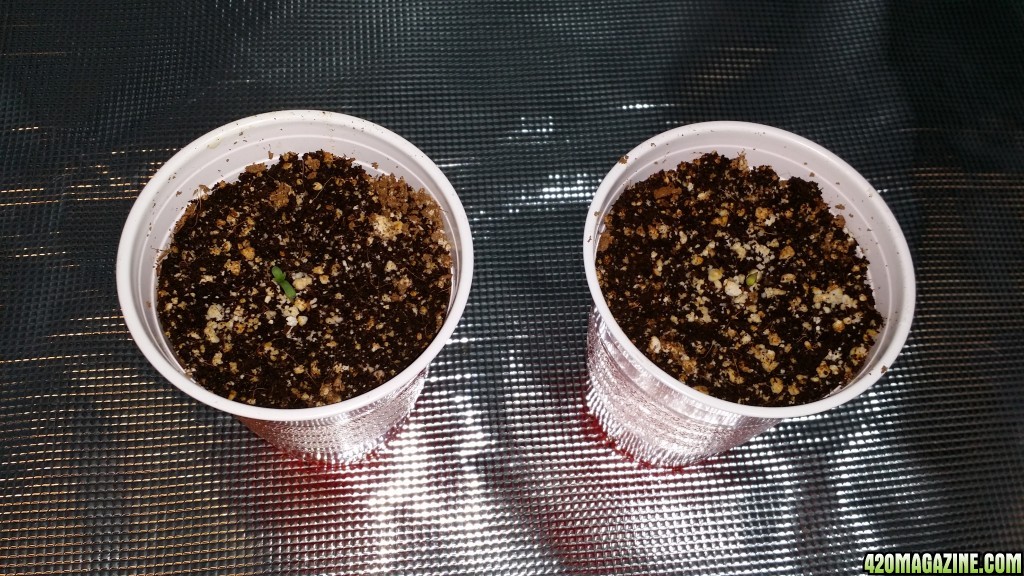
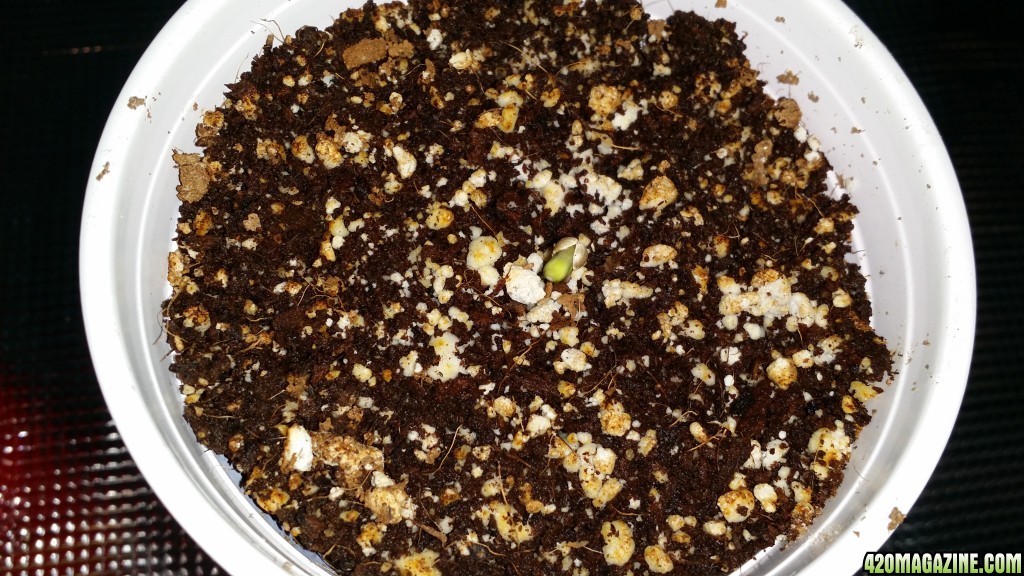
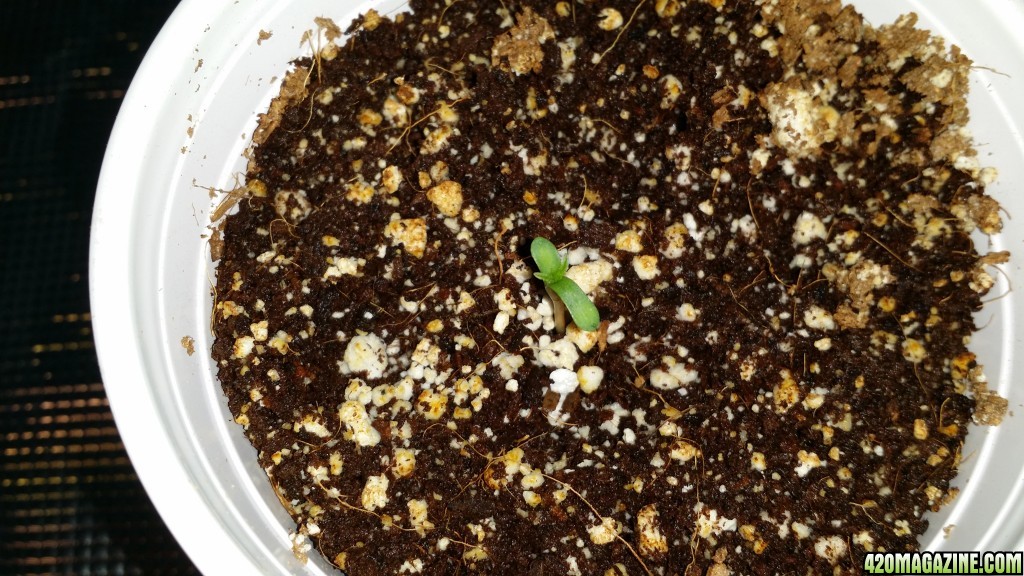
Here's the new seeds Hawaiian Snow from Green House Seeds. They will be going into a 15 gallon Awesome Pot together (that will be a first for me). I will flip them as early as possible. Other updates following (upload is slow -- like me :^)...

20141209_202025.jpg

20141209_202031.jpg

20141209_202038.jpg
 
This will be my first original contribution to 420 magazine. It's possible somebody has done this before but I've never seen it. This came to me because I don't have a lot of space and I can't cook soil outdoors this time of year.

I found a real gap of info when it came to mixing and cooking a "new" batch of soil and I learned everything I've posted here through trial and error over the last couple weeks. I've already posted how I mixed the soil so I won't get into that.

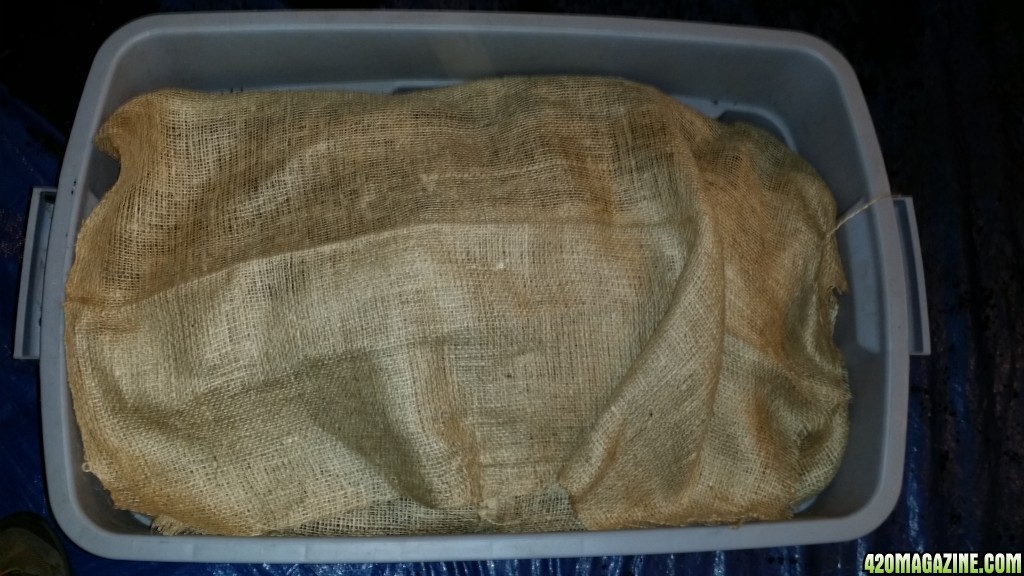
This method is not optimum (a big flat covered area is optimum) but it will work great for people who need to mix a batch of Living Organic Soil and then get it out of site. It's like a Stealth Cook! It takes up "a tote" size space instead of a 4'x8' space (double that for a 60 gallon batch like I just made). It looks like a tote with some burlap on it - Not a big gigantic pile of soil.

I ran this "concept" past the folks at KIS Organics (I have no affiliation with them, I just love them) and they gave it a thumbs up. I can tell you since I put my soil in these totes there is no detectable bad odor, just sweet soil smell. It's also easy to check the temperature of the soil. You can just stick a thermometer in a hole at any level in the tote to get a full picture of what's going on inside there.

Here's my method:

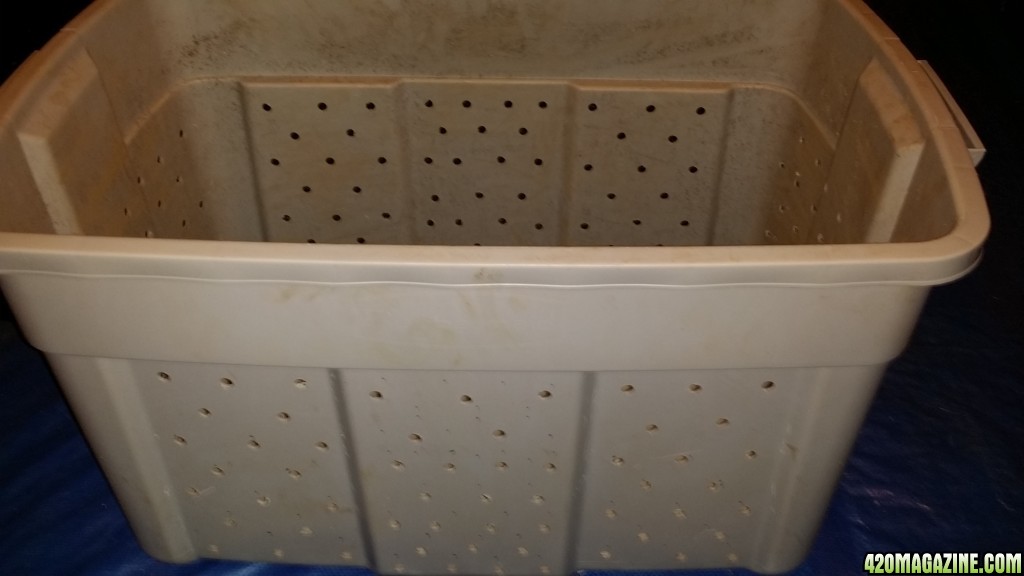
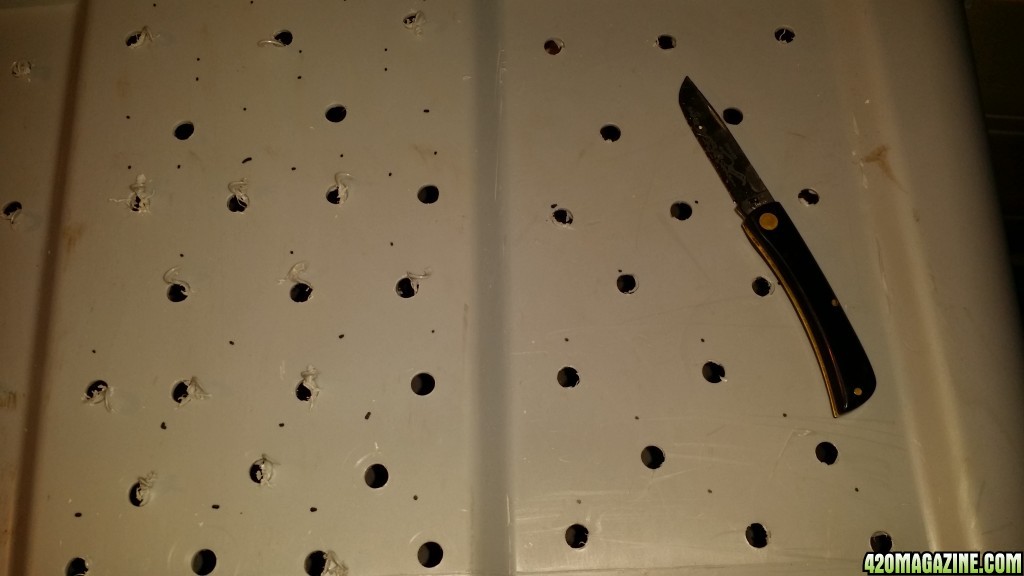
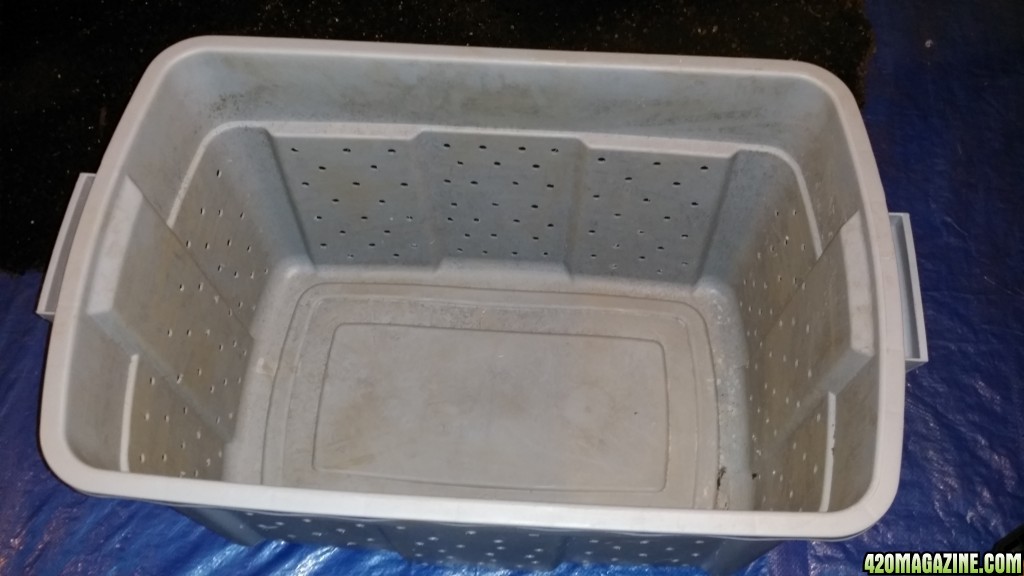
I grabbed my 37 Gallon Rubbermaid tote and drilled a bunch of holes in it. I made sure not to drill holes in the corners or wedges, staying away from anything but a flat surface. Places that bear weight should be avoided. I opted not to drill any holes in the bottom. I didn't want any moisture to bleed through. To drill the holes I used an 3/8 inch drill bit.

20141208_150328.jpg


There was quite a bit of material sticking out of the holes I drilled so I took my pocket knife and quickly knocked those off (a sharp knife is the key here).

20141208_143426.jpg


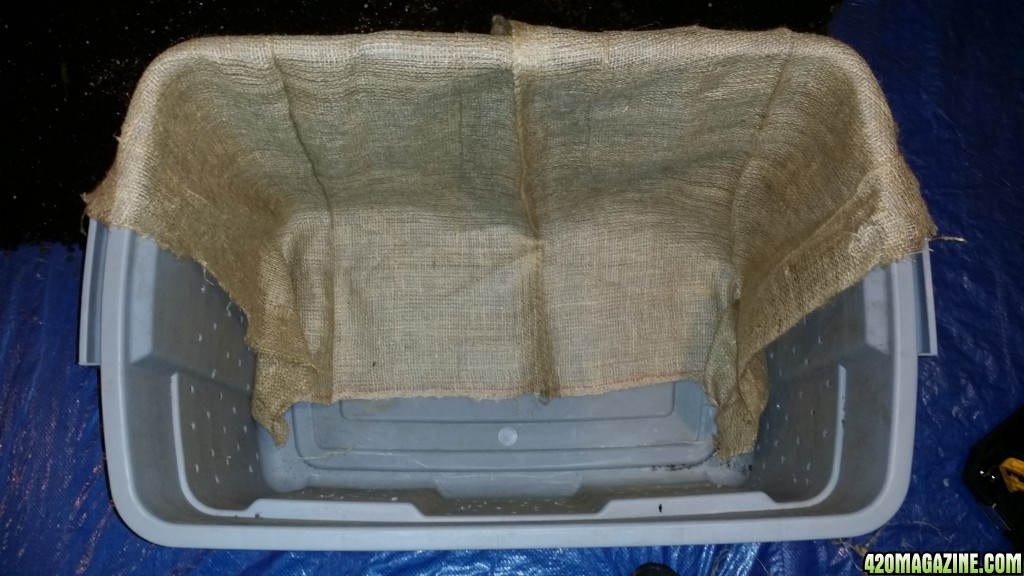
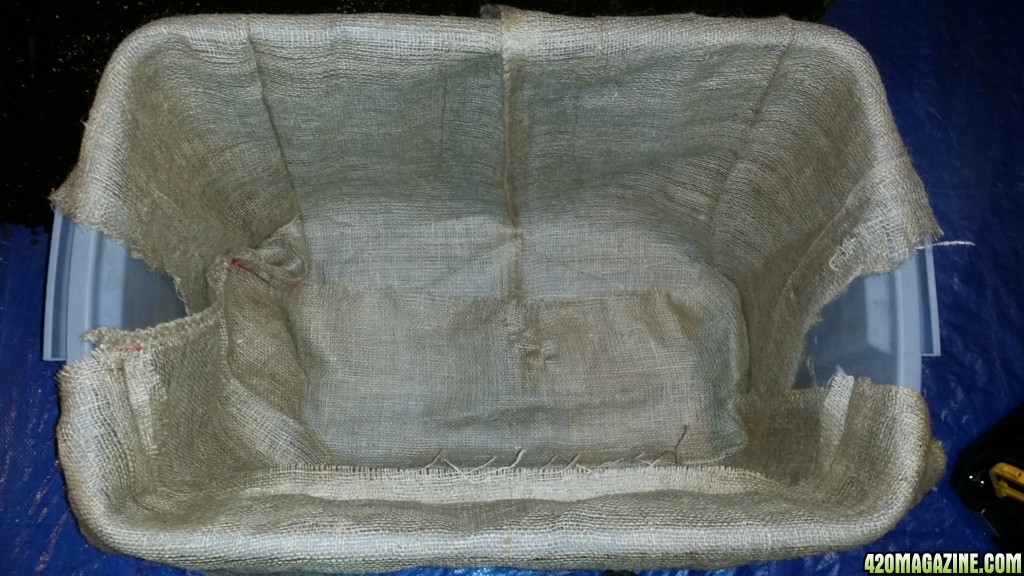
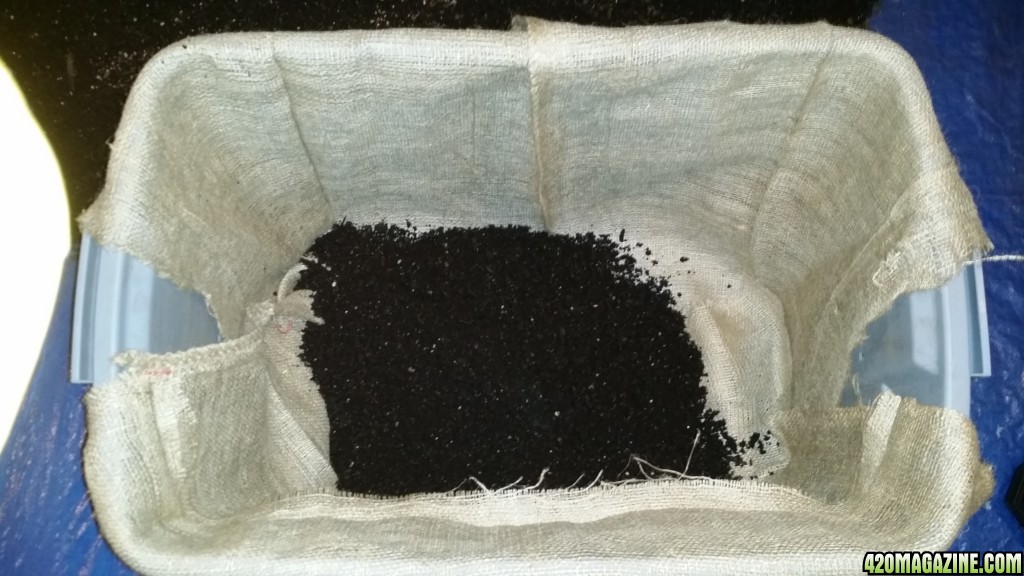
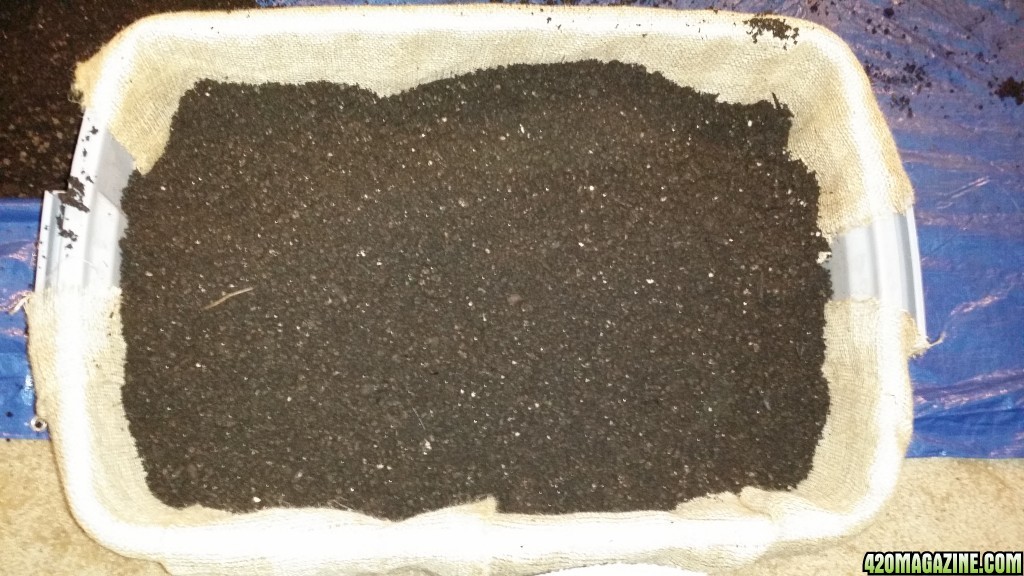
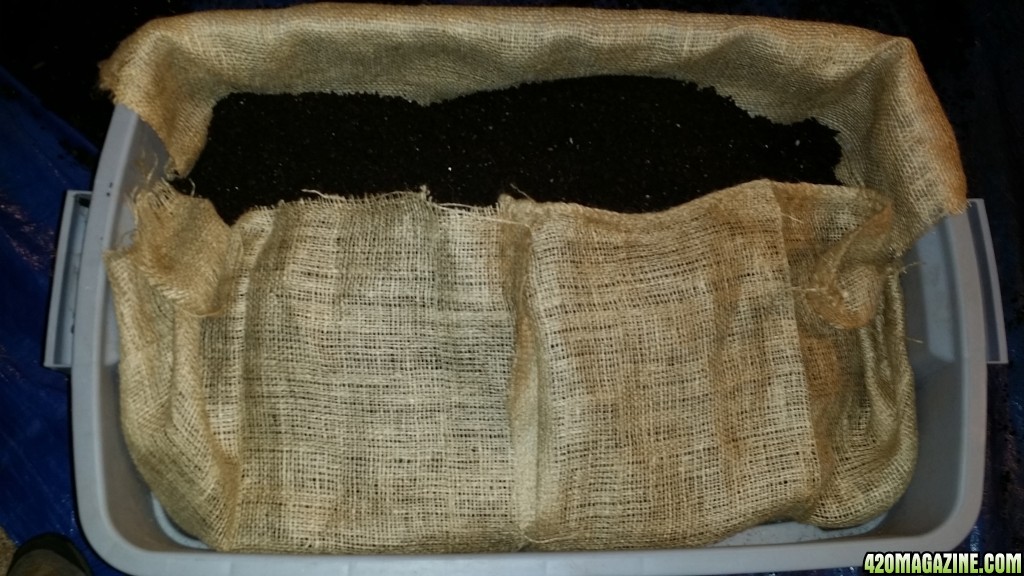
Next I took some burlap sacks and cut them flat. Then I placed them in the tote. This step is optional and I only did it so I could move the tote without soil coming out of the holes.

20141208_150432.jpg
20141208_150935.jpg
20141208_151018.jpg


All that's left is to fill up the Tote and cover it with the extra burlap

20141208_151129.jpg
20141208_151604.jpg
20141208_151751.jpg
20141208_151807.jpg


Edit: Make sure when you fill up the tote it's in it' final cook spot. These totes are not strong and we just made them weaker by drilling holes in them. They are best left in place after filling them.

If you need to put the lid on the tote for another level of stealth, be sure to drill a crap load of holes in that too!
 
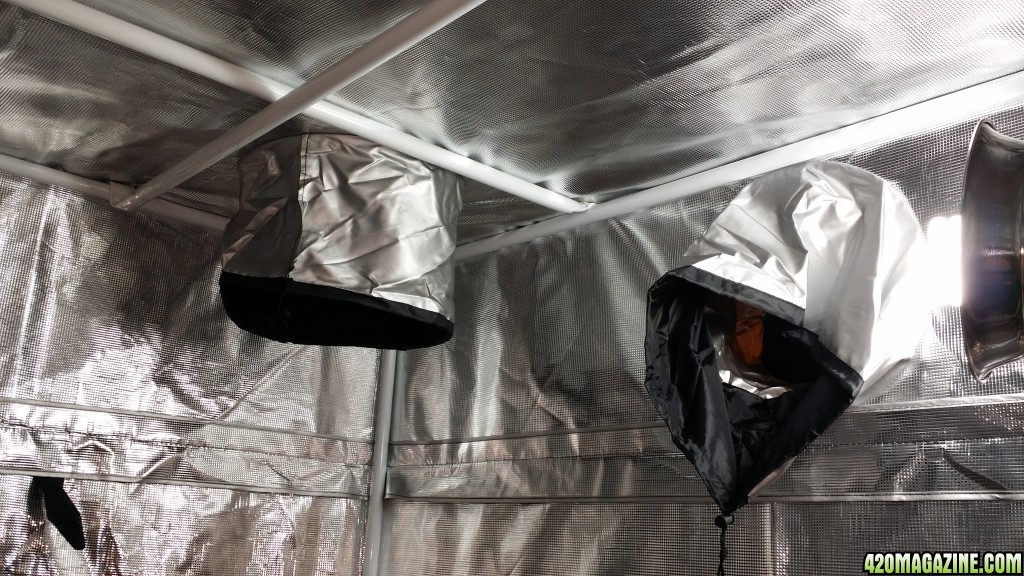
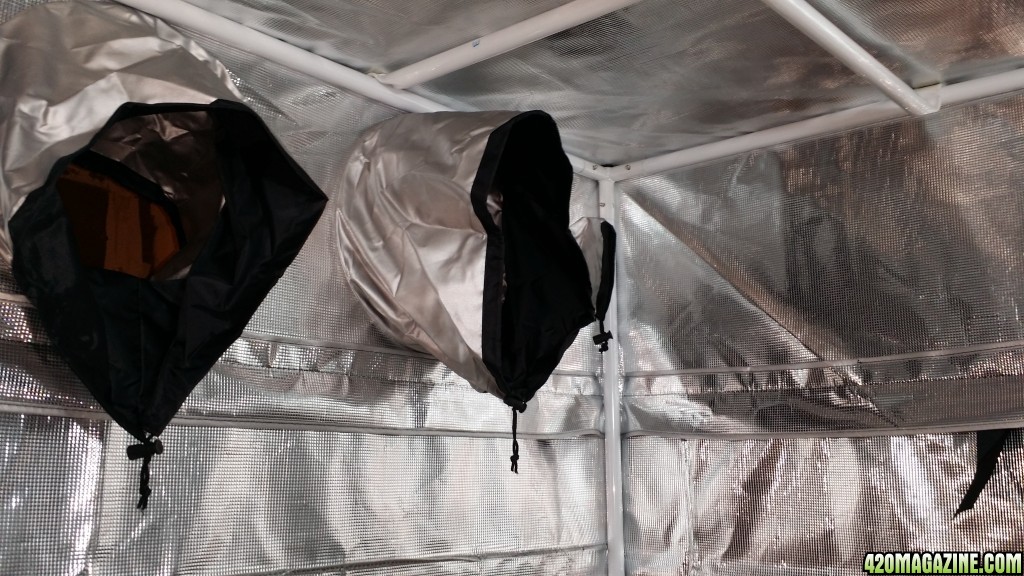
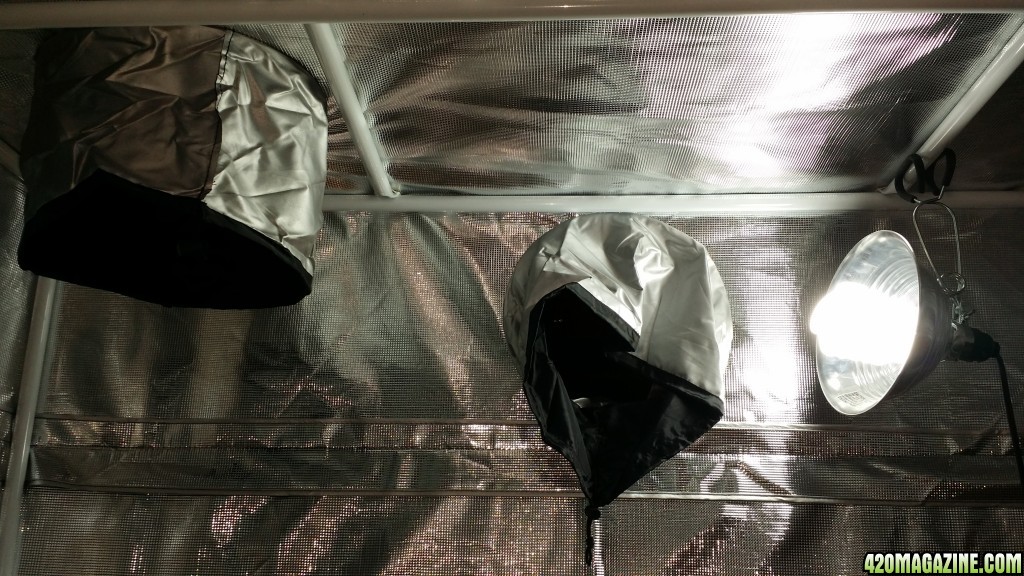
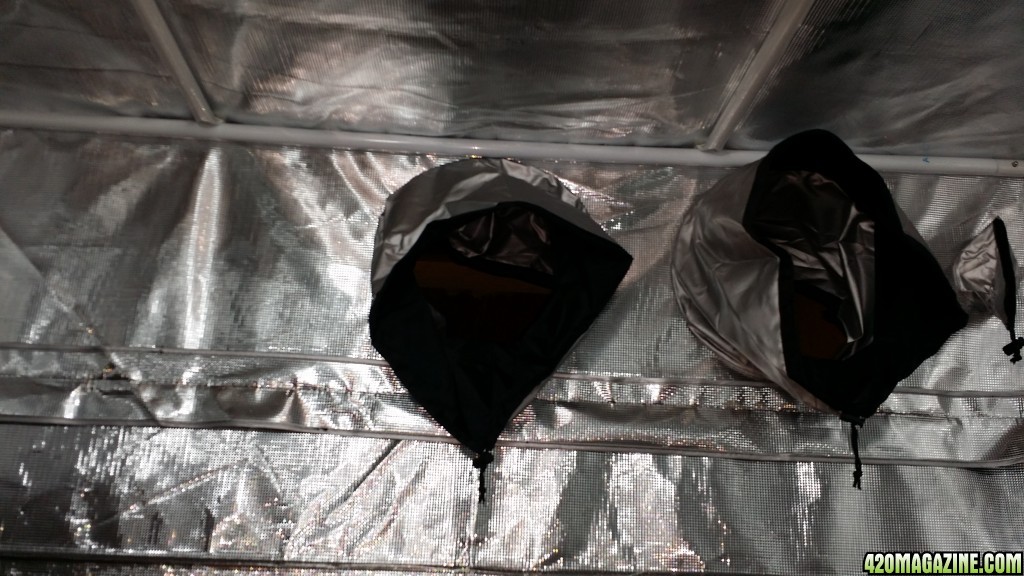
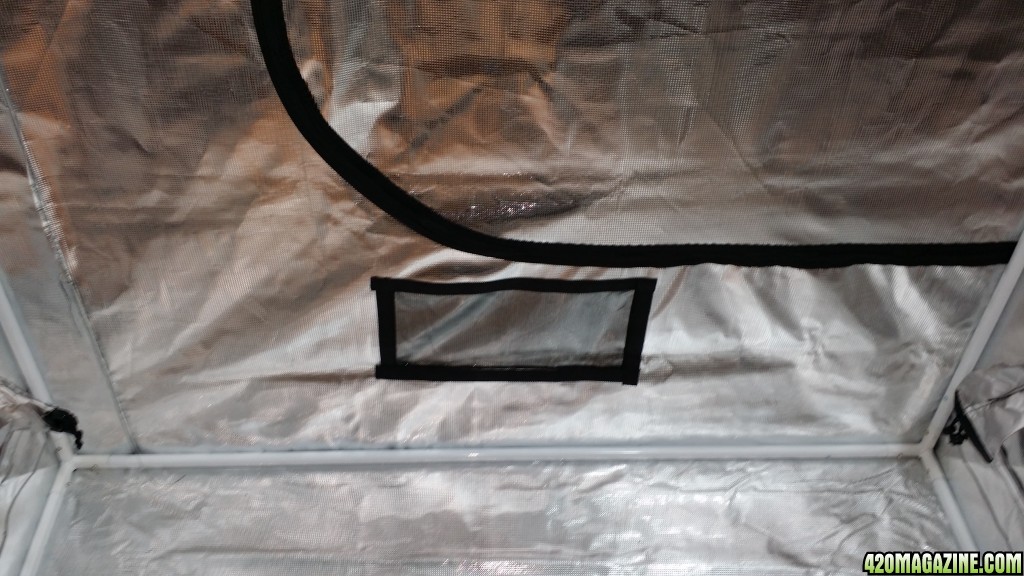
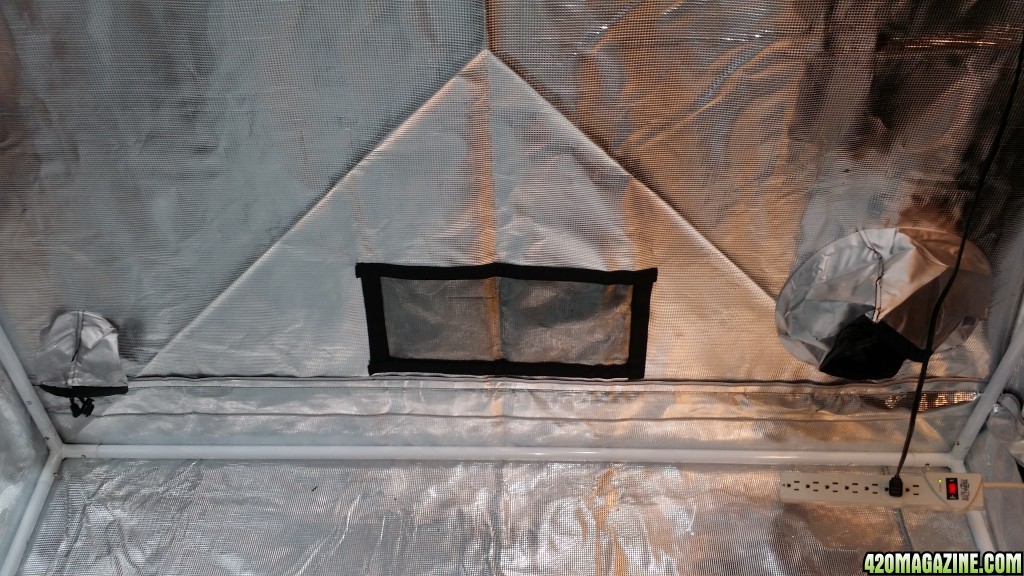
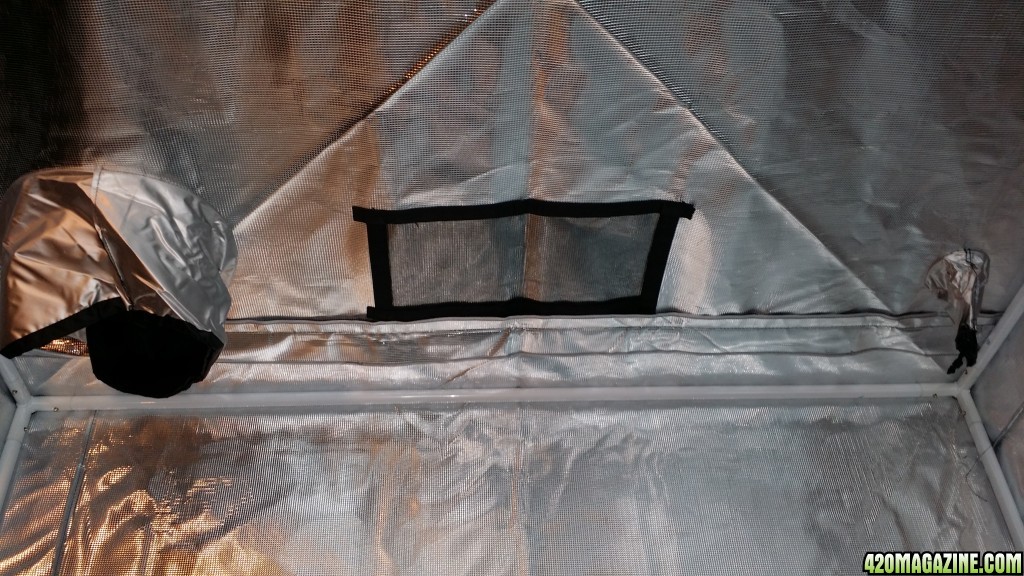
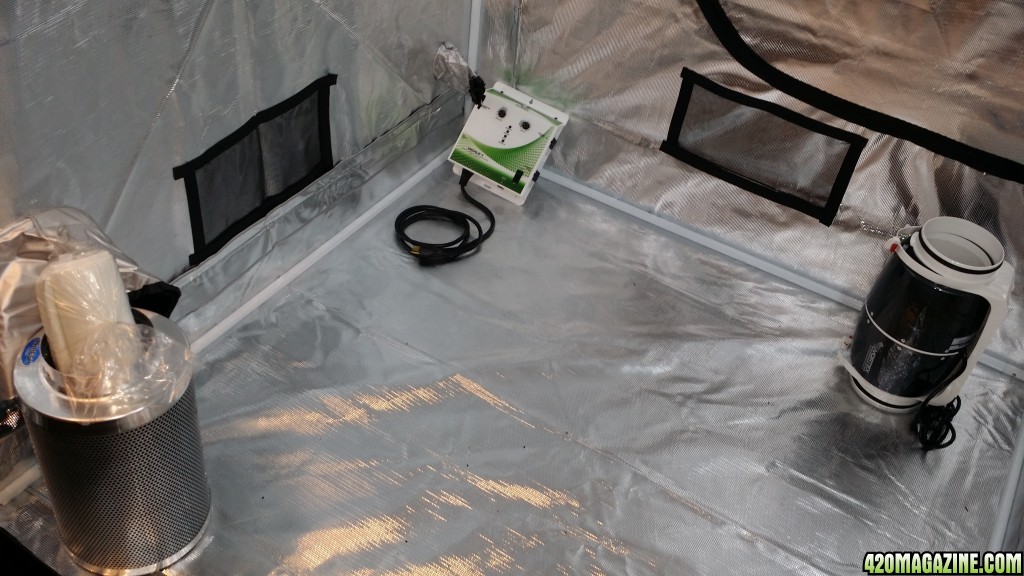
Here's the tent! The setup wasn't too bad. I did everything by myself (except the roof) in 1 hour and 15 minutes (I'm slow remember). The roof would have been much quicker if I'd asked for help before spending 20 minutes fumbling with it myself. This is my first tent but I'm very impressed with the ease of setup and attention to detail with this Gorilla brand tent. In comparison, I spent 2 days trying to get my cable box to work.

Does anybody have some tips or tricks to get the best functionality out of the hardware? I figure I'll hang the lights first and then fit everything else in as I go. Any tips would be greatly appreciated (hardware is listed on page 1).

:Namaste: - WiFi - Night Night!

Top
20141209_200305.jpg


Top
20141209_200312.jpg


Top
20141209_200319.jpg


Top
20141209_200325.jpg


Bottom
20141209_200331.jpg


Bottom
20141209_200336.jpg


Bottom
20141209_200342.jpg


Bottom
20141209_201035.jpg
 
Can you explain the theory of drilling holes in the tote? I always thought you didnt want air to get to the microbes. Youre attempting to compost your soil? Preventing rot? I cooked 60 gals of soil and minimize air exchange so the microbes are happy and warm with all kinds of stuff to munch on. I use docbuds kit soil :)
Hiya Dr :)
 
FWIW as soon as I put up my tent I looked at the joints and the relative strength of the bars. Immediately went to h dePOT and bought some galvanised 3/4" electrical conduit pipes and reinforced it before hanging what are very expensive lights and a fan/filter combo. Its probably 99% overkill but...theres always that 1% chance of failure and with my luck it would happen right before harvest lol :)
 
Your tent looks awesome Dr, 5x5 is twice the size of mine. How many plants do you plan on having in there? I try not to crowd them in mine but sometime you just have to push them in. Your gear looks great Dr.!

Howdy G!

I'm planning 6 pots. Right now the plan is to flower the 2 Hawaiian Snow seeds in a 15 Gallon pot, and the WiFi in a 10 gallon pot. I'll take the best 4 females of the Kali Mist and flower them out in 10 gallon pots too. I really like to grow them big and 10 gallon pots are perfect for me. :Namaste:
 
Can you explain the theory of drilling holes in the tote? I always thought you didnt want air to get to the microbes. Youre attempting to compost your soil? Preventing rot? I cooked 60 gals of soil and minimize air exchange so the microbes are happy and warm with all kinds of stuff to munch on. I use docbuds kit soil :)
Hiya Dr :)

Hi scrubby,

The reason I came up with drilling the holes in the tote is to allow the soil to breathe. Contrary to what some folks think, soil must have adequate air flow to season or cook correctly. An air tight container full of wet organic soil will actually go anaerobic which is a bad thing. And it stinks so bad it will make your eyes sting lol.

I'm no expert at all and am just cracking the surface. Here's a conversation I had with Tad from KIS. He is an expert and he explains what happened to my soil when I cooked it in a sealed container.

Me: "Hi Tad,

I've got everything mixed up, watered in, -and stored at 70 degrees in 37 gallon Rubbermaid totes. I covered the soil with 3 mil. poly and the Rubbermaid lid. It's been 5 or 6 days and when I opened the lid to check the soil. Wow stinky. What is a normal amount of smell (I used the oly mountain)? This is my first time building my own organic soil and I'm wondering if I'm smelling healthy cooking or rotten compost."

-Tad: "The problem is the soil was unable to breathe in your Rubbermaid and so the anaerobic organisms thrived over the aerobic ones. It would have been much better to let the soil sit out on a tarp or in a container with holes and no lid.-

That being said, if you can take it out of the Rubbermaid and mix it again and let it get some air it should come around again and then be fine to plant.-

Feel free to call me or email if you have questions though. Sorry for any confusion in this regard."


I did this scrubby, and after a few days the idea of drilling holes in the totes came to mind. My double batch of soil was taking up the whole floor in my garage and I was getting the stink eye from the Mrs.

The preferred method is to spread it out in a covered area 4 to 6 inches deep and turn it every other day until the soil temp maintains ambient temperature.

That's just what happened to me.:Namaste::peace:
 
Thanks for the tip on the frame scrubby:thanks:

Is yours a gorilla tent? I checked the stability of the bars on this one and it seems really solid. Not sure what is rated at but I'm definitely going to go look now.

Happy Wednesday scrubby! :volcano-smiley:

Edit, I just checked and my frame is rated for 300 pounds. It's made out of heavy-duty steal. All my gear, lights included, weighs about 70 pounds. I'm good buddy but thanks for the heads up. Glad I checked.
 
In regards to the soil container...you got me thinking now! But! my plants are quite please with what theyre sitting in now so I guess something that works for one doesnt necessarily work for the other :)

No problem Dr. Ive read so many journals where everything was going great then all of a sudden you see all kinds of frowny faces because of a tent collapsing. Hate to see it happen to anyone, know what I mean! :)
 
Hey scrubby,

It's possible that your container let enough air in that the soil never went anaerobic or it eventually corrected itself. How long did you cook it for?

But your point is absolutely true, what works for one may not work for another. :thanks:
 
Hey scrubby,

It's possible that your container let enough air in that the soil never went anaerobic or it eventually corrected itself. How long did you cook it for?

But your point is absolutely true, what works for one may not work for another. :thanks:

Its a 3.8 cuft bale of promix hp with docs amendment and as of now has 60#s of wiggle worm ewc. Initially it was mixed with 3 gallons of water and allowed to cook for 30 days. After I finished my first run with it, I mixed in all the clippings and added some mykos powder and about 2 weeks later started some new plants. When that was done I added some more amendment and some more clippings and a lil more mykos and used it for a third time. Believe it or not, the soil got better after each use...like a good bottle of wine :)
 
Scrubby,

You don't know how happy that makes me. I hope mine grows that well. That docs mix sounds like the business. I'm hoping this KIS nutrient pack will do that well for me. The ability to recycle and reuse the soil was a big factor in me deciding to go this route. If all goes well I'm supposed to be able to amend the used batch with just 1/4 of the nutrient pack. So basically 12 dollars for 60 gallons of soil. That sounds like a win all the way around. Thanks for the info scrubby:thanks:
 
Congrats on getting the tent set up Doc:)....hope your having a great day:)

Thanks GD!

I'm excited to get the lights hung, the plants up potted, and start dialing in the environment.

:high-five:
 
Back
Top Bottom