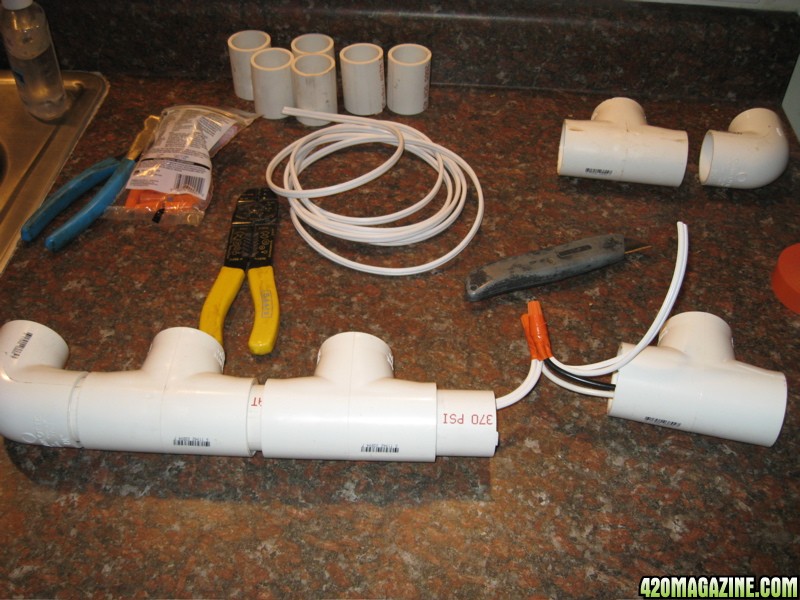
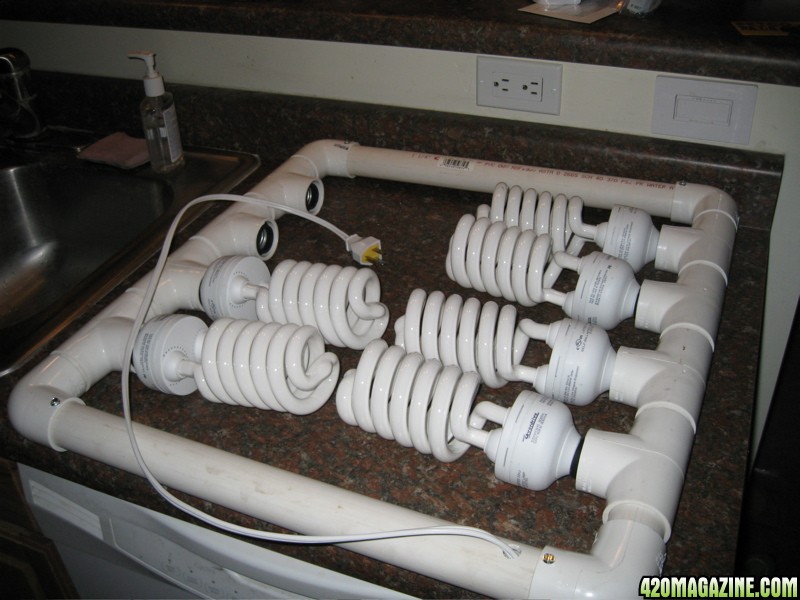
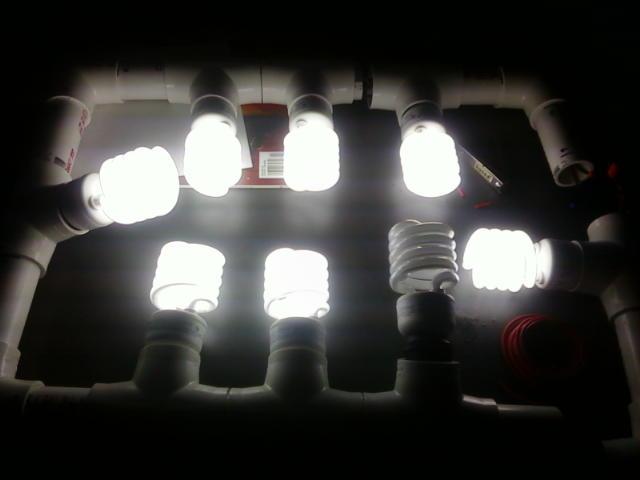
Now to construction:
I first cut (10) 2 1/2" pieces of pvc, these will be the connectors for the socket holding T's and the corner L's. I determined this length by putting sockets into two T's and then measured the spacing between the lamps, adding for the amount of pipe going into the T's and L's I came up with 2 1/2". You will need to adjust this length to fit the size lamp you select.
I took an L, added a connector, then I took a T and placed a socket into the end and threaded the wires out the other end, refer to the first picture. In this picture I'm wiring the first two sockets together. You string them in parallel, that is you connect the black to black and white to white for the length of the fixture. The first connection you make, (do the same for the other side of the fixture) will have three wires bound together, the black (say) from the first light, the black from the second light and then the lamp cord I used to string them all together. Be careful with the lamp cord, it is only one color, I bought white. But they make the plastic coating on one strand smooth and the other is ribbed for identification.
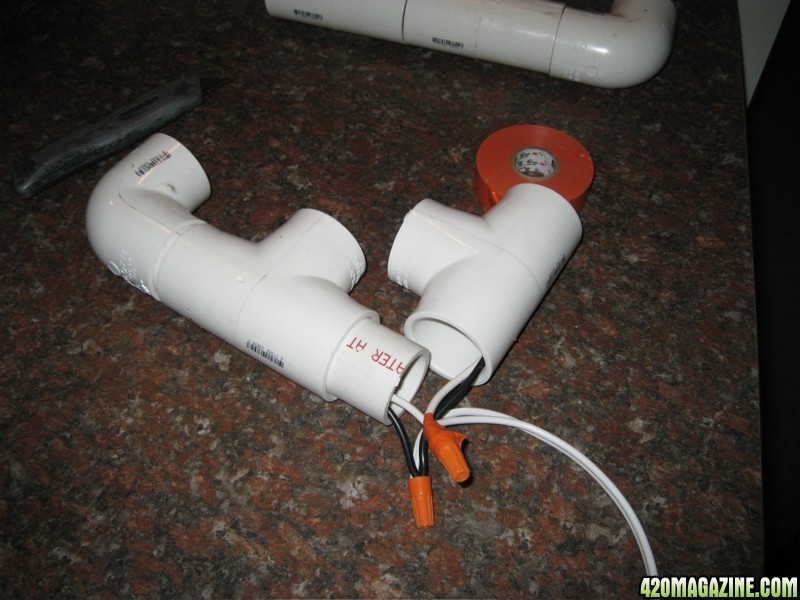
After you have connected the first two sockets all the rest of the connections will consist of the lamp wire coming from the previous connection, the new socket and then the lamp wire going to the next connection. I made all connections using both wire nuts and electricians tape. I didn't want to have to take the damn thing apart to trouble shoot if it didn't work.
Proceed to make all the connections for both sides of the fixture. This really isn't very hard at all, it just takes some patience and time. I was cutting about 9" pieces of the lamp cord to make the running connections, that length gave me enough wire to work with but still not too much to cram into the pvc pipe for each connection.
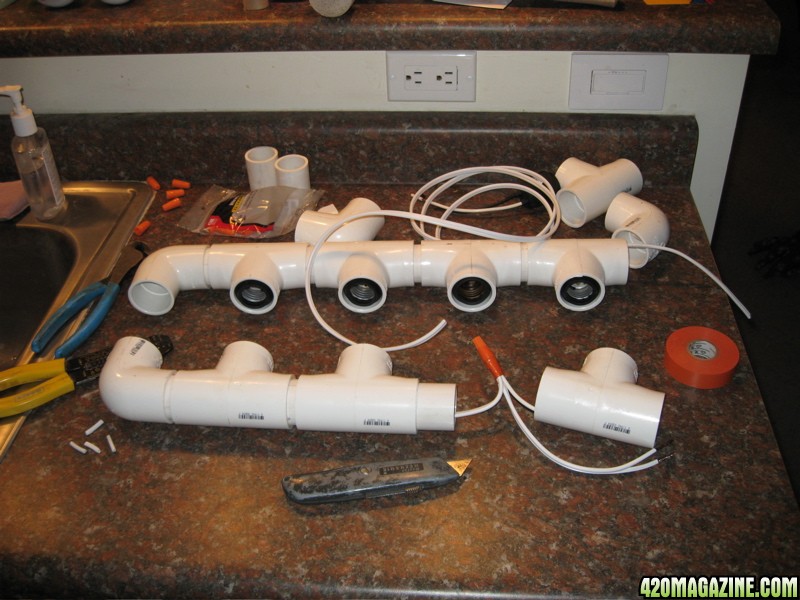
After completing both sides of the fixture you need to determine the length of the end pieces that will define the width of the fixture. I placed the bulbs I'm using in the sockets to see how long to cut the end pieces. I left about 1" between the bulbs, this was just a guess, but it seems to have worked out fine. I then tied the wires coming from both sides of the fixture together, drilled a hold in the end pvc and pulled them out. This is the one place I missed in my material buying calculations. I only bought 10' of the lamp cord which only left me 4' sticking out of the fixture when done. I'd suggest you leave at lest 6' out, 10' would be better. If you buy 20' of lamp cord you will have plenty left over.
You'll notice that the only screws I used were to fasten the L's at the corners, these connections seemed to be pretty loose so I used the screws. The other fittings were plenty tight so I left them free so I can make adjustments to the lamp orientation if I want to in the future.
I then used these screws to fasten the hanging chains to the fixture. I made them long enough that when I hooked up to my hangers the chains would be approx 6" above the finished hood. Sorry but I didn't measure this length, just held it there and did what looked best. Just make certain the chain on both sides are the same length. Though that's not a deal breaker either, you can make up for it.
Next step was to put on the hood. I bought a piece of 8" dia galvanized metal duct pipe. I painted the underside with the flat white spray paint to aid the reflectivity. Then I drilled holes in the metal in the four corners and attached the reflector to the fixture using the zip ties.
This is a very simple fixture to make. You can make it any size, mine turned out to be 23" wide and 24 1/2" long. Just small enough to fit into a standard residential clothes closet. Be sure to verify the size of your lamps prior to cutting any material, those 2 1/2" i used may not work for you.


