420GreenHands
Well-Known Member
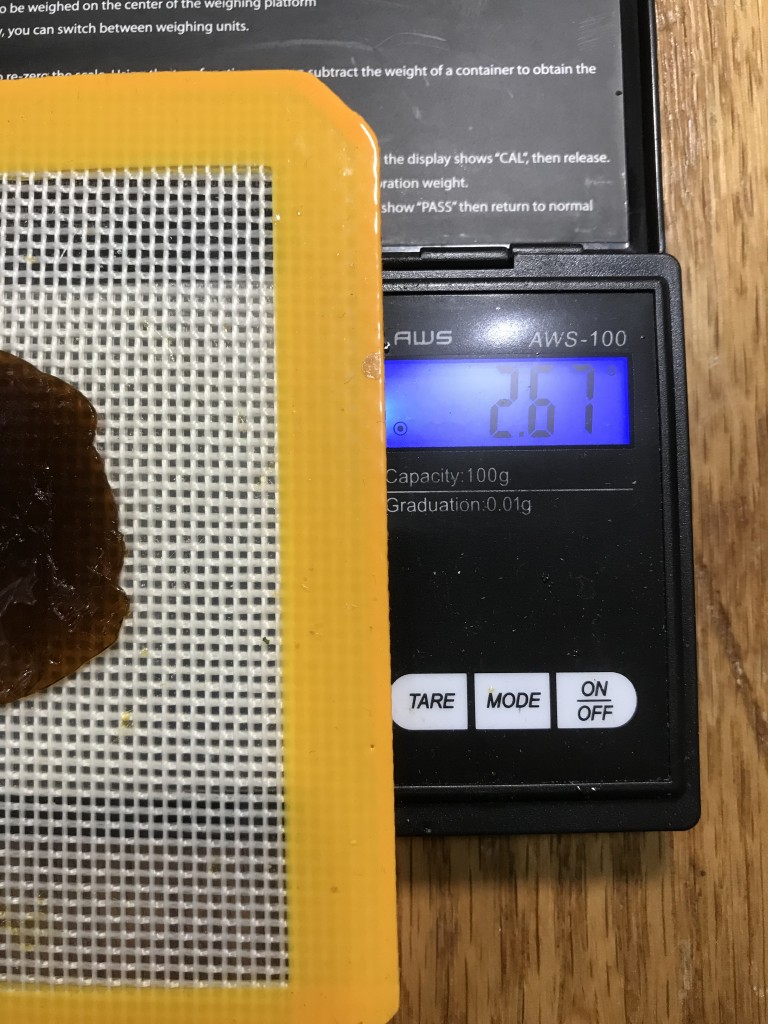
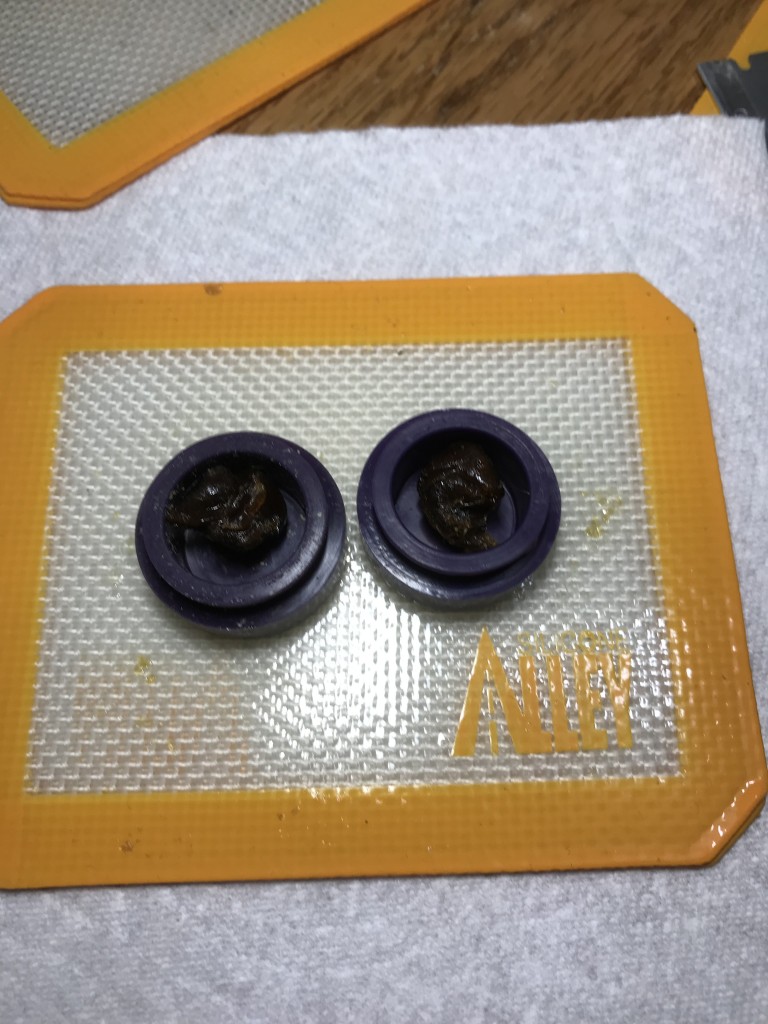
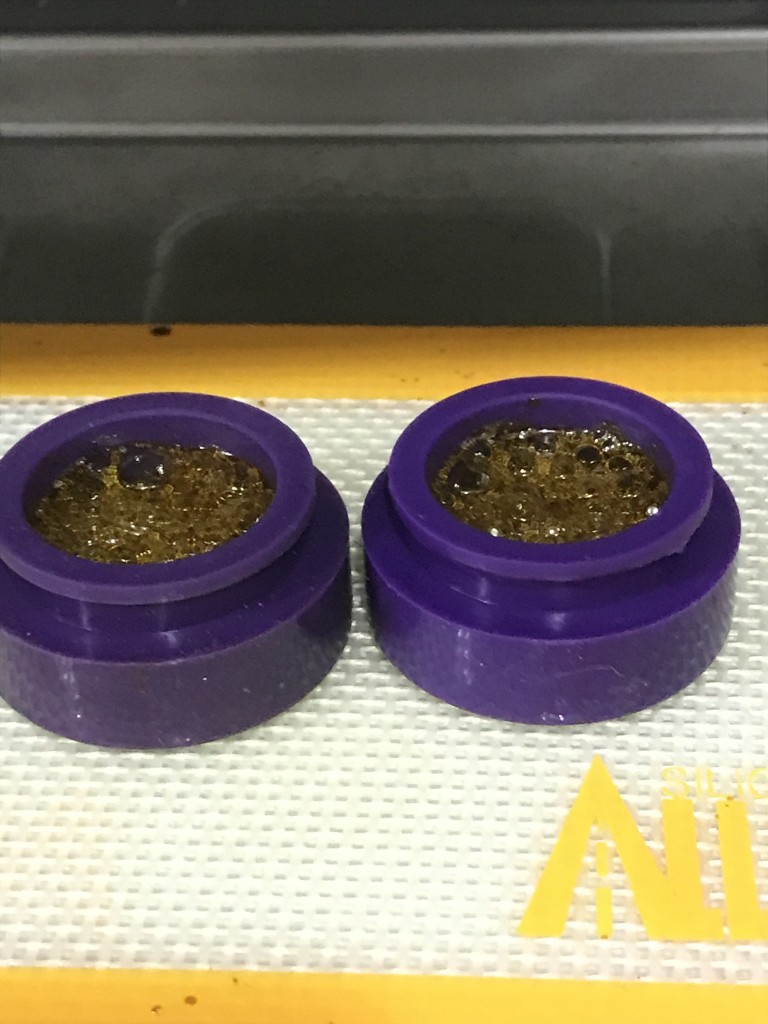
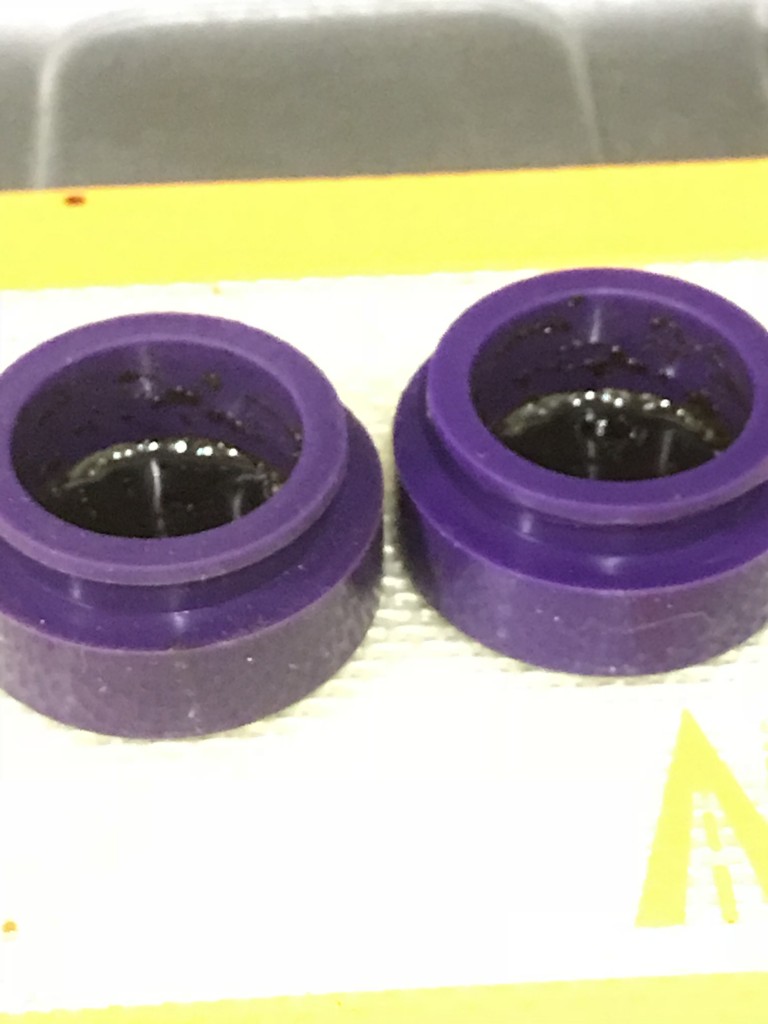
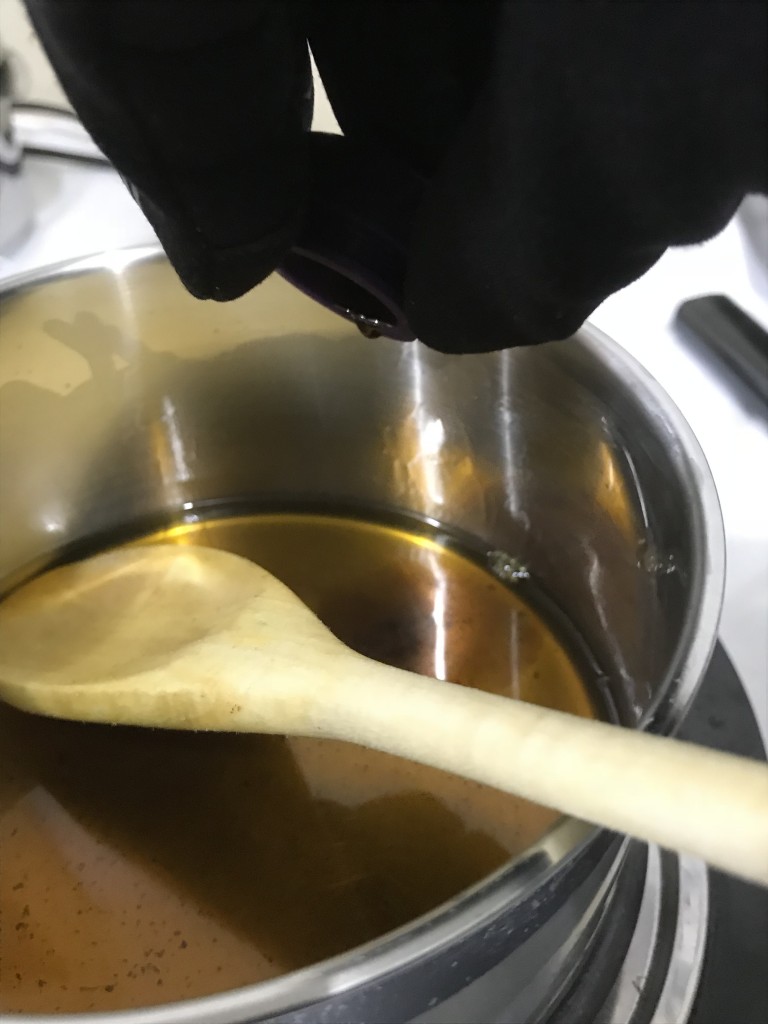
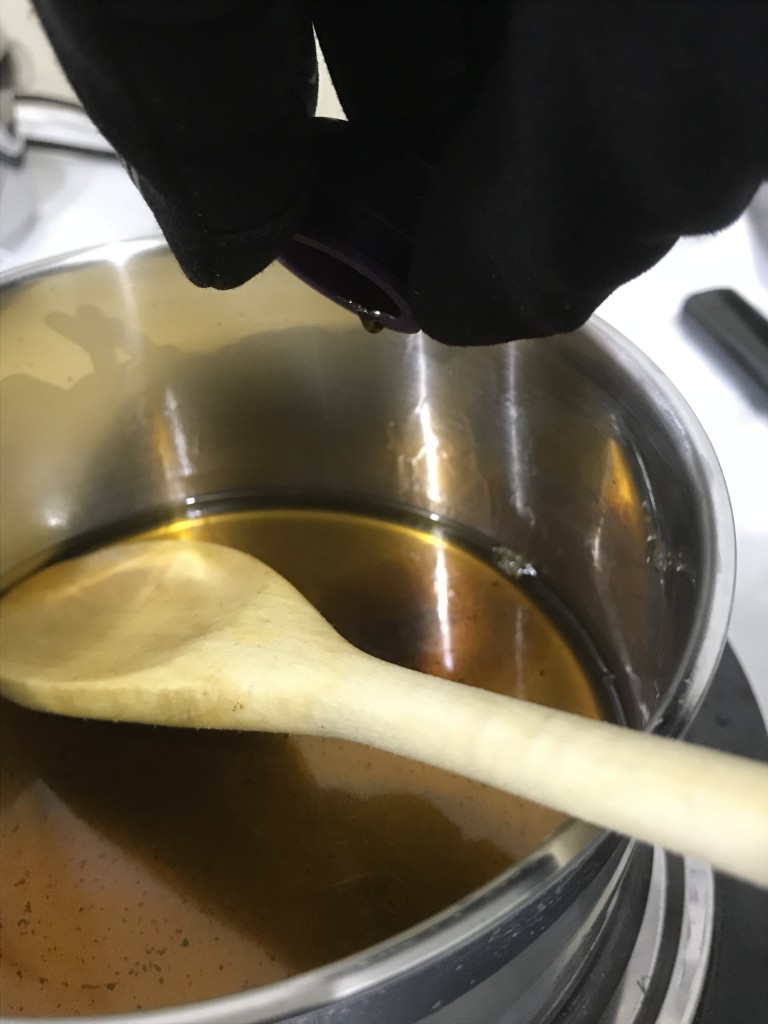
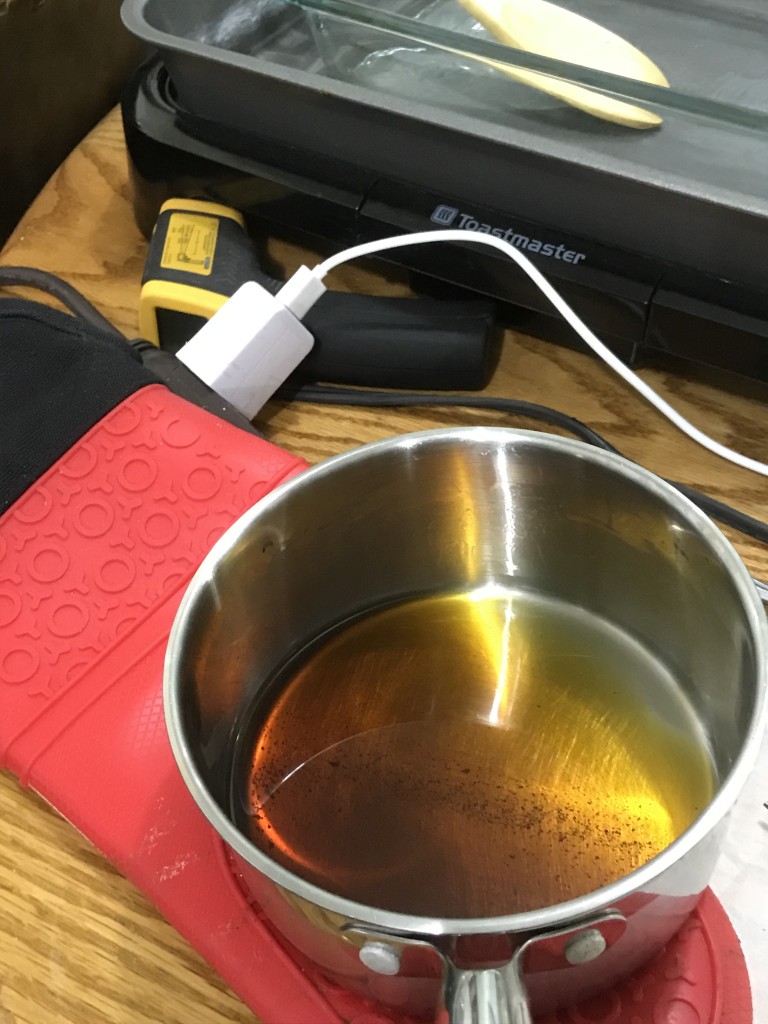
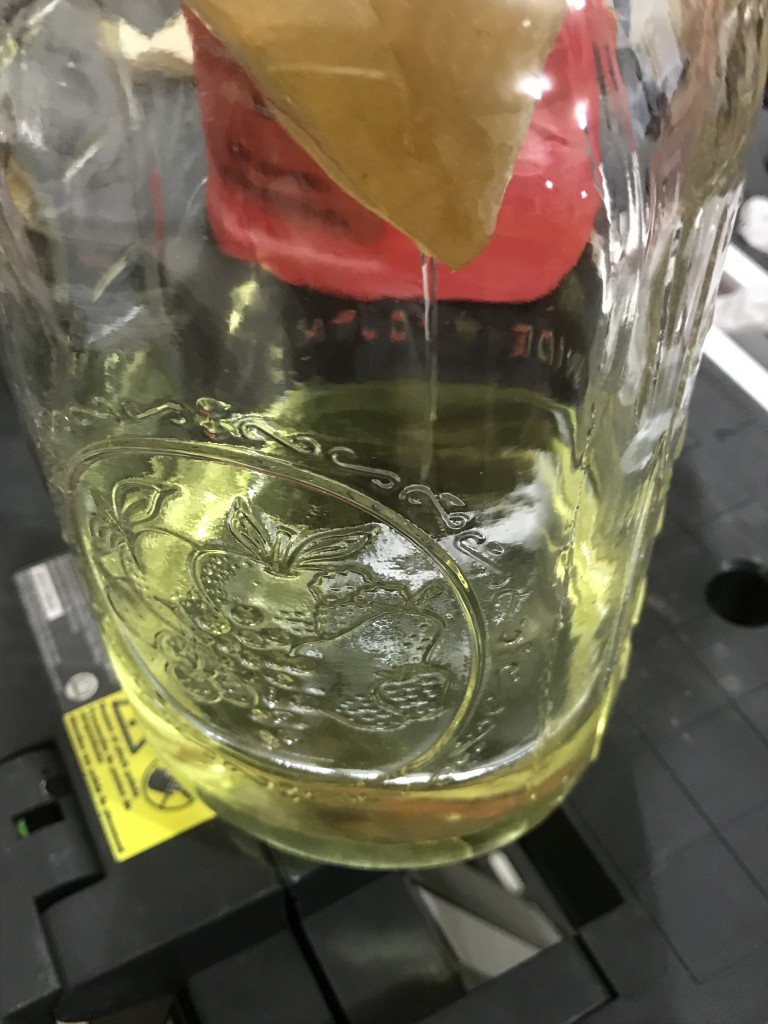
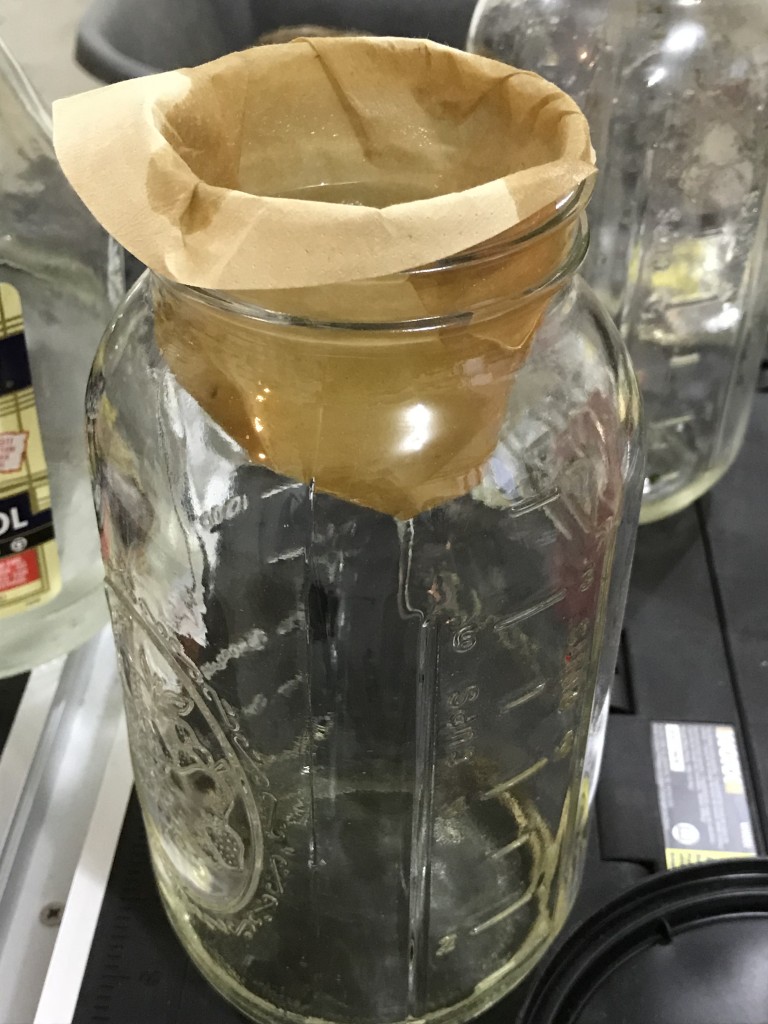
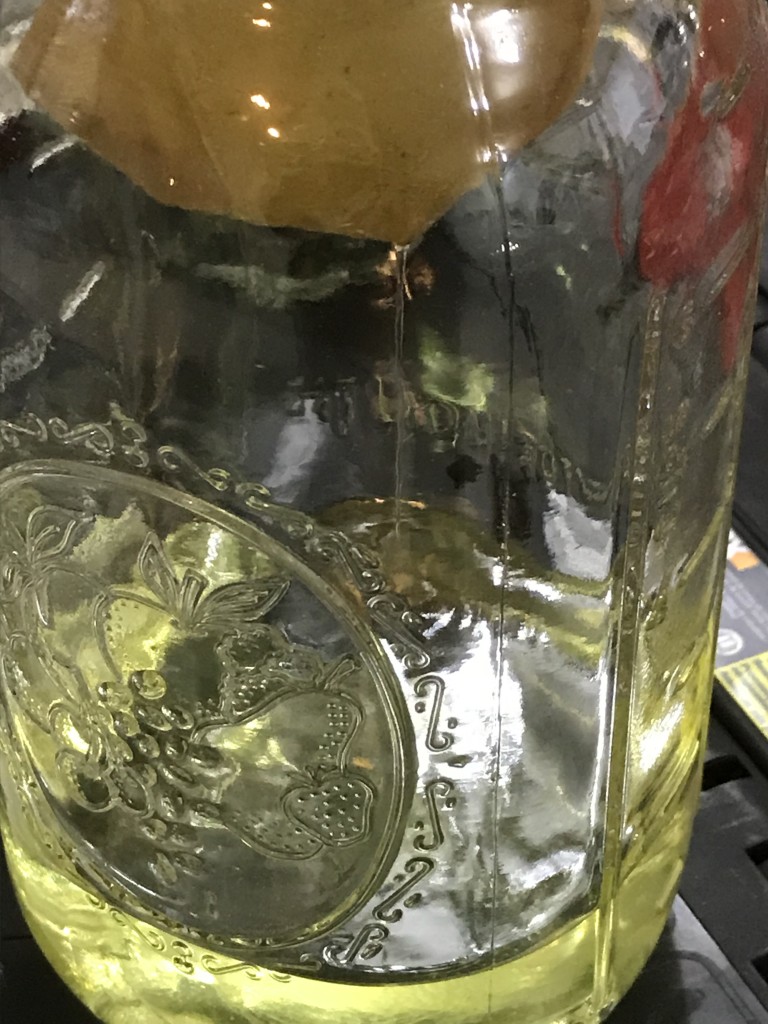
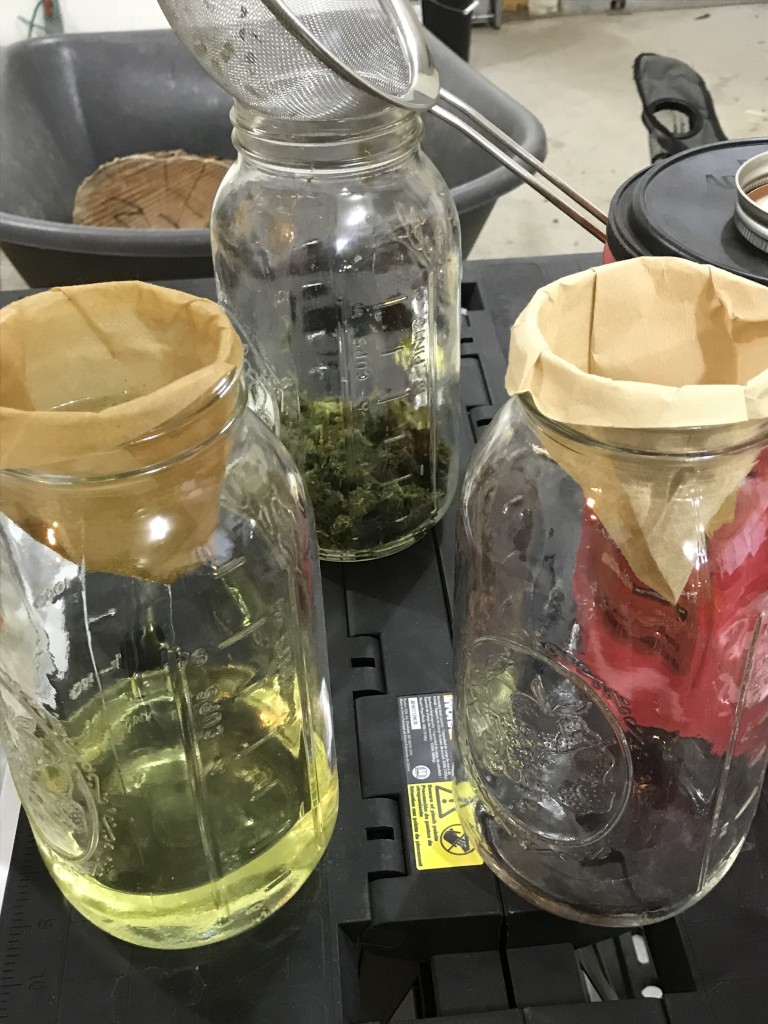
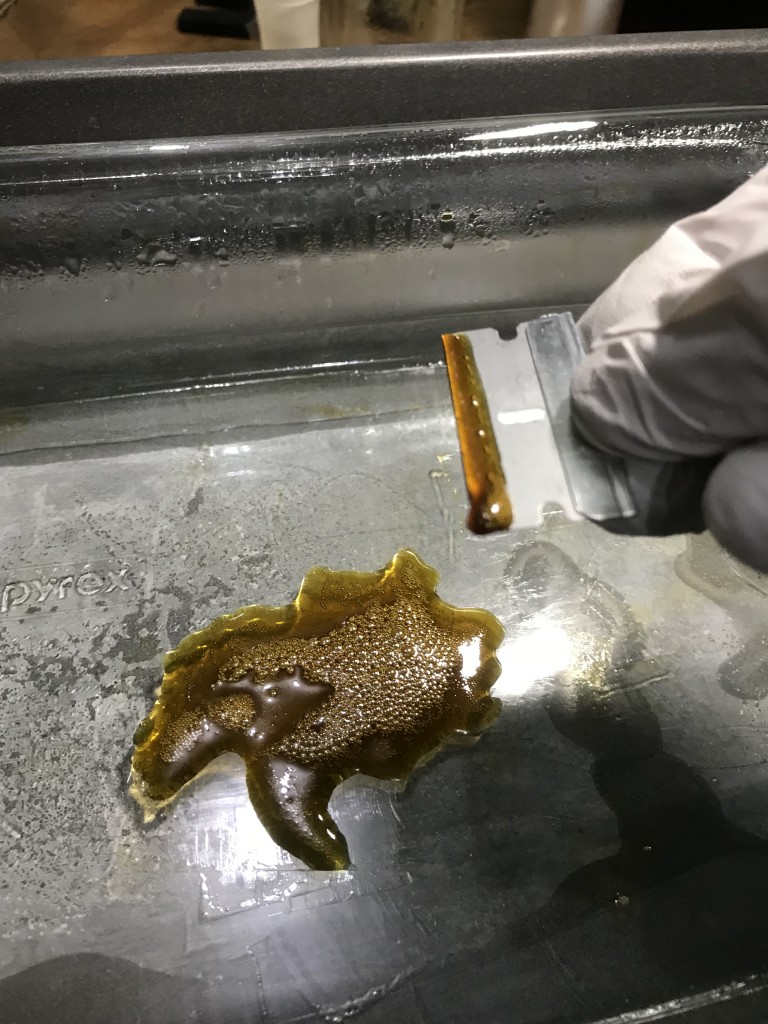
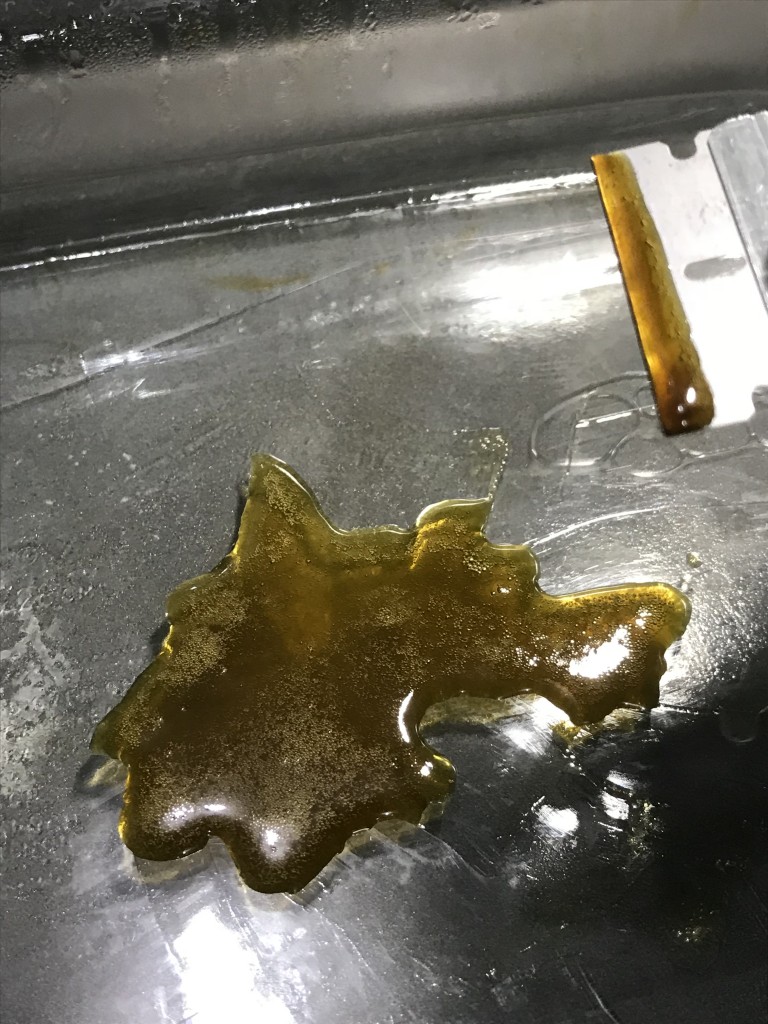
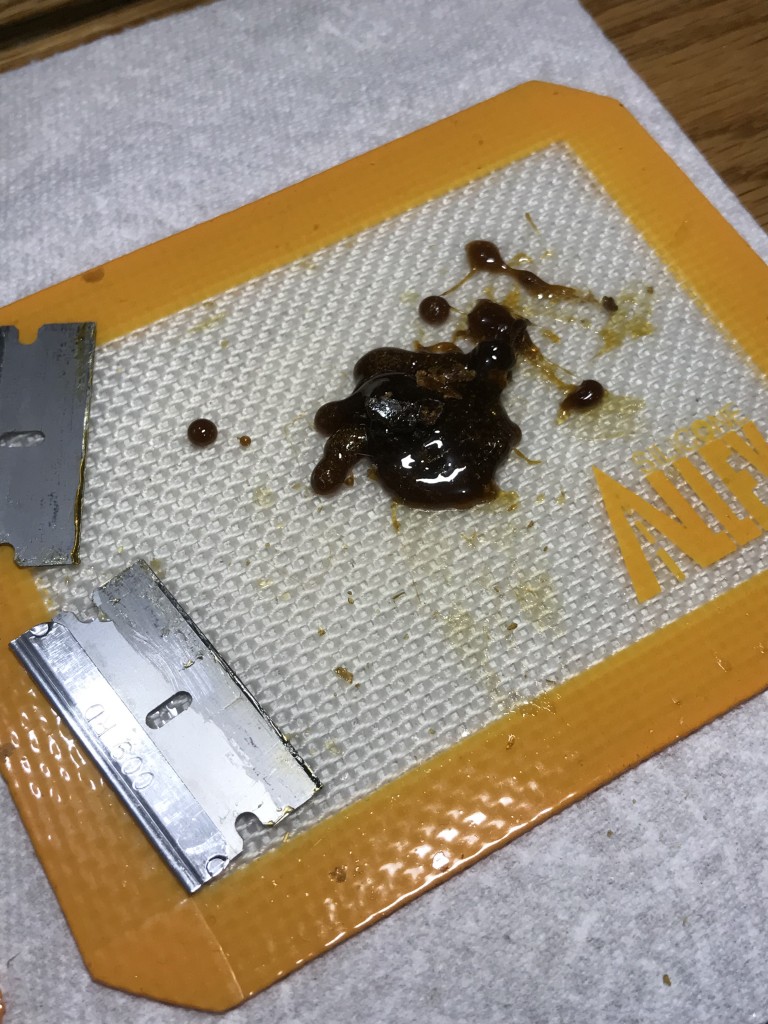
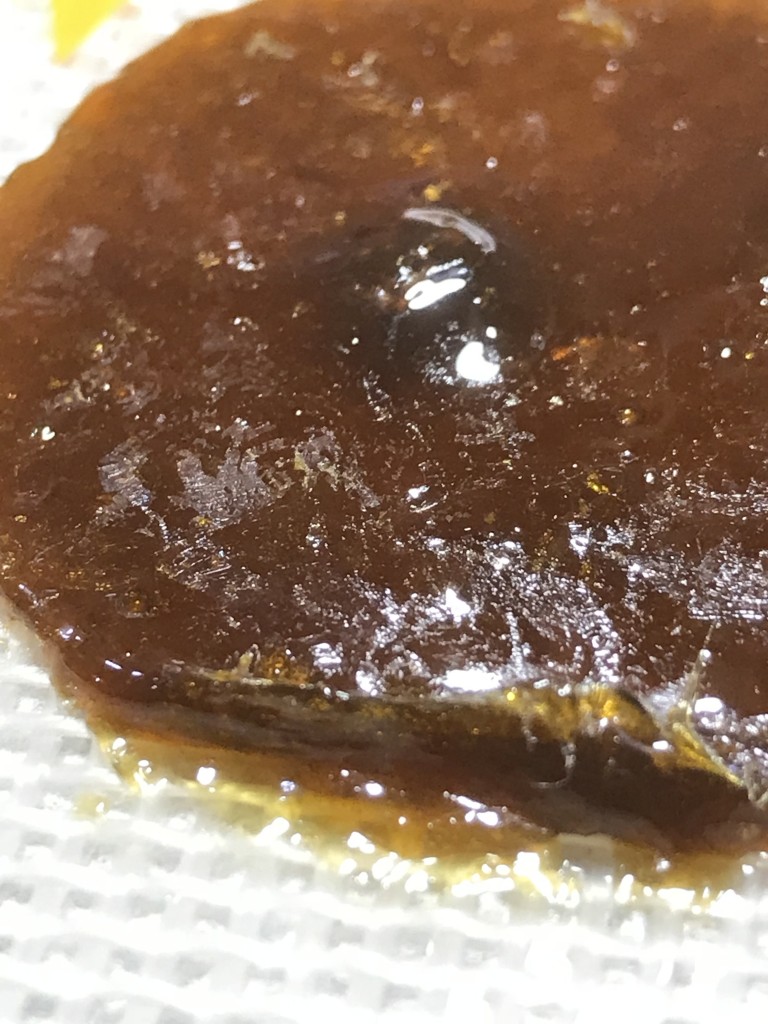
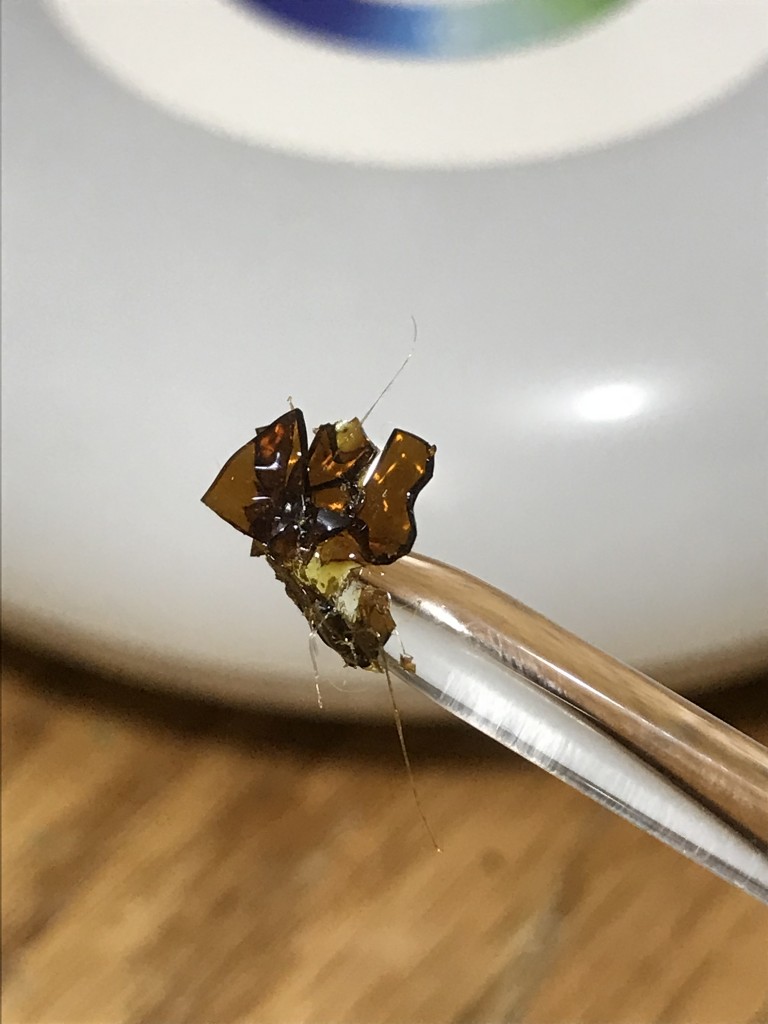
Beautiful oil man. Reminds me of Jurassic Park when they saw the mosquito stuck in the old sap. Sorry GT no more technical questions haha! Thank you so much for this link. It’ll be archived for sure. Lots of reps to you sir.


") .
.