I am thinking I missed some pictures on the up load. Hmmm.
Any questions or comments are welcome.
Sorry but I have been suffering from an un-organized mind. Everything seems like spaghetti thrown at the wall.
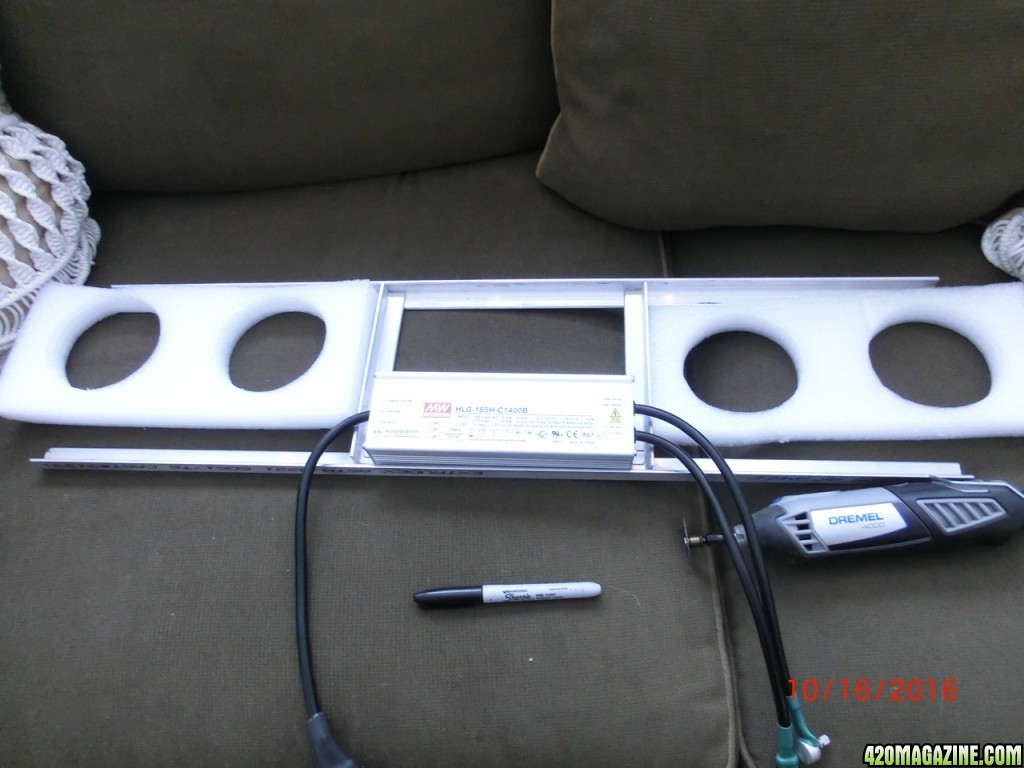
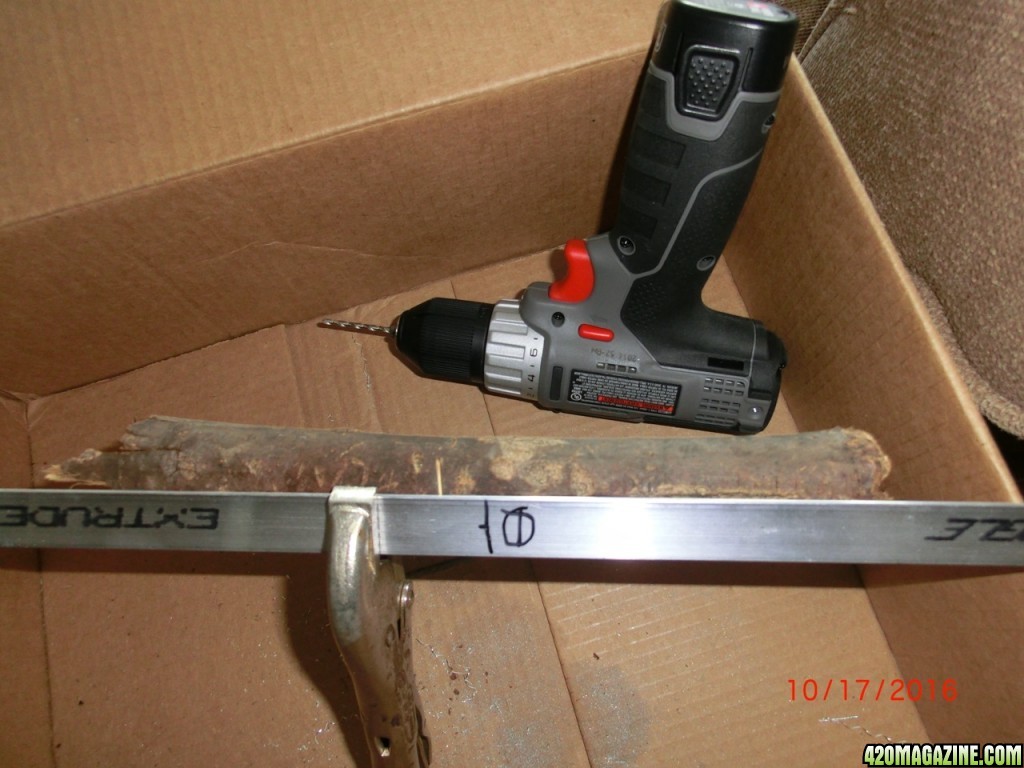
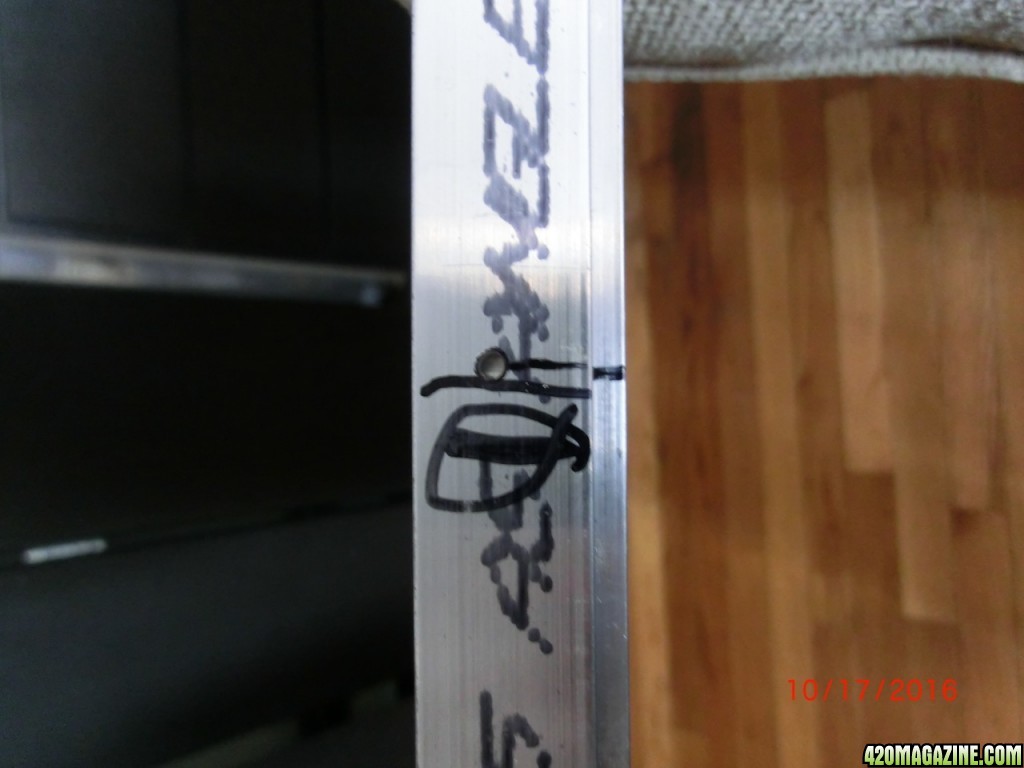
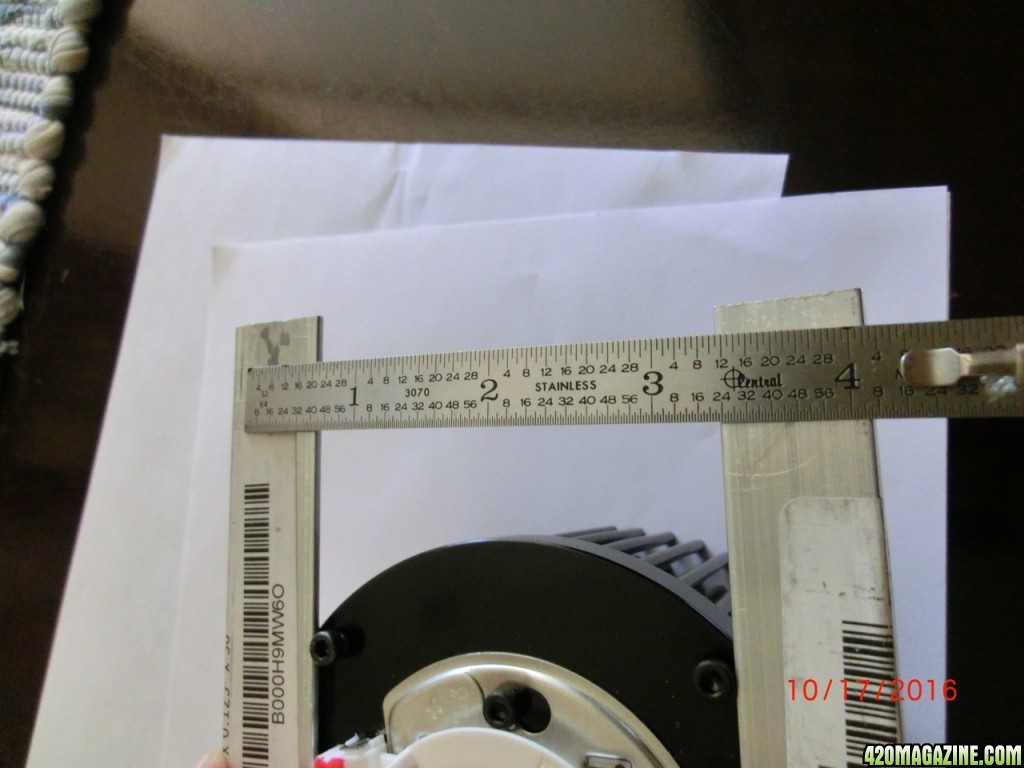
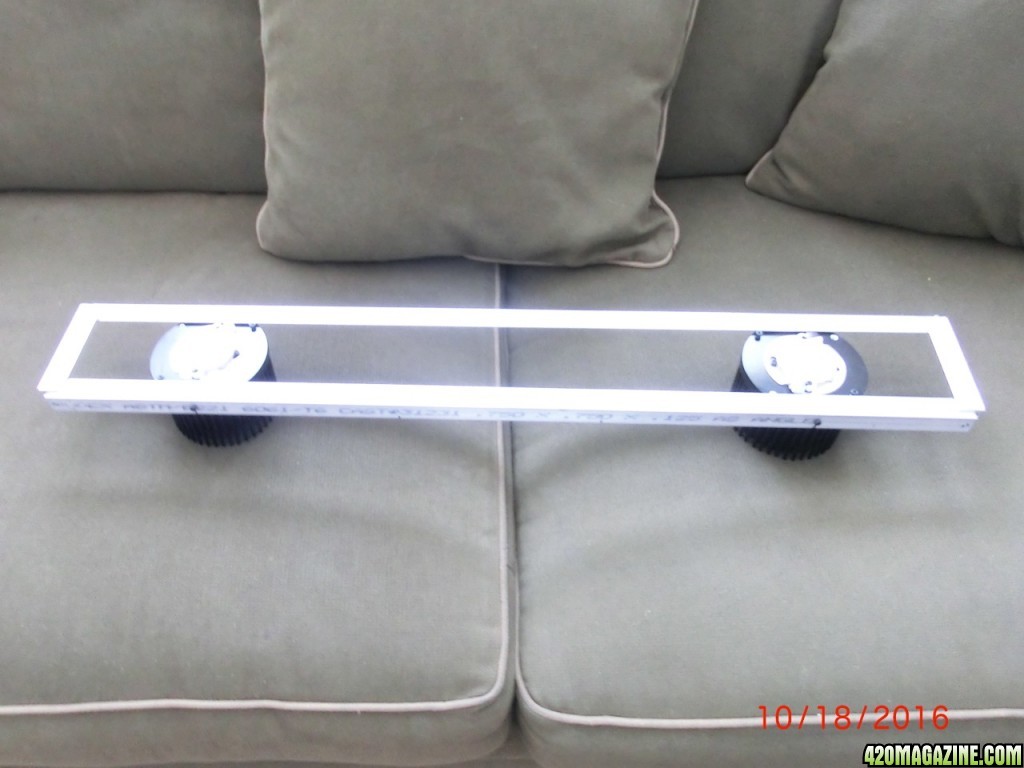
So for my build I drilled 4 holes on the side of the frame for the heat sinks. The spacing is up to you to customize for your space. I got a small space so mine will be closer than most everybody. I cannot remember the size hole I drilled for the heat sink mounting. I think they are 3mm and I drilled it over sized by wiggling the drill bit, making the hole just a tad bigger.
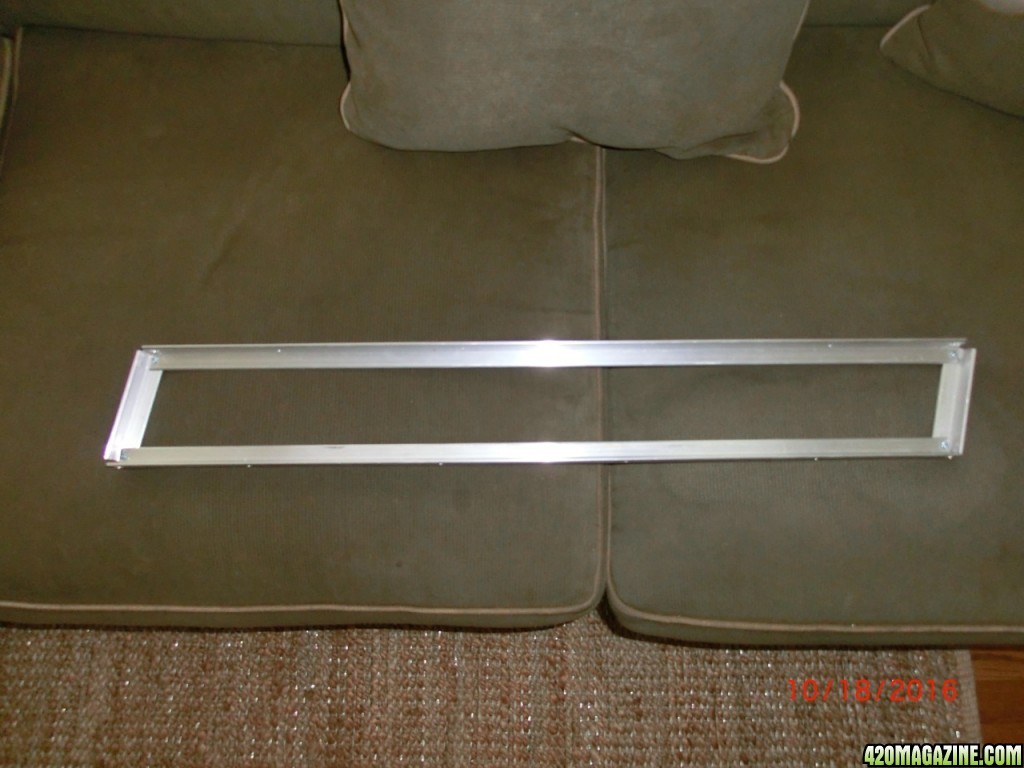
Drill the holes for the cross pieces on the bottom of the frame arm ends and in the four inch cross pieces. I used 6-32 bolt/nut and a 1/8 inch drill ( might work with 7/64 hole?) you could use self tapping sheet metal screws or something else. Attach them but don't tighten it yet. Loose so it can move back a forth. In this picture you can see it is not square and still loose. The side hole for the heat sinks are there. Also at the ends on the side I drilled 1/4 inch holes for the hanging points on each end.
Get you heatsinks mounted.
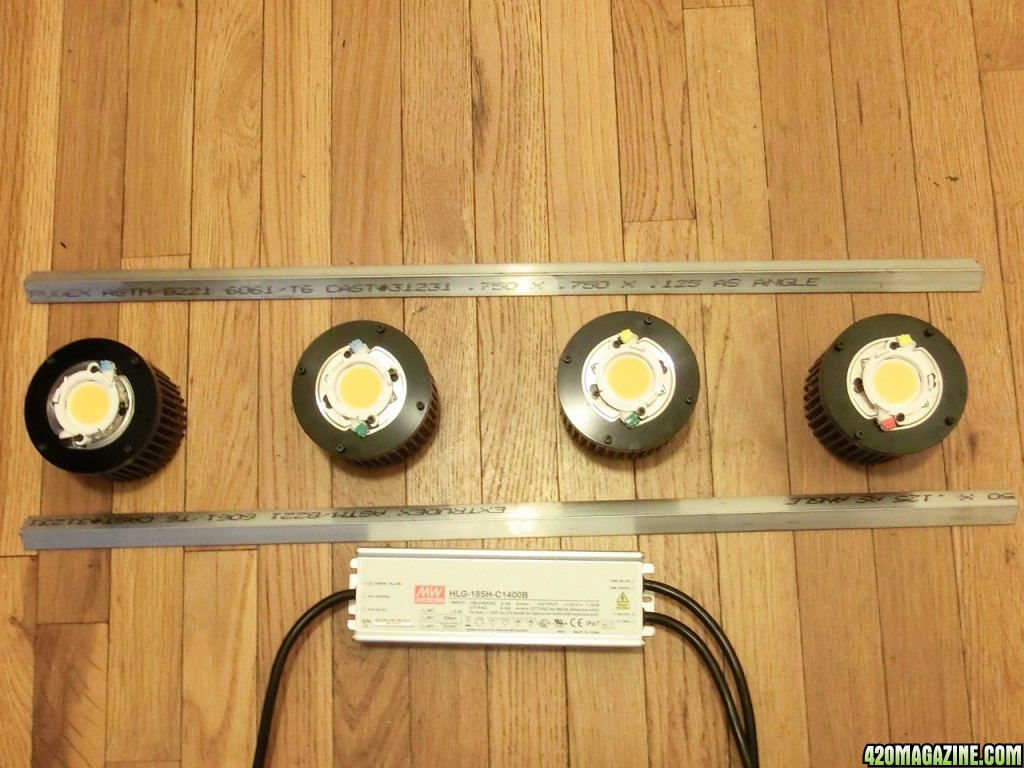
the heatsinks come numbered keep them in order.I put a little number on them with my sharpie. If you look at the label on the small boxes the heatsinks are numbered. It helps when wiring. Color coded wires to the heatsinks in order.
Here you can see the small mounting bolt on the side of the frame to the heatsinks. The frame is still loose so you can wiggle just in case your holes are not exact, close is all you will need.
My my heat sinks lined up well and tightened down easily. Oh those little black side bolts for mounting the heat sinks can also be used to mount them on the face of the heatsink and are located right next to the COB. There is four on each. So I used two to mount on the side. No reason except for too lazy to drill 8 more holes.
Ok so here is where the fun begins.
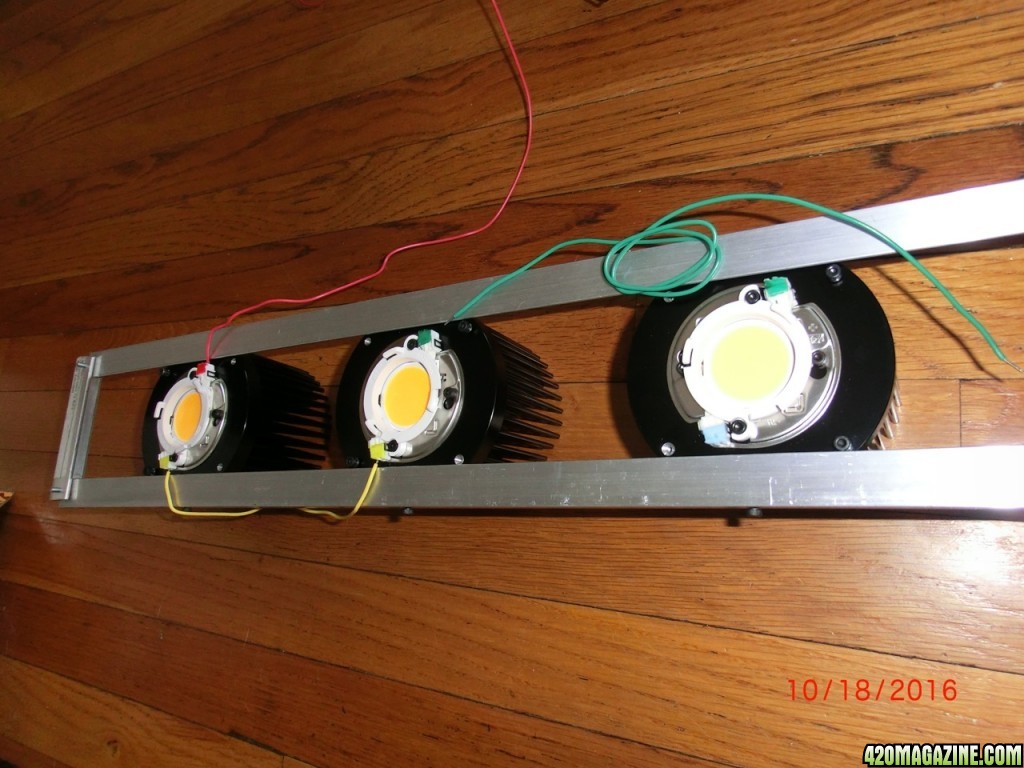
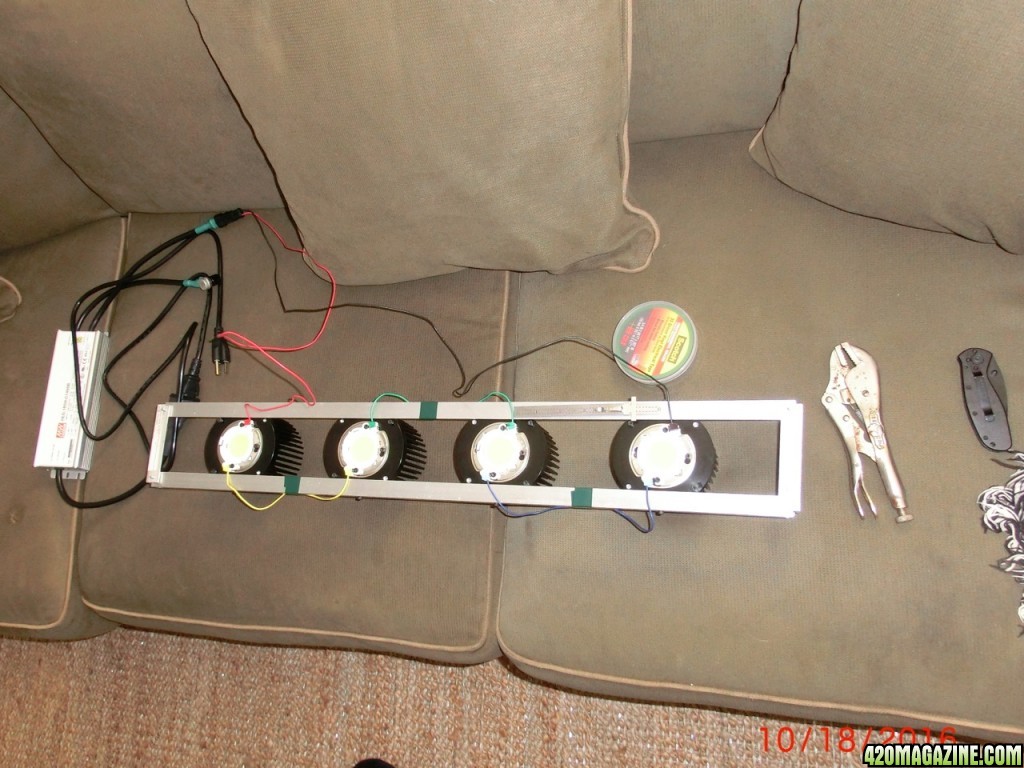
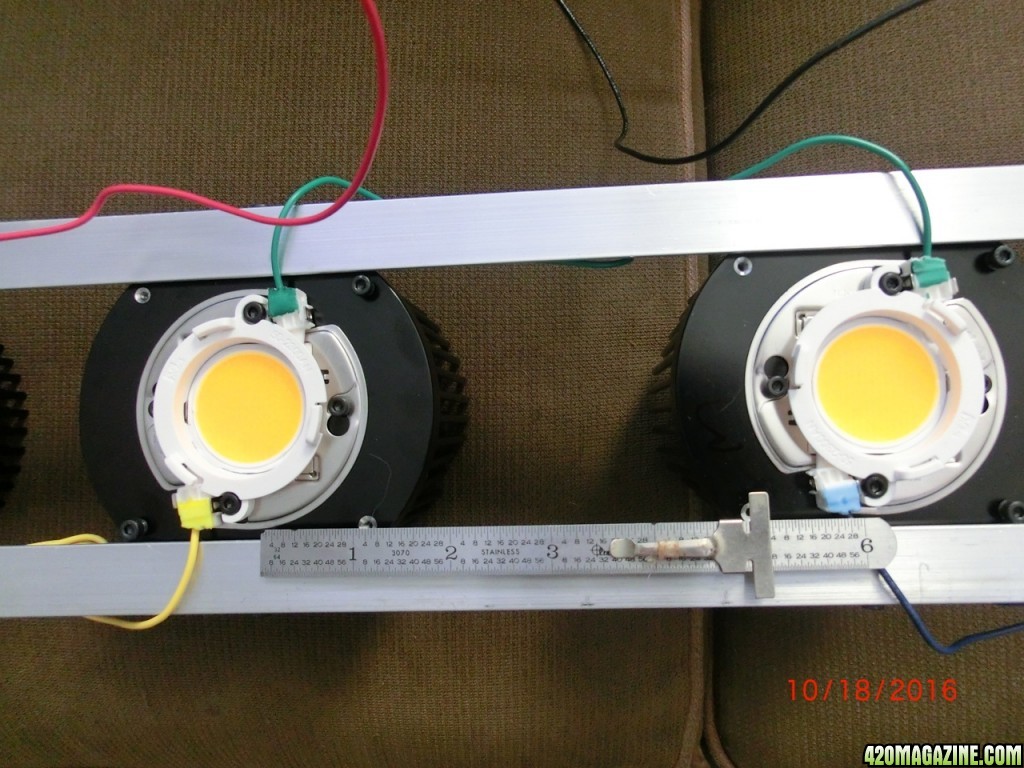
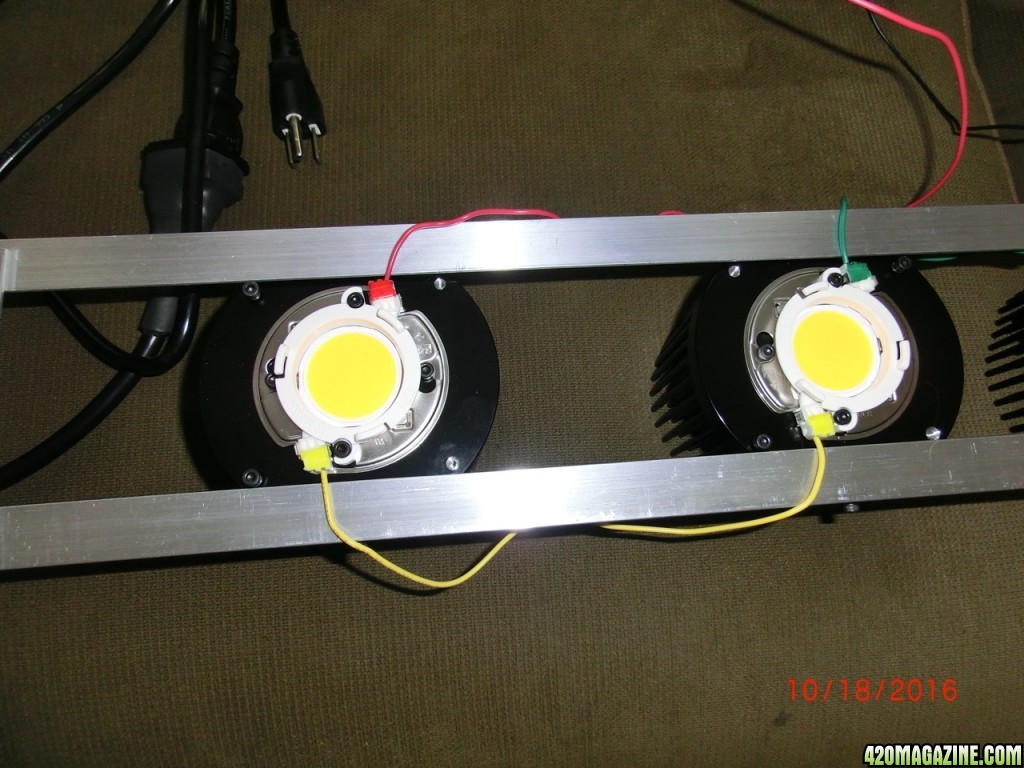
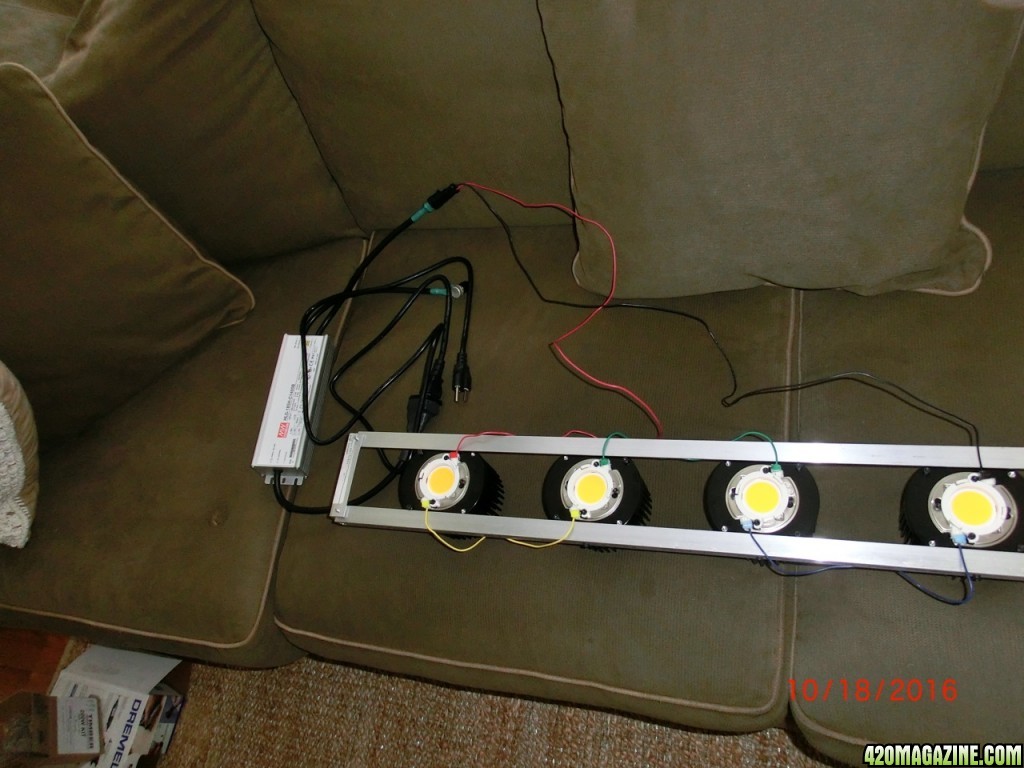
Get it wired up, easy. The "number one" COB is far left with the red wire going to the terminal with the red mark on it. The yellow wire is attached to the yellow terminal and goes to the "number two" COB. And so on. Does that make sense? Can ya see the marks on the terminals?
okay. Notes about the wires.
The red wire comes from a harness we will see later with its opposite half the black wire. The wires are pre-stripped and just get plugged into the terminal blocks. Just push them in and give a light tug to make sure they are secure in the terminal block. There is small metal tabs on the side of the terminal blocks to release the wire if needed. There are two spots on each terminal I am not sure but either one should work as it is power in power out and they are wired in series.
Another note. See the green wire. I wrapped it around in the middle to place on the other side of where it is in the picture then will secure with electric tape. I did it with all the wires in similar fashion.
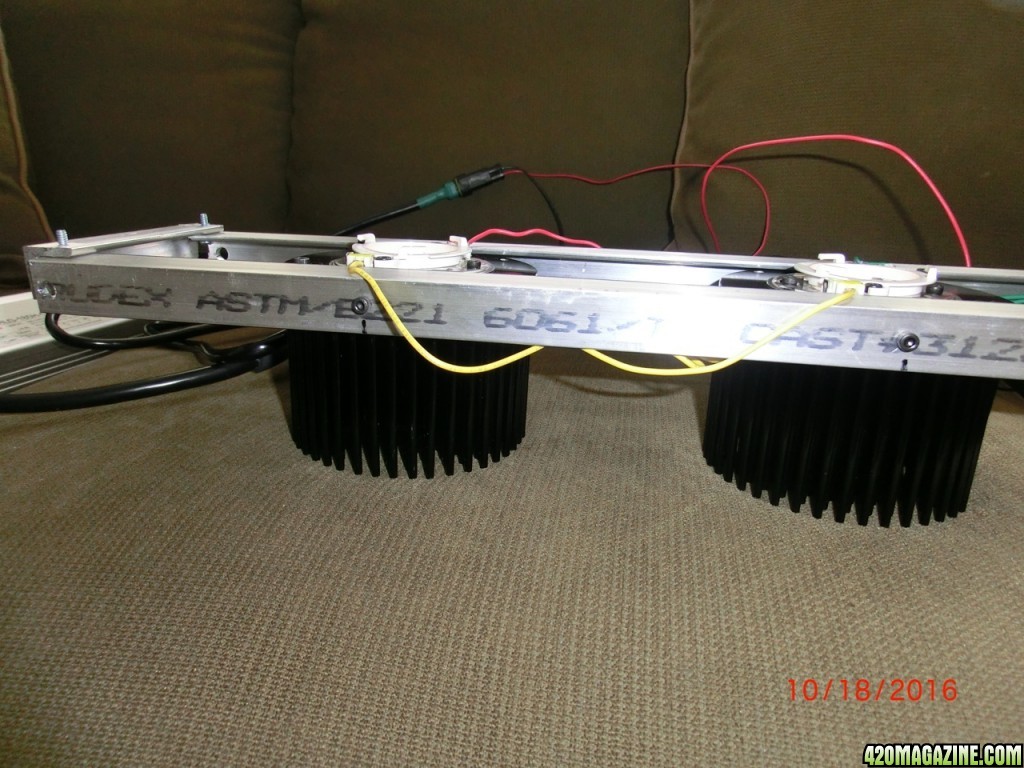
Wired and plug in the harness to the power supply. Here we can see some of the thing I been talking about. On the left at the end of the frame you can see the bolts in the cross pieces do not have nuts yet, they were a tight fit even without nuts. On the sides at the end you can se the big holes drilled to hang from. The little side mount bolt by the yellow wire. And in the background the red and black wires to the harness which plugs into the green end of the meanwell power supply.
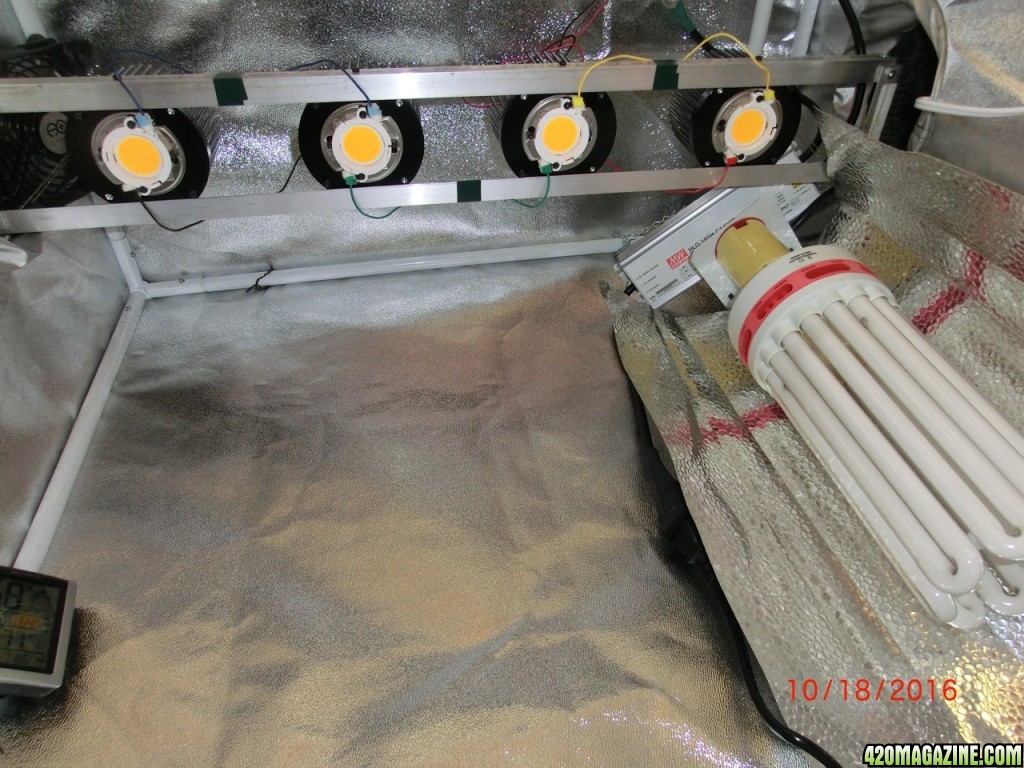
Here it it is almost finished. The COBs are a little more than 6 inches from each other's center. You can see my little ruler on the right two. The power supply has a dimmer which is up by the harness. Tighten it down, hang it and power it up.
I chose not to mount the power supply to the framework it's going to be mounted in the tents corner by the exhaust out.
A close up of the wires and such.
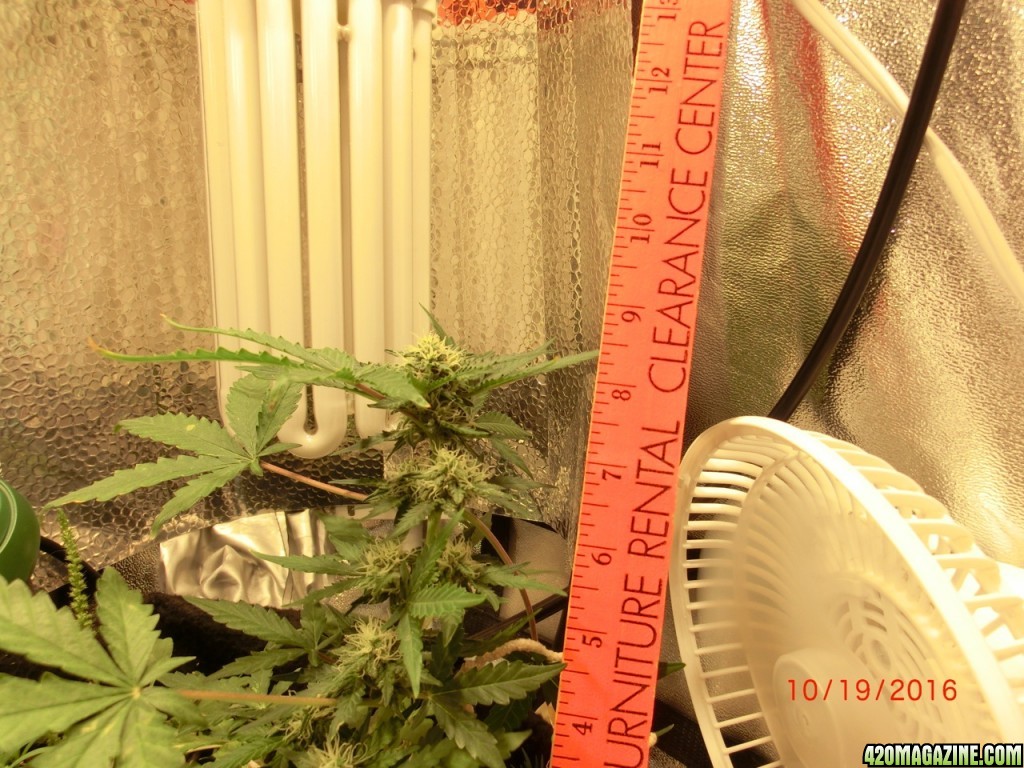
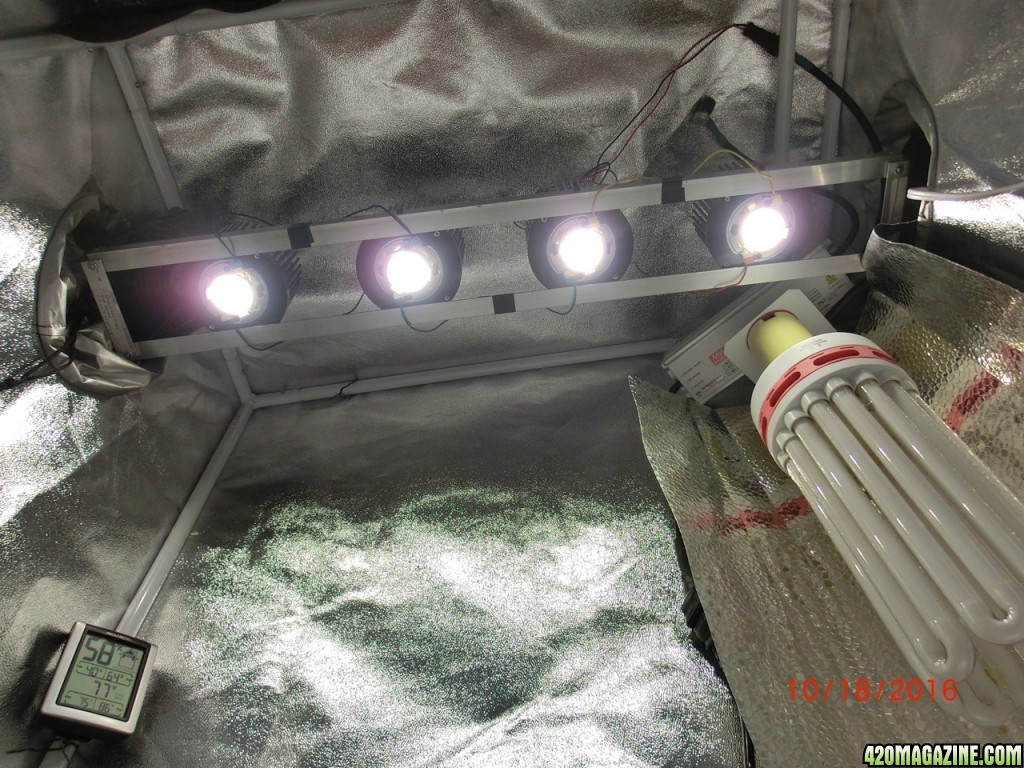
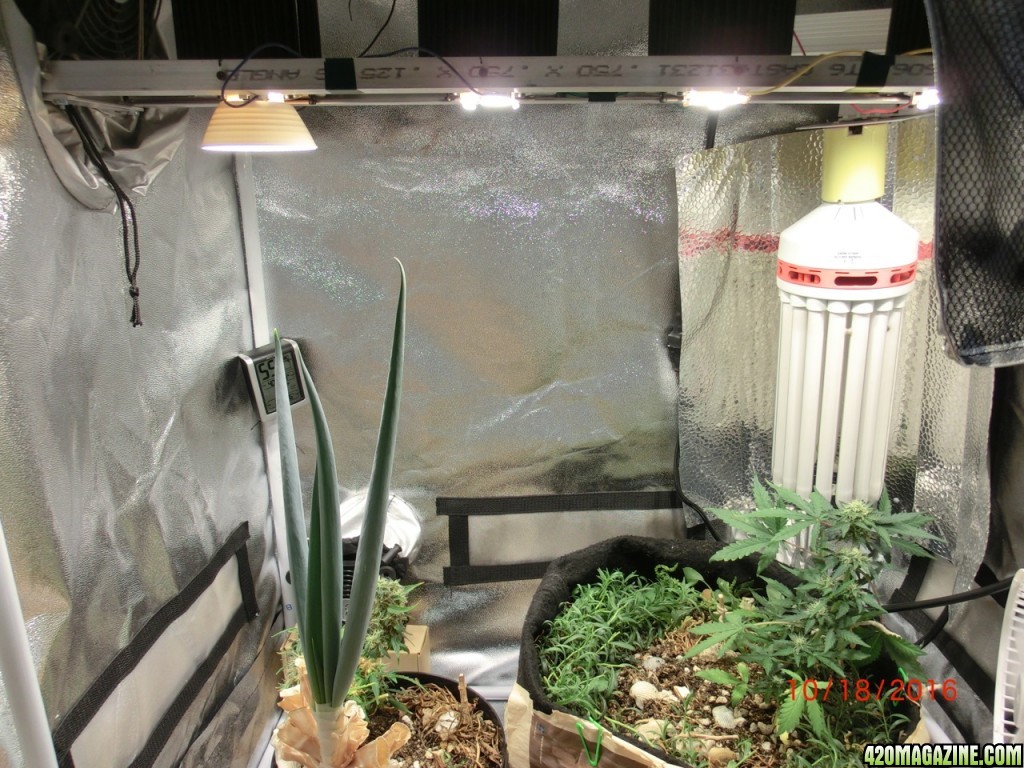
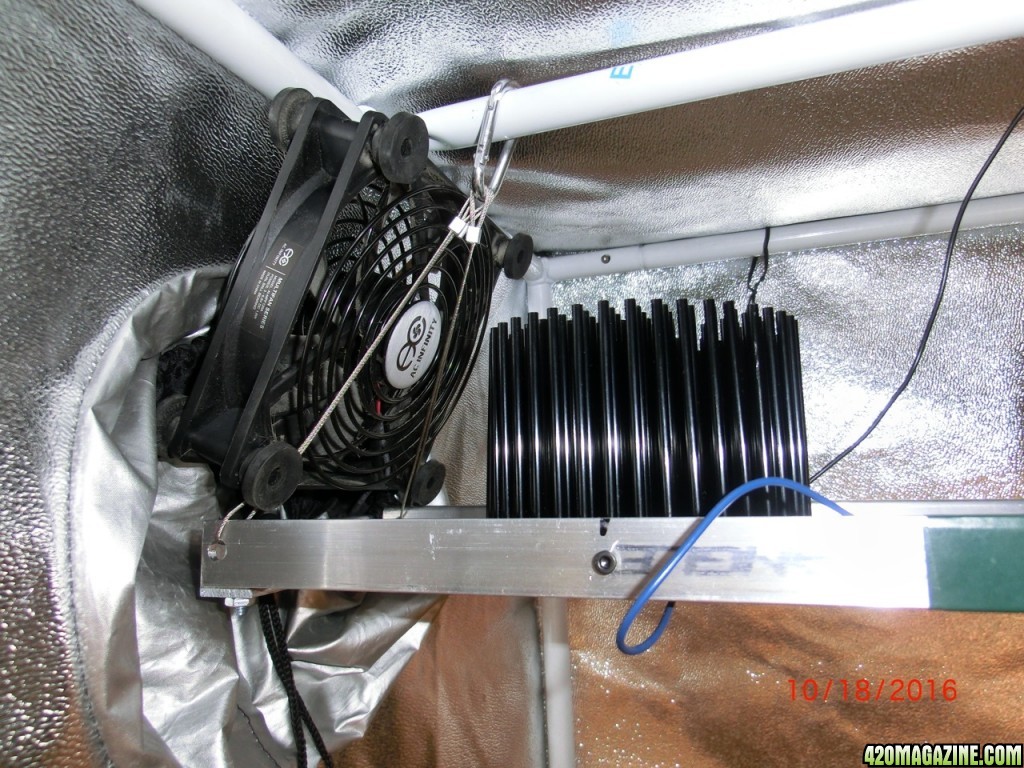
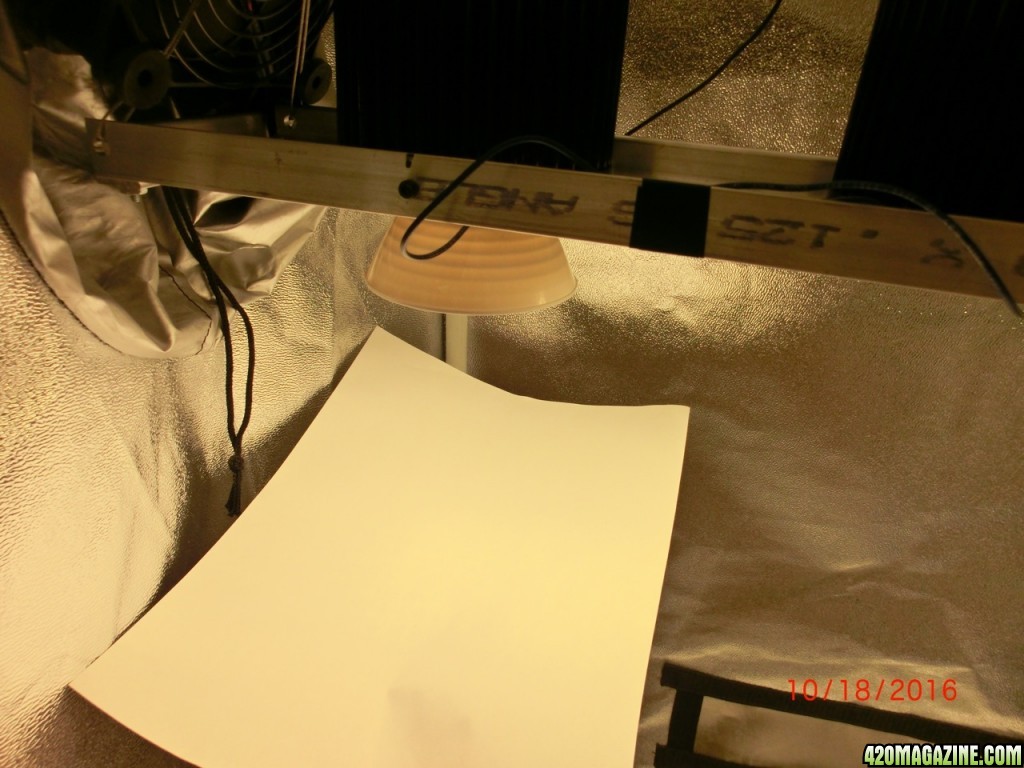
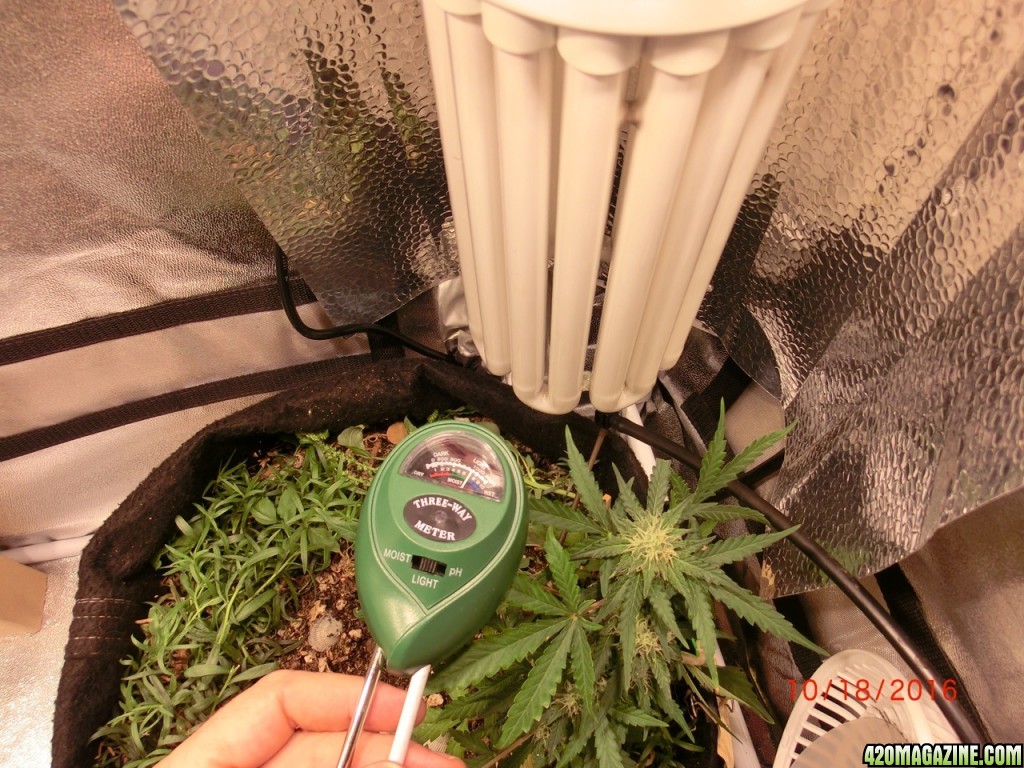
So. Tentatively hung. The CFL is what was lighting the tent. Exhaust is to the right. A small computer fan upper left.
Lights on.
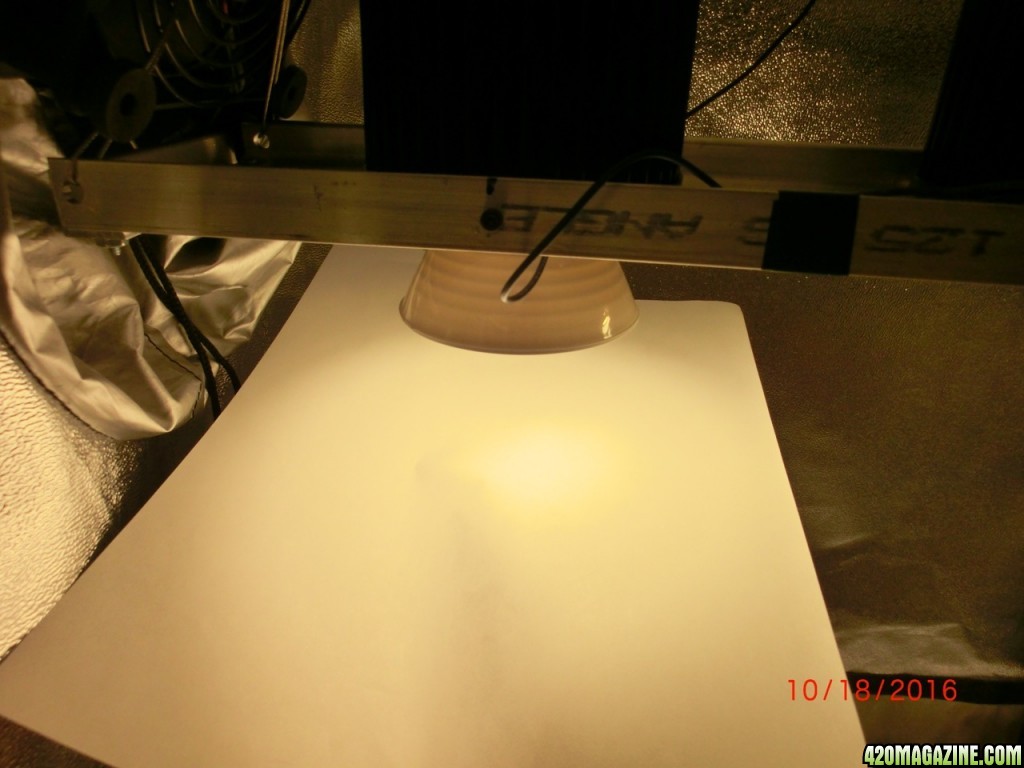
I put the reflector on just the left one. It is above an over ripe flower with seeds I am letting mature.
Postcards of of the hanging.
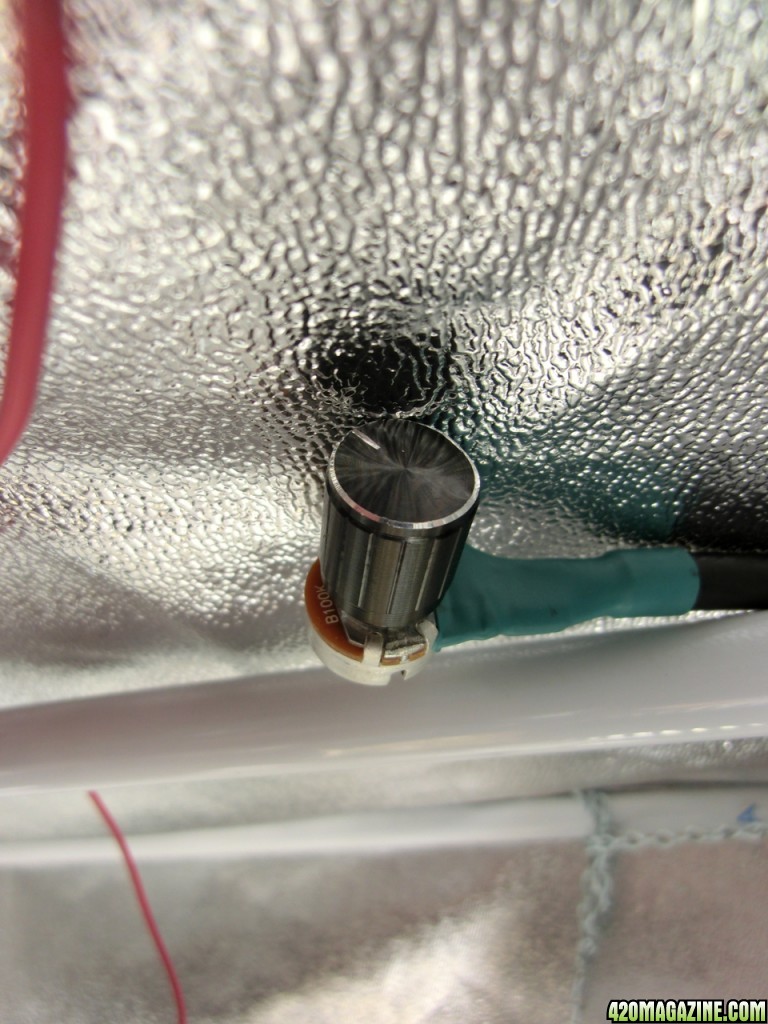
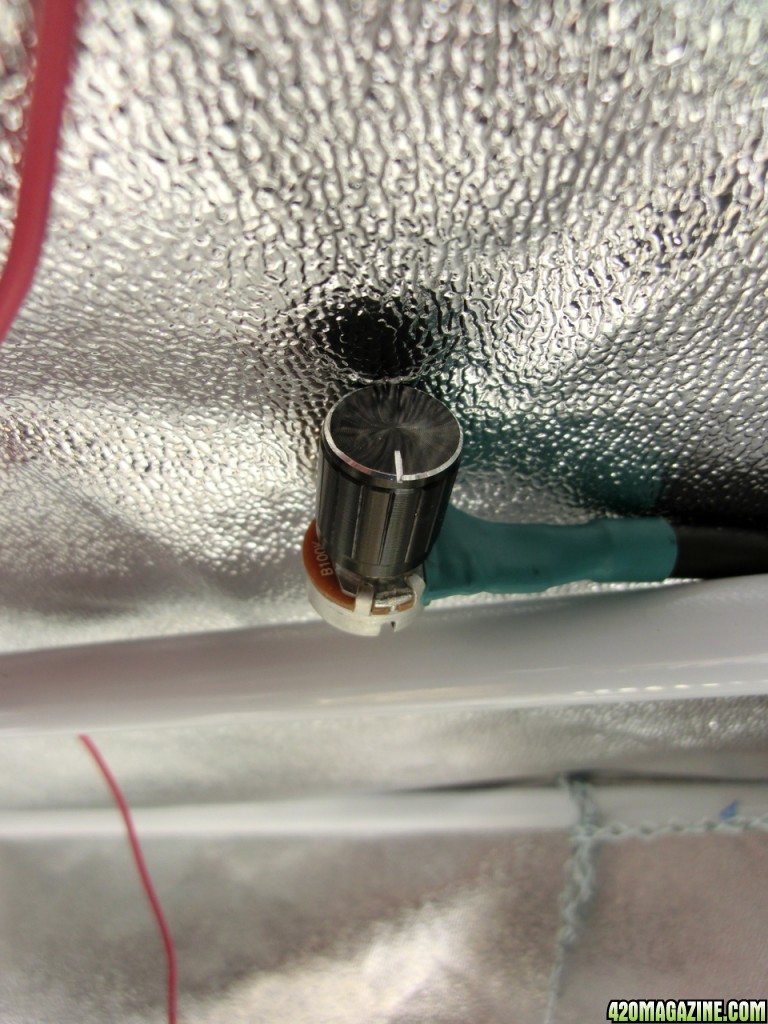
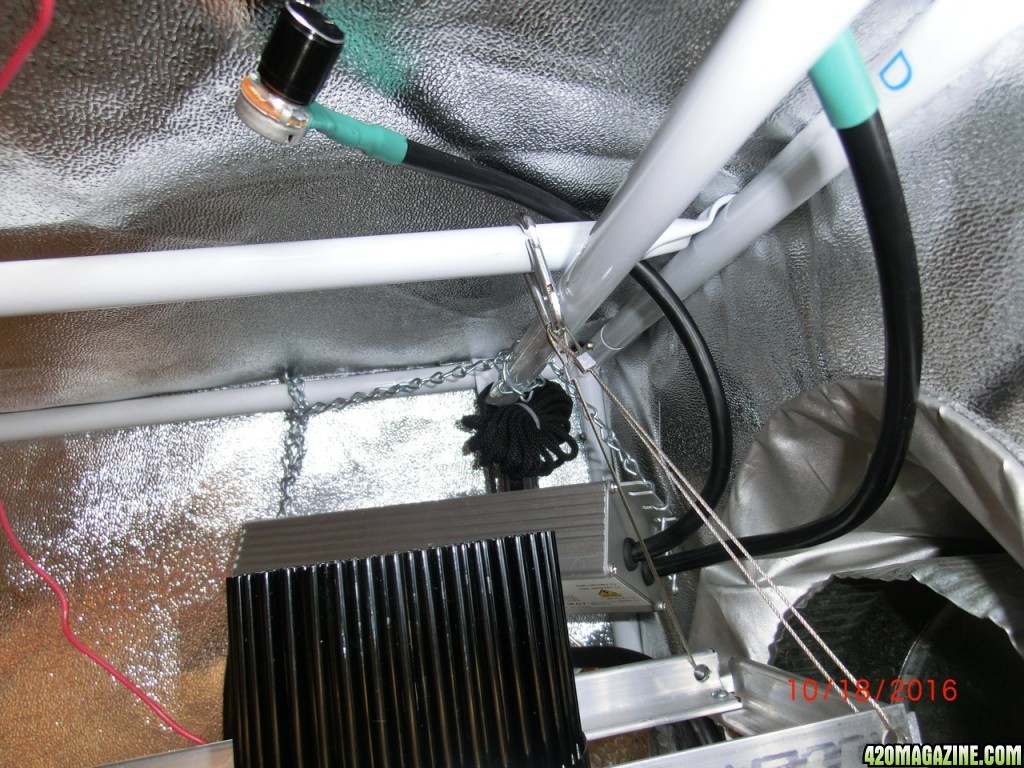
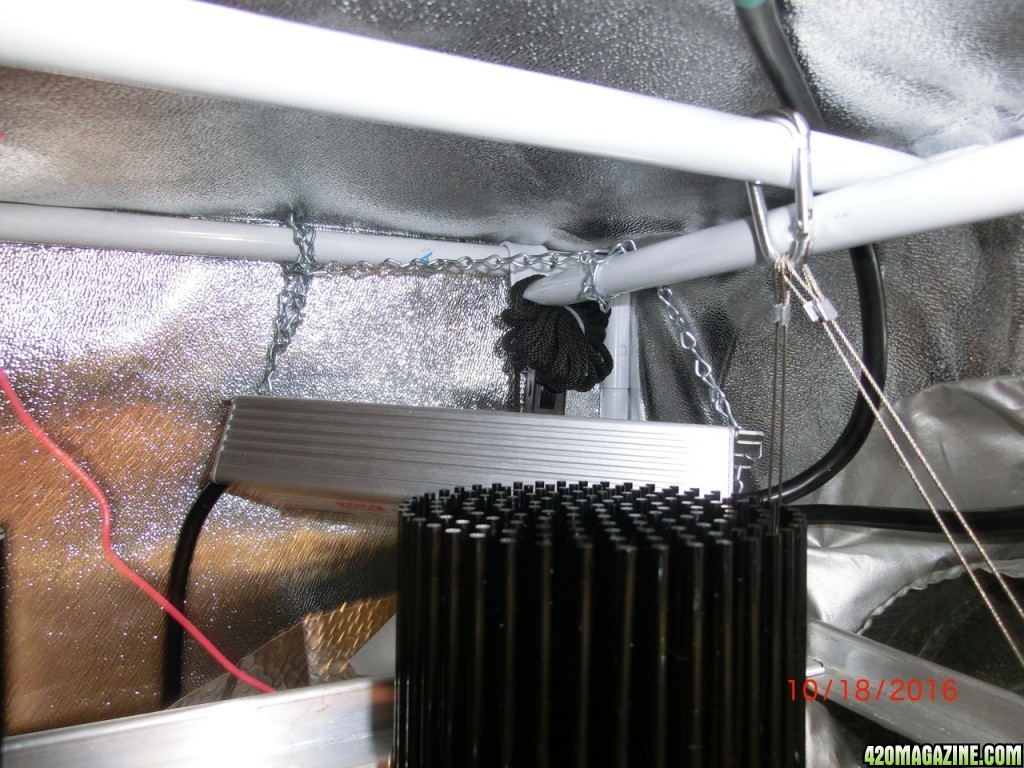
Hung with wires her is the right side number 4 COB. Power supply behind it. The dimmer knob is at the top of shot.
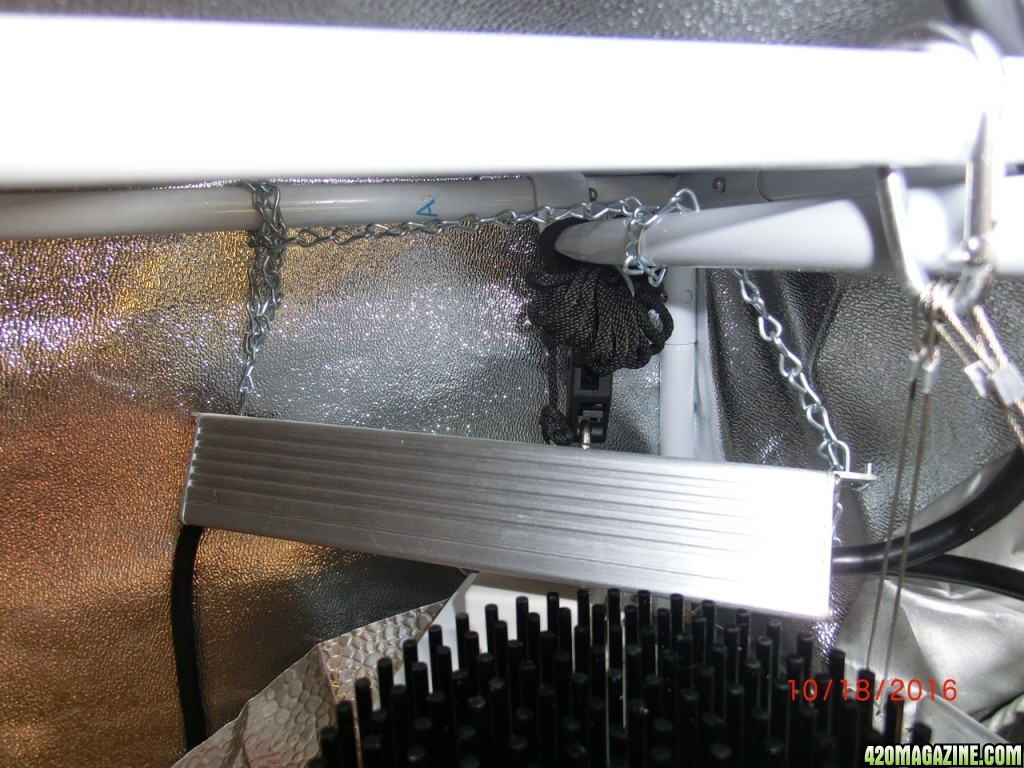
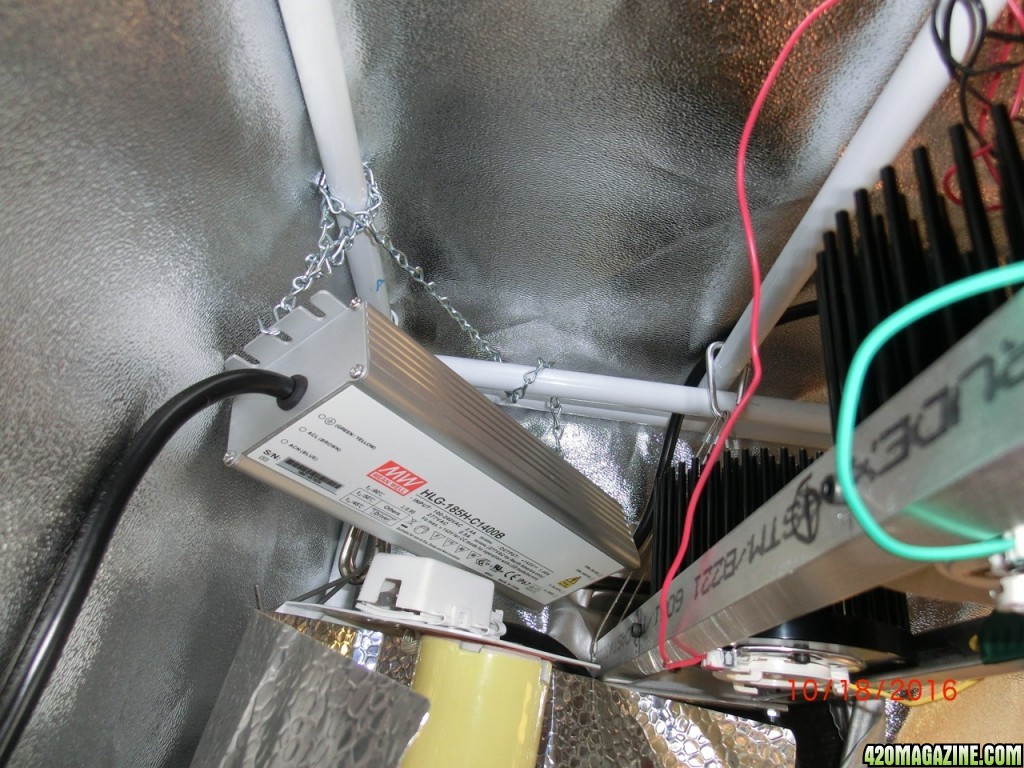
The he powersupply hung with chains in the corner.
A little better look at the power supply.
So here is the left side or number one COB.


 icemud. I love you journals. Top notch lights you guys run are one of the reasons I went diy COB. I am concerned I may out grow my space. Quick. The Mrs isn't gonna like that. At least till harvest time then she forgets all about it.

