BakedAlaskan
New Member
Hi all
So I am just a small-time med grower for my wife's headaches. I dont need anything fancy or high production for clones but rockwool and a humdity dome just isnt working. After reading through lots of DIY examples of aero cloners it appears that the #1 issue people face has to do with leaking lids from storage totes. One guy made an amazing cloner from an old cooler. Great idea, but the cooler alone costs $25 unless I source one used.
Here were my requirements:
Also I wanted to do this without spending a lot of money.
Here are the parts:
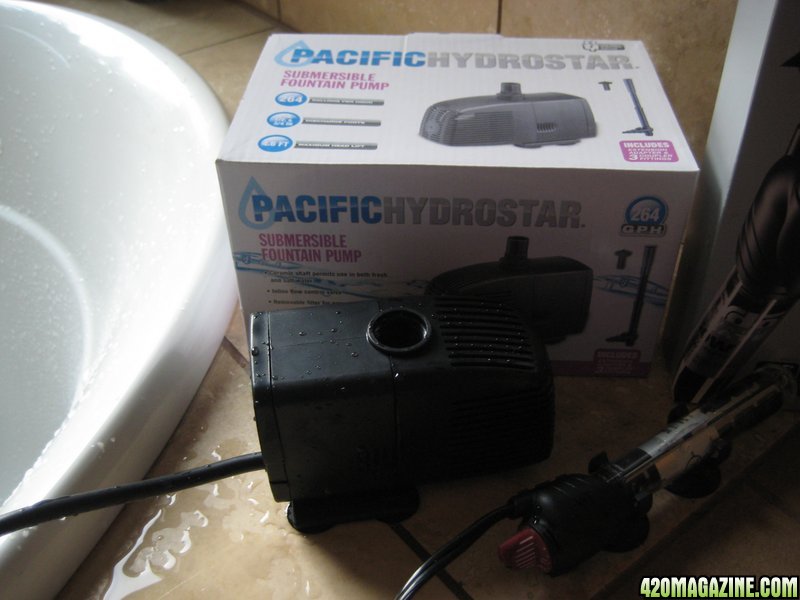
Harbor Freight pump - $12.88 on sale
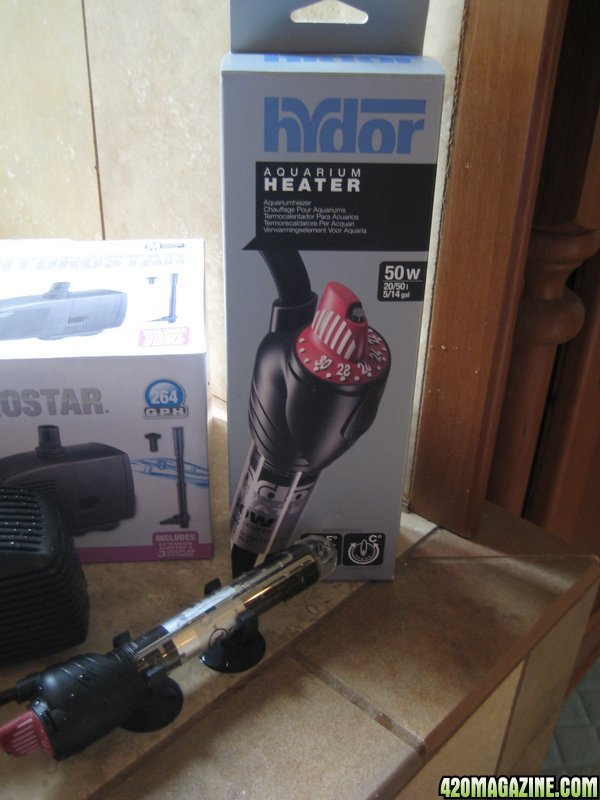
Submersible heater. $15.99 from Petco.com on sale
Bucket and lid from Lowe's (no pic). $4.78
Grounded timer from Harbor freight (no pic). $3.99 on sale
Neoprene inserts ($ .25 ea from hydro store). Total: $2.25
A cake platter with lid from the Dollar store. $1.00
Some bubble wrap: Free with the Petco.com order.
Total invested: $40.89
Step 1: Assemble the pump tubes to make a fountain.
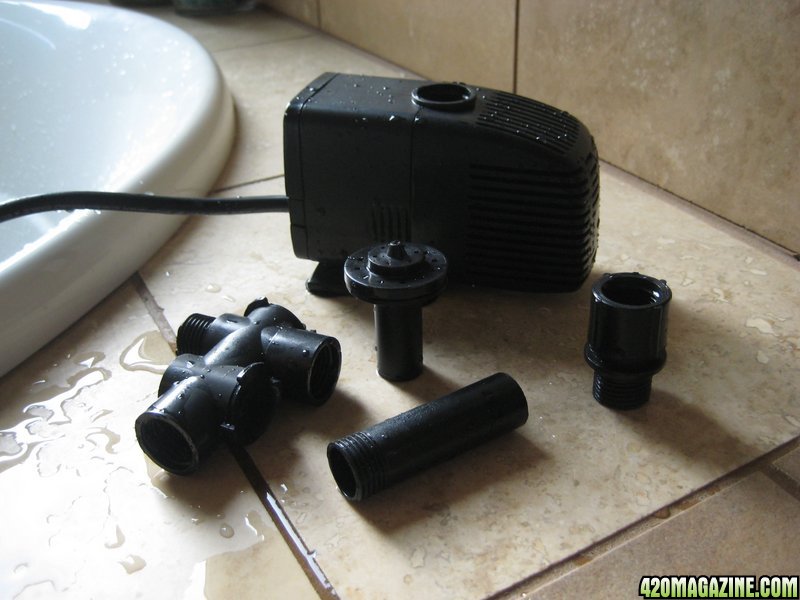
..into this
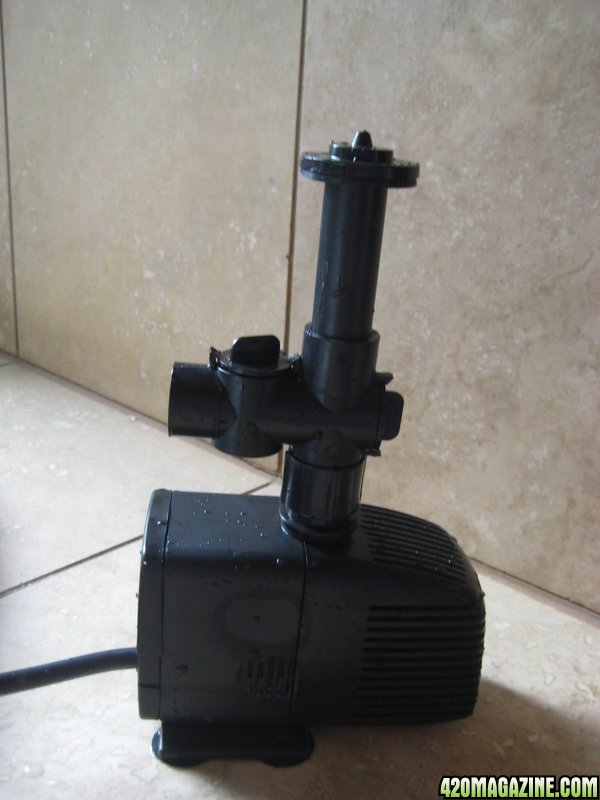
That bottom piece is important - it enables control over the spray pressure by relieving excess water. By allowing the pump to move at a lower pressure it also keeps the heat down. In addition, the relief water helps to oxygenate the reservior.
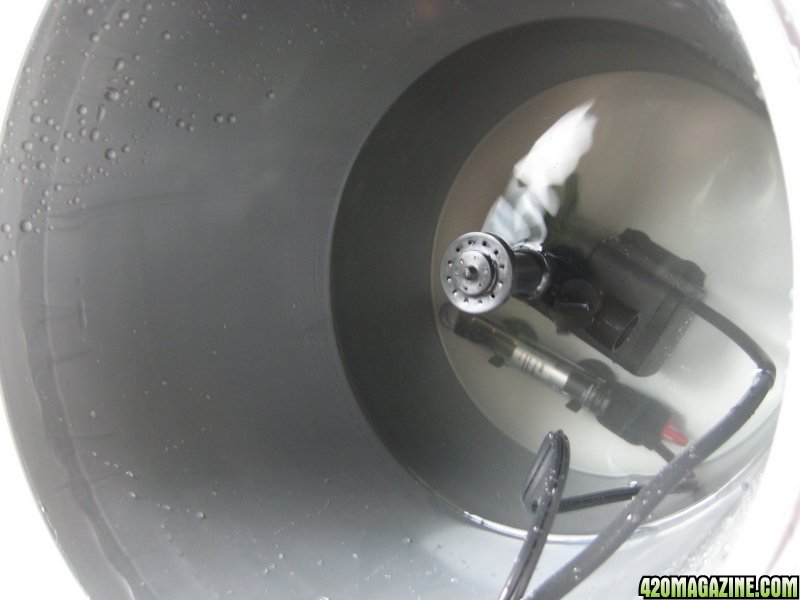
Step 2: Position the pump and heater securely in the bottom of the bucket.
Step 3: Adjust the spray.
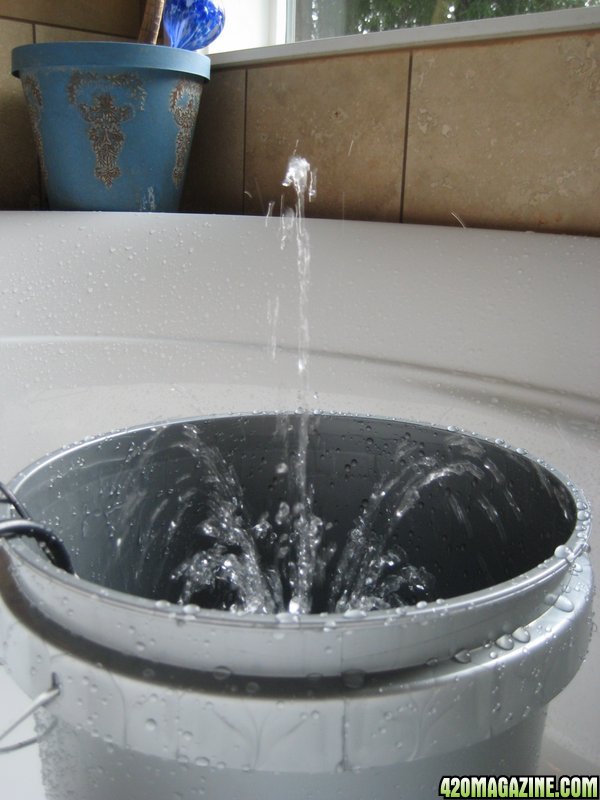
This is where the control will come in really handy. You may want to offset the spray a little so that the middle nozzle isnt hammering the middle cutting.
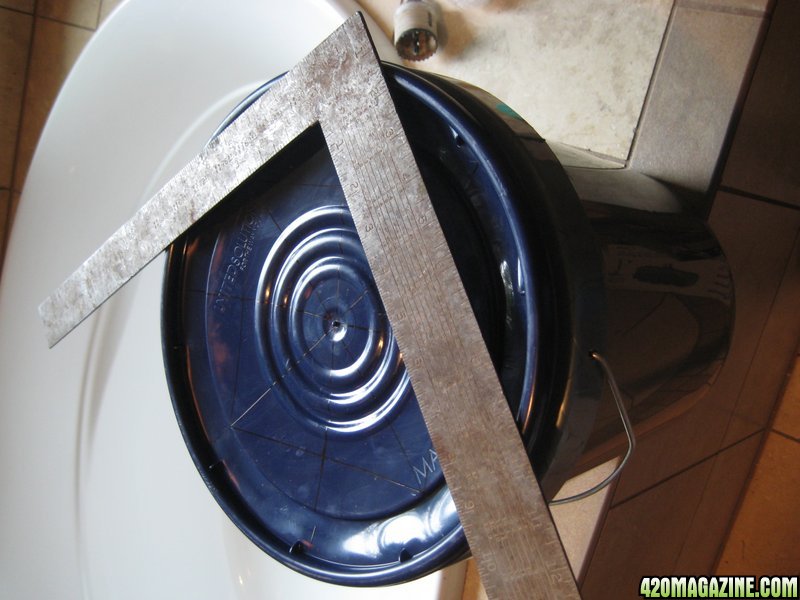
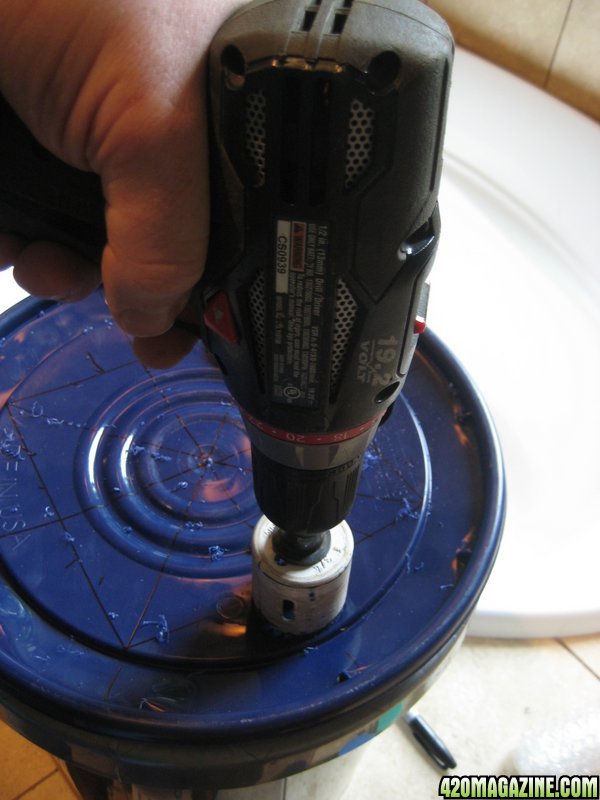
Step 4: Drill the lid and wire holes. A straightedge and a sharpie are your friend.
Here is the holesaw. I didnt factor the price of tools into this build, but if you need one of these cheaply Harbor Freight will hook you up. Make sure your inserts are larger than your saw.
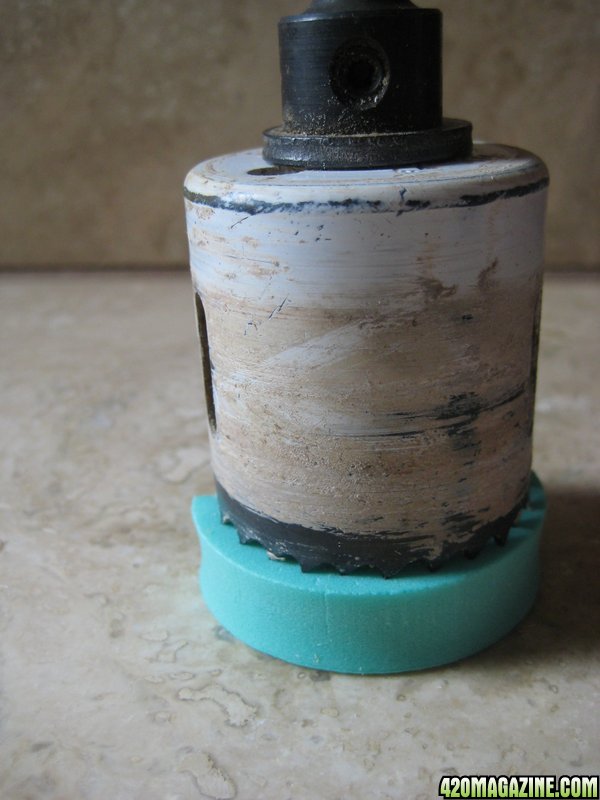
Mark your spots and drill away! If you want cleaner holes, place the lid on something solid and sacrificial like an old board. I didnt care and the holes work just fine drilling like I did.
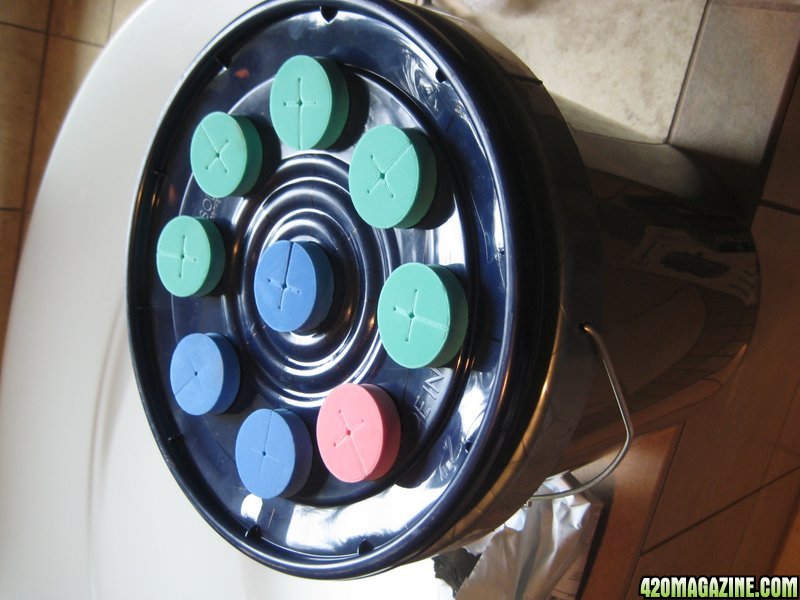
When you are all done, place the inserts in. I chose colored ones so that it is easier to track strains.
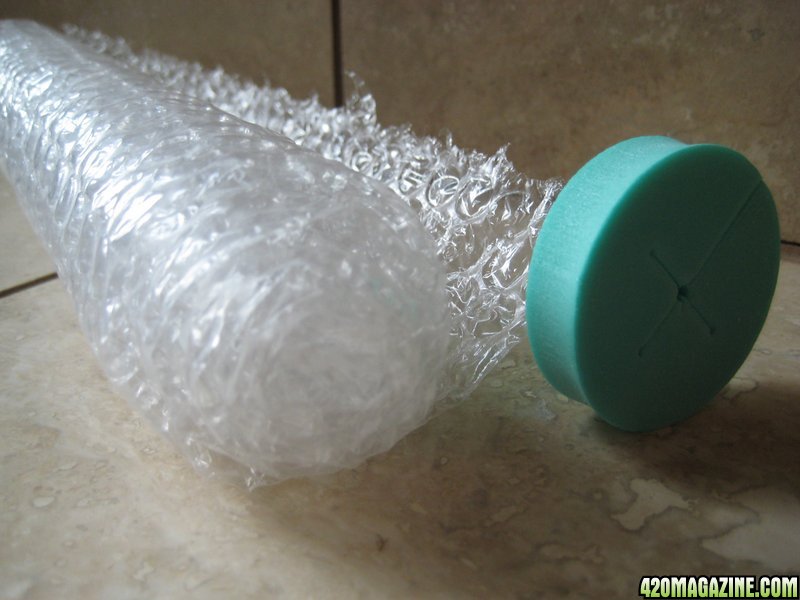
Finally drill the hole for the cord. Make it large enough for just the head of the cord only. Make a grommet from the bubble wrap. I recommend coming through the lid for a couple of reasons - 1: It prevents leaks. 2: If you screw up something you have not ruined a bucket. Lids are disposable. Buckets less so.
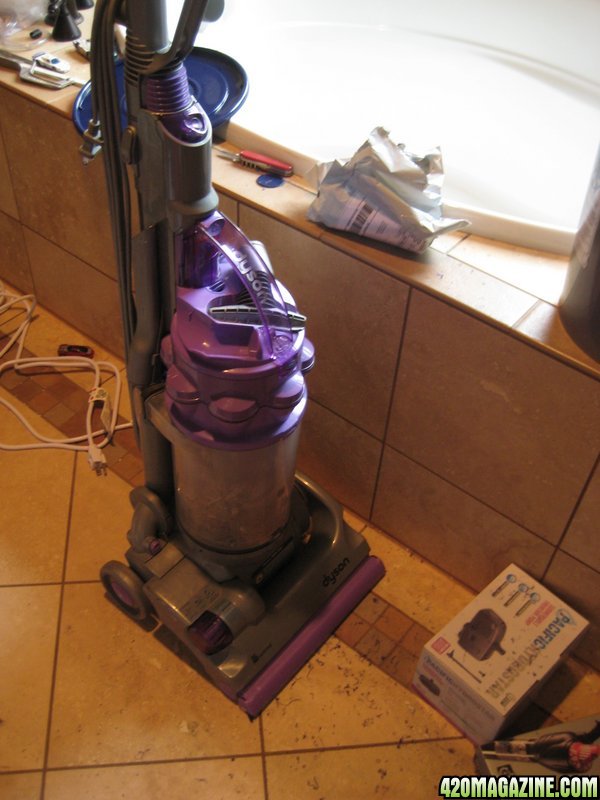
Step 5: The most important step. If you built this in the bathroom for testing in the tub, be sure to cleanup your mess. Nothing will piss off the War Department more than finding little plastic shavings in her tub or on her floor.
That was it! now on to testing her out.
I wont go into cloning 101, because I learned everything I know from other threads on this forum. However unlike other aero cloners I doubled up the cuttings for each insert. I set the timer to run 15m per-hour. Temp is set at 75deg F. I added a few drops of "superthrive" to the water. It is in a dimly-lit area of my den. I have run with a humidity dome (the cake carrier lid)
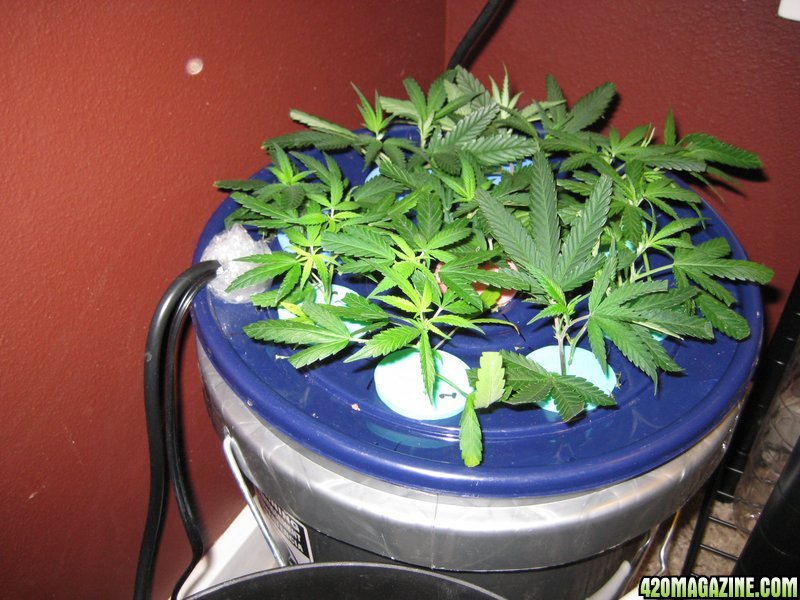
Here is a shot in action (cake carrier lid removed)
From underneath 7 days after cutting:
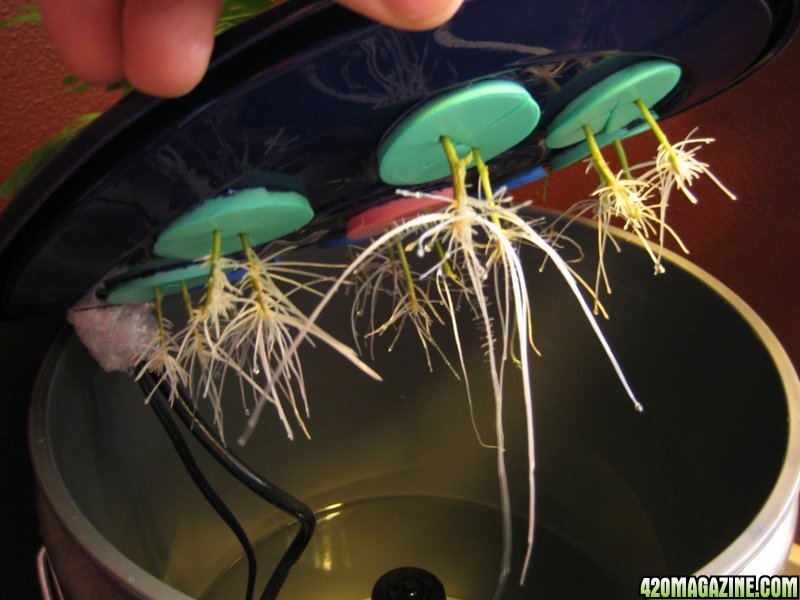
Note two stems per insert. Seems to work just fine! Lots of roots and NO LEAKS!!
Parting comment - I plan to spend a few more $ to acquire some sprayers and PVC pipe. I think the roots would be happier with more of a misting and less of a spraying. When that adaptation is complete Ill update.
Happy cloning!!
So I am just a small-time med grower for my wife's headaches. I dont need anything fancy or high production for clones but rockwool and a humdity dome just isnt working. After reading through lots of DIY examples of aero cloners it appears that the #1 issue people face has to do with leaking lids from storage totes. One guy made an amazing cloner from an old cooler. Great idea, but the cooler alone costs $25 unless I source one used.
Here were my requirements:
- enough for 15 clones
- Cheap
- watertight
- effective (~100% success)
- Cheap
- Easy to build
- Easy to clean
Also I wanted to do this without spending a lot of money.

Here are the parts:
Harbor Freight pump - $12.88 on sale
Submersible heater. $15.99 from Petco.com on sale
Bucket and lid from Lowe's (no pic). $4.78
Grounded timer from Harbor freight (no pic). $3.99 on sale
Neoprene inserts ($ .25 ea from hydro store). Total: $2.25
A cake platter with lid from the Dollar store. $1.00
Some bubble wrap: Free with the Petco.com order.
Total invested: $40.89
Step 1: Assemble the pump tubes to make a fountain.
..into this
That bottom piece is important - it enables control over the spray pressure by relieving excess water. By allowing the pump to move at a lower pressure it also keeps the heat down. In addition, the relief water helps to oxygenate the reservior.
Step 2: Position the pump and heater securely in the bottom of the bucket.
Step 3: Adjust the spray.
This is where the control will come in really handy. You may want to offset the spray a little so that the middle nozzle isnt hammering the middle cutting.
Step 4: Drill the lid and wire holes. A straightedge and a sharpie are your friend.
Here is the holesaw. I didnt factor the price of tools into this build, but if you need one of these cheaply Harbor Freight will hook you up. Make sure your inserts are larger than your saw.
Mark your spots and drill away! If you want cleaner holes, place the lid on something solid and sacrificial like an old board. I didnt care and the holes work just fine drilling like I did.
When you are all done, place the inserts in. I chose colored ones so that it is easier to track strains.
Finally drill the hole for the cord. Make it large enough for just the head of the cord only. Make a grommet from the bubble wrap. I recommend coming through the lid for a couple of reasons - 1: It prevents leaks. 2: If you screw up something you have not ruined a bucket. Lids are disposable. Buckets less so.
Step 5: The most important step. If you built this in the bathroom for testing in the tub, be sure to cleanup your mess. Nothing will piss off the War Department more than finding little plastic shavings in her tub or on her floor.
That was it! now on to testing her out.
I wont go into cloning 101, because I learned everything I know from other threads on this forum. However unlike other aero cloners I doubled up the cuttings for each insert. I set the timer to run 15m per-hour. Temp is set at 75deg F. I added a few drops of "superthrive" to the water. It is in a dimly-lit area of my den. I have run with a humidity dome (the cake carrier lid)
Here is a shot in action (cake carrier lid removed)
From underneath 7 days after cutting:
Note two stems per insert. Seems to work just fine! Lots of roots and NO LEAKS!!

Parting comment - I plan to spend a few more $ to acquire some sprayers and PVC pipe. I think the roots would be happier with more of a misting and less of a spraying. When that adaptation is complete Ill update.
Happy cloning!!


 Just need inserts. Found online, but broke at the moment.