rockerton
New Member
bow pic bic tutorial:
take a regular bic
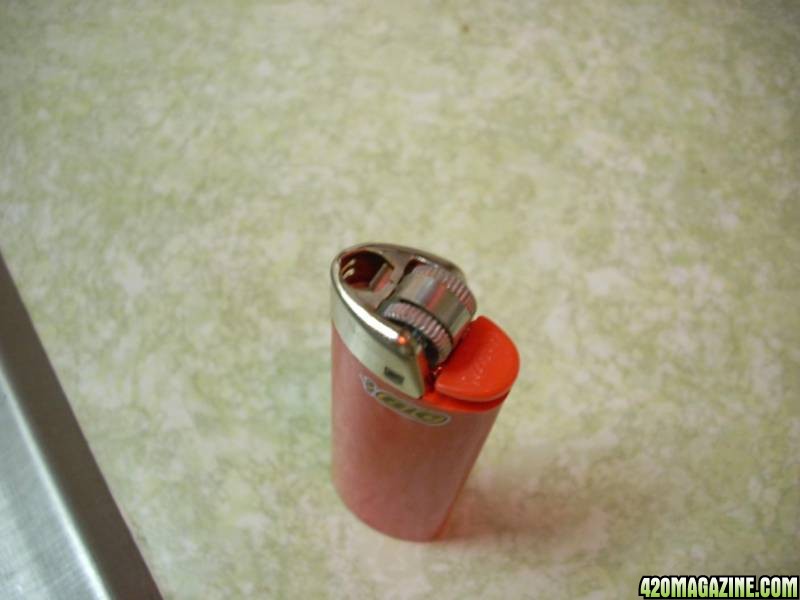
pry child safety thumb guard off:
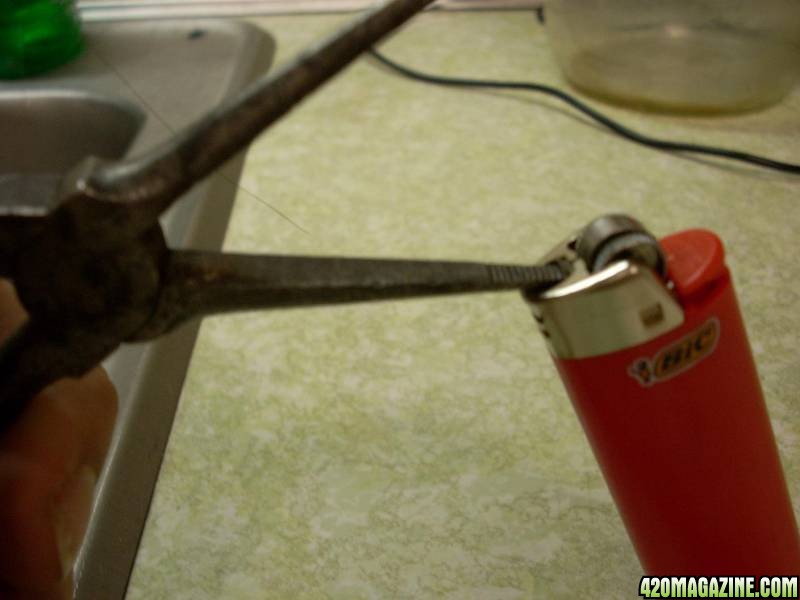
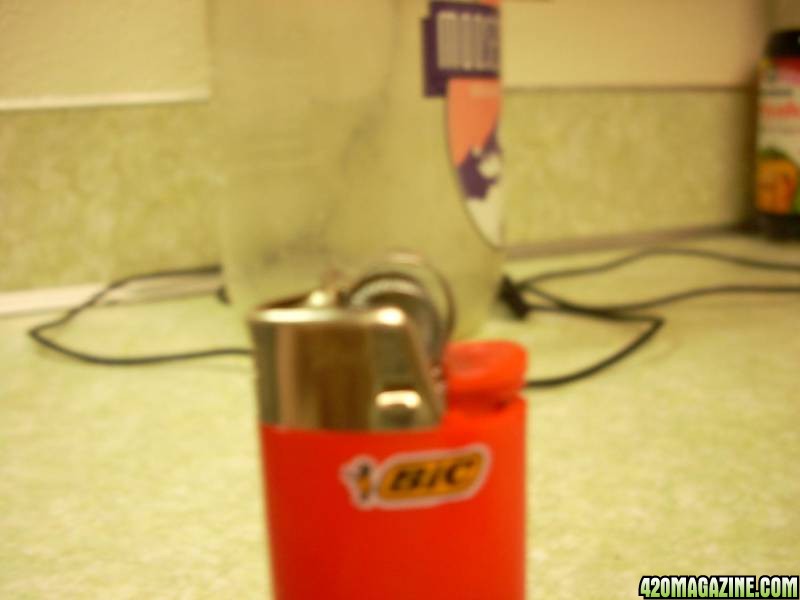

now remove metal housing:
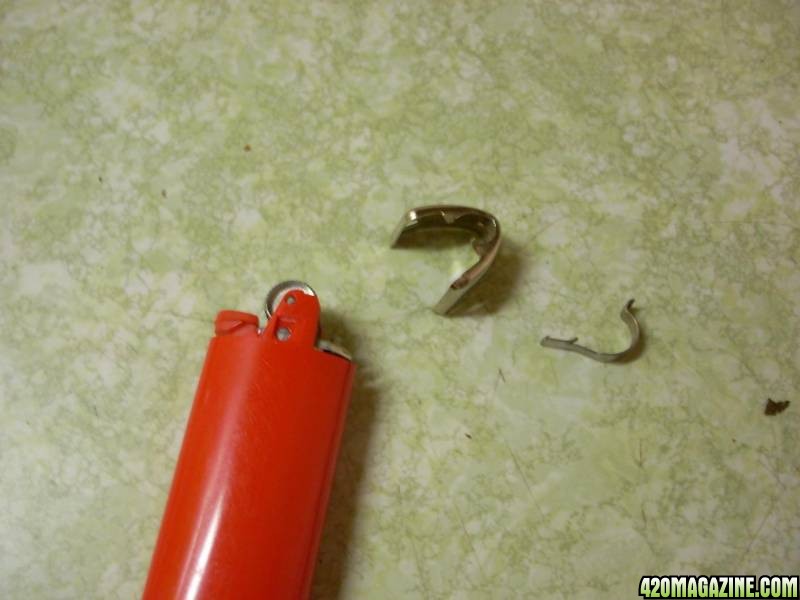
clasp thumb guard by prong toothed/ flat part:

bend guard away from prong teeth:
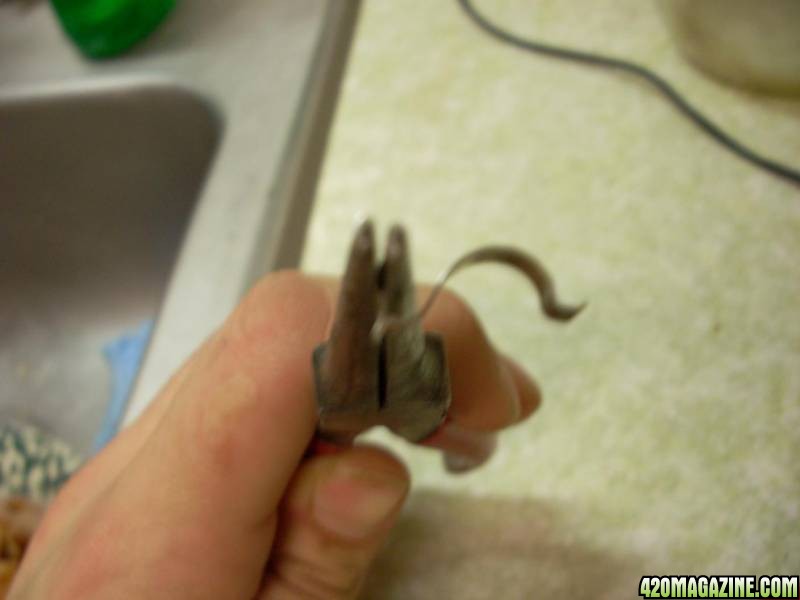
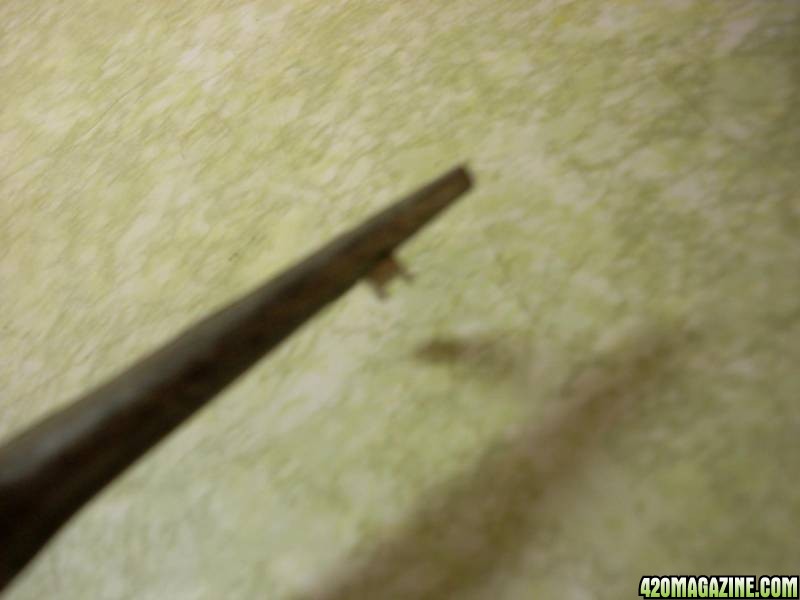
slightly squish and re-attach housing so it stays on with a gap:
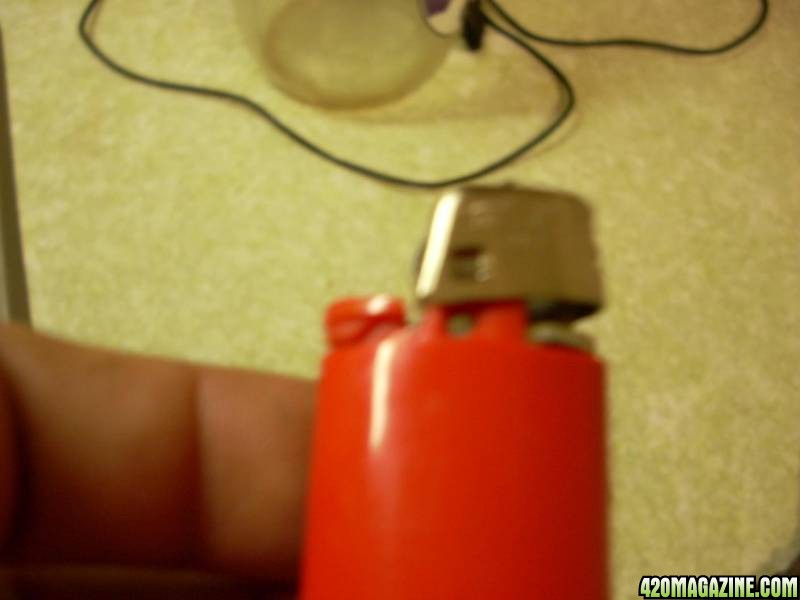
slip new-formed pic under housing, flat part up, prong teeth down.:
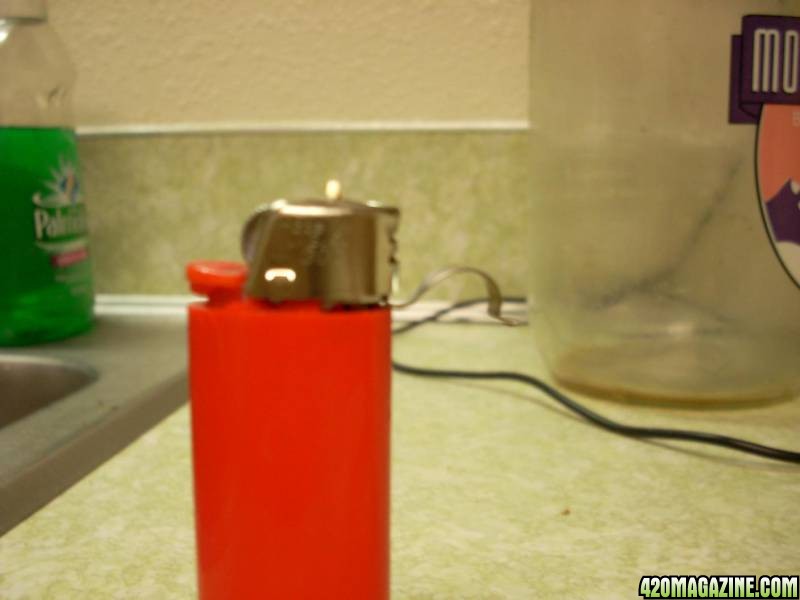
now clasp housing down completely. this will be very snug. very likely to jam if final steps aren't observed.:

now straighten to your liking and add heat to pic. (i usually have another lighter for this.) wait for plastic at base of pick to bead under heat, then use something (because hot) and press down on the housing to set the pick in place.
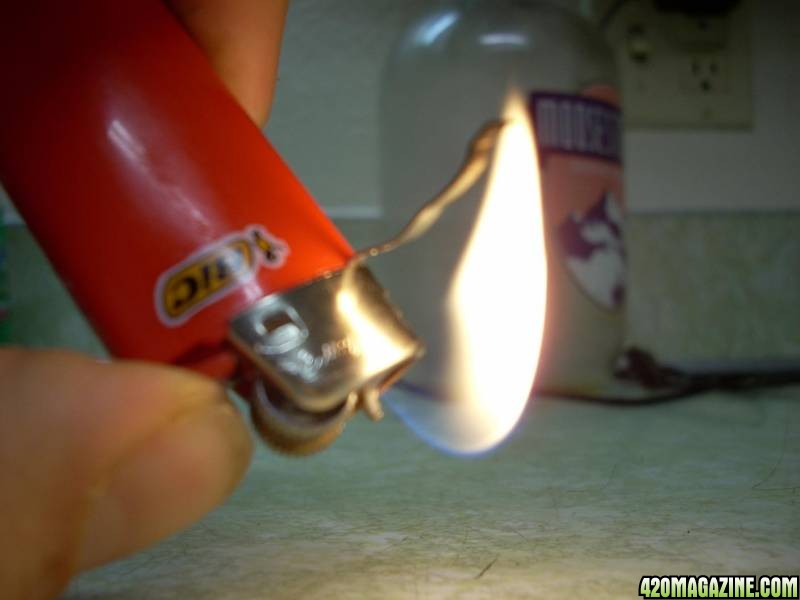
pic is best to one side, to prevent jamming of mechanism. check for jamming of mechanism by listening for gas escaping, and lighting repeatedly. making sure the pick jiggles a bit also prevents jamming.
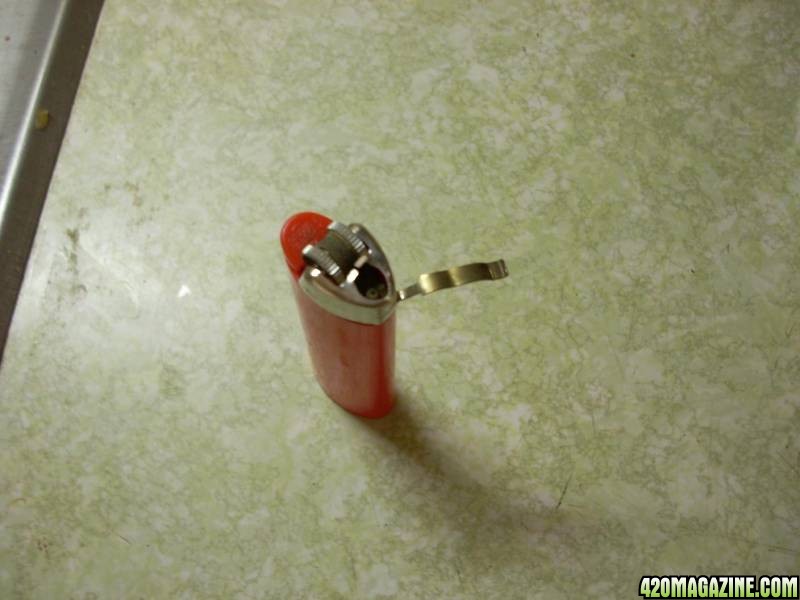
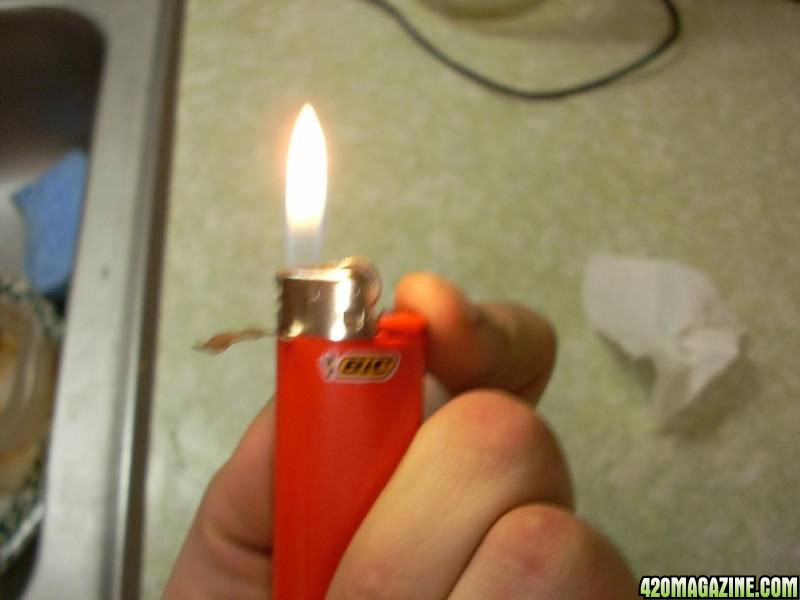
now you can pic with your bic, poke and smoke, no black fingertips, no switching tools or even hands.
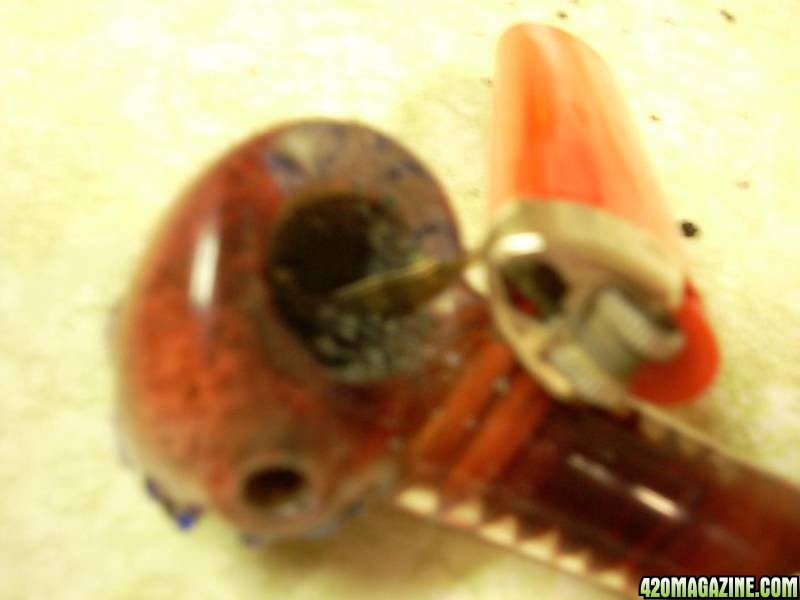
take a regular bic

pry child safety thumb guard off:


now remove metal housing:

clasp thumb guard by prong toothed/ flat part:

bend guard away from prong teeth:


slightly squish and re-attach housing so it stays on with a gap:

slip new-formed pic under housing, flat part up, prong teeth down.:

now clasp housing down completely. this will be very snug. very likely to jam if final steps aren't observed.:

now straighten to your liking and add heat to pic. (i usually have another lighter for this.) wait for plastic at base of pick to bead under heat, then use something (because hot) and press down on the housing to set the pick in place.

pic is best to one side, to prevent jamming of mechanism. check for jamming of mechanism by listening for gas escaping, and lighting repeatedly. making sure the pick jiggles a bit also prevents jamming.


now you can pic with your bic, poke and smoke, no black fingertips, no switching tools or even hands.


 oof!: my own tool!
 good job..
 ill endores it