Sweetsue's First Grow - Stealthy Trio of Autos Under CFLs

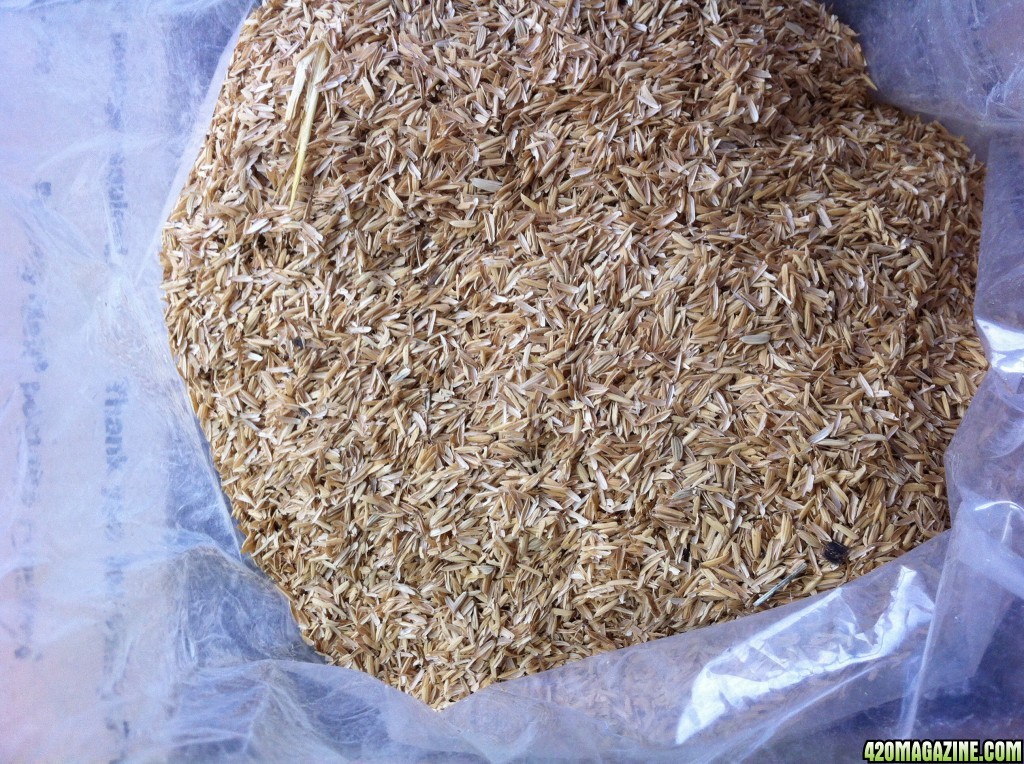
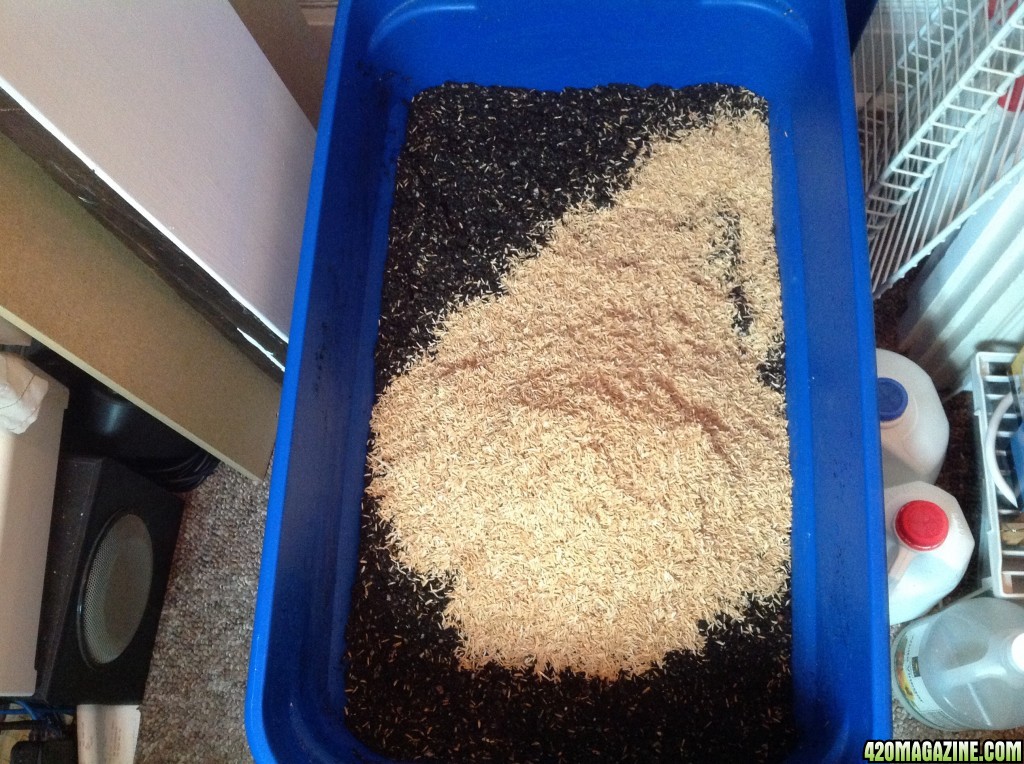
WE HAVE RICE HULLS! Now to mix it in. :)

image15820.jpg
 
When you're building soil you're aiming for a balanced ratio of basic ingredients - spaghnum peat moss, humus (compost or vermicompost) and something to add aeration. When you start, you just know this is going to be an easy thing to accomplish. Simply use the same container to measure.

Reality, at least in my case, was that doing all that measuring looked like a pain. Instead I dumped it into the tote, eyeing the balance and working from instinct. This worked well until I added too much rock dust and suddenly had to increase the planned volume. At that point instinct kicked in and I winged it. One of the advantages of mixing the soil by hand and needing to stir it on a regular basis is that you become intimately familiar with the mix and begin to get a feel for that balance you're seeking. When I reached for additional components, what I lacked was an aeration additive. I had used all of the pumice on hand and all the minor resources of organic perlite. So I decided to order rice hulls and offer a bit more variety to the soil.

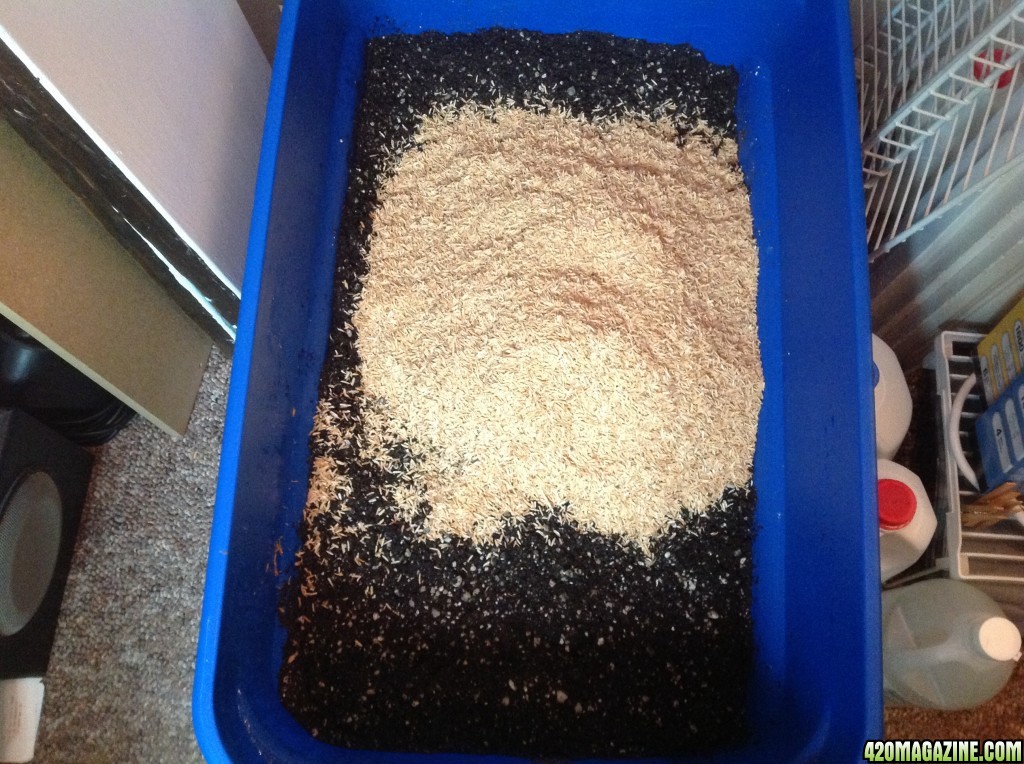
Today I mixed the rice hulls in. I started by tossing in what I thought would be enough

image15823.jpg


...and mixed it in.


image15824.jpg


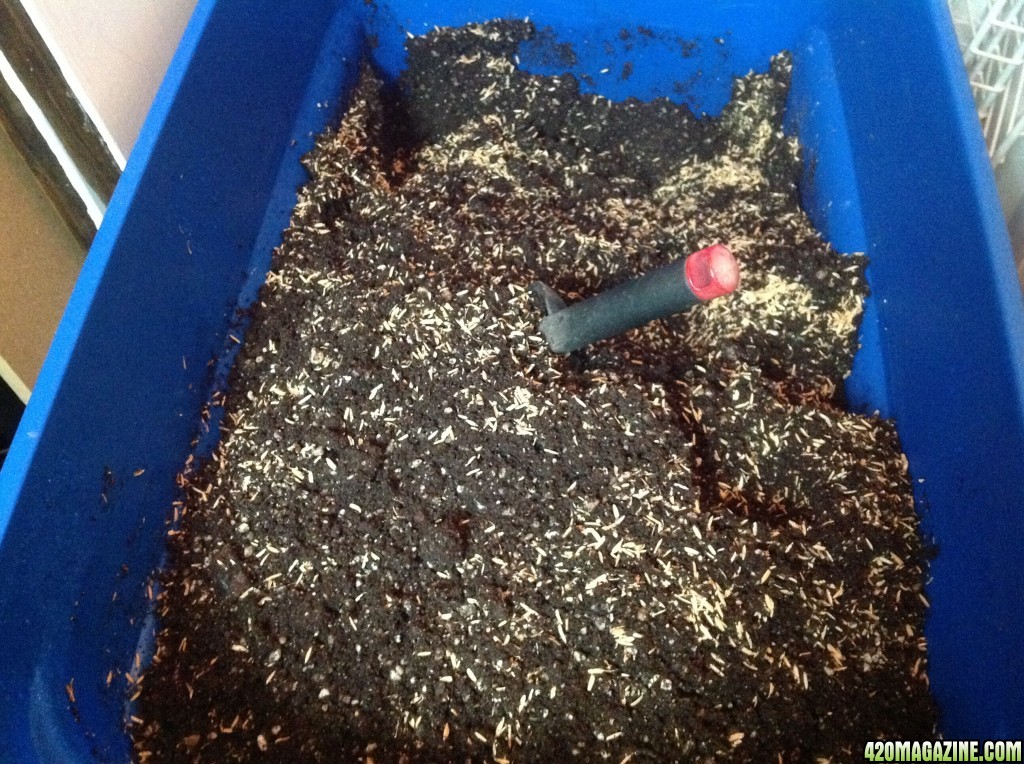
This is looking interesting, but I think it needs more. It's a balance thing. I like where this is going though.

image15825.jpg


image15826.jpg


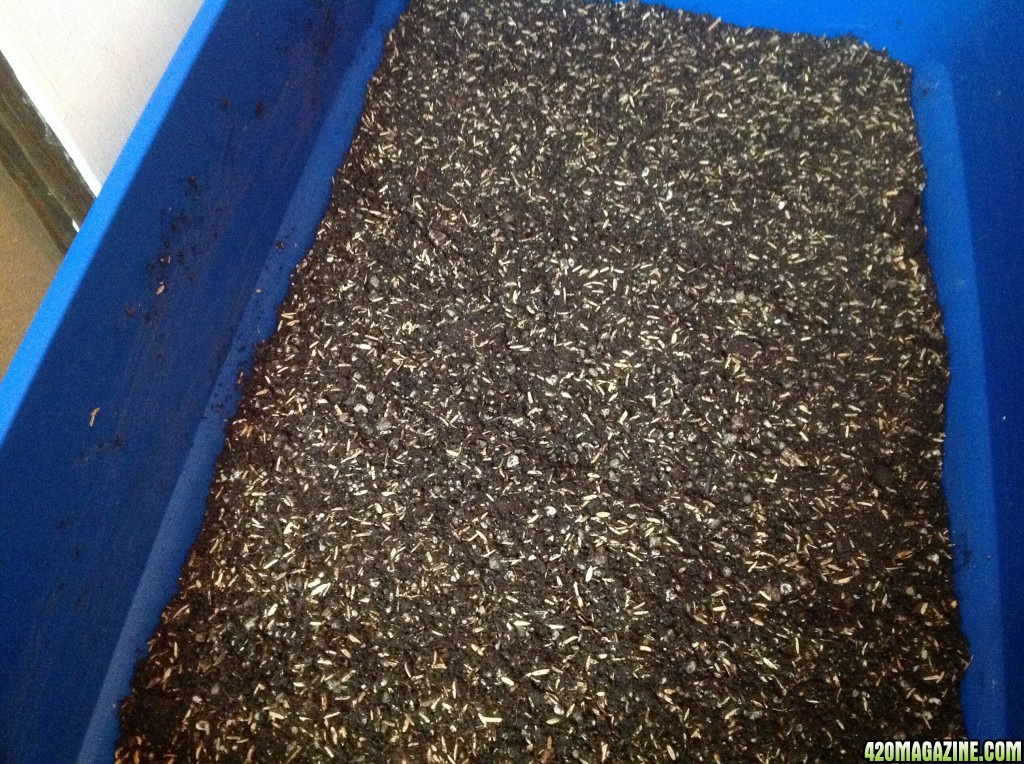
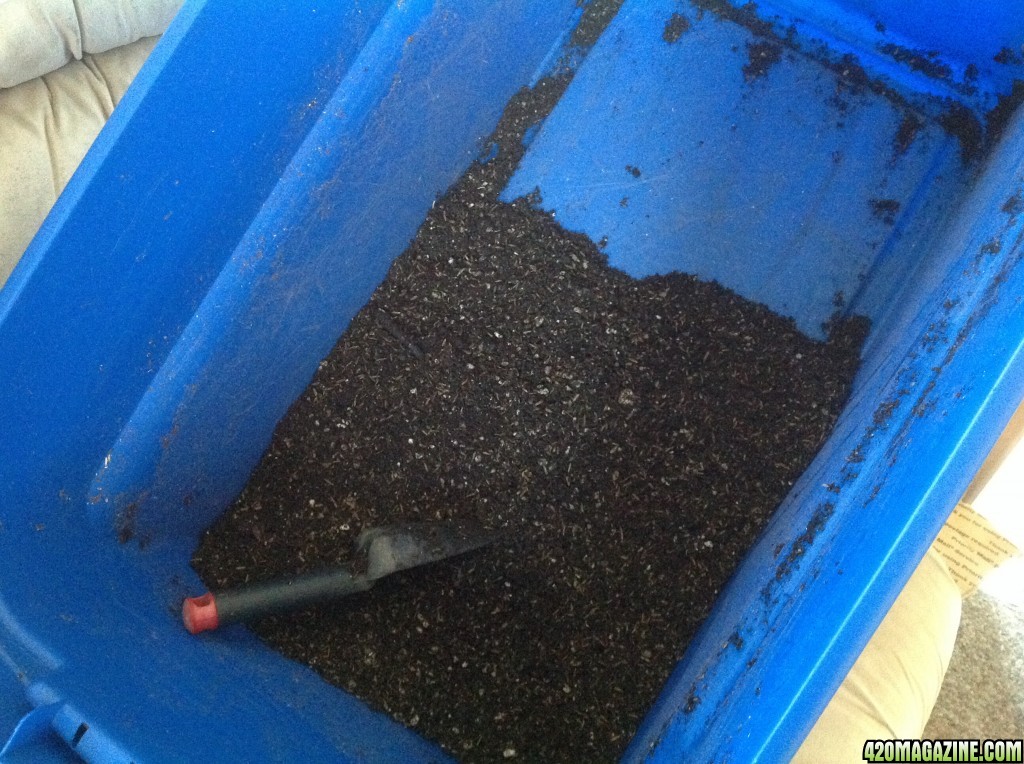
Continuing on, I tossed in a bit more. That looked like enough, so I mixed thoroughly.

There is such beautiful balance to the structure of this mix. You can plunge the trowel right to the bottom and easily scoop up, mixing very much like a baker does with batter. LOL Makes it a simple joy to get your hands into and mix around.

image15827.jpg


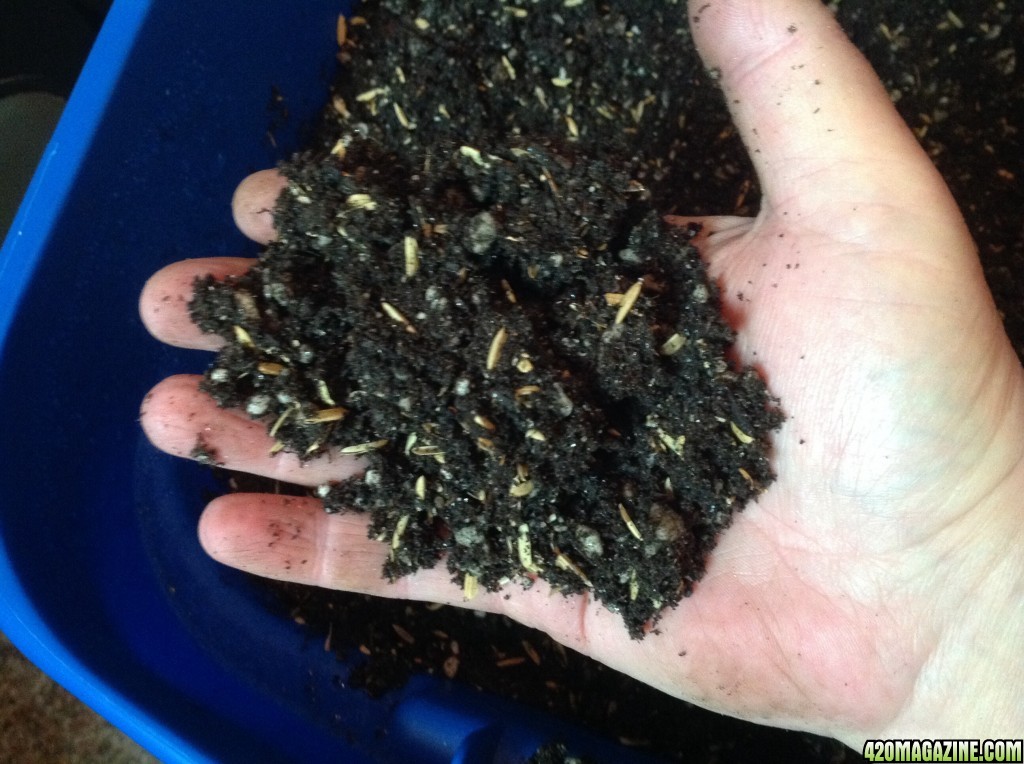
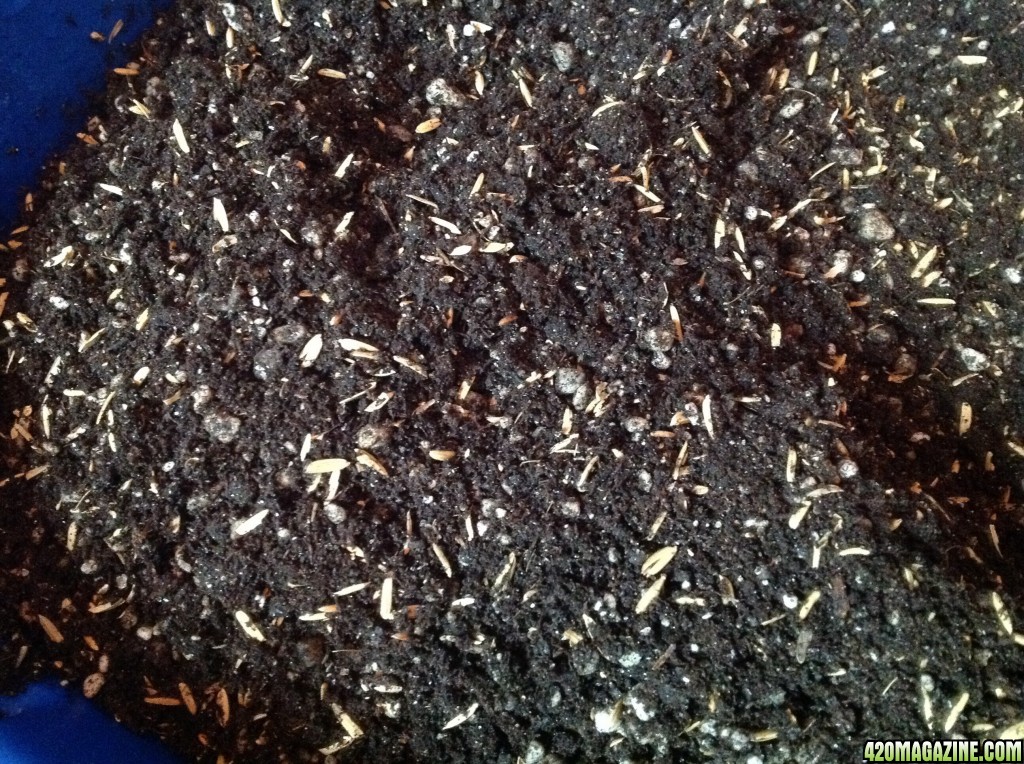
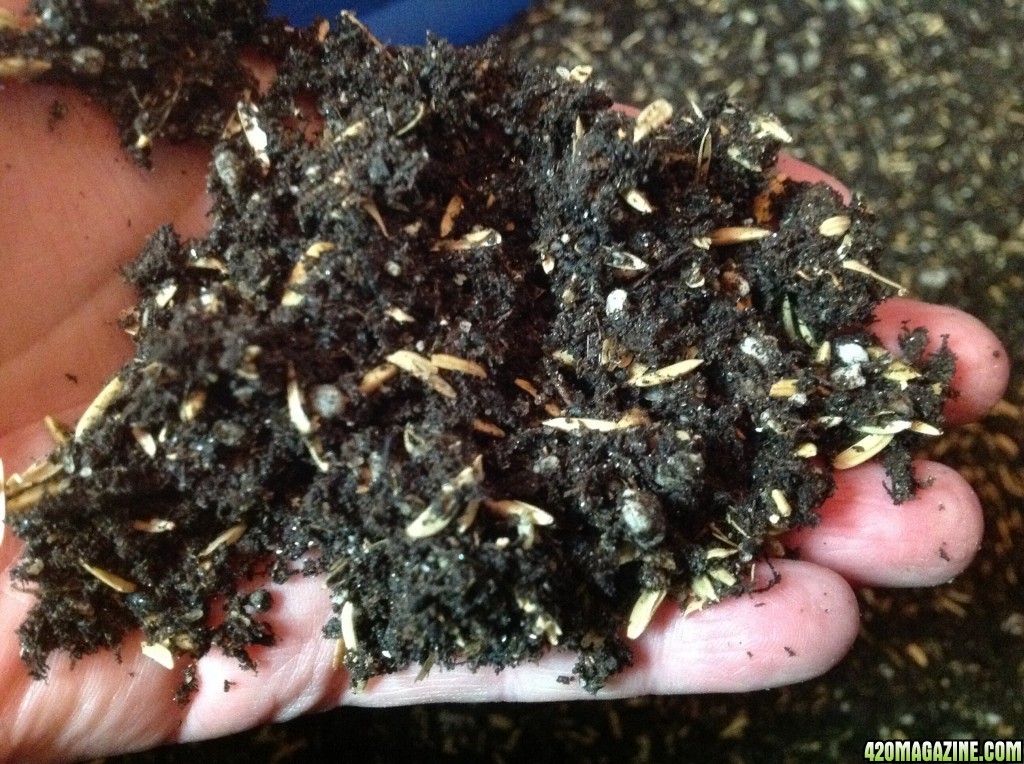
This looks more balanced. I really like the texture the rice hulls give to the mix. The worms are going to love this.

image15828.jpg


Now THAT'S what we're talking about.

image15829.jpg

Incredible complexity to this mix. I'm getting excited. The smell is intoxicating.

I sprayed on about two cups of rainwater and checked to see how deeply that penetrated from the top. Then I mixed thoroughly, smoothed it out and topped it off with another quart, slowly and lightly sprayed onto the top. It's all closed up and put away for now to finish cooking.

Geo pots are being shipped. Two weeks to planting the seeds.
 
Sorry Sue I must have misunderstood you, I'd thought you were restricted for space like me, they will love 20 gallon containers, my poor darlings only have 2 gallons per pot and as it's not big enough to support them breeding I can't help but feel it's a bit cruel to my worms, they are kinda like pets to me and I worry about their welfare! (What can I say I don't get out much......)
 
Sorry Sue I must have misunderstood you, I'd thought you were restricted for space like me, they will love 20 gallon containers, my poor darlings only have 2 gallons per pot and as it's not big enough to support them breeding I can't help but feel it's a bit cruel to my worms, they are kinda like pets to me and I worry about their welfare! (What can I say I don't get out much......)

You understood that Pearl. I am severely limited in space. The grow dimensions are a measly 14" deep by 33" wide, with a bit of side space that won't be much good, except for some creative storage, or possibly space for expanding with LST, should it be called for. That means the absolute limit on my pots will be 7 gallon, and that's going to be a snug fit, front to back.

I know what you mean about thinking of the worms as pets. I've taken the same stance with my tiny starter colony, thoughtfully feeding them and maintaining their bedding. Seven gallon pots should support a small breeding population. Worms will, by their very nature, control their own populations, or so my research suggests. If you have them in your two gallon pots, that's surely a sign of a healthy soil mix. You must be doing something right. :)
 
And now for some mulch preparation.

One of the keys to a successful no-till is a good mulch. You want the surface of the soil to be covered with a nice blanket of a variety of things that will break down and sift into the soil over time. This not only replenishes the soil structure and nutrient base but also acts to keep the top layer of the soil moist. This is one of the biggest differences between a living organic soil approach and what has always been seen as the way to successfully grow cannabis. Conventional thinking has been to let the soil dry out between waterings, and with standard soil mixes and traditional approaches using bottled chemicals this still holds true. LOS has different requirements. You never want the soil to dry out. You are working for a balance of moist, but not wet. The micro beasties and living organisms in the soil will die if you let it dry out. The best way to keep the top levels moist is to use a mulch.

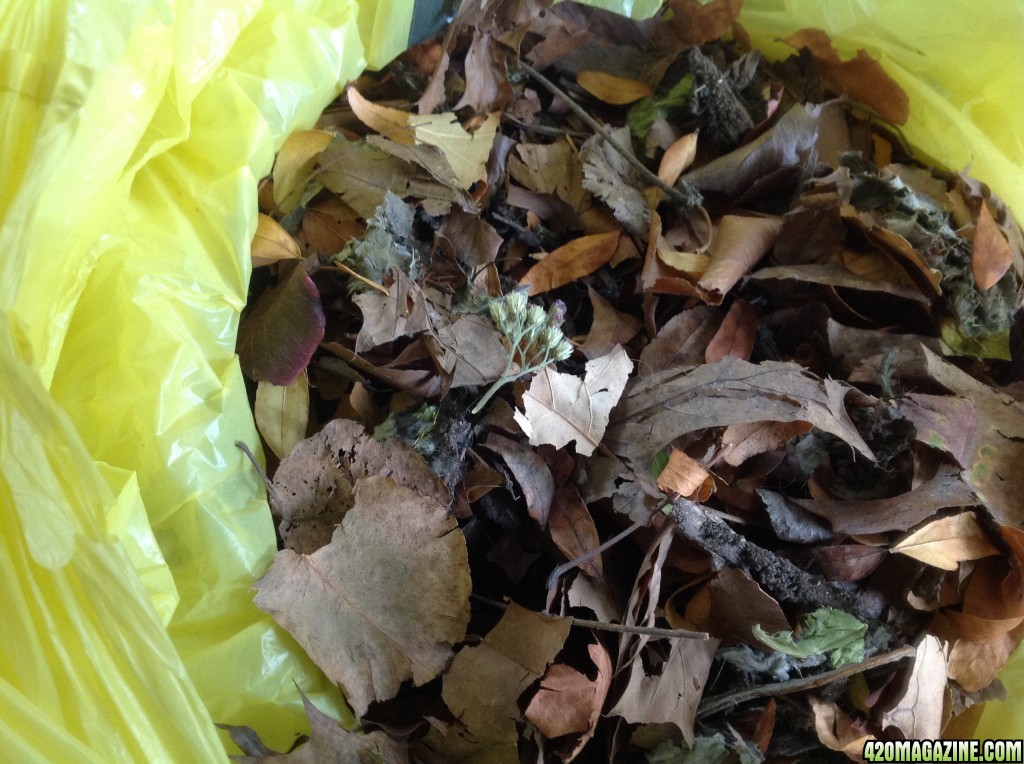
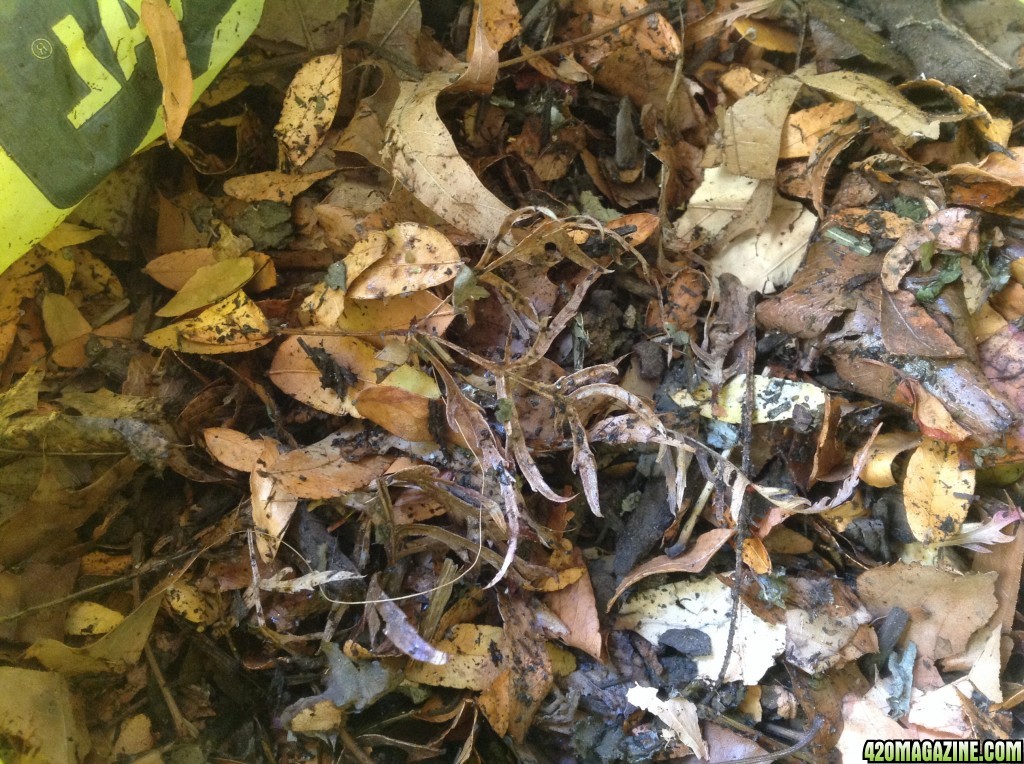
Mulch is technically anything you use to keep the top surface protected from drying out. You want things that won't pack down tightly and hopefully things that will help feed the soil as they break down. There are many options. My personal choice is to incorporate a mix of things I foraged from the neighborhood. I've been gathering little bags of things every time I think of it while out grocery shopping, so there's been this growing stack of bags containing drying things in a corner of the kitchen just waiting for this moment in time. Today I dumped it all together, spent some time busting it up finer and added about 1/4 cup of my reserve CC nutrient mix for soil building.

Working on instinct here again.

image15858.jpg


I have a wide variety of leaves, heavy on smaller ones since the pots will only be 14" in diameter, some yarrow leaves and flowers, some young thistle, a bit of aged wood mulch scraped from a planter outside the building (no one will ever notice it's missing) and some young dandelion leaves. It's a nice potpourri of elements and has a nice earthy smell. Well, it did before I added the bit of nutrient mix. Now it smells of nutrients. I'm going to mix in a little Yum Yum mix before I add it onto the layer of vermicompost that will cover the soil once the pots are filled.

The trick at that point will to be finding the balance of mulch so there isn't too much nor too little. I have more than enough to get started with.

It's all mixed up now. I'm going to lightly water and then simply give it a stir every day for the next week, being careful to keep it damp, but not wet. I think it will do the job. Worms are going to love it.
 
image15937.jpg


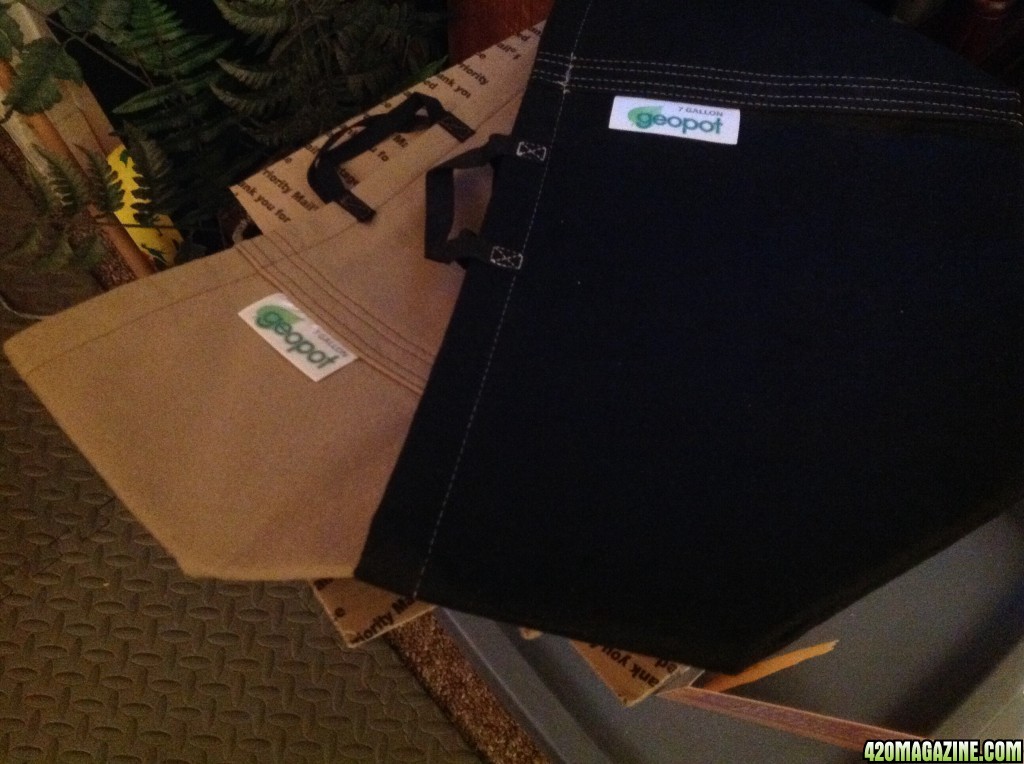
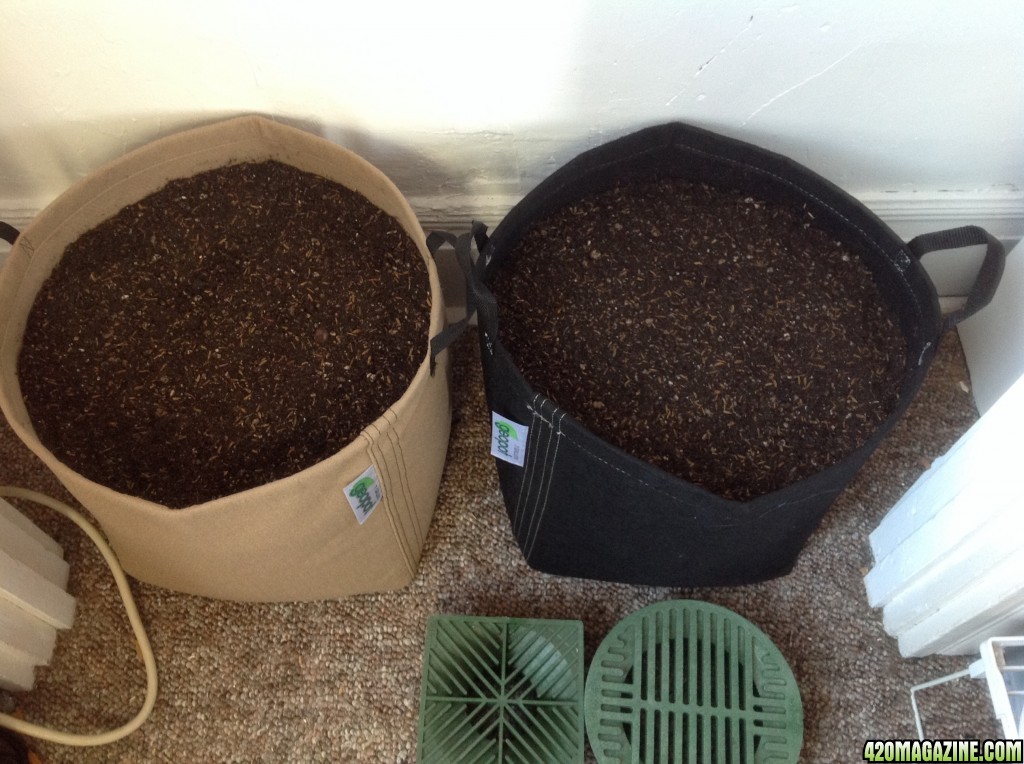
Seven gallon pots arrived yesterday. I ordered black, but they only had one, so he sent me two tan and the single black. I felt it was a decent resolution. The black is a heavier quality fabric, but they are both incredibly well made.

They will fit nicely into the grow space. I was concerned that they'd be too tight a fit. They'll fill out some when filled with soil, but I think it's going to be a good fit in the end. I'm getting excited now.
 
Wow so much to say, so little that I remember to say >.< - hmm. I'll start with subbed, and I was so relieved when I read the post that your husband's surgery went beautifully... I'm so glad to hear he's on the road to recovery. Reading through your posts you can tell you two have a special relationship built over many years :)

Thanks so much for doing this journal, I love the way you do it - so meticulously and informatively... and all the reading reminds me of my journal hahaha so I feel like I'll fit right in here.

I've grown cannabis for years now but :laughtwo:... Let's just say I wasn't as quick a study as you (and that I'm still not hahaha)... but its an ongoing learning process, and the progress being made is always noticeable. It will be good to learn alongside you, especially now that I see Corgie may be taking a hiatus. I was laughing to myself about how much you obviously loved building your living soil, because I also get that excited when I'm building and mixing a great soil for my plants ... hahaha I saw that exact same white fungi all over my soil when I took off the cover and did a little happy dance. :slide:

Ah, you're doing autos... that worries me a little after seeing so many newer cannabis growers have difficulties with them, but you're not inexperienced with gardening at all so I'm sure you'll do fine and love the end product. I just hope you'll still do a regular photo strain eventually; the longer wait can really be worth it in the quality and yield of the plant. If you can do a long veg for a plant (3-6 months) and really build up thick stems and strong internodes and evenly expose colas, the yield and quality of a single plant can outweigh that of many grown over the same time, and growing autos takes a little control away from the grower (ie; sculpting the plant to your desires)

I think you'd love Conradino's journals if you haven't found his yet, his organic approach would be right up your alley, and he's just a great sharer of information for all things cannabis and all things growing haha.

Anyways yeah... that's enough of a "subbed" post for me lol. Really excited to follow this journal though, truly. Be well and take care of that hubbie! Sending positive energies your way :Love:
 
Welcome along for the ride SoilGirl. This should be fun.

I intend to do a regular strain next. Dale wanted a quick turn around this time so I relented and chose strains I thought would give decent yields. I also have this tiny grow space and may decide that autos will fit best. I have my eye on a nice Medical No Name that was some of the best I have ever tasted. The sweet aftertaste still haunts me and I can sense it will continue to do that until I grow another one. It was my first attempt, and a late adoptee at that, so it's hard to determine how much is true memory and how much is the romance of my first grow attempt. :D

The greatest advantage with autos, for our situation at least, is not needing a seperate space for veg. I'm really restricted with space. In reading other journals that struggle with autos it becomes obvious that it's the chemicals that are the struggle. I'm anticipating happy and bountiful harvests with my combination if LOS and lighting control that allows me to bathe the entire plant in light.

One week to planting.
 
I got the interior of the grow space painted yesterday. Before I decided to grow I did extensive research and determined that the reflective properties of ultra-white flat paint were the superior choice for the constraints of my space and the way I garden. The Mylar coverings work wonderfully for most because of the way they water. Mylar is a forgiving surface if you overspray. My husband trained me years ago to water the bonsai way, slowly and gently. There is almost no overspray to the way I water, so there is no mess or damage from overspray.

I also utilize sections of flat white, foam core project board from Office Depot around the grow space. I started doing this to compensate for the imperfections in the wall surface that created shadows where I didn't want any, and it turned out to be a good thing. Using them means I can keep the space confined, moving the reflective properties even closer to the growing plants. It was a flash of inspiration one day. I plan to continue that trend with this grow. One could inquire as to why I felt the urge to paint then? I guess it's just a bit of happy overkill. I figured it couldn't hurt, and everything looks nice and new, which appealed to me.

The rest of my to-do list before planting the seeds next week:
- Get my order together for kelp meal, aloe powder, more Worm Power vermicompost, and worms. I discovered that my favorite supplier for building a soil offers a batch of mixed red wrigglers and European night crawlers. Woo Hoo! I was so excited about that I did a little dance. :slide:

- Order my mycorizzal. It won't get here until after the seeds germinate, but they won't have roots until then anyway, and the myco can be gently watered in.

- Give the soil a nice dousing of comfrey fertilizer diluted in rain water *TODAY*

- Collect more rain water before it freezes again. I have five more empty bottles waiting to fill. Time to empty the container before the next freeze. The last one caught me off guard, what with open heart surgery to contend with. In reading through other journals I came across another grower using 7 gal fabric pots who said he uses about a quart per watering, so now I have a decent guess on how much it will take to keep the garden going. I'm figuring on watering every two to three days, which means about two gallons a week between the two 7 gal and one 3 gal. We'll see how that goes. I may need to dechlorinate tap water somewhere along the line. That will require some aquarium chemicals. Not sure how I feel about that, so I'm stocking bottles of rainwater everywhere they'll fit in this tiny apartment. I'm an old hand at collecting and storing rain water. I have two barrels collecting on the balcony we share with our daughter, who conveniently lives next door. :Love:

- Hang lights. I'll only need one cord with two 23W cool CFLs for each pot. I may need to adjust the space to add a shelf for the White Widow pot. I don't think all three will fit on the floor together.

- Purchase three more project boards for that shelf I may need.

Future projects:
- Purchase the "doors". I'll be cutting larger pieces of project board and mounting them with magnets for easy removal. This will close the space up when it becomes necessary to do so (but not before I have a filtration system in place). I'm growing autos and this space is partially hidden behind a recliner, so there is no immediate need to keep it closed up. We don't get much company up here on the third floor, so there's no real need to keep it hidden, most of the time. My partial grow of the NL auto was never really closed up. Gosh, I miss the smell of the flowering stage. (sigh)

- Either construct or acquire a filtration system. Growing three at once cannot be done without a scrubber. Growing one without a scrubber was risky enough. This is such a tiny space that it will require one with variable speed control. Thank goodness I'm married to an electrician. Thank goodness he lived to assist me in this project.

- Figure out how to make one large fabric pot to fit into this space so that my next grow will be two plants growing together in a happy community. Plants like to be together, just like people. If I can make it work, I'll probably do two pots and grow four plants next grow.

Things are moving along nicely now. I was initially frustrated to have open heart surgery throw a wrench into my plans, but I realized that the soil needed to cook for a month anyway, so no real loss, was there? I've had time to continue researching (like having a full time job :laughtwo:) and have learned so much more. Everything in its right time.

:Namaste:
 
image15973.jpg


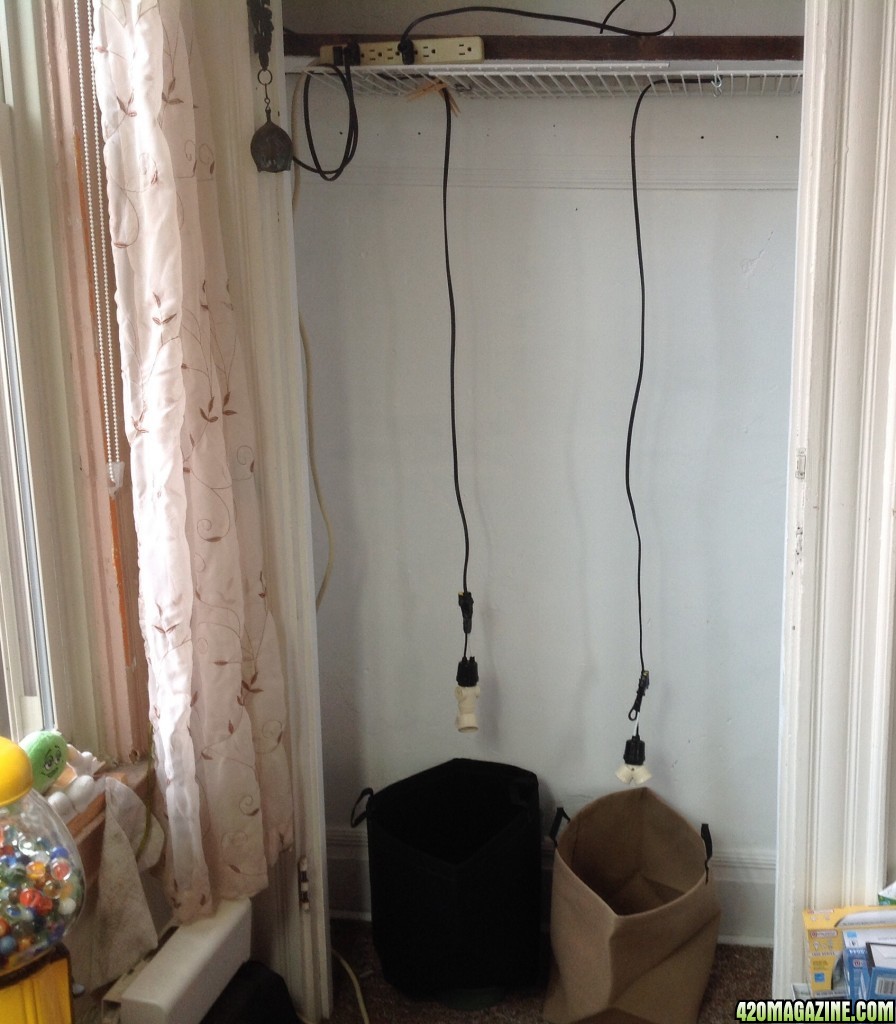
I did a quick set up of the space to see how the pots will fit. It was instantly obvious that these two pots are the limits of the space. I will be saving the White Widow for the next grow. My apologies to anyone who was hoping to see this one grow. I was looking forward to it as well, but I'm more enthusiastic about the THC Bomb and the Buddha.

I'm sure I could probably squeeze it in, possibly off to one side, but then we're crowded, and crowded interferes with air flow, and we wouldn't want that. One of the values of these cloth pots is their ability to supply oxygen to the roots from all sides. For that to work properly I would imagine that you need to keep them open all the way around. I know that's my plan.

This set up reminded me that I will also need a drain tray for beneath the plants and some way to lift them above the tray for all-round aeration.

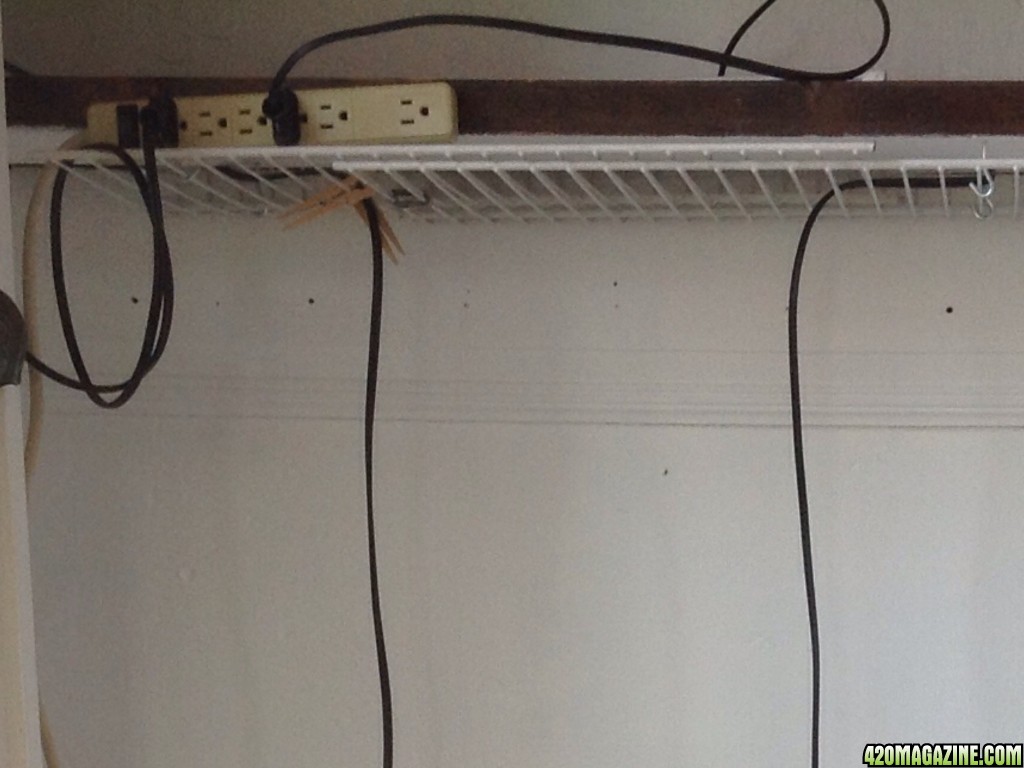
A close up of the system I created to hang the lights. Remember, I'll be using CFLs, and this approach allows me to hang them freely around the plant to spread light everywhere. Look at all the places you can hang a light from.

image15974.jpg


The shelf can be used for much-needed storage. I'm thinking some cheap cloth bins from a dollar store.

I like the way the surge protector sits right there at the front. That was a happy accident.

I'm a big fan of using what's on hand. The screw hooks were left over from some of Dale's projects. They're two different sizes, but they do the job. The wire shelving the lights are suspended from was scavenged from another apartment after the renter moved. The wooden shelf all this hangs from was scavenged wood from the waterbed our son used until he left for the Army 14 years ago. Yeah, sometimes I surprise myself in my tendency to be frugal. :laughtwo: I don't hoard, but we also don't toss good wood. That waterbed frame has been used in multiple ways over the years, and I still have all of it around, in various lengths. The frame for our own waterbed, built the first year of our marriage, is now doing double duty as the couch table sitting behind me and the TV stand on the other side of the living room. Frugal andcreative.

How does one keep the light cords hanging where you want them when you use scavenged materials? Wooden clothes pins left over from the time before we finally got the dryer and I used to hang clothes on the balcony worked well. They've come in handy for many things too. Glad I kept them.

One more step closer to planting. We won't have access to funds until Saturday, but that means I'll still have time to get out and get that drain tray purchased. Lowe's had a nifty one I believe may fit. Note to self: measure and confirm the size.

:Namaste:
 
Wow Sue you really put the capital "P" in Preparation lol. I can't imagine your grow going anything but smoothly with all the careful thought and planning you've done.

Yeah lol - my bad, I totally forgot you have no room to grow a monster plant, which a long vegged photo plant would turn into for sure, much less have separate grow areas.. I just can tell from your passion (which I share) that you'll eventually want to see just how much you can make a single plant thrive, and see how much high quality medicine you can get from all that caring for one sprout.

I really want to see if I can pull a pound off of a single plant eventually, (or a single LOS pot under 20 gal) but growing completely organic. If I ever achieve that indoors I'll finally feel accomplished at giving a plant the best environment to produce medicine I possibly could. :)

Hahaha I enjoyed your frugal creativity. It's all about making the best out of what you got :) keep it up Sue, I'm getting excited for your planting day!
 
Thanks SoilGirl. :laughtwo:

Having an unexpected dance with open heart surgery kind of locked me into the home front as caregiver and left lots of time for study and preparation.

At first I thought I would be too impatient to let the soil cook an entire month. That part was amazingly easy to do. You get attached to the soil.

I'm really starting to get excited too. :blushsmile:
 
image16028.jpg


Mulch Update

Opened the bag up today to give it a stir and make it lightly rain. (I need to get new sprayers this weekend. One died last week and the remaining one is on its last legs.) I added some leaves that we're falling from the lacy leaf maple we have on the balcony because ... Well, because they're beautiful, don't you think?

Just the right amount of rain, a good stir, and I think this is looking interesting. The plants will be happy. The soil will be happy. The worms will have a field day. I'm happy.

Planting the seeds on Sunday. We're having our Thanksgiving feast that day, so the seeds will be inundated with loving and thankful vibes. That can only help.
 
I do think those look beautiful :) happy worms -> happy plants -> happy gardeners haha.

I hope Dale is recovering well over there and not in too much pain. It's just great that the surgery went well. I wish I could help you on the medication front until you can make it to a harvest..

Stay positive! :Love: and yay, planting time soon!! :yahoo:
 
Sue,
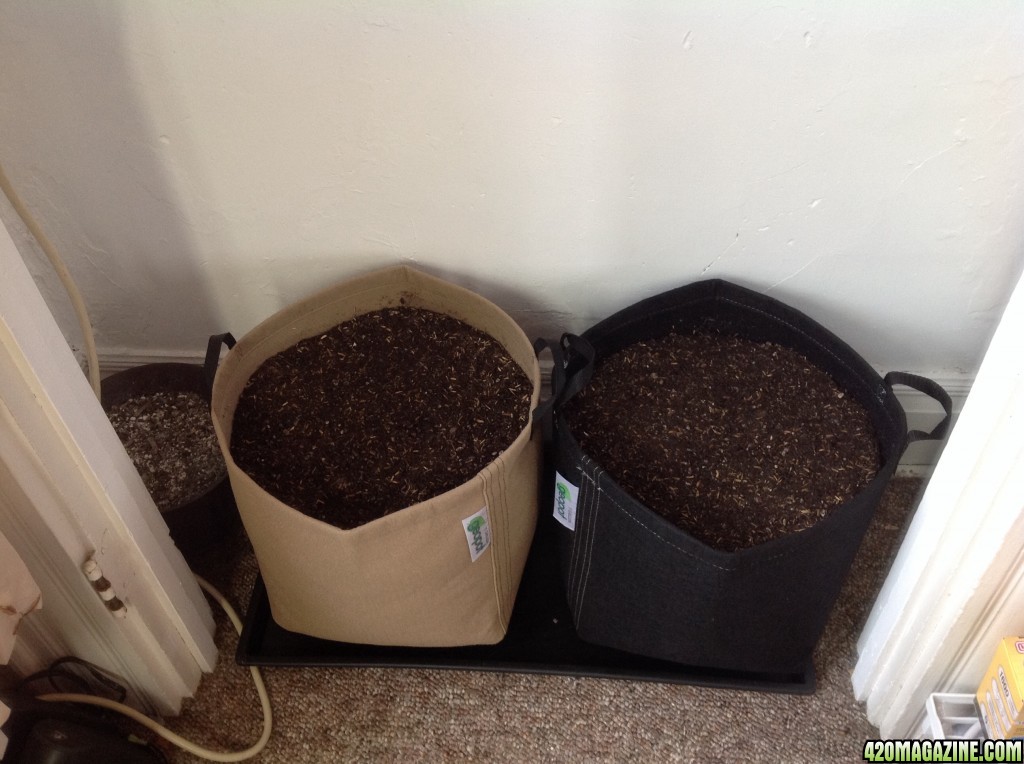
For a couple of my Rubbermaid tubs of soil growing veggies, I repurposed a large dog crate liner. It has inch or so walls and holds water. By the looks of it would fit nicely in your closet. I'd add a layer of rocks/pebbles (free) beneath your geopots on top of one of those or similar. Works well and price is right. Or also maybe if you have some Rubbermaid tub lids(s) you could use those upside down.

Some ideas at least.
 
Yeah, I'd thought about the Rubbermaid tote lids if the shoe tray I have my eye on from Lowe's is the wrong size. I like the idea of the lava rock underneath, although we have a large quantity of small pebbles that used to be under all our balcony plantings when I was actively gardening out there, so pebbles it will be. They add a large quantity of surface area to help create humidity when needed.

The ideas are appreciated. I had actually forgotten about the pebbles. We even have the larger ones that used to be part of the pond setup at our house during the home owner part of our history.

This is going to be a fun grow, but I'm already planning the design and construction of one large 20 gallon minimum fabric pot to fit the dimensions of this space for the next grow. Plants like to be together, but which plenty of root space to expand into, and with no-till larger is definitely better.

The worms are doing wonderfully. I've been tossing in my mint medley tea bags and the bin smells like sweet mints. I'm hooked on vermiculture. I'm not ready to commit to a large set up, but I do plan to make a shift to a larger container after I get more worms. Actually, the only reason I'm ordering more is to get a mix that includes some European night crawlers. Otherwise, I'd just let my small starter community continue to expand at it's own pace. Maybe I should just hold off until spring and find some outside in the neighbor's yard. I still have a couple days to make that decision. Orders don't go out until Saturday morning.

On to another busy day.
 
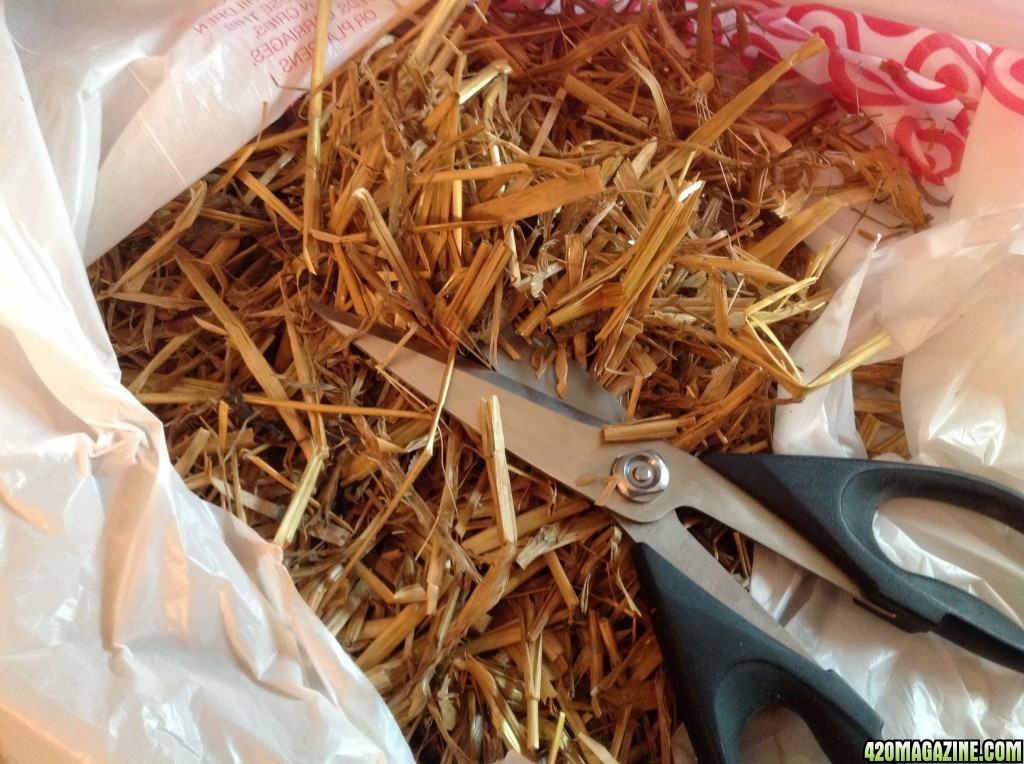
Scored some hay from the community garden on my way home from grocery shopping. I always carry an couple empty bags, just in case. Took it home, grabbed my kitchen shears and cut this stuff down into much smaller chunks.....

image16084.jpg


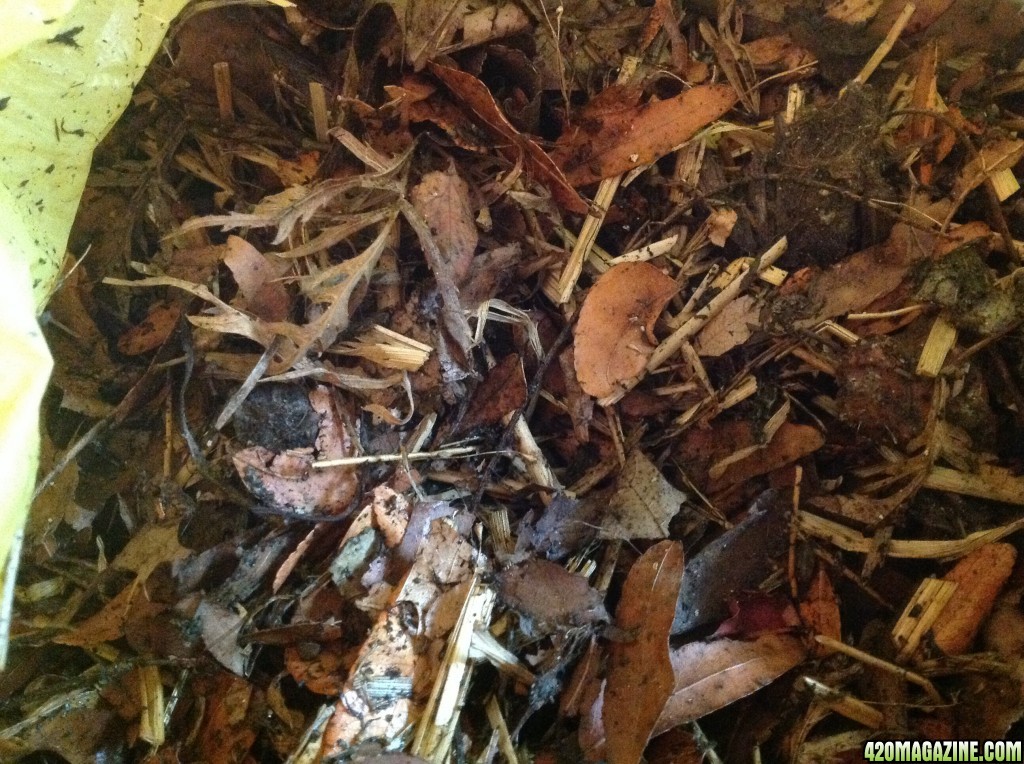
.... mixed it into the mulch mix, added more rainwater, and thoroughly mixed everything up, gently watering until I got the moisture levels just right.

image16085.jpg


Now we're ready to use. I have enough in this bag for both pots and some left over for the next grow. Look at that - I've started my own small compost pile! Hmmmm, this gets me thinking.

I spent a good part of my day researching the possibility of growing equisetum (horsetail - so valuable for the garden) under the lights with Dale's Nepenthes. They would make an interesting backdrop for the carnivorous pitcher plants and finally give us something on that wall. Form and function all wrapped up in one. I'm a big fan of sustainability so I'm always looking for ways to get around having to outsource my gardening supplies.

I'm considering joining the community garden group and help them create a small herb garden. Comfrey grows down more than 15 feet and I need somewhere to grow borage, camomile, spearmint, peppermint, lavender and, of course, comfrey. We can all learn how to increase the health of the soil, one bed at a time. Turn that comfrey into some lovely compost. Play with some ACTs. Get some worm farms started.

Later this evening I plan to fill the pots and let them sit overnight. Tomorrow is crunch time. Orders to place and final preparations for planting the seeds to tend to. Pretty psyched here.
 
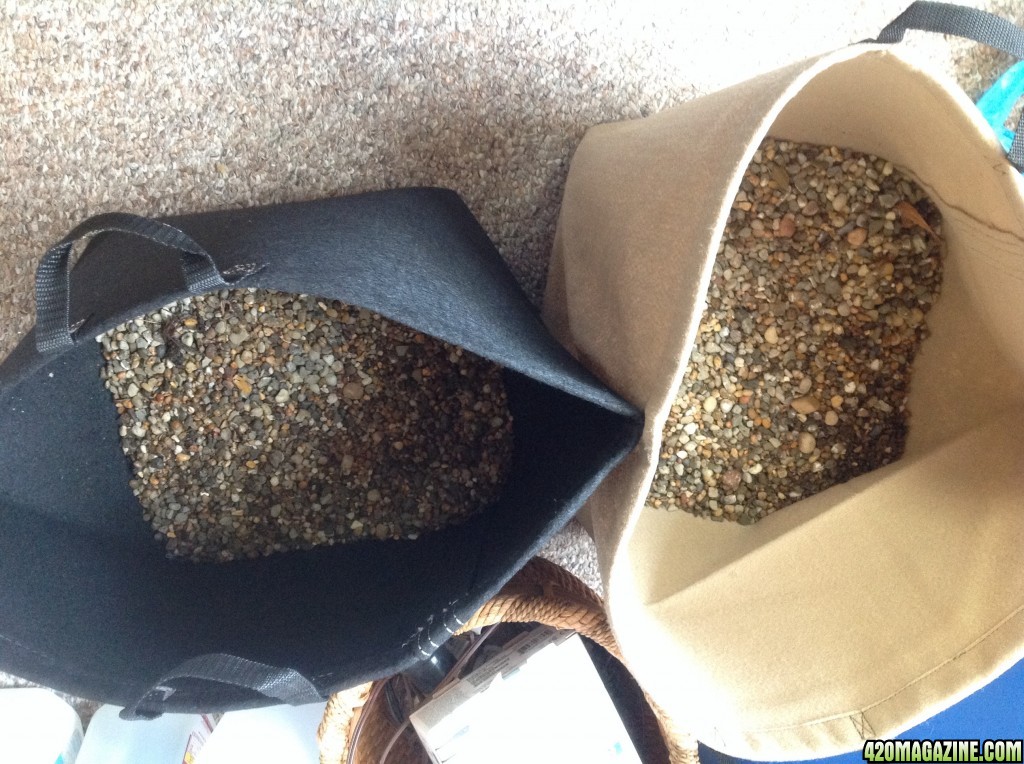
I'd been reading Microbeman's writings on soil preparation and micro communities. He shared a belief, as yet unexplored, that there are microbes that live exclusively in the bottom of the colony, where they likely break down rock dust and passed those nutrients upwards. It was a compelling enough thought that he convinced me to begin with a thin layer of small peebles we've used for years to fill the drain trays beneath container plants. I've hung onto them for over ten years now. They came in handy today.

image16119.jpg


Not a thick layer at all. About an inch deep.

The pots got filled. After filling about a third I bounced them on the floor to pack it in a bit. Then fill another third and repeat. One more layer and pat it all down nice and level. From this point on I will let watering do any packing.

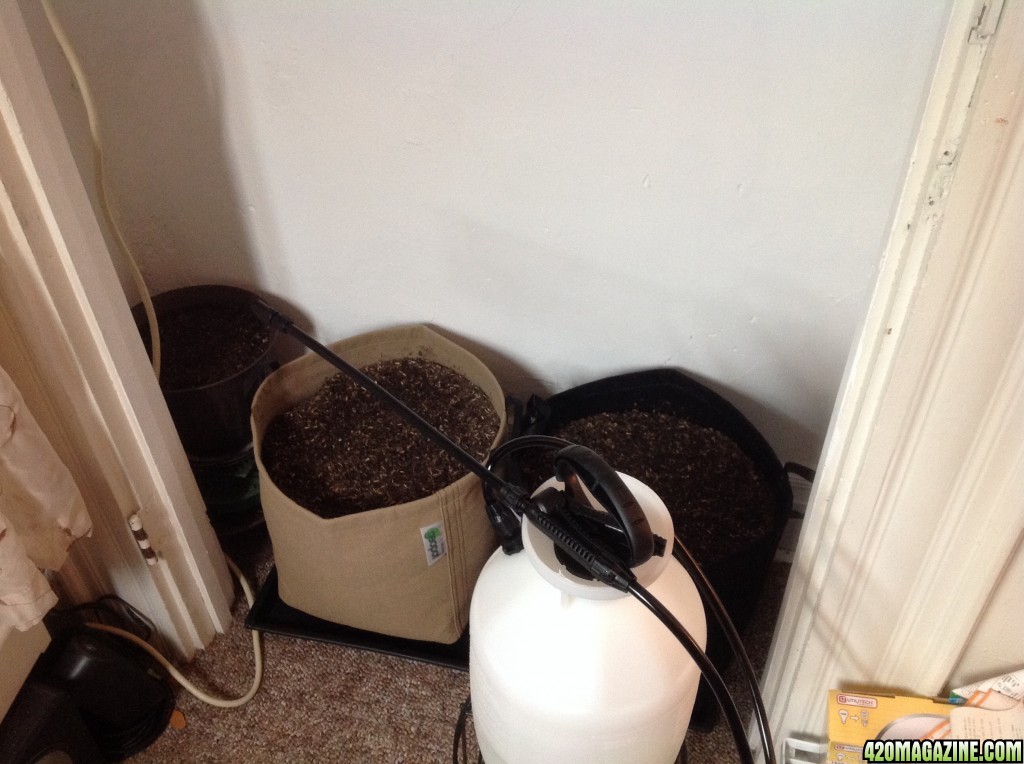
image16120.jpg


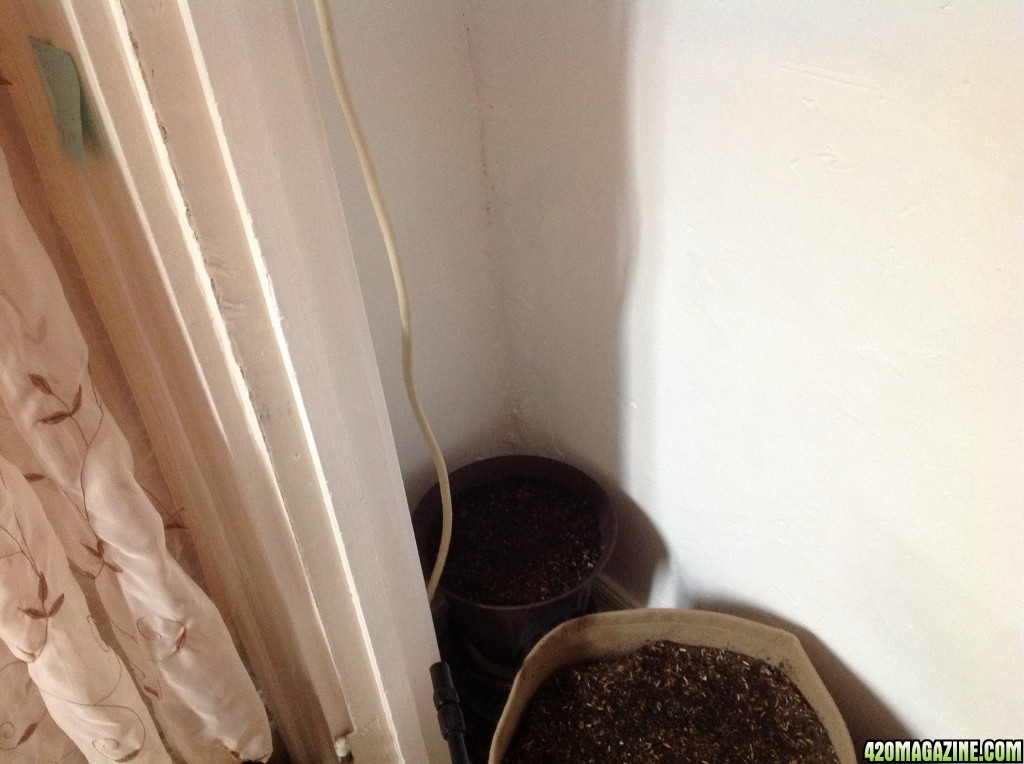
I left about 6" to the top. This leaves me room for top dressing and mulching over the years. Remember, this will be a no-till. From this point on the only disturbance of the soil by my hand is to plant. Worms will be doing the tilling for me.

See those green pipe covers? More on them later.

I still have some left over. I can't let this go to waste. I could save it, or I could plant that White Widow in a smaller pot and pay close attention to its needs. Nothing to lose, eh?

image16121.jpg
 
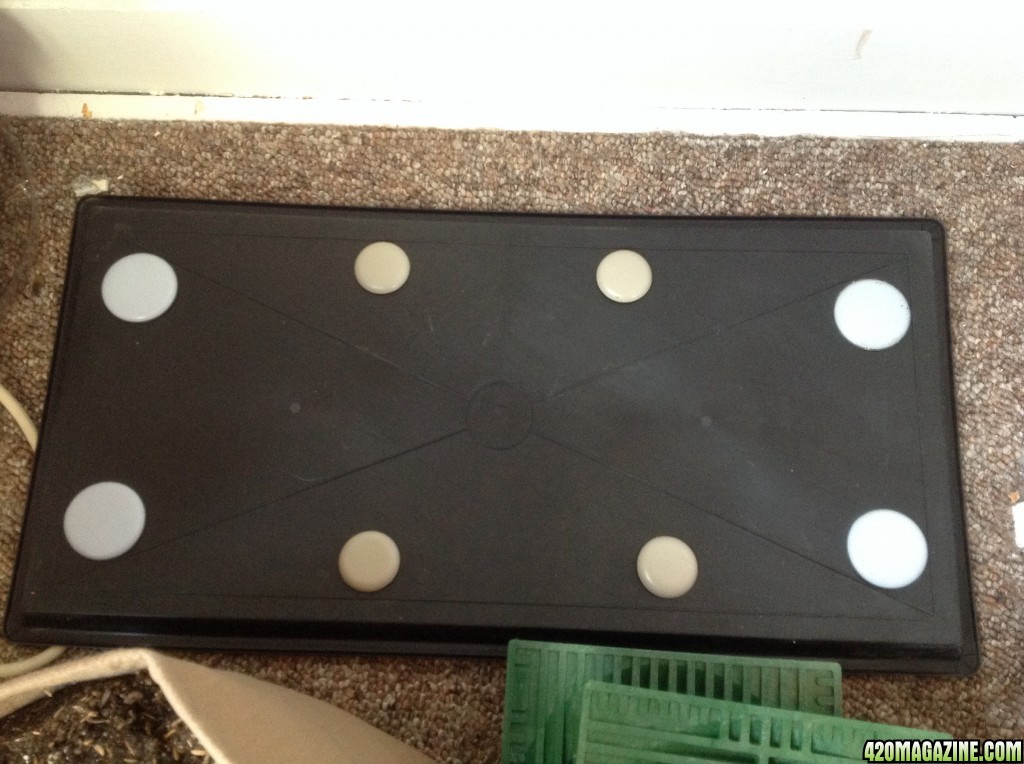
I wanted to be able to slide the plants out if need be, and let me tell you, these babies have some serious weight! My solution was to attach some sliders I had stored away to the bottom of the shoe tray I picked up today.

image16122.jpg


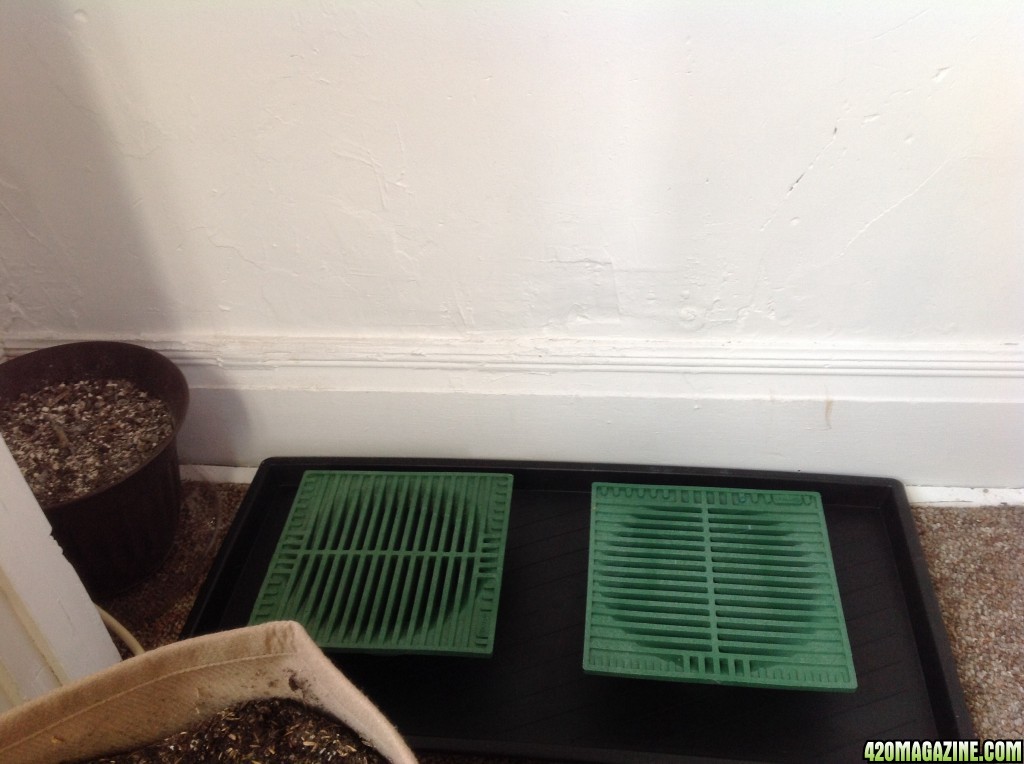
I spent $18 today on these mega-sized drain covers at Lowe's. I've used these to lift plants above their drain trays for years. I stumbled on them in the plumbing section at Lowe's and immediately saw their potential. Attractive, sturdy and easy to clean. They will let excess water run right through. Most importantly, they will lift the pots off the tray so they aren't sitting in water. This not only extends the life of the fabric pots, it also allows for air circulation all the way around the plant, pot included.

image16123.jpg


I think I can fit that White Widow back into that space off to the left. I'll need to figure out how to lift it off the floor. I'll want them all about the same height for the soil level.

I invested in a new garden sprayer today. It's one of the best ways I know to gently water a plant. I like to take my time.

image16126.jpg


While I was watering and watching the humus sift in and settle I was struck by the colors and textures in this soil. It holds water well. After some settling I topped each of the bigger pots with most of the left over soil. That leaves me a small bag in reserve.

It took 2 1/2 gallons of water to saturate all three pots until water dripped through. The pots fit nicely on the drain covers. You can reach down underneath to feel for the wetness that signifies saturation. Cool.

image16124.jpg


I stacked some smaller drain covers to get the smaller pot up to level.

image16125.jpg


It all sits overnight.

Tomorrow we prepare the seeds and plant.

$15 for the garden sprayer, $18 for the drain covers, $8 for the shoe tray. I'm trying to keep myself to $100 this month, so that took up almost half of it right there. Worth every penny.

Step by step it all comes together.

:Namaste:
 
Back
Top Bottom