Kriaze
Well-Known Member
Hello all, I'm not too sure if this is in the right place so please feel free to let me know where I should post it (if at all but I thought it would be helpful) or move it to the right place 
Ok so I've been reading a lot of journals by growers that are using LED lights and I noticed that a lot of them post pictures that don't show plants as well as they could due to the nature of LED lighting. If anyone is interested in posting their pics showing the plants (and anything else in the picture) in their natural colours then this is my stoner how to! xD
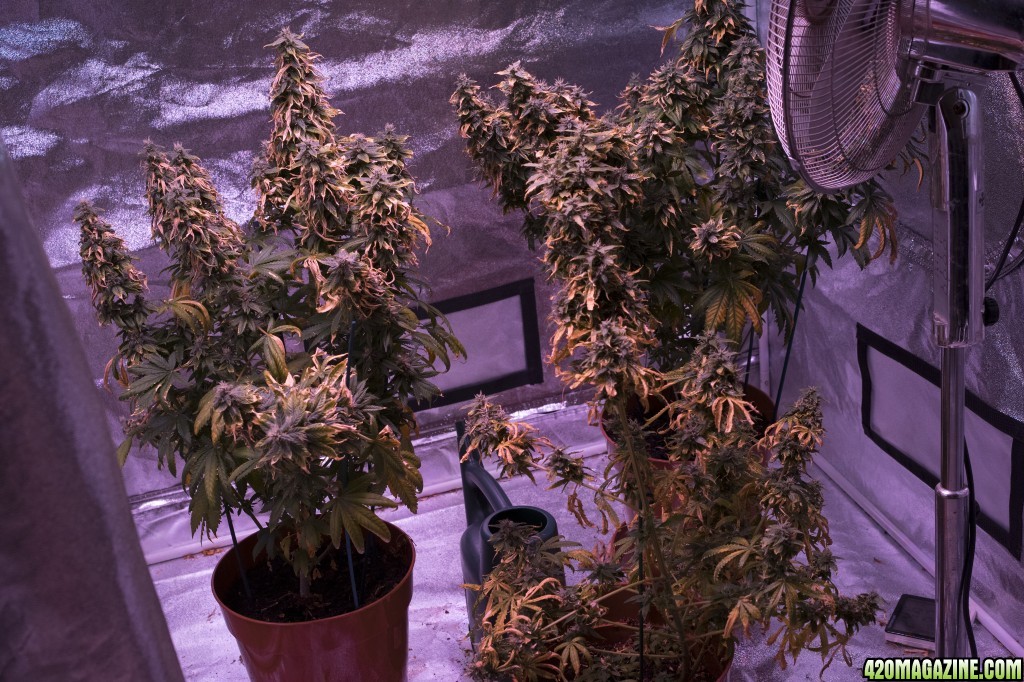
First of all here's an example of a photograph I've taken today after fitting my new LED lights, it'll kind of give you the idea of what I mean:
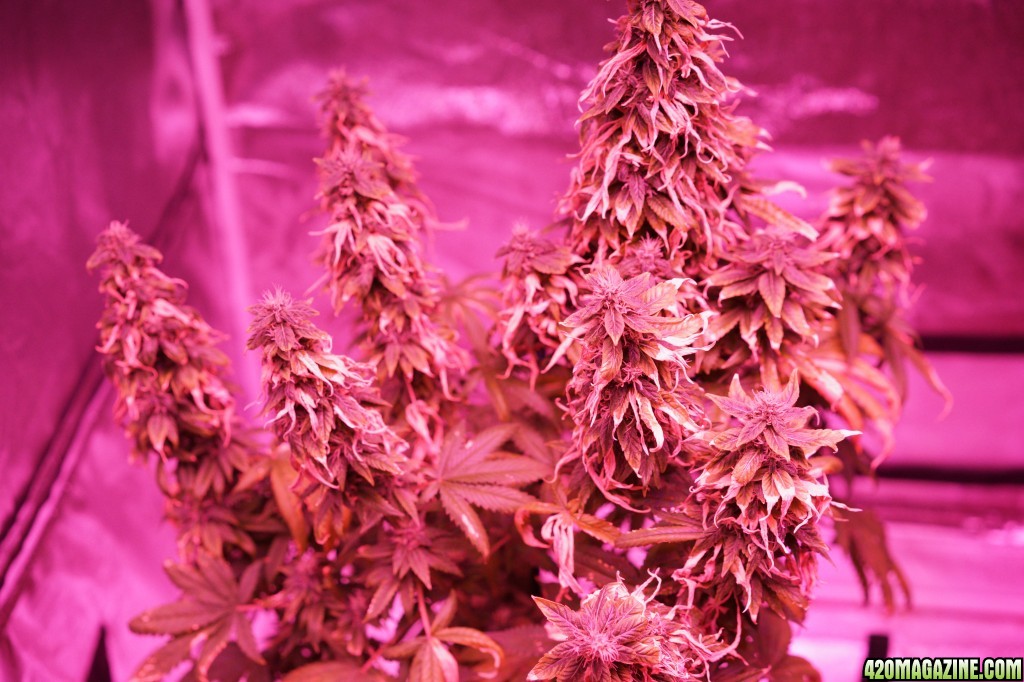
As you can see it doesn't really show the plants to their full effect. Plus as you will see later if you are having any difficulties with your plants then people won't really be able to help much as the detail just won't be there for anyone to offer you some well informed advice. So here is a quick and simple way to fix the issue and it doesn't cost much at all.
First you will need what is called a 'grey card'. These can be had dirt cheap from any Photography shop or eBay and Amazon etc. Next you will need 'Lightroom'. Lightroom is actually a Photographers software tool and it used to be very expensive, but nowadays it's offered online for a monthly payment so that's an option, but because of this there are now many older copies on CD/DVD available for sale and they're dirt cheap. Yeah I like dirt cheap, give me dirt cheap anything, weed, beer, sex and I'm a happy man With these two things in your arsenal you have everything that you need (minus camera and PC or phone/tablet) to make those pictures show your plants as intended. Here's how I do it:
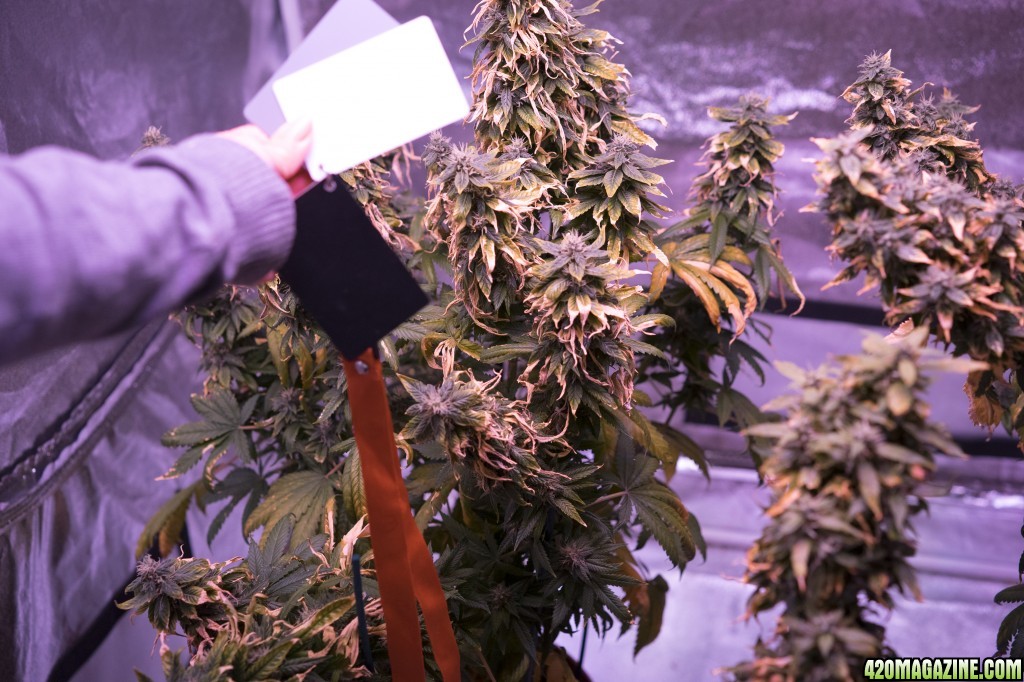
You will want to get your grey card in the first photograph that you take. You can either sit it in the area where you will be taking pictures but for me it was easier to get an assistant in (the wife). First camera shot will include this card like so:
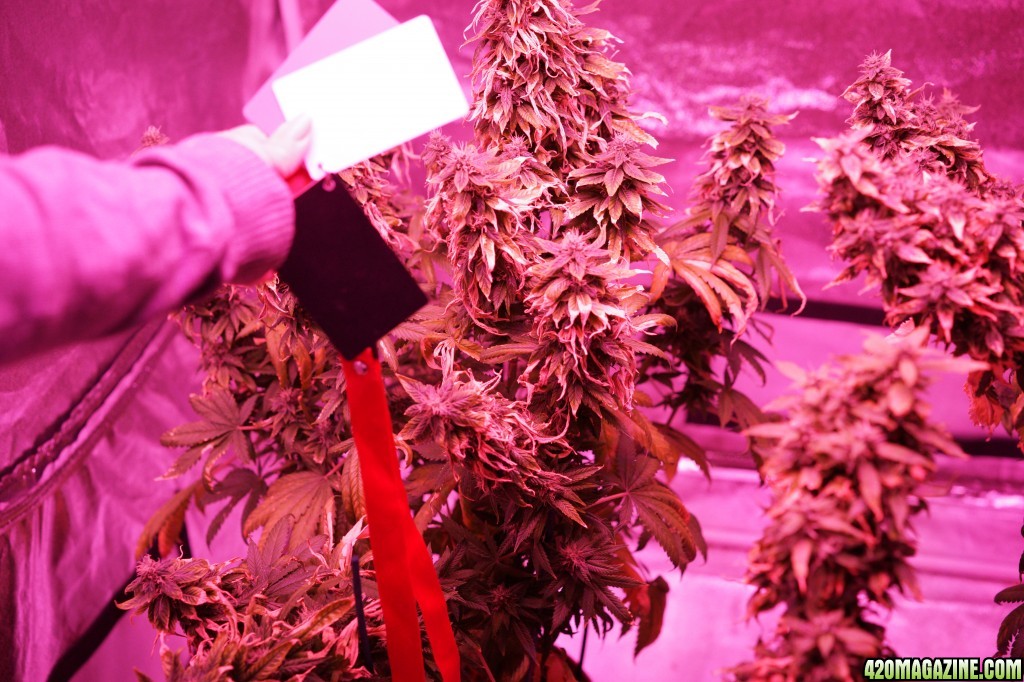
After the first shot you will no longer need the card to be in the picture so take it out and continue to take as many shots as you like. So long as all the photographs are taken in the same lighting the fix will be applied to any shots in the sequence. Once the shots are taken go upload them to your PC and open up Lightroom. Import all the pictures that you've taken and switch to the grid view.
Select the photograph that contains the grey card and hit 'Develop' over on the right hand side then select the colour dropper and left click on the grey card in the picture. You will see the colours change to their natural state instantly.

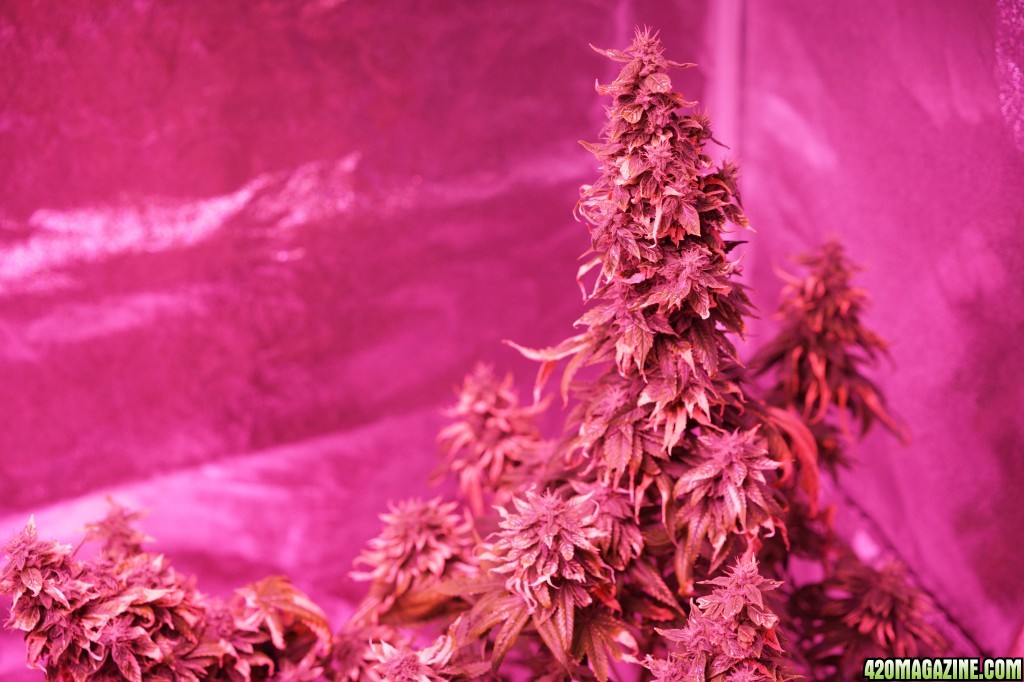
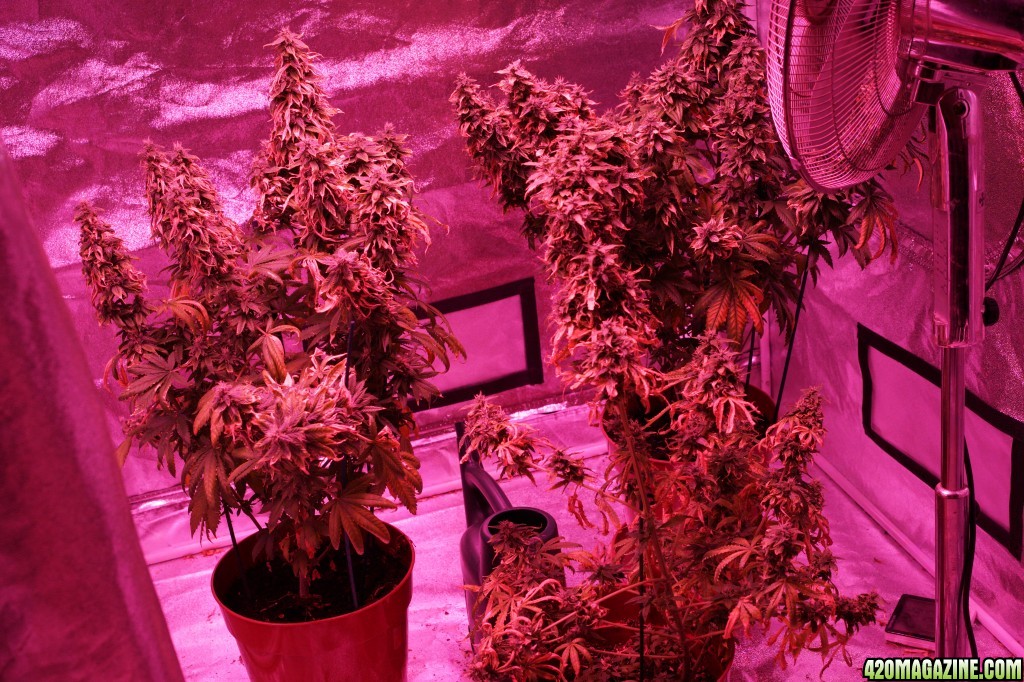
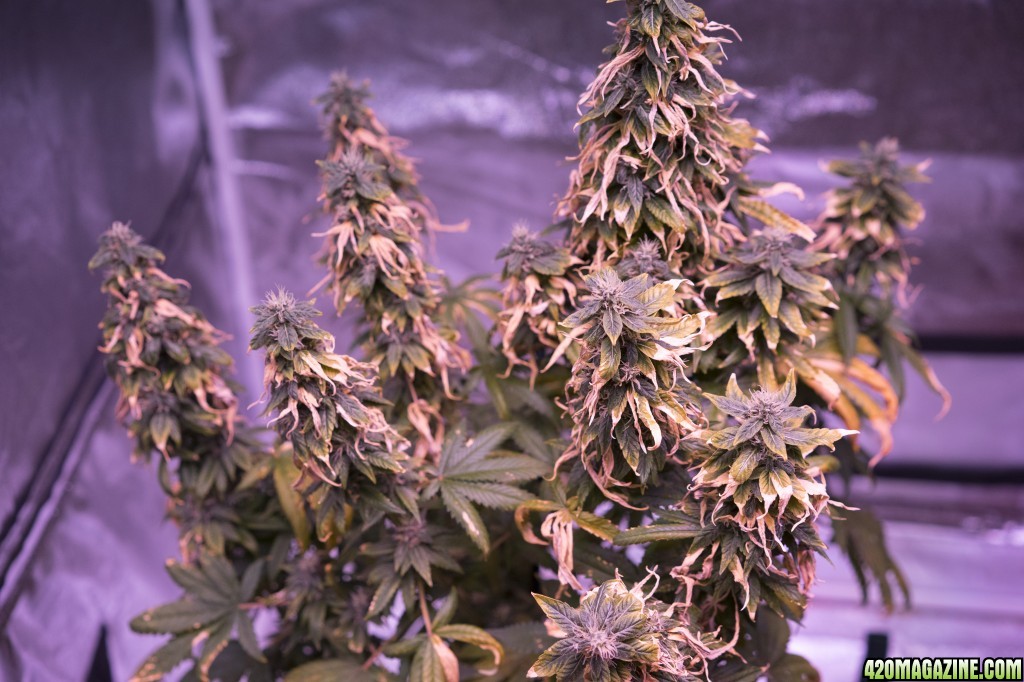
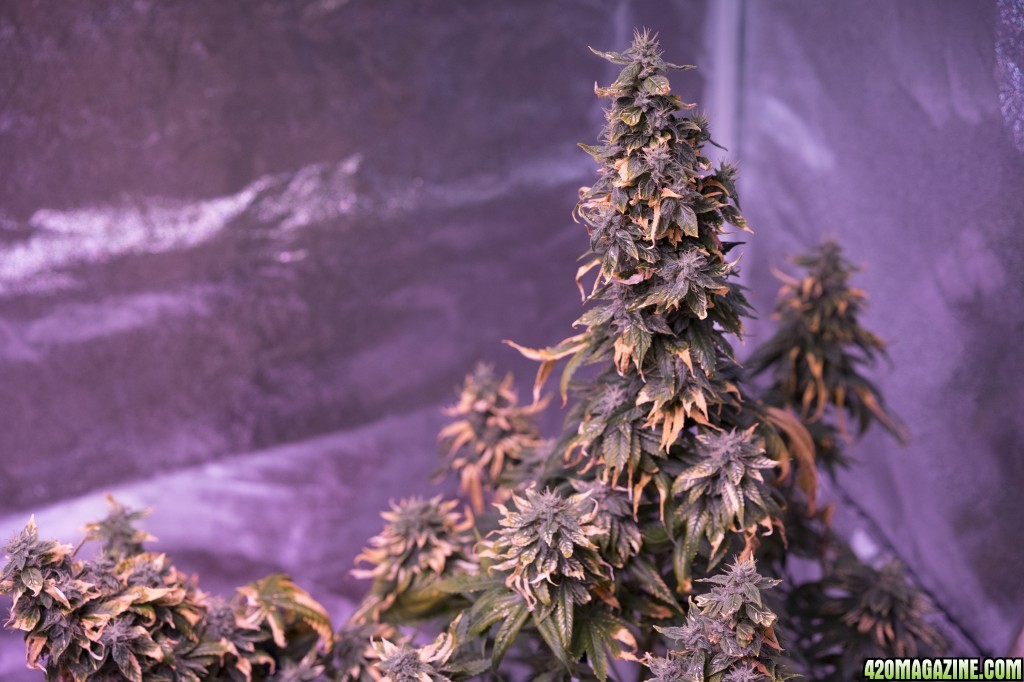
Making sure that all your photographs are selected you can then hit the 'Sync' button down on the bottom right hand side and it will then apply this adjustment to all your selected photographs. Export those pictures to the folder where you would like to save them and after that it's just a case of resizing and uploading to 420magazine! Here are some example pictures that I can show you of a crop that I posted asking for advice on. As you will be able to see it's much easier for people to see symptoms when the plants are the right colour!

If you have any questions please feel free to leave me a message. I'm on here a few times a day and am (supposedly) a professional photographer so I should be able to help with the majority of problems. All the best, peace out!

Ok so I've been reading a lot of journals by growers that are using LED lights and I noticed that a lot of them post pictures that don't show plants as well as they could due to the nature of LED lighting. If anyone is interested in posting their pics showing the plants (and anything else in the picture) in their natural colours then this is my stoner how to! xD
First of all here's an example of a photograph I've taken today after fitting my new LED lights, it'll kind of give you the idea of what I mean:
As you can see it doesn't really show the plants to their full effect. Plus as you will see later if you are having any difficulties with your plants then people won't really be able to help much as the detail just won't be there for anyone to offer you some well informed advice. So here is a quick and simple way to fix the issue and it doesn't cost much at all.
First you will need what is called a 'grey card'. These can be had dirt cheap from any Photography shop or eBay and Amazon etc. Next you will need 'Lightroom'. Lightroom is actually a Photographers software tool and it used to be very expensive, but nowadays it's offered online for a monthly payment so that's an option, but because of this there are now many older copies on CD/DVD available for sale and they're dirt cheap. Yeah I like dirt cheap, give me dirt cheap anything, weed, beer, sex and I'm a happy man
 With these two things in your arsenal you have everything that you need (minus camera and PC or phone/tablet) to make those pictures show your plants as intended. Here's how I do it:
You will want to get your grey card in the first photograph that you take. You can either sit it in the area where you will be taking pictures but for me it was easier to get an assistant in (the wife). First camera shot will include this card like so:
After the first shot you will no longer need the card to be in the picture so take it out and continue to take as many shots as you like. So long as all the photographs are taken in the same lighting the fix will be applied to any shots in the sequence. Once the shots are taken go upload them to your PC and open up Lightroom. Import all the pictures that you've taken and switch to the grid view.
Select the photograph that contains the grey card and hit 'Develop' over on the right hand side then select the colour dropper and left click on the grey card in the picture. You will see the colours change to their natural state instantly.

Making sure that all your photographs are selected you can then hit the 'Sync' button down on the bottom right hand side and it will then apply this adjustment to all your selected photographs. Export those pictures to the folder where you would like to save them and after that it's just a case of resizing and uploading to 420magazine! Here are some example pictures that I can show you of a crop that I posted asking for advice on. As you will be able to see it's much easier for people to see symptoms when the plants are the right colour!


If you have any questions please feel free to leave me a message. I'm on here a few times a day and am (supposedly) a professional photographer so I should be able to help with the majority of problems. All the best, peace out!


 spread the knowledge