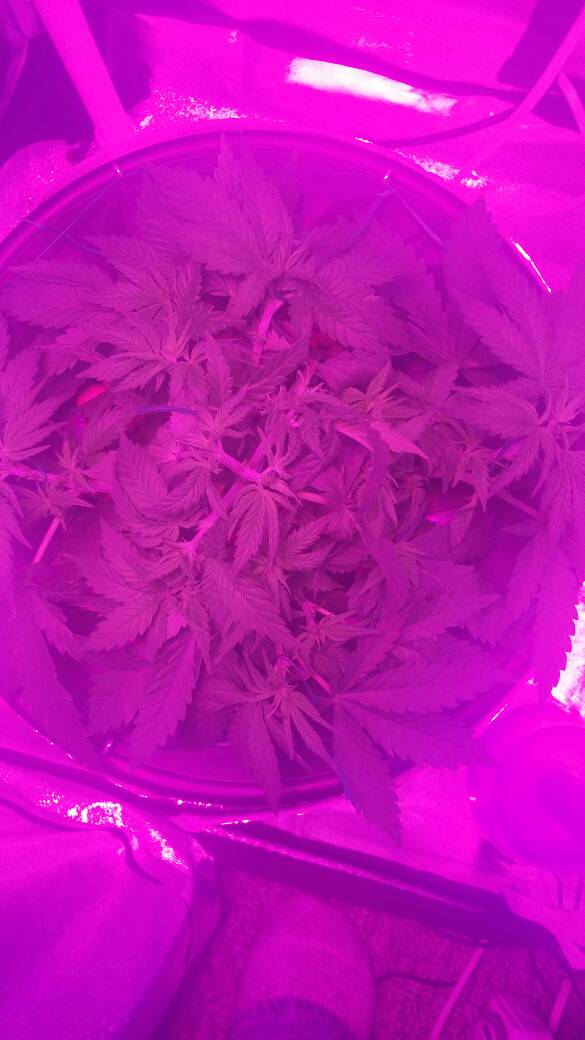
Seed germination in a hydro system

deejayz

New Member
So far I have seeds that sprouted and left their casing, I've read that if you put them directly into a hydro system, they will rot before growing. I'm using expanded clay pellets as a medium, inside of 5 inch cups, Do I need to plant these into a soil medium so they can grow a bit before going into the hydro system?

I also read that you want to remove all soil medium before transplanting into the hydro, this seemed like common sense to me, but is there a recommended method that is less likely to damage roots? or just run the roots under water and transplant?

I've only done this hydro thing once before and didn't get to see it through. Lots of stuff in the past I had help with and I'm doing this one on my own so I want to make sure I get it right.

I've used soil before, and been unimpressed with the results, so at least I'm familiar with the process, its just this hydro specific stuff I'm not confident with.

edit: Was reading the beginners guide and it said you germinate in perlite? I have straight perlite I used to mix with my soil solution. You just make an entire cup of that and let the seeds germinate in it? That seems like it would kill them.
 
I germinate my seeds in rapid rooters. I have a small styrofoam tray that holds 6 rapid rooters. I place the tray into one of those chinese food leftover containers, pour tap water with a few drops of BC B1 Red mixed in over them, put the lid on loosely so air can get in, and place the container on a heat mat set at 80 degrees F in a dark closet. I insert the probe from the heat mat thermostat into the water in the container so that the solution temp is 80F. Then I close the door wand wait. I've had 100% germination rates using this method and with the cost of seeds these days, that's pretty good. I usually have one pop within 24 hrs, then a few more within another day and then the rest within another day.

At that point, I take the lid off the container and give them weak light (eg, a small daylight CFL or a small lED- I have a 28 watt LED that I use) until the first set of leaves after the cotyledon leaves form. Check them daily and make sure they don't dry out, add more water as necessary to keep them moist. Once that first set of "real" leaves is there, I set up my hydro system (large DWC with multiple airstones) and move them into the net pots with hydroton, and the water level high enough to submerge a portion of the newly planted root and keep everything wet. If they never took root in the rr, I just place it directly into the net pot with hydroton, if they've rooted in the rr, I put the rr right into the net pot with the hydroton. I also introduce them to stronger light at this point (400W CMH 3-4 feet above), and set my veg solution at 200-250ppm. From this point on, they just take off. Only thing necessary is to top off with RO water as required to maintain levels, and maintain pH between 5.5-6.0 daily while checking to be sure ppm is stable or falling.Once they have a few sets of leaves on them, I increase the veg nutes up to 400-600 ppm, lower the light and follow my daily maintenance routine correcting as necessary until they're ready to flower. I use large reservoirs and each plant has at least 5 gals so the solution stays extremely stable. It helps a lot that I use a chiller so my solution temp is always 67-69 degrees F. The solution is extremely stable for the entire 30 days or so until they're ready to flower. I don't change my veg solution at all until that point. Then I pump the veg solution to another container and reuse it in my flower & vegetable garden, houseplants, etc and refill the reservoir with pH balanced bloom solution at 600-800ppm.

In all cases, the plants will tell you what to do. They'll show you if adjustments need to be made. Just watch them.
 
yeah i tried germinating with perlite and it didn't go well at all, not a single one sprouted. i of course germinated in paper towels, and then put the germinated seed into the perlite.

can i use rockwool cubes? and if so can those rockwool cubes go right into the net pots so i dont have to separate the plant from the rockwool?

Yes, you can use rock wool cubes. Just be sure to soak them for a few hours first in pH 5.5 water, then lightly shake them out and insert the seeds. The rest of the process is the same.
 
Yes, you can use rock wool cubes. Just be sure to soak them for a few hours first in pH 5.5 water, then lightly shake them out and insert the seeds. The rest of the process is the same.
I don't see the purpose of soaking rock wool cubes for a few hours. A quick dip in some tap water, nestle them in your grow medium, drop in some seeds, then let the pumps (with Ph balanced water) take over. At least that works in my setup. Tap water isn't going to prevent your seeds from germinating.
 
The easiest way i have found to grow plants in my Dwc system is simple and effective..
I let my seeds soak in tap water overnight maybe 2 nights till they crack and drop.
From there they go in a strong papertowel i find the real cheap ones and non scented work the best..
Anyhow i leave them in the papertowel long enough for them to grow a good taproot somewhere around a half inch long..
Which i put in a rapid rooter.. I take a rapidrooter and crack it open put the root in it and close it leaveing the seed just flush with the top of the rooter and place on a small layer of hydroton in my netpot and backfill it..
Trick is do not soak ur beanlings it is very easy to waterlog a bean and the problem i think most peeps have with germing beans in general once u have taproot all u want to to is keep the medium moist and force that taproot to go searching for water..
So i leave my water levels just right so im keeping my rock my rooter is sitting on just brown moist not soaking wet just moist will keep the rooter wet enuff and give u the desired effect i just explained.
Alot of peeps will tell u an inch below the bottom of pot of at the bottom of the pot but the strength of ur air pump is really going to be your decideing factor on where u want ur water level especially for a beanling..
If ur pump is strong enough to push bubbles up into that rock and keep it moist thats all u need doesnt matter if its 3 inches or on the bottom of the pot make sence? And hope that helped..
Heres a pic of a beanling i have growing now done the way i had just described..
Good luck.
Well scratch that i gotta do a little more looking and learn how to upload photos here at this site but it was pretty much self explanatory i think.. Anyhow good muck man once u see the roots hit that water expect serious growth and expect it fast.
Peace
 
Just seeds, Rockwool cubes, regular tap water, dome to keep the humidity and black plastic to shield the seeds from the light till the time is right is what I do. Once I have roots starting to poke through the cubes, they go into net pots and either into my square pots or into the cloner pending on what I am trying to do. 100% success rate for me, clippings and seeds...

image207.jpg


These are Skunk 1 x/w Sleestack 14 days into veg and they have taken off in the last week. The one that is front and center was from when 1 seed split into 2, the runt of the litter...

JAFO
 
I was going to buy rapid rooters until realizing Rockwool is more suited for seeds , glad to have found this thread


Now I'm thinking of using the 2 inch squares just big enough to get the seed started and later help avoid stalk rot.

Opinions appreciated for the 2 inch cubes , am I missing something ?

this is my first stab st DWC
 
I have always taken my seeds from the paper towel when they have 1/4 in tails and put them right into my hydroton, with a sprinkle of mycos and some rooting accelerator, about 2 inches from the bottom of the net pot. Then i set a submersible pump to top feed through a drip ring twice a day for 15 mins til roots are through the pot. After that happens its out with the pump and lower the water level gradually til its about 2 or 3 inches from the bottom of the pot. Its always been successful for me. Just my way of doing it tho. Methods vary...
 
That is funny. I went the other way. I gave up rock-wool for Rapid Rooters. They have worked great for me. I pop my seed and put it in a RR under a dome for 3to4 days and then I put it into a DWC bucket and pour water over it twice a day for 3to4 days and off she goes.

RW has high ph is hard to keep watered right and grows algae. With RR's they keep it watered better have no ph issue and the roots love them.

I was going to buy rapid rooters until realizing Rockwool is more suited for seeds , glad to have found this thread


Now I'm thinking of using the 2 inch squares just big enough to get the seed started and later help avoid stalk rot.

Opinions appreciated for the 2 inch cubes , am I missing something ?

this is my first stab st DWC
 
I have the bottom half of an egg carton that I use to hold the RR's in under the dome. It holds them and makes it easy to water.

You just need to harden them by lowering the RH slowly(a day or two) before moving them out of the dome.

They can live in the RR's for a while if need be. They have a little nutes in them and from what I have seen help get it off to a faster safer start over RW.
 
I find that rapid rooters work great. I take it a step further, and use 2" foam collar inserts in 2"net pots in a diy dwc tote. For seeds i just use the 2" net pot with a rr in it. Let the roots grow out some and then transplant, I would post some pics but i guess i need to go read how too..
 
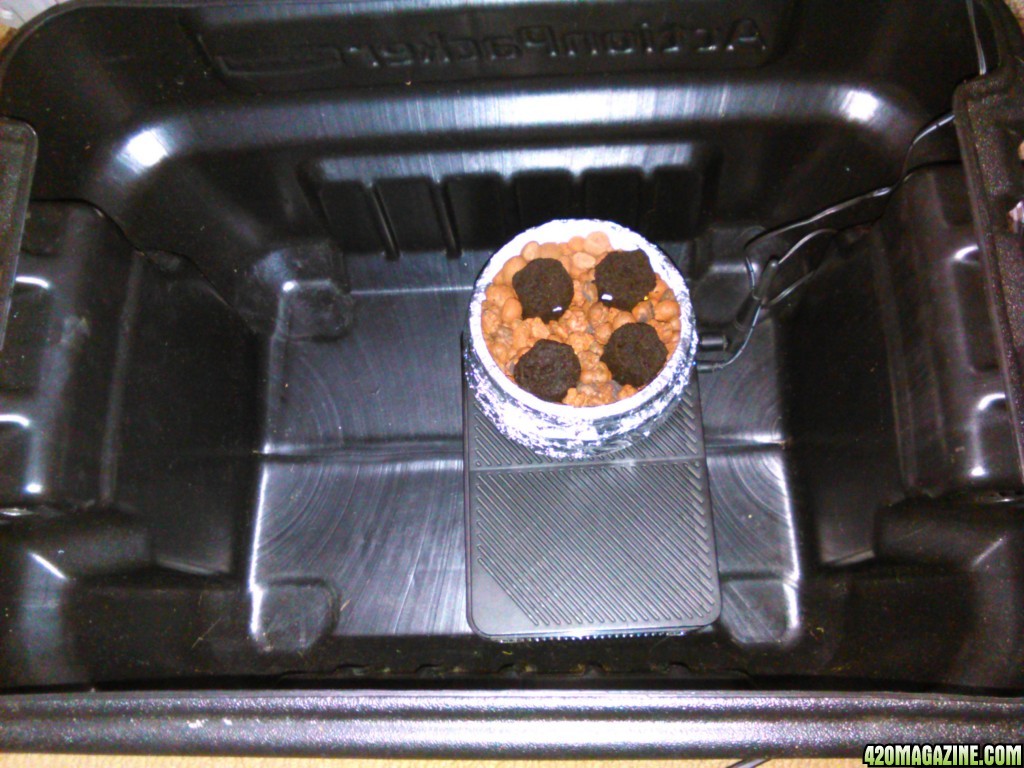
Just finished sprouting seeds in the RR'ers they worked well and were easy enough to work with although after reading more next time I will flip them upside down then drop the seed in so they stand up on their own ( for those of us without the matching trays )

Starting them like this for the first few days

Router_germination.jpg


Moved them to this to finish sprouting under a mars 300


IMG_20161208_000932.jpg


Until this morning day 5 since sprouting fired up a 600 hps


IMG_0033163.JPG


set to 24 in. to acclimatize

I have been hand watering so far
 
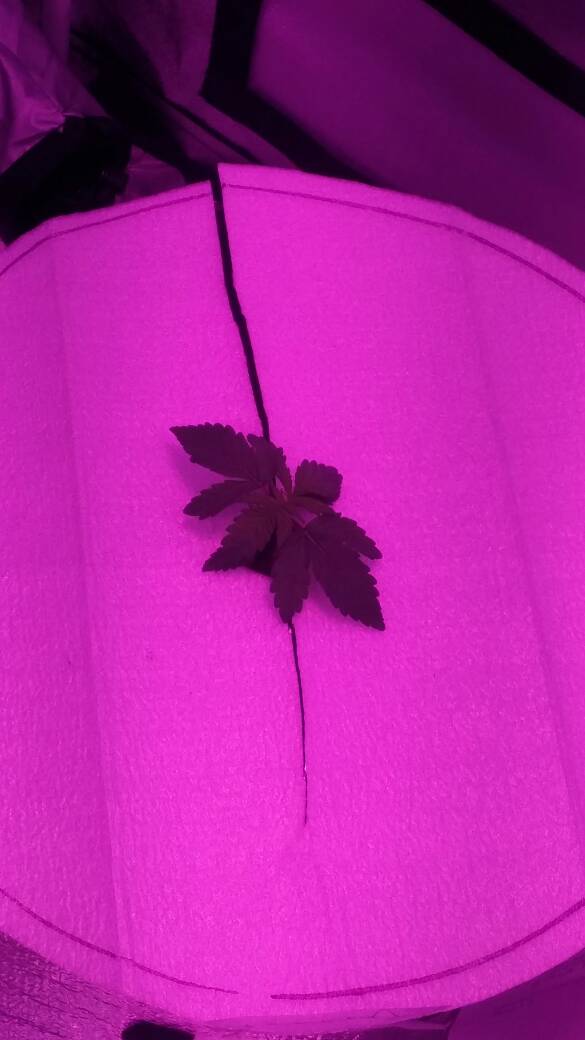
Good start ledbud. I like your bucket top covers. Kinda look like mine. The baby in the pic is G13 Purple Haze about 6 days from breaking ground.
420-magazine-mobile302542892.jpg
 
Your girl is looking kick ass for 6 days , mini beast mode !

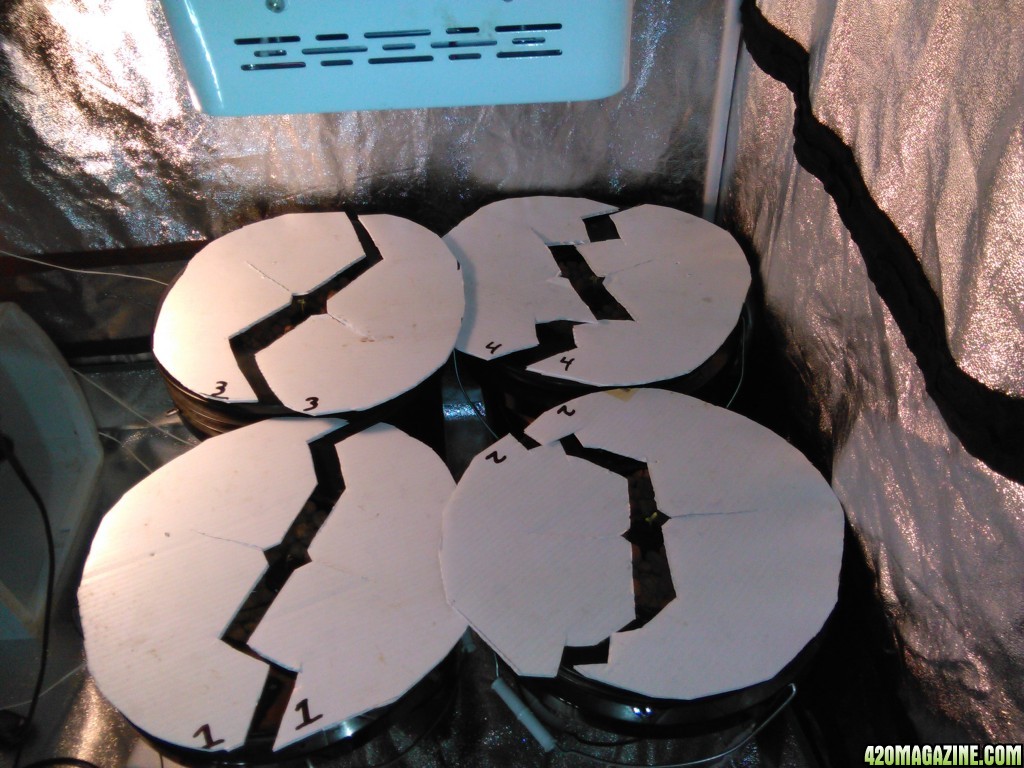
I have to make up a some other covers , it was getting too warm under the sign board with that HPS

The plan is to make new split covers from some packaging Styrofoam skinned with aluminum foil , foil reflects the IR heat.

With the board cut out experiment , I ended up preferring number 3 for its ease of use and staying together securely enough , the 2nd choice being the cover numbered 1

The 2 and 4 covers were harder to remove and set , dangerously so with seedlings.
 
I have 2in thick styro cut outs i use sometimes with my hid but when im using leds these windshield reflectors work great for the tops and sides of my buckets.
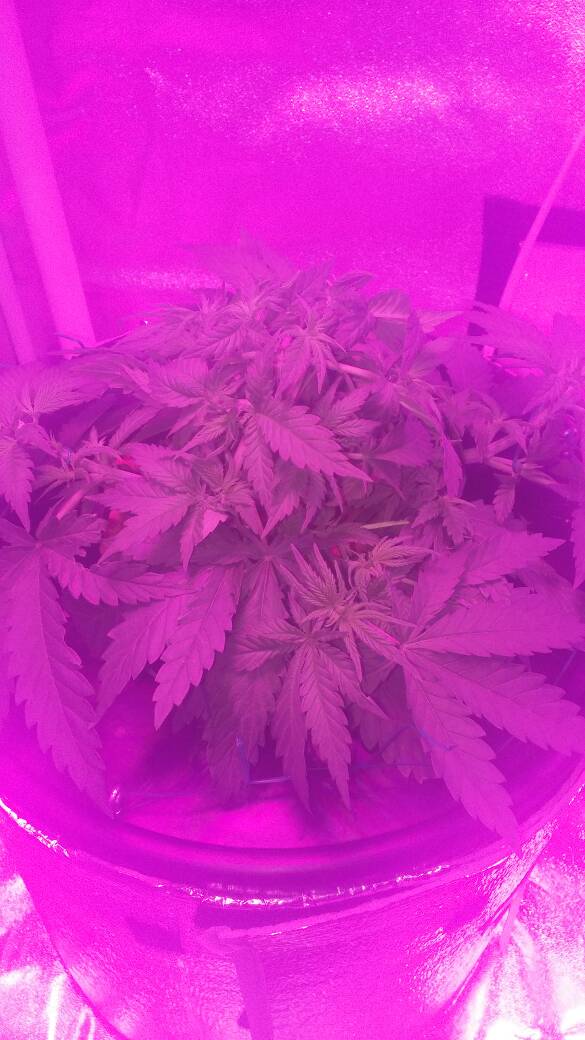
You think that haze is beast mode... Check out this kripple roulette at aboit 2 1/2 weeks from breaking ground. She has been topped and trained and just keeps keepin on...
420-magazine-mobile694652490.jpg
420-magazine-mobile265802489.jpg
 
Back
Top Bottom