Respect
New Member
Having a pre-existing love for construction/repair/improvements when it came time to build a grow-box I was overjoyed. I had a similar experience the other day while I was working in the basement of a 25 story office building in Philly. I spent most of the day next to damaged equipment and trash which included up to 30 overhead fluorescent light fixtures. These are the big ones that sit above ceiling tiles or the big set-ups growers use to veg.
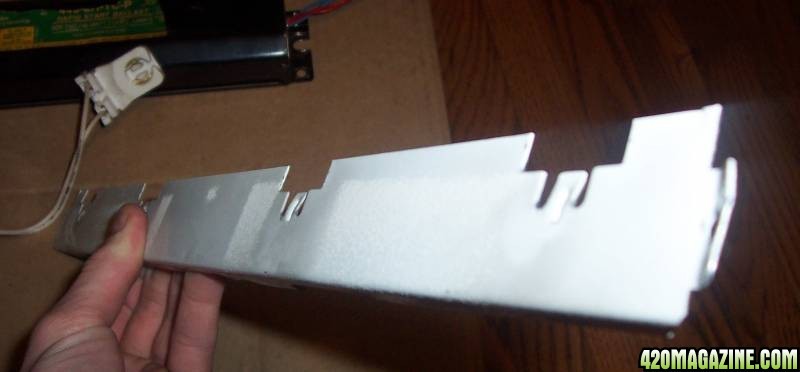
I was unable to find a better picture of what the original fixture looked like. This was the best I could do and it wouldn't let me save/download it anyway. Check it out it may help LIGHT. The metal grate cover comes off and your left with the lights exposed underneath.
I didn't have a camera with me to show the dismantling process. After removing the cover and lights, unscrew one of the ballasts (black box). Their should be one for every two bulbs. Then unscrew and remove all pieces. You will also have to disconnect the black/white wires with the same of the other ballast. These "mounts" have to be unscrewed and the plastic pieces popped off. If the wires come out of the holes (happens easier than you would think) you can feed them right back in and they will lock. A close look at the locking mechanism used will explain why.
After doing this you should be left with this
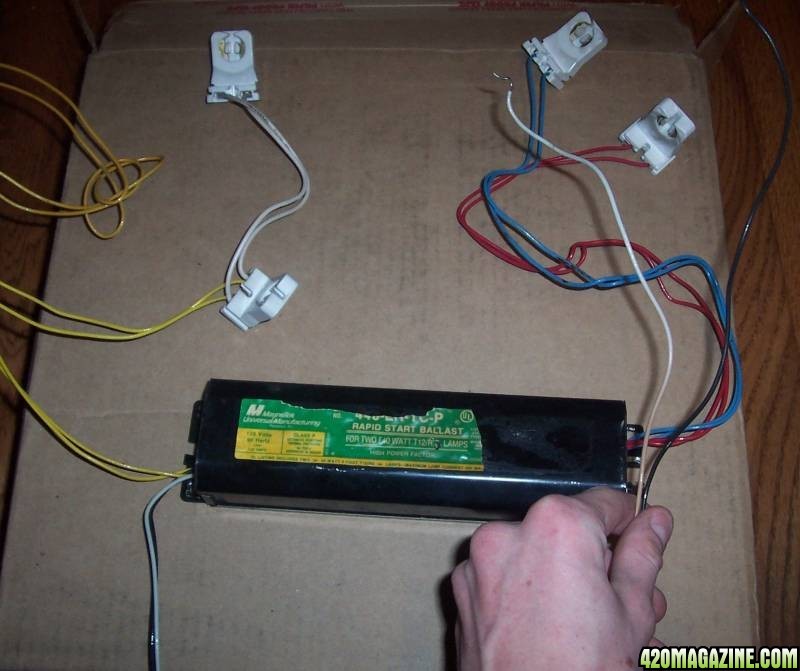
The two wires I am holding (black/white) are used as the "plug" or power source.
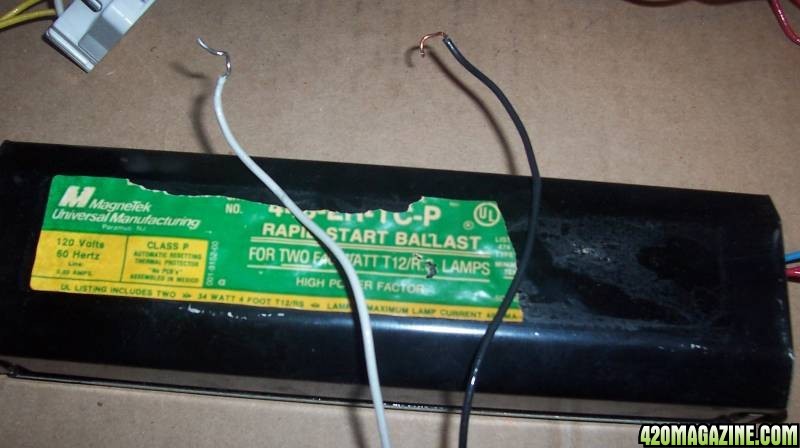
They can be spliced into an extension cord. Unfortunately I'm not actually doing any of this until the winter when I have more time. I only set it up to make sure it worked before I snaked the crap they were going to throw away. You would want to wrap the black wire to the black wire and use either a wire nut or electrical tape to seal it. Do the same for the white wires. Leave the green wire in the extension cord covered and alone. It's a ground and not needed.
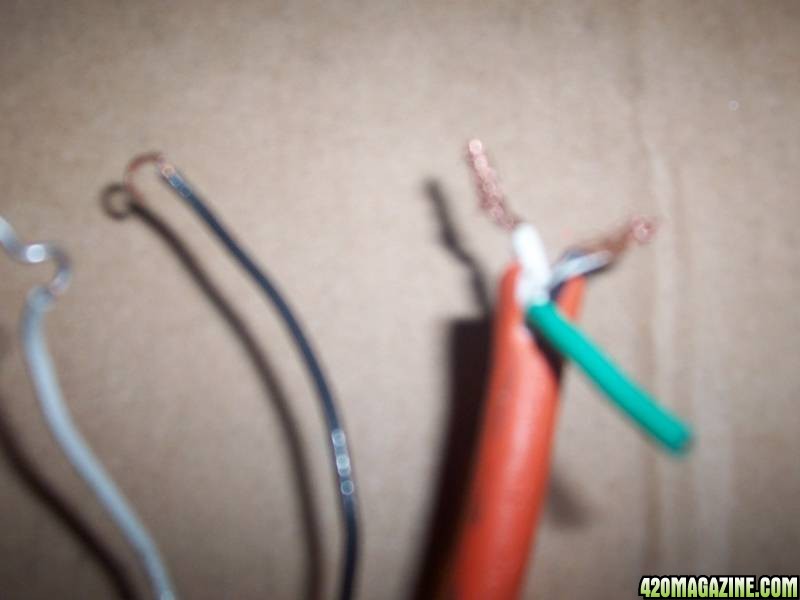
The last thing to do is re-attach the bases to the "mounts." I would use a hack-saw to cut them off separately and mount opposite of each other. Again I have not done this yet.
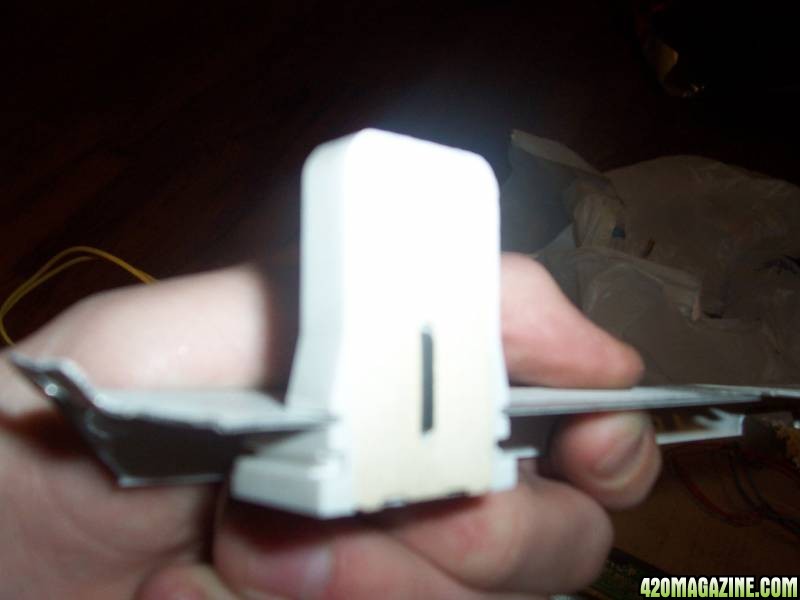
Make sure to check the types of ballast and bases you have against the type of bulbs you can buy. The bases I have are only compatible for T-8 and T-12 bulbs. When I do this for my updated grow box I will show the whole process.
I was unable to find a better picture of what the original fixture looked like. This was the best I could do and it wouldn't let me save/download it anyway. Check it out it may help LIGHT. The metal grate cover comes off and your left with the lights exposed underneath.
I didn't have a camera with me to show the dismantling process. After removing the cover and lights, unscrew one of the ballasts (black box). Their should be one for every two bulbs. Then unscrew and remove all pieces. You will also have to disconnect the black/white wires with the same of the other ballast. These "mounts" have to be unscrewed and the plastic pieces popped off. If the wires come out of the holes (happens easier than you would think) you can feed them right back in and they will lock. A close look at the locking mechanism used will explain why.

After doing this you should be left with this

The two wires I am holding (black/white) are used as the "plug" or power source.

They can be spliced into an extension cord. Unfortunately I'm not actually doing any of this until the winter when I have more time. I only set it up to make sure it worked before I snaked the crap they were going to throw away. You would want to wrap the black wire to the black wire and use either a wire nut or electrical tape to seal it. Do the same for the white wires. Leave the green wire in the extension cord covered and alone. It's a ground and not needed.

The last thing to do is re-attach the bases to the "mounts." I would use a hack-saw to cut them off separately and mount opposite of each other. Again I have not done this yet.

Make sure to check the types of ballast and bases you have against the type of bulbs you can buy. The bases I have are only compatible for T-8 and T-12 bulbs. When I do this for my updated grow box I will show the whole process.


