Personal grow of 6 plants setup

CookieMan

Passionado
High everybody! I am in southern California and am very excited about the passage of prop 64. I feel like this is such a huge victory and I want to be a part of the next step of the movement. I have done a couple stealth closet grows before, and figure I will want to do something similar for a personal grow I have planned in my apartment. I will have a spare bedroom to work with, and the only potential legal issues I will have to deal with are my apartment's rules, the 6 plant limit, nosy neighbors, and thieves. I want to stick within the legal limit of 6 plants. That has been decided and I want to do this 100% legit. This setup must also be safe and considerate to my neighbors. I also don't want to attract attention of any thieves. I am trying to maximize the production of my 6 plants over the next year. I am favoring a short growth cycle that I can get more harvests in the next year verses doing larger plants. This is open to negotiation though. I have some ideas for the setup, but I need some guidance. The number one goal though is quality, with efficiency a secondary consideration.

Since I only can have 6 plants, I want to start with clones. Veg state will likely be to a minimum. I am thinking about 6-8" of good dense leafy stalk should be good to switch to flowering. Then in flower it will likely take however long the strain will take. Would adding another couple weeks to top the plants, training them, establishing a few more main stalks at 6-8" tall, and then flowering be worth it compared to keeping the clones small. I will end up using a bit more space then, and will need a larger light to cover the larger space. Keeping in mind that I want to produce the highest quality herb I can, should I top and train or just go for a straight sea of green? I want to average at least 1 ounce per month. Perhaps a little bit more so I can start saving and doing nice slow cures of my finished herb.

If I do a sea of green using a 2'x3' growing area, I can have each plants stay small and use 1 sqft of growing space. I should be able to maintain good light coverage of the whole plant once it is in full flower with a 250 watt setup. This would allow the advantage of lower cost, lower heat, easier to control environment, light could be closer to the plants, and less smell. I would hope to harvest about 20-28 grams from these plants. That would be good for me for a few months, although I'm sure I would be gifting all my friends. Then again, they will likely be growing too.

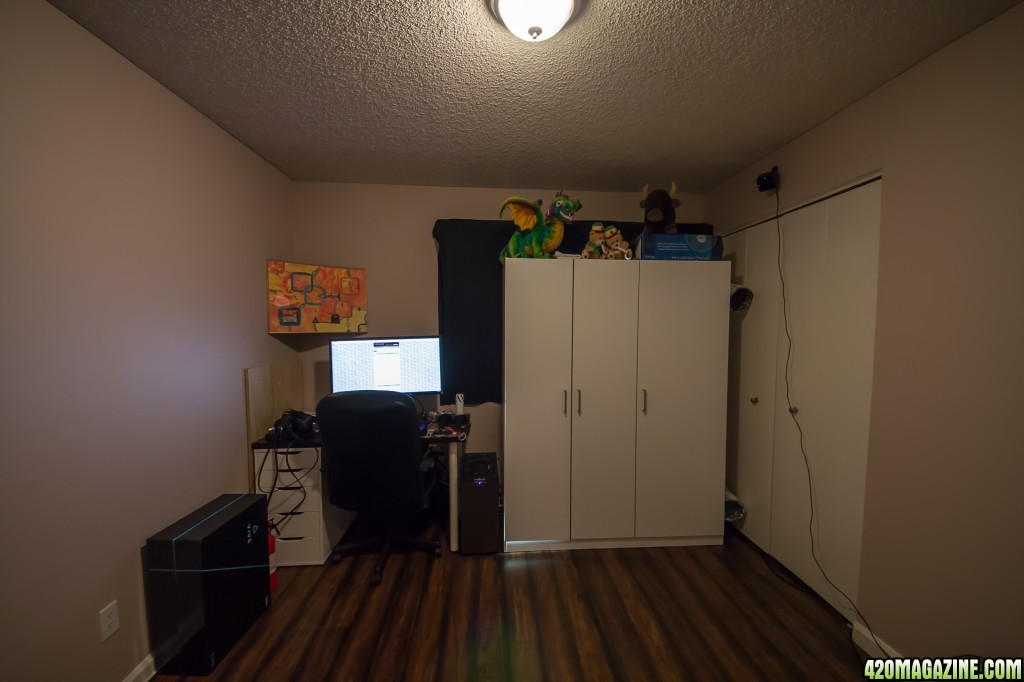
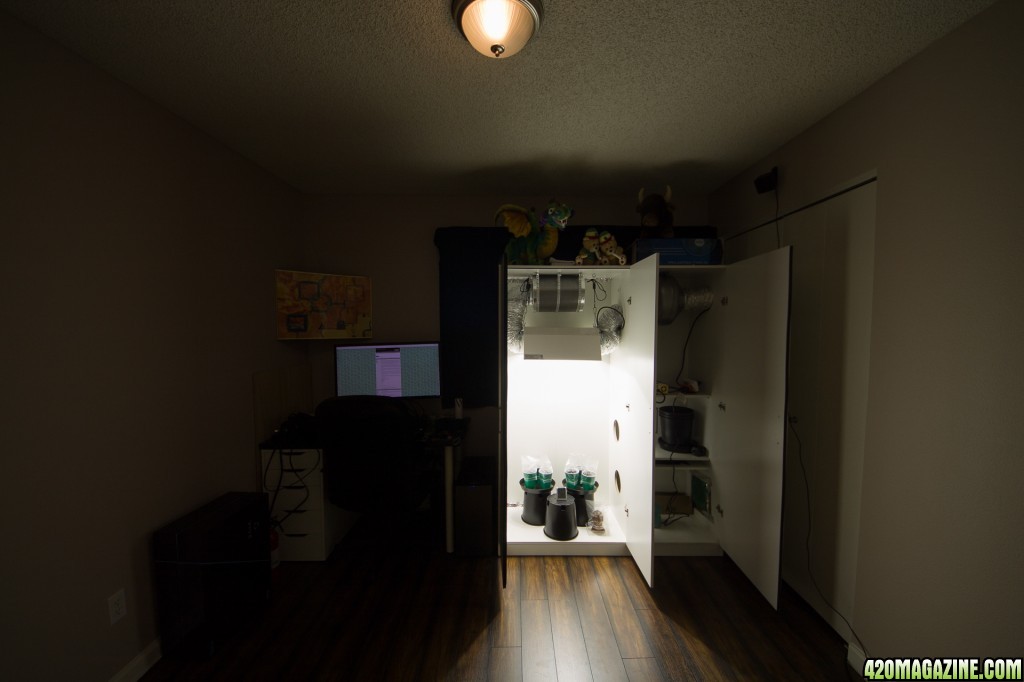
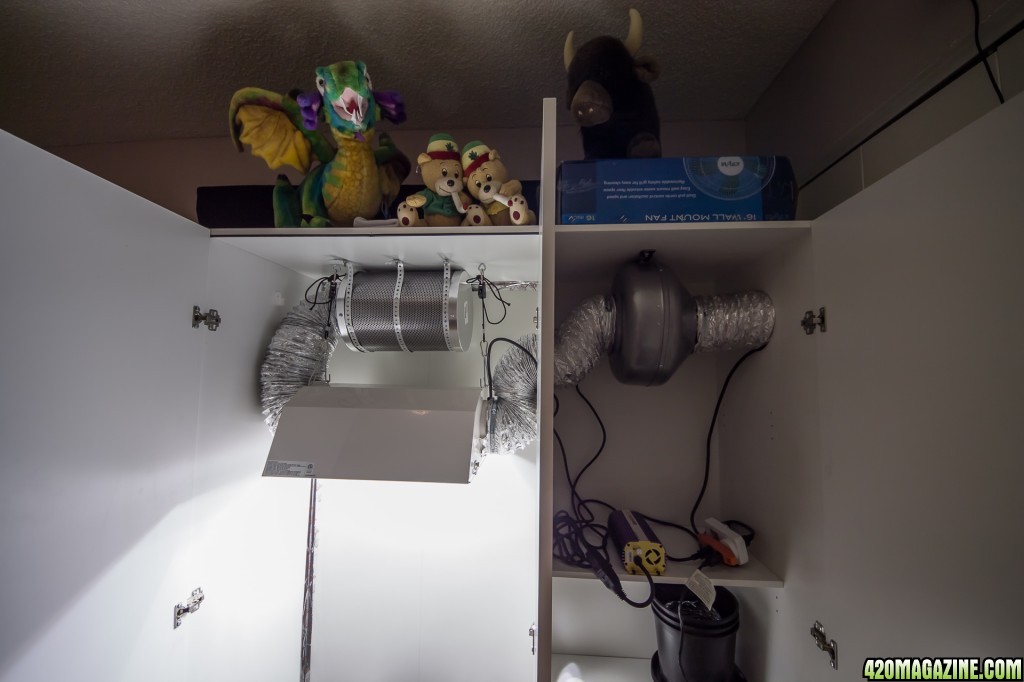
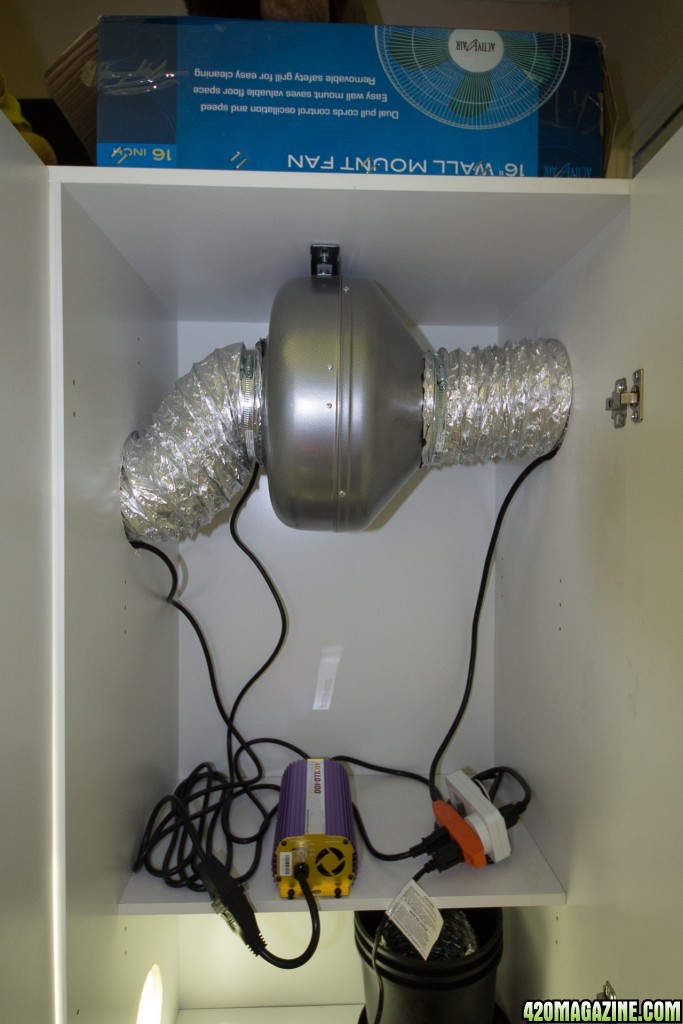
Going with this wardrobe from Ikea I should be able to use 2 gallon pots in a 2x3 arrangement, the growing space will be about 20" x 36". I then will have about 3 feet of room for growth of the plants while maintaining good distance from the light and having room for the filter at the top. I don't see any air cooled 250 watt HID lights anywhere, but heat shouldn't be much of an issue. Also with the light not directly air cooled, it will be easier to put on chains to adjust the height. I will have at least two oscillating fans in the cabinet to circulate air and help regulate temperature. They will also serve to promote good hardy growth. I will probably use a 6" inline fan with a carbon filter and a speed controller for the fan. First I want to see what temps I maintain at full speed to make sure it is worth buying a speed controller. I expect temps will be quite low as I used a similar setup before with 400 watts and a cool tube. I am hoping that this is a case of less is more. Lower heat and easier to control environment resulting in better growth.

I'm thinking of the pots being on the floor of the large chamber with air intake coming through a filtered holes near the bottom. I think I will start with soil for the first round to keep it simple and focus on environmental control. Anyone have thoughts or suggestions for me? How much should I expect to pay for a $250 watt HPS setup? How about fans and a carbon filter? Are the lights that Home dePot sells any good? They seem to have nice prices on hydro supplies too.

I think I will go with the following list:

Sun Systems Digital 250/400 Watt light $176.21
DOMBÃ…S Wardrobe $129
Black Ops Carbon Filter 6 in x 16 in 400 CFM $95.96
Hurricane Inline Fan 6 in 435 CFM $97.46
Drill $30
Hole Saw $12
Mounting hardware $15
Pots and soil $30
Timer $20
Thermometer $15
bulb $20

total $640.64
 
I wanted to post an update and ask some advice. Also, is it possible to move this to a grow log? I have already acquired my base cabinet, my light, fan, carbon filter, thermometer/hygrometer, fan controller, and wall mounted fan for circulation of air within the cabinet. I was also able to find my grow log on here from 2007. I am basically going to be doing the same setup, but hopefully I can improve on it quite a bit. Without further ado, here is my list of starting materials:

Cheap Chinese grow kit $160

  • 1- 400 Watt Dimmable Electronic Fan Cooling Ballast; Acceptable input: 110v - 240v. Dimmable Option: 50%, 75% & 100%
  • 1 - HPS Bulb: Lumen - 54,000 & 1 - MH Bulb: Lumen - 36,000
  • 1 - Air Cool: 24" x 17" x 9" Made of Galvanized Steel & German Aluminum
  • 1- Pair of Rope Hanger : Weight Capacity - 150 lbs per pair w/ Improved Metal Internal Gears; One Click at a Time / 1 - 24 Hour Timer Controller
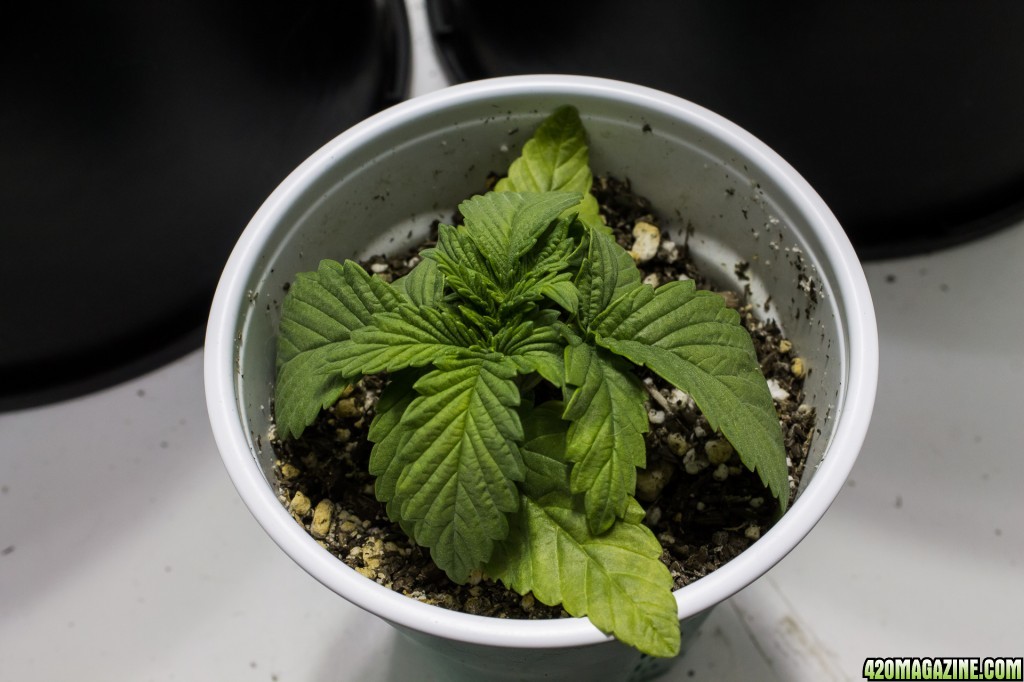
  • Package Includes: 1 — Reflector / 1 — HPS Bulb / 1 — MH Bulb / 1 — Digital Ballast / 1 — Pair of Hangers / 1 — Timer / 1 — Instructional Pamphlet


6" fan and carbon filter 442 CFM fan $127

Basic fan controller $20

Thermometer/Hygrometer $12

DOMBÃ…S Wardrobe $129

Total: $448 + tax

I still need to get:

  • Growing medium
  • Growing containers
  • Clones or seeds
  • Mounting hardware
  • Ducting
  • Duct clamps

I am debating the pros and cons of doing seeds or clones. I think I will go with clones for efficiency, but I need to find a source for them. I just renewed my medical recommendation, but I haven't seen clones at a dispensary for a long time. I did go to a new dispensary today and they have a bunch of seeds. I also found a website that claims to sell clones online, but it seems a little sketch. I would prefer a dispensary that would provide the clones, but if anyone has suggestions for the Los Angeles area, that would be great.

Also, I have to decide between hydro and soil. I am leaning towards hydro since in my soil grow log I complained about the mess of soil. If I go hydro, I think I will do a cheap ebb and flow table. That also means I need to purchase a lot more equipment. Soil also offers a simple way to do a first run to test the cabinet. Any thoughts on soil vs hydro for clones? If hydro is going to be better for the clone, I will do that. I did a DWC before, but figure ebb and flow would also be a better use of the space and will be better with a sea of green. Or, can I just do a single DWC tub with 6 plants in it?

This week I should be able to start assembling everything. I am thinking of doing a video series to help teach others. I'll keep updating as I progress.
 
Hey Cookie,

I am following along, glad to see that California gave in, now we are fully legal for the whole West Coast!

If you are trying to decide between soil and hydro, I would do your first run in soil since it is more forgiving.

-Vape
 
Vape, cool to see you following along. I decided to go soil and seed for the first run in the new cabinet. I figure it will make things a little easier and I should be able to focus more on the function of the cabinet. I'm finally done with the build (I think), and it is fully installed with a heavy curtain behind it. The curtain doesn't block 100% of the light, but it should reduce enough to not look like a grow closet is in here.

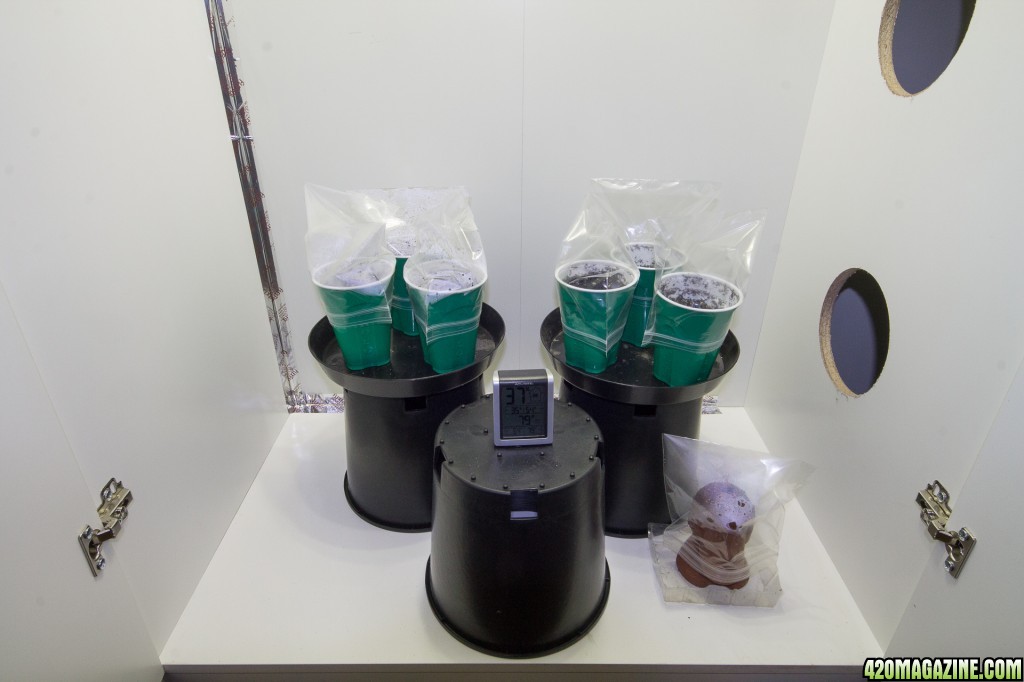
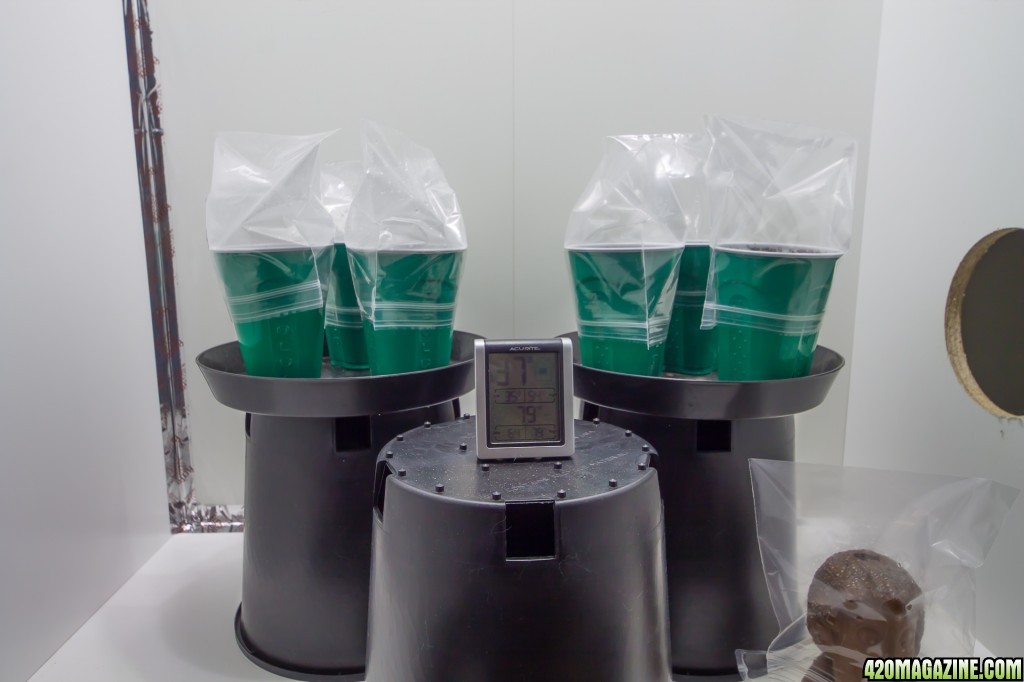
I hung the "curtain" with small picture hanging nails driven in at a 45 degree angle. I placed a nail every 8" or so. I think it should hold. The light is staying cool to the touch after almost 24 hours of non stop use. Temps maxed around 79 degrees with the light at the top position and the thermometer on the upside down pot. Temps will likely be a bit high, it is a cabinet after all.

I have managed to seal the main door cracks from light and air, but I am still leaking light around the edges and weather stripping doesn't seem to want to work to address this section. If anyone has some bright ideas, please enlighten me how to better seal it. My previous grow, I did panda paper and magnet strips to seal them in the middle. If I can get weather stripping to work well, I think that will be ideal. I may tape heavy black cloth along the inside of the hinge side from top to bottom, and then tape a layer or two along the top edge to seal it thinner than weather stripping will.

Anyways, here are some photos:
11-25-16-1.jpg

View image in gallery


Love the setup, looks very white and clean and ready to grow some ladies! Space does seem a bit of a concern, if you are growing 6 I think you would need to flower them as soon as you can, so that you don't over crowd your space. Have you read much into SCROG? I think that technique will help you to maximize what you can get out of that space.

Good luck and update us as it comes along!

-Vape

Thanks, space will be a bit tight, especially vertical space. I plan on topping the plants and doing some form of training. Probably will do low stress training as that is easier to move plants around and easier to set up. SCROG is an option, but I'm not sure the benefits vs LST are worth the extra build and hassle. I also should have mentioned earlier that I plan to only take 3-4 to flowering.

Nice setup bro maybe doing next like this ✌✌

Sent from my SM-G530T1 using 420 Magazine Mobile App

Thanks, I would make a couple changes if I were to do it again. I would definitely replace the back of the cabinet with plywood cut to the right dimension. The suction of the fan caused the backing to bow in. The stock backing is like a very hard cardboard. The previous cabinet I did, I used plywood for the back. I also mounted movable shelves to the back board and placed the plants there so the light was stationary and the plants moved up and down. I did add a reinforcement 1x4 board to the back and stapled the cardboard inner part to the board. However, the board has bowed slightly. As the light doesn't touch the side, and it is at the worst of the bowing now, I will let it be and watch it closely. I also remounted my fan using paracord to cut down on some of the vibration. Now I have mostly air noise which is pretty well muffled.

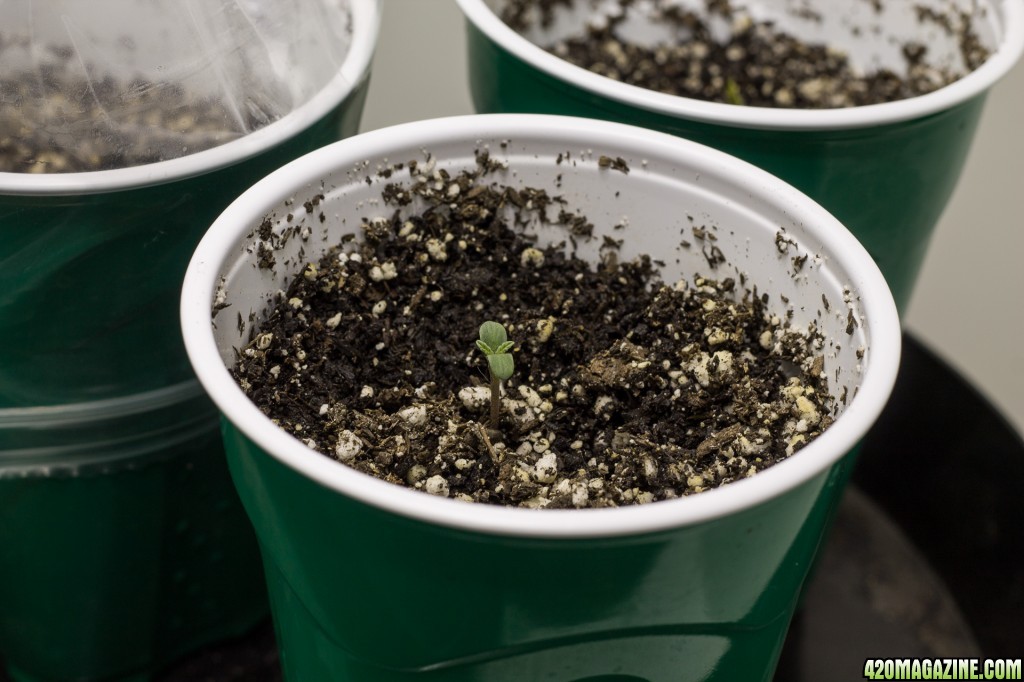
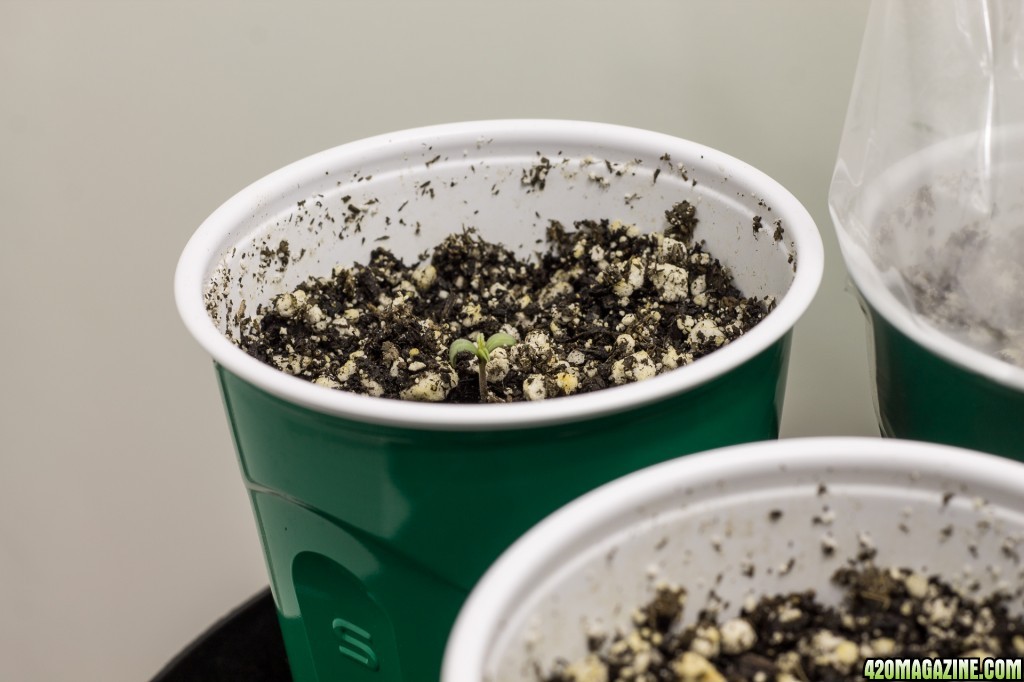
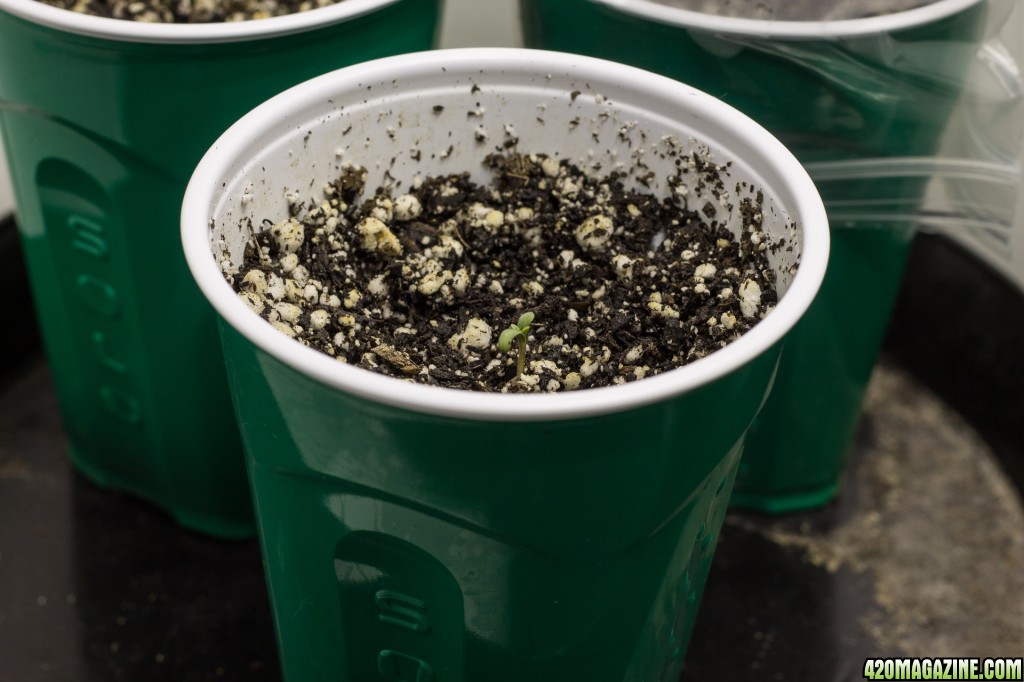
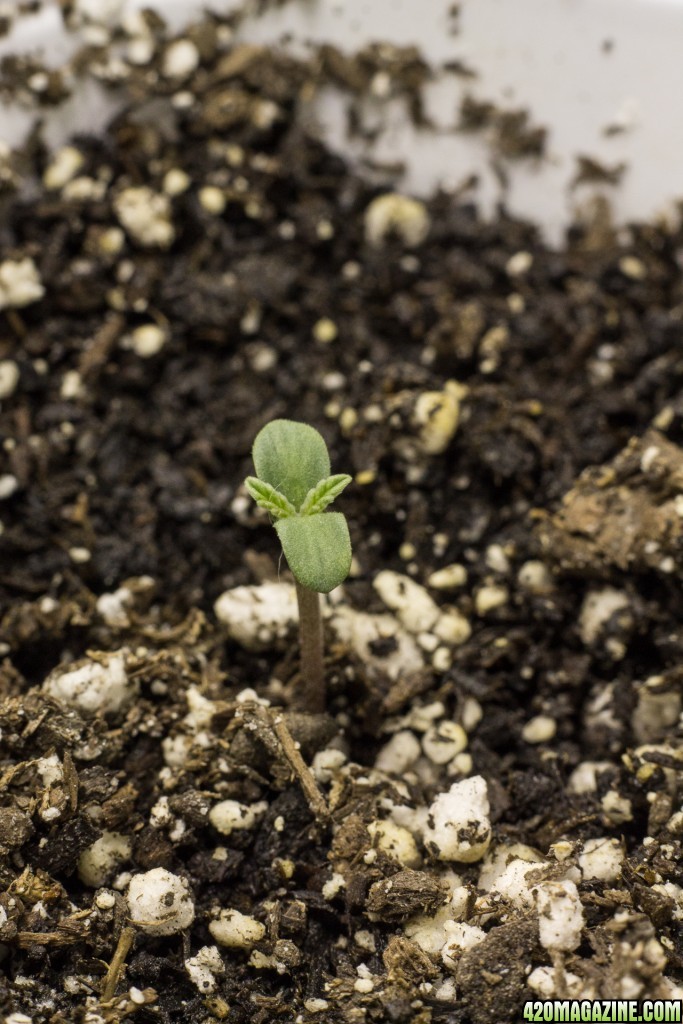
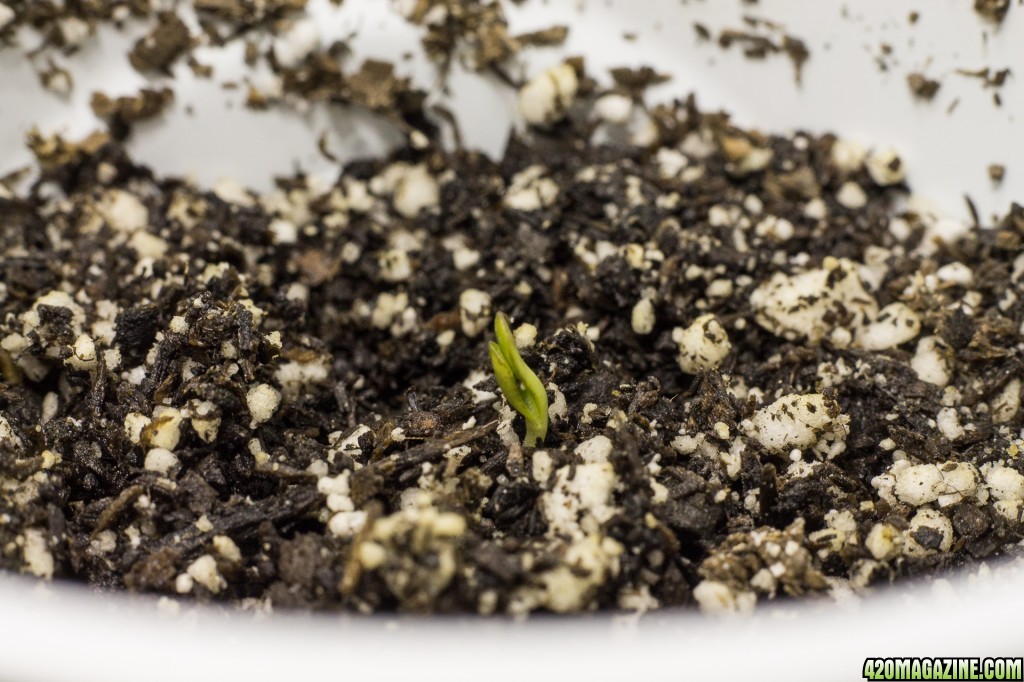
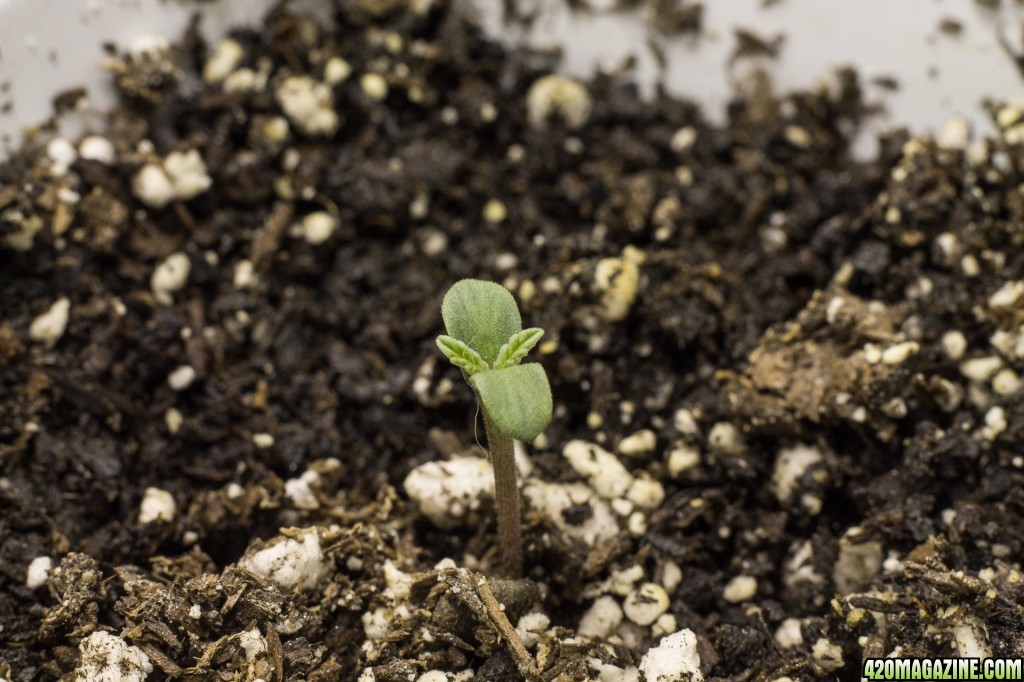
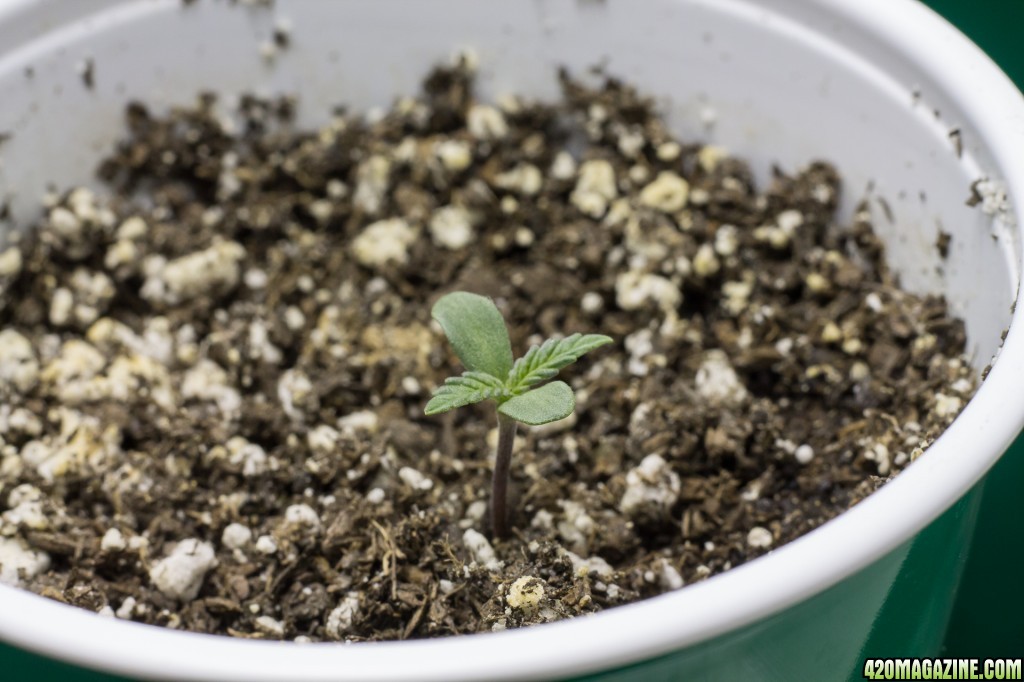
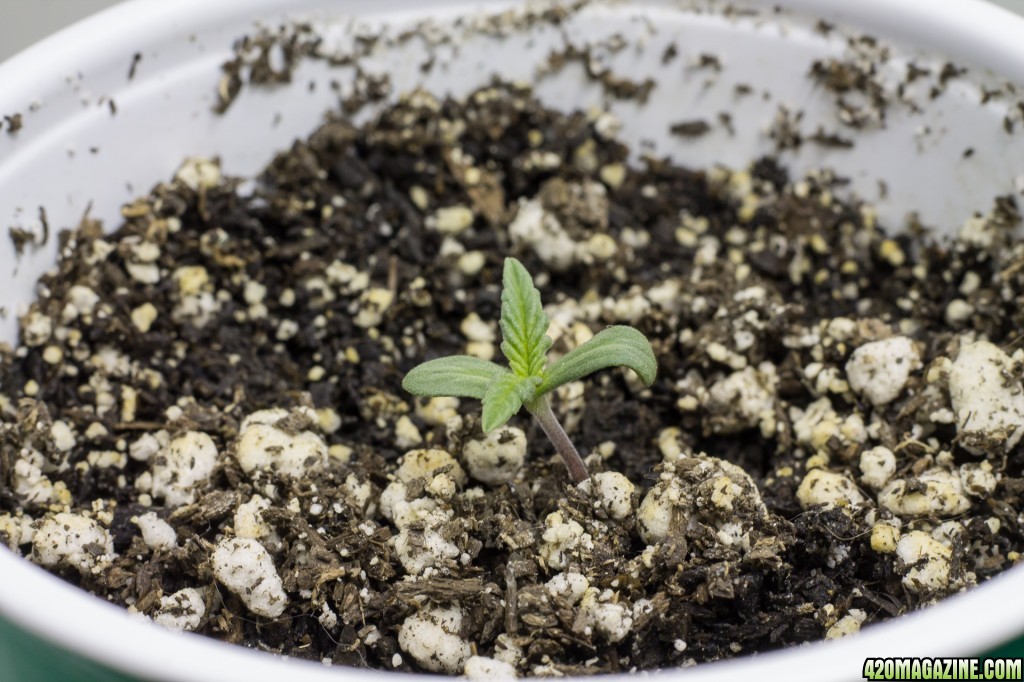
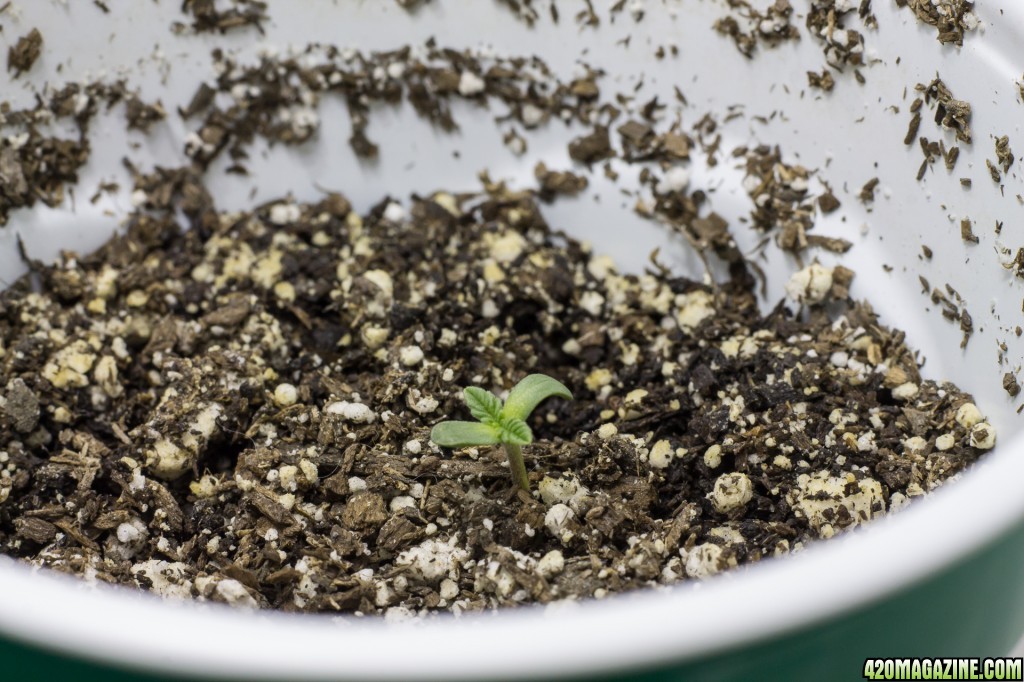
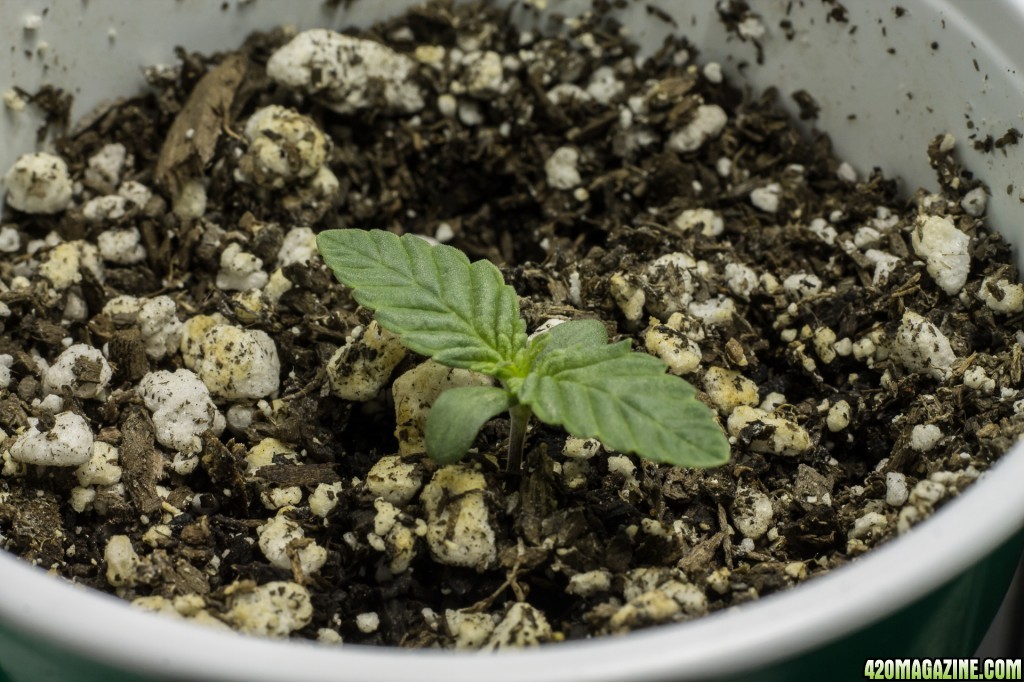
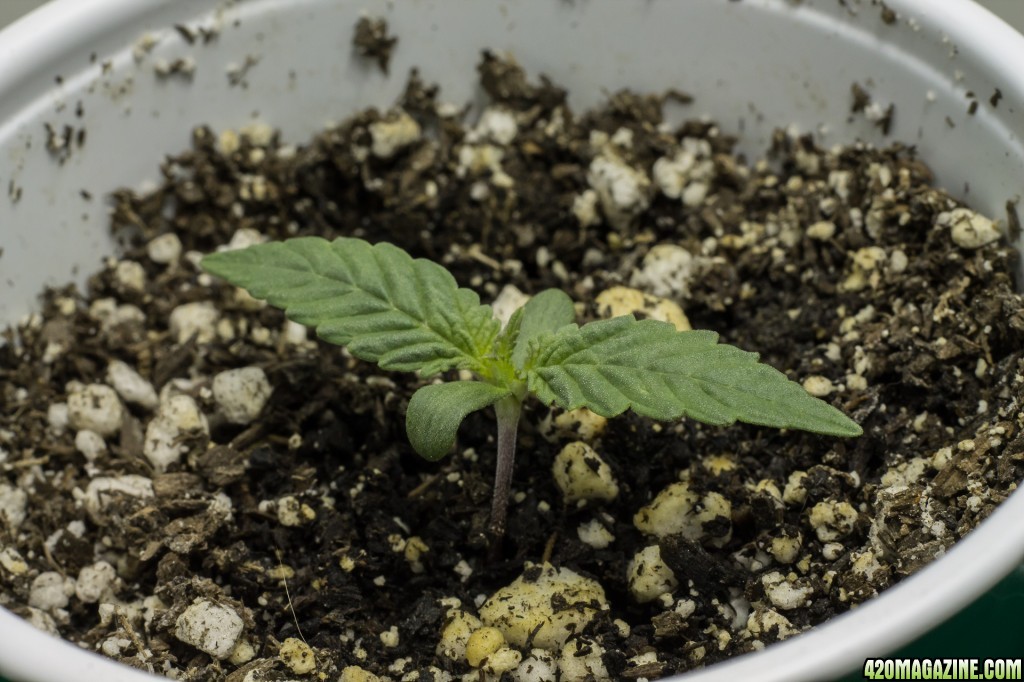
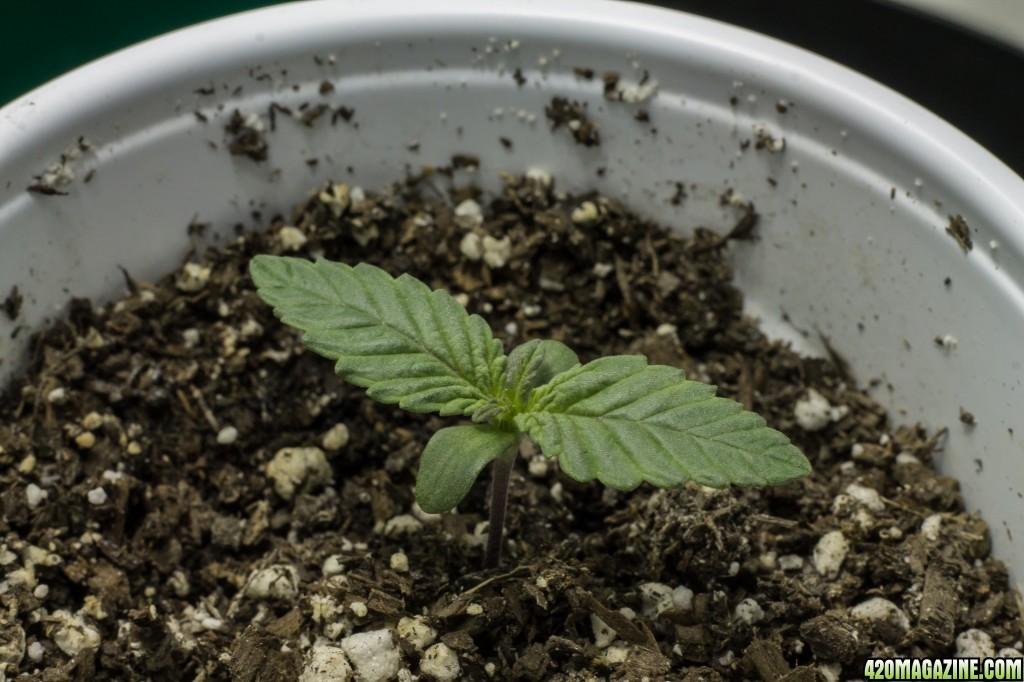
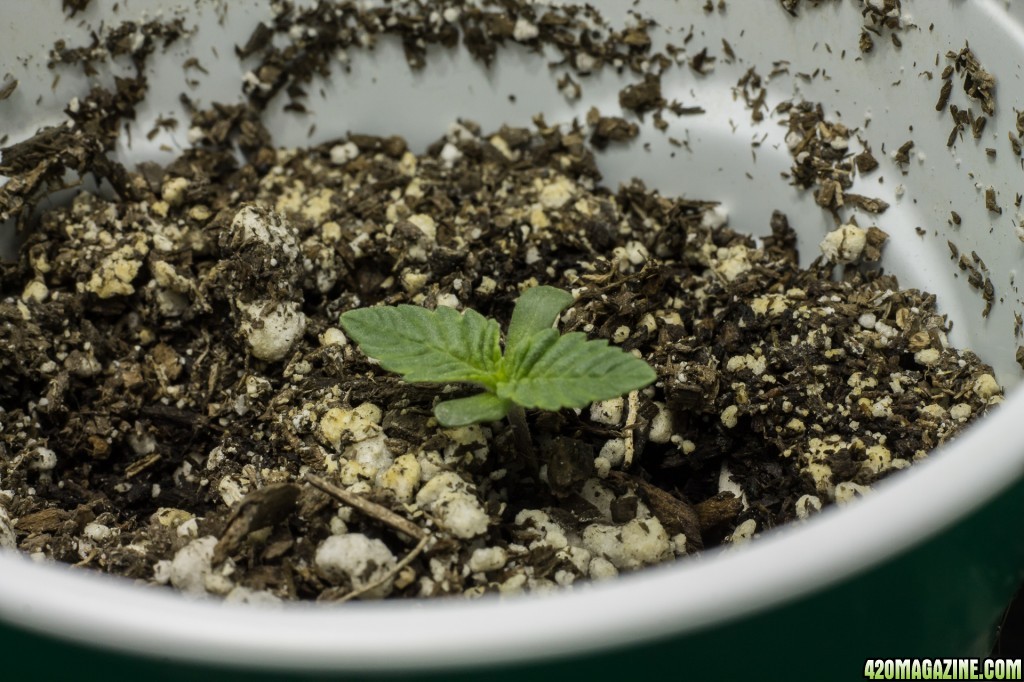
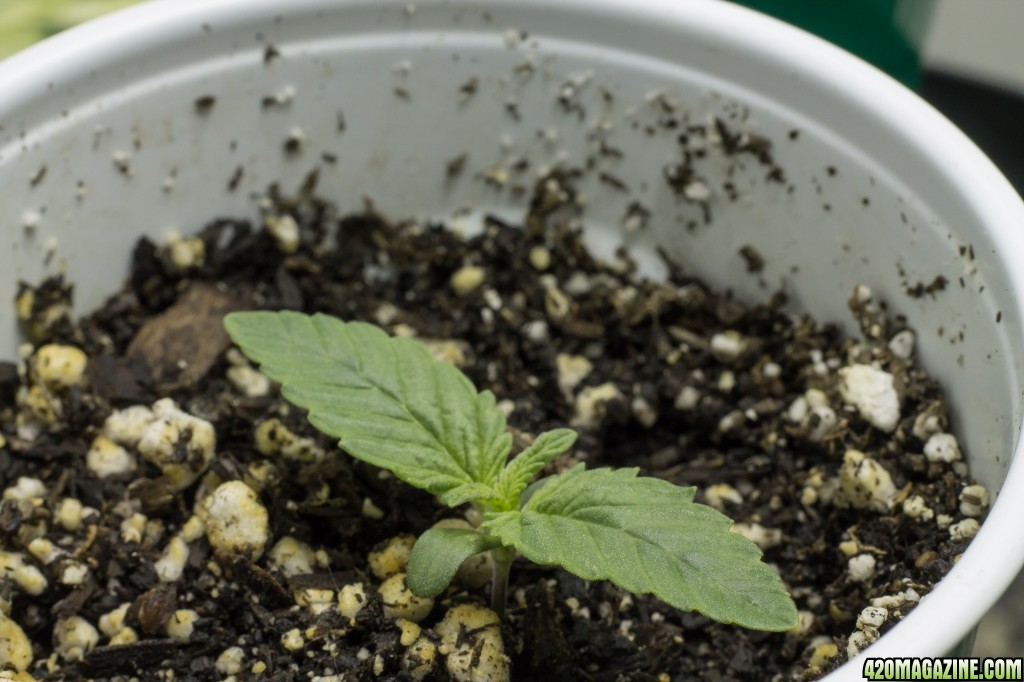
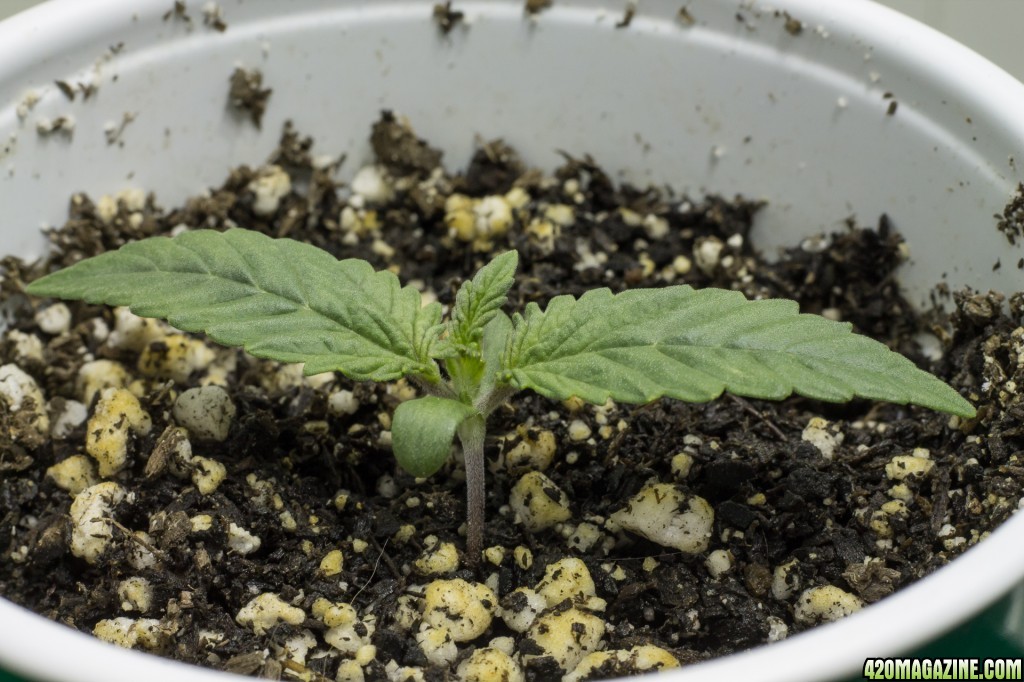
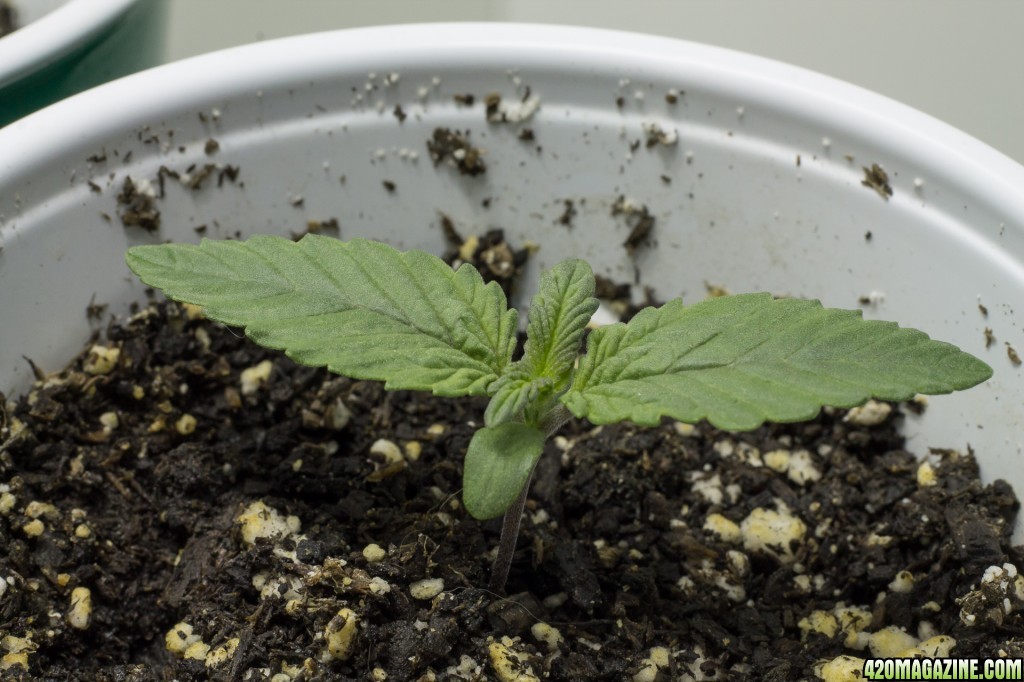
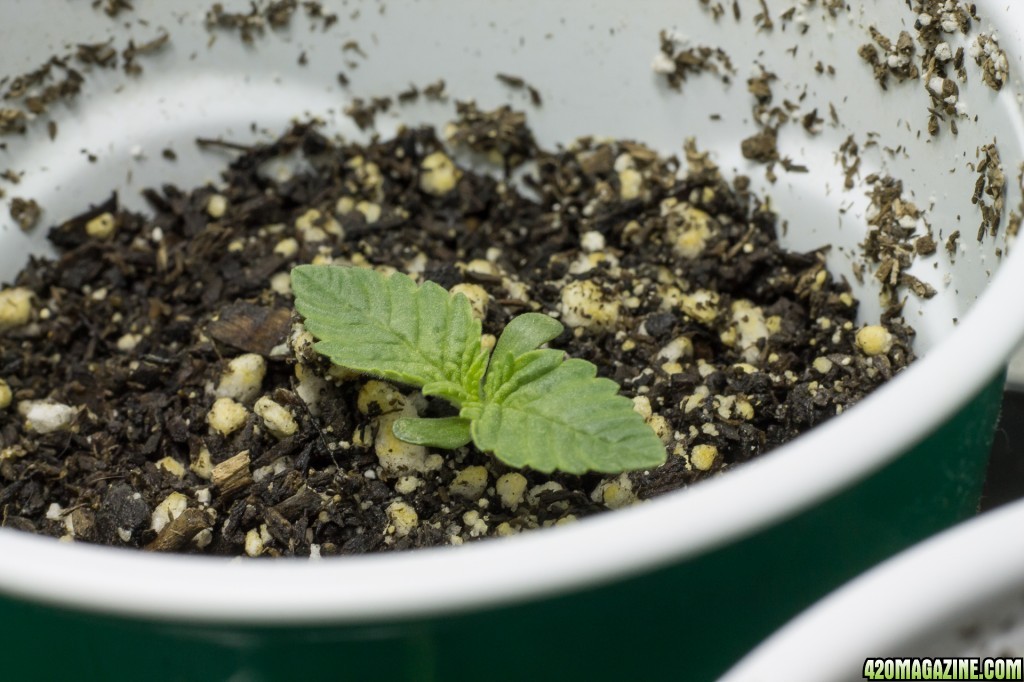
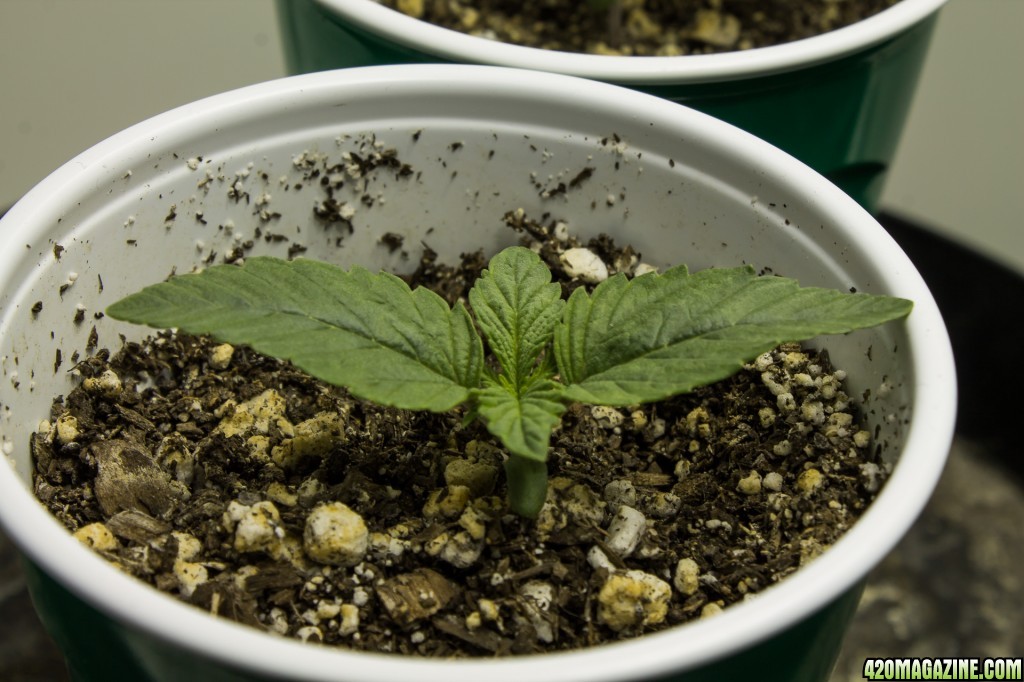
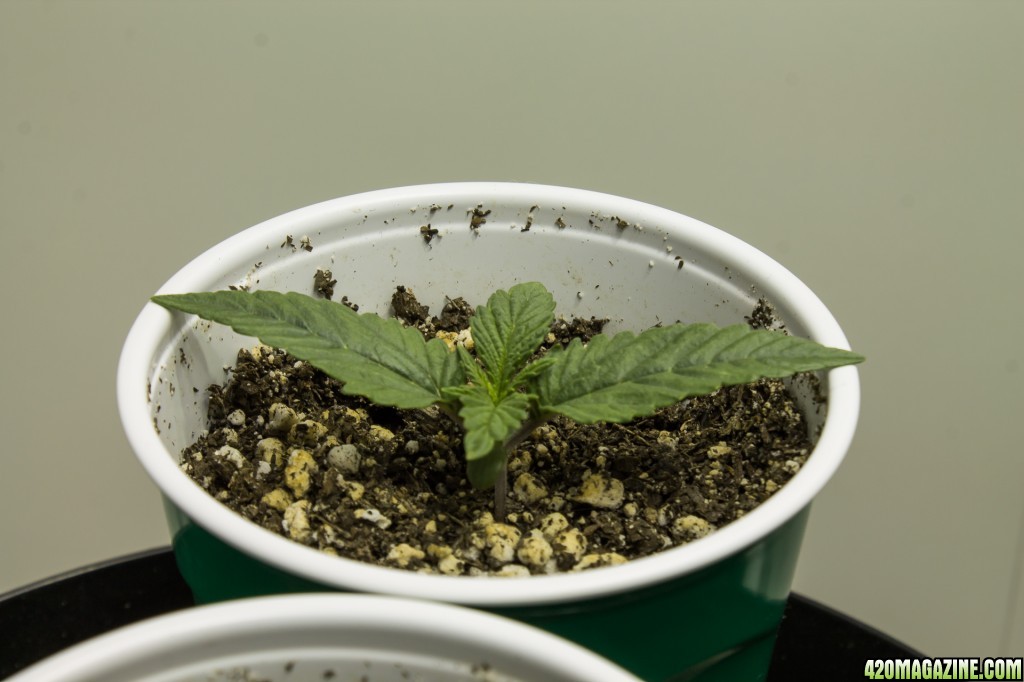
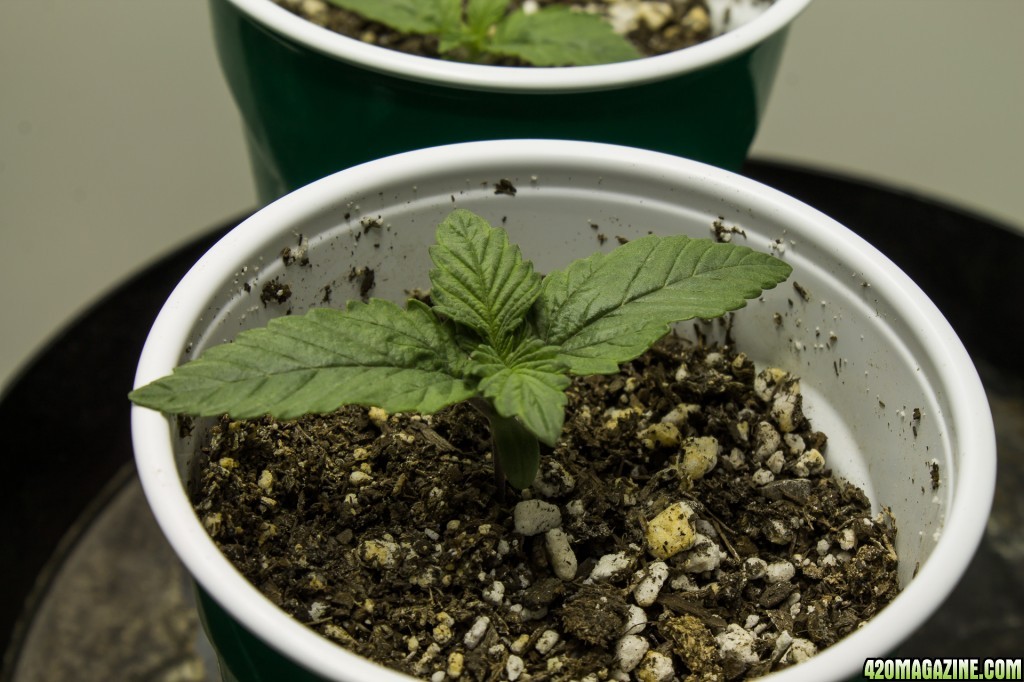
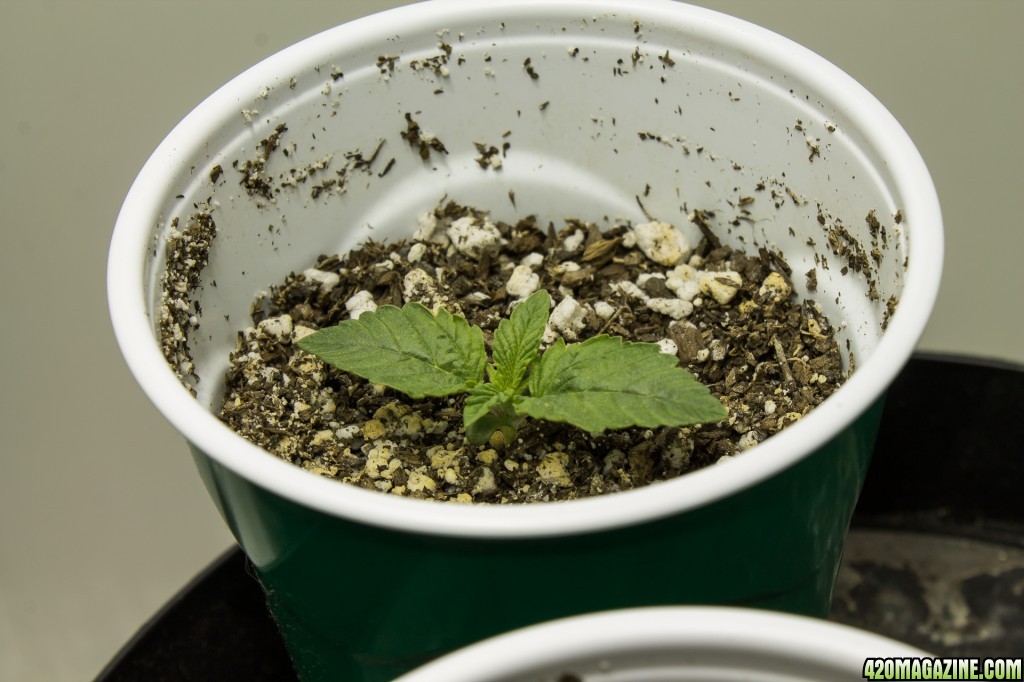
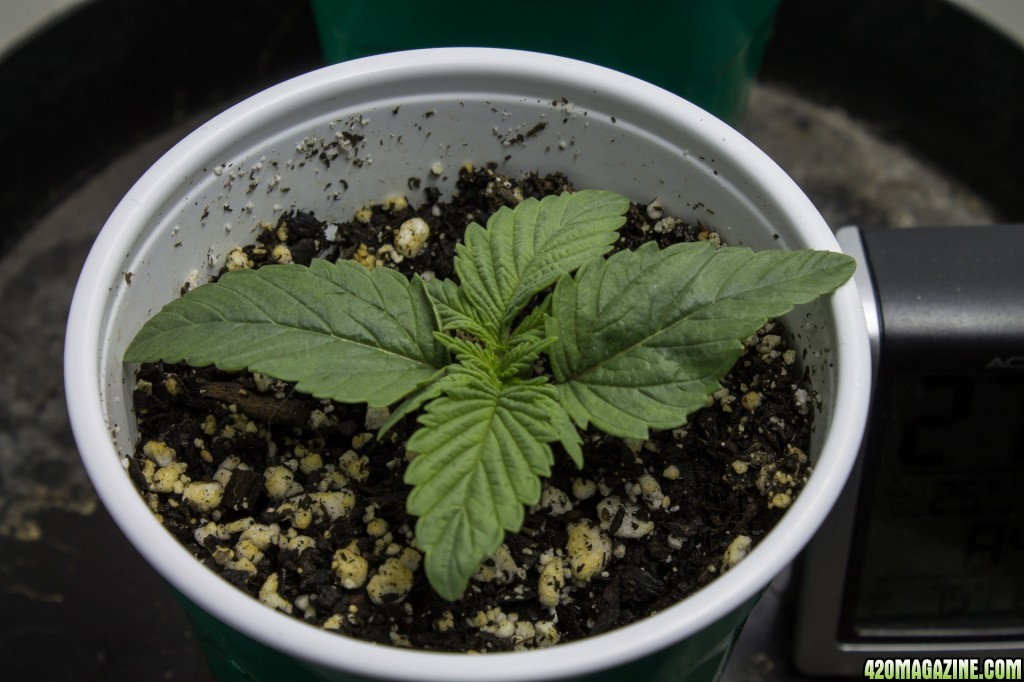
General update on progress: four of the seeds sprouted yesterday. No sign of life from the remaining two seeds. The seeds I got were feminized girl scout cookies from cali connection. They were very small and didn't look particularly good. But four sprouts right around 72 hours isn't too bad. I haven't given up hope on the last two just yet, but will if I don't see anything in the next two days. I do plan to cull my plants down to 4-3 anyways.

Here are some photos from yesterday:
11-28-16-11.jpg
11-28-16-21.jpg
11-28-16-31.jpg
11-28-16-41.jpg
11-28-16-51.jpg


And here are some from a few minutes ago:
11-28-16-6.jpg
11-29-16-1.jpg
11-29-16-3.jpg
11-29-16-4.jpg
 
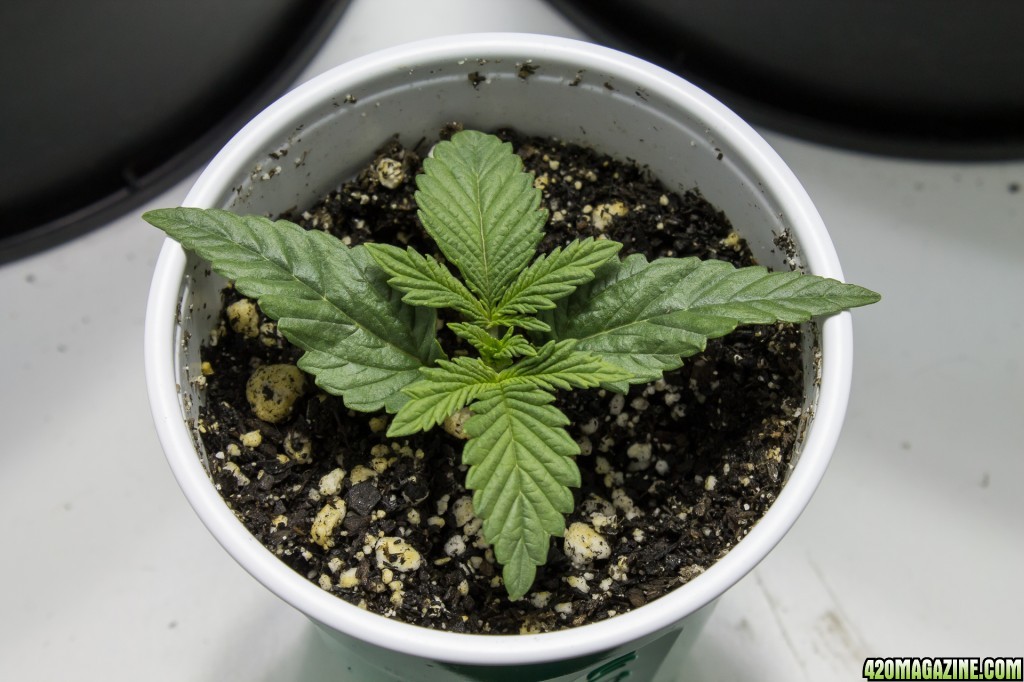
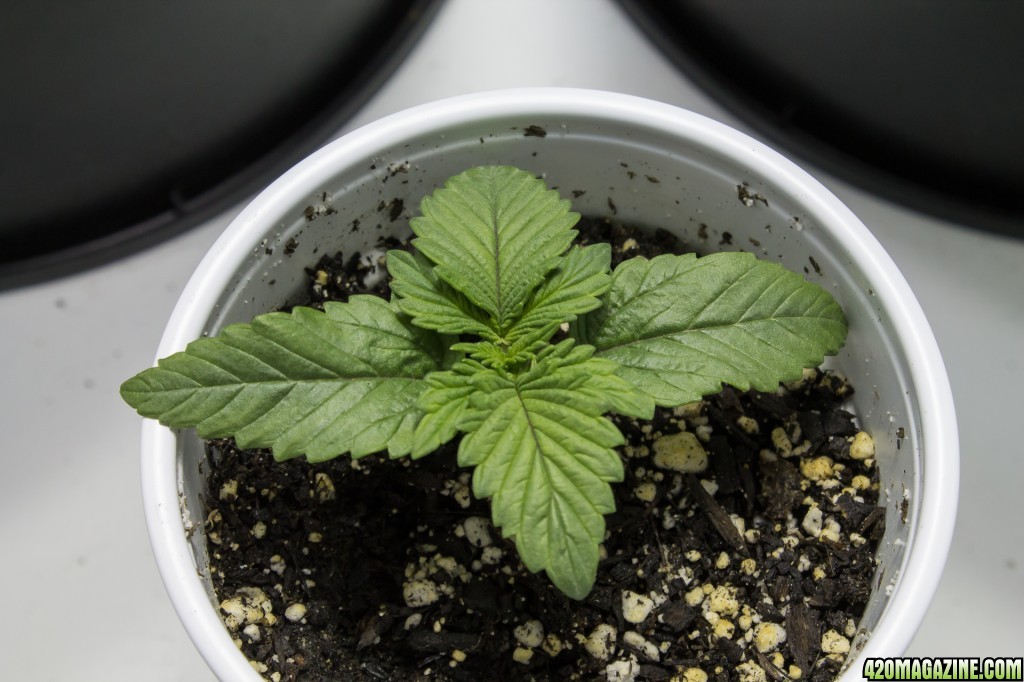
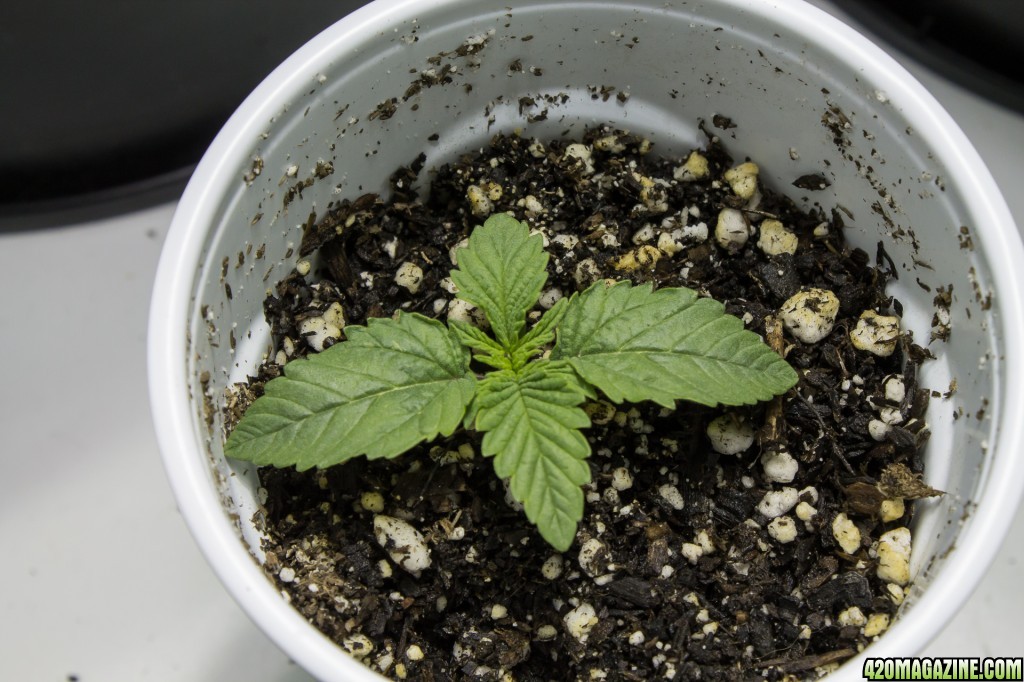
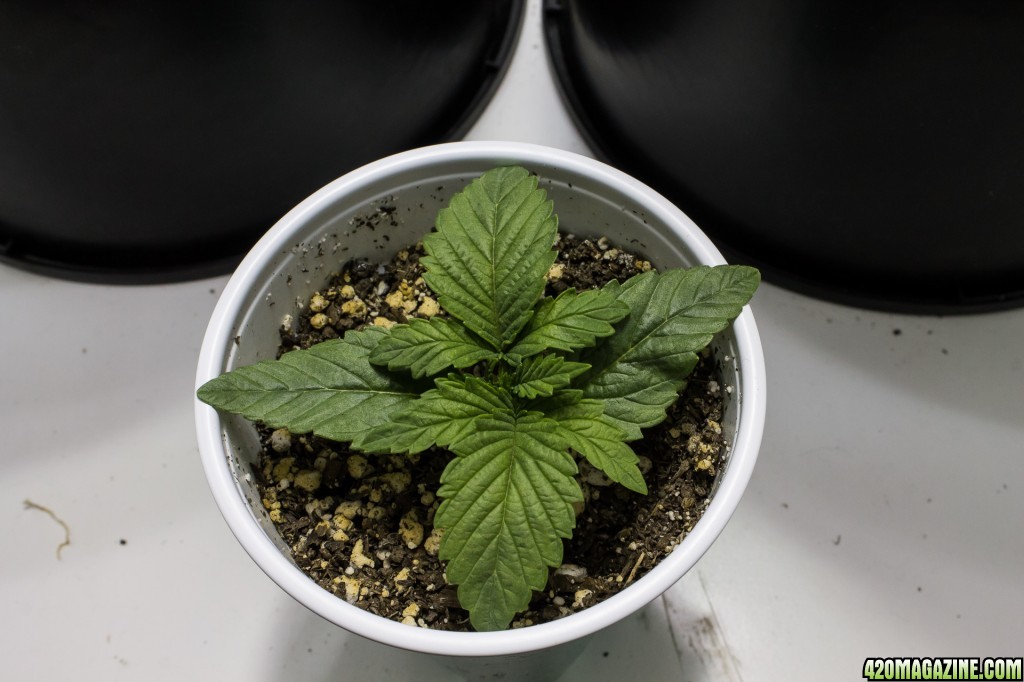
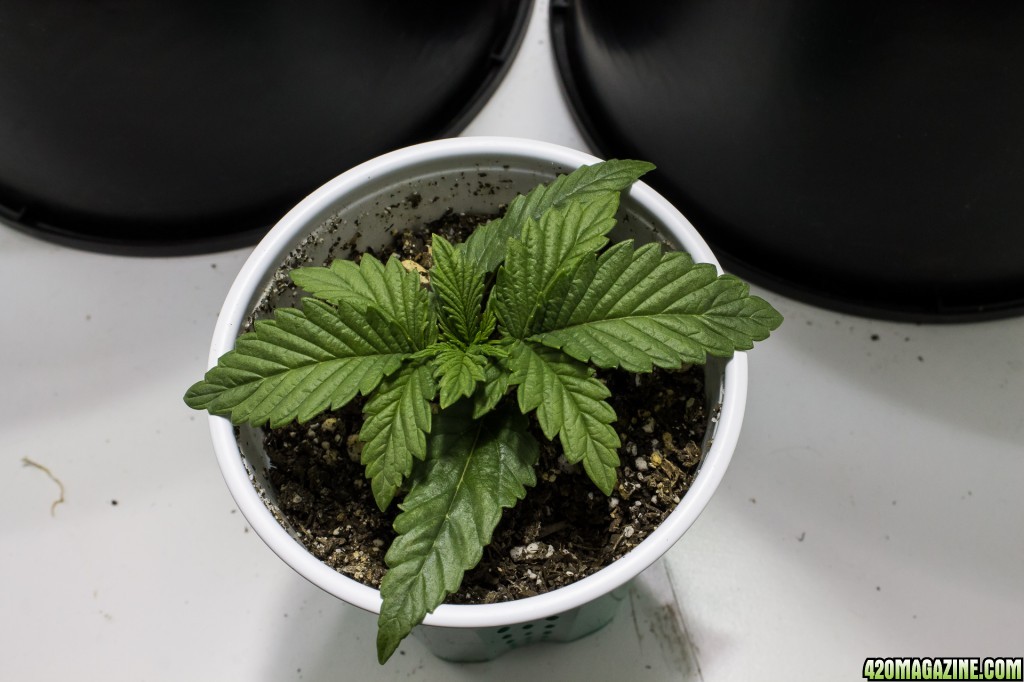
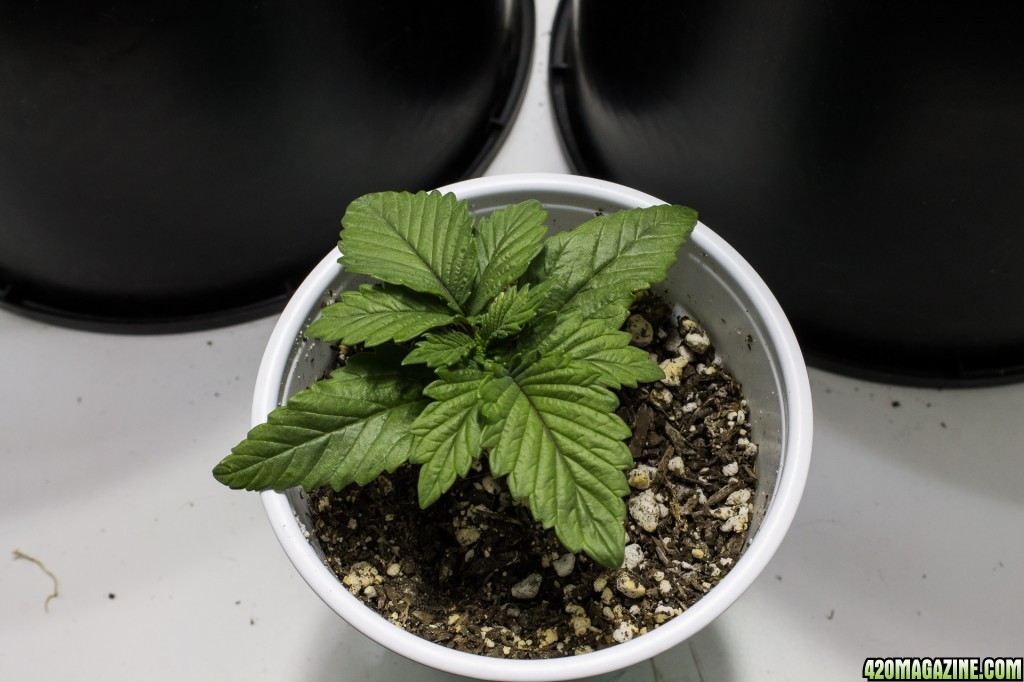
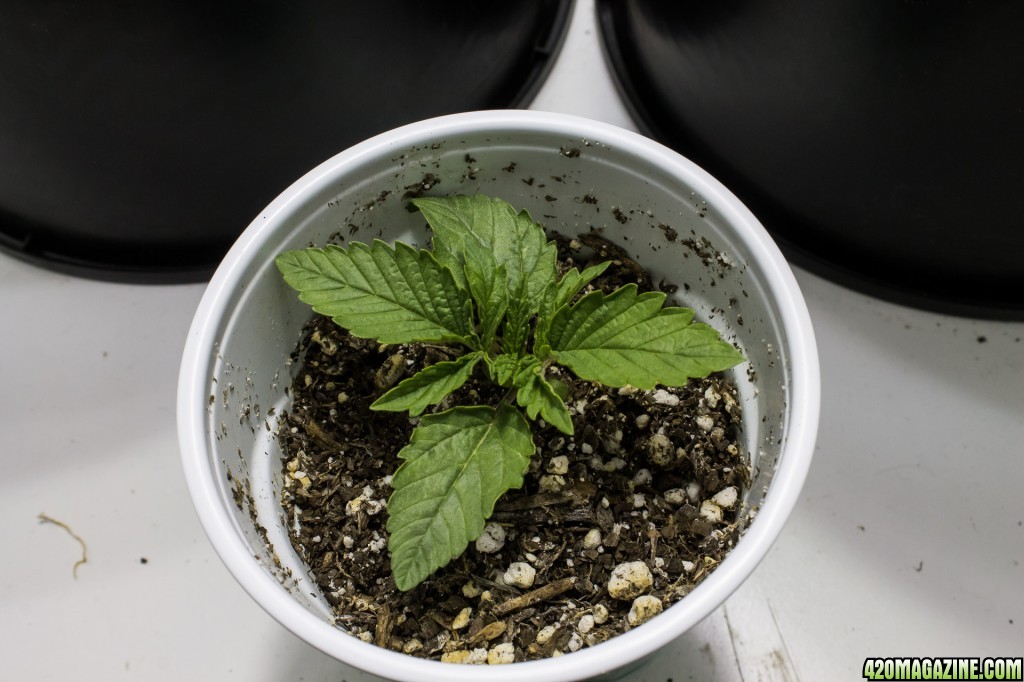
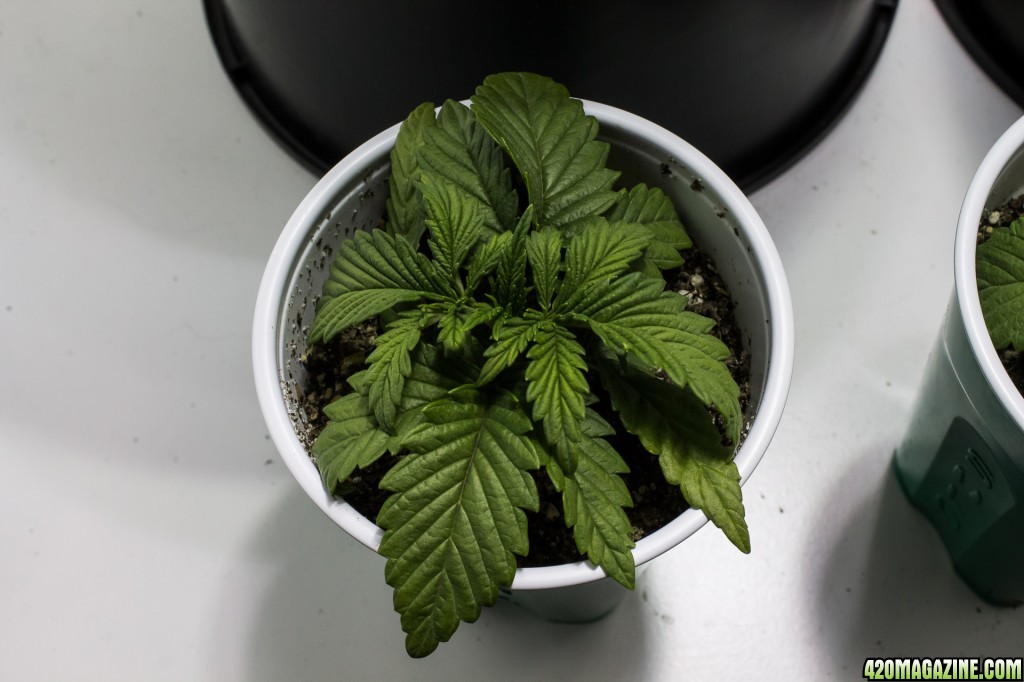
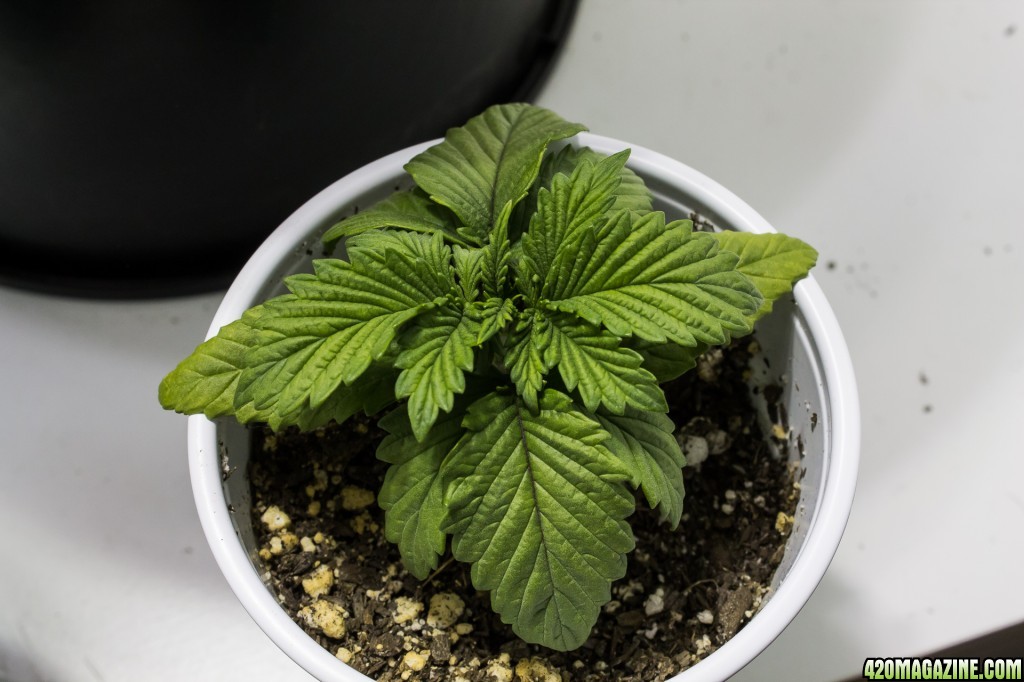
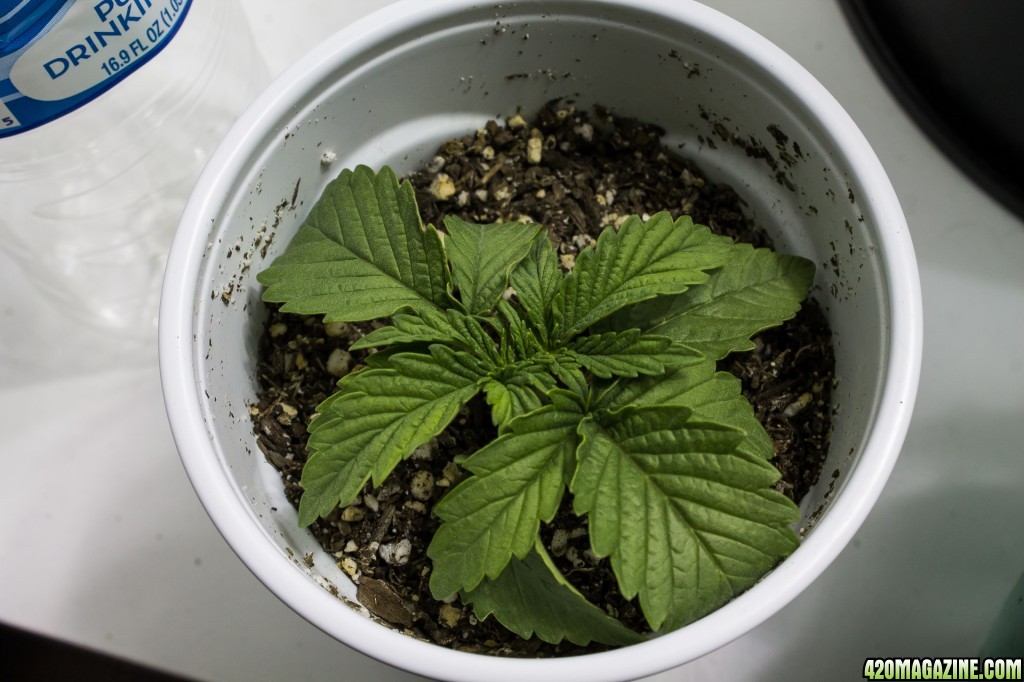
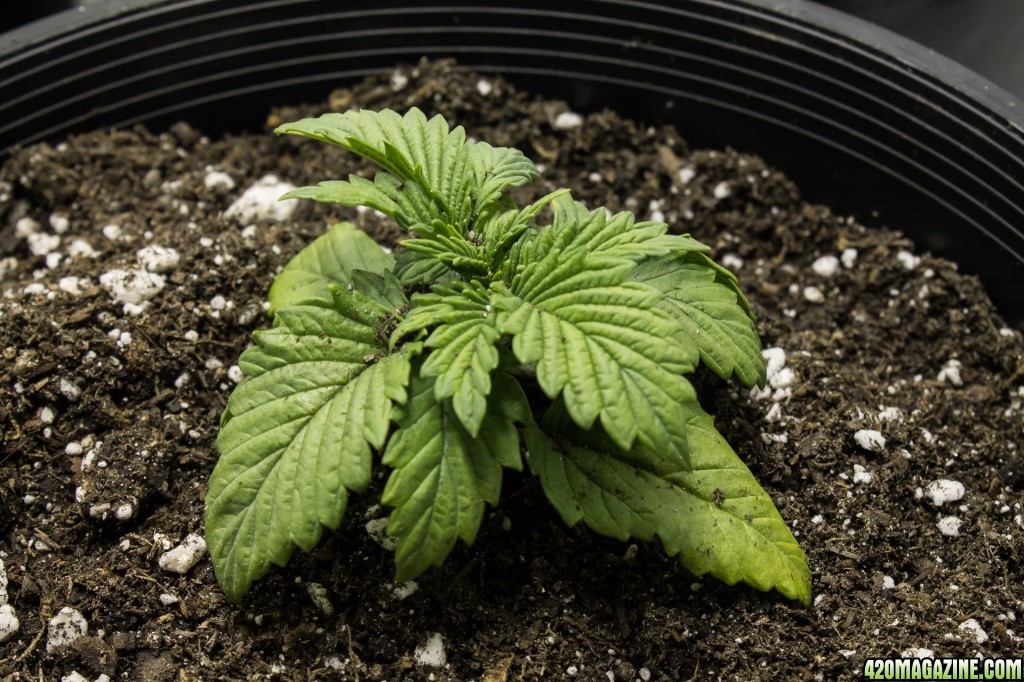
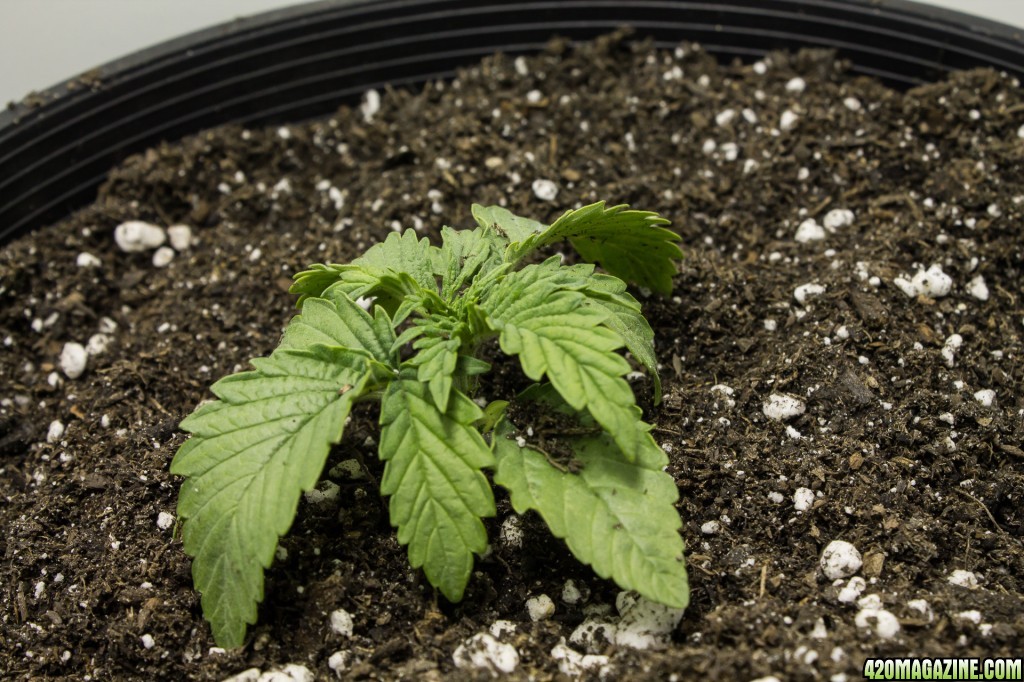
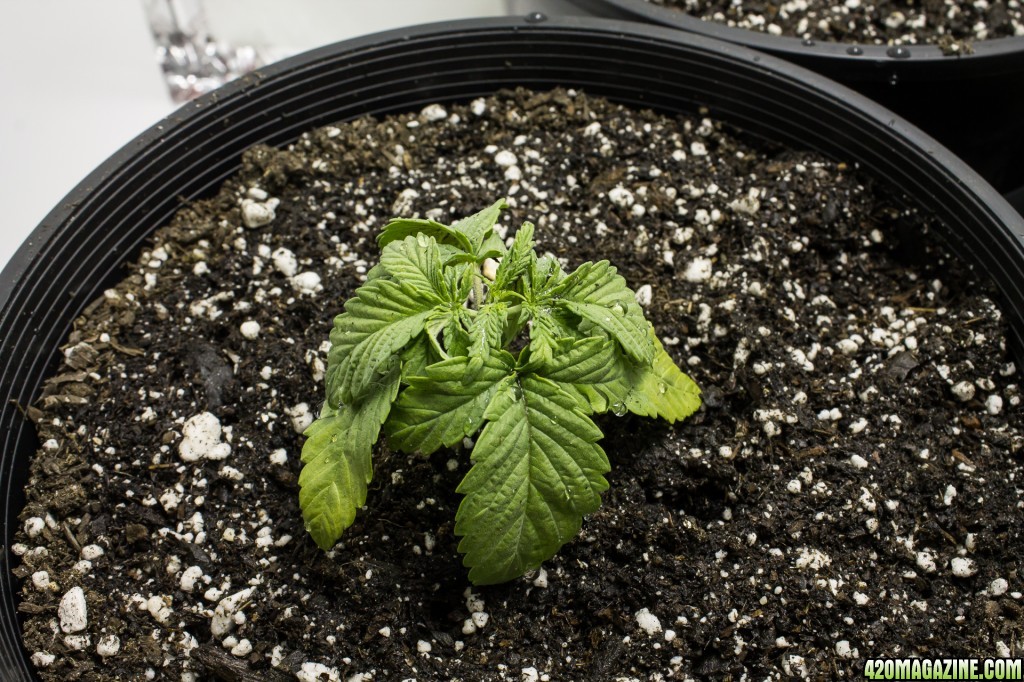
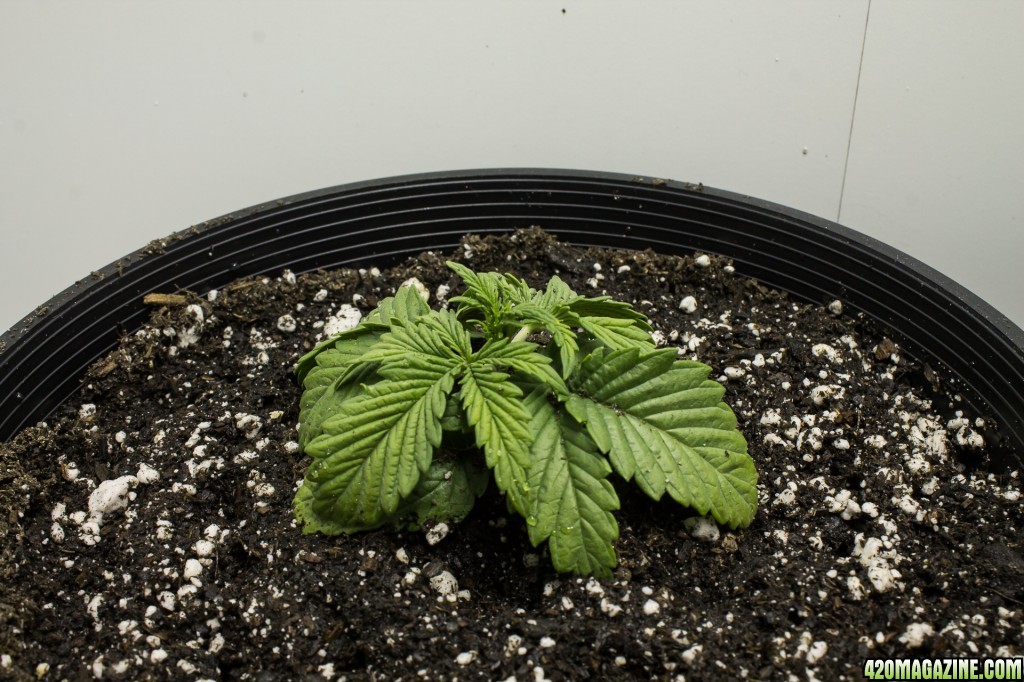
Well here we are two days later, and about 6 days from when seeds went into the dirt. I think things are progressing quite well. I see a second set of leaves starting to come out. From here on out I will try to keep the photos of the plants in the same order so you can see progress of each one individually. I will try to update with photos daily as well.

12-1-16-1.jpg
12-1-16-2.jpg
12-1-16-3.jpg
12-1-16-4.jpg
 
Not much to report. I gave them a full watering since I wasn't sure how dry the soil was and I didn't want to jam my finger all the way down and risk damaging roots. They seem to have sucked up that water and soil looks like a good color still. They are doing well and I think have grown quite a bit. Here they are in the same order again.

12-2-16-1.jpg
12-2-16-2.jpg
12-2-16-3.jpg
12-2-16-4.jpg
 
Not much to update. I have slowly lowered the light so it is at only 11.5" above the plants now. Temp is staying good at around 82 average. I can't even feel the light at that distance. Some houseplant my wife had put in the cabinet started to get burned a little bit. It's leaves turned clear in spots, so we think it was too much light. The girl scout cookie seedlings seem to be loving the light though. They are quite a bit bigger today. Sorry for no photo from yesterday.

12-4-16-1.jpg
12-4-16-2.jpg
12-4-16-3.jpg
12-4-16-4.jpg
 
Things are looking good, just wait till they get a bit bigger and then you can put them in bigger containers and watch them explode!

-Vape
 
Anthocyanin and Username97, thanks for the encouragement. I've been busy, so I haven't been able to update. But I have a big update for y'all. I did transplant them yesterday and have some photos to share.

Here they are on 12/7 in the usual order:
12-7-16-1.jpg
12-7-16-2.jpg
12-7-16-3.jpg
12-7-16-4.jpg


And 12/9:
12-9-16-before_transplant-1.jpg
12-9-16-before_transplant-2.jpg
12-9-16-before_transplant-3.jpg
12-9-16-before_transplant-4.jpg


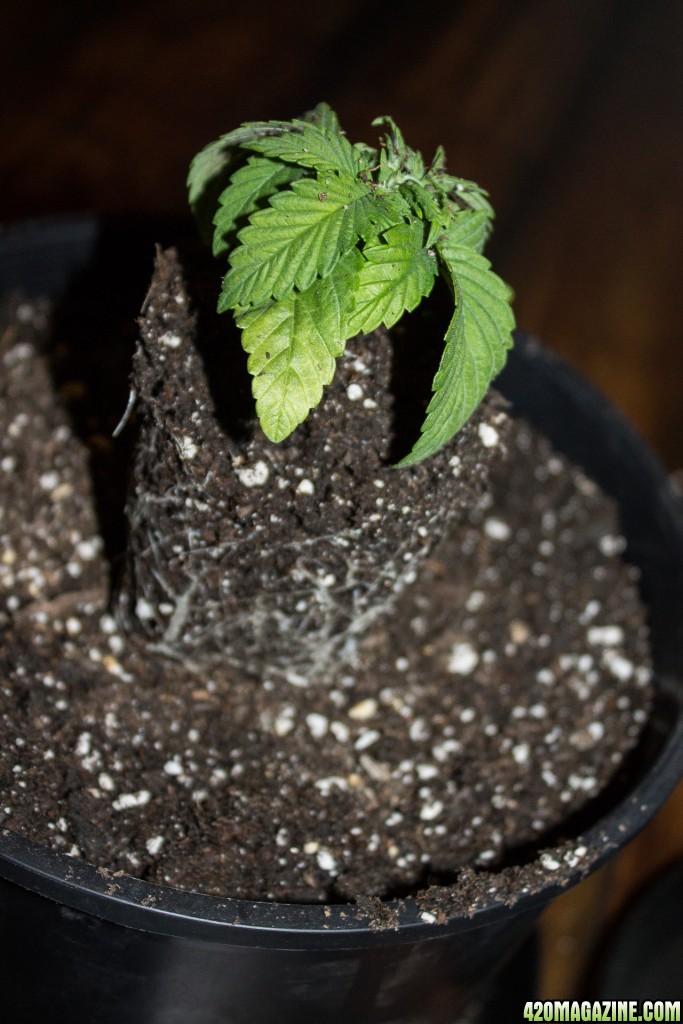
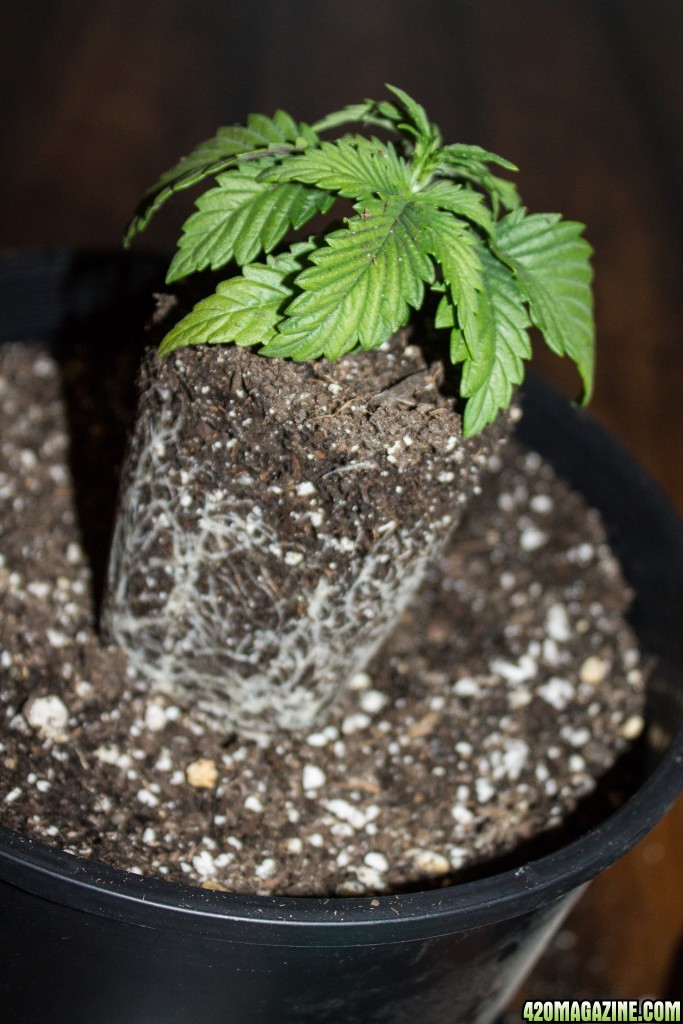
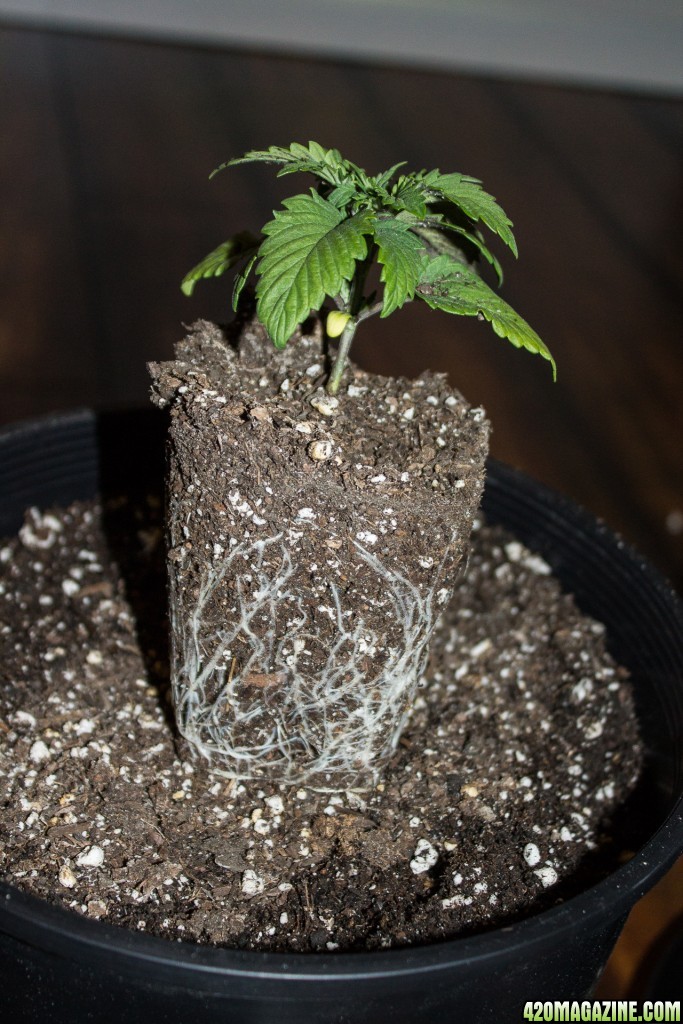
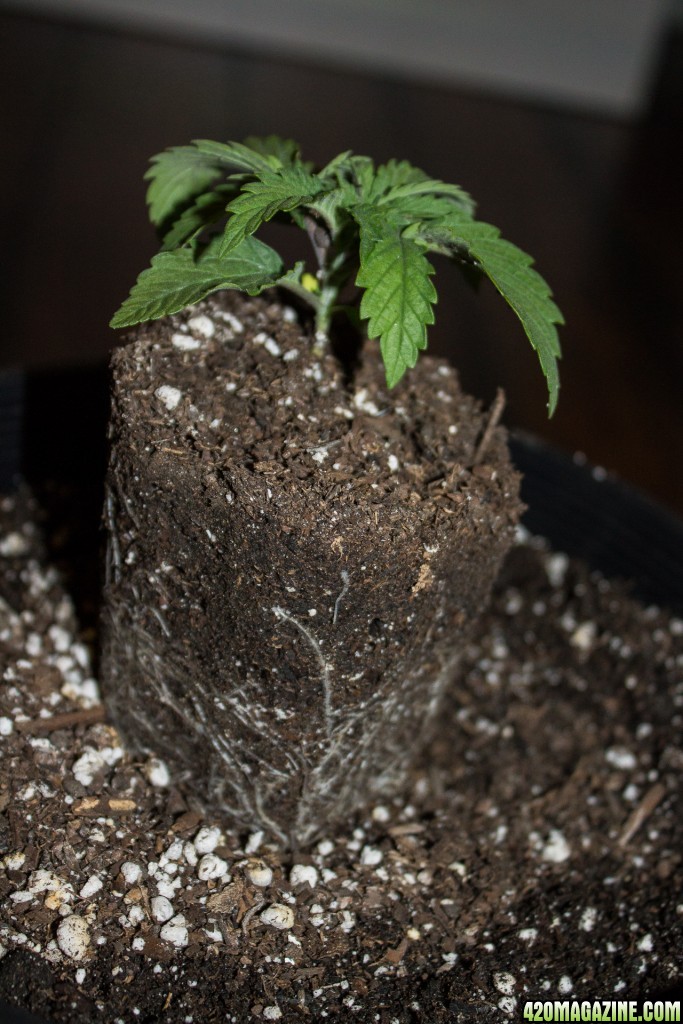
They were looking a little bit crowded, so I decided to move them to their new home:
12-9-16-during_transplant-1.jpg
12-9-16-during_transplant-2.jpg
12-9-16-during_transplant-3.jpg
12-9-16-during_transplant-4.jpg


Roots are looking good, sorry for the blury photos though. Lighting was a bit of an issue during the transplant.

After transplant before water:
12-9-16-after_transplant-1.jpg
12-9-16-after_transplant-2.jpg
12-9-16-after_transplant-3.jpg
12-9-16-after_transplant-4.jpg


And here they are, nice and wet:
12-9-16-after_watering-1.jpg
12-9-16-after_watering-2.jpg
12-9-16-after_watering-3.jpg
12-9-16-after_watering-4.jpg


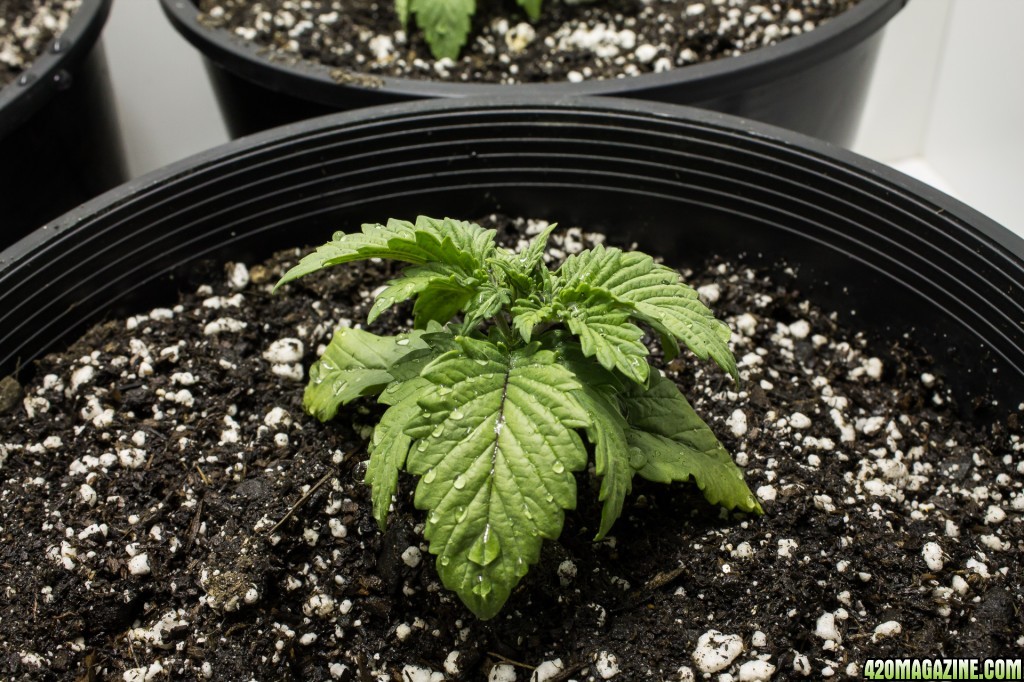
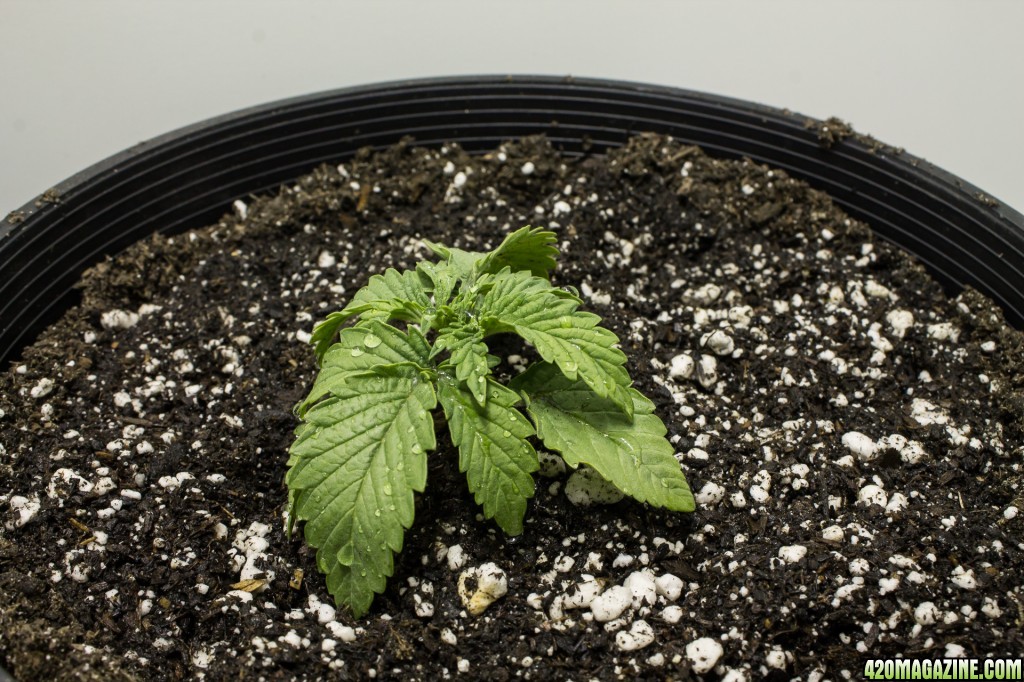
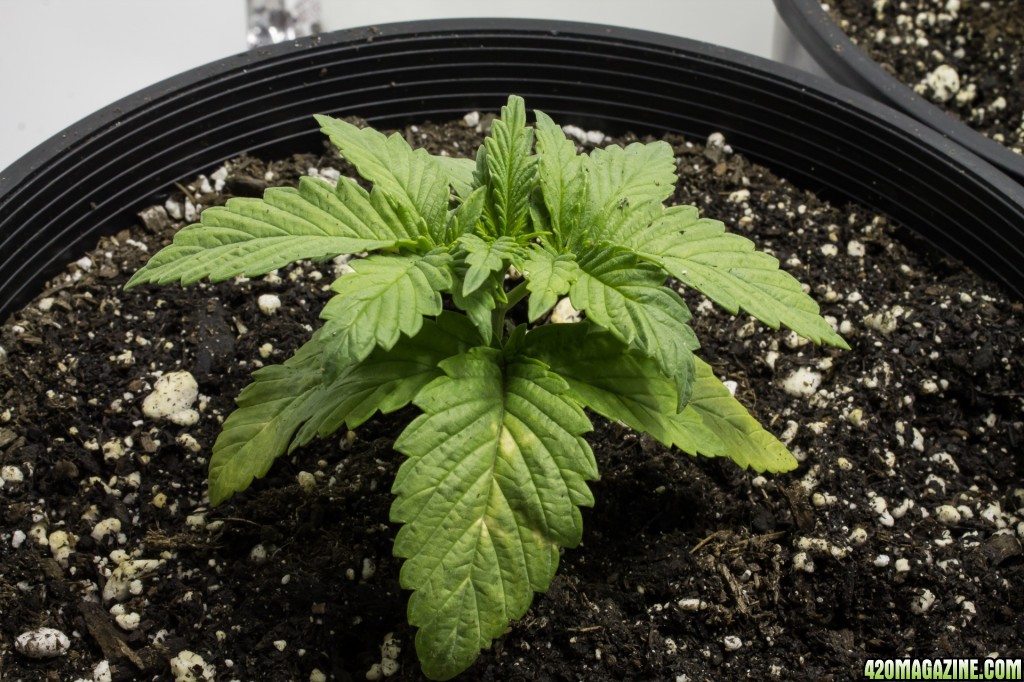
I'm thinking they look a lot happier now. They have perked up a little bit since I transplanted last night. They are still drooping a little bit and look slightly stressed out. I'm sure they will get happier in no time though.
 
They look very stressed at the moment make sure to keep a eye on temp and humid and stuff till the leafs are happy


Sent from my iPhone using 420 Magazine Mobile App
 
They look very stressed at the moment make sure to keep a eye on temp and humid and stuff till the leafs are happy

But looks nice and bushy nice green too

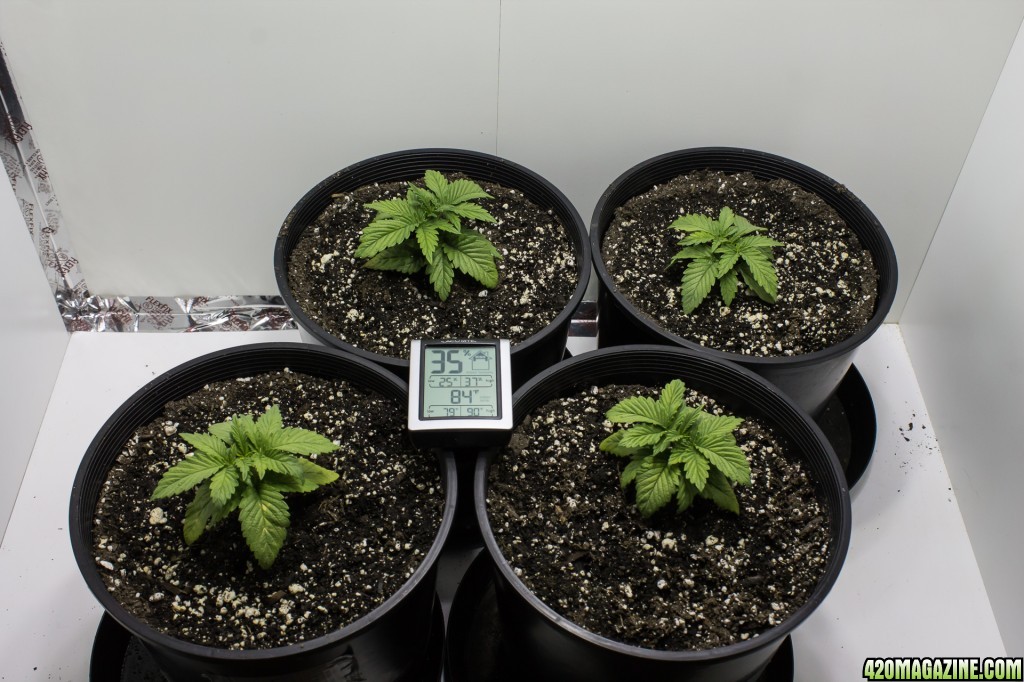
They were very stressed before I transplanted them. They are slowly coming back again. I did have some trouble with temps. Temp was 90 when I checked on them yesterday before repotting. I had been out of town for 2 days. I made an adjustment to the room door so that it can stay cracked open, but the cats can't get in. The room the closet in had been getting quite a bit warmer lately. Now I have temps better controlled around 84. Humidity is hovering around 35%.

well done , they will love you for the pot up

I sure hope so!

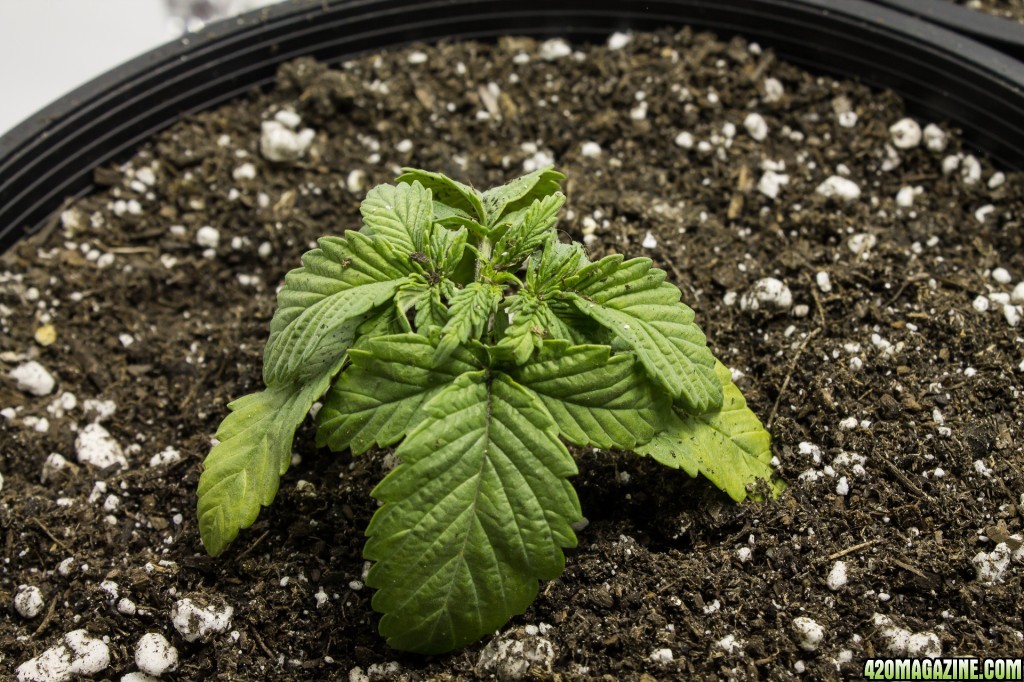
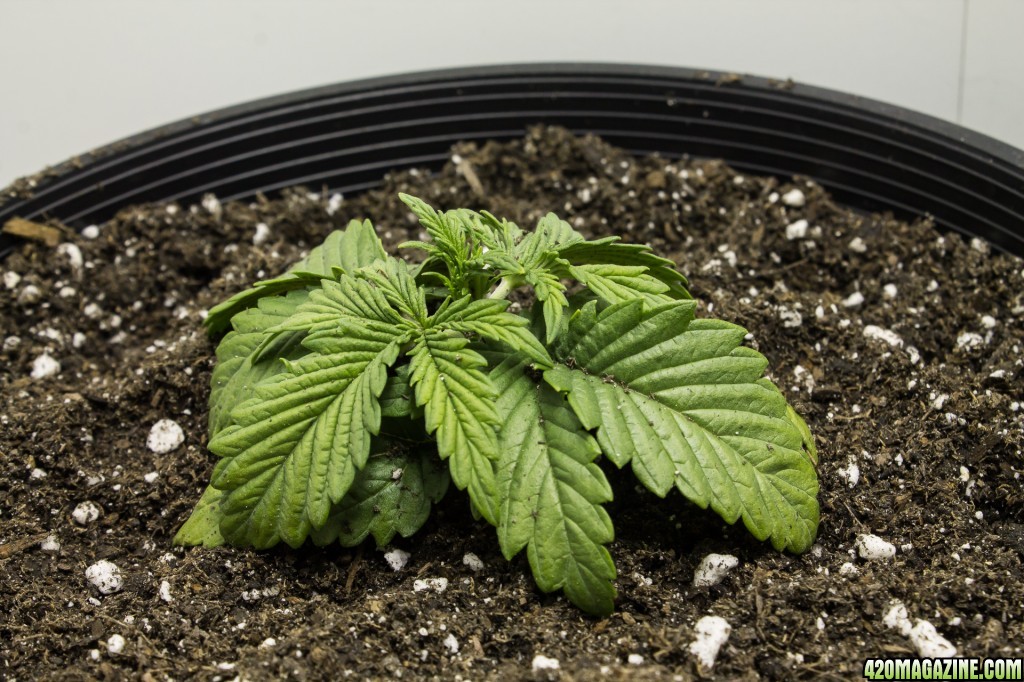
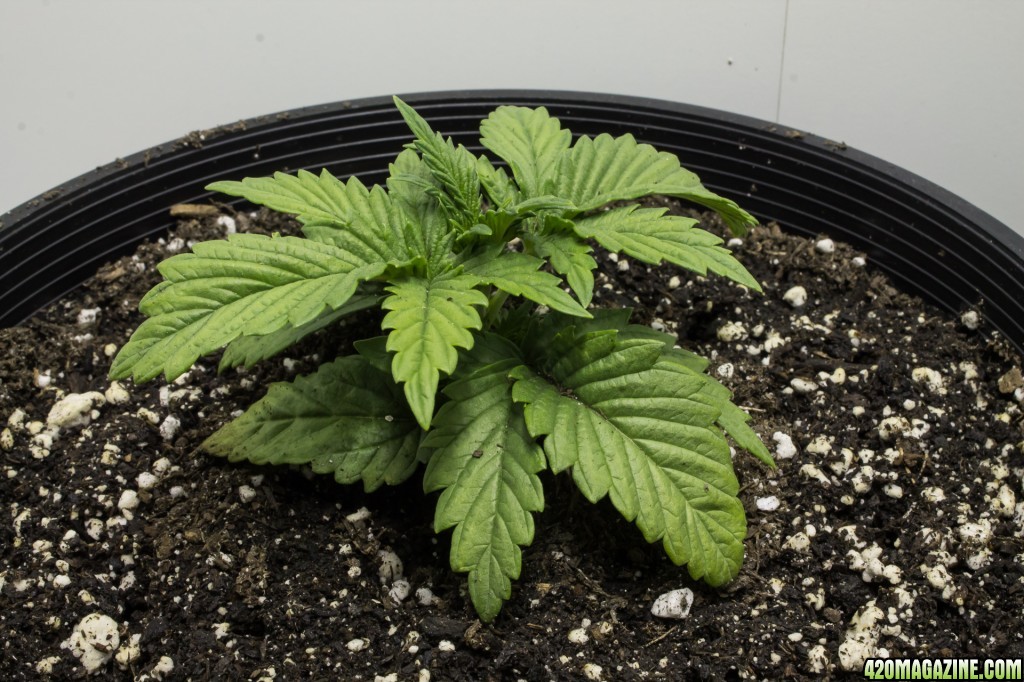
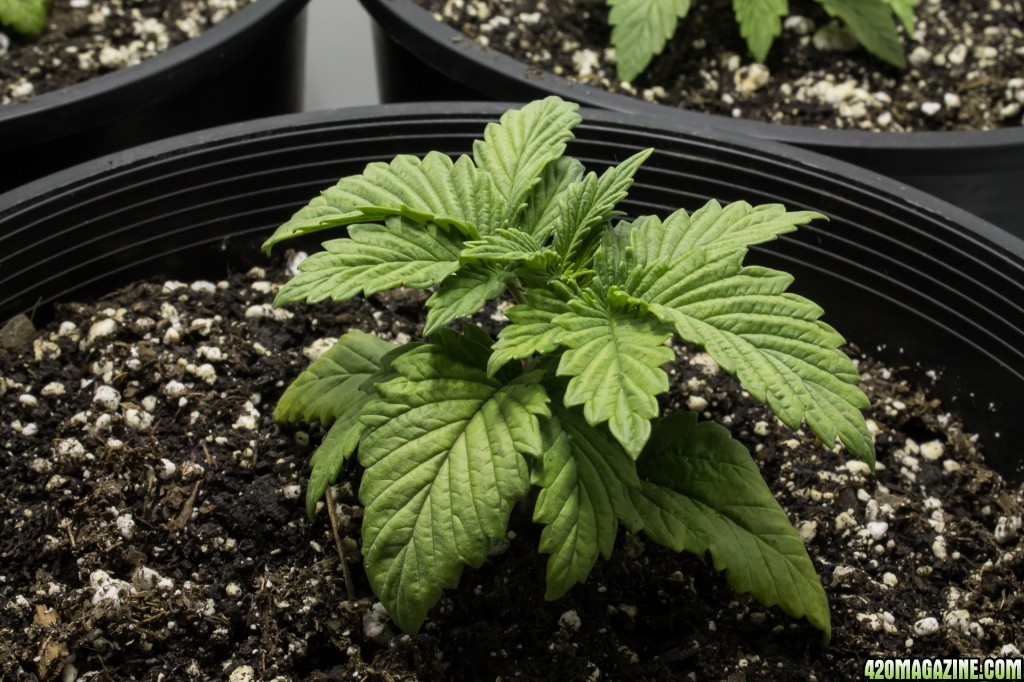
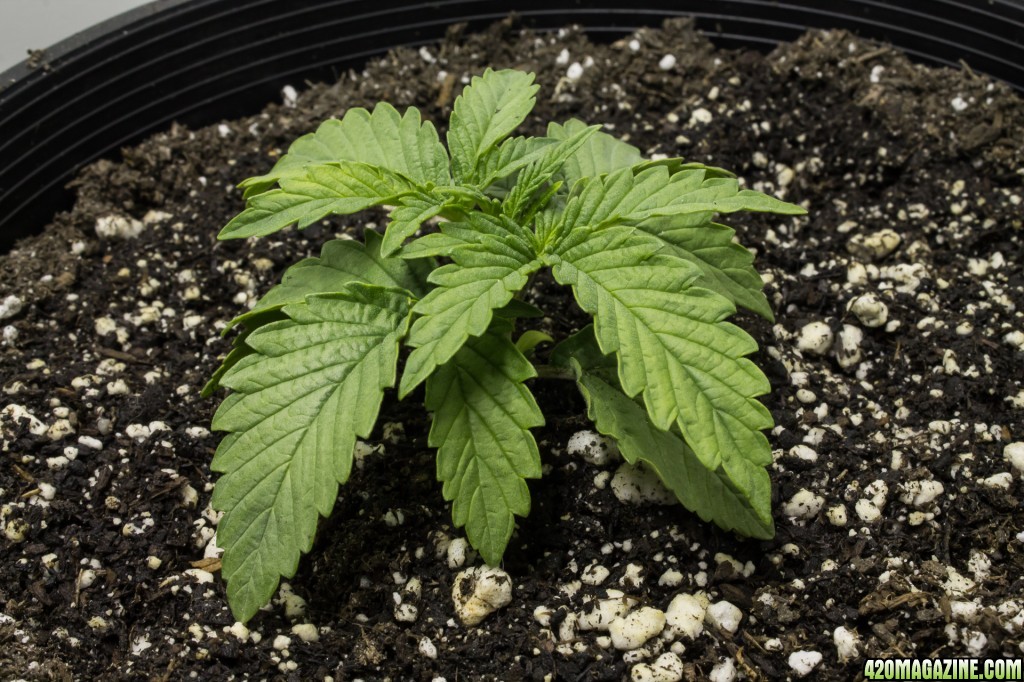
Here are today's pics:
12-10-16-5.jpg
12-10-16-1.jpg
12-10-16-2.jpg
12-10-16-3.jpg
12-10-16-4.jpg
 
Back
Top Bottom