Massive cabinet under transformation w/pics

Pazuzu

New Member
Well I've taken the plunge and found what I believe will be a suitable grow space for my conditions. Because of external circumstances the cabinet will be stealth for smell but it sure will be noticible whereever it is placed. Anyways on to the fun stuff....

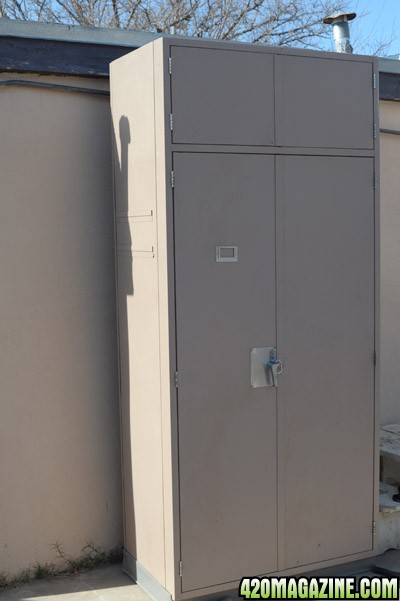
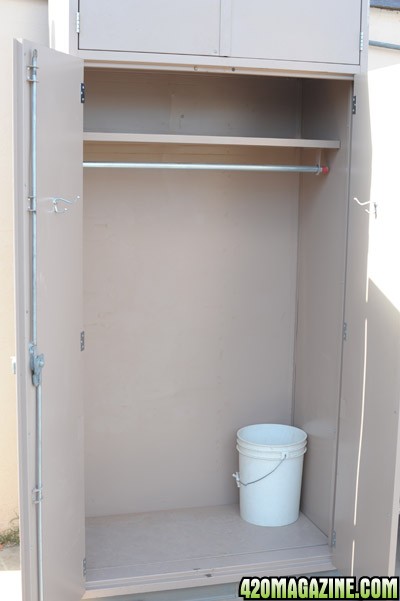
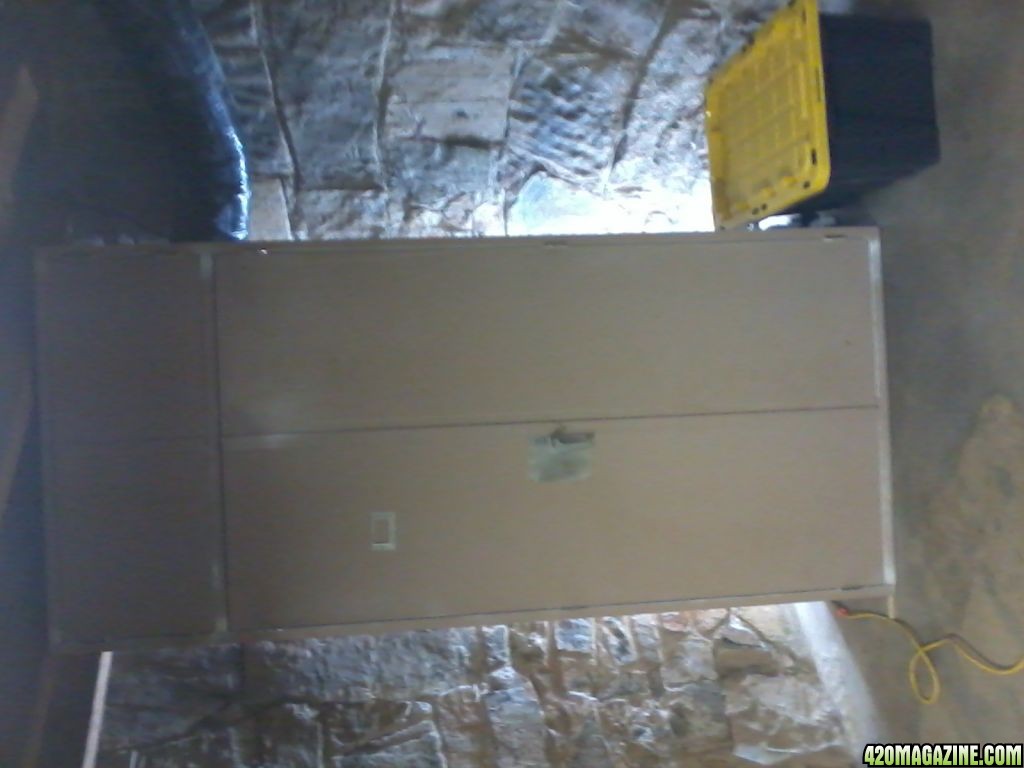
Picked up the cabinet at the local scrap metal yard. After much contemplation on where to find a cheap used cabinet this was by far the BEST solution. There were so many to choose from including fire proof boxes that were used for paint and chemical storage 75$. I decided on this one because of it's sheer massive size. External dimensions are HxWxD 95 1/2in x 42 1/8 x 24 1/8. I don't know about you but I put the tape up and it says my celings are 95 1/2 in exactly a slight over sight. Luckly it looks as if I can cut the bottom toe kick off so I can beef it up with some lumber so I am sure it will hold the weight. These came off the local military base and were used in the dorm rooms for the enlisted men to store thier personal belongings. Excellent find for 30$!!!!

Well I ordered the light today
400W dialawatt lumatek mh/hps
supersun II air cooled hood
Vortex 6inch 450 CFM
(took the plunge, hope it doesn't bite me in the as!)
Organic Air Charcoal Fiber Filter - 4", 6", 8", 10" and 12"
as I could get no info on if it works or not
..either way got the 6in

More to come as materials start to arrive as we have no hydro store here.
Comments welcome throughout the building and then through my first grow. Wish me luck :yahoo:

NM medical ---Wake n Bake
 
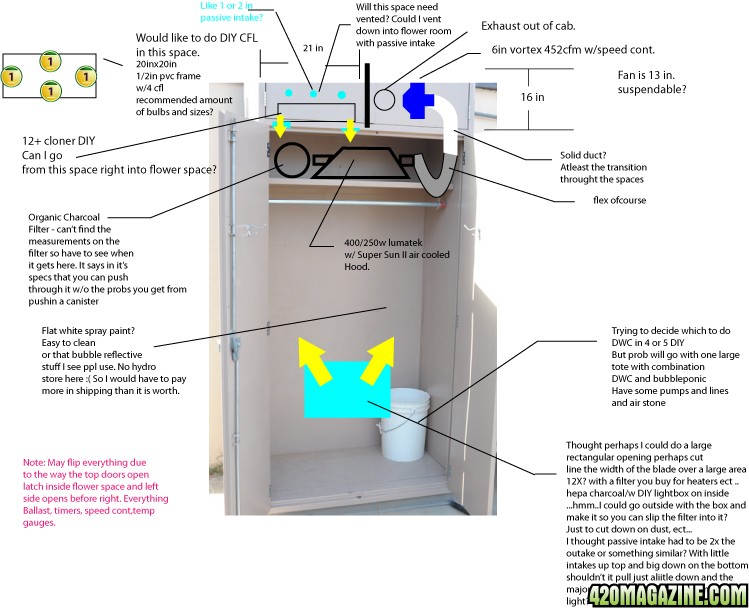
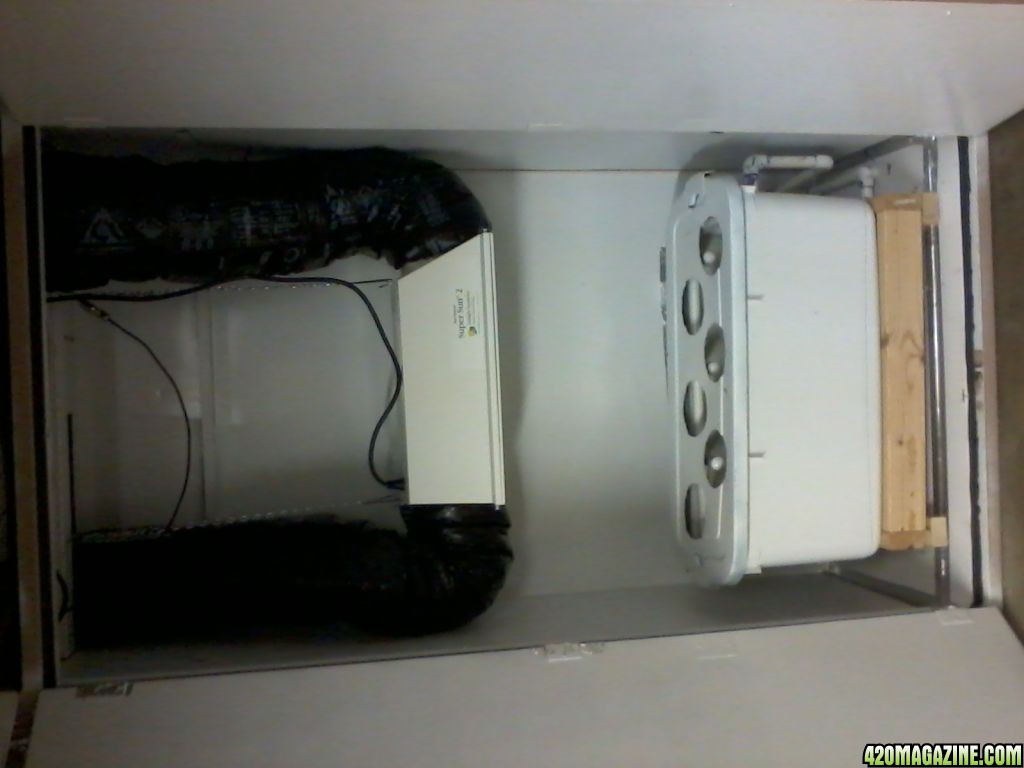
Well in the spirit of progress I thought I would start to hash out the design problems so I have a basis to start when the parts start comming in. Check out the quick diagram I threw together. Lets hear your thoughts on my ideas or even what you would do with the space.

I hope that I can learn something from your guys expertise

Thanks in advance and as always:

Wake n Bake :roorrip:
 
front_closed.jpg

open_front.jpg

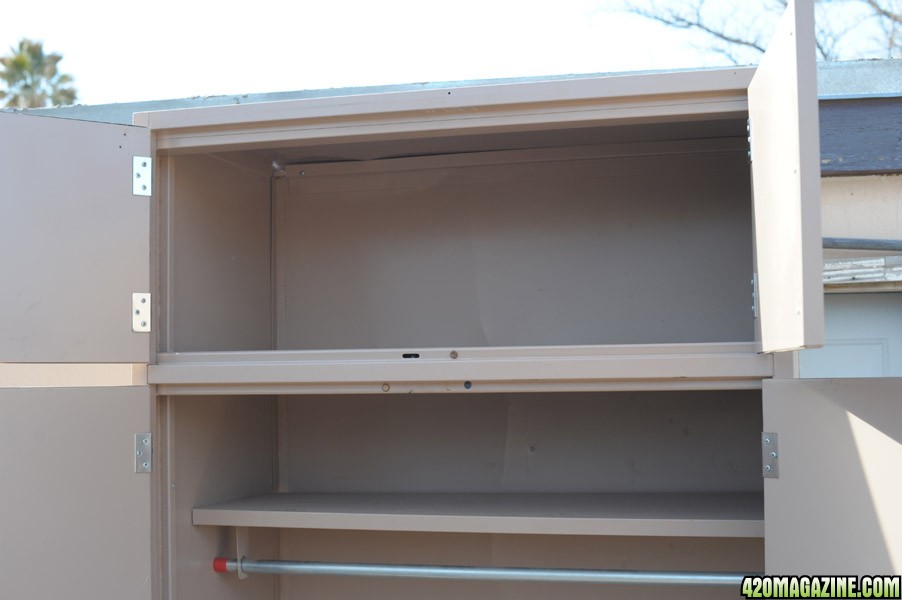
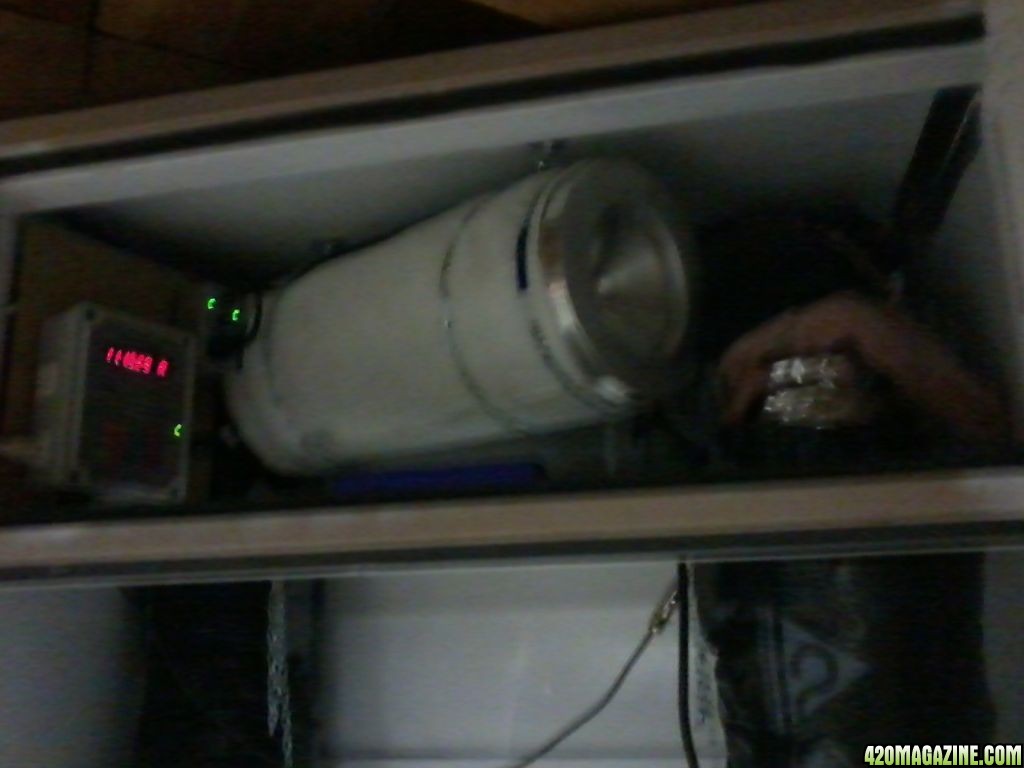
close_top.jpg

open_front_w_ideas.jpg

Forgot to link the pics ...here they are...

Beware: Stoners at work :bong:
 
What a sexy cabinet!!! Nice tip on looking for a cabinet at the scrap metal yard, I'll have to find one around here and see what they have. Good luck man:bravo:
 
One bit of advice, you'll need intakes, low in the cabinet. They can be passive(filtered holes) or active(using a fan). I can just imagine what I could do with a cabinet like that. Lets see what your imagination does. Great start man !:welldone:
 
Well I was at wally world today and picked up a couple of cans of spray paint, white, appliance enamel. I read many a post that flat white will do fine so I wouldn't see why this wouldn't work also.
I choose it over a regular flat white for its durabilty around moisture as it should be easy clean up. If I get time tomarrow I'll caulk the inside top and spray a can out and see how smooth I can get it, sometime it's hard to get a nice spray inside cramped quarters. The flower section should be fine.
As I was looking at totes I concidered going with the massive rough neck rubbermaid 35 gallon. Split with 8 pots, as I can only have 4 adults I thought I would go with 8 and weed out males and weak plants and keep the 4 best. Is this overkill and I could get away with a smaller tote?

Another thought was that I could section of a small area in the flower area to devote to stickly vegging. Moving from the top cloner into the veg area then into the flowering room.

I had concidered going from the cloner to the flowering room but running the MH for a few weeks then put into flower.

Suggestions always welcome as this is my first attempt
Waking~~and~~Baking for too many years to count...
:bong:
 
Well made some more progress today...
Cut the bottom toe kick off and installed a piece of plywood under the steel to strengthen it and have something solid to put casters into.
After putting the casters on I ended up with a total of 94 1/2 inches which is an inch shy of the ceiling in most homes. Hope it fits! As it is still out side while I finish painting ect.
Speaking of paint I was able to put the last coats of white on the inside and hopefully I don't get any hotspots and if so I'll hit them with alittle bit of sand paper as there is alittle sheen to the epoxy. Or I used this hope it doesn' bite me in the ass later Amazon: Rust-Oleum 7881830 Appliance Enamel 12-Ounce Spray, White
Ofcourse I got it at the local wally world. I guess I could of ordered mylar off the internet as I didn't want to get the saftey blankets due to all the folds and I figured I would have to replace it quite frequently in the long term picture. This is hard epoxy finish that is water and rust resistant so I should be able to wipe clean with bleach water between grows.
I've been thinking more about passive intakes and sizing. Is there a formula for this, perhaps according to the cubic or square foot of the area? I saw someone used floor/ceiling vents that were adjustable and I thought I would do the same with a light proof box containing it. I would do two on the sides but would rather keep everything in the back, so I think I'll do two vents down low in boxes.
I wanted to get somehting that I could put a filter into but now I think I'll just make the box so I can slip a filter in and cut them to fit.

Well that's the latest progress with more to come as I"m still waiting on the taxes to come through....should be very very soon though!!:yahoo:
 
Pazuzu, you will have to allow at least 450 CFM, according to your exhaust fan specs, in thru passive or active intakes. Put them low as you can in the cabinet so you can draw the coolest air available in, as you said. If youre exhausting more air than your intakes can provide, youre trying to grow in a vacuum, not good. You'll know if you are when you close the doors on this cab. The vacuum will suck the doors out of your hand. Allow just a little less air in than you can exhaust to create a nice breeze in your cabinet and your plants will love it. Filtering the intakes, like you said, is a great idea as well.
 
Pazuzu, you will have to allow at least 450 CFM, according to your exhaust fan specs, in thru passive or active intakes. Put them low as you can in the cabinet so you can draw the coolest air available in, as you said. If youre exhausting more air than your intakes can provide, youre trying to grow in a vacuum, not good. You'll know if you are when you close the doors on this cab. The vacuum will suck the doors out of your hand. Allow just a little less air in than you can exhaust to create a nice breeze in your cabinet and your plants will love it. Filtering the intakes, like you said, is a great idea as well.

Actually if you plan on any odor control, you do want the closet at a negative pressure (exhaust more than intake). That way you know for sure all air is going through your air scrubbers, and not seeping out from any place it can leak (from the positive pressure).

Also it is not a vacuum, just lower pressure. You would more than a HUGE exhaust fan to create a vacuum.

Prairie
 
Thanks guys, Everyone's input through the course of this build will be greatly appreciated.
I had enough to order the supplies I need to finish up the tubs then the next big order will be the lights, exhaust, and filter, prob throw in the nutes then also. I was going to go with GH flora line. Is there a finisher that would increase smell and taste that someone has experience with.
On the current topic of passive intake....
I thought I would go down to the hardware store and find the smaller pad filter I can find and get two of them, put them as low as possible in the cabinet with a light box that I can slip the filter in. I had also thought about putting a piece of flat sheet metal between the light proof box and the opening in the cabinet so that I can have some control over how much is comming into the box.
I had noticed someone else used a adjustable floor/ceiling vent. Has anyone else used these? It would seem they have some built in flow control but alot of depth. I think I can get by with a skinnier set up.
I'll try to draw the lightbox intake/filter design today in Illustrator if I can some extra time.

On a side note the dispensery is delivering today (one I haven't tried) 100% organic and the guy has been breeding in europe for years with independent strains. I'm getting JayBomb and Tony'sTnT one indica and one sativa. Let's hope they are good as they give clones on a donation basis (if that doesn't compute =FREE!!)
They recently raised thier plant limits from 99 to 150 so everyone in the state is cloning like mad!

As always enjoy that morning sunrise with a nice....
Wake~~~n~~~Bake
 
Well some of my stuff is supposed to arrive tomarrow and I should be able to get the tubs ready for the hydroponics finished up. I've made a DIY CFL light out of pvc and am fixing to place the order for the big stuff tomarrow. I can't wait! I had to slow down alittle due to we are fixing to move at the end of the month.
Going to assemble the cabinet the remove the essentials to get it down into a basement in the new house. It should help with keeping the temps down also as we have very very hot summers which are just around the bend.
I concidered making a small room now down there but the landlord is awfully nosey so I think I'll just stay in the cabinet as it suits my needs. Oh I forgot I also cut a few inches of the bottom installed some wood runners and put casters on it so we can atleast push it around and it will fit in a room with standard sized ceilings.
As I finish up the hydrophonics I"ll snap some pics....
 
Delayed by snow :( Which is hell of unusual for my area. Even stopped the delivery trucks so having to wait another day or so for some of the stuff to finish up the totes to come in. On a positive note I got to order the rest of the innards and the 3 part series from GH I splurged alittle and got a small bottle of floricious and a larger bottle of koolbloom and the Kleen product. Hope they make a difference that is notable as they are expensive ;)
 
Wow..almost 500 views and one comment. Was hoping for alittle more input. The rest of the supplies have arrived minus the Sentinel Master timer I purchased to run the lights and pumps. I have a variable temp controller to run the fan off from that has a built in photocell. I can't wait to get it all together! I'm putting in some of the exhaust today as I went down and got the stuff from the hardware store today. Hopefully I can get that massive canister in the cabinet as I decided not to go with the pleated filter as noone else I can find has used one.
I'll take some pics when I get a chance but the camera I use is currently out of town :( I'll pop some cell pics if I can
So quick cap on the ventilation. Passive intake on the bottom with a 12x24x1 Ultra Allergen air filter in the light box. A 5x5 hepa filter to intake through the fan/component compartment with a lightbox trasition into the cloning space and finally a lightbox down into the flowering chamer and uptakeing into the phresh filter.
I hope the openings aren't too big as they were the smallest "highend" filters I could find. I figure if they are to big I"ll install a damper that can slide down and cut down the opening (that will be fun to make).
I plan now on putting it in a finished basement (pics to come towards the end of the month) So was hoping to cut down on any potential dust/virius/pest.
My plans are evolving as it was going to be in the air conditioned house through the hot summer months as it gets 100+ outside. But moving into a new house with this space down in the basement.

Wake n Bakin by a NM medical patient
 
Well I guess when your putting something together like this it is a bit of trial and error. I had originally wanted to put me cloner in the top of the cabinet but after working on installing the exhaust togetehr yesterday I discovered that the filter is just too large to put in the top of the flowerin cabinet. Between it and the light I would lose almost 2ft of vertical grow space. So I have opted to use the top compartment to hold the filter and fan and ballast.
I will have to cut some large rectangular holes to let the hot air rise get sucked into the top compartment.
Light trap with hypo=allergen filter got made yesterday along with a few holes for the exhaust system.
Hopefully today I can get it installed and cut the openings for the filter and finish running the ducting. I'll have to take a pic of the fitting I used to go through the cabinet transitions. It crimps on one side and attaches with a clamp and tape on the otherside I think it should me a nice connection. Trying to use adustable 90's and such to reduce air drag. Wish me luck as I'll work more today..

Wake~~n~Bakin in NM
 
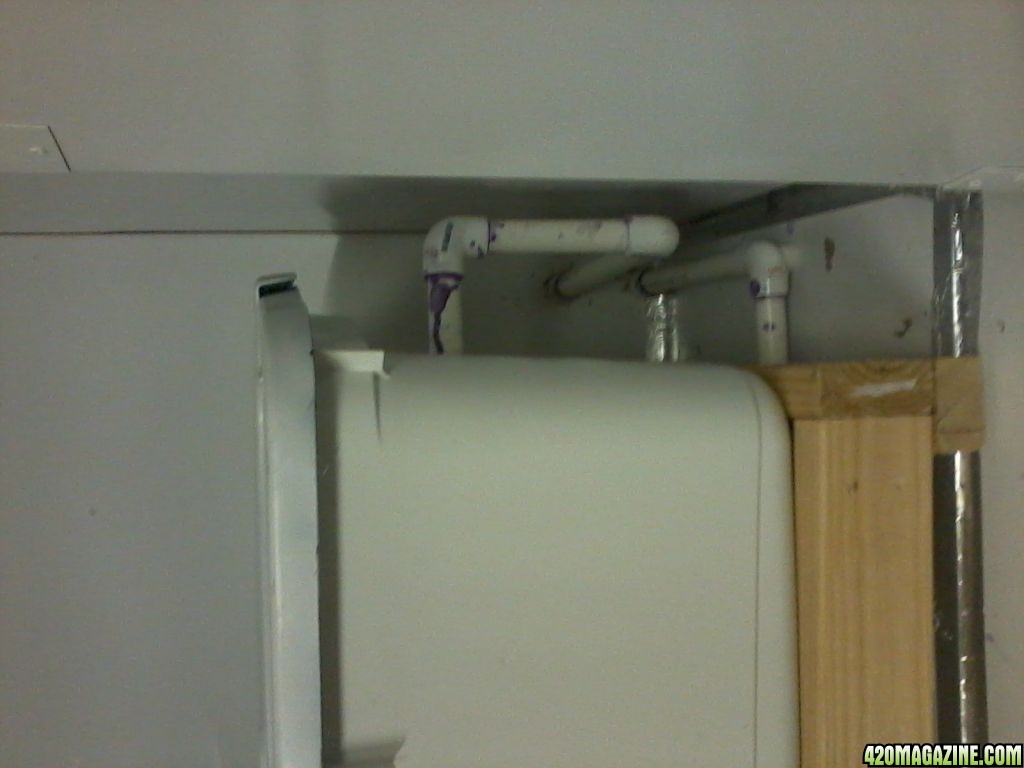
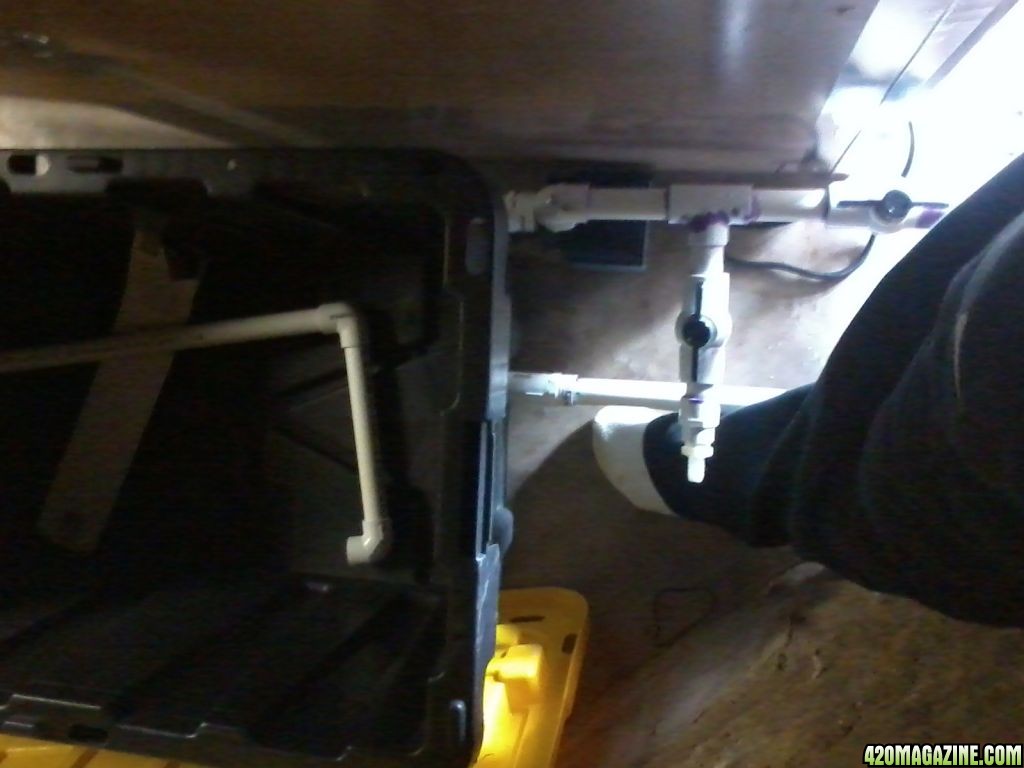
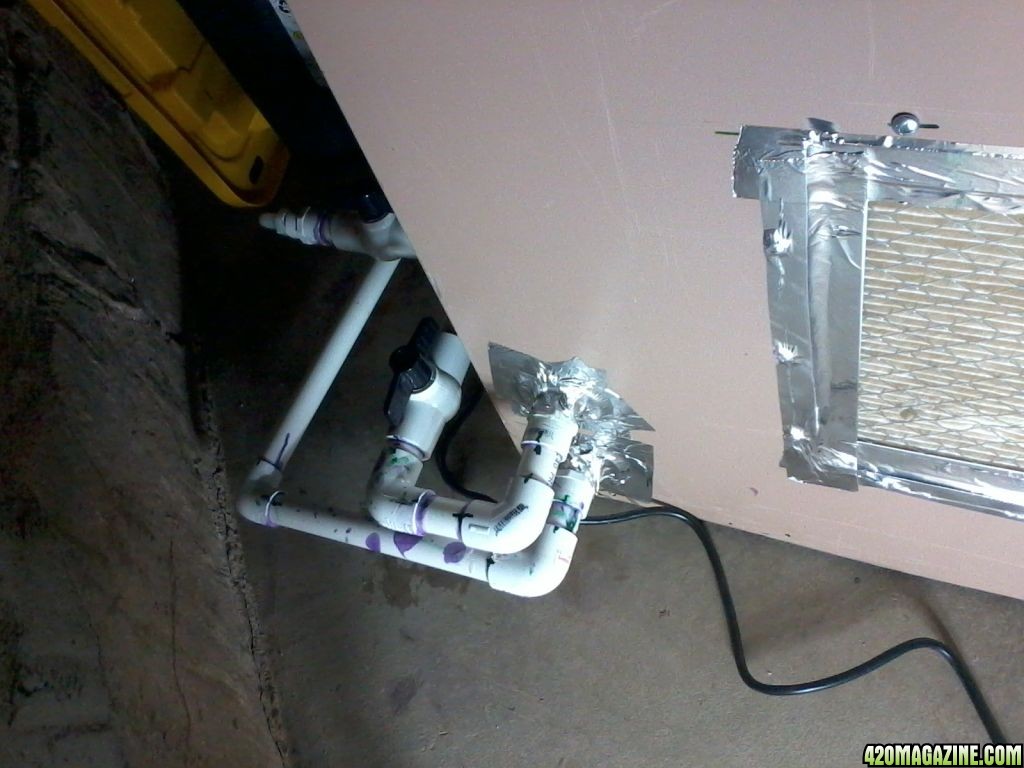
I've been quite busy since I've last updated. I"ve moved it into it's final resting place down in a basement which is not where I had originally designed it for but oh well I think everything will work out.
I"ve plumbed in a modified low pressure aero system that I hope will work as it is hard to get advice if you aren't doing TAG. Here's some pics...

Photo00221.jpg

Photo0020.jpg

Photo00151.jpg

Photo0018.jpg

Photo0017.jpg

Photo00141.jpg

Photo00132.jpg


Need to update the hydro thread as I have changed it quite a bit since then
 
Sweet!! Im in the planning process of a flower box myself. I like your project.

Post pictures of you light traps if you would. Im trying to figure what type of intake I want for my flower box. Something that doest take up a bunch of room, and insures a total darkness. Ive come across darkroom intakes, for film developing. At $70, they sound pricey, but would be compact, and flow large amounts of air.
 
I imagine they are alot more compact than the design I came up with. Ofcourse, mine cost a fraction of that as I used scraps from other jobs to make it. I'll take some pics of it and draw a diagam of how I made it sometime tonght or tomarrow.

CandyBuds- I'm happy to hear that someone likes the idea as I haven't had to many comments but plenty of lookers it seems :)
I am alittle bit a jack'o'all'trades so if you have questions on how something was done feel free to ask
 
Back
Top Bottom