The Challenge: Cardboard Flowering Box

Thinking back on my run test, it started to bug me that it was draining slower that it filled, so I decided to test it again. I got the same result as the first test... Thinking back, I remembered removing one of the extensions from the standpipe and it hit me. A hydrotone rock is blocking the drain! I moved all the hydrotone from around the pipe, took off the screen top, stuck my finger down the drain and sure enough, it was acting as the ball in a rodent feeder, blocking water from draining. I tried removing it from the top, no good; so I was thinking I'd have break the whole system down, and then I got a really bright idea! I took the drain tube out of the res and BLEW HARD! I knew there was a good reason I lined the walls and floor with plastic! Water and the rock came flying out of the tube! At least I got the drain cleared!
 
Very nice DIY flood-n-drain system. +rep

Twelve12 w00t! Thanks! Ebb and flow seemed the most cost effective considering my current situation. I'm simply playing the hand I was dealt. I can't wait to put it into action for flowering!.


It's serving as a secondary light station for cloning right now, not something I had planned for it, but the some of the lights are in, so I figured, "why not?" Besides, I thought it best to go ahead and set the clones in there as that's where they'll live out the rest of their beautiful lives anyway.

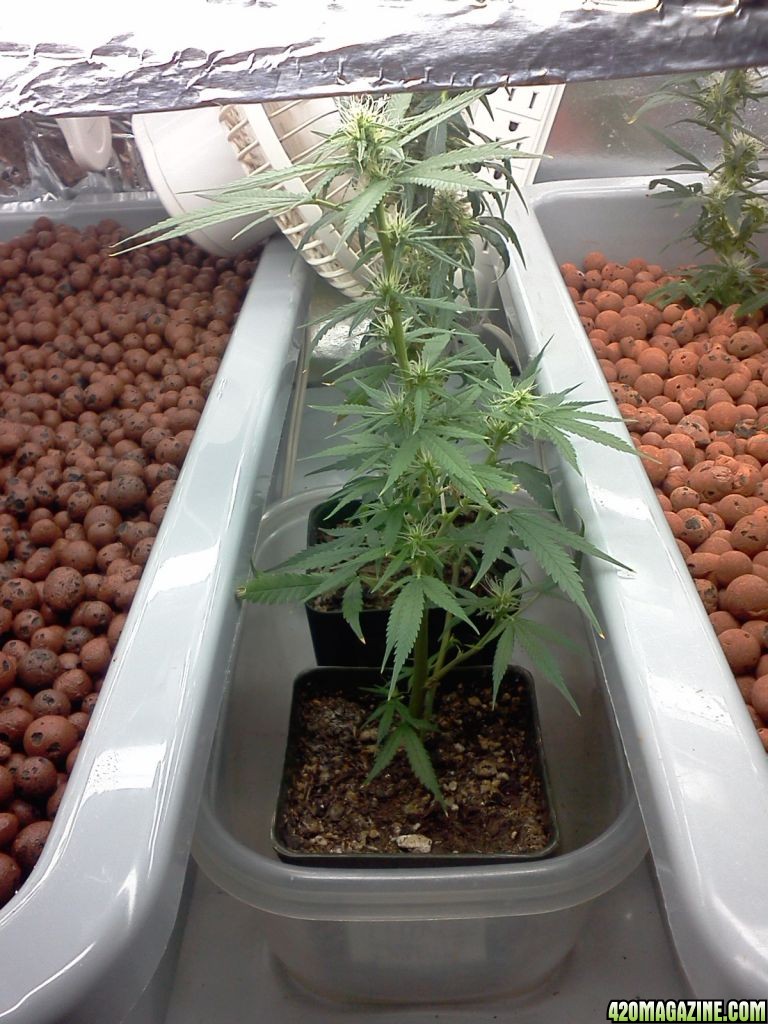
I also hadn't planned to leave the other little SourD in the ebb and flow bin, but I did, and it got watered this morning before I remembered it, so I thought, "what the heck? Leave it in and see how she likes it!" I'll be watching the tips intently for browning or signs of over watering, but it's kinda convenient for now. The other, as I reported above was pulled up, because I can't have him going bananas in there where my girls will be. So in total in this box I have 5-SD, 4-Ken's GDP, and a new Thing 2 clone.
 
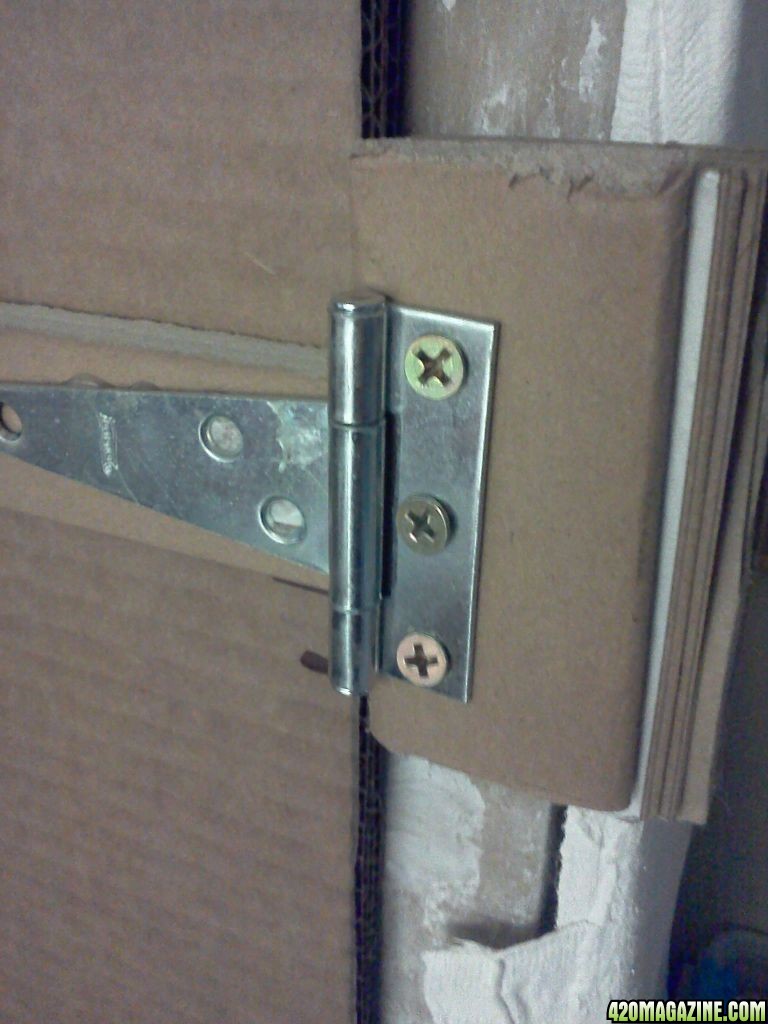
The Doors are now permanently attached to the box.


I had to build up the frame for the hinges so the doors wouldn't crush but still push the doors closed to keep it light tight.
011512143756.jpg


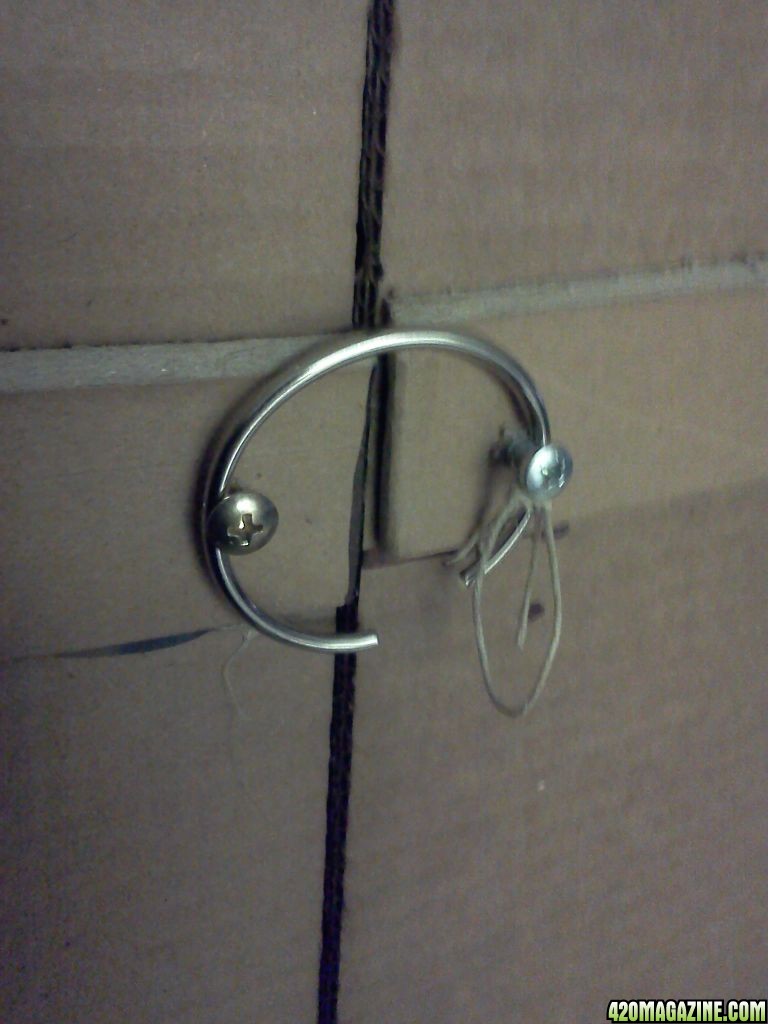
Here's the "Lock" to keep the little one out.
011512143805.jpg


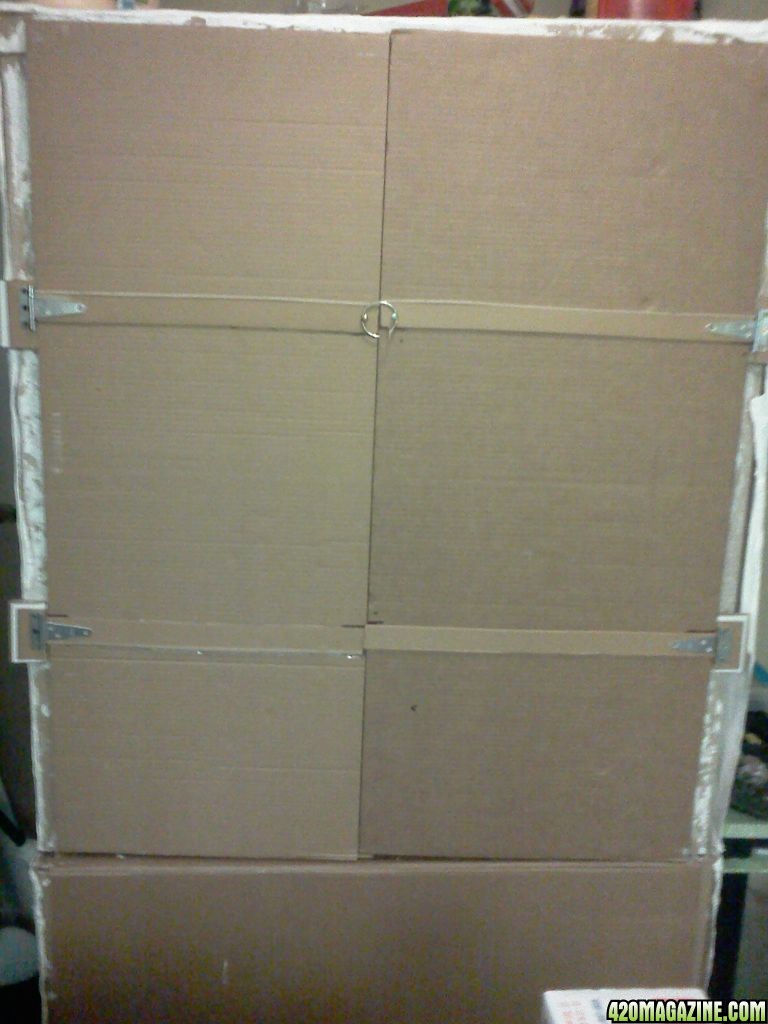
The Closed View also shows the reinforcing bands to keep the doors more rigid. They're also 3 layers thick for strendth. And they're a little wonky... That's not speaking for the lack of thrength, I can stand on this thing and it didn't crush. I placed the block in the wrong place and it stuck before I could adjust it, so my doors aren't square! They still open and close and keep out the little one, and light. (I sat inside and closed the doors)
011512143835.jpg


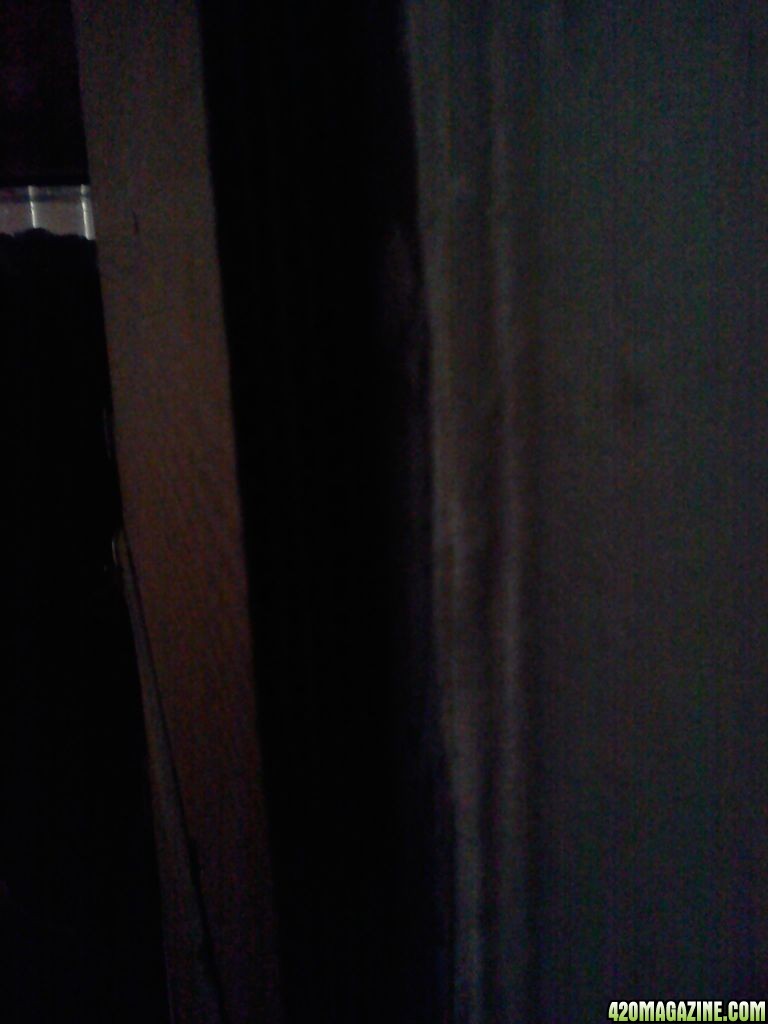
And I know this is dark, but it's supposed to be. It's to show that there are no light leaks. All the lights are on inside it.
011512144045.jpg


I'm now thinking about shooting a few coats of white spray paint for aesthetics. Very thin first coat, sand, second coat, sand, third coat, sand the last time, then a gloss overcoat. Yes, the same way we paint cars.


Or maybe just a white base coat, and hand out the finger paints! Whadaya think?
 
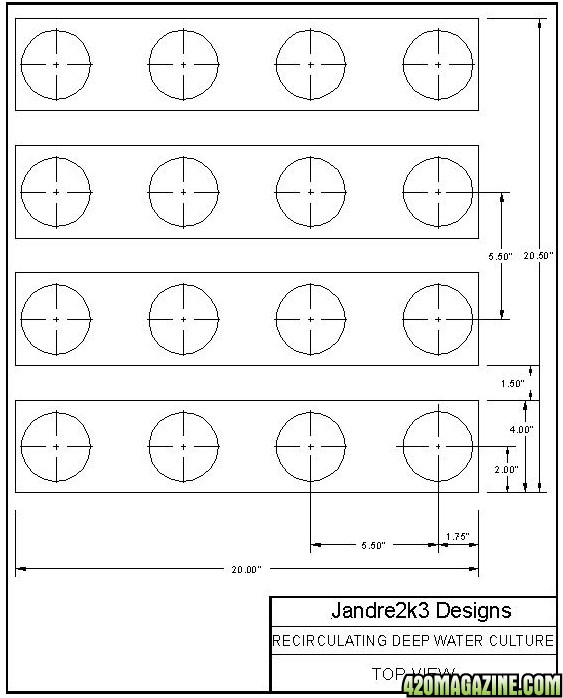
Okay, been tossing around some ideas for RDWC for second half of the box, and here's what I came up with. Lemme know your thoughts.

The first view is the detail of the inside spray tube and fill and drain. The second is the arrangement of 4 of them. The 3/4" and the 1" circles at the bottom of the side detail are to get the proper incline and POSSIBLY will include supply and return using those not just as support but also as function.

PVC_-_RDWC_-_Detail.JPG
PVC_-_RDWC1.jpg
 
Okay, after doing some price checking, I have decided not to do a RDWC on the other half. Although this design works well for me, the materials in my current financial situation, are too much. Maybe wen I make a new box, or expand outward a bit this will be financially feasible, but not right now.

As such, there will be a second Ebb and Flow system, with a few experimental modifications. The the suggestion of Xlr8, I will not include the air stone and air pump in the second design. I also will be tweaking the fill rates and times to compensate for the loss of aeration inside the res.

Please still give input in the above RDWC design as it will be used in the future, just not right now.
 
Okay, guys, I know it's been a while, but, with the exception of the exhaust fan the box will be done TODAY!!

Got the other three lights hung yesterday with the help of a crossbar down the center and reconfiguring the lights. I will be installing the other Ebb & Flow system today. I need to make a run to the co-op before I do, though, head is killing me. But I need to get this done. I'm tired of it not being complete. Ordering BPN today, and will be running BPN from here out once they get here... Ordering the Can/Fan today will post that when I get it in... For the size box this is, 200CFM should be sufficient. Temps run at 75-81 without it, with the doors open and can get up to 90 with them closed. I am also ordering a hydro/thermostat to keep the fan automated so as not to be running it full time.

pics come as I complete, but I will post light configuration when I get back.


-To Be Continued . . .
 
Okay, got meds, got install complete. Pics.

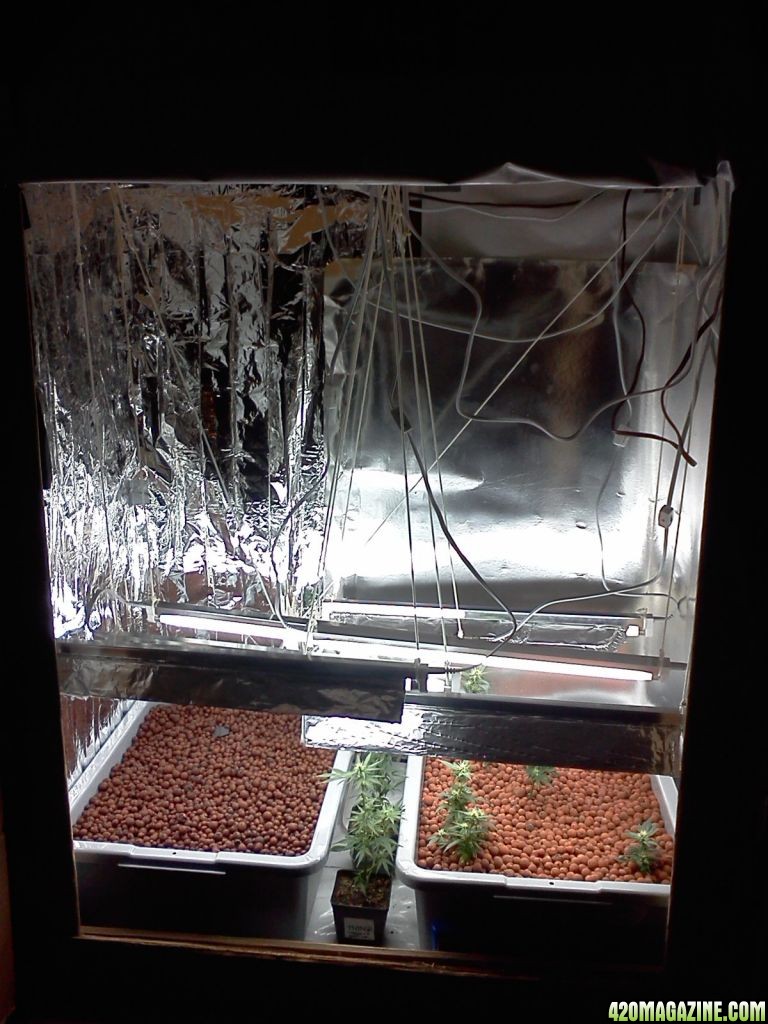
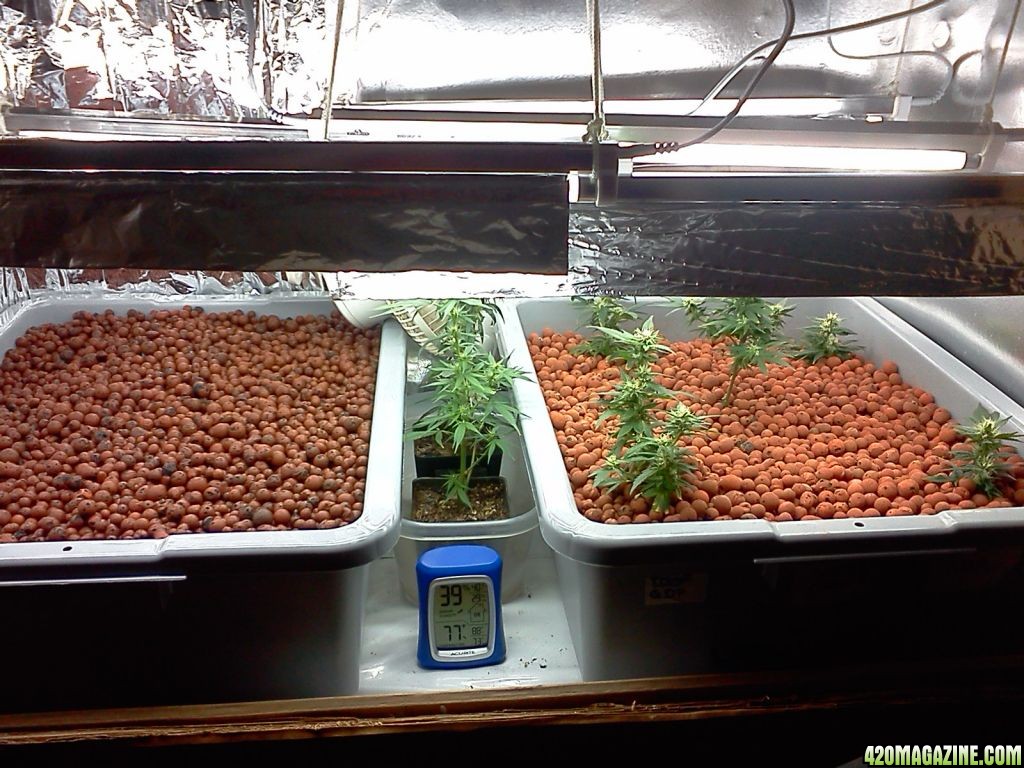
Please note that yes there are already plants in here, that is from the first half and is a current test for flower-ability.

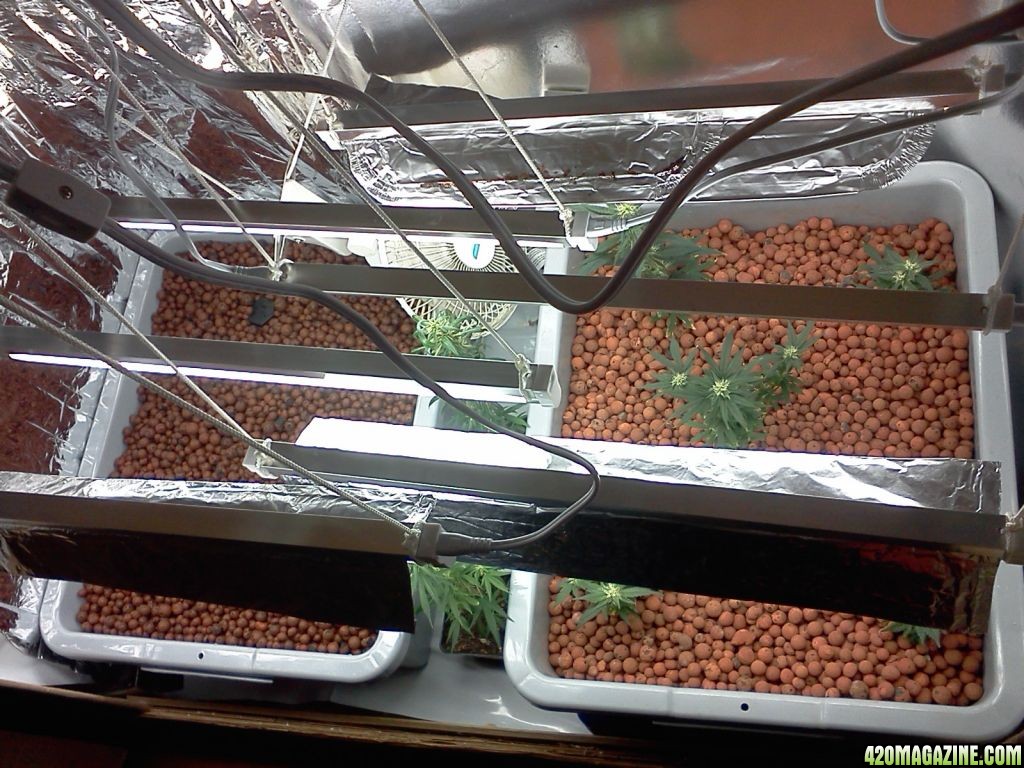
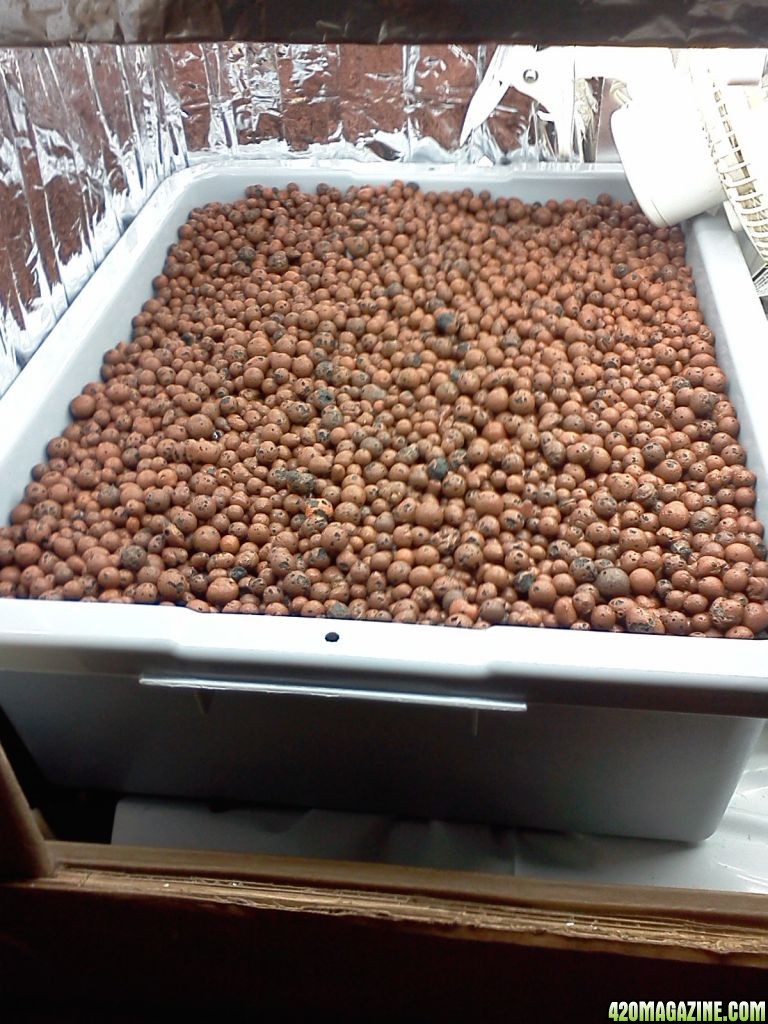
This is for the second half of the box, which required a reconfiguration of the lights. I had to put a small bar, ONLY THING structural in this box that is NOT cardboard. I checked with the challenger and she said it was fine,as long as it was only supporting all 6 lights and that was it. Oh, I forgot to mention that the rocks on the left were just washed, it appeared to be shadowed when I went over these just now, and I remembered that little detail, so I had to mention it..
020712184216.jpg
020712184437.jpg
020712184417.jpg


So I still have those two in soil, and I left room for them as well.
020712184740.jpg


This is the Ebb & Flow (left)
020712184807.jpg


And the Final overview of both running systems
020712185038.jpg


Total Lumens: 13680
Total Watts: 144
Operating Temp for Lights: 90f


Next, I'm waiting for the 12th to 16th for Can/Fan to come in, and I'll strap those to the ceiling, cut exhaust hole, duct that out, and cut intake holes where I will place HEPA filters to keep unwanted dust out as much as possible. I should be able to keep the temps down, and thus keep the doors closed throughout the day. This just helps me be sure they don't catch any stray pollen, fungus spores, or any other nasties from anywhere, as long as I keep the doors closed...

When that is done, I will veg the new clones out and start
Second Test Run - Not yet started - Clones Started 1/31/2012
That should be on or about 2/28/2012
 
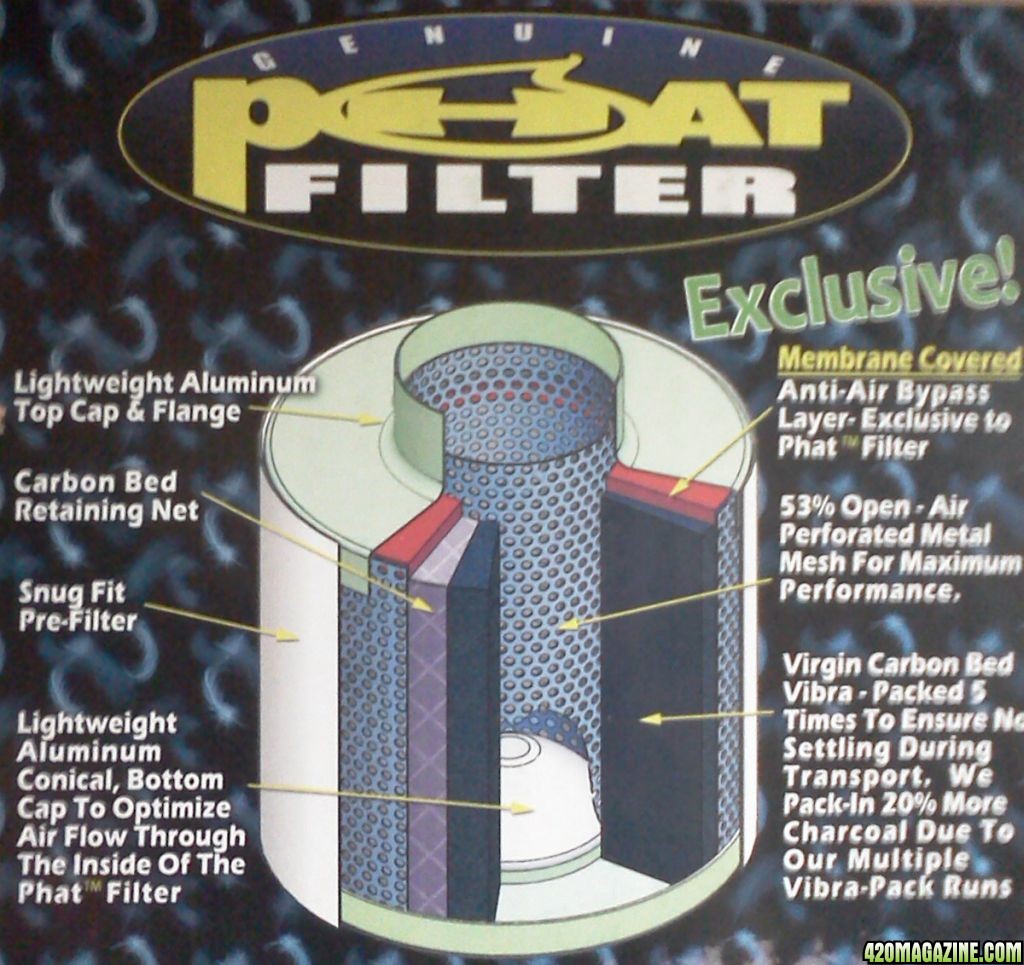
Wow, that site that shares its name with a river and surrounding rainforest in South America is pretty good to get quality items at a good price with pretty fast shipping. Ordered on the 7th, and I already have the Can Filter. And it was drop shipped form Hydrofarm directly, no middleman shipping is nice.
020912105601.jpg
020912105518.jpg


And it's pretty small compared to the cans I'm used to seeing. But this thing is HEAVY for its size: 13 lbs.
This is a pic of The Challenger holding it up for size comparison.
020912105703.jpg


that white Fuzzy thing on the outside is the prefilter to keep extra dust from getting in the charcoal and reducing the life of it. It installs in seconds and the new bands for these are easy, once you get the idea of how it works. The learning curve is short for this part, first one took a minute to get it to work right, the second was done in under 30sec.
 
UPDATE:

Things should progress fairly rapidly from this point. Once test 1 is complete, there will be two simultaneous tests, followed closely, by a rapid succession of a series of other tests for this box... but first things first.

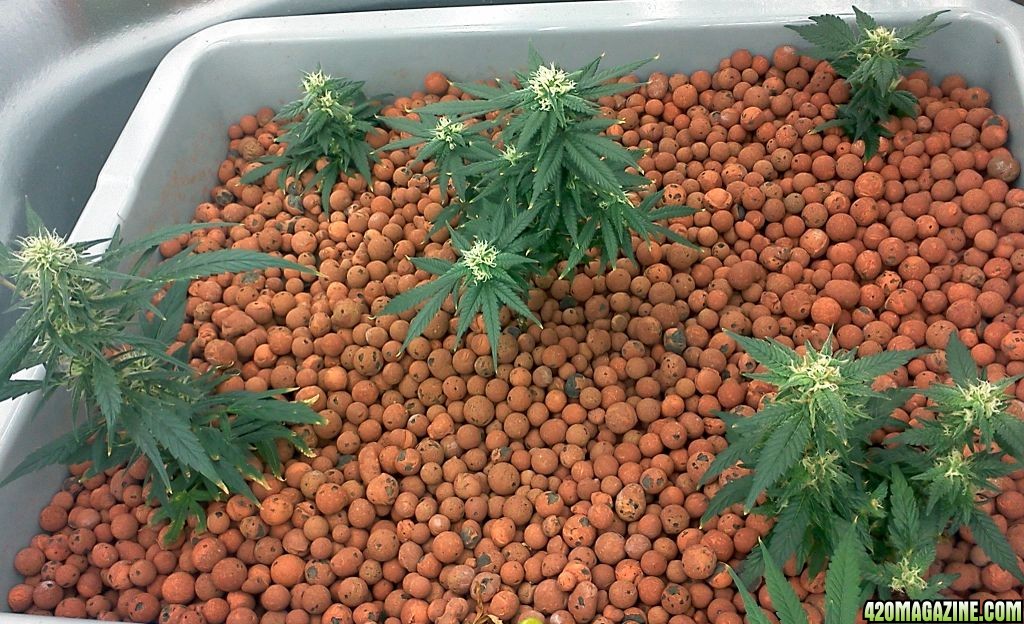
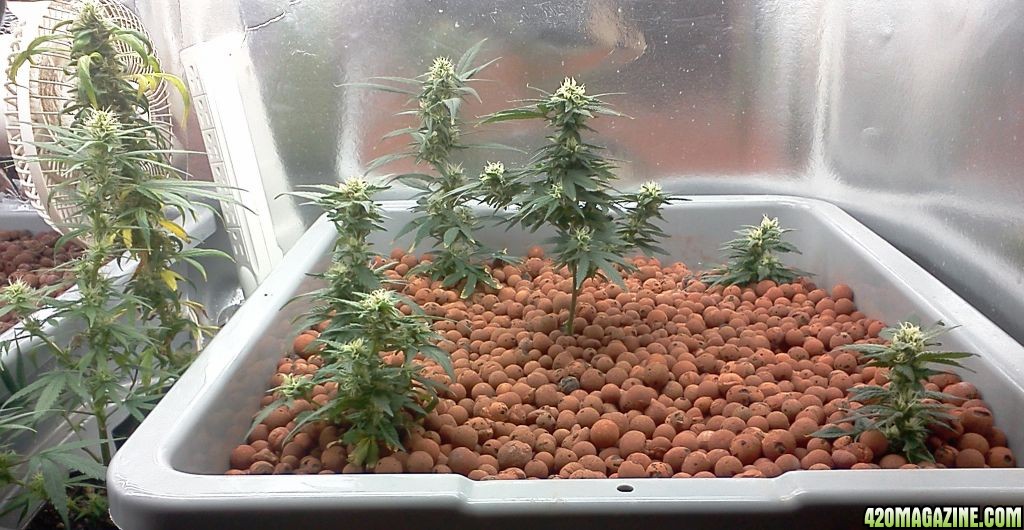
Week 4 and we're going along at a good clip now. Things are starting to happen. I noticed the tiniest bit of swelling in a few of the clones in this test, and it seems that the T5's are flowering pretty well. The fact that they get broadsided with the light not over them is helping as well. I think that the light configuration I finally settled on is going to work for getting at least what I have here to perform well.

Yes, I still know they're small, but that's exactly what I wanted for this test. Just to see if T5's could be made to perform in this box, and to see how well the strains I have work for me. I will be trying out different types of flowering techniques for this box. Test 2 will have much larger clones in the box and we'll see how well it can handle the larger crops. Test 3 will be an thin LST, removing Thing2 from the Maternity Ward and flowering her out... A weak ScrOG, I guess. I performed no FIM/Topping on her once LST started, so internodes are naturally spaced. The next LST to be tested will be a Plush Berry(indica) or Ken's Granddady Purple(indica) trained to be tight and full, with thick growth utilizing lots of topping/FIM to test the penetration of my light configuration. And of course there will be a full SOG and a full ScrOG to test for light hotspots, and dim areas.

All this is to get a feel for the box and its capabilities. If I have to run several short plants to get a good yield, or if I can run one or two that I let become bushes, or if I need to run 2 to 4 that received LST or what. All will be recorded for posterity, and the knowledge of this box's strengths and weaknesses will only serve to shape my own grow style that will develop because of it for this box. ONLY HIGHLIGHTS AND RESULTS of each test will be compiled here, the detailed journal for each test will remain separate.

I know this seems like a lot of useless testing, but understanding your grow space is KEY to getting the most out of your crop that you put into a space. You can't just stick anything anywhere and expect it to be the highest yield you've ever seen. You think, you test, you watch, you record, you adjust. That's the nature of the beast we call pain management. It stands to reason that what we find to alleviate the pain is just as temperamental as we are. It's a gift from the Mother, but as I always say, it comes with the price of understanding nature and working with the given environment to receive the most form this gift.

021312085814.jpg
021312085845.jpg

Detail
 
jandre2k3 said:
UPDATE:

Things should progress fairly rapidly from this point. Once test 1 is complete, there will be two simultaneous tests, followed closely, by a rapid succession of a series of other tests for this box... but first things first.

Week 4 and we're going along at a good clip now. Things are starting to happen. I noticed the tiniest bit of swelling in a few of the clones in this test, and it seems that the T5's are flowering pretty well. The fact that they get broadsided with the light not over them is helping as well. I think that the light configuration I finally settled on is going to work for getting at least what I have here to perform well.

Yes, I still know they're small, but that's exactly what I wanted for this test. Just to see if T5's could be made to perform in this box, and to see how well the strains I have work for me. I will be trying out different types of flowering techniques for this box. Test 2 will have much larger clones in the box and we'll see how well it can handle the larger crops. Test 3 will be an thin LST, removing Thing2 from the Maternity Ward and flowering her out... A weak ScrOG, I guess. I performed no FIM/Topping on her once LST started, so internodes are naturally spaced. The next LST to be tested will be a Plush Berry(indica) or Ken's Granddady Purple(indica) trained to be tight and full, with thick growth utilizing lots of topping/FIM to test the penetration of my light configuration. And of course there will be a full SOG and a full ScrOG to test for light hotspots, and dim areas.

All this is to get a feel for the box and its capabilities. If I have to run several short plants to get a good yield, or if I can run one or two that I let become bushes, or if I need to run 2 to 4 that received LST or what. All will be recorded for posterity, and the knowledge of this box's strengths and weaknesses will only serve to shape my own grow style that will develop because of it for this box. ONLY HIGHLIGHTS AND RESULTS of each test will be compiled here, the detailed journal for each test will remain separate.

I know this seems like a lot of useless testing, but understanding your grow space is KEY to getting the most out of your crop that you put into a space. You can't just stick anything anywhere and expect it to be the highest yield you've ever seen. You think, you test, you watch, you record, you adjust. That's the nature of the beast we call pain management. It stands to reason that what we find to alleviate the pain is just as temperamental as we are. It's a gift from the Mother, but as I always say, it comes with the price of understanding nature and working with the given environment to receive the most form this gift.


Detail

How long have you vegged these for Jandre2K3? Also how much yeilds can you yourself xpect the outcome to be. Must say there looking sweet bro and like your ebb&flow how big is the bottom box in litres please. Can it effect the yeilds as of the lack of space.for the root
 
Back
Top Bottom