Cannabelle
New Member
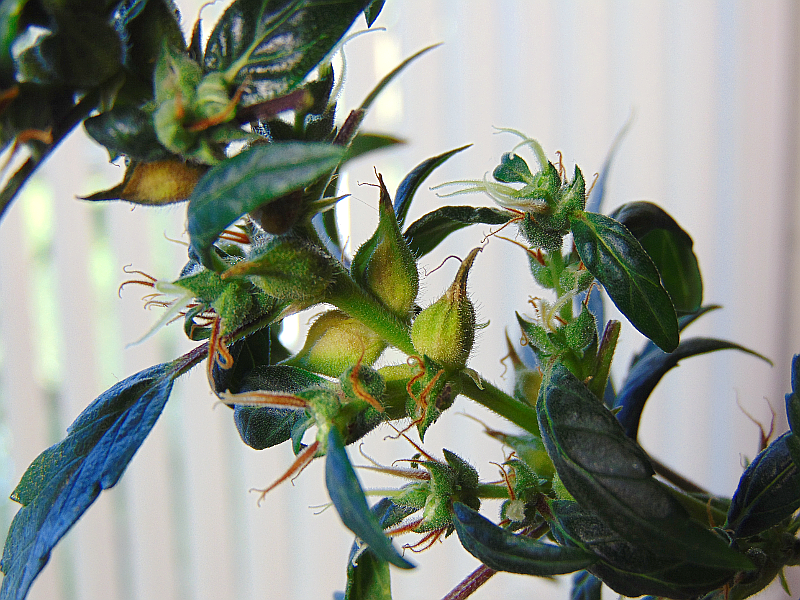
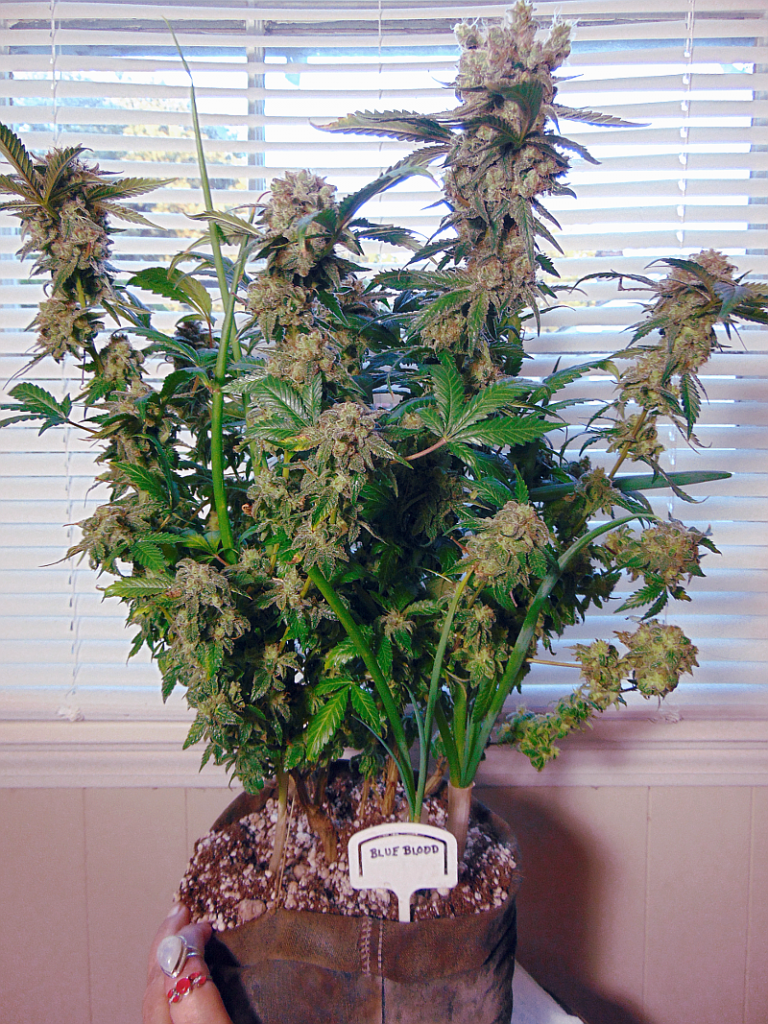
A branch of my French female hemp in full flower with seed pods.

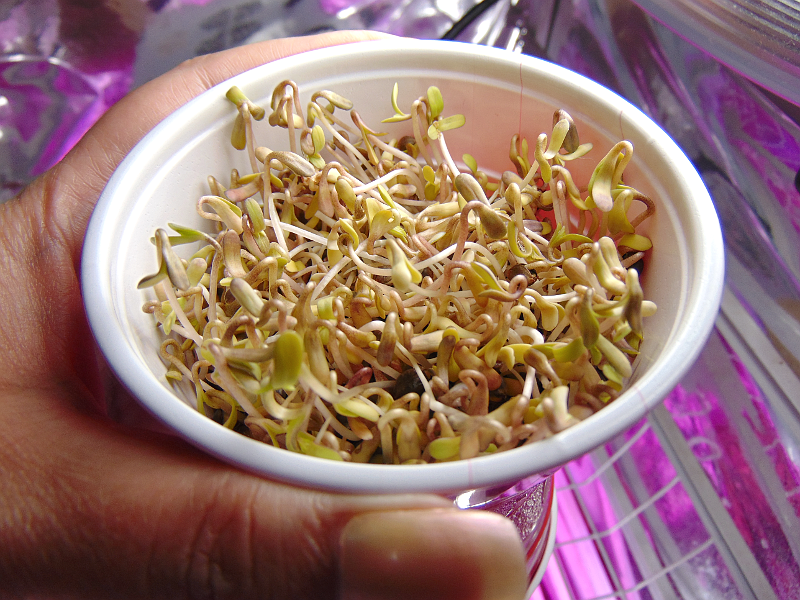
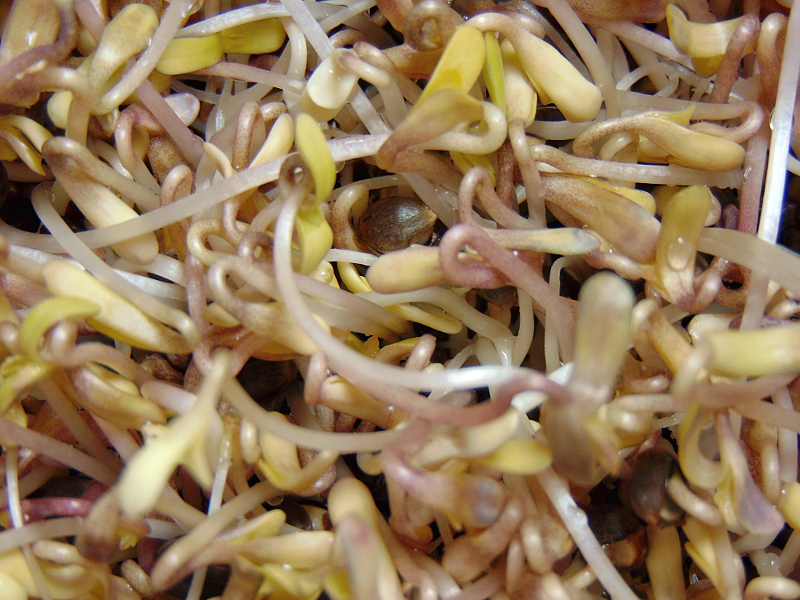
Before I can even begin to put Hemp Recipes up, I should show you all how to make a space age micro grow pot which also happens to work superbly as a sprouter for hemp and other seeds like mung, alfalfa, clover, et al.
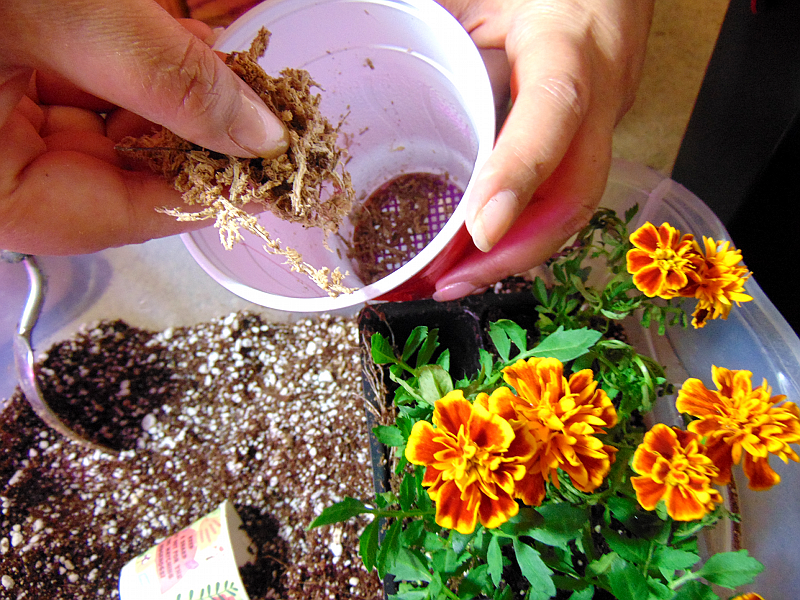

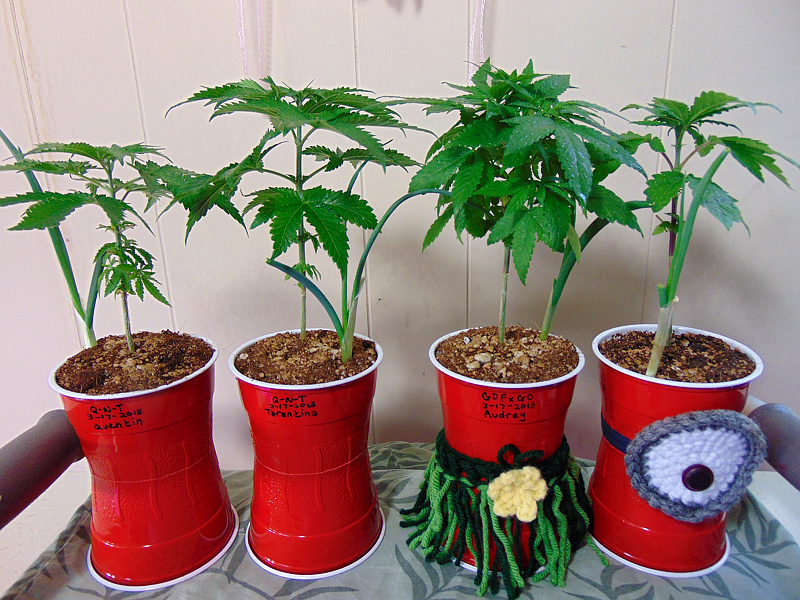
Okay, you can also call me the crazy cannabis lady. I tend to be wildly decorative!

Let's get started!
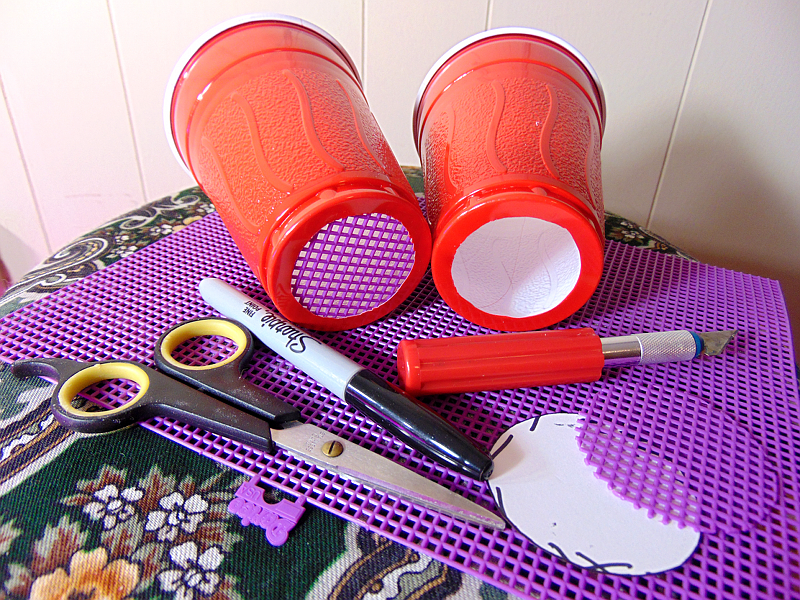
Materials:
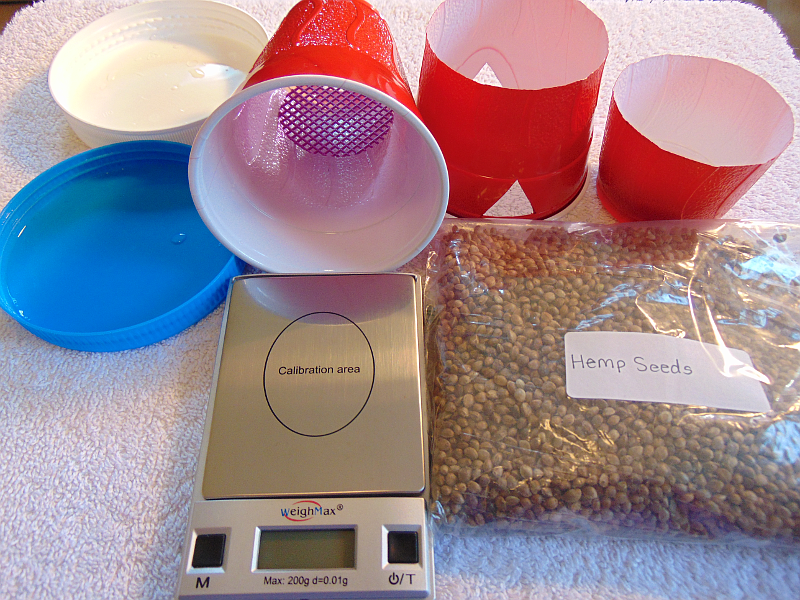
Lots of opaque red, blue, green or whatever color 16 ounce plastic solo cups. If you grow cannabis, you can never have enough solo cups. I'm using a generic brand. Since we are encouraging root growth, do not use clear cups. Roots require protection from direct light.
Sheet of plastic canvas 7 count for hemp and mung seeds; sheet of plastic canvas 14 count for tiny alfalfa and clover seeds. Plastic canvas is found in craft stores and is used for decorative cross stitch projects. I use these for bonsai pot hole covers and micro grow pot/sprouters. The 7 and 14 count just means the amount of holes per an inch.
2 large jar lids for each sprouter. Large mayonnaise and coconut oil jar lids work. If you failed to recycle any large lids, a couple of small plates will do.
Card stock for tracing.
Ruler.
Sharpie.
Scissors.
X-Acto Knife
Instructions:
1) Trace the bottom of a solo cup to a piece of card stock with a sharpie. Cut inside the outline on the card stock with a scissor. You are aiming for a circle that is slightly smaller than the outline. Make sure that paper circle fits inside the bottom of a solo cup. Now use that paper circle to trace additional circles on the sheet of plastic canvas for as many micro grow pots/sprouters you are making. Again, cut inside the outlines on the plastic canvas with a scissor so that they are the same size as the paper circle. These canvas meshes should all be able to fit snugly at the bottom of solo cups.
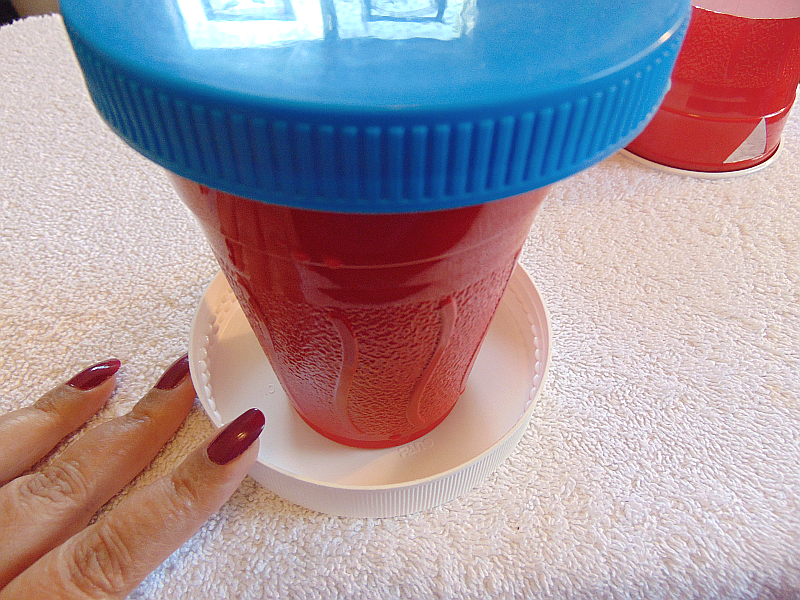
2) Use an X-Acto knife to cut the bottoms of the solo cups out, leaving a small perimeter of about 1/4 inch as shown in the above photo. Congratulations! You've created the container of the micro grow pot/sprouter! Make as many as you need.
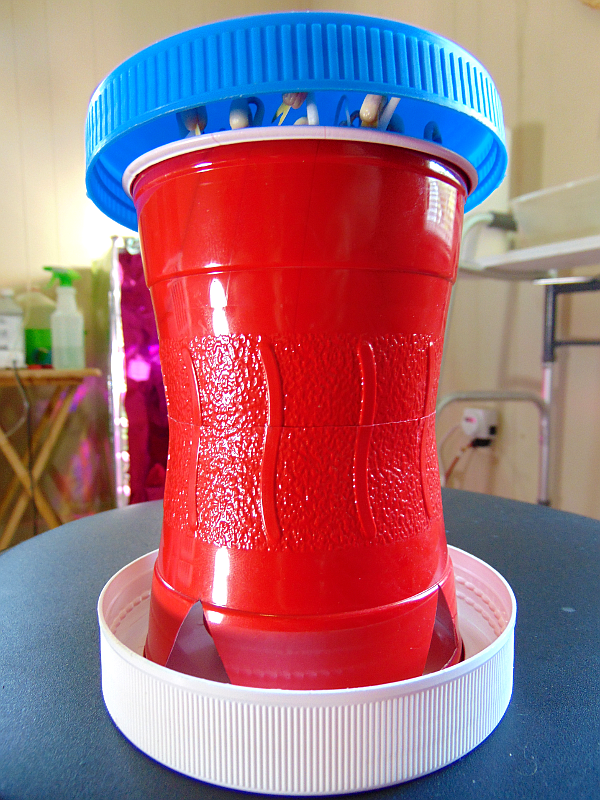
3) Now it's time to make the skirt to give the micro-grow pot stability and aeration. If you are making many of these pots for growing stuff and sprouting, you may want to cut a guide skirt to make it easier to cut more pots without having to measure each additional cup.
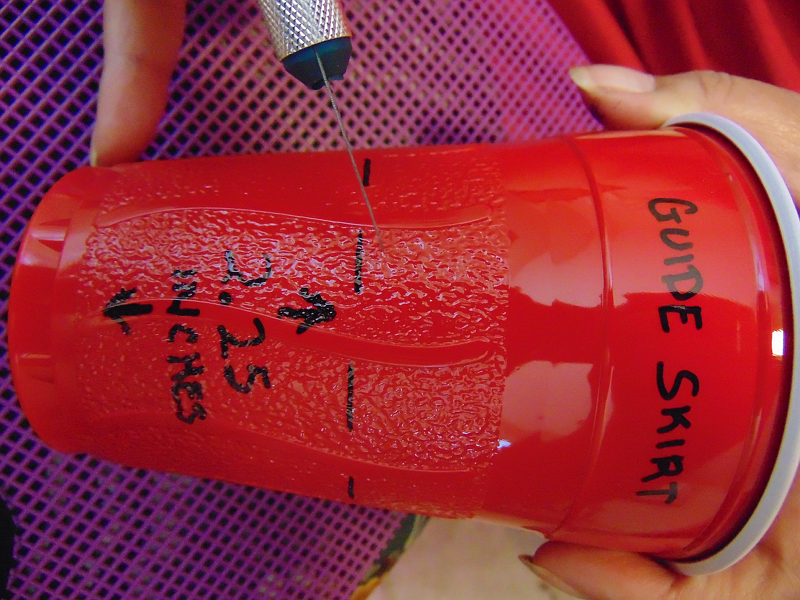
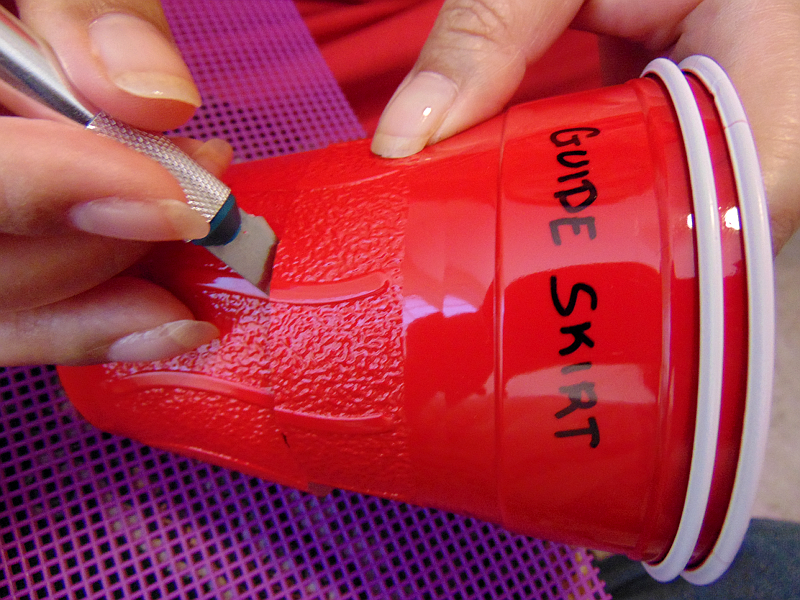
After cutting skirt bases for the micro grow pot/sprouters, four 1 inch triangles at equidistant from each other around the edge of the cup's lid.
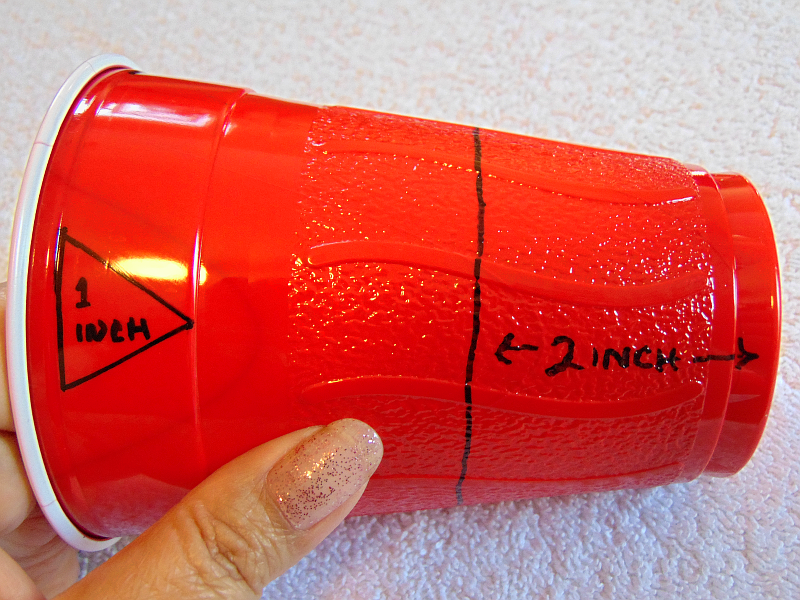
These vents provide more airflow to the micro grow pot/sprouter. More air flow equals healthier, oxygenated roots.
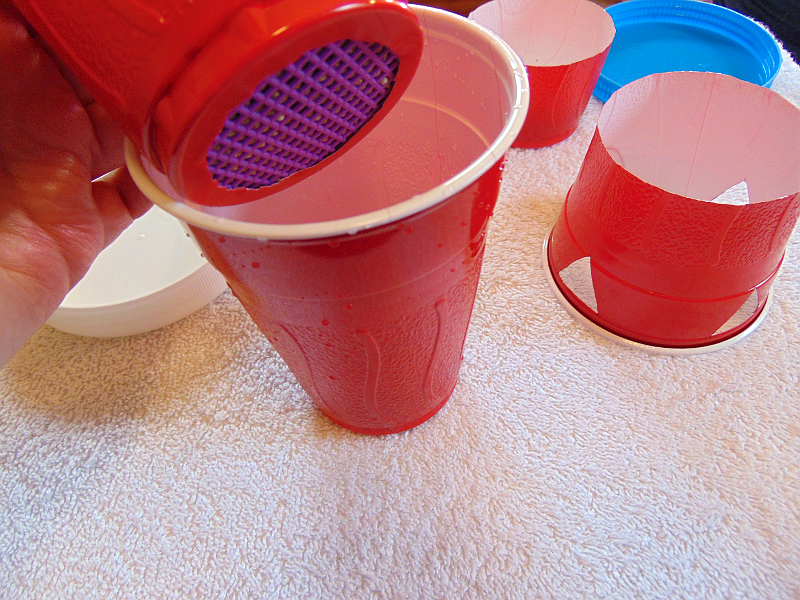
If you are using this state of the art pot to grow stuff over a rack like I do, the triangle vents are not neccessary. However, the vents are neccessary if you are growing stuff on a flat surface or growing sprouts.
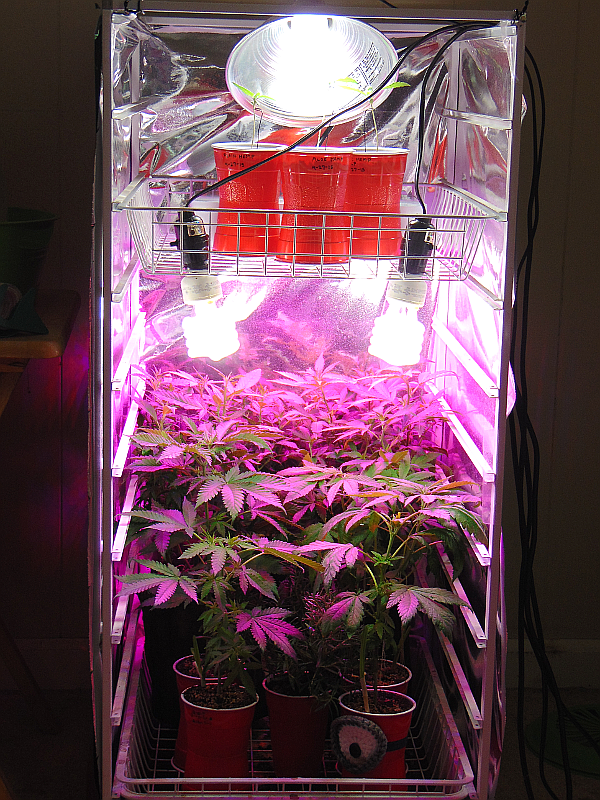
Congratulations! You created the first of many micro grow pot/sprouters.

PS:
If your pots are not as pretty as mine, I've had more practice. Even though my hands are stiff with rheumatoid arthritis, I still wield a mean X-Acto knife! Your skill gets better with practice no matter how clumsy or ouchies your hands are.
PPS:
Next post . . . How to use this awesome, state of the art, micro grow pot to make yummy sprouts!
