We have a growing school of organic cannabis farmers on 420 Magazine and we figured it might be time to begin consolidating the recipes we have used to build the soil that grows our respective plants. The recipes follow different paths to the same ends - growing the best cannabis we can using organic methods and components. Our goal is to build soils that will carry our plants from seed to harvest with little effort on our part. We acknowledge that it isn't us that grow our plants at all, but rather the vibrant and vigorous soil food webs that we create in the limited plots of land we keep in our containers.
My hope is that we can demonstrate photographically the process we use individually to build our soils. Let's begin a spirited discussion on the diversity of our methods. Hopefully we can inspire positive changes along the way.
*********************************************
Let me start the ball rolling with my own chosen recipe. I use the recipe developed by a gentleman named Clackamas Coot, infamous on some competing sites. This recipe will raise a plant from seed to harvest with water only and absolutely stun you with the health of your charge and potency of the eventual harvest. If you plan to build a no-till, as I have, you need only do twice weekly teas and drenches, alternating with water. This is my gold-standard recipe. It's suggested that, for the first two runs at least, you stick closely to this recipe as you take on the challenge of understanding the dynamics of what the recipe entails. There are no-tills running with this soil now into 13 cycles and still clicking smoothly along. My kind of gardening.
The Basic Clackamas Coot's soil mix recipe for growing cannabis (in his own words):
"Equal parts of Sphagnum peat moss, some aeration deal (pumice, rice hulls, lava rock - whatever is sitting in the garage) and finally some mix of humus - my compost, worm castings some black leaf mold I bought from the local 'worm guy'
To each 1 c.f. of this mix I add the following:
1/2 cup organic Neem meal
1/2 cup organic Kelp meal
1/2 cup Crab meal (or Crustacean meal when available - it has Shrimp meal with the Crab meal. It's a local product from the fisheries on the Oregon & Washington Coasts) *
4 cups of some minerals - rock dust
After the plant is in the final container I top-dress with my worm castings at 2" or so and then I hit it with Aloe vera juice and Comfrey extract. Or Borage. Or Stinging Nettle. Or Horsetail ferns. Whatever is ready.
The Rock Dust Recipe
4x - Glacial Rock Dust - Canadian Glacial (Gaia Green label)
1x - Bentonite - from the pottery supply store
1x - Oyster Shell Powder - the standard product from San Francisco Bay
1x - Basalt - from Redmond, Oregon (new product at Concentrates - about $18.00) ."
I believe that this recipe allows for some substitutions and that the biggest thing is to stick to the 1/3 SPM, 1/3 aeration, 1/3 humus and the amendments at the specified ratios. I have seen people (including myself) vary the actually "rock dusts" but don't if you can help it, and certainly don't omit the oyster shell flour in place of something else.
Living organic soil is very rewarding to grow in, give it a try, no one has ever looked back after going this route."
* Coot highly recommends the crustacean meal. In his own words, as of 4/20/15;
BirchPlease, on 4/19 said:
If I were to add OSF to this mix, how much would I add? A cup per c.f.? Any other suggestions?
Coot answers:
Why?
Crustacean Meal = Calcium Carbonate (CaCO3) layered between extremely thin segments of Chitin (C8H13O5N)n which you want (need) in a potting soil mix
Oyster Shell Powder = pure Calcium Carbonate (CaCO3)
His supporting data:
Chitin Data Sheet at EPA
Chitin is used for controlling soil nematodes on ornamentals, turf, and many food and non-food crops at commercial and residential sites. The active ingredient is isolated from the shells of crustaceans, especially crabs and shrimp. Given its lack of toxicity, chitin is not expected to harm people, pets, wildlife, or the environment when used according to label directions.
1. Description of the Active Ingredient
Chitin (poly-N-acetyl-glucosamine) is one of the most common polymers found in nature. Structurally, it is related to cellulose, which consists of long chains of glucose molecules linked to each other. In chitin, the building block of the chains is a slightly modified form of glucose. [For another pesticide structurally related to chitin and cellulose, see Chitosan, also known as poly-D-glucosamine.]
Chitin is present in the shells of all crustaceans and insects, and in certain other organisms including many fungi, algae, and yeast. Commercially, chitin is isolated from the shells of crustaceans after the edible parts have been removed.
Chitin appears to control pathogenic nematodes by stimulating the growth of certain naturally occurring microorganisms in soil, which, in turn, release substances that kill the pathogenic nematodes and their eggs.
***************************************************
My only addition to this would be to add mycorrhizal fungi innoculant to the soil mix in advance of planting, or dust the roots with it before transplanting.
I made my life easier and purchased a nutrient kit from a company that was based on Coot's recipe. It gave me the chance to mix up a limited amount of soil quickly, without having to source large bags of components. We live in a tiny apartment with severely limited storage space.
SOIL BUILDING:Living Organic Soil (LOS)
I don't think there are many things more pleasurable than building a strong Living Organic Soil.
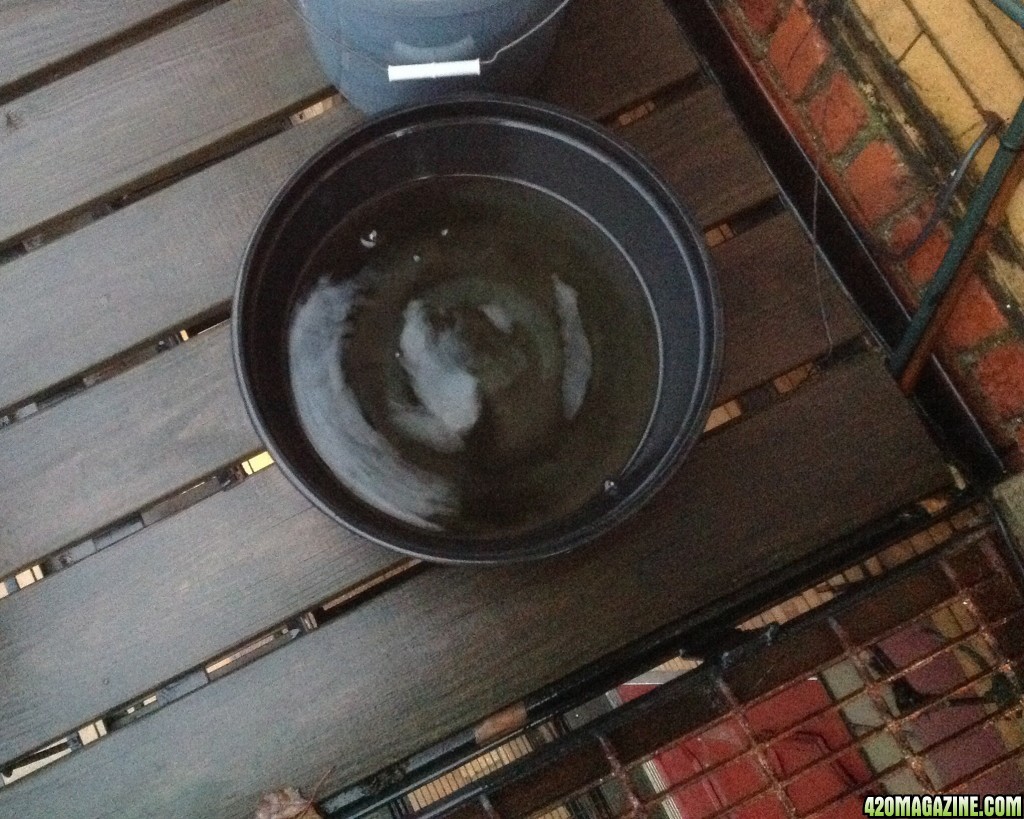
We begin by collecting rainwater. I'll need about a gallon and a half for this batch. I'm only mixing up a cubic foot of the LOS. I already have two pots. I just need some on hand for germinating and seedling stage.
Living Organic Soil is a building project to me. It's formulating a fine recipe to feed the herd. There's tremendous diversity in the mix.
My base mix is equal parts by volume of sphagnum peat moss, Worm Power vermicompost and pumice.
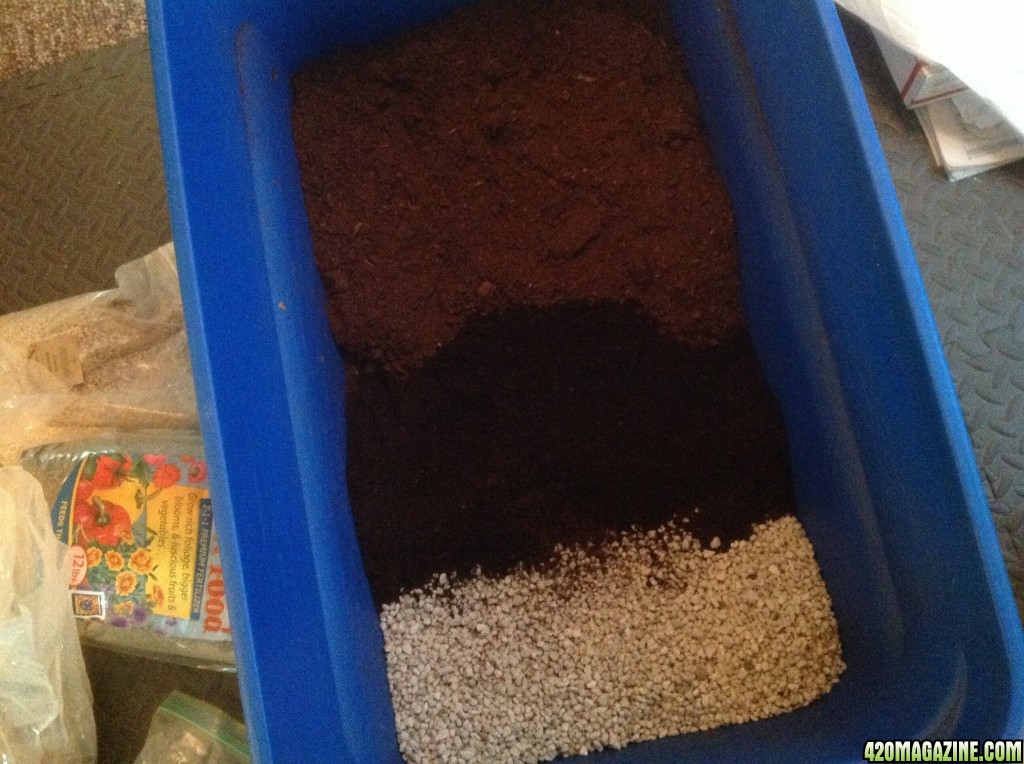
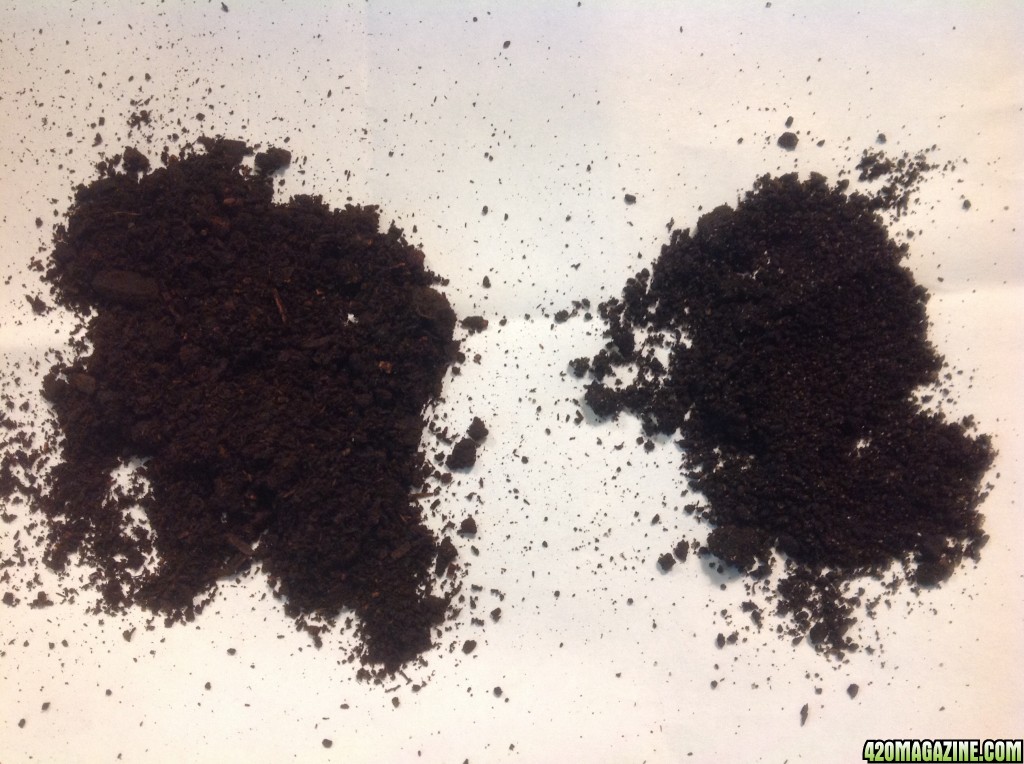
That's the Worm Power Vermicompost on the left, compared to Wiggle Worm Earthworm Castings on the right. Worlds apart in quality. I love digging into the Worm Power. You can feel the energy ready to burst out. Look at me - excited about high quality worm pop!
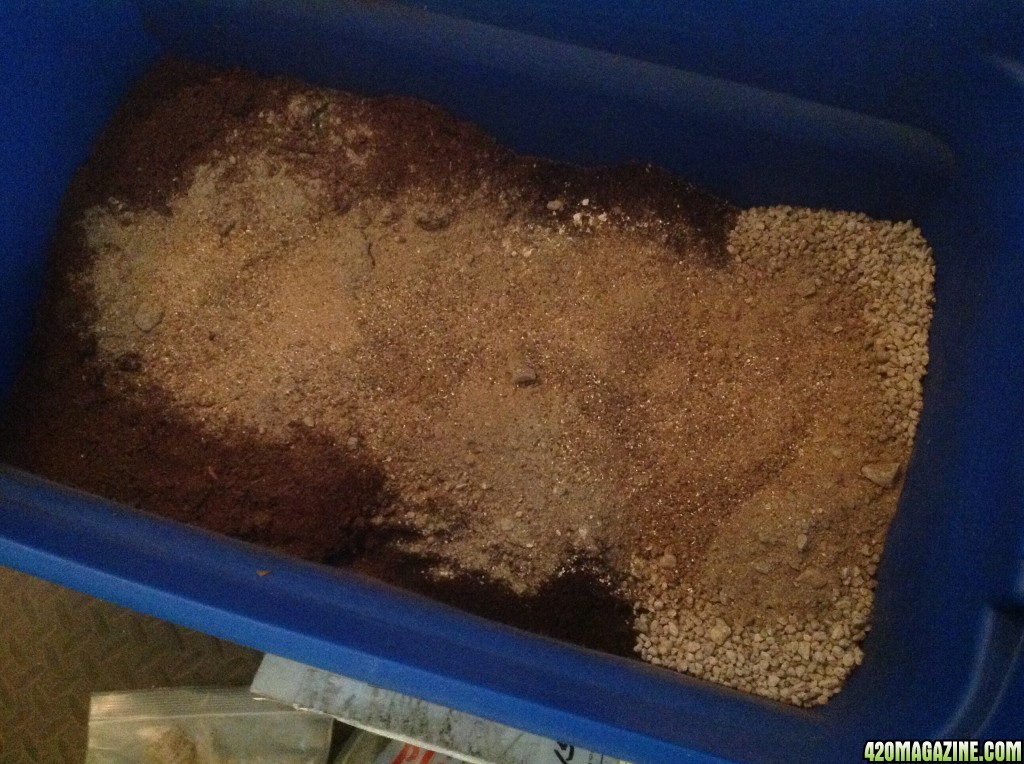
To the base we add 4 cups of the Clackamas Coots-style minerals mix and 1.5 cups of the accompanying. CC-style nutrient mix. I purchased this kit from an online company specializing in helping you Build a Soil.
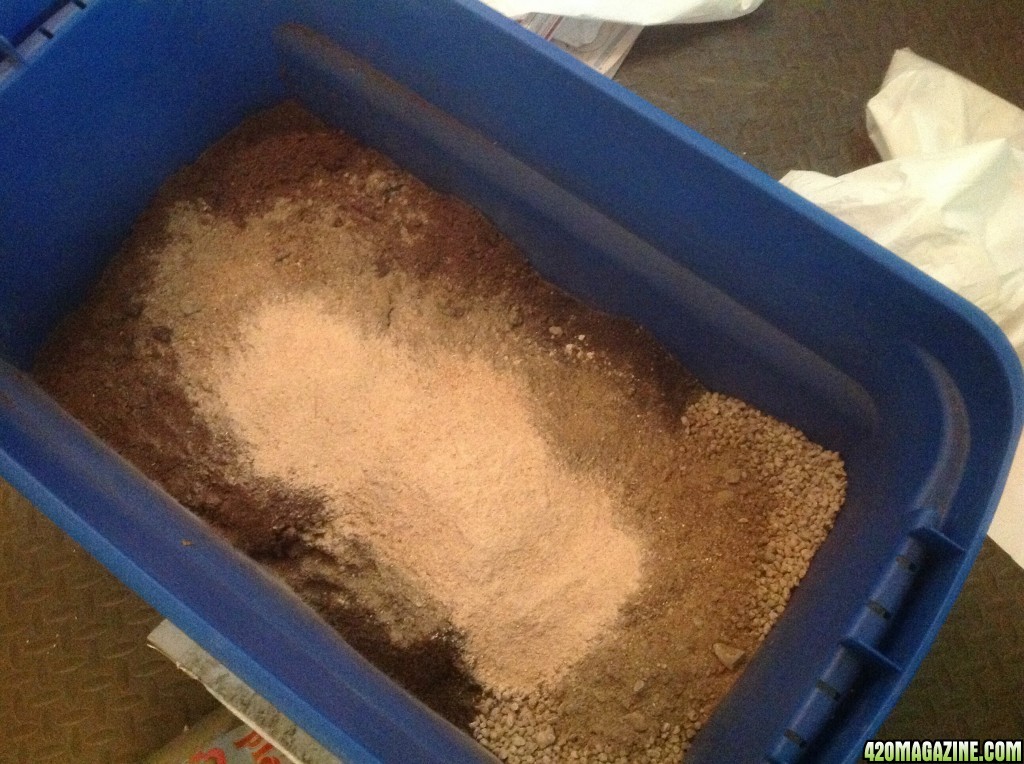
Coots has recommended adding the malted barley grain directly to the soil mix for the added enzyme boost. His success inspired me to do the same with this mix. It's something I will do from now on with each new batch. Using the coffee grinder purchased just for grinding malted barley I powdered up 2 cups of the grain.
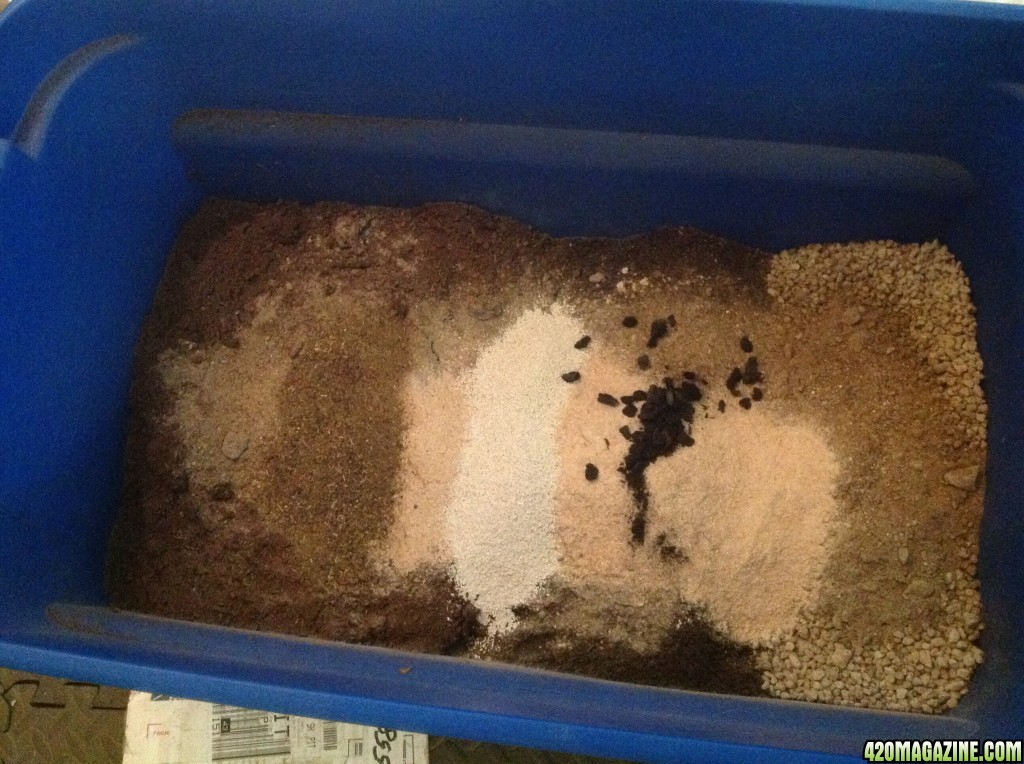
I have Yum Yum Mix, so 3/4 cup of that, along with 3/4 cup of zeolite (helps with water retention) and some biochar I had on hand, so why not? Only good can come of it. Oh, and about a half cup of some exotic Japanese river sands, just because they're interesting shapes and surfaces.
I use a SWICK watering system, which means I want extra aeration in the mix to help with all that wicking that will keep my soil matrix evenly hydrated. An evenly hydrated matrix means the micro herd and fungi can more efficiently shuttle nutrients around when called upon.
My choice for extra aeration is rice hulls. They're beautiful, fragrant, add silica to the food cart and some interesting surface areas for the micro herd. One of the things I'm always trying to accomplish with my soil mix is a wide diversity of surface areas. I like to imagine the biota making use of all this diversity, places to hide and hunt, living out their destiny with an abundance of available options. It's that Mother Earth thing run amok again.
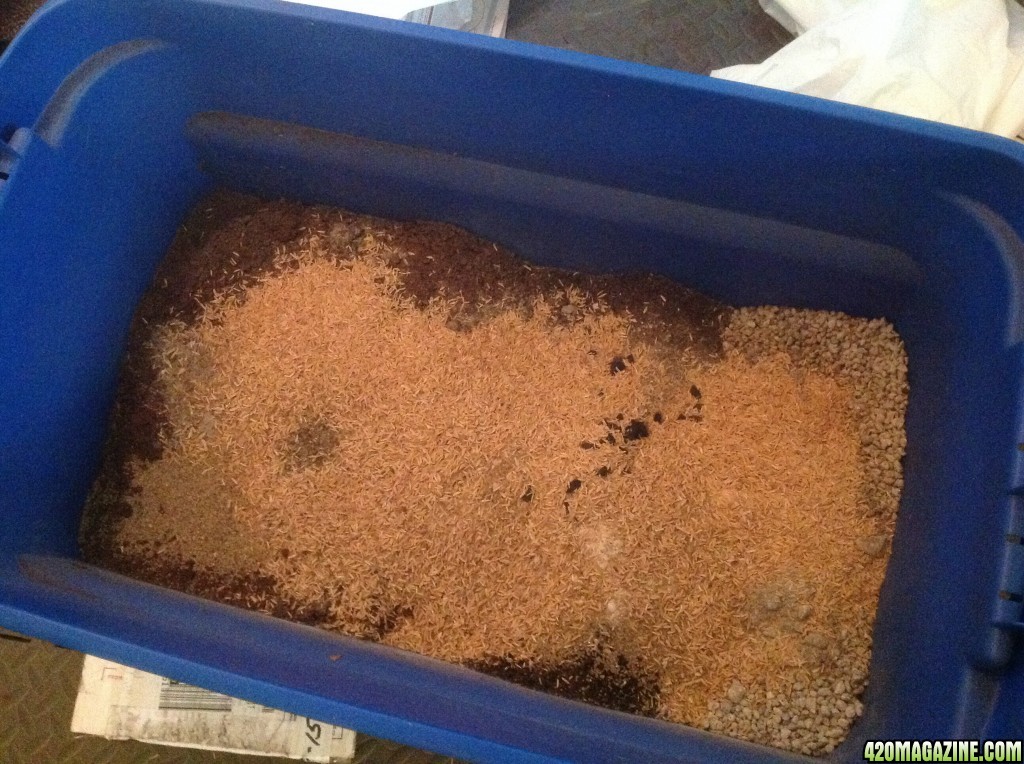
Now for my second favorite part - the initial mixing.
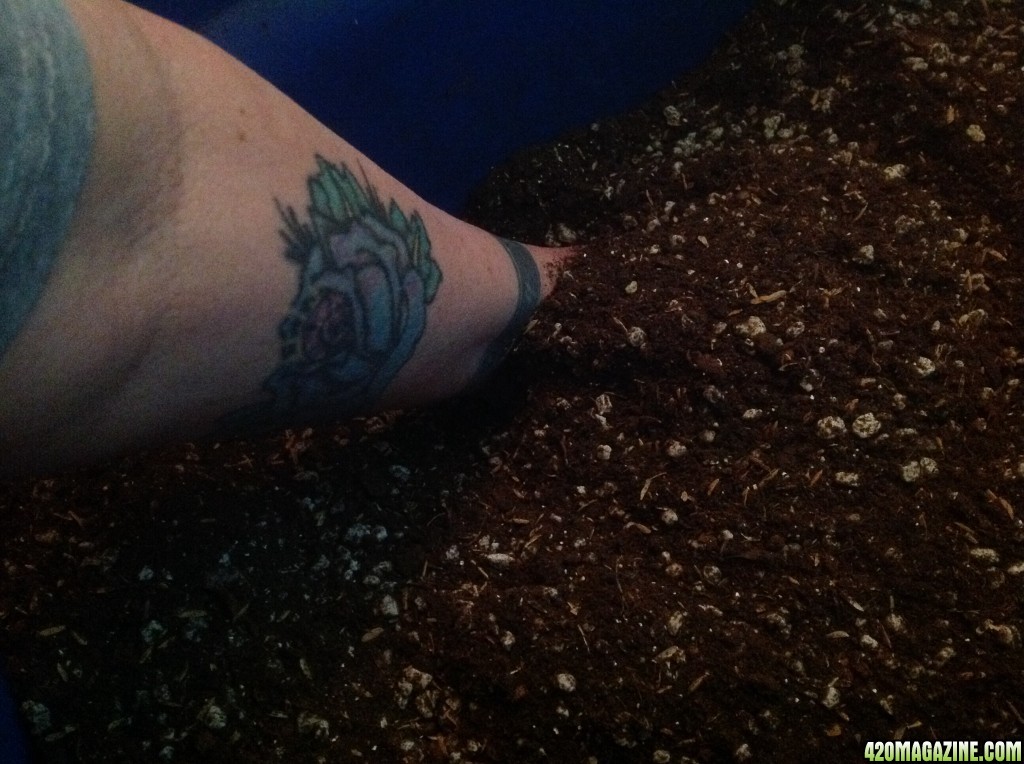
At this stage I'm working for a homogenous blend. There should be no big chunks of peat moss, so I break them up as I go. Then it's just dredge and lift, toss and tumble, mix and churn until everything looks completely dispersed throughout.
Using the Chapin, spray with 1 1/2 gallons of rainwater.
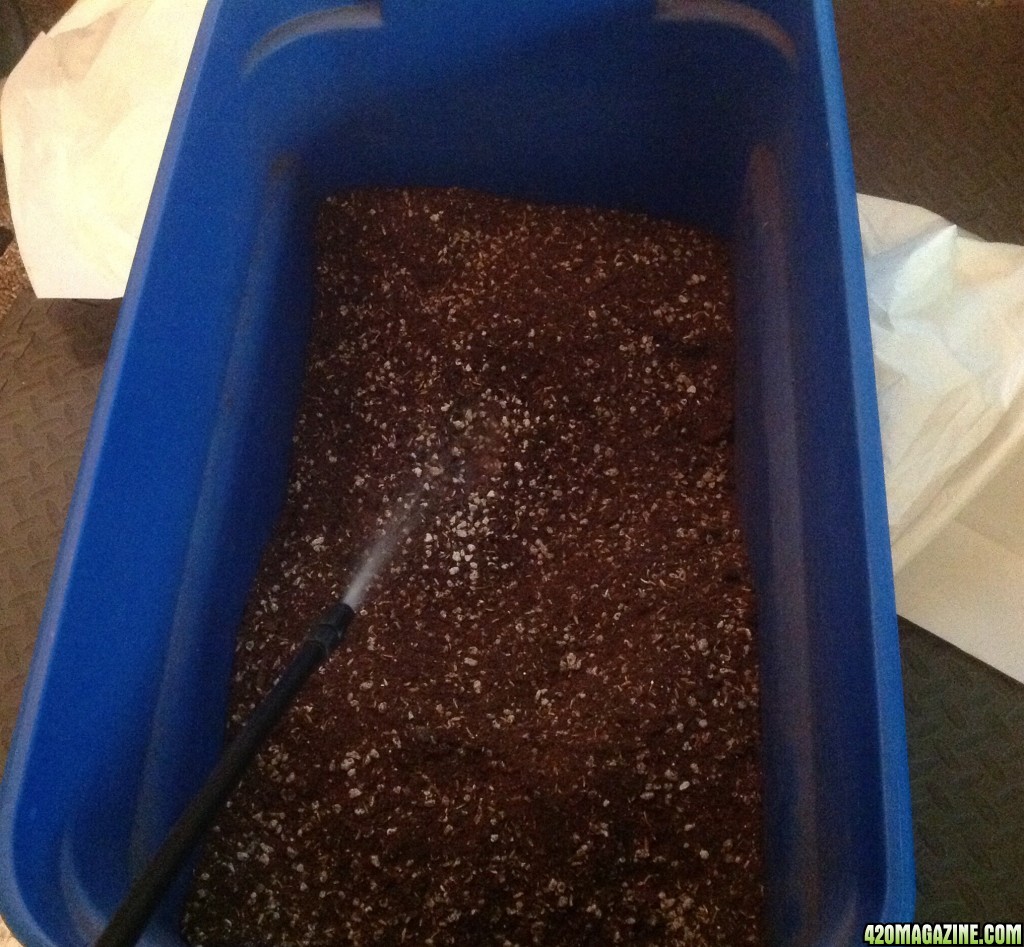
My favorite part - the final mixing.
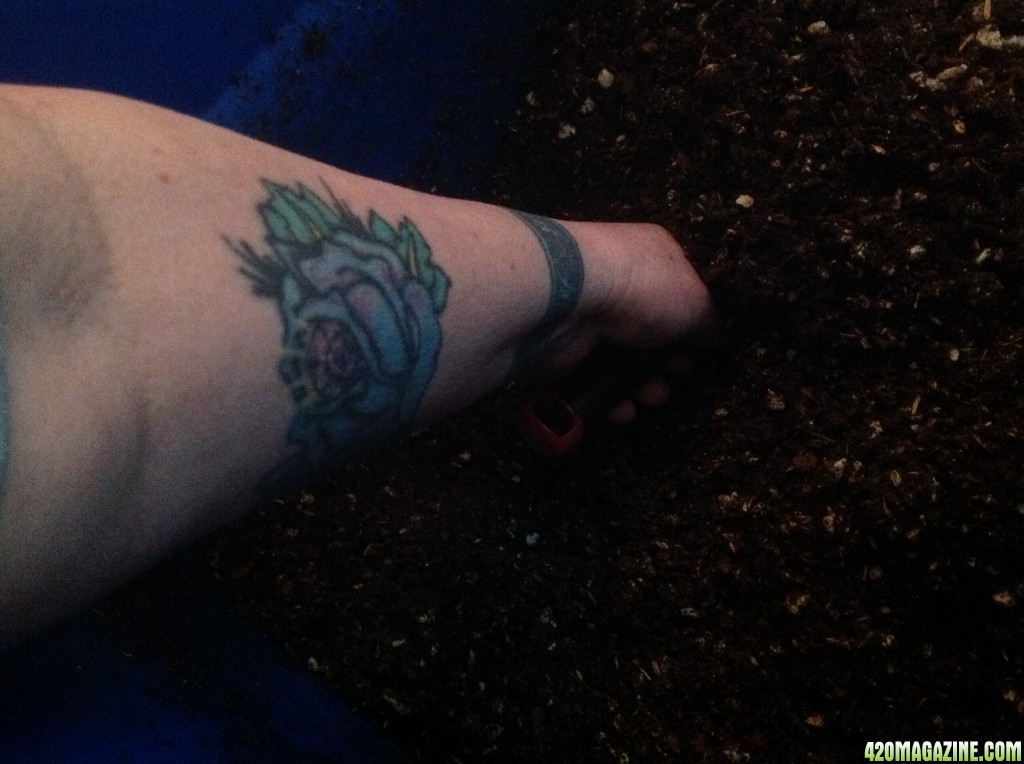
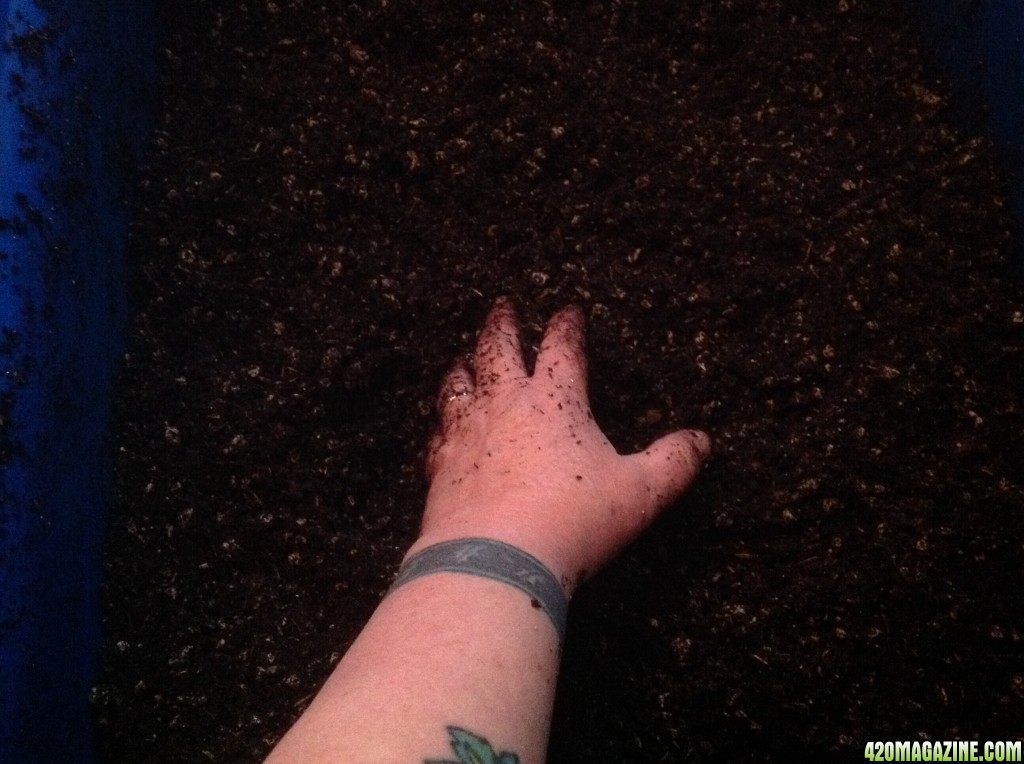
I love the feel of the soil components, the smells of the mingling. Using my bare hands allows for a finer mix IMHO. Any larger pieces of peat are easier to feel than see at this stage and, darn it, I just LOVE getting my arms up to the elbow in fabulous soil. This soil fills ME with energy. You can imagine the happy plants that will benefit from my efforts today.
I mean really, isn't this just the most beautiful stuff? You should smell it. Dank and sweet at the same time. It smells like life to me.
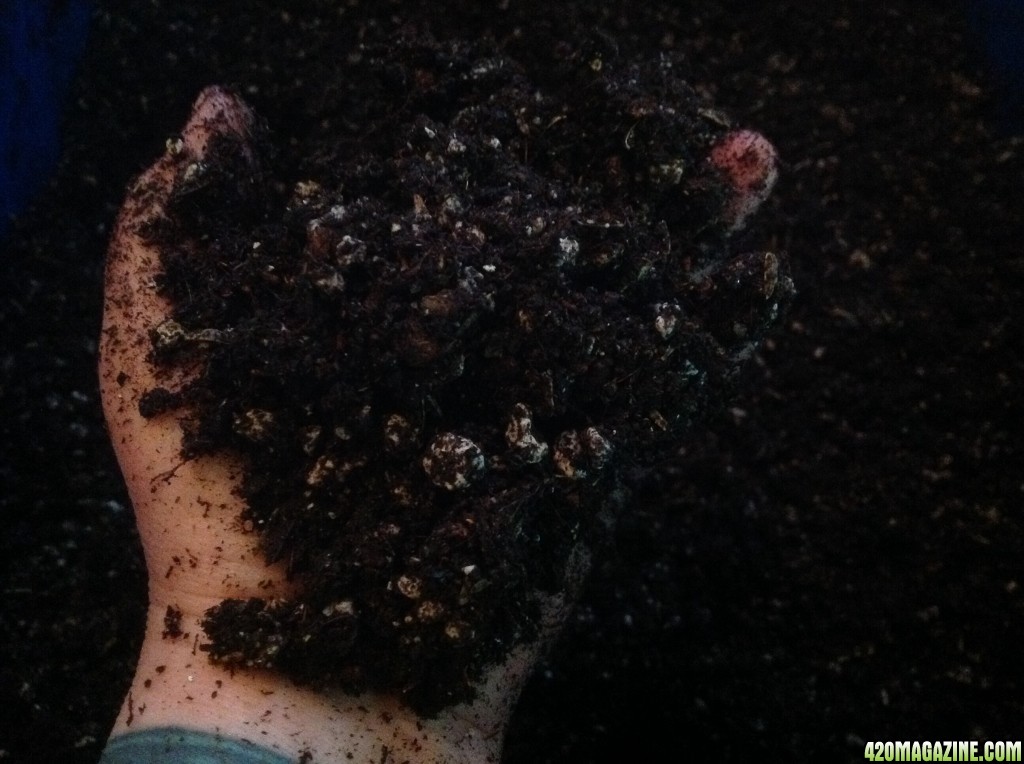
Water and mix, water and mix - the time is lost in the joy of playing in the dirt. I could never do this with gloves.
It's hard not to linger a moment and just appreciate all this loveliness. Life will spring from this soil that will help my family be healthier. What a blessed thing, eh?
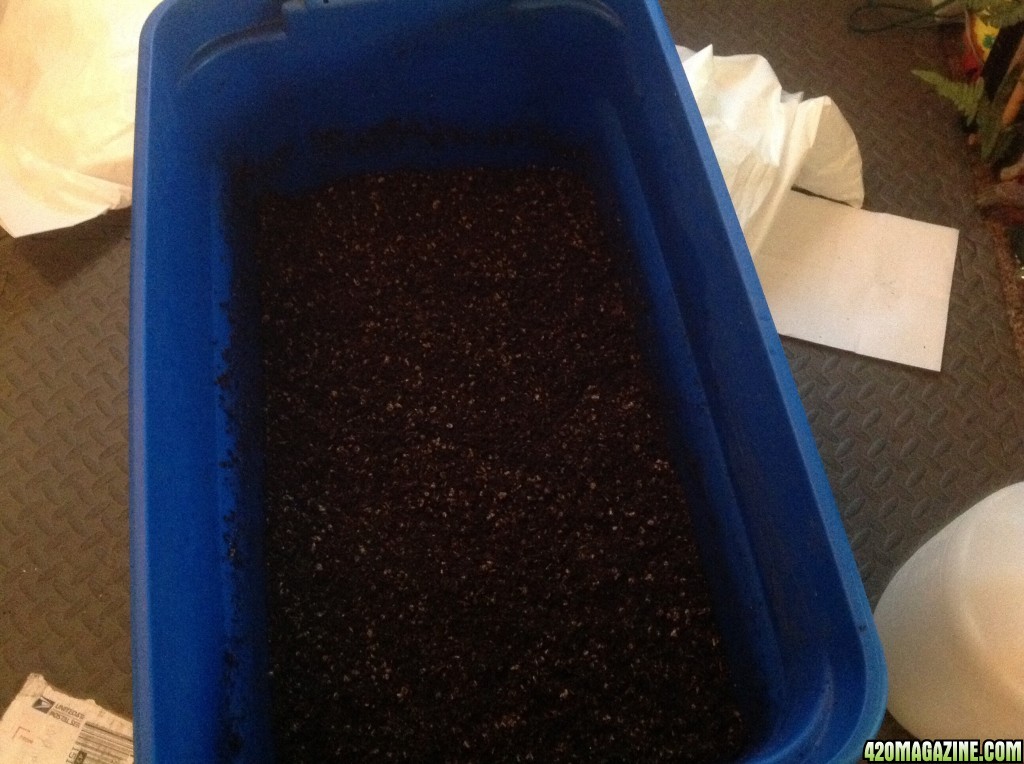
The soil building is complete. It will be covered and stored, being turned once a week for the next month.

My hope is that we can demonstrate photographically the process we use individually to build our soils. Let's begin a spirited discussion on the diversity of our methods. Hopefully we can inspire positive changes along the way.
*********************************************
Let me start the ball rolling with my own chosen recipe. I use the recipe developed by a gentleman named Clackamas Coot, infamous on some competing sites. This recipe will raise a plant from seed to harvest with water only and absolutely stun you with the health of your charge and potency of the eventual harvest. If you plan to build a no-till, as I have, you need only do twice weekly teas and drenches, alternating with water. This is my gold-standard recipe. It's suggested that, for the first two runs at least, you stick closely to this recipe as you take on the challenge of understanding the dynamics of what the recipe entails. There are no-tills running with this soil now into 13 cycles and still clicking smoothly along. My kind of gardening.
The Basic Clackamas Coot's soil mix recipe for growing cannabis (in his own words):
"Equal parts of Sphagnum peat moss, some aeration deal (pumice, rice hulls, lava rock - whatever is sitting in the garage) and finally some mix of humus - my compost, worm castings some black leaf mold I bought from the local 'worm guy'
To each 1 c.f. of this mix I add the following:
1/2 cup organic Neem meal
1/2 cup organic Kelp meal
1/2 cup Crab meal (or Crustacean meal when available - it has Shrimp meal with the Crab meal. It's a local product from the fisheries on the Oregon & Washington Coasts) *
4 cups of some minerals - rock dust
After the plant is in the final container I top-dress with my worm castings at 2" or so and then I hit it with Aloe vera juice and Comfrey extract. Or Borage. Or Stinging Nettle. Or Horsetail ferns. Whatever is ready.
The Rock Dust Recipe
4x - Glacial Rock Dust - Canadian Glacial (Gaia Green label)
1x - Bentonite - from the pottery supply store
1x - Oyster Shell Powder - the standard product from San Francisco Bay
1x - Basalt - from Redmond, Oregon (new product at Concentrates - about $18.00) ."
I believe that this recipe allows for some substitutions and that the biggest thing is to stick to the 1/3 SPM, 1/3 aeration, 1/3 humus and the amendments at the specified ratios. I have seen people (including myself) vary the actually "rock dusts" but don't if you can help it, and certainly don't omit the oyster shell flour in place of something else.
Living organic soil is very rewarding to grow in, give it a try, no one has ever looked back after going this route."
* Coot highly recommends the crustacean meal. In his own words, as of 4/20/15;
BirchPlease, on 4/19 said:
If I were to add OSF to this mix, how much would I add? A cup per c.f.? Any other suggestions?
Coot answers:
Why?
Crustacean Meal = Calcium Carbonate (CaCO3) layered between extremely thin segments of Chitin (C8H13O5N)n which you want (need) in a potting soil mix
Oyster Shell Powder = pure Calcium Carbonate (CaCO3)
His supporting data:
Chitin Data Sheet at EPA
Chitin is used for controlling soil nematodes on ornamentals, turf, and many food and non-food crops at commercial and residential sites. The active ingredient is isolated from the shells of crustaceans, especially crabs and shrimp. Given its lack of toxicity, chitin is not expected to harm people, pets, wildlife, or the environment when used according to label directions.
1. Description of the Active Ingredient
Chitin (poly-N-acetyl-glucosamine) is one of the most common polymers found in nature. Structurally, it is related to cellulose, which consists of long chains of glucose molecules linked to each other. In chitin, the building block of the chains is a slightly modified form of glucose. [For another pesticide structurally related to chitin and cellulose, see Chitosan, also known as poly-D-glucosamine.]
Chitin is present in the shells of all crustaceans and insects, and in certain other organisms including many fungi, algae, and yeast. Commercially, chitin is isolated from the shells of crustaceans after the edible parts have been removed.
Chitin appears to control pathogenic nematodes by stimulating the growth of certain naturally occurring microorganisms in soil, which, in turn, release substances that kill the pathogenic nematodes and their eggs.
***************************************************
My only addition to this would be to add mycorrhizal fungi innoculant to the soil mix in advance of planting, or dust the roots with it before transplanting.
I made my life easier and purchased a nutrient kit from a company that was based on Coot's recipe. It gave me the chance to mix up a limited amount of soil quickly, without having to source large bags of components. We live in a tiny apartment with severely limited storage space.
SOIL BUILDING:Living Organic Soil (LOS)
I don't think there are many things more pleasurable than building a strong Living Organic Soil.
We begin by collecting rainwater. I'll need about a gallon and a half for this batch. I'm only mixing up a cubic foot of the LOS. I already have two pots. I just need some on hand for germinating and seedling stage.

Living Organic Soil is a building project to me. It's formulating a fine recipe to feed the herd. There's tremendous diversity in the mix.
My base mix is equal parts by volume of sphagnum peat moss, Worm Power vermicompost and pumice.

That's the Worm Power Vermicompost on the left, compared to Wiggle Worm Earthworm Castings on the right. Worlds apart in quality. I love digging into the Worm Power. You can feel the energy ready to burst out. Look at me - excited about high quality worm pop!


To the base we add 4 cups of the Clackamas Coots-style minerals mix and 1.5 cups of the accompanying. CC-style nutrient mix. I purchased this kit from an online company specializing in helping you Build a Soil.

Coots has recommended adding the malted barley grain directly to the soil mix for the added enzyme boost. His success inspired me to do the same with this mix. It's something I will do from now on with each new batch. Using the coffee grinder purchased just for grinding malted barley I powdered up 2 cups of the grain.

I have Yum Yum Mix, so 3/4 cup of that, along with 3/4 cup of zeolite (helps with water retention) and some biochar I had on hand, so why not? Only good can come of it. Oh, and about a half cup of some exotic Japanese river sands, just because they're interesting shapes and surfaces.

I use a SWICK watering system, which means I want extra aeration in the mix to help with all that wicking that will keep my soil matrix evenly hydrated. An evenly hydrated matrix means the micro herd and fungi can more efficiently shuttle nutrients around when called upon.
My choice for extra aeration is rice hulls. They're beautiful, fragrant, add silica to the food cart and some interesting surface areas for the micro herd. One of the things I'm always trying to accomplish with my soil mix is a wide diversity of surface areas. I like to imagine the biota making use of all this diversity, places to hide and hunt, living out their destiny with an abundance of available options. It's that Mother Earth thing run amok again.


Now for my second favorite part - the initial mixing.

At this stage I'm working for a homogenous blend. There should be no big chunks of peat moss, so I break them up as I go. Then it's just dredge and lift, toss and tumble, mix and churn until everything looks completely dispersed throughout.
Using the Chapin, spray with 1 1/2 gallons of rainwater.

My favorite part - the final mixing.

I love the feel of the soil components, the smells of the mingling. Using my bare hands allows for a finer mix IMHO. Any larger pieces of peat are easier to feel than see at this stage and, darn it, I just LOVE getting my arms up to the elbow in fabulous soil. This soil fills ME with energy. You can imagine the happy plants that will benefit from my efforts today.
I mean really, isn't this just the most beautiful stuff? You should smell it. Dank and sweet at the same time. It smells like life to me.

Water and mix, water and mix - the time is lost in the joy of playing in the dirt. I could never do this with gloves.
It's hard not to linger a moment and just appreciate all this loveliness. Life will spring from this soil that will help my family be healthier. What a blessed thing, eh?

The soil building is complete. It will be covered and stored, being turned once a week for the next month.


