Big Head - Dead Head OG Heavy Yield!

jlt1202

New Member
Hello ALL!

So this is going to be my first journal that iv done so it should be interesting for sure lol.

What i have are some mature ladies that, tell you the truth, could go in to flower when ever, BUT i want to play mother nature and make them fat as hell before i chop them down Paul Bunyan style.

So i figure the Deadhead OG plants are around 5-6 months now, but could be mistaken (First grow).

Currently i have a 8x10x10 room that i have built a frame inside of so that i can hang my lights, fans, ect. Connected to the room i have a 4x6 closet space that i put a black tarp door with zipper to block light (soon this will be the veg room ; ).

The 8x10x10 room is going to be my flower room mainly because of the optium space ovcourse, leaveing the closet for my veg plants.

CURRENTLY;

In my 'flower room' (currently veging in there to keep in mind) i have a 600w MH with ballest over the plants, a 300w equivalint CFL bulb in the corner, and a 600w equivalent CFL hood that i made to be hung on the side of the plants.
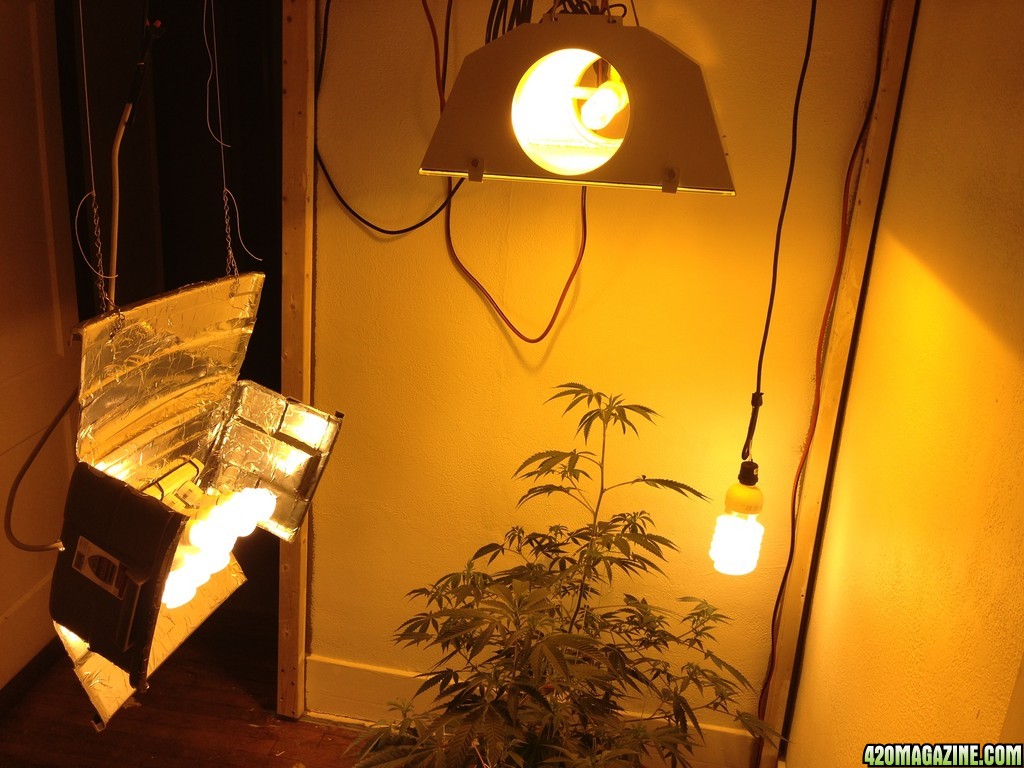
A168.JPG


In the 'veg room' i have three 2 bulbed t12 flourescents that are hung up so that one is on top, and i velcro'ed (industrial style) the other two to the walls about 2 ft from the floor for smaller plants. (able to add another strip to move lights up.

This is what i started with, they were very healthy, but had no stress training done on them at all so only one main cola and not very thick. Wanting to get more yeild and impress myself mainly lol im going to veg them longer to get them to bush out, wanting alot.
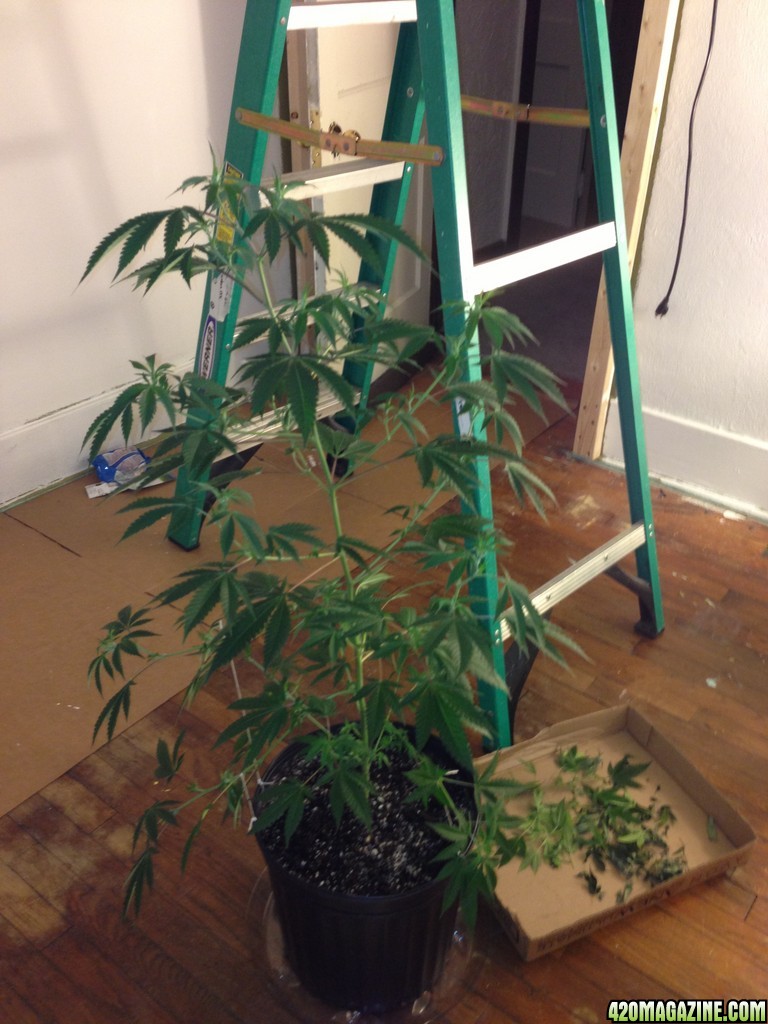
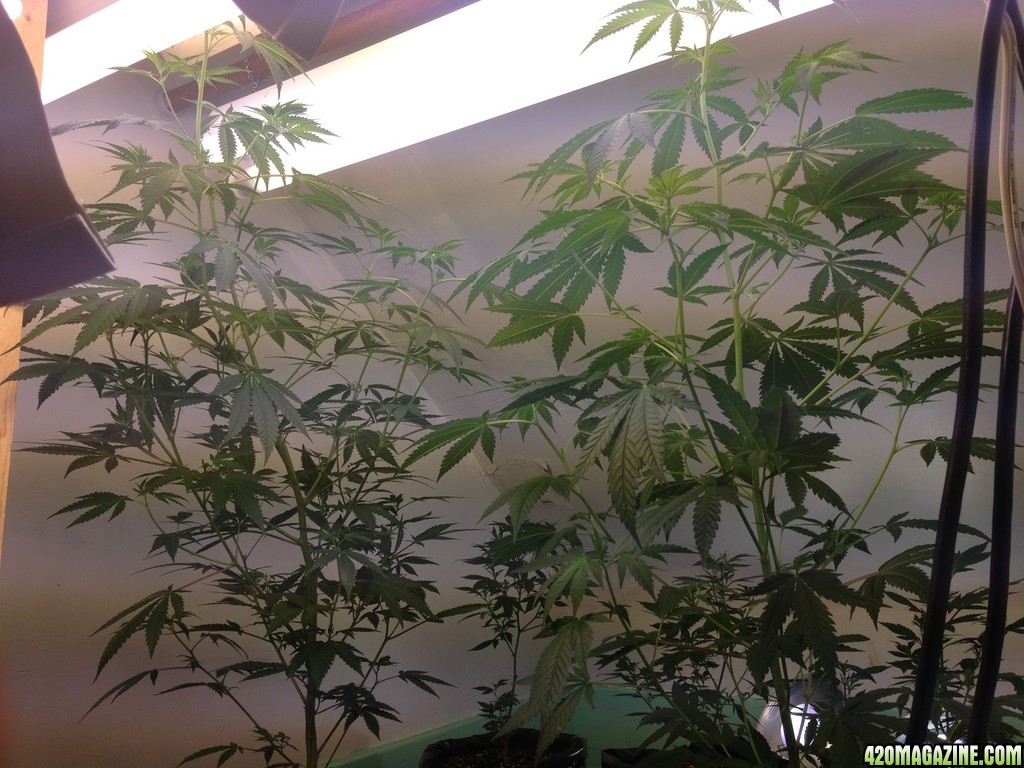
1111113.JPG


zzz3.JPG
 
This is going to be my veg room that i have set up, pretty good space to work with.
5683.JPG


I Built this stand the other day for my two blue spectrum lights for added spectrum lol
10287.JPG


Befor and after of my window that i finished and sealed off for my room, snowing outside still but it will be needed in the summer : )
7515.JPG

6587.JPG
 
SOOOO after topping and bennding the top cola to get my plant to bush out and get to more of a palm tree look.

21373.JPG

8404.JPG


AT THIS POINT:Both plants are in 5 gallon buckets atm, going to transplant soon to larger ones to increase root production/ and in turn my canopy size!

mesured otherday at 3 ft tall after bending and topping
 
Went to the store today and was going to get some bigger buckets, so iv been growing in plastic buckets/bags so far and the people there showed me there Smart Pots and prices were slightly lower. I wanted to get a 15gal to increase my soil space from 5 gal. Here is a pic of the bag material.

31235.JPG


So as iv learned about this bag here are some things of why this bag is a better choice then the regualr plastic bags/buckets.

-Being cloth, it will breath well, both increasing O2 uptake, and allowing the soil to dry out quicker alowing you to feed and water your plants more offten.
-Unlike plastic, which when the roots hit the side of the bucket they spider around the bucket, when the roots hit the side of the Smart Pot, they are stuntted by the air, MEANING they stop growing out and get fatter, strounger, and web out.
-They have built in handels
-Makes bottom feeding very easy because the whole pot can abosorb in water instead of just a couple holes.
-Comes in diffrent sizes from 1 gal to 20 gal

4885.JPG

11789.JPG
 
BTW sorry for the neck pain with my pictures lol next pictures ill upload correctly haha Xo

I know what i forgot to do, im just too lazy to fix all thous atm haha
 
OK, I'm subd, and goin ta work to see what you've got going:cheertwo:

Lol yep yep im looking at geting a partner soon and adding shit ton of lighting and plants hopfully lol. My veg room is changed allready and probly going to change somemore tonight haha, i have sooooo much space to work with its crazy i just want to fill it with lights and a sea of green trees ahhah
 
Bro, they look great! You have a good plan and your thoughts are well arranged. I can see that the lights were a little too far from the plants previously and you know thats why they were so tall and lanky. THEY ARE HEALTHY AS HECK! You have got the most difficult things well in control....the pictures tell the whole story, I gave you reps cuz I appreciate the invitation to your journal and the privelege to see your work.
 
Lol yep yep im looking at geting a partner soon and adding shit ton of lighting and plants hopfully lol. My veg room is changed allready and probly going to change somemore tonight haha, i have sooooo much space to work with its crazy i just want to fill it with lights and a sea of green trees ahhah

LOL, I know the feeling, we just live in the extra space where there isn't a box running>>>LOL
 
Nice start! Instead of using plastic and a zipper on that closet, you could do what I did back when I grew in my walk in closet...

Take the door off (it's possible you won't have to remove it, but I think it makes it easier). Build a frame out of 2x4's just the right size to barely slide into the door frame. You won't be able to push it all the way in for the same reason you can't push the door in. Cover the frame in black plastic (or panda) by just covering one side and staple the plastic to the 2x4s on the other side. You don't need plastic on both sides, but it would make it a little more thermally isolating with the dead air inside. It should be light tight because of the door jamb. I put a couple handles on mine at a comfortable height. It's light, so it's easy to move, and it's cheap!

The advantage this has over the zipper is better access. With this method, you can use the entire opening when accessing the closet.

Good luck! I may not post a lot, but I'll be lurking :winkyface:

:Namaste:


l actually have that set up already man : )

IMG_033915.JPG

IMG_034020.JPG
 
Got my veg room set up for the time being.
- 2 T12 bulbed Flourescents x3
- Blue spectrum lights x2
- Small fan x2

Right now i have 3 of my northern light clones in there, hopping to beable to fill it with clones from my cloner bucket if they ever liftoff


IMG_034118.JPG
IMG_034820.JPG
IMG_034717.JPG
IMG_034915.JPG


this is a week old cutting that i had in my aero bucket for cloning and its not rooting as quick as id hoped : /

IMG_034219.JPG
 
So last night i was able to get both my girls in there new buckets, idk if people have tried, or have not, cutting the medium open when you transplant. First i thought this would cause a lot of stress, but i was told by my local grow shop veterans that you want to cut 4x around the old plant to open up the soil and cut open roots to create more, kinda like you would to create more nodes.


Here is some pics of my root system before transplant and what i used to inoculate the roots in the new medium (happyfrog).

IMG_035019.JPG
IMG_035321.JPG
IMG_035923.JPG
IMG_036122.JPG
IMG_036227.JPG
IMG_036323.JPG
IMG_036414.JPG
IMG_036517.JPG
IMG_036617.JPG
IMG_036712.JPG
IMG_036819.JPG


And there we are!
IMG_036915.JPG
 
Hey bro, I've seen these take a long time before, why do you suppose it takes so long sometimes? I'm building an aerocloner right now, and if there's anything I can do to make it better I'm gonna. Mine will have a dome that fills with humidity by itself and a built in light on the dome....completely self contained with aerated water.

im playing with my atm i have some in there that are almost week old but the roots are not showing up like i was led to believe : / i was told humity is not as important due to the fact it is being hit with water 24/7, so far i have had no luck with rockwool or ezystarter cubes, so i thought i would try this but idk if im doing something wrong.

Here is a link to a video of myn of how myn is set up and me doing one of my clones
Aeroponic Cloning Bucket - how to
 
I know just doing two all said and done was close to 50-60 with buckets, soil, and dishes. but the bags should last long time they said and i dont buy the cheap flimsy saucers lol

IMG_036819.JPG


Starting to like the bottom feed that the bag does helps me judge how fast there drinking : )
 
Back
Top Bottom