200 Watt Cree CXB3590 4 COB Grow Light Kit

kelticBlue

Well-Known Member
I just finished putting together my kit. I wanted to do a better job documenting the build up but ran right into a migraine headache right when I needed to do the build.
The build is easy. However, I forgot I am not a big fan of working with aluminum. All the little bit and things that come with drilling and cutting. I have to work in my living room/ bedroom since I live in a studio apt. I don't like to make a mess in my space.
The kit
comespre-assembled- all you need to do is mount it to a frame and plug it in. No wiring, soldering, drilling, tapping nor thermal pad application required - COB is already mounted on the heatsink with the reflector adapter. This kit is pre-wired and pre-assembled for mounting on a frame

My end product is not gonna look like a polished commercial product. I am in a small tent and need to do custom make my space. I agonized over placement of the heat sink and power supply but I think I found a happy medium.
also I chose 3500K for my light.
 
Ok let me start with the lay out. Measure ten time and cut once. I am a bit ocd.

Read the included instructions. The customer service is top notch. Dan at Timber grow lights answered about 15 question from me, usually within 24 hours.

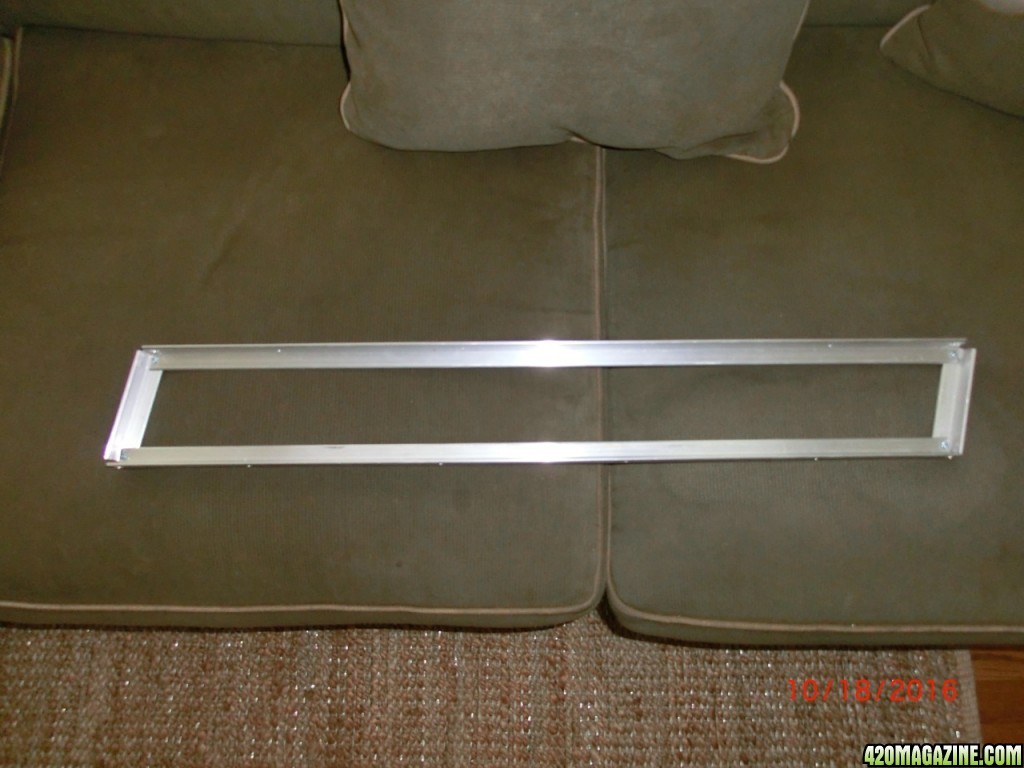
I got two lengths of 36 inch aluminum L angle. Cut down to size. 29 inches long for my thirty inch wide tent. From the remaining I cut two about four inch long cross members.
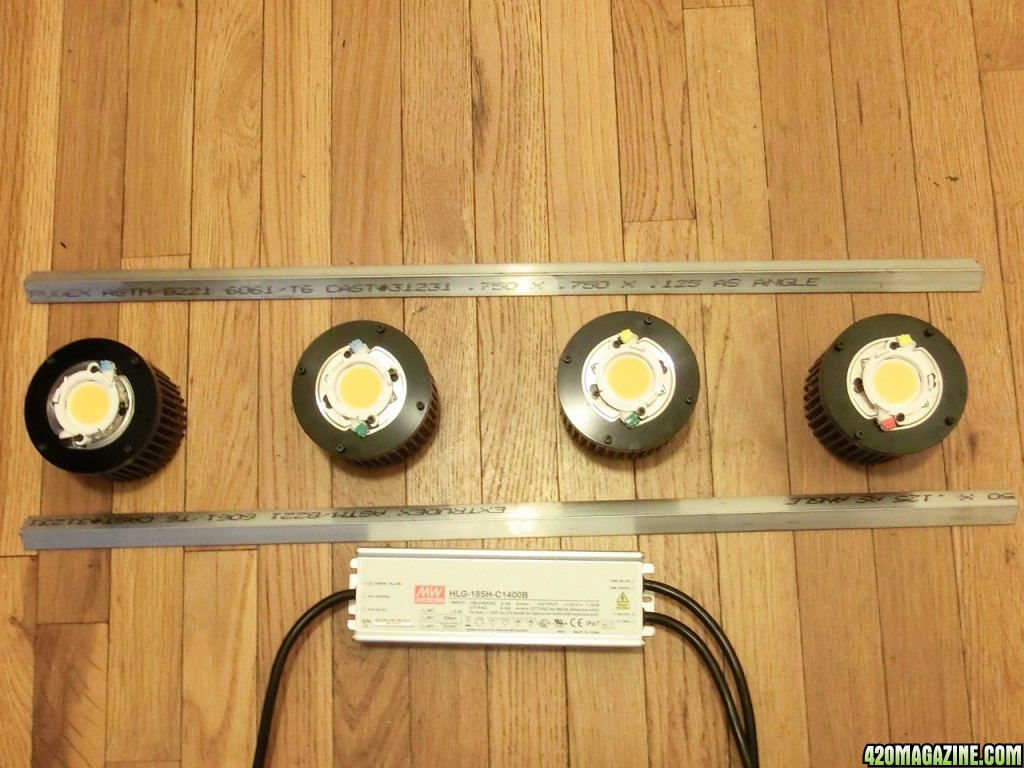
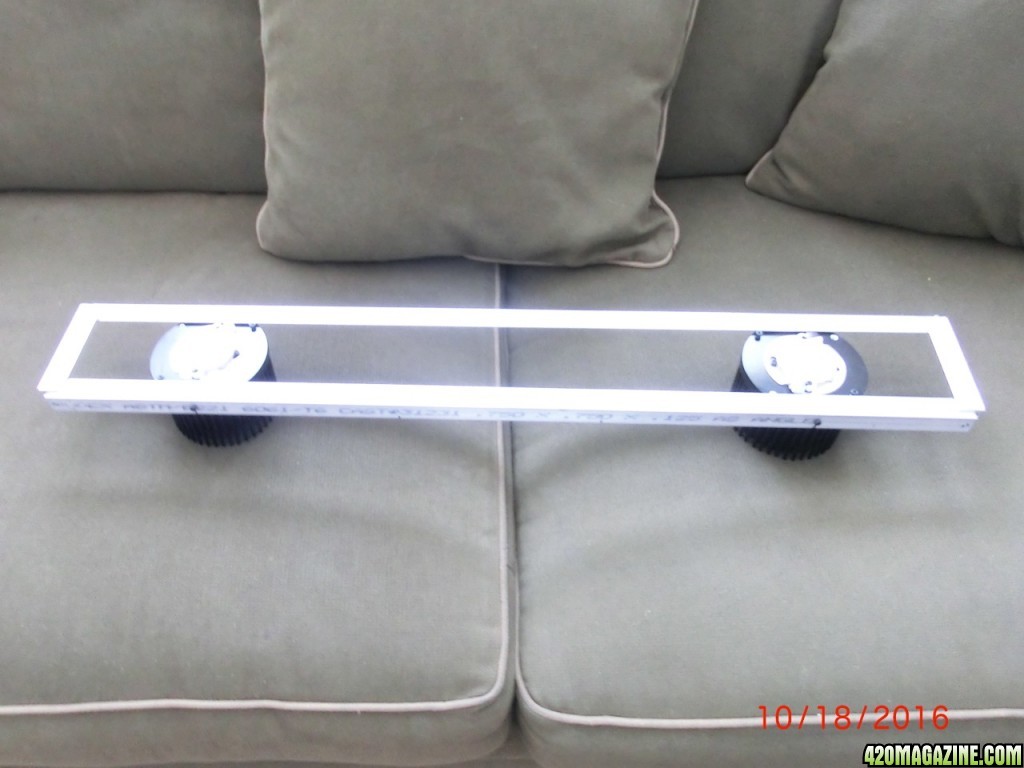
Here the cobs and heat sink with the aluminum frame pieces.
CIMG14721.jpg

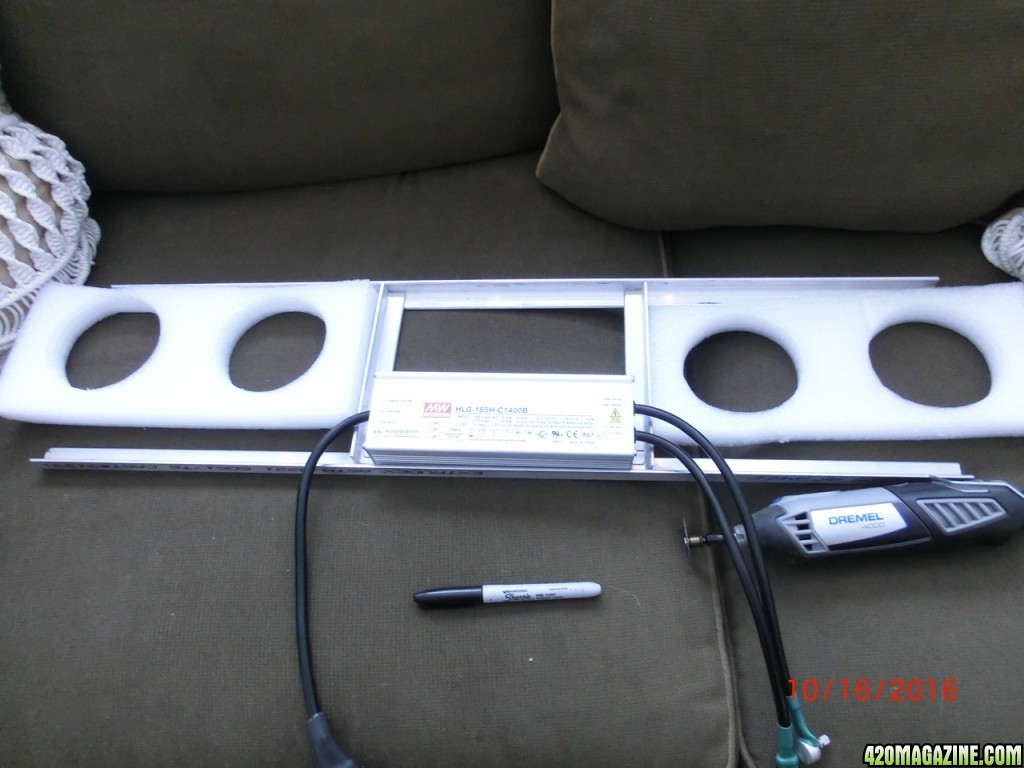
I played with lots of ideas for the cross pieces and heat sink locations. I used the Dremel tool to cut the aluminum. Not great but it worked. Just mock ups here.
CIMG14711.jpg
 
Drilling and cutting aluminum with a headache is not my friend but I had to do it. In terms of tools and such lemme remember.
The L angle is 3/4 inch width by 1/8 thick.
The dremel for cutting.
A drill for drilling.
4 nut and bolts 632size bolts half inch long through 1/8 inch holes for the cross pieces.
Sharpie for marking.
Stuff to hang the light I reused stuff from other light I had hanging around. I would suggest jack chain and S hooks.
What to look at next.
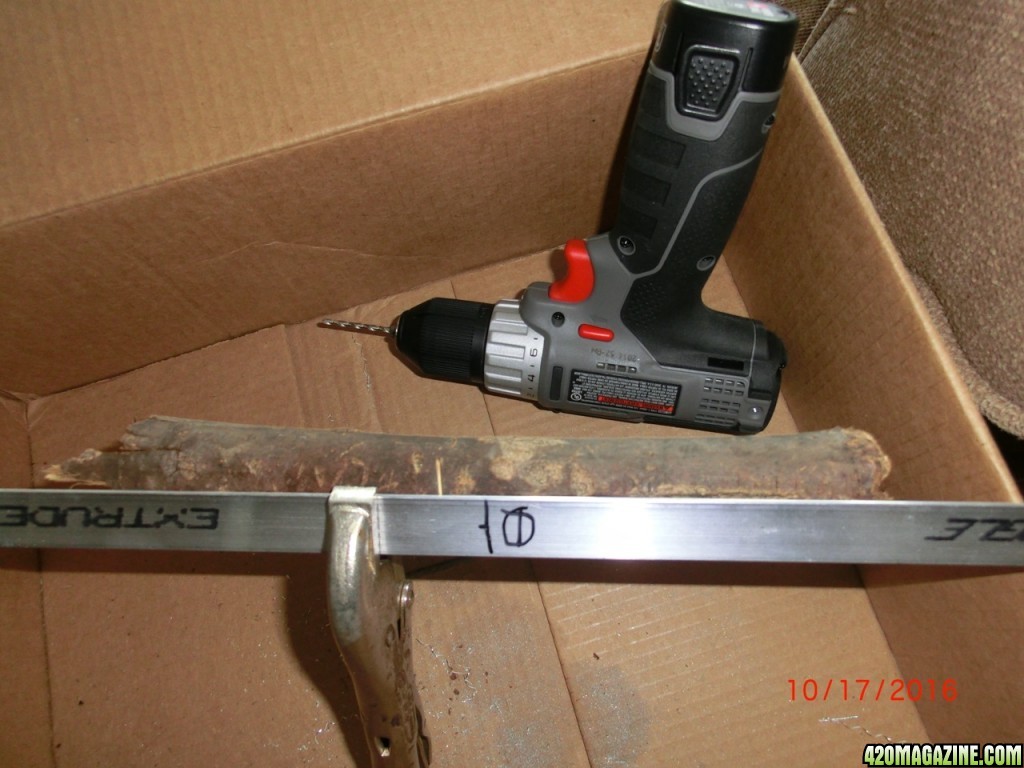
I did my drilling and cutting in a box to catch the aluminum wear eye protection and skin protection cause little bits of aluminum go flying all over at high speed. I clamped to a piece of wood to have something to drill or cut into after the aluminum.
CIMG14831.jpg


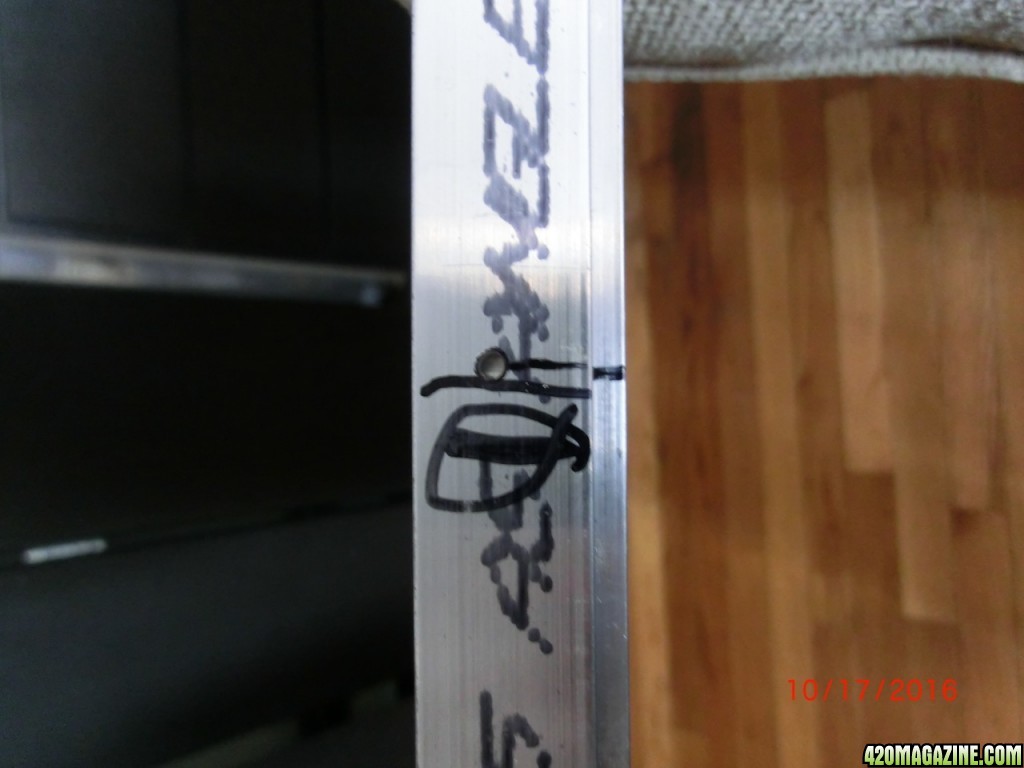
Drill the mounting holes for the heat sinks. I over sized them to help make sure they line up measure many time and double check both lengths of frame. I did side mounting holes. One less hole side mounting versus top mounting the heatsink
CIMG14851.jpg

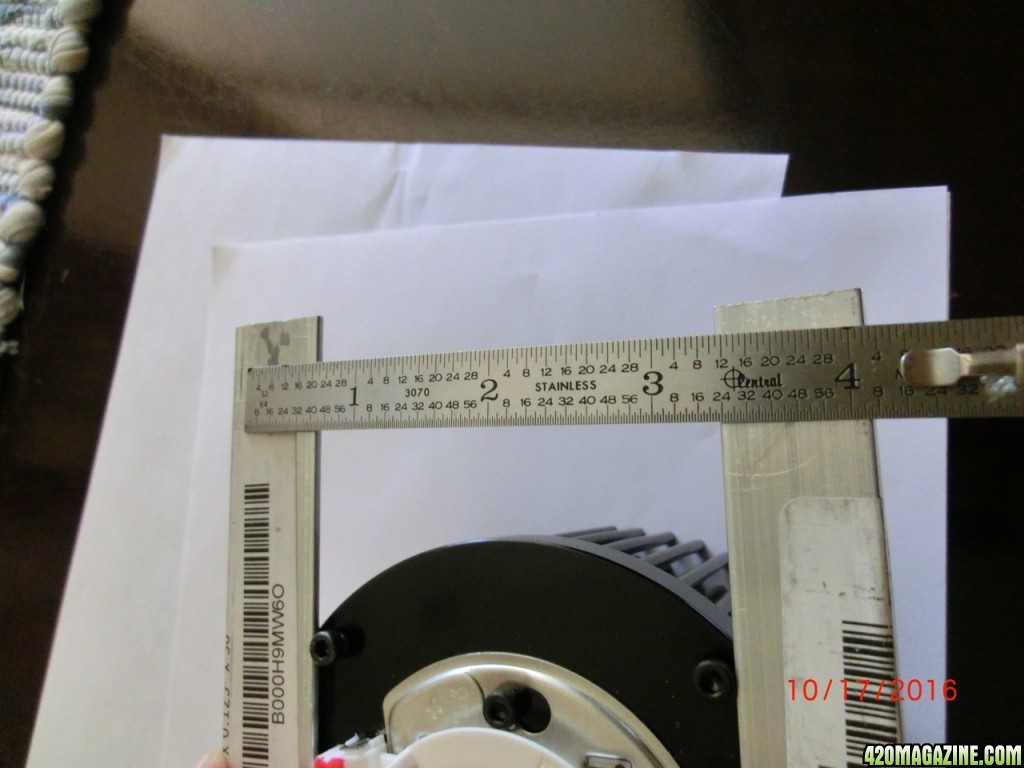
Here is a measurement for the cross pieces. About 4 inches.
CIMG14871.jpg

I need to get some eats. More later.
 
I am thinking I missed some pictures on the up load. Hmmm.
Any questions or comments are welcome.
Sorry but I have been suffering from an un-organized mind. Everything seems like spaghetti thrown at the wall.
So for my build I drilled 4 holes on the side of the frame for the heat sinks. The spacing is up to you to customize for your space. I got a small space so mine will be closer than most everybody. I cannot remember the size hole I drilled for the heat sink mounting. I think they are 3mm and I drilled it over sized by wiggling the drill bit, making the hole just a tad bigger.
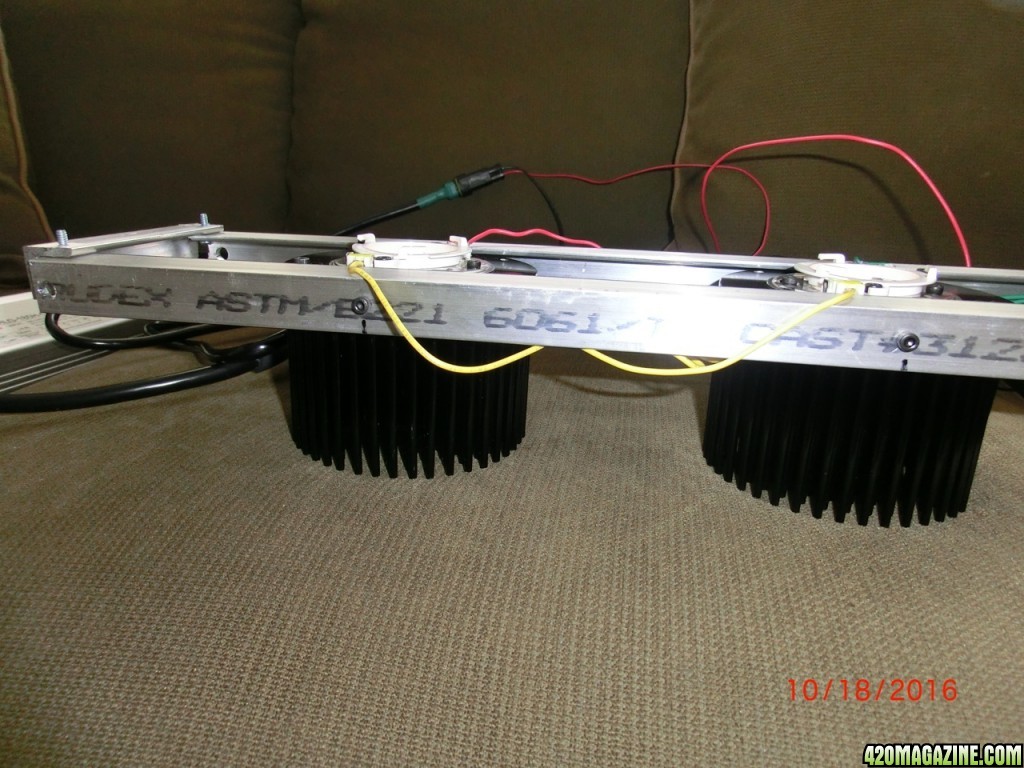
Drill the holes for the cross pieces on the bottom of the frame arm ends and in the four inch cross pieces. I used 6-32 bolt/nut and a 1/8 inch drill ( might work with 7/64 hole?) you could use self tapping sheet metal screws or something else. Attach them but don't tighten it yet. Loose so it can move back a forth. In this picture you can see it is not square and still loose. The side hole for the heat sinks are there. Also at the ends on the side I drilled 1/4 inch holes for the hanging points on each end.

CIMG14881.jpg

Get you heatsinks mounted. the heatsinks come numbered keep them in order.I put a little number on them with my sharpie. If you look at the label on the small boxes the heatsinks are numbered. It helps when wiring. Color coded wires to the heatsinks in order.
Here you can see the small mounting bolt on the side of the frame to the heatsinks. The frame is still loose so you can wiggle just in case your holes are not exact, close is all you will need.
CIMG14891.jpg


My my heat sinks lined up well and tightened down easily. Oh those little black side bolts for mounting the heat sinks can also be used to mount them on the face of the heatsink and are located right next to the COB. There is four on each. So I used two to mount on the side. No reason except for too lazy to drill 8 more holes.
Ok so here is where the fun begins.
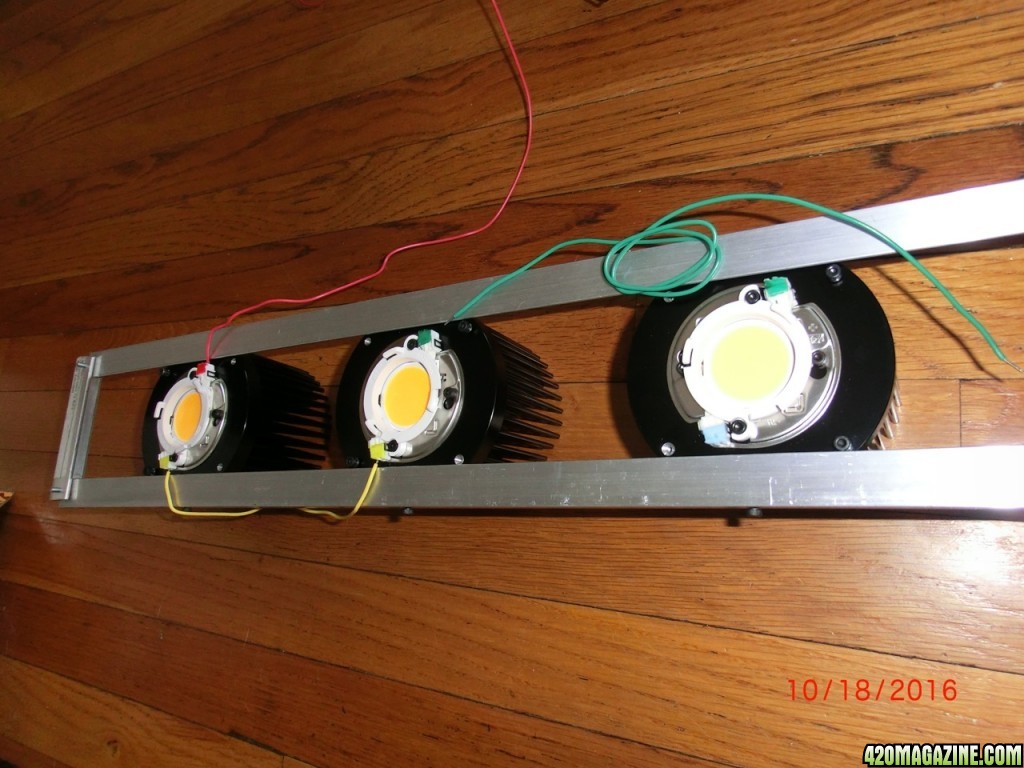
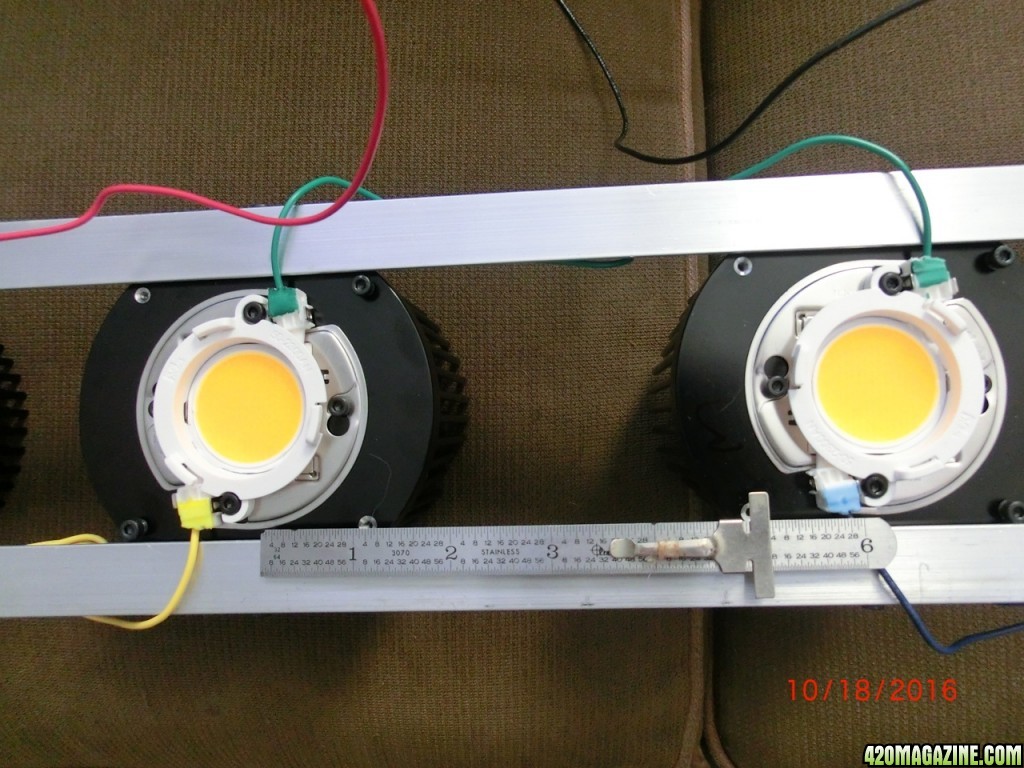
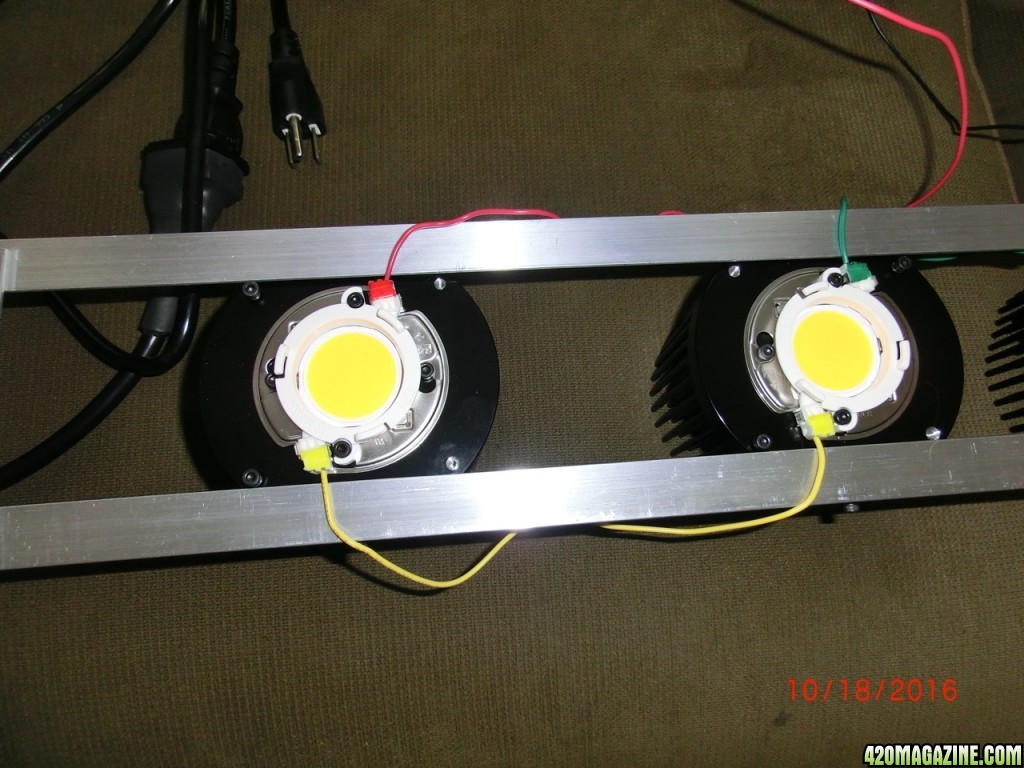
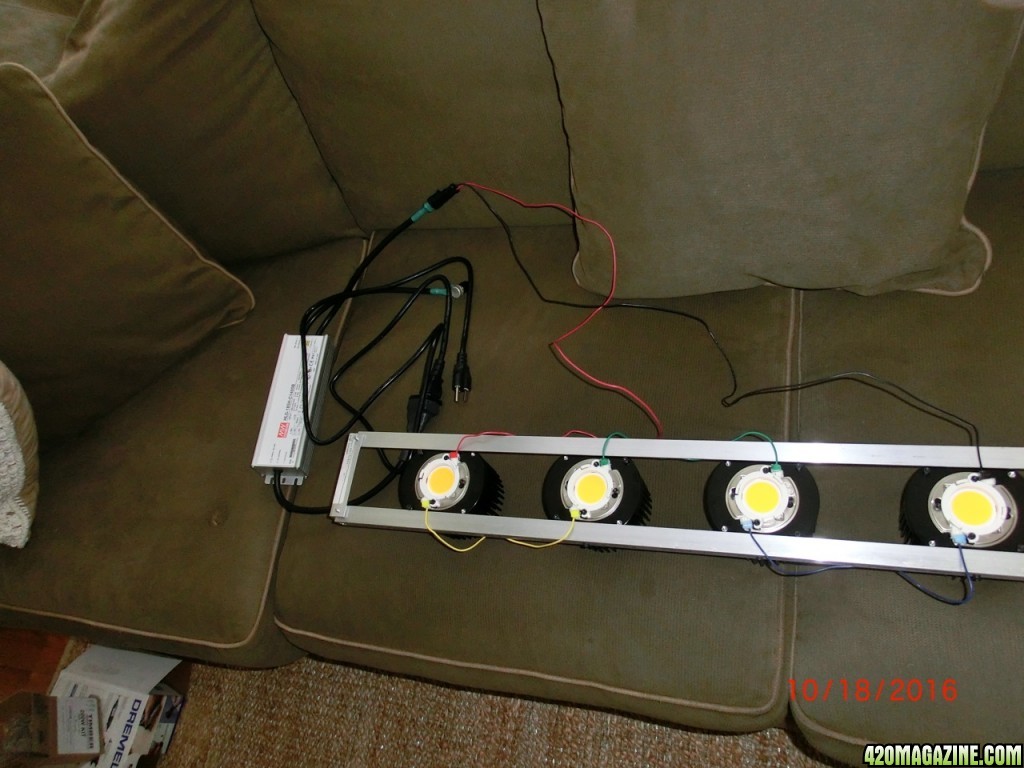
Get it wired up, easy. The "number one" COB is far left with the red wire going to the terminal with the red mark on it. The yellow wire is attached to the yellow terminal and goes to the "number two" COB. And so on. Does that make sense? Can ya see the marks on the terminals?
okay. Notes about the wires.
The red wire comes from a harness we will see later with its opposite half the black wire. The wires are pre-stripped and just get plugged into the terminal blocks. Just push them in and give a light tug to make sure they are secure in the terminal block. There is small metal tabs on the side of the terminal blocks to release the wire if needed. There are two spots on each terminal I am not sure but either one should work as it is power in power out and they are wired in series.
Another note. See the green wire. I wrapped it around in the middle to place on the other side of where it is in the picture then will secure with electric tape. I did it with all the wires in similar fashion.
CIMG1492.jpg


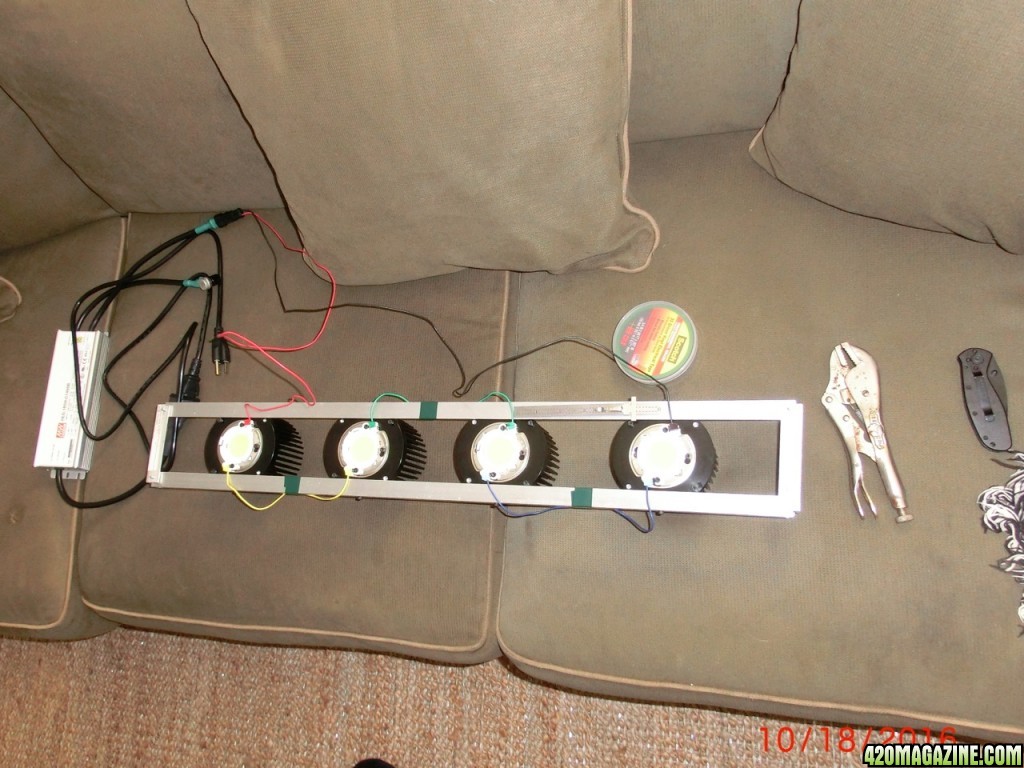
Wired and plug in the harness to the power supply. Here we can see some of the thing I been talking about. On the left at the end of the frame you can see the bolts in the cross pieces do not have nuts yet, they were a tight fit even without nuts. On the sides at the end you can se the big holes drilled to hang from. The little side mount bolt by the yellow wire. And in the background the red and black wires to the harness which plugs into the green end of the meanwell power supply.
CIMG1500.jpg


Here it it is almost finished. The COBs are a little more than 6 inches from each other's center. You can see my little ruler on the right two. The power supply has a dimmer which is up by the harness. Tighten it down, hang it and power it up.
CIMG15041.jpg


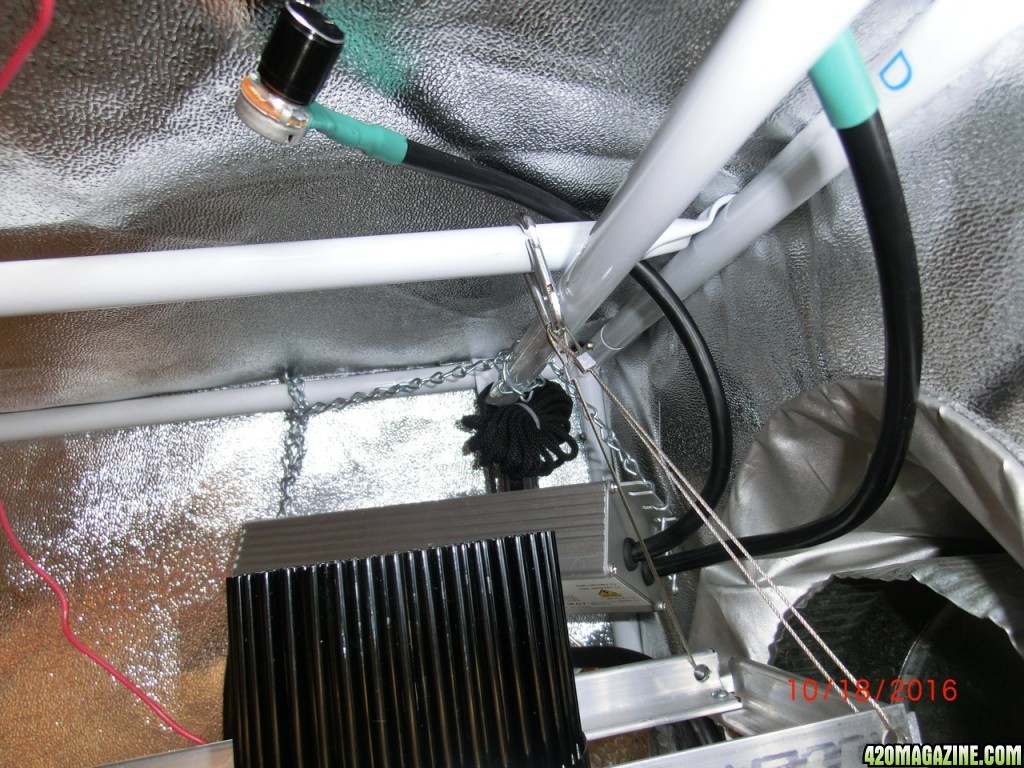
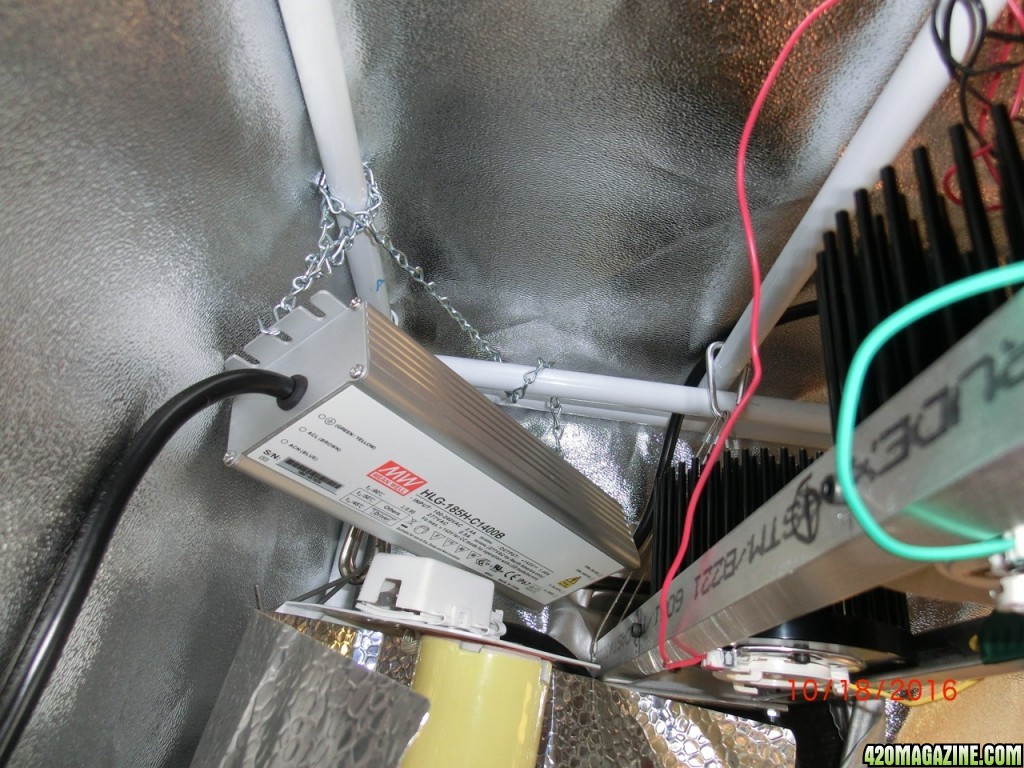
I chose not to mount the power supply to the framework it's going to be mounted in the tents corner by the exhaust out.
A close up of the wires and such.
CIMG15031.jpg
CIMG1495.jpg
CIMG1494.jpg


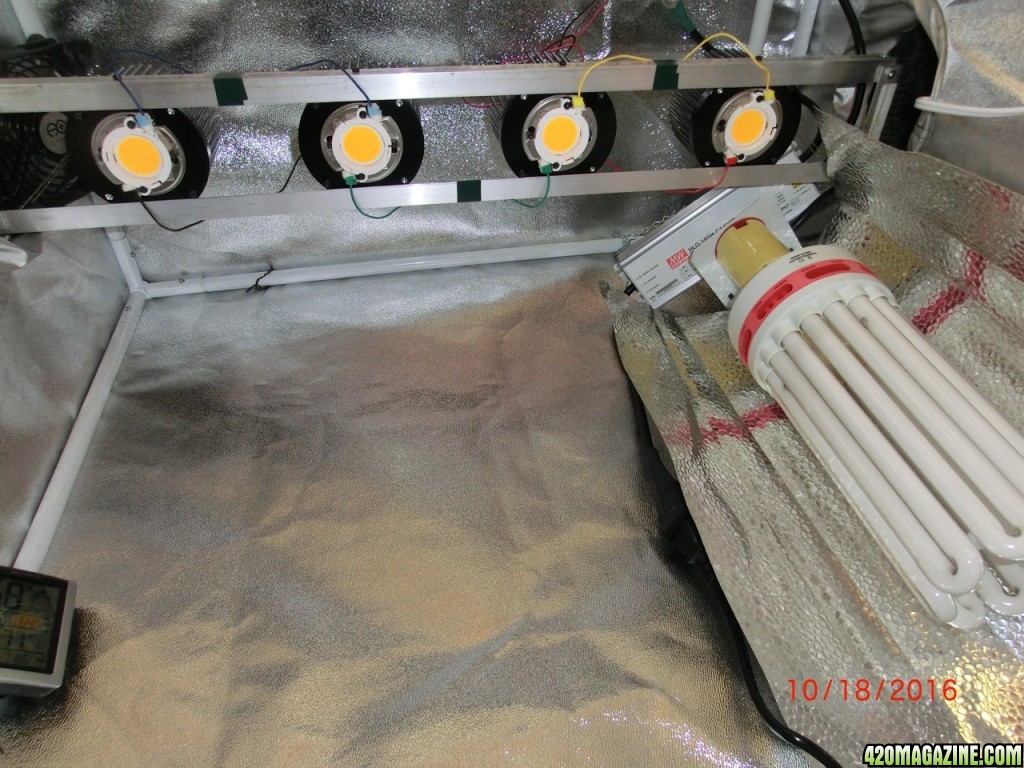
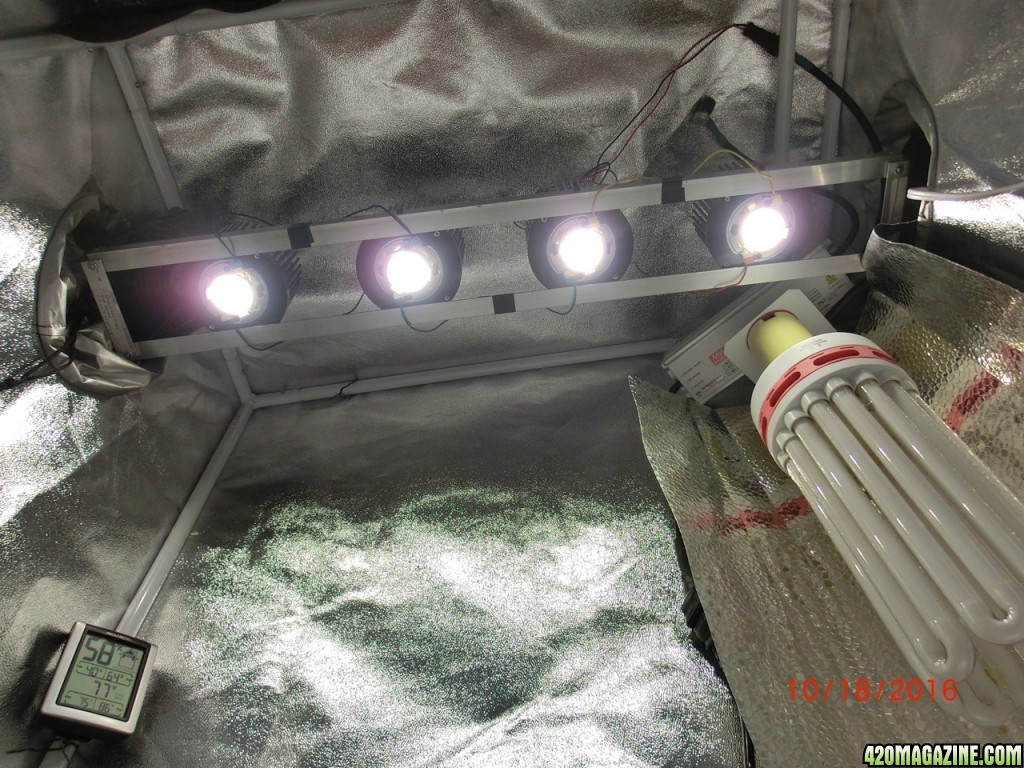
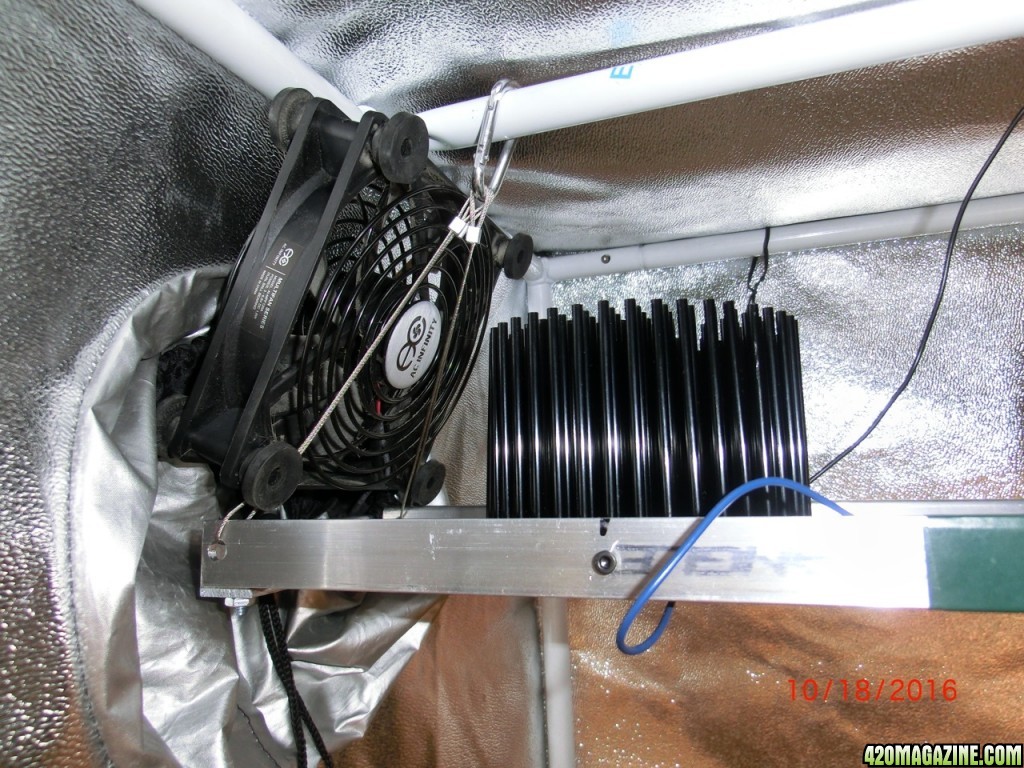
So. Tentatively hung. The CFL is what was lighting the tent. Exhaust is to the right. A small computer fan upper left.
CIMG1509.jpg

Lights on.
CIMG15151.jpg

I put the reflector on just the left one. It is above an over ripe flower with seeds I am letting mature.
CIMG1529.jpg


Postcards of of the hanging.

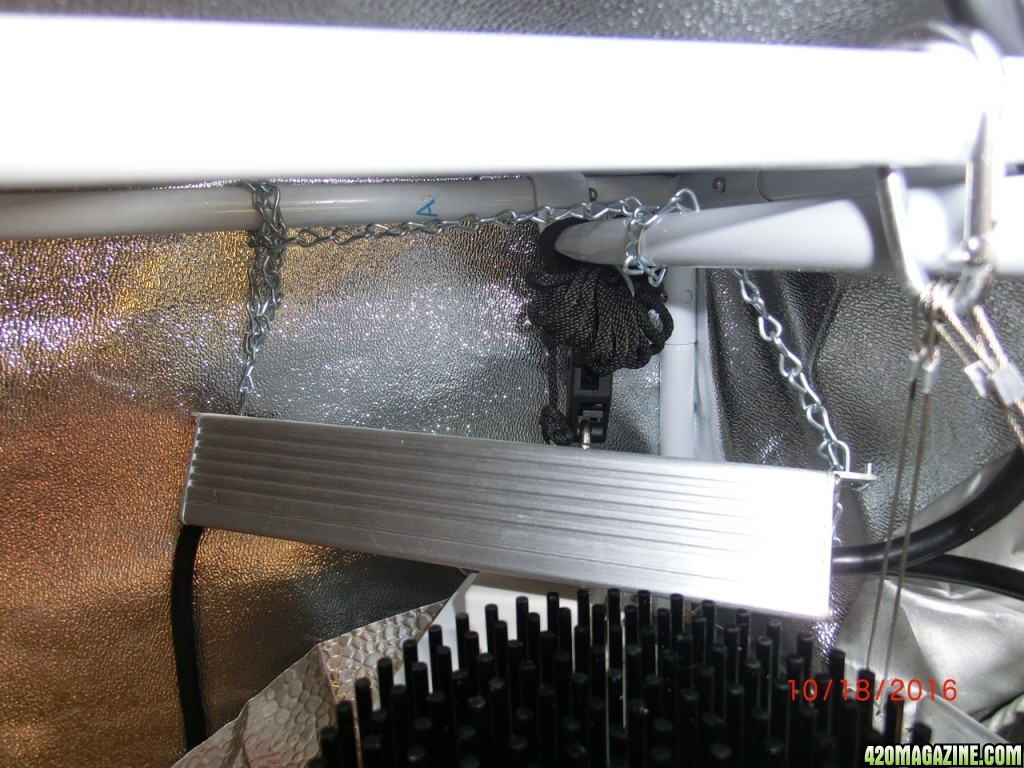
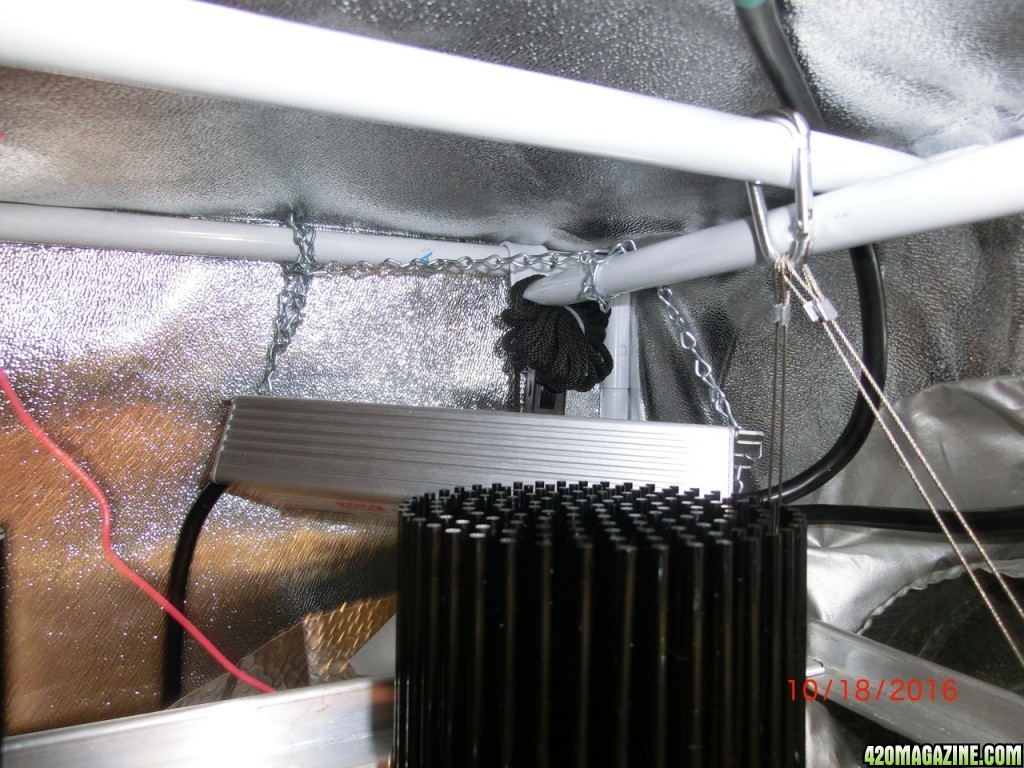
Hung with wires her is the right side number 4 COB. Power supply behind it. The dimmer knob is at the top of shot.
CIMG15101.jpg

The he powersupply hung with chains in the corner.
CIMG1513.jpg
CIMG1508.jpg


A little better look at the power supply.
CIMG1512.jpg


So here is the left side or number one COB.
CIMG1507.jpg
 
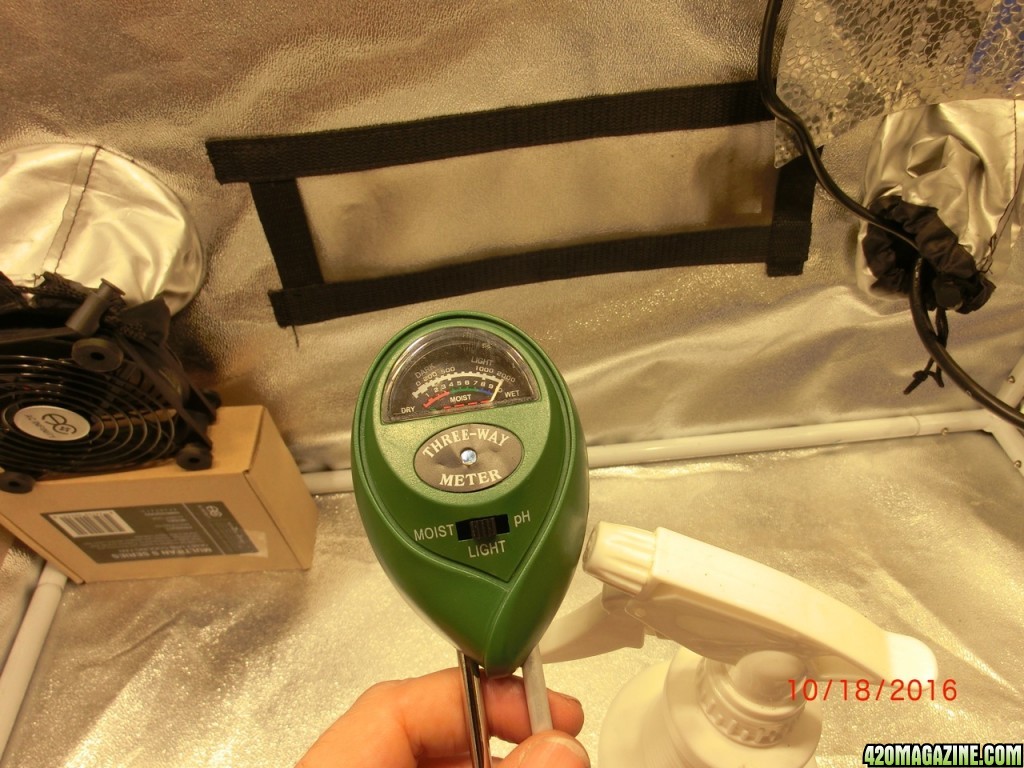
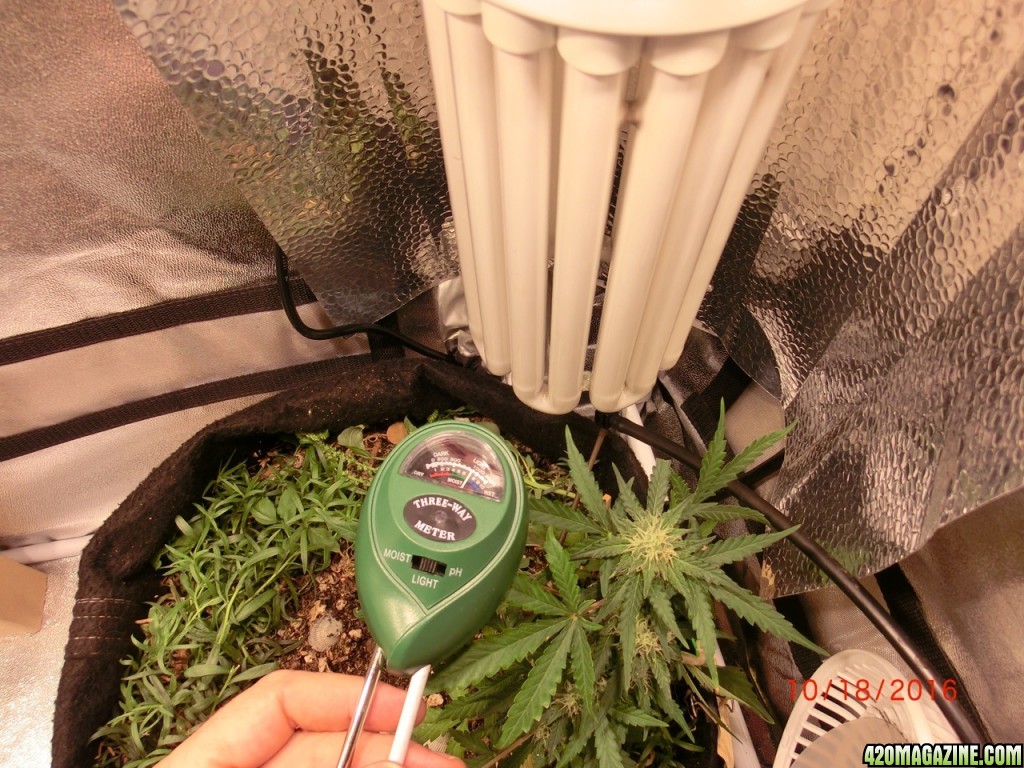
I did some cleaning and playing with the lights before the plants went back in. It easily pegged the light meter.
CIMG1519.jpg

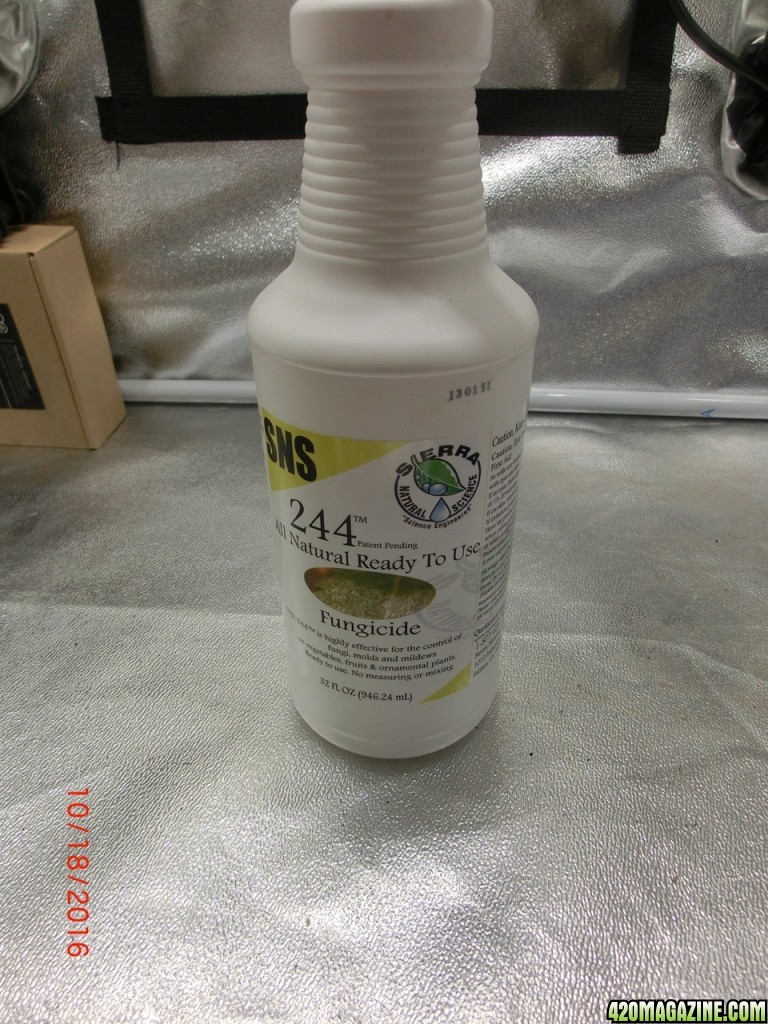
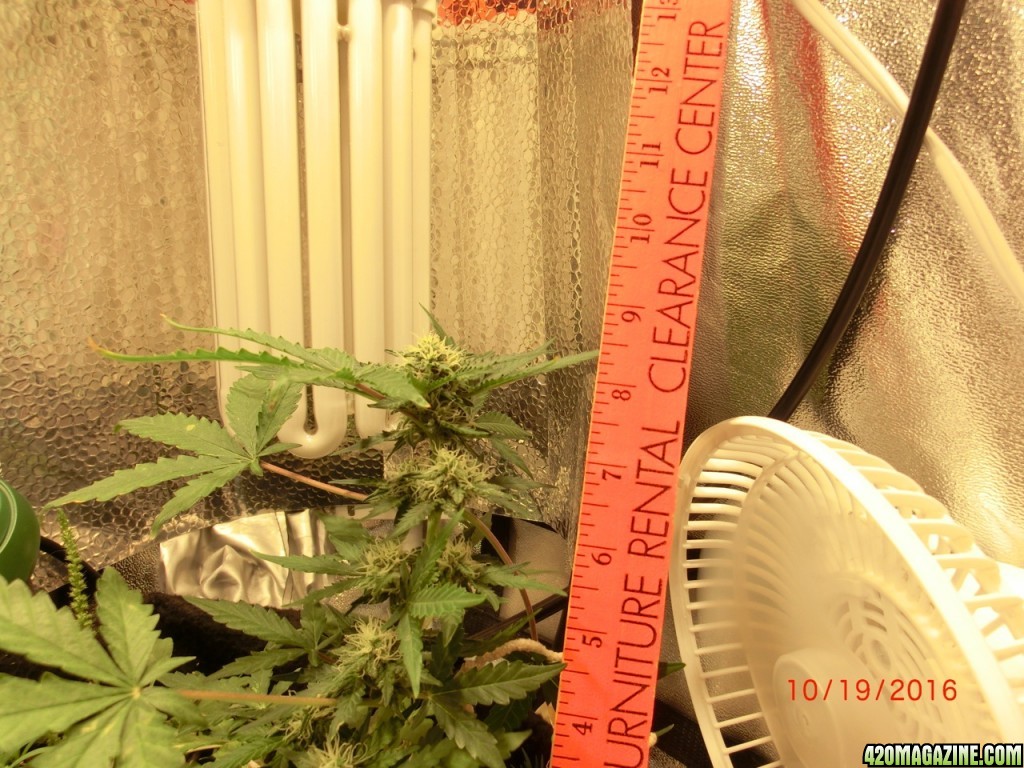
Th bottle of SNS I was using to measure next to. For height reference.
CIMG1518.jpg


I dont think it is an accurate meter but I used it as a reference to go from the CFL to the COB. I figure hit it with just a touch more light than it had at first. It is dimmed down pretty far. I will give more light after a while.


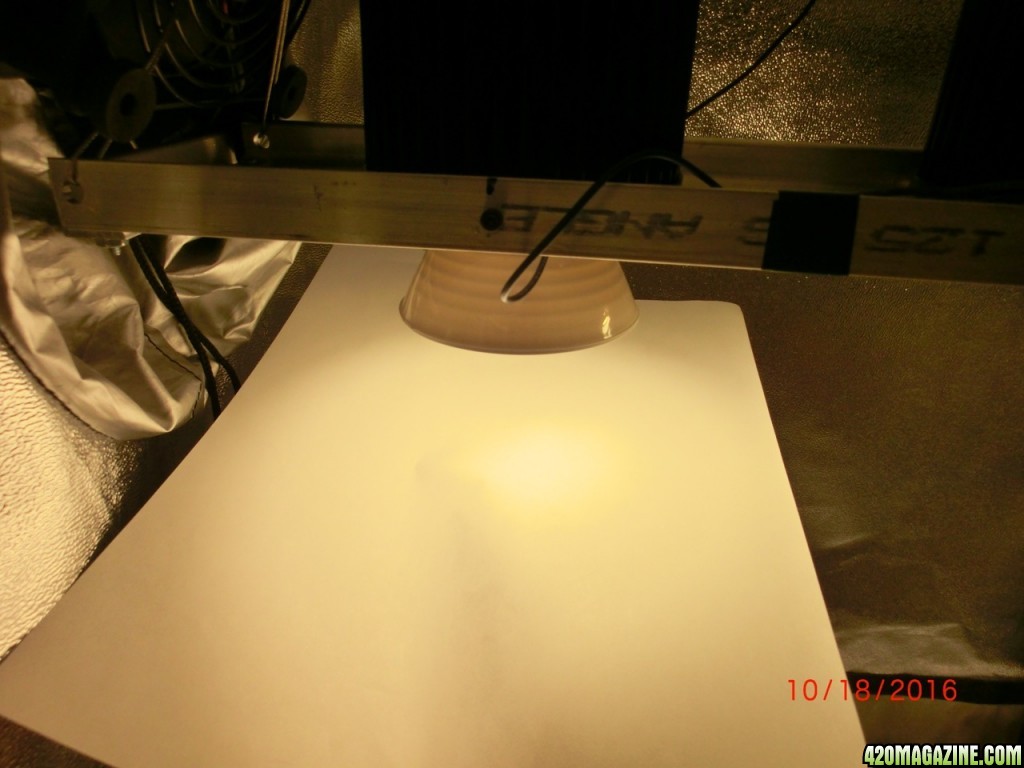
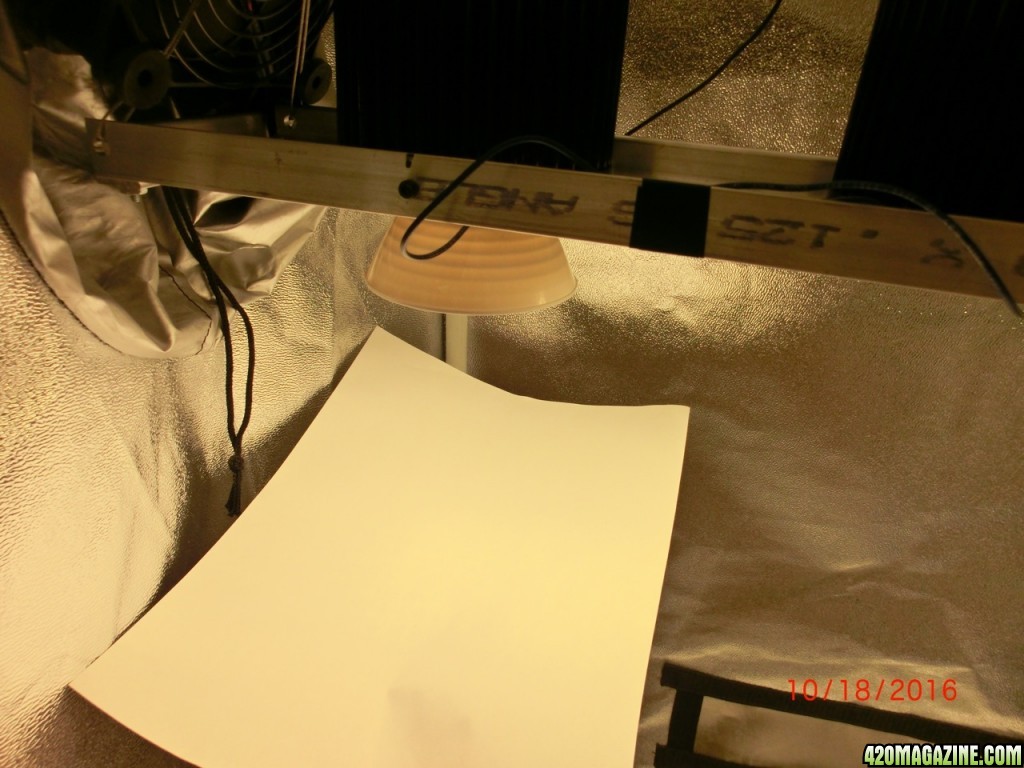
I checked the reflector out as well.

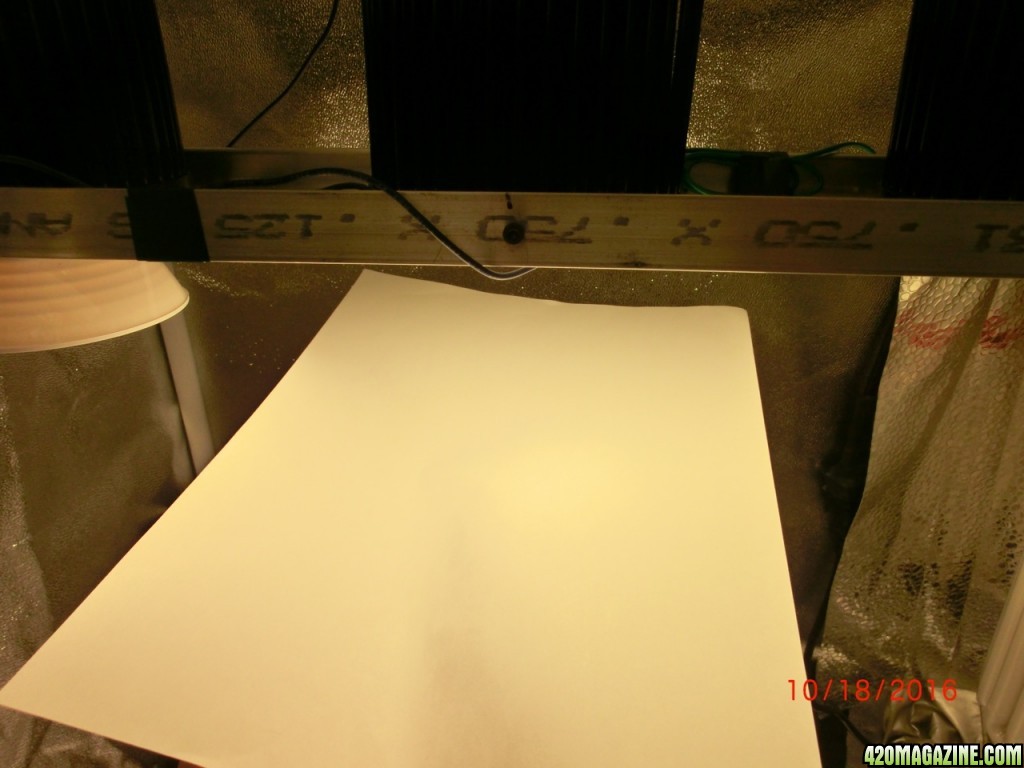
Here is plain paper up close to the reflector so I can see the focus. I dunno what the power was when I did this.
CIMG15211.jpg


About the same distance no reflector.
CIMG1522.jpg

Here it is where the focus starts to diffuse under the reflector. Just playing.
CIMG1523.jpg


Referene i forget forgot to and I think. ....
 
Awesome!!! Love the detail in your post on the DIY light!!! I love cobs and that setup will rock your garden! very nice post and DIY build!
 
:thanks: Kraize.
If I recall you hung the individual heatsinks? No frame? I think that is where I got the ideas for the power supply hanging.
I have so many ideas but so little brain to function with.
I was toying with ideas like that as well. I was thinking maybe 4 corners or circular instead of a straight line.
I hope to change the frame in the future as demands change.
Cheers.
 
Hi KelticBlue, hope you don't mind if I join your grow. I see you are using a 4 cob kit. I got a kit as well and have assembled it in an aluminum frame with 16" centers. Love those lights. I'm trying to see if they will effectively grow 4 plants (allowing 1.5 ft square for each plant) in a scrog/flux combo training. These lights seem to work best with a level canopy. Love the versatility in design, and lumen power of these lights!! Good luck, man!
 
:thanks: maineiac.
I have been on the road for the last couple of days. I cannot wait to see how it is doing. I get home after lights out tomorrow.
My footprint is 1.5 feet by 2.5 feet. So I think I have overkill coverage with light. At least I hope so right.
Someday I might get to a scrog. I just keep bending the to fit the space. I dunno.

I am very happy with the lights so far. Cheers.
 
Birdy bird. Hi. :ciao:
these cree COBs are nice. I have such small needs. I just don't need much. Oil for my cat and smoke for my wife. Probably no more than an ounce monthly. I think wifey made due with .25 an ounce a month back in the buy your bag days. So she should be well supplied.
I will try to journal sometime in January.
Cheers.
 
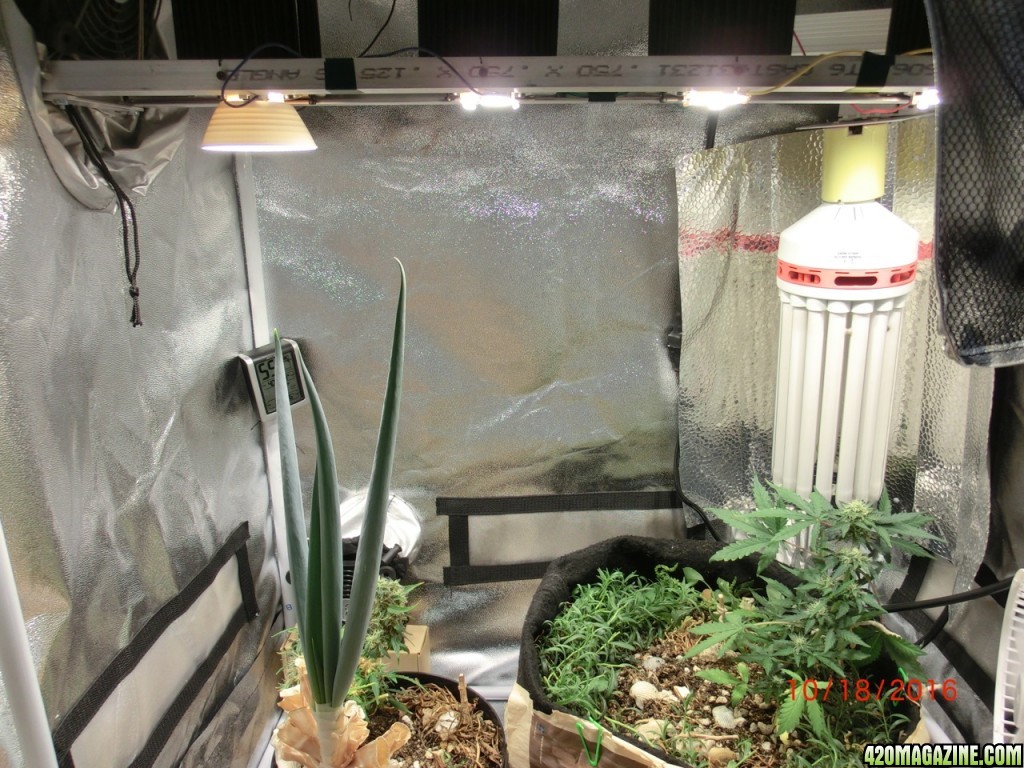
Grow lights are up and running 16/8.

I have a reg and a feminized under veg for the last couple of weeks. All is well and super cool.
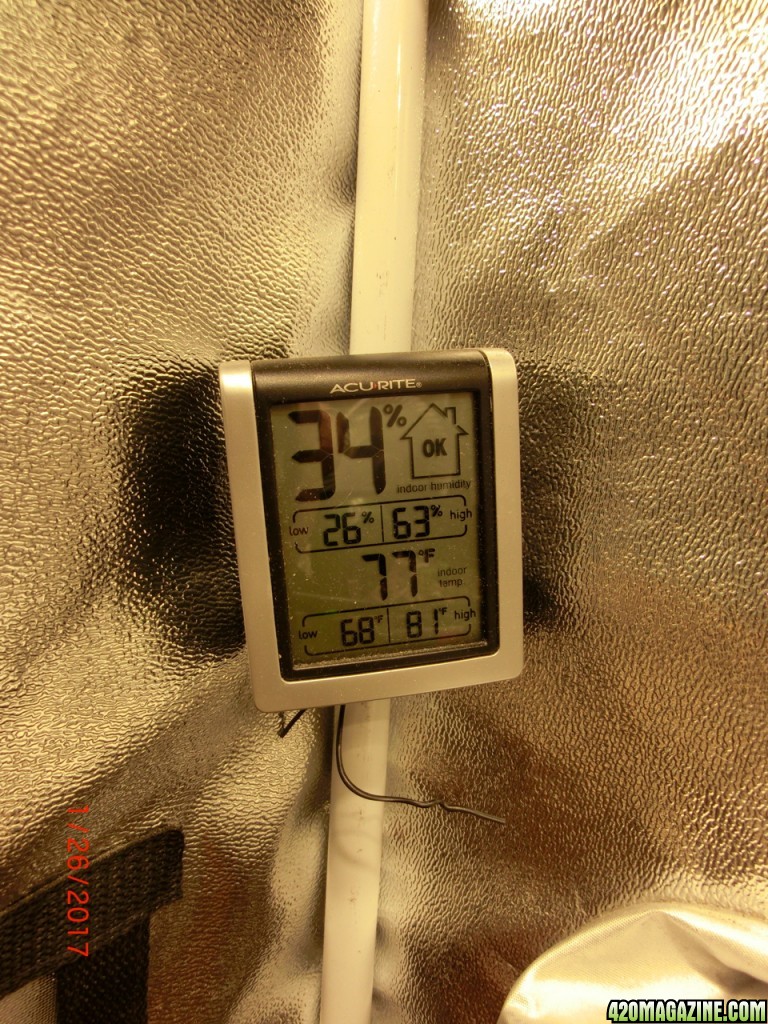
The temperature barelty gets above 77f with just the Timber lights on, I have a250 watt CFL to supplement some blue light for the sprouts, it is on only 1.5 hours midday.
The room ambient during the day hours is about 74f, it gets cool at night as the tent sits under a window. Light come on at 2am
CIMG1806.jpg


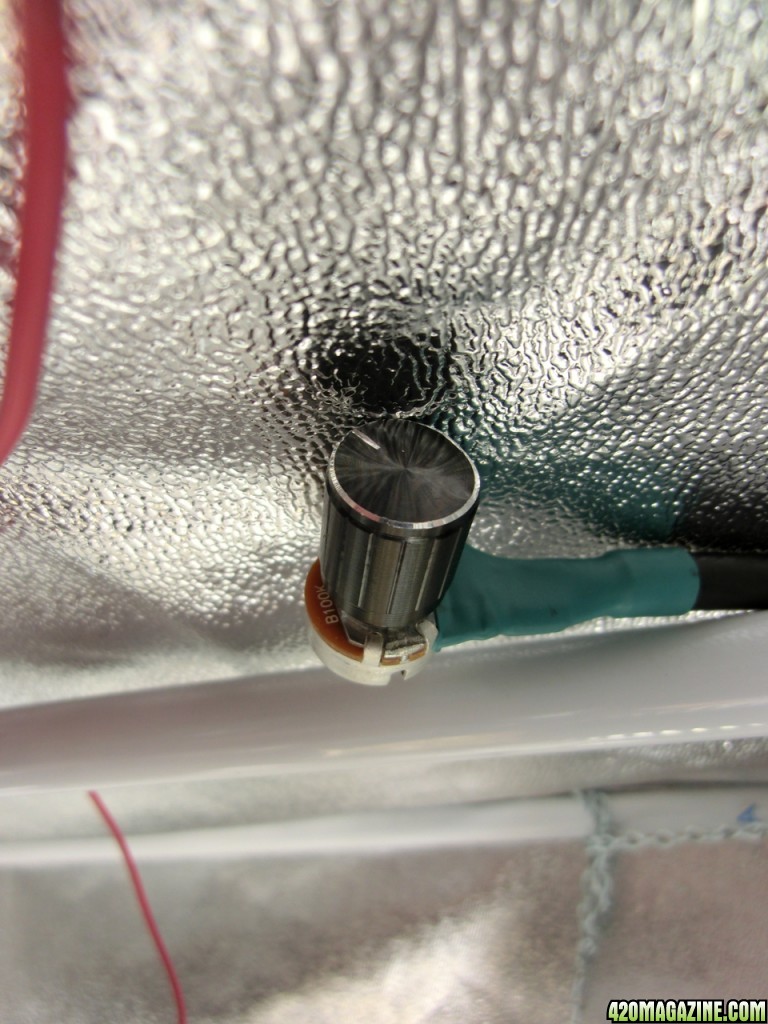
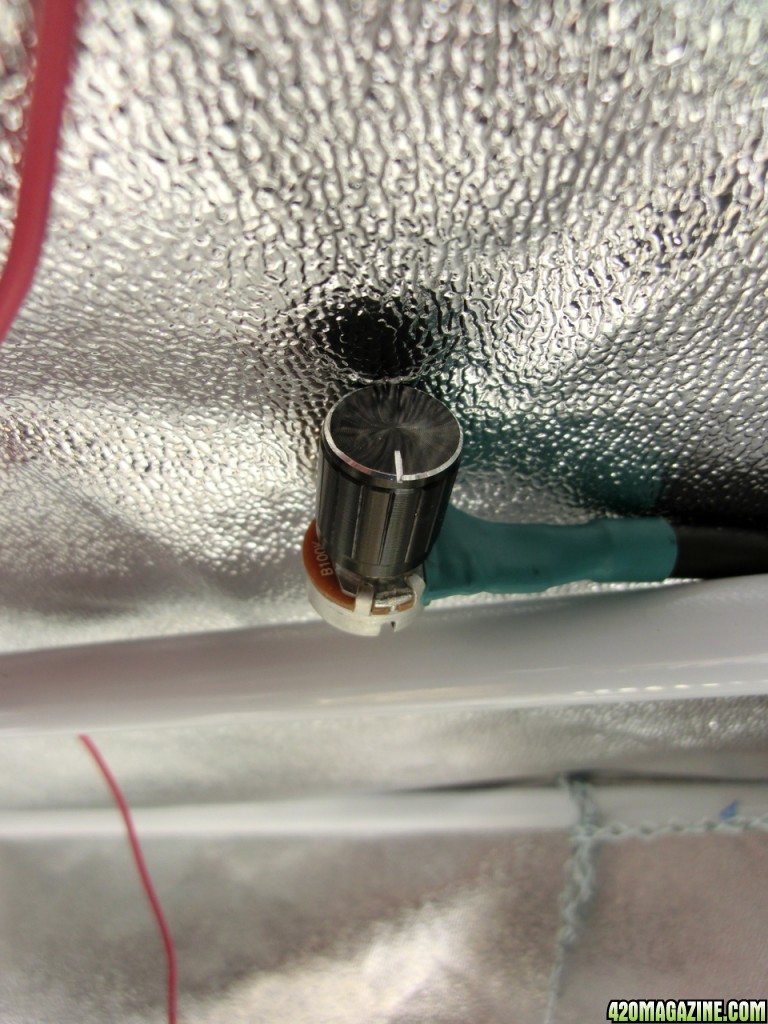
I am driving the dimmer at just above 50%

This is the dimmer at full power position.

CIMG1826.jpg

this is where the dimmer is positioned right now.
CIMG1825.jpg


It is super bright at this setting and cool to the touch on the heatsinks. This should be very helpful during the summer months.

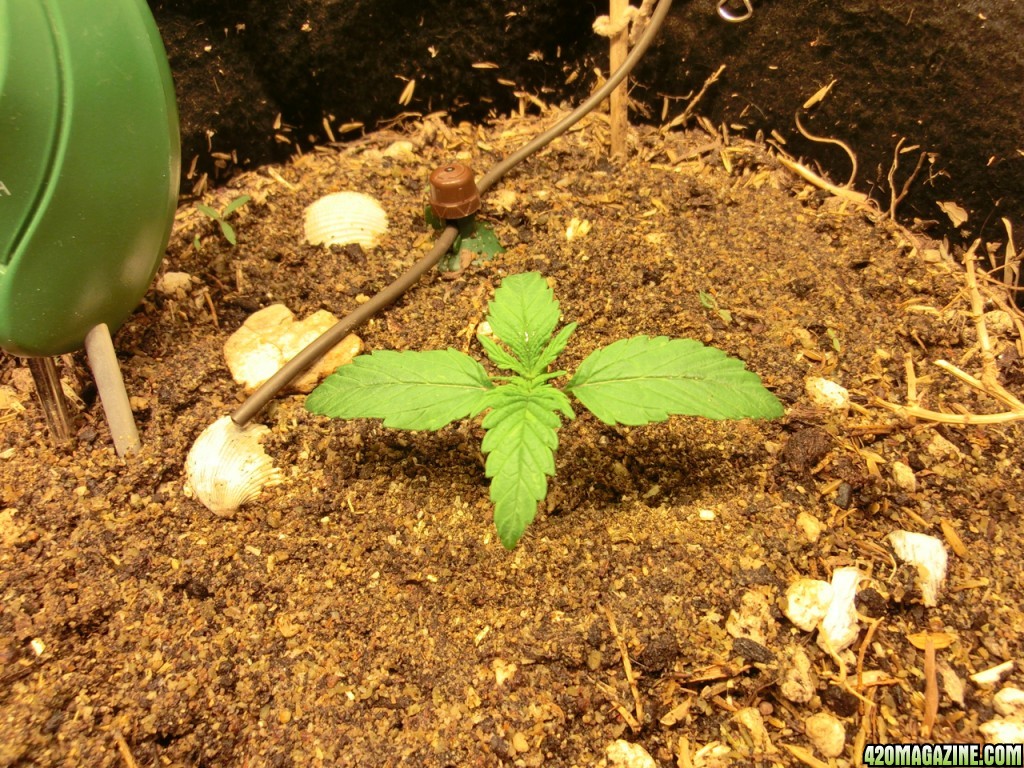
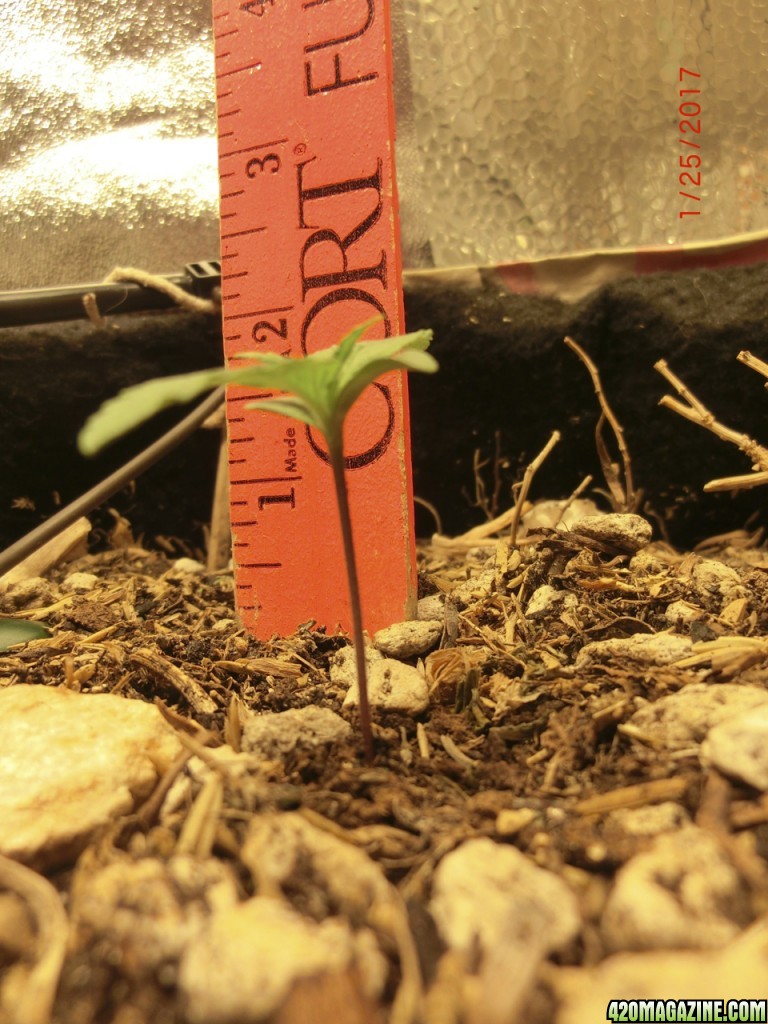
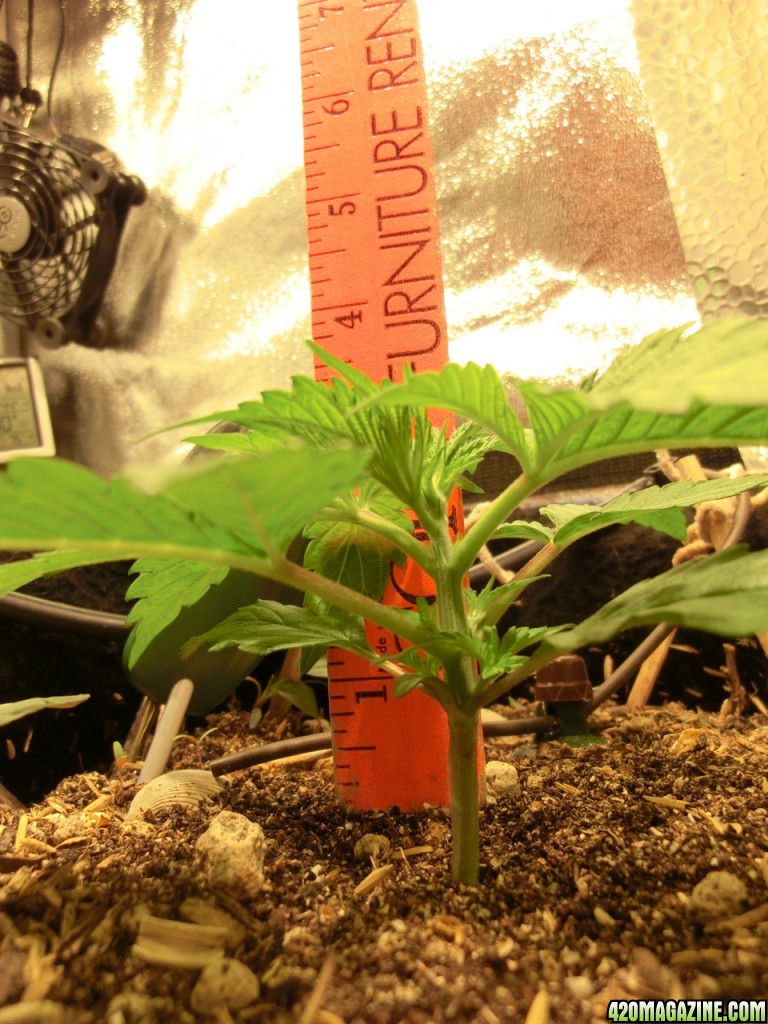
So far so good my Pakistan Chitral kush x Kali China Yunnan at 8 days old.
CIMG1853.jpg
 
Back
Top Bottom